

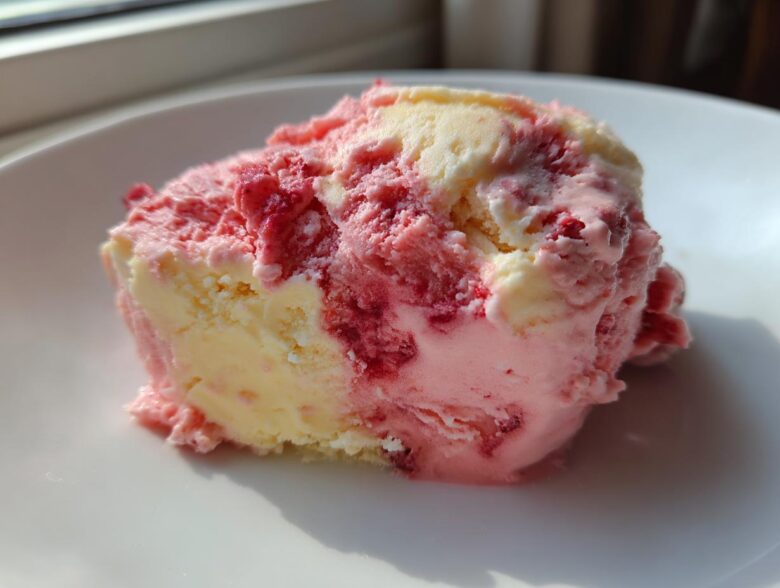
You know those days? When the sun is just BRUTAL, and the only thing you can think about is shoving your face into a bowl of something ice-cold and creamy? I live for those moments! Forget hauling out the big machine—I’ve spent years tinkering with frozen treats, especially for when I don’t feel like waiting for them to churn. That’s how I landed on this absolute gem: the creamiest banana ice cream recipe is one of my favorites, but this version truly hits different.
I’m thrilled to share my Easy No-Churn Strawberry Banana Ice Cream recipe with you today. Trust me, getting that perfect, luxurious texture without an ice cream maker takes practice, but this formula, relying on just a few simple pantry staples, is my go-to summer secret. It tastes like vacation in a scoop!
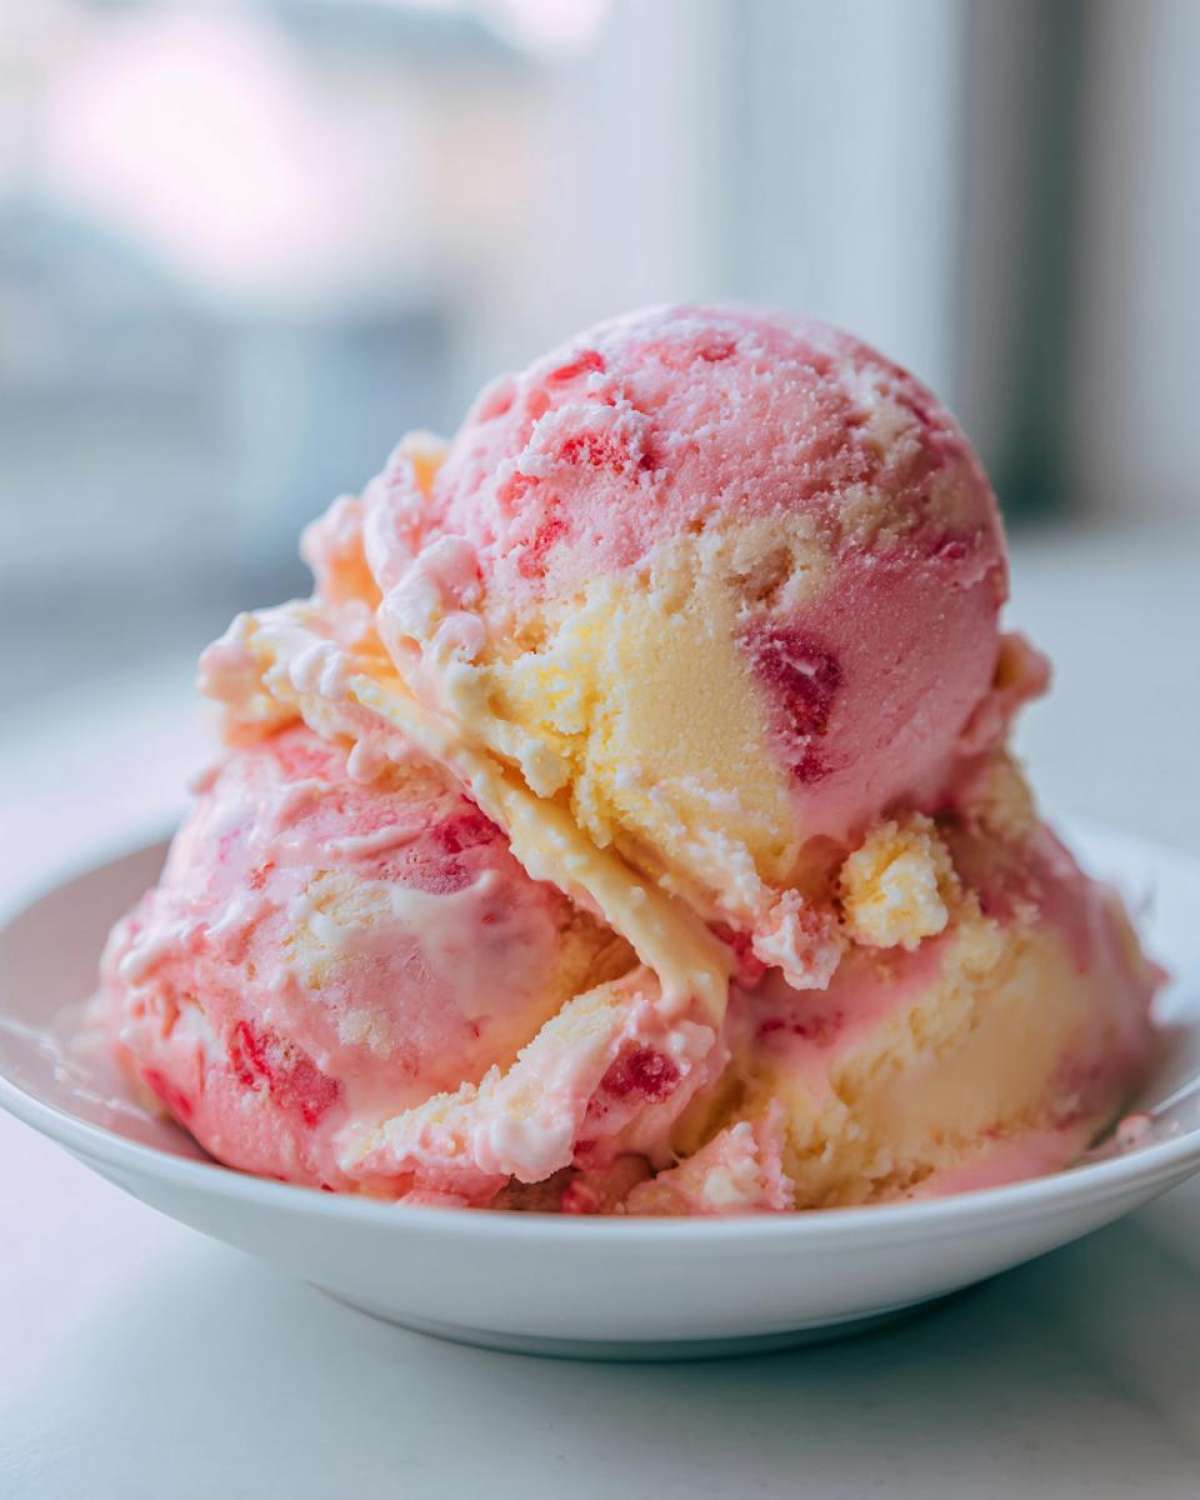
Why This No-Churn Strawberry Banana Ice Cream Stands Out
Why mess with complicated machines when you can get results this good in minutes? Frankly, I make this because it works every single time. It’s got that dreamy, rich texture that you usually need an expensive dedicated machine to achieve. This homemade strawberry banana ice cream recipe just simplifies the whole process so you can get frosting your other desserts faster!
- No ice cream maker required—seriously!
- Incredibly creamy, thanks to the condensed milk combo.
- The natural fruit flavor really pops through.
Quick Prep Time for Your Strawberry Banana Ice Cream
Do you see that 15-minute prep time? I’m not kidding you! Most of that time is spent just scraping down the sides of the blender. Once the fruit, milk, and vanilla are in there, it zips right up into a thick base. It’s the perfect recipe for when you decide you need ice cream *right now*.
Ingredients Needed for Perfect Strawberry Banana Ice Cream
If you’re going to use the no-churn method, the quality of what goes into the bowl matters a ton because you can’t rely on churning to fix texture issues later. I always lay out my ingredients before I start whipping anything, just so I’m ready when the moment strikes. This recipe is deceptively simple, which means every item gets a chance to shine!
- 2 cups frozen sliced bananas
- 1 cup frozen strawberries
- 1 (14 ounce) can sweetened condensed milk
- 1 teaspoon vanilla extract
- 1 cup heavy whipping cream
Ingredient Quality Tips for the Best Strawberry Banana Ice Cream
This is where I apply my personal rules, especially concerning the fruit. If you want that amazing, rich flavor in your strawberry banana ice cream, you absolutely have to start with ripe fruit. My big tip—and I stick to this religiously—is about ripeness when it comes to the bananas. You want those things spotted brown, almost black, before you even slice and freeze them. A mushy, underripe banana will give you a bland, slightly icy result. They need that deep sweetness!
Also, make sure everything that needs to be frozen—the strawberries and bananas—is truly rock solid! Since we aren’t churning, the coldness of the fruit is what stops the sweetened condensed milk and cream mixture from immediately turning into soup when you fold them together. Use good quality vanilla extract here too; you can really taste the difference when there aren’t so many ingredients masking it.
Step-by-Step Instructions for Easy No Churn Strawberry Banana Ice Cream
Okay, now for the fun part! This method shows you exactly how to make strawberry banana ice cream without machine, and it’s all about timing and gentleness. We are essentially making two separate components—a rich fruit puree and a light whipped topping—and combining them carefully. If you rush the folding part, you’ll end up with banana-flavored mush instead of creamy ice cream, so listen up!
- First things first, you need air! Grab your heavy whipping cream and whip it until you get those beautiful stiff peaks. You know they’re ready when you can turn the bowl upside down and nothing falls out, or when the peaks stand straight up when you lift the whisk. Set that beauty aside for just a moment.
- Next, we turn the fruit into magic. Put your frozen bananas, frozen strawberries, the whole can of sweetened condensed milk (don’t skimp here, that’s what keeps it from freezing rock hard!), and the vanilla into your food processor or a good blender. You have to blend this until it’s totally silky smooth. Stop the machine every so often—you’ll need to scrape down the sides to make sure there are zero icy chunks hiding in there!
- This is the most important step for texture! Take about a third of your whipped cream and stir it vigorously into the fruit mixture. Yep, you heard me, stir it hard! This lightens up the heavier base, making it easier to fold in the rest without deflating all that lovely air we just whipped into the cream.
- Now, gently fold in the remaining whipped cream. Use a spatula and use slow, deliberate folding motions—cutting down through the middle and scooping up the bottom. Stop folding the second you don’t see any more white streaks. Overmixing here is the fastest way to lose that amazing fluffy texture!
- Pour that glorious mixture into a container that can handle a deep freeze—a standard loaf pan works perfectly for me. This next part is crucial for preventing freezer burn and ice crystals: press a sheet of plastic wrap directly onto the surface of the ice cream. Cover the whole thing tightly after that.
- Back into the freezer it goes! You need at least six hours, but honestly, overnight is best. This ensures it sets up firm enough to scoop properly.
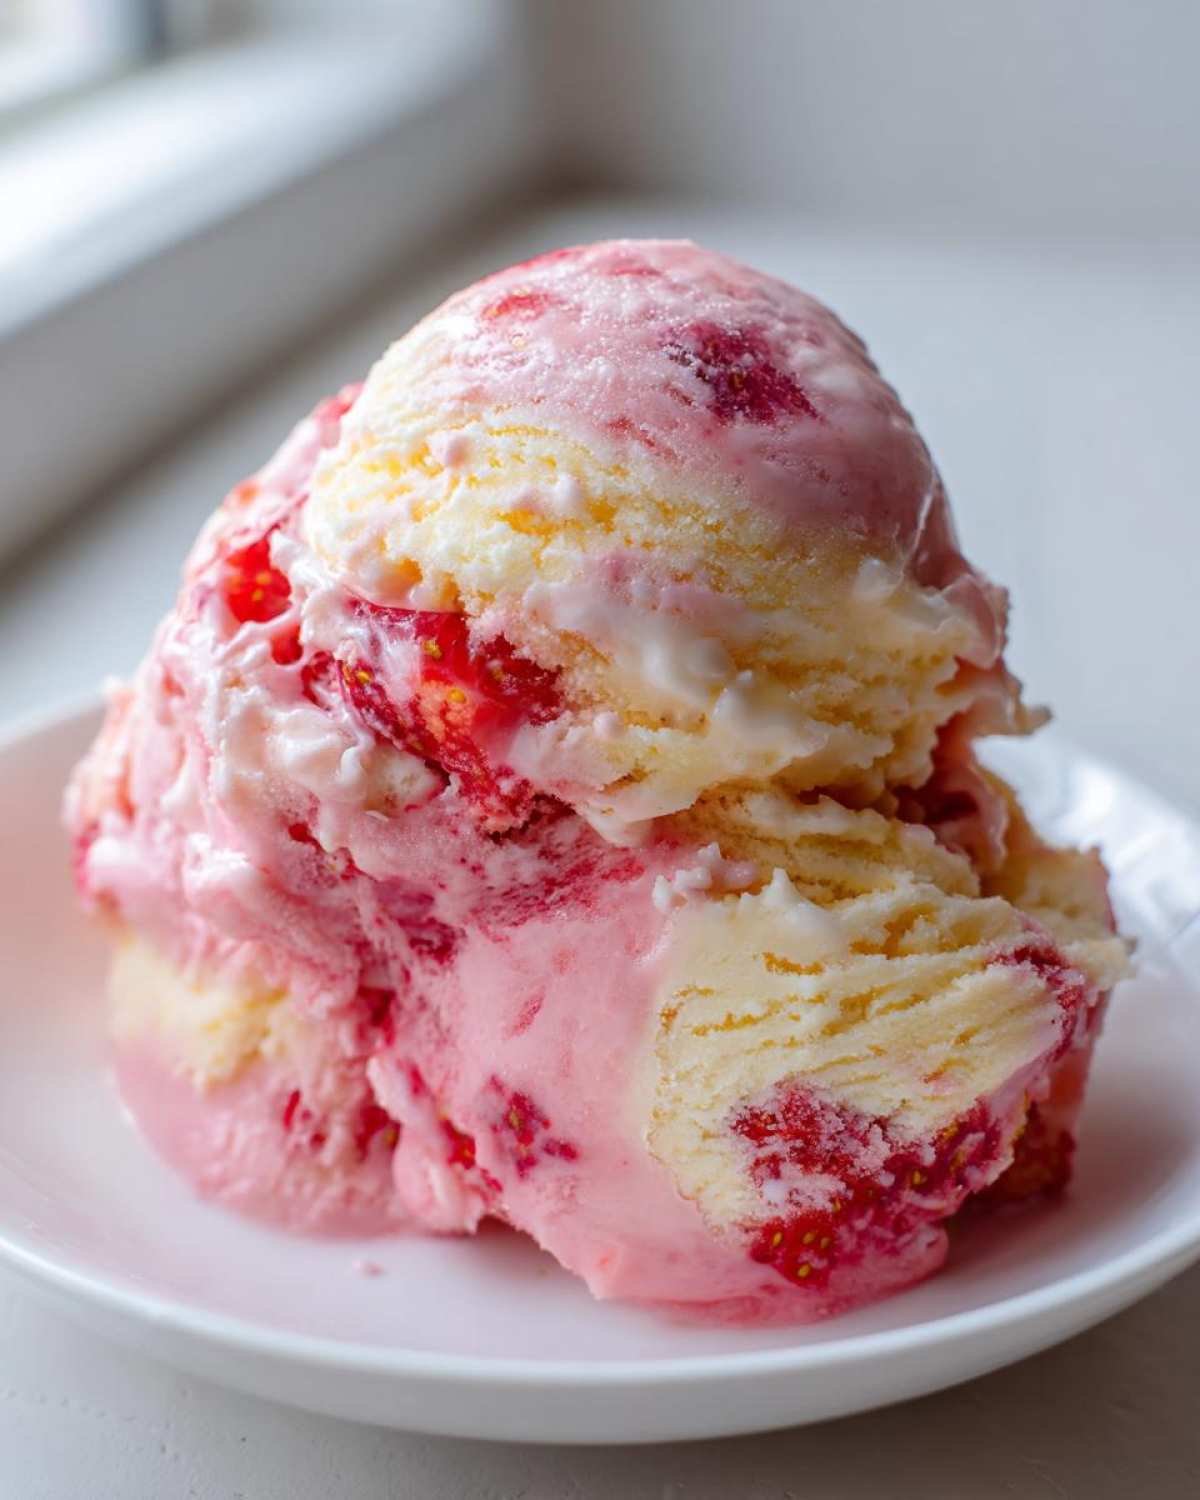
Whipping Cream Technique for Creamy Strawberry Banana Ice Cream
When I say “stiff peaks,” I mean business! This aeration is what replaces the constant agitation of a machine. When you whip that heavy cream, you’re trapping tiny air pockets. These air pockets take up space where ice crystals would normally form, which is exactly why your Strawberry Banana Ice Cream ends up tasting so airy and rich instead of tasting like hardened fruit slush. Make sure your cream and your bowl are cold when you start; that helps the fat molecules whip up faster!
Freezing and Serving Your Strawberry Banana Ice Cream
Once it’s in the freezer, forget about it for a good six hours. Seriously, don’t open it prematurely! The main enemy here is the formation of big ice crystals, and that happens when the temperature fluctuates. That plastic wrap pressed right onto the surface acts like a shield against freezer air. When it’s time to serve, don’t try to attack it straight out of the deep freeze! Let it sit on the counter for about 5 to 10 minutes. That quick little rest softens it up just enough so you can easily get the perfect scoop.
Making Dairy Free Strawberry Banana Ice Cream Variations
I totally get it—not everyone wants or can have dairy in their treats, and that’s perfectly fine! The beauty of this base recipe is how forgiving it is when you want to experiment. You can easily pivot this into a fantastic rich, dairy free strawberry banana ice cream without sacrificing that creamy factor we worked so hard to achieve.
The key substitutions are super straightforward, thankfully. Instead of regular heavy whipping cream, you’re going to rely on full-fat coconut cream. Make sure you chill that can overnight in the fridge without shaking it! When you open it, the thick, solid cream will be sitting on top, and that’s the part you want to scoop out and whip up—just like you would with regular heavy cream. That’s your secret source of fluffiness!
For the sweetened condensed milk, you might have to check a specialty aisle, but more stores are carrying dairy-free condensed milk substitutes now, often made from oat or coconut milk. Those work beautifully here. If you can’t find the condensed milk substitute, you can technically try using maple syrup or agave mixed with powdered sugar, but I’m warning you, the texture will lean more towards a sorbet or granita. For a true creamy texture, stick to that condensed milk alternative!
Tips for the Best Strawberry Banana Ice Cream Texture
Okay, so you’ve made your batch of Strawberry Banana Ice Cream, and it’s rock hard after freezing, or maybe it’s a little too soft and soupy after just three hours. Don’t panic! This happens to everyone, even me sometimes when I get excited and open the freezer too early.
The texture is the final boss battle when you’re working with no-churn recipes, but we have a few tricks up our sleeve to make sure every scoop is perfectly scoopable and wonderfully creamy, just like the ice cream shop stuff.
First, let’s talk too hard. If your ice cream freezes like a block of granite, it usually means you needed a little more stabilizing moisture or sugar. Since this recipe already has sweetened condensed milk, the next culprit is usually the fruit itself. Did you use those super ripe bananas we talked about? Riper bananas have more natural sugars, and sugar lowers the freezing point, which keeps the mixture softer. If it’s brick hard, just slice off a few pieces and microwave them for about 10 seconds—it sounds silly, but it jump-starts the softening process!
Now, if your ice cream is too soft—which, let’s be honest, is a nicer problem to have!—it usually means you didn’t let it set long enough or the environment in your freezer is too warm. Make sure that plastic wrap is going directly onto the surface. That layer is your armor against freezer burn and softening air pockets. Give it the full 6 hours, minimum. And remember that small resting period on the counter we discussed? That’s not just for making it easy to scoop; it allows the ice crystals to slightly melt and re-bond with the fats, giving you that signature creamy mouthfeel instead of tasting icy.
Frequently Asked Questions About Strawberry Banana Ice Cream
I know you might have a few leftover thoughts swirling around, because that’s how I approach every new recipe—I always wonder about substitutions! It’s great that you’re thinking ahead about making this your own. Based on what folks usually ask me, I’ve gathered some of the biggest questions right here. If you stop by my recipe index later, you’ll see I love hearing about how you tweak things!
Can I make this Strawberry Banana Ice Cream without sweetened condensed milk?
That’s a really common question, especially if you’re aiming for a natural no sugar added ice cream experience. The thing is, the sweetened condensed milk isn’t just for sweetness; it’s a crucial textural element. It keeps the whole thing soft and scoopable because the high sugar content physically interferes with water crystallization. If you leave it out, you’re moving into a totally different science experiment!
If you absolutely must omit it, you’ll need a good substitute for both sweetness and structure. Try using about 3/4 cup of pure maple syrup whisked together with 1 cup of powdered sugar (or equivalent erythritol/sweetener) and then fold that into the whipped cream base. Just know that this version will freeze much harder, so you’ll need that counter rest time to really bring it back to life!
What is the difference between this and ‘Nice Cream’?
Oh, ‘nice cream’ is fantastic, too, but it’s definitely a different animal! Think of this no-churn recipe as being in the ‘rich, traditional ice cream’ family, even though we skip the machine. We use heavy cream and that delightful sweetened condensed milk to get that deep dairy richness and ultra-smooth feel.
When people talk about the best strawberry banana nice cream recipe, they are usually talking about something that is 100% fruit based—maybe just frozen bananas, berries, and a splash of milk or water blended until smooth. It’s lighter, often lower in fat and sugar, and freezes much harder because there’s no stabilizing fat or condensed milk in there. So, my recipe is the decadent comfort food option, and nice cream is the lighter, fruit-forward, super-quick treat!
Storing Your Homemade Strawberry Banana Ice Cream
Making a huge batch of this dreamy Strawberry Banana Ice Cream is almost always a risk because it’s just *so* easy to eat the whole thing in one sitting! But let’s say you manage to save some for later—you definitely want to make sure you store it right so it stays creamy and doesn’t become a frosty brick.
The enemy here is simple: air. Any air that touches the surface of your ice cream will turn into those dreadful shard-like ice crystals that make your mouth feel like you are crunching on frost. My grandmother always knew that sealing things tightly was half the battle in the freezer.
When you’re done scooping out your first serving, take a fresh piece of plastic wrap—don’t just use the same slightly messy piece that was underneath—and press it down firmly directly onto the surface of the remaining ice cream. I mean really press it flat, eliminating every air bubble between the plastic and the cold surface.
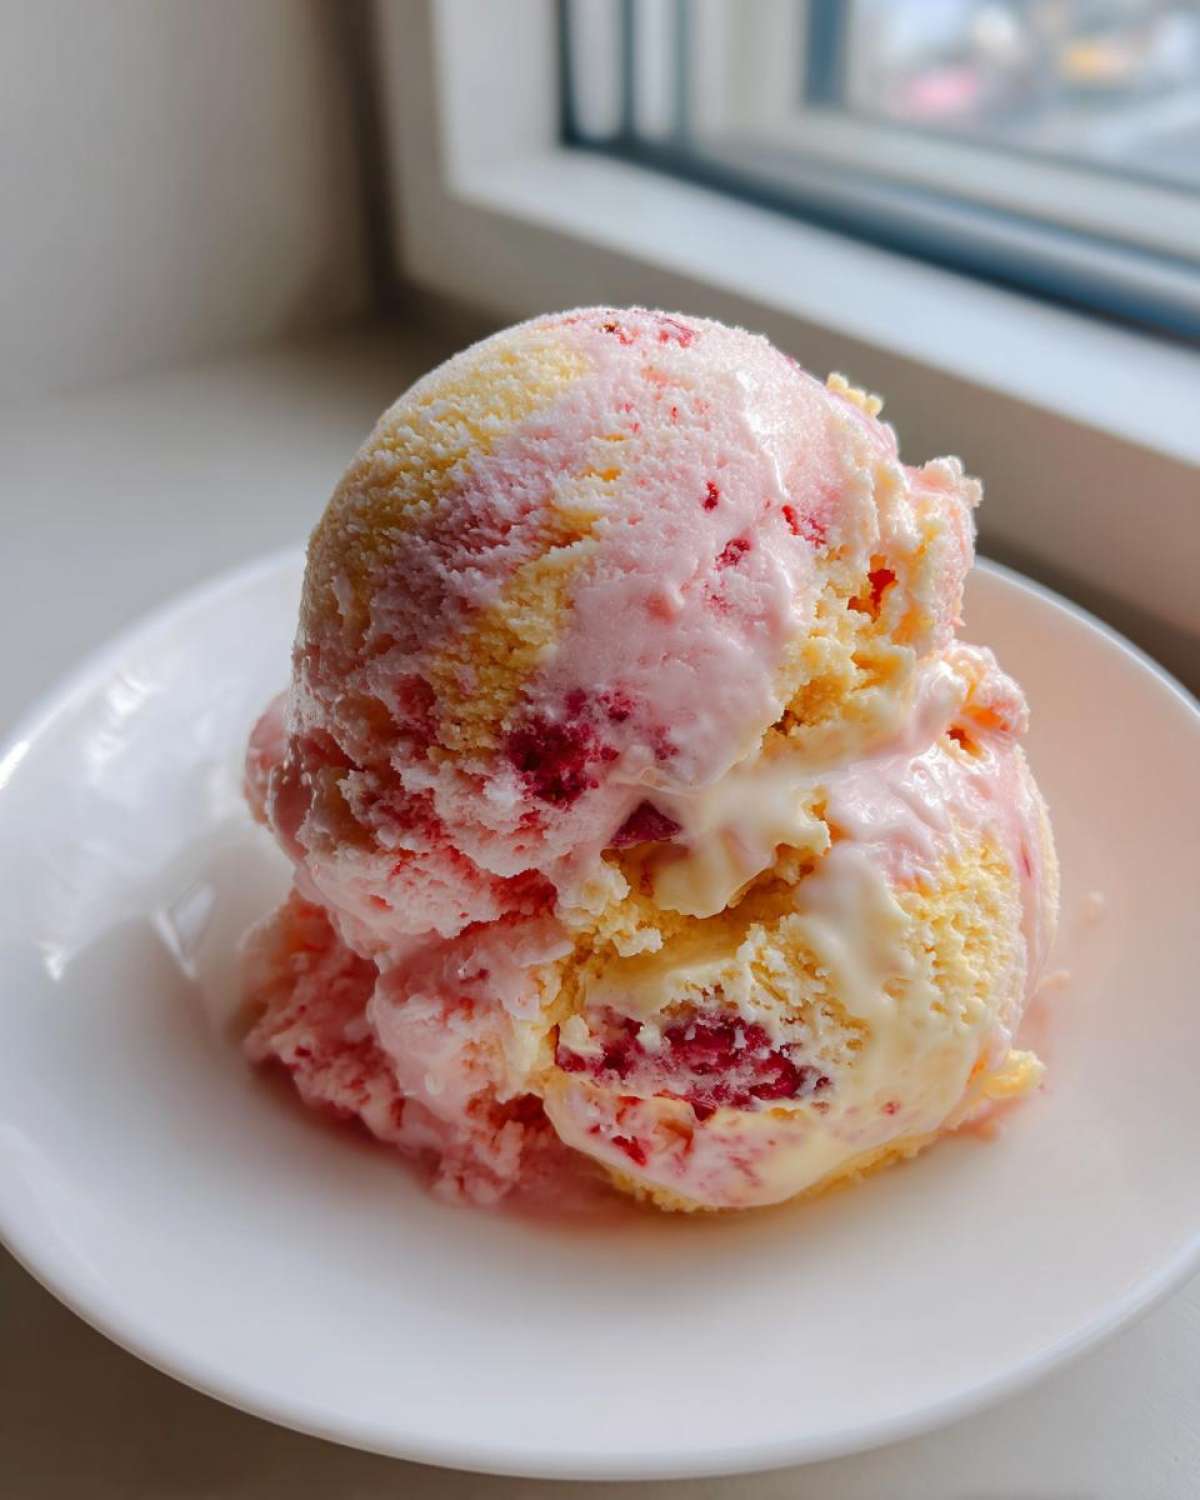
After that, secure the lid on your freezer-safe container. If you are using a regular loaf pan, put that whole pan inside a large, sturdy zip-top freezer bag before locking that bag shut. This double-layer protection is my insurance policy!
If you follow this airtight method, your homemade ice cream should stay tasting beautifully fresh and nearly perfect for up to about two weeks. After that, the quality starts to dip a little, but honestly, I’ve never had a batch last past ten days in my house. It’s just too good!
Nutritional Snapshot for Strawberry Banana Ice Cream
Okay, so while this recipe is super delicious and feels like cheating because it’s so easy, we should probably talk quick about what’s inside. I always try to keep track of what I’m feeding my family, even when it comes to a sweet summer treat like this frozen dessert. It’s good information to have, right?
Here’s a general breakdown based on the recipe card measurements. I grabbed this info from my standard recipe calculator, but keep in mind that your results might swing a little bit depending on the exact brand of heavy cream or condensed milk you end up using or if you decide to add mix-ins later!
- Serving Size: 2/3 cup
- Calories: Around 310
- Sugar: 38g (That’s mostly from the fruit and the condensed milk, just FYI!)
- Fat: 15g (Most of this is the good, satisfying fat from the cream)
- Protein: 4g
Just a quick word of warning here—these are just estimations based on the core ingredients. If you look up another recipe that skips the sweetened condensed milk for something like pure maple syrup, those numbers are going to change quite a bit! If you’re ever counting macros strictly, I always recommend checking the labels on your specific cans and cartons before calculating it yourself. If you’re interested in some of my other treats that pack a bigger protein punch, check out my high-protein egg bites recipe!
Share Your Creamy Strawberry Banana Ice Cream Creation
Well, that’s it! You’ve officially made, or are about to make, the best fuss-free dessert of the summer. I truly hope this recipe brings that perfect swirl of strawberry and banana richness into your kitchen!
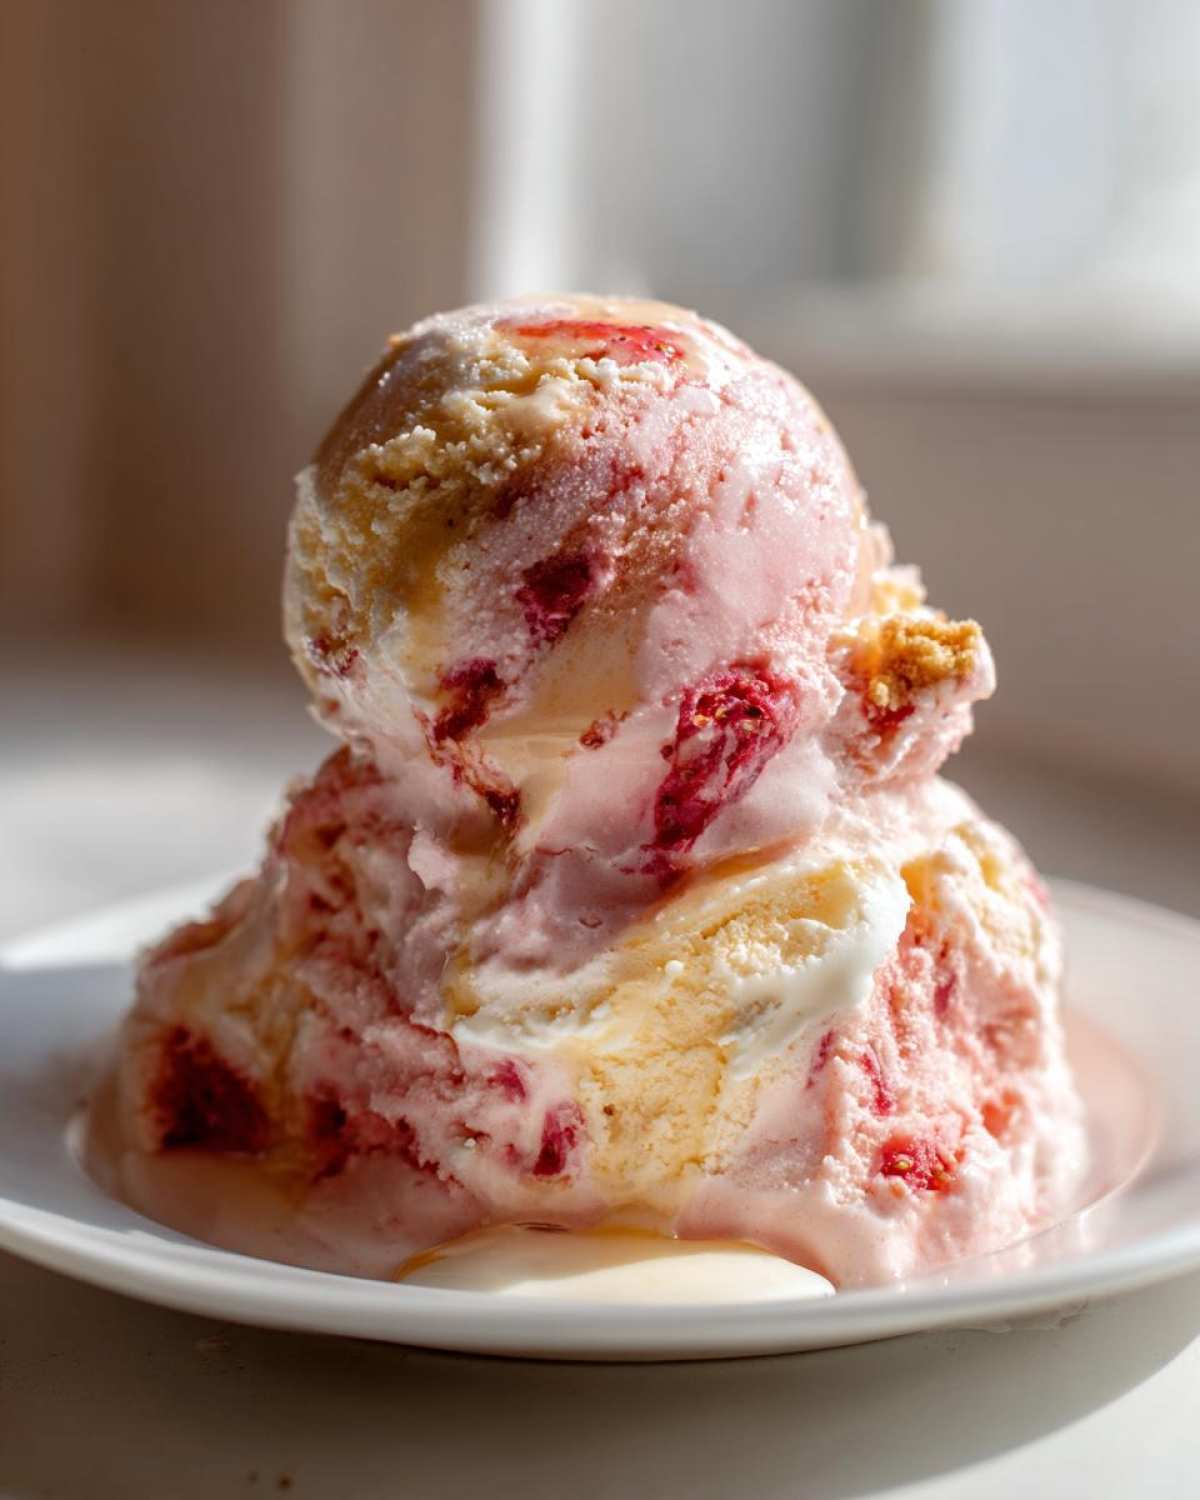
But hey, my favorite part of sharing these recipes is seeing what you all do with them! Did you swirl in some melted chocolate at the end? Did you try the coconut cream swap? Don’t be shy!
I absolutely live to hear about your creations. Please take a second and come back here to leave a rating—five stars if it lives up to the hype, or tell me honestly if you ran into any issues. Knowing how your Strawberry Banana Ice Cream turned out helps me help everyone else!
And if you’re already itching for your next frozen fix, don’t forget to poke around the site for more chilling ideas. We have loads of other great summer frozen fruit dessert recipes coming out all the time. You should absolutely check out my guide on quick and easy sorbets next!
If you ever have a question, or just want to say hi, you can always reach out via my contact page. Happy scooping, friends!
PrintEasy No-Churn Strawberry Banana Ice Cream
Make creamy strawberry banana ice cream without an ice cream maker using this simple no-churn recipe.
- Prep Time: 15 min
- Cook Time: 0 min
- Total Time: 6 hr 15 min
- Yield: 6 servings
- Category: Dessert
- Method: No-Churn Freezing
- Cuisine: American
- Diet: Vegetarian
Ingredients
- 2 cups frozen sliced bananas
- 1 cup frozen strawberries
- 1 (14 ounce) can sweetened condensed milk
- 1 teaspoon vanilla extract
- 1 cup heavy whipping cream
Instructions
- In a large bowl, whip the heavy whipping cream until stiff peaks form. Set aside.
- In a food processor or high-powered blender, combine the frozen bananas, frozen strawberries, sweetened condensed milk, and vanilla extract. Blend until completely smooth. You may need to stop and scrape down the sides.
- Gently fold the whipped cream into the fruit mixture until just combined. Do not overmix.
- Pour the mixture into a freezer-safe container, such as a loaf pan. Cover tightly with plastic wrap, pressing the wrap directly onto the surface of the mixture to prevent ice crystals.
- Freeze for at least 6 hours, or until firm. Let it sit at room temperature for 5-10 minutes before scooping and serving.
Notes
- Use very ripe bananas for the best natural sweetness and texture.
- For a dairy-free version, substitute the heavy cream with chilled full-fat coconut cream and use a dairy-free condensed milk alternative.
- If the ice cream is too hard after freezing, let it soften slightly on the counter before serving.
Nutrition
- Serving Size: 2/3 cup
- Calories: 310
- Sugar: 38g
- Sodium: 65mg
- Fat: 15g
- Saturated Fat: 9g
- Unsaturated Fat: 6g
- Trans Fat: 0g
- Carbohydrates: 42g
- Fiber: 2g
- Protein: 4g
- Cholesterol: 40mg