

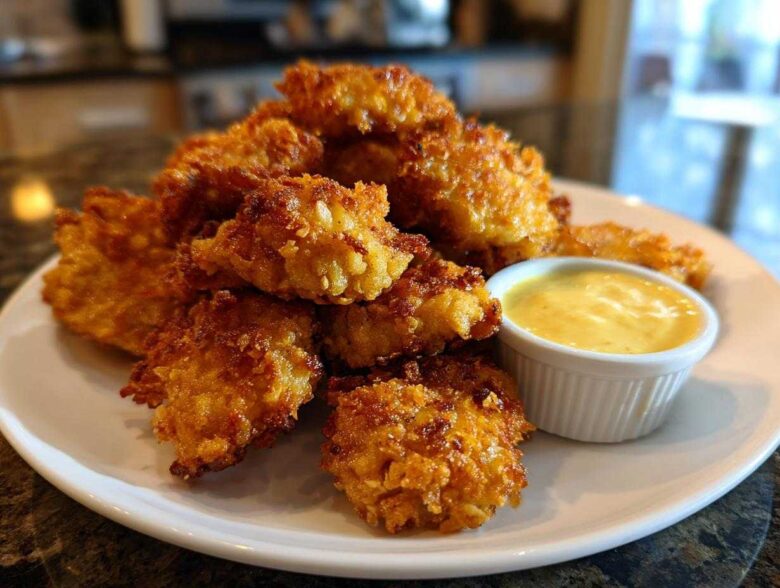
Oh my gosh, do you ever just get that craving? That pull for that perfect, slightly nostalgic, super crispy fast-food chicken experience? I’ve spent way too many evenings staring mournfully out the window wishing for a decent nugget, because let’s be honest, most store-bought versions are sad, floppy imitations.
Well, put down the takeout menu, because I cracked the code! This recipe for Crispy Chicken Nuggets with Honey Mustard Dip is my absolute winner. We’re talking restaurant-style texture, golden brown perfection, and a dip so good it should be illegal. The real genius here is how we treat the coating—I had to try about five different breading methods before landing on the one that guarantees crunch, even in the air fryer! If you want to grab more inspiration after you master these, you should definitely check out my main recipe archives.
I’m sharing all my hard-earned secrets today, especially how to handle that breading so it doesn’t fall off halfway through cooking. Trust me, once you see how easy it is to make truly scratch chicken nuggets, you won’t look back. I even figured out the best simple homemade sauce to go with them!
Why You Will Make These Crispy Chicken Nuggets with Honey Mustard Dip Again and Again
Look, I get it—weeknights are crazy. But these nuggets are worth the little bit of effort because they deliver on every single promise. Here’s why this Homemade Chicken Nuggets Recipe always earns a spot on our rotation:
- It’s All About the Crunch! We’re using a double-dip technique with Panko and cornflakes. If you want Golden Crispy Chicken Bites, this is how you get them. They seriously stay crunchy!
- The Perfect Partner: That homemade honey mustard dip? It’s perfectly balanced—sweet, tangy, with just a whisper of heat from the Dijon. It beats anything you can buy in a plastic tub, hands down.
- Adaptable Cooking Magic: Whether your oven needs to be on or you’re running your air fryer, I’ve got you covered. Both methods produce fantastic results for Restaurant Style Nuggets at Home.
- Kid-Approved Comfort: These are the ultimate Kid Friendly Dinner Idea. Cut them small, and they vanish instantly. Honestly, no one complains about this Easy Chicken Nugget Recipe!
- Real Flavor, Real Ingredients: You know exactly what’s coating your chicken. It feels good knowing you’re serving up quality, From Scratch Chicken Nuggets instead of mystery meat.
Essential Components for Perfect Crispy Chicken Nuggets with Honey Mustard Dip
Okay, before we get into the fun part—the breading and frying—we have to talk about what goes into these amazing Crispy Chicken Nuggets with Honey Mustard Dip. I tried this recipe with chicken thighs once because I adore dark meat, but honestly, breast meat cuts cleaner and works better for that classic nugget shape. Remember, quality ingredients are the foundation for any great **Homemade Chicken Nuggets Recipe**!
I’ve broken the list down so you aren’t scrambling mid-prep. Have everything measured out and ready to go—this is key for a smooth assembly line!
Ingredients for the Chicken Nuggets
Make sure your chicken is patted bone-dry before you even think about cutting it. Water is the enemy of crunch, plain and simple, so really give those paper towels a workout!
- 1.5 lbs boneless, skinless chicken breast, cut into 1-inch pieces
- 1 cup all-purpose flour
- 2 large eggs, beaten
- 1.5 cups panko breadcrumbs
- 0.5 cup crushed cornflakes (optional, but trust me, these give you that next-level crunch!)
- 1 teaspoon salt
- 0.5 teaspoon black pepper
- 0.5 teaspoon garlic powder
- 0.5 teaspoon paprika
- Cooking spray or oil for coating (if baking or air frying)
Ingredients for the Perfect Honey Mustard Dip
This sauce takes literally two minutes, and you won’t buy the jarred stuff again, I promise. The key here is balancing the rich mayo base with the sharp mustards and sweet honey. It’s everything you want in a **Simple Homemade Sauce**!
- 0.5 cup mayonnaise
- 0.25 cup yellow mustard
- 0.25 cup honey
- 1 tablespoon apple cider vinegar
- 0.5 teaspoon Dijon mustard
- Pinch of cayenne pepper (just a tiny shake for background warmth!)
If you want to see how I handle another sauce where balance is everything, you should check out my notes on the Best Crispy Chicken Parmesan Recipe—sauce control is important!
Step-by-Step Guide to Making Crispy Chicken Nuggets with Honey Mustard Dip
Are you ready to build these beautiful nuggets? This process is fast if you’re organized. Trust me, setting up your three breading stations correctly is the single best step you can take to avoid mess and guarantee that coating sticks perfectly. I’ve learned the hard way that preparation is everything when you’re aiming for that ideal crunch!
Preparing the Chicken and Setting Up the Breading Station
First up, we take Step One seriously: the drying process. You absolutely must pat your 1-inch chicken pieces as dry as possible using paper towels. Seriously, blot, blot, blot! Any residual moisture means your first layer of flour won’t stick properly, and that leads straight to soggy spots later. Don’t skip this!
Next, set up your triad of dishes. In the first, mix your flour with all your seasonings—salt, pepper, garlic powder, and paprika. Mix that up well with a fork. Second dish gets the beaten eggs. And the third, our crunchy paradise, gets the Panko mixed with those optional (but highly encouraged!) crushed cornflakes. Having these ready means moving the chicken through stations is quick and efficient.
Mastering the Crunchy Breading Technique
This is where we build that incredible texture. Pick up a piece of dry chicken and go right into that seasoned flour. Make sure it’s totally coated, then shake off any excess flour—we don’t want huge clumps.
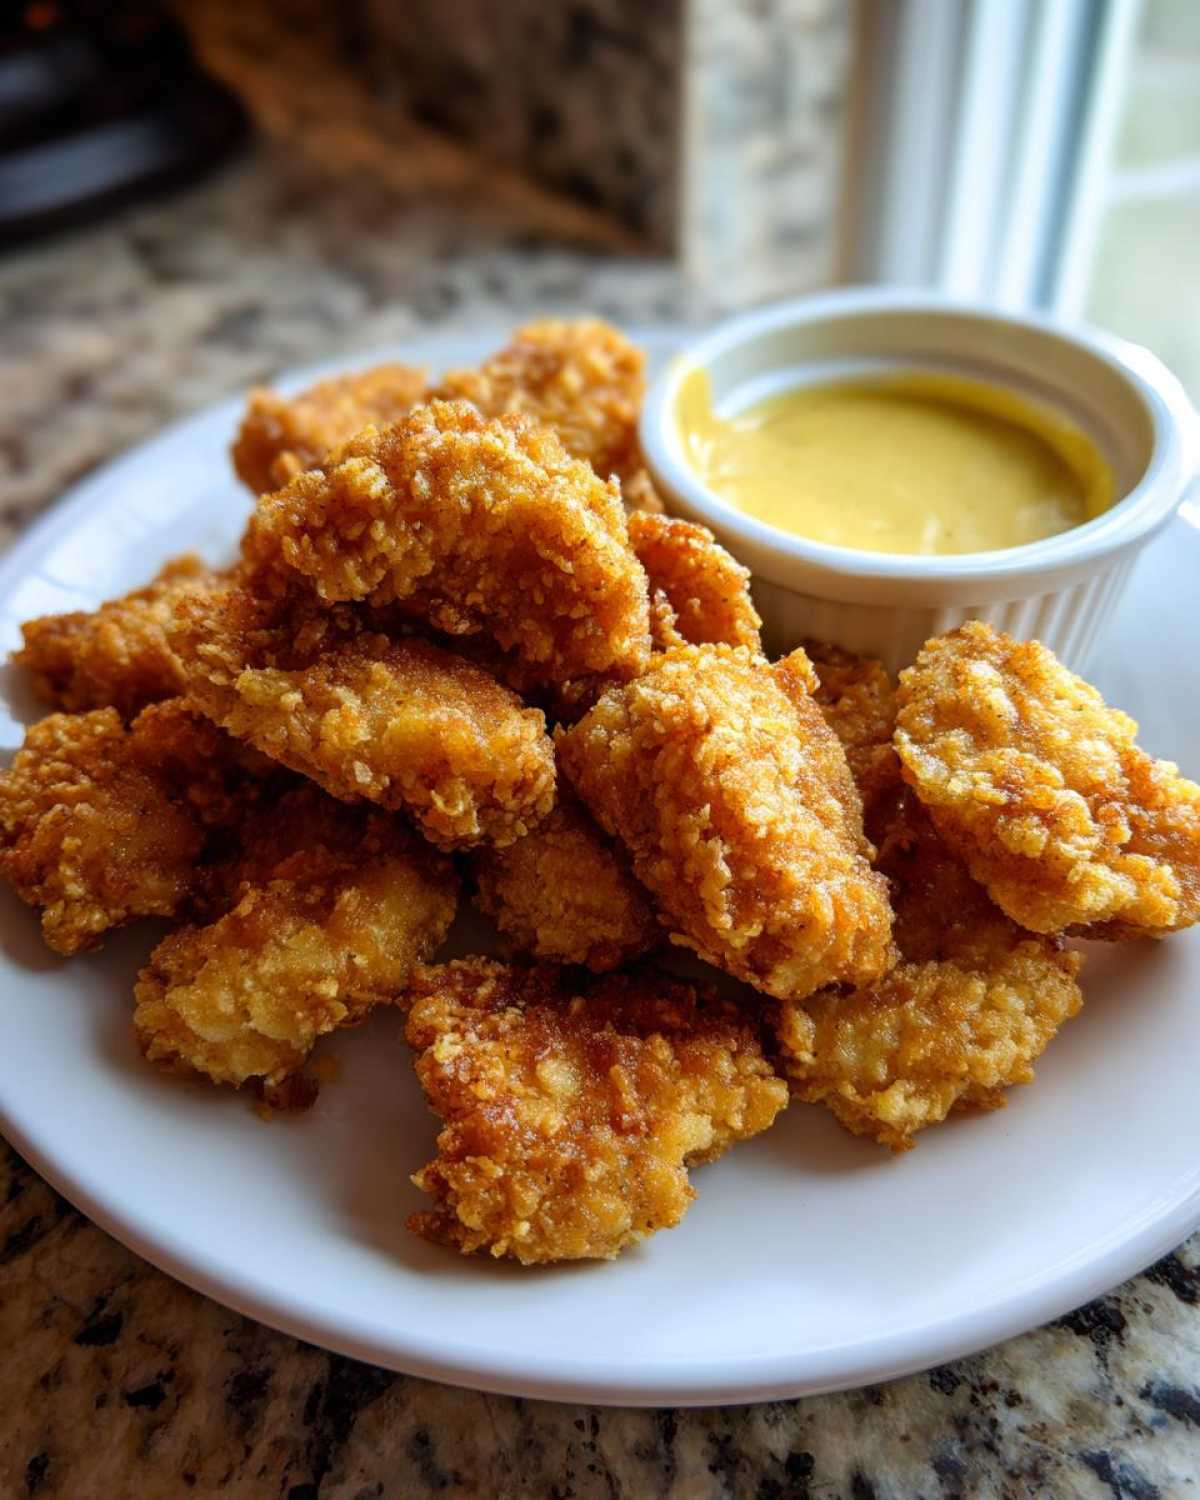
Now, dunk it into the egg wash. Let the extra drip off for a second. Then, the coating step! Press that chicken firmly into the Panko mix. You need to hear that breadcrumb sound when you press, don’t just roll it gently. For that extra-thick, restaurant-style crunch, I always go back in: Dip it back into the egg, and then press it *again* into the Panko mix. That double-dip sets you up for success!
The Crucial Rest Period for Crispy Chicken Nuggets
This is the secret weapon against sogginess that most people skip! Once all my nuggets are breaded—and they look gorgeous and bumpy—I don’t cook them right away. I lay every single one on a wire rack set on a baking sheet. Then, they go into the fridge for a solid 30 minutes, minimum.
Why rest? Because chilling allows the moisture from the egg to firm up the flour and breadcrumbs. This creates a hardened shell that adheres beautifully when it hits the heat. If you put them straight into the oven or air fryer, the breading might just flake right off into the bottom of your cooking appliance. Don’t rush the chill!
Mixing the Simple Homemade Sauce
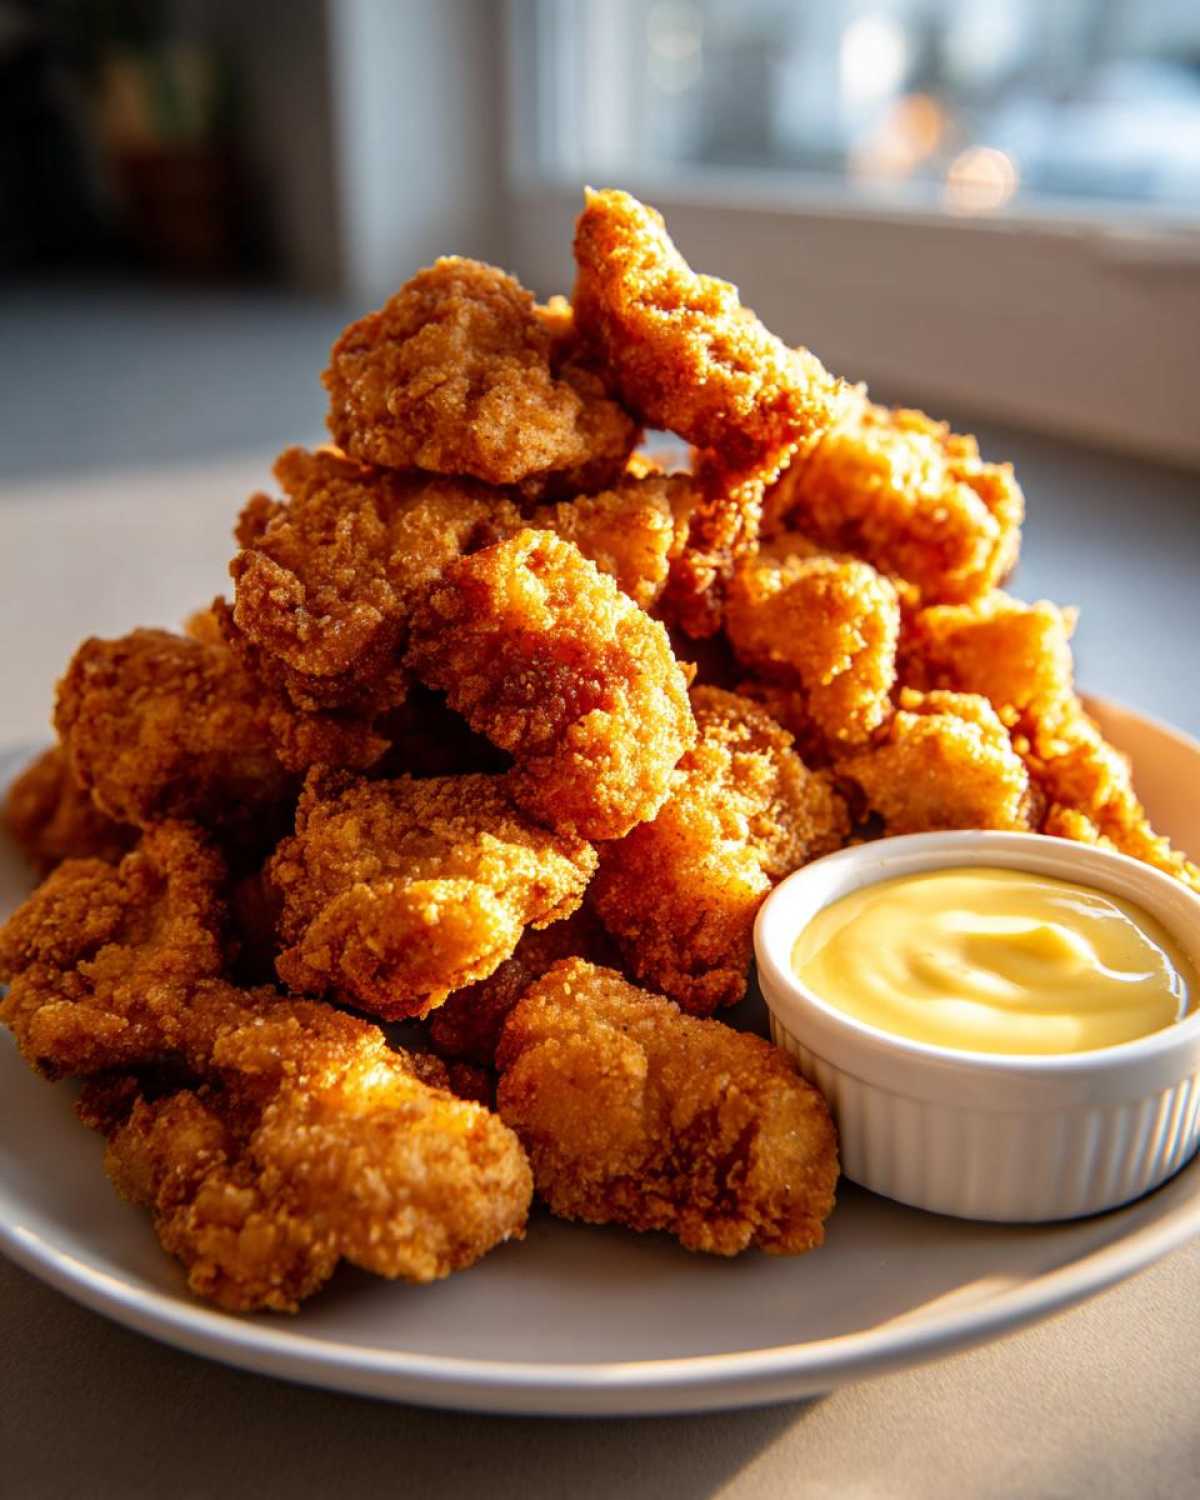
While those nuggets are getting their beauty rest, whip up that **Perfect Honey Mustard Dip**. Seriously, this is quick comfort. Just grab a bowl and whisk everything together: mayo, both mustards (yellow for base flavor, Dijon for depth), the honey for sweetness, and that little splash of apple cider vinegar for tang. Don’t forget that tiny pinch of cayenne pepper—it warms the back of your throat just enough!
Taste it for me! That’s the final step for the sauce. Does it need more zip? Add a tiny bit more vinegar. Too tart? Add a touch more honey. This **Simple Homemade Sauce** is totally customizable to your family’s preference.
I’ve got a few other great recipe links you might like if you enjoyed this simple sauce process, like my notes on making Easy Homemade Garlic Butter Recipe—simplicity is often the best!
Cooking Methods for Golden Brown Chicken Coating: Oven vs. Air Fryer
Okay, now that your nuggets are perfectly breaded and have taken their much-needed chill time, it’s time for the main event! Getting that beautiful Golden Brown Chicken Coating is easier than you think, especially since we prepped them right. You don’t need a deep fryer to get amazing results here. I’ve tested both the oven and the air fryer extensively, and honestly, both methods work like a charm for these **Best Crispy Chicken Bites**.
If you’re looking for a complete sheet-pan experience, check out my recipe for Crispy Fried Cornbread Recipe—sometimes you just need that golden, crunchy exterior!
Oven Baked Crunchy Nuggets Instructions
If you’re cooking a big batch or just prefer not hauling out the air fryer, the oven is fantastic. First things first: crank that temperature up to 400°F (200°C). High heat is your friend when you’re trying to bake something crispy!
Place your chilled, breaded nuggets on that wire rack again—keeping them off the direct pan surface is vital so air can circulate underneath. Now, don’t skip this light layer of fat! Give the tops a good but light spray of cooking spray or brush them very lightly with oil. This mimics that frying effect and really helps that Panko toast up nicely.
Pop them in the preheated oven for about 18 to 22 minutes total. The key here is flipping them about halfway through. Give them a flip, spray the other side lightly if it looks dry, and let them finish until they hit that internal temperature of 165°F and look perfectly golden.
Achieving Crispiness with Air Fryer Chicken Nuggets
If you’re making a smaller batch or want that super-fast weeknight dinner, the air fryer is the champion. Preheat yours to 380°F (195°C). Because the air fryer cooks so quickly and intensely, the temperature is slightly lower than the oven.
Gently spray your air fryer basket with oil—this prevents sticking and helps that bottom layer crisp. Lay your nuggets in a single layer. I cannot stress this enough: **Do not overcrowd the basket**! If they overlap or are crammed in there, the air can’t circulate, and you end up steaming them, which equals sogginess. We want golden, not steamed!
Cook them for 10 to 14 minutes total. Halfway through, pull the basket out, flip every nugget gently, and spray the tops again slightly. They should come out beautifully golden and textbook crispy due to that double-dipped crumb coating!
Tips for Success: Preventing Soggy Crispy Chicken Nuggets
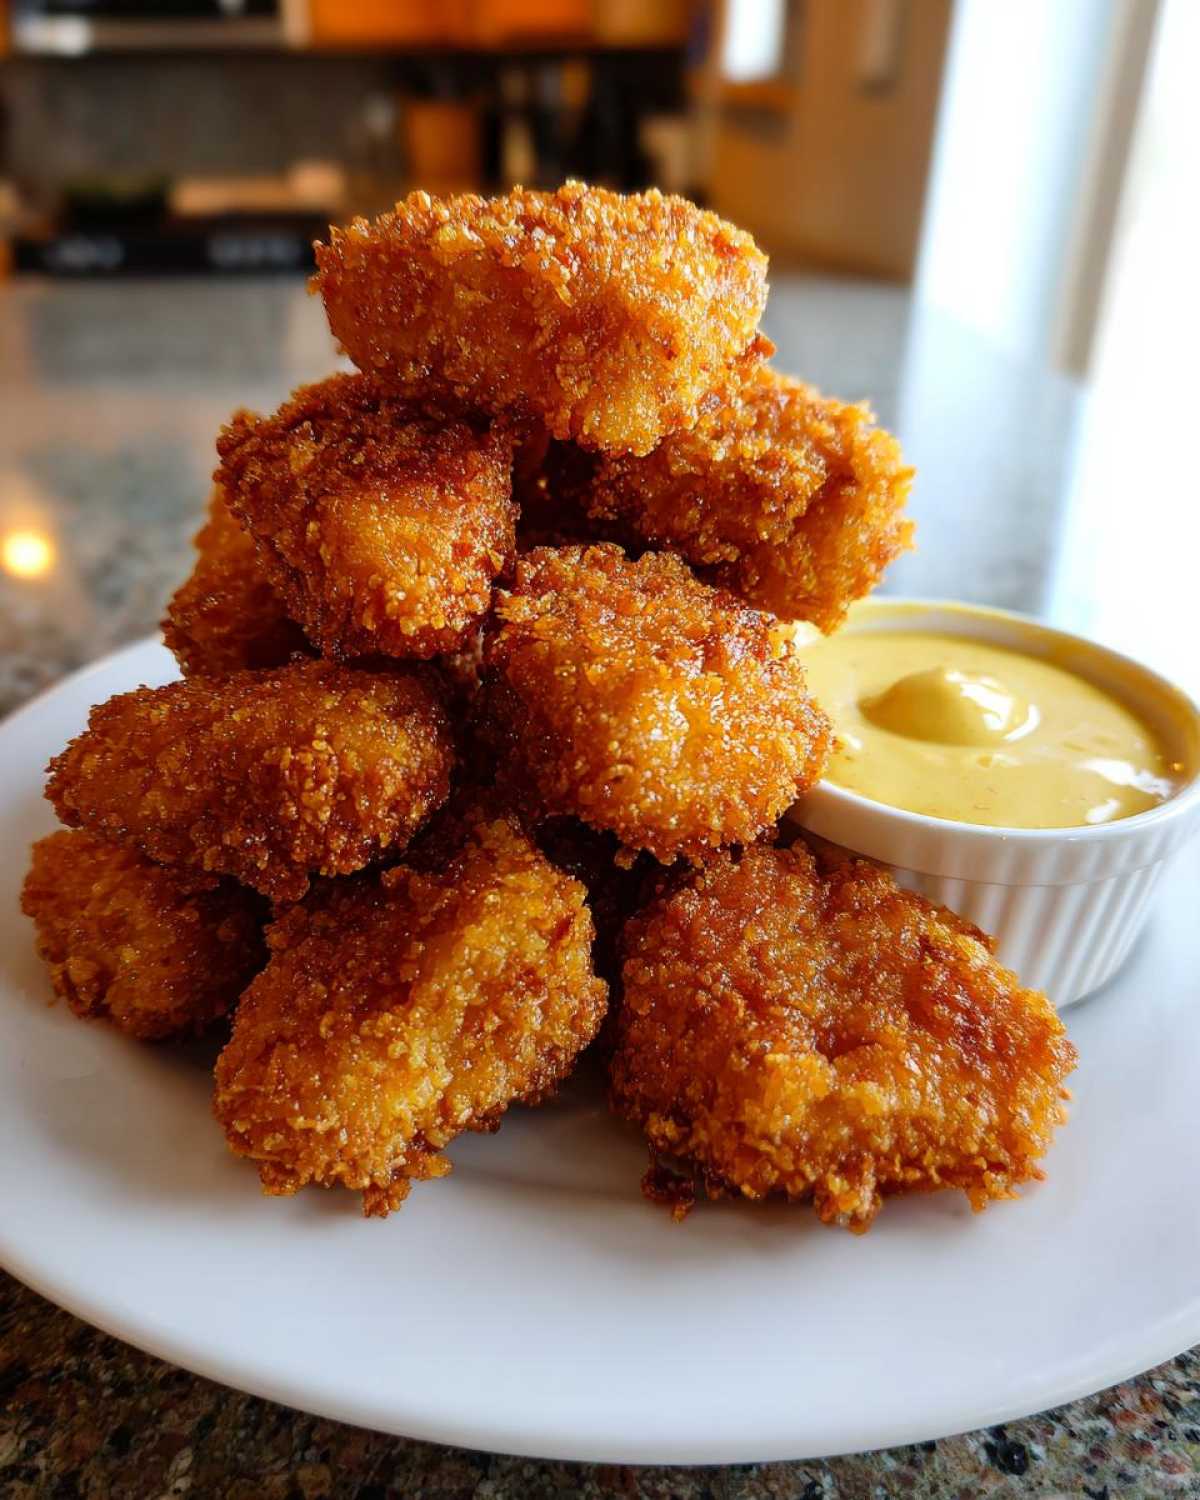
Listen, if I’ve learned anything from my years wrestling with breading, it’s that moisture control is everything. We’ve taken all the major steps—drying the chicken, double-dipping, and chilling—but let me give you the final little nuggets of wisdom to guarantee maximum crisp when you serve up these **Golden Brown Chicken Coating** beauties.
The most common mistake people make when trying to nail this is rushing the chill time. If you skip that 30 minutes in the fridge, your coating is basically fragile wet dough that falls apart the second it hits heat. That resting time is non-negotiable for truly sturdy **Crunchy Breading Technique**.
Here are a few other things I’ve learned trying to make this a **Quick Weeknight Dinner** staple:
- Don’t Cook Too Cool: Whether you’re baking or air frying, you need high heat right away. If the temperature is too low—say, 350°F in the oven—the coating sits there absorbing heat and moisture before it can set. It steams itself! Stick to 400°F for baking or 380°F for the air fryer for that immediate crisp barrier.
- Keep Them Separate: I mentioned this for the air fryer, but it matters in the oven too. If you pile the nuggets together to save time, the steam they release gets trapped between them. You end up with one massive, mushy pile instead of individual bites. Always give them personal space on that wire rack!
- The Post-Cook Rest: Yep, even after they come out golden, let them sit on the rack for about five minutes before you even think about dunking them in the sauce. This lets any residual internal steam escape without softening that lovely crust you worked so hard to create.
If you’re looking for a fresh side salad to balance out the richness of these amazing nuggets, I highly recommend my Avocado Chicken Salad Recipe (No Mayo)—it’s a great, light contrast!
Make Ahead Chicken Nuggets and Freezer Friendly Storage
I totally support making these on a Sunday afternoon because they reheat beautifully, making them perfect for easy lunches or dinner for a busy Tuesday. You asked about the best way to freeze these—and this is critical because freezing breaded raw chicken often results in a cloudy, weirdly textured coating. Don’t do that!
The trick is to fully cook your **Easy Chicken Nugget Recipe** first. Think of it like prepping for future meals when you have an extra 20 minutes. Once they are cooked golden brown and crisp, you need to pause the process before you serve them up. If you want the best result for your **Freezer Friendly Chicken Nuggets**, follow these simple steps for perfect reheating later.
First, take the fully cooked nuggets and let them cool down completely on a wire rack. Don’t put hot food directly into a freezer bag; that creates condensation, and condensation leads to ice crystals and soggy nuggets later. We want maximum crunch, remember?
Once they’re cold, lay them out in a single layer on a parchment-lined baking sheet. The parchment stops them from sticking to each other. Pop that sheet into the freezer for about an hour until they are totally solid. This is called flash freezing, and it’s the secret to keeping things separate!
After they’re frozen solid, you can dump them all into a heavy-duty freezer bag or an airtight container! To reheat, you simply put them straight from the freezer back into a 400°F oven or air fryer at 380°F. No need to thaw! They crisp right back up beautifully.
If you love making big batches of things you can freeze later, you definitely need to check out my tips for my awesome Freezer Breakfast Burritos—they save my weekends!
Serving Suggestions for Your DIY Chicken Nuggets with Dipping Sauce
Now that you have mastered the **Best Crispy Chicken Bites** and whipped up that amazing sauce, what are we serving these with? A perfect nugget deserves a perfect partner on the plate. Since these nuggets are such fantastic comfort food, I always try to balance the texture with something a little light or a classic favorite.
We definitely want something easy since we already did the heavy breading lift! Here are my top three ways to round out this **Kid Friendly Dinner Idea**:
- Crispy Sweet Potato Fries: This is my absolute favorite pairing. The natural sweetness of the sweet potato fries just sings alongside the tang of the honey mustard. They offer a different kind of crispy texture that complements the main event beautifully. If you want to try a slightly different take on sweet potato, check out how I make my Sweet Potato Hash with Eggs—it’s perfect for brunch too!
- Simple Side Slaw: You need something bright to cut through the richness of the fried coating. I just toss shredded cabbage and carrots with a super light dressing made of rice vinegar, a touch of sugar, and maybe a drizzle of sesame oil. It’s quick, it adds crunch, and it feels a little healthier!
- Classic Mac and Cheese (The Grown-Up Version): Sometimes, you just need nostalgia, right? Serve these incredible nuggets alongside a creamy, baked mac and cheese. I like to put a little extra breadcrumb topping on the mac and cheese so there’s crunch everywhere on the plate!
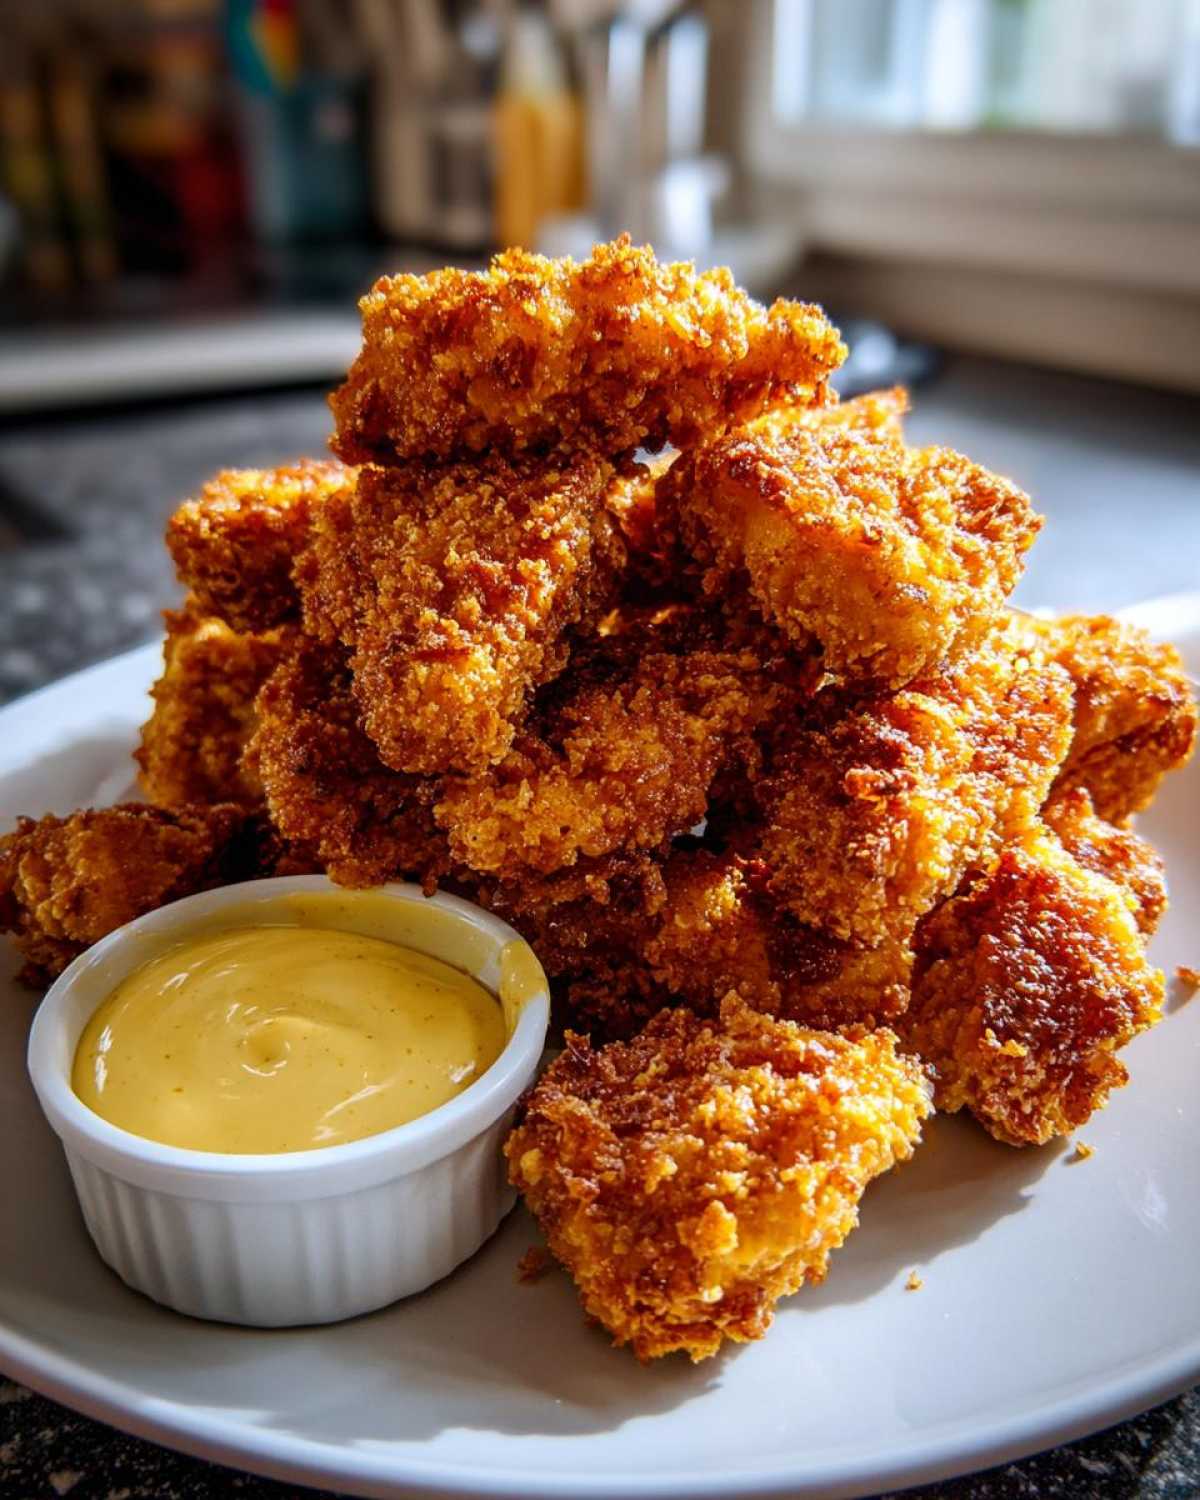
Honestly, with that incredible **Crunchy Breading Technique** locked down, these nuggets are the star, no matter what you put next to them. Enjoy making your weeknight dinner feel like a special takeout night!
Frequently Asked Questions About Crispy Chicken Nuggets
When you’re making something from scratch like these delicious nuggets, you usually have a few last-minute worries, right? I’ve pulled together the questions I get asked most often about nailing the texture and adapting the ingredients for this **DIY Chicken Nuggets with Dipping Sauce** recipe. I hope these clear up any lingering doubts so you can get cooking!
Can I use chicken thighs instead of breasts for these nuggets?
That’s a great question! You absolutely can use boneless, skinless chicken thighs. If you prefer dark meat, go for it! Thighs are naturally more tender and forgiving, which makes them hard to overcook. The drawback is that they are a bit softer than breast meat before cooking, so make sure you still cut them into uniform 1-inch pieces and follow the pat-dry process religiously. They might cook just a minute or two faster than the breasts, so keep an eye on them!
What if I don’t have Panko breadcrumbs? Can I still get a crispy result?
If you’re baking or air frying, Panko is definitely the superior choice because those flakes are lighter and larger, leading to a crispier surface area. However, if you’re out, don’t panic! You can use regular fine breadcrumbs, but you must do the double-dip process twice, not just once, to build up a decent crust. And for the best texture possible without Panko, crush up some high-quality crackers—like saltines or Ritz—instead of using cornflakes!
How can I make this a healthier chicken nuggets alternative?
I love that you’re thinking about making this a **Healthy Chicken Nuggets Alternative**! The biggest win here is skipping the deep fryer entirely, which we already do since we’re using the oven or air fryer. To boost the health factor, you can swap out the all-purpose flour with whole wheat flour in your dredge station. Also, if you want to cut fat and sodium, reduce the amount of salt you add during the seasoning phase. Keep the Panko mixture, though—that’s essential for the texture!
Can I make the honey mustard dip ahead of time?
You bet! The **Perfect Honey Mustard Dip** is actually better if you make it ahead of time. I usually mix it up the night before. As the flavors sit together—especially the vinegar, honey, and mustards—they meld and deepen. Just store it in an airtight container in the fridge, and give it a quick whisk before serving. It’s ready whenever you are!
If you’re looking for other make-ahead ideas that save time during the week, you might find my guide on the Easy Crockpot Beef Stew Recipe helpful for future planning!
Estimated Nutritional Data for Crispy Chicken Nuggets
Okay, so we made these **Crispy Chicken Nuggets with Honey Mustard Dip** for maximum flavor and crunch, not necessarily for a diet plan! But I know you’re curious about what you’re putting into your body, especially if you’re serving these up as a Kid Friendly Dinner Idea.
The numbers below are just my best estimate based on the exact ingredients listed in the recipe above—that is, 5 nuggets per serving, using the air fryer or oven method (not deep-fried, thank goodness!). Nutrition facts can swing wildly based on the exact brands of mayo or honey you use, so take this as a great guideline for your **Restaurant Style Nuggets at Home** rather than a gospel guarantee. If you want to see how I track nutrition for totally different style meals, take a peek at my notes on the Easy White Chicken Enchiladas Recipe!
Here’s the breakdown for about five average-sized nuggets, served with a small portion of that **Perfect Honey Mustard Dip**:
- Serving Size: 5 nuggets
- Calories: 350
- Protein: 24g (That’s great protein from the chicken!)
- Fat: 18g
- Saturated Fat: 3g
- Unsaturated Fat: 15g (We’re getting some good fats from the mayo/oil!)
- Carbohydrates: 25g
- Sugar: 12g (Mostly from that glorious honey in the dip!)
- Fiber: 1g
- Sodium: 450mg
- Cholesterol: 90mg
- Trans Fat: 0g (Hooray for homemade control! Zero trans fats here.)
I always feel better about comfort food when I know exactly where those numbers are coming from. Enjoy every single crunchy, delicious bite!
PrintCrispy Chicken Nuggets with Honey Mustard Dip
Make restaurant-style crispy chicken nuggets at home using a double-dip breading technique. This recipe includes instructions for both oven baking and air frying, paired with a balanced homemade honey mustard sauce.
- Prep Time: 20 min
- Cook Time: 20 min
- Total Time: 50 min
- Yield: 4 servings
- Category: Dinner
- Method: Baking/Air Frying
- Cuisine: American
- Diet: Low Fat
Ingredients
- 1.5 lbs boneless, skinless chicken breast, cut into 1-inch pieces
- 1 cup all-purpose flour
- 2 large eggs, beaten
- 1.5 cups panko breadcrumbs
- 0.5 cup crushed cornflakes (optional, for extra crunch)
- 1 teaspoon salt
- 0.5 teaspoon black pepper
- 0.5 teaspoon garlic powder
- 0.5 teaspoon paprika
- Cooking spray or oil for coating
- For the Honey Mustard Dip:
- 0.5 cup mayonnaise
- 0.25 cup yellow mustard
- 0.25 cup honey
- 1 tablespoon apple cider vinegar
- 0.5 teaspoon Dijon mustard
- Pinch of cayenne pepper
Instructions
- Prepare the chicken: Pat the chicken pieces very dry with paper towels. This step helps the breading adhere and promotes crispiness.
- Set up the breading station: Place flour seasoned with salt, pepper, garlic powder, and paprika in one shallow dish. Place the beaten eggs in a second dish. Mix the panko breadcrumbs and crushed cornflakes (if using) in a third dish.
- Bread the chicken: Dredge each chicken piece first in the seasoned flour, shaking off excess. Dip into the egg mixture, letting excess drip off. Finally, press firmly into the breadcrumb mixture to coat completely. For extra crispiness, repeat the egg and breadcrumb dip (double-dip).
- Chill the nuggets: Place the breaded nuggets on a wire rack set over a baking sheet. Refrigerate for at least 30 minutes. This helps the coating set.
- Make the dip: Whisk together all honey mustard dip ingredients until smooth. Taste and adjust sweetness or tanginess as desired.
- Cook the nuggets (Oven Method): Preheat oven to 400°F (200°C). Lightly spray the nuggets with cooking spray or brush with oil. Bake for 18-22 minutes, flipping halfway, until golden brown and cooked through (internal temperature 165°F).
- Cook the nuggets (Air Fryer Method): Preheat air fryer to 380°F (195°C). Lightly spray the basket. Cook the nuggets in a single layer, spraying the tops lightly with oil. Cook for 10-14 minutes, flipping halfway, until golden and crisp. Do not overcrowd the basket.
- Serve immediately with the homemade honey mustard dip.
Notes
- For the crispiest results, use Panko breadcrumbs. Do not skip chilling the breaded nuggets before cooking.
- If you plan to freeze leftovers, cook them fully first, cool completely, then freeze on a baking sheet before transferring to a freezer bag. Reheat in the oven or air fryer.
- To adapt for a healthier version, use whole wheat flour and skip the cornflakes.
Nutrition
- Serving Size: 5 nuggets
- Calories: 350
- Sugar: 12
- Sodium: 450
- Fat: 18
- Saturated Fat: 3
- Unsaturated Fat: 15
- Trans Fat: 0
- Carbohydrates: 25
- Fiber: 1
- Protein: 24
- Cholesterol: 90