

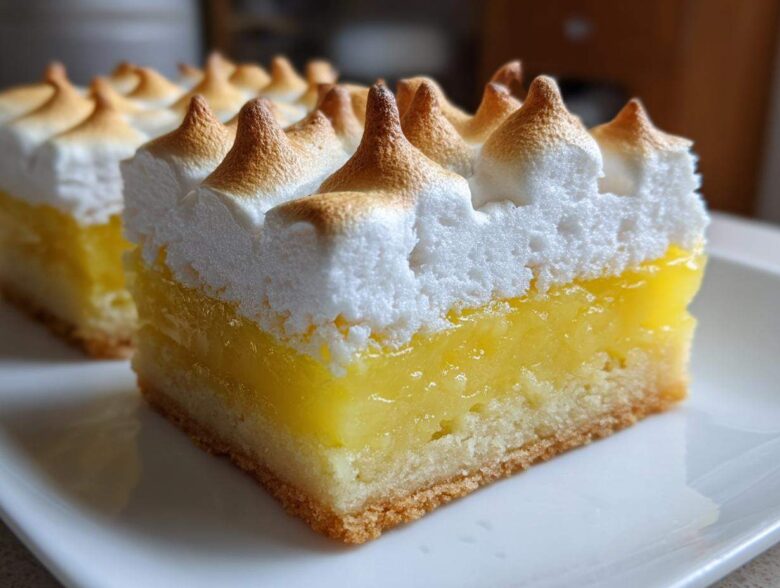
Oh my goodness, I adore meringue almost as much as the next person, but wrestling a classic round Lemon Meringue Pie out of the tin and slicing it without the topping sliding off? A nightmare! That’s why I moved the battleground to the 9×13 pan and invented these Ultimate Lemon Meringue Pie Bars. Seriously, these bars are my secret weapon for picnics, potlucks, and late-night snacks.
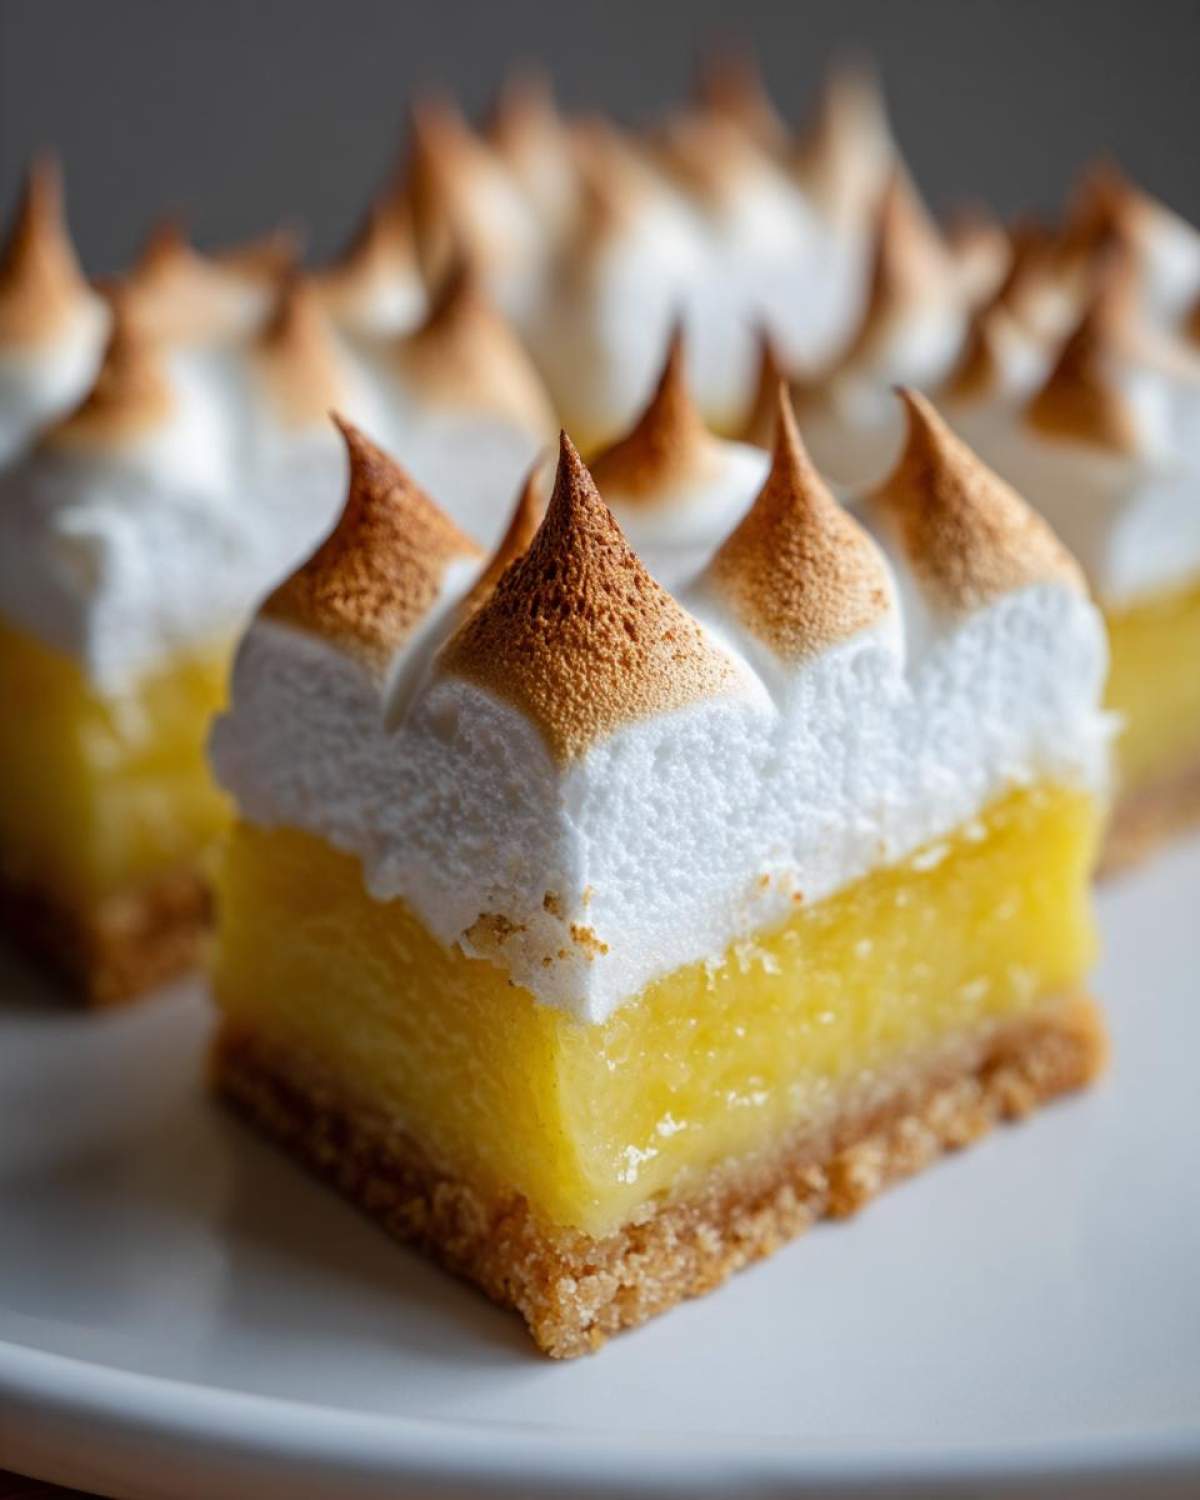
Forget fancy pie servers; these are perfectly structured, portable dessert squares. We get that satisfyingly buttery shortbread crust, that vibrant, eye-wateringly tangy lemon filling, and that cloud of perfectly toasted meringue, all in a neat, easy-to-handle package. Trust me when I say, once you master the structure of these bars, you won’t look back. They’re the epitome of convenience without sacrificing an ounce of that incredible sweet-and-tart flavor.
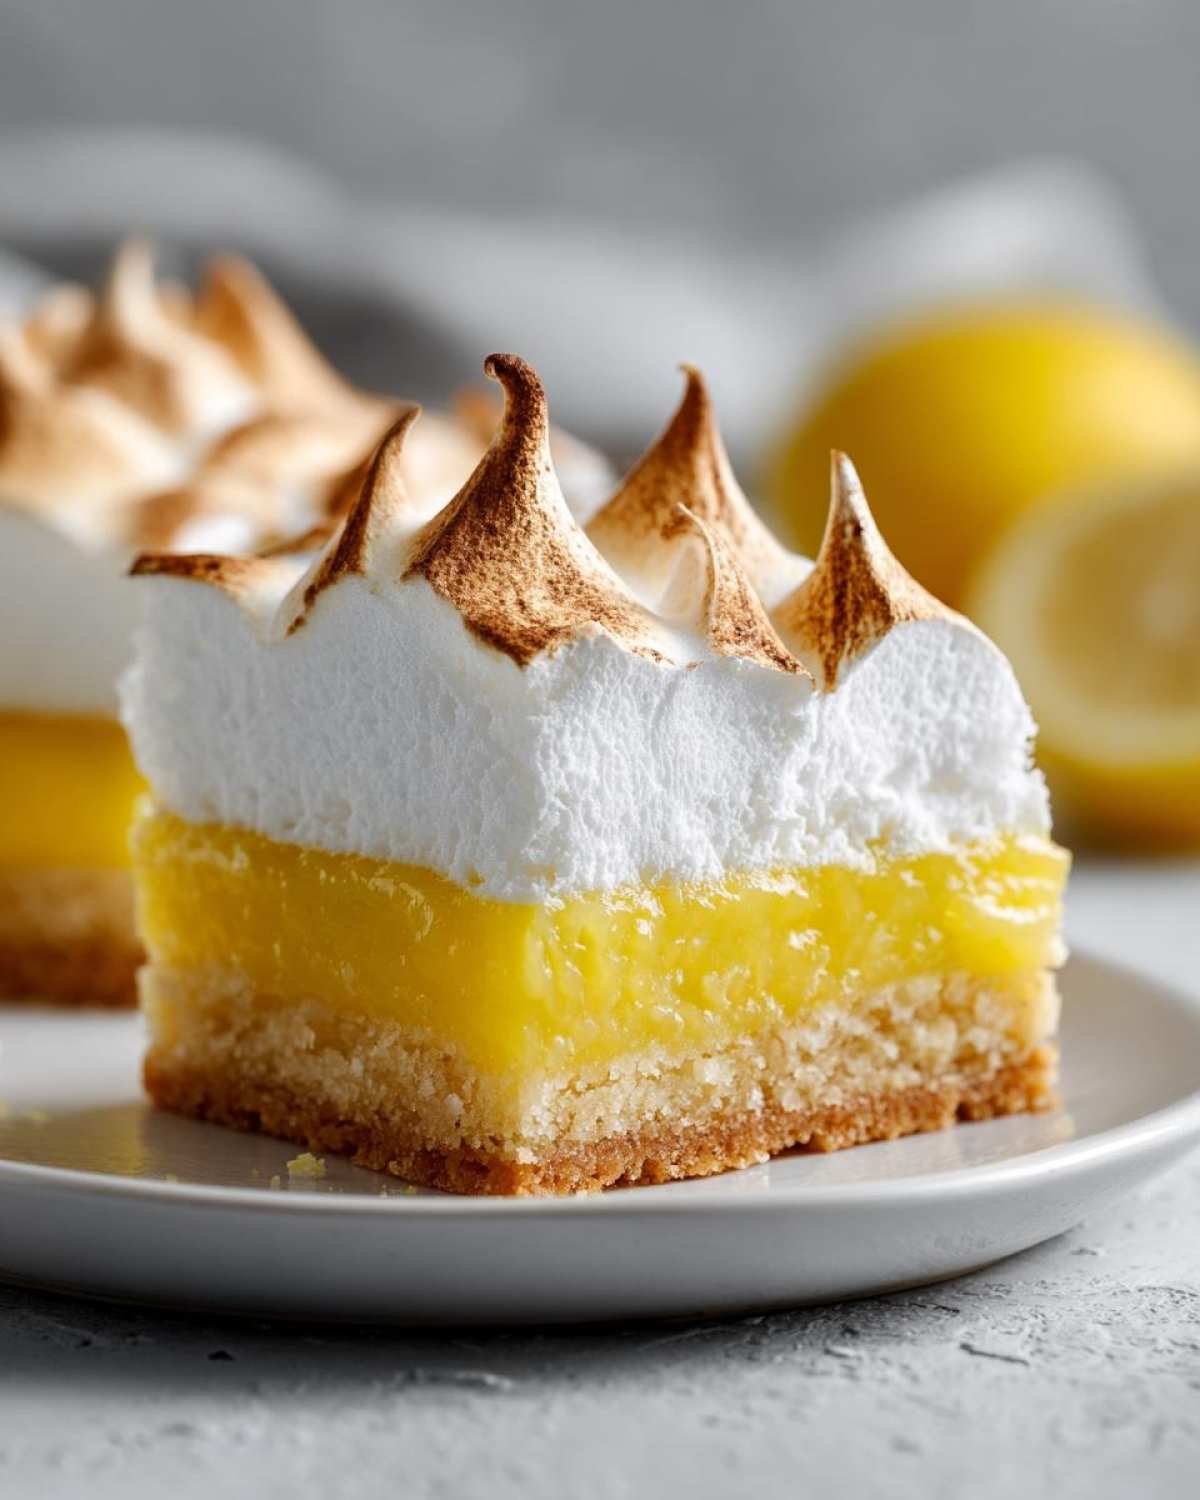
Why You Will Love These Ultimate Lemon Meringue Pie Bars
I’m not kidding when I say these bars make dessert simple. They take all the drama out of a traditional pie and give you something amazing to serve. You’ll want to make this recipe again and again!
- Perfect Portability: Since these are cut into squares, they are the ultimate Portable Lemon Meringue Dessert. Pack them up without worrying about squishing your gorgeous filling!
- Balance of Flavors: The ratio of buttery shortbread crust to that mouth-puckering lemon layer is just magnificent. They hit that perfect sweet and tart note every single time.
- Easy Serving: Cleanup is a breeze! You just lift the whole thing out using the parchment paper overhang we used. No messy pie dish to scrub.
- Shelf Stability (for a Meringue!): Because the meringue is baked directly onto the curd layer, these Lemon Meringue Pie Bars hold up way better than a standard pie sitting on the counter.
Gathering Ingredients for Perfect Lemon Meringue Pie Bars
Okay, so for these bars to reach their full potential as the *Best Lemon Meringue Bar Recipe* out there, we have to be picky about what we toss into the bowl.
First up is the crust. For that incredible Shortbread Crust Lemon Bars Recipe feel, you need 1 1/2 cups of flour, 1/2 cup of powdered sugar for smoothness, and just a pinch of salt. But the star here is the butter: grab 1/2 cup of cold, unsalted butter and make sure it’s cubed small!
Next is the lemon filling—this is where the magic happens. You need 1 1/2 cups of sugar, the 1/4 cup of flour again, and those 4 egg yolks. Please, please use fresh juice! Measure out that 1/2 cup of fresh lemon juice; it makes the flavor pop for your Bright Lemon Filling Recipe for Bars. A couple of tablespoons of butter go in at the end for richness.
Finally, the meringue topping is simple but needs pure ingredients. We’re using 4 egg whites (save those yolks for custards!), 1/2 teaspoon of cream of tartar, and the last 1/2 cup of granulated sugar for stiffness.
Step-by-Step Guide to Making Lemon Meringue Pie Bars
Alright, this is where the assembly happens! Don’t panic; we take it layer by layer. We’re going completely sheet pan style, so preheat your oven to 350°F (175°C). Make sure you line that 9×13 inch pan with parchment paper, letting it hang over the sides. That overhang is your best friend later, promise!
Creating the Buttery Crust Lemon Dessert Base
First things first, we tackle the Buttery Crust Lemon Dessert base. Mix your flours and powdered sugar, then cut in that cold, cubed butter until it truly looks like coarse crumbs—think sand, not wet dough. Press it firmly into the bottom of your prepared pan. Pop that into the oven for about 15 to 18 minutes until the edges look just barely golden. We want it set, but not deeply browned.
Cooking the Bright Lemon Filling Recipe for Bars
While the crust cools slightly, get your filling going in a saucepan. Whisk together your sugar, flour, lemon juice, and those egg yolks until you have a smooth mixture. Now, this part takes attention: cook it over medium heat, stirring non-stop! You’re looking for it to thicken so it coats the back of a spoon—that’s your signal. Stop cooking right before it boils, seriously! Stir in that last bit of butter until it melts, and pour that gorgeous, hot, Bright Lemon Filling Recipe for Bars right over that warm crust. Bake it again for just 10 minutes.
How to Make Meringue on Bars That Stays Stable
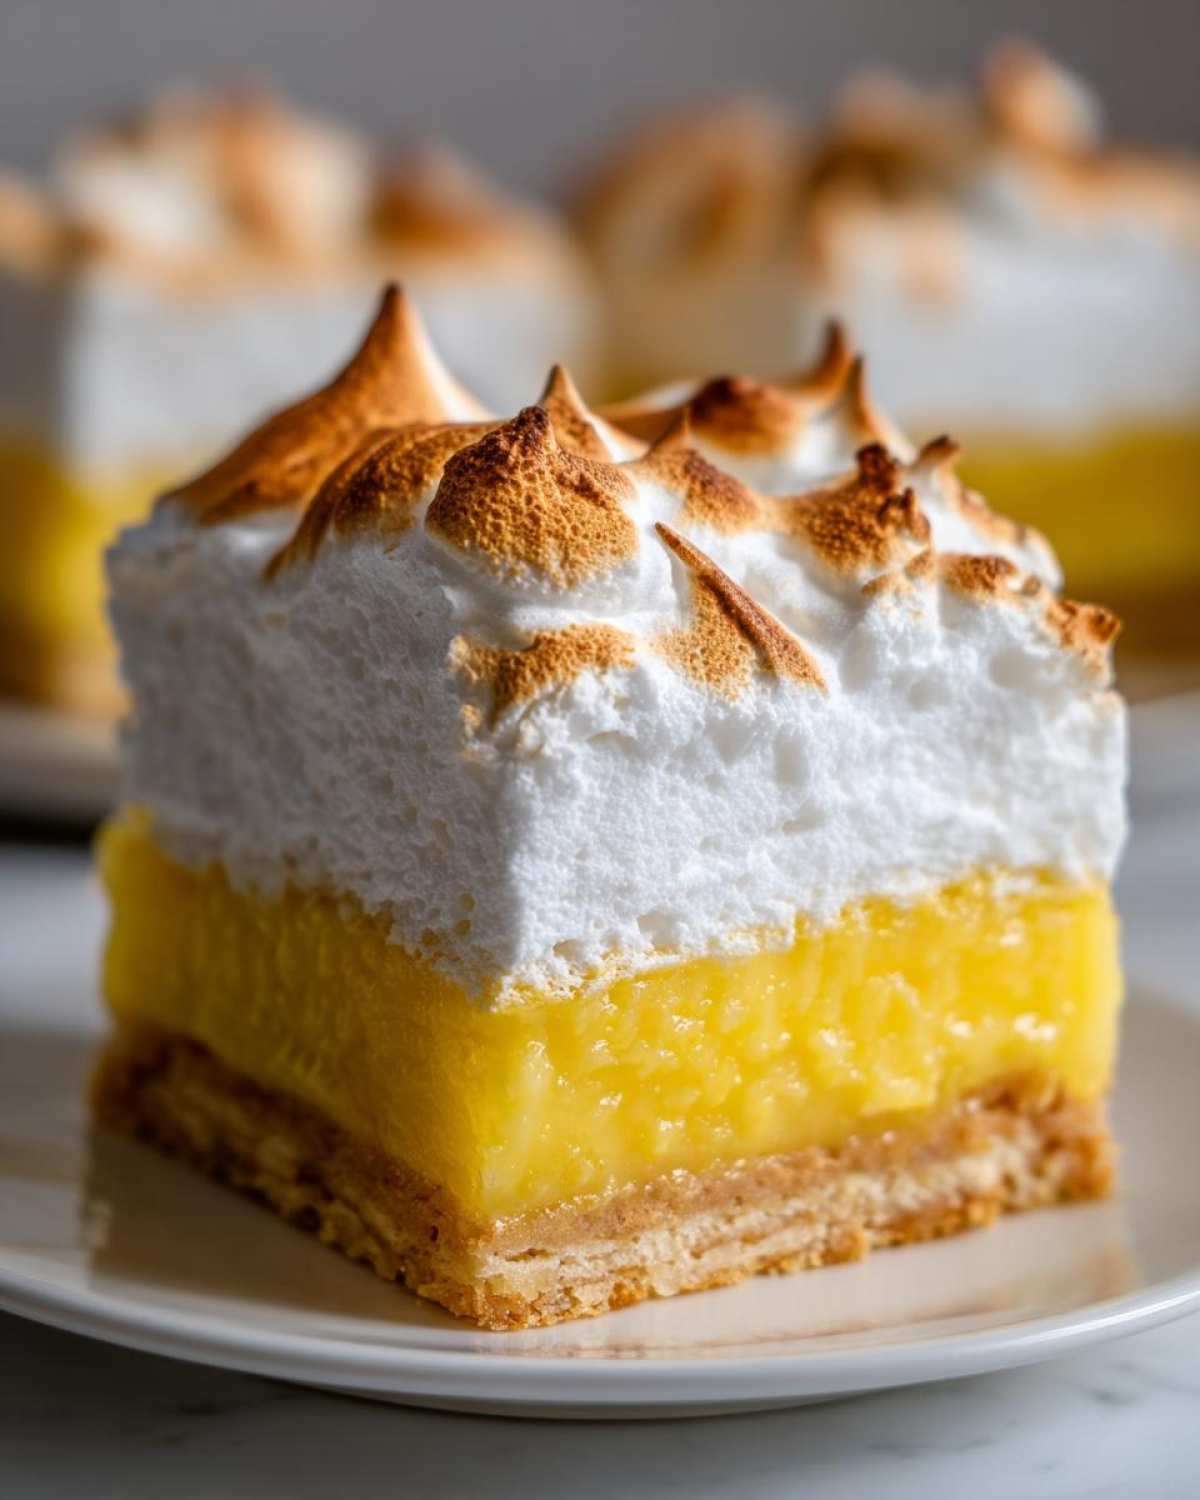
This is the delicate part, so listen up! For the best How to Make Meringue on Bars that holds its shape, your bowl MUST be spotless and grease-free. Beat those egg whites and cream of tartar until they get soft peaks. Then, slowly drizzle in that last half cup of sugar while the mixer is running. Keep going until you have stiff, glossy peaks. Spread that sweet cloud over the warm lemon layer, and here’s the secret for stability: make sure you seal the meringue all the way to the edges of the crust. This prevents it from shrinking weirdly as it bakes! Bake for another 10-12 minutes until lightly toasted, or you can cheat with a kitchen torch!
Tips for Success with Your Lemon Meringue Pie Bars
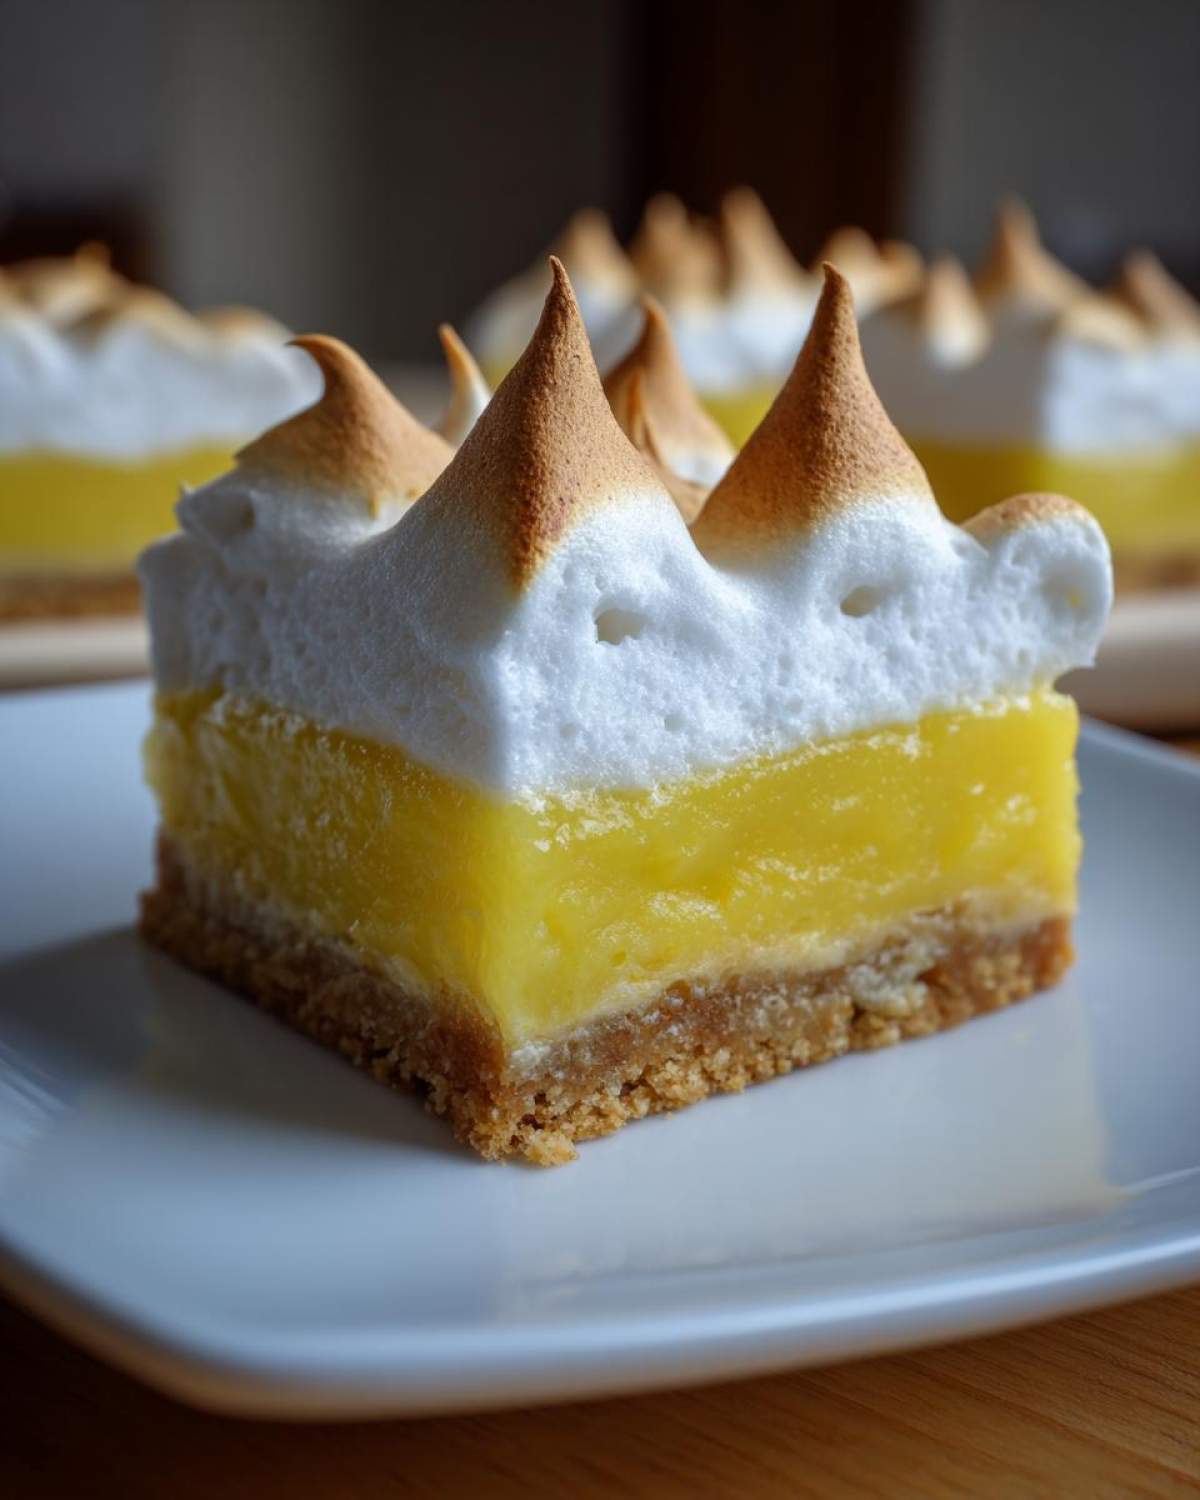
You’ve got the layers in place, but a few small things can make these bars go from great to legendary, earning them the title of the Best Lemon Meringue Bar Recipe. First, don’t rush the crust bake. If it’s too pale, it will get soggy under that heavy lemon layer. Keep an eye on those edges!
When it comes to the meringue, I learned the hard way that if you torch it too quickly, the meringue can deflate right after it cools. My first batch looked like sad, deflated marshmallows because I rushed the toasting! Now, I prefer baking it softly until it’s just pale gold. If you love that deep brown, use the torch last, right before serving, or just briefly wave it over the top for a minute so it doesn’t panic.
And please, let them cool completely—like, three hours minimum—before you even think about cutting them. That resting time is crucial for setting up that bright lemon custard so you get clean squares!
Making Lemon Bars with Meringue Ahead of Time
One of my absolute favorite things about these Make Ahead Lemon Bars is how forgiving they are. You want to plan ahead? You totally can! I usually bake the crust and let it cool completely—like, until it’s room temperature—before pouring on the lemon filling. This keeps the bottom nice and crisp.
You can absolutely manage the crust and the filling a day ahead of time! Once the lemon layer is poured onto the baked crust, you should probably stick the whole thing, uncovered, into the fridge to chill for at least an hour. This really helps that bright lemon layer firm up before the meringue goes on, which is key for clean cuts later.
The meringue, though? That’s mostly a game-day decision. Meringue is a delicate little flower, and it loves to weep or get soggy if it sits too long, especially in the fridge. My advice for the best possible result is to bake the crust and filling, let them cool, and then make the meringue fresh so you can bake it right before you plan to serve them.
But if you absolutely must assemble the whole thing the day before—say, for a big brunch—assemble everything, bake the meringue, and then chill them immediately. The most important thing is the cooling time before cutting. After that final bake, those bars need at least three solid hours at room temperature, or even better, popped in the fridge for two more hours, until they are totally firm. Don’t try to slice warm bars; you’ll just smear meringue everywhere and get sad, gooey pieces instead of perfect squares!
Variations for Tangy Lemon Dessert Bars
While this recipe is truly perfect for classic lemon lovers, sometimes you just want to switch things up a little bit, right? These ultimate Tangy Lemon Dessert Bars handle a little shake-up beautifully because the structure is so solid. It’s all about small tweaks that generate big flavor differences.
My favorite easy swap involves the crust. If you want a little extra brightness right from the base—which really complements that tart filling—try zesting one whole lemon directly into your flour and sugar mixture before you cut in the cold butter. It smells absolutely incredible when that crust starts baking!
If you’re feeling really adventurous, though, you can turn these into a mixed citrus experience. Swap out the 1/2 cup of lemon juice for a combination! Maybe try 1/4 cup lemon juice and 1/4 cup fresh lime juice. That adds a wonderful, vibrant kick that pairs great with the sweet meringue. You could even use orange juice in place of some of the lemon for a sweeter, softer tart flavor. Just make sure your total liquid measurement stays the same!
One thing to remember if you play with the citrus: always taste the filling before you bake it the second time. Different fruits require slightly different amounts of sugar to balance the sourness. A little taste test ensures your Sweet and Tart Lemon Squares are perfectly balanced for your palate!
Storage and Reheating Instructions for Portable Lemon Meringue Dessert
Now that you’ve wrestled a beautiful pan of these Lemon Meringue Pie Bars into submission, we need to talk about how to keep that gorgeous meringue happy. Because we have that custard-like lemon layer underneath, these aren’t like standard cookies resting on the counter.
These bars absolutely need to be stored in the refrigerator. Don’t even try to leave them out overnight! Once they are completely cooled—and I mean totally, stone-cold set after their 3-hour chill—you should carefully lift them out of the pan using that parchment paper sling and place them into an airtight container. Make sure you put a sheet of wax paper or parchment between the layers if you stack them, especially since that meringue top likes to grab onto things!
They’ll last happily in the fridge for about three or four days, which is fantastic for a make-ahead dessert. The cold helps the lemon filling stay firm, which keeps the whole bar solid, making it the perfect Portable Lemon Meringue Dessert for lunch boxes or picnics, provided you keep them cool.
Reheating? Well, that’s tricky with meringue! Honestly, I would never reheat these, and my family never does. They are designed to be eaten chilled or allowed to sit out for just 15 minutes before serving so they aren’t ice-cold. Heating them up means the meringue will just start releasing moisture, and you’ll get that dreaded weeping. Unless you’re aiming for a campfire-style toasted top (which you can do with a torch!), just serve them straight from the fridge!
Frequently Asked Questions About Sheet Pan Lemon Meringue Dessert
It’s totally normal to have questions when you’re trying out a big dessert like this for the first time, especially when dealing with that temperamental meringue layer. I’ve gathered up all the big hitters from my own baking journey to help you nail these Sheet Pan Lemon Meringue Dessert squares!
Can I use a different size pan for these Lemon Meringue Pie Bars?
You absolutely can try, but I really push the 9×13 pan for a reason! That size gives you the perfect surface area for the crust to bake evenly and keeps the layers thin enough so the lemon filling sets beautifully. If you use a smaller pan, say an 8×8 inch, you’ll have much thicker layers. This means you’ll have to drastically increase your baking times, and frankly, that thick lemon layer might not set properly before the meringue burns. Smaller pan, riskier bake! For the best stability and that clear separation between crust, filling, and topping, stick to the 9×13!
Why is my meringue weeping or separating?
Ugh, weeping meringue is the worst! It’s usually one of two culprits, and I speak from experience here. First, make sure you let the lemon filling cool off just a little bit before you top it with the meringue. If the lemon layer is boiling hot, the air trapped in the meringue will try to escape, leading to big puddles underneath. Second, and this is crucial for E-E-A-T, were your egg whites perfectly clean? Even a speck of grease or yolk prevents those stiff, glossy peaks from forming. If the sugar isn’t fully beaten in, the meringue is weak. You need to beat it until those peaks stand straight up—just like when you’re making meringue cookies—showing off that beautiful shine!
Nutritional Snapshot of Sweet and Tart Lemon Squares
Okay, I know most of us aren’t exactly baking these for health reasons—they are dessert, after all! But since you asked for the full picture on these wonderful Sweet and Tart Lemon Squares, here is a rough breakdown based on the ingredients we used. Remember, these are just estimates because homemade baking is never perfectly standardized!
When you divide the whole pan into 24 bars, here’s what you are looking at per serving:
- Calories: About 210
- Sugar: Around 22g (That’s the lemon and the meringue fighting it out!)
- Fat: Roughly 11g
- Protein: About 3g
- Carbohydrates: Around 28g
You’ll see a little bit of saturated fat there from all that glorious butter in the shortbread crust, but honestly, every bite is worth it. Treat yourself! These aren’t meant to be an everyday snack, they are a show-stopping centerpiece for a party, and that’s how I look at them!
PrintUltimate Lemon Meringue Pie Bars with Toasted Meringue Topping

Make portable lemon meringue pie bars featuring a buttery shortbread crust, a bright lemon filling, and a stable, toasted meringue topping.
- Prep Time: 25 min
- Cook Time: 45 min
- Total Time: 70 min
- Yield: 24 bars
- Category: Dessert
- Method: Baking
- Cuisine: American
- Diet: Vegetarian
Ingredients
- 1 1/2 cups all-purpose flour
- 1/2 cup powdered sugar
- 1/4 teaspoon salt
- 1/2 cup (1 stick) cold unsalted butter, cubed
- 1/4 cup granulated sugar (for filling)
- 1/4 cup all-purpose flour (for filling)
- 1 1/2 cups granulated sugar (for filling)
- 1/2 cup fresh lemon juice
- 4 large egg yolks
- 2 tablespoons unsalted butter (for filling)
- 4 large egg whites
- 1/2 teaspoon cream of tartar
- 1/2 cup granulated sugar (for meringue)
Instructions
- Preheat your oven to 350°F (175°C). Line a 9×13 inch baking pan with parchment paper, leaving an overhang on the sides for easy removal.
- Prepare the crust: In a medium bowl, whisk together 1 1/2 cups flour, 1/2 cup powdered sugar, and salt. Cut in the cold butter using a pastry blender or your fingers until the mixture resembles coarse crumbs.
- Press the crust mixture evenly into the bottom of the prepared pan. Bake for 15 to 18 minutes, or until the edges are lightly golden. Remove from the oven and set aside.
- Prepare the lemon filling: In a medium saucepan, whisk together 1/4 cup flour, 1 1/2 cups sugar, lemon juice, and egg yolks until smooth.
- Cook the filling over medium heat, stirring constantly, until the mixture thickens enough to coat the back of a spoon, about 8 to 10 minutes. Do not boil.
- Remove the filling from the heat and stir in 2 tablespoons of butter until melted and incorporated.
- Pour the hot lemon filling evenly over the warm baked crust. Return the pan to the oven and bake for 10 minutes. Remove and let cool slightly while you prepare the meringue.
- Prepare the meringue: In a clean, grease-free bowl, beat the 4 egg whites and cream of tartar with an electric mixer until soft peaks form. Gradually add 1/2 cup sugar, beating until stiff, glossy peaks form.
- Spread the meringue over the warm lemon layer, making sure to seal the meringue to the edges of the crust to prevent shrinking.
- Bake for an additional 10 to 12 minutes, or until the meringue is lightly golden brown. Alternatively, use a kitchen torch to brown the meringue to your liking.
- Let the bars cool completely in the pan on a wire rack for at least 3 hours before lifting them out using the parchment paper overhang and cutting into squares.
Notes
- For a tangier filling, increase the lemon juice by one tablespoon.
- Use fresh lemon juice for the best flavor in the filling.
- Ensure your mixing bowl is completely clean and dry when making the meringue to achieve stiff peaks.
Nutrition
- Serving Size: 1 bar
- Calories: 210
- Sugar: 22g
- Sodium: 45mg
- Fat: 11g
- Saturated Fat: 6g
- Unsaturated Fat: 5g
- Trans Fat: 0g
- Carbohydrates: 28g
- Fiber: 0.5g
- Protein: 3g
- Cholesterol: 55mg