

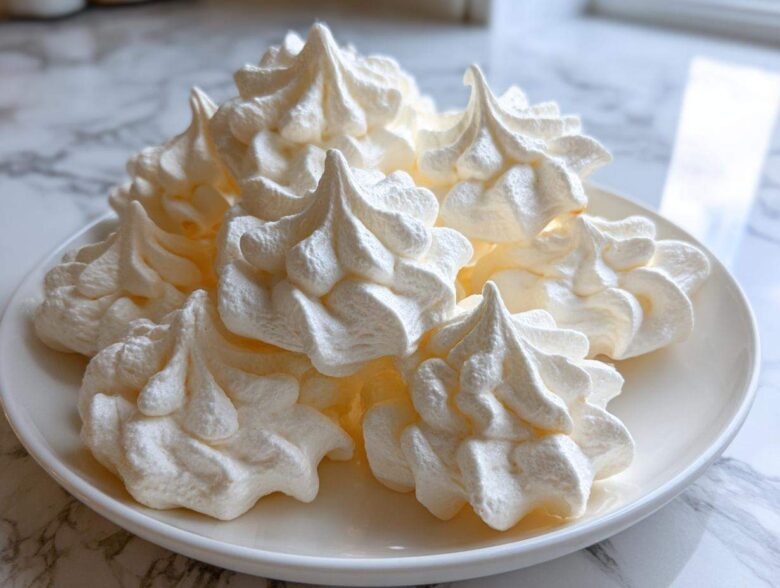
Oh my goodness, if there’s one thing I absolutely adore making that feels like pure magic, it’s a dessert that is almost entirely air! Forget those dense, fussy bakes; we’re talking about something that dissolves the second it hits your tongue. I spent years fighting with my egg whites, getting soupy messes instead of those stunning, crisp peaks. Seriously, I almost gave up on making meringue cookies more times than I can count!
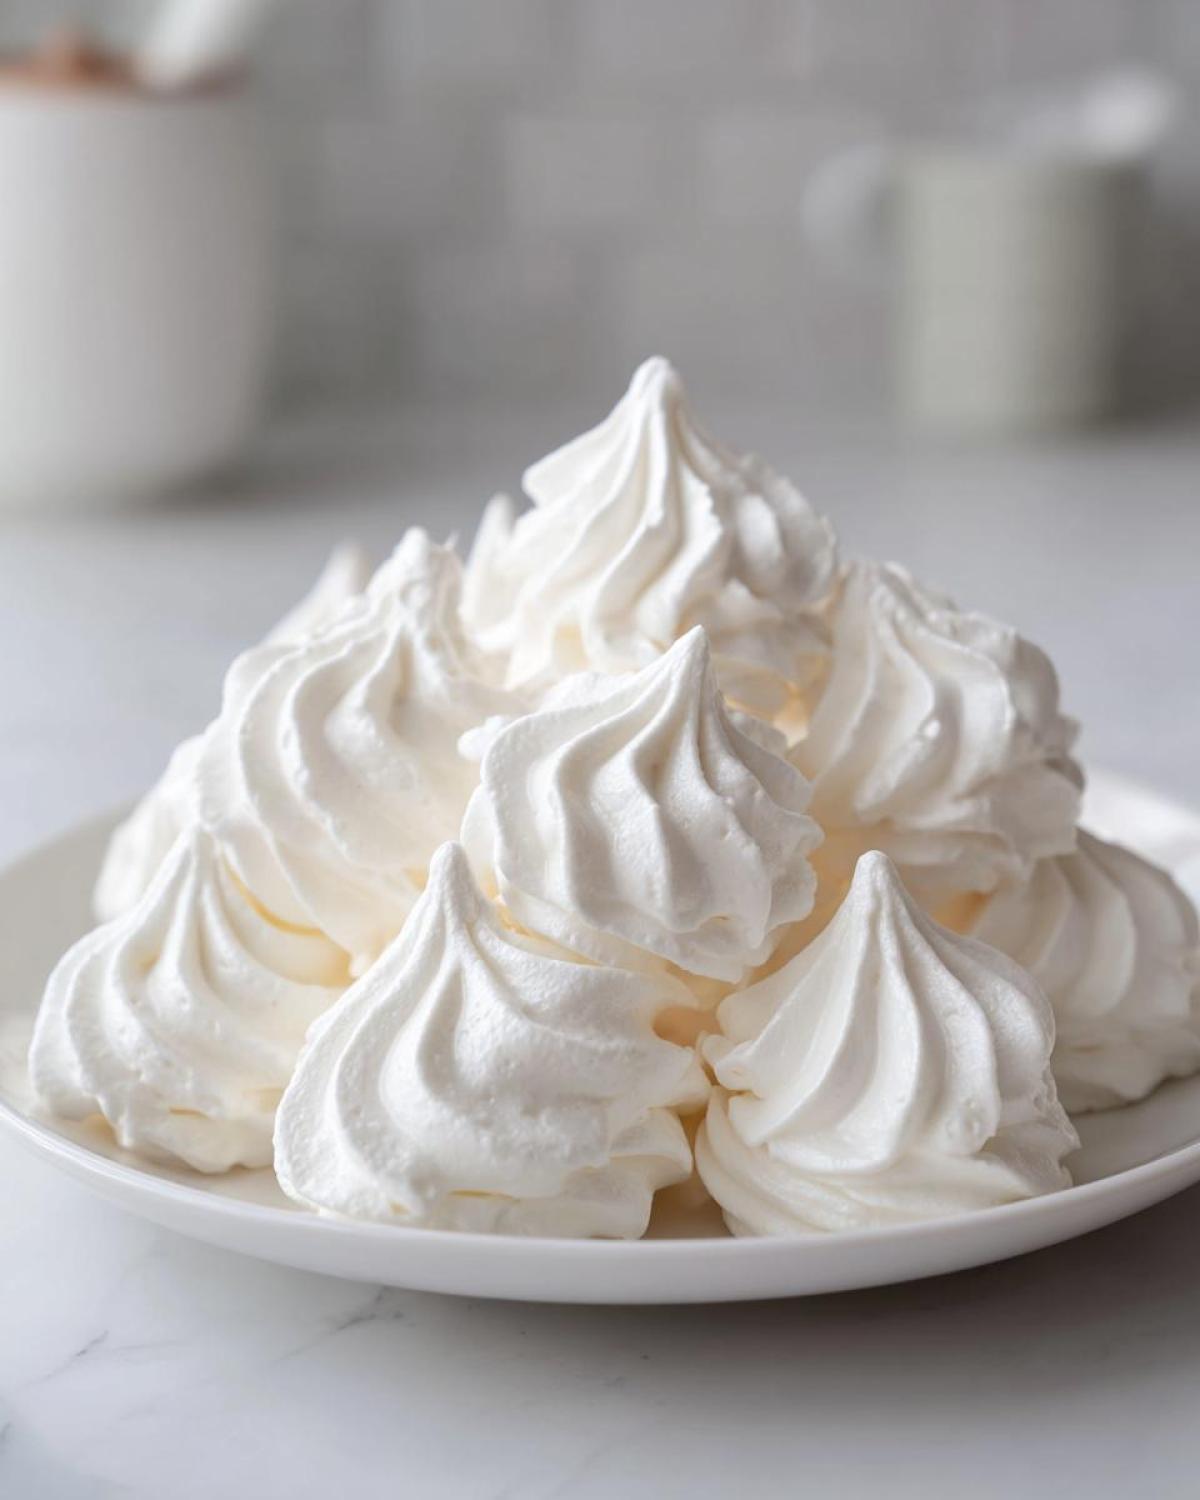
But I cracked the code, and now I’m sharing my foolproof guide. This classic method is exactly what you need to achieve those unbelievably light, airy, and absolutely crisp cookies that just melt in your mouth. Stick with me, and I promise you’ll turn out a batch of perfect homemade meringues every single time. No more weeping or collapsing, just sweet, crunchy perfection!
Why This Classic Meringue Cookies Recipe Works
When it comes to these sweet little cloud puffs, the French method is my ride or die, especially when I need an easy meringue cookies recipe. It’s the most straightforward approach because we add the sugar to the already whipping egg whites. This gives us a wonderfully structured meringue that’s reliably light and airy when baked correctly.
We are aiming for that signature texture—so crisp it shatters and so light it practically floats off the plate. This method helps us establish the strong foundation needed to bake them low and slow until they are perfectly dry.
Achieving the Perfect Light and Airy Cookies Texture
Listen, meringue is fussy, but the key is preparation! Those four egg whites you’re using? They absolutely *must* be at room temperature. Room temp whites whip up higher and capture way more air initially, which means a fluffier final product. Also, this is critical: your mixing bowl and your whisk attachment have to be spotless! I mean, wipe them down with a little vinegar first, just to be sure. Even a tiny speck of grease or yolk will keep your fluff from getting stiff and glossy. Trust me, I learned that lesson the hard way early on!
Essential Ingredients for Perfect Meringue Cookies
The beauty of these homemade meringues—and why they are so wonderfully simple—is that they rely on just a few basics. You need four big, beautiful egg whites, and please make sure they are at room temperature, honestly, it matters! We use granulated sugar, which is non-negotiable for the right structure, plus that little bit of magic called cream of tartar.
That cream of tartar is what stabilizes everything and helps us get those tall peaks. Don’t forget the vanilla extract for flavor. If you want to see the full list for your prep time, check out my full recipe card down below. It’s the best supporting cast for a simple egg white dessert!
How to Make Meringue Cookies: Step-by-Step Instructions
Okay, this is where the magic happens, but you have to be patient! This whole process is about slow incorporation and steady beating. First, get that oven preheated way down low to 200°F (95°C) and line your baking sheets with parchment. We’re going to start whipping those clean egg whites with the cream of tartar until they get foamy, moving to soft peaks.
Now, the crucial part: the sugar! You cannot dump it all in at once, or you’ll deflate everything instantly. Slowly, and I mean slowly, start raining in the sugar—one tablespoon every 30 seconds or so. This is the foundation for any great meringue cookies recipe. Keep that mixer on high until the meringue is glossy, super stiff, and those peaks stand up strong when you lift the whisk.
Whipping the Meringue to Stiff Peaks
To know when you’ve hit that perfect stiff peak stage, which usually takes about 8 to 10 minutes total of beating, do the touch test! Take a tiny dab of the mix between your thumb and index finger. If you feel *any* graininess at all, keep beating! We need every bit of that sugar dissolved so they don’t collapse later. Once it feels totally smooth, fold in your vanilla and salt gently. Then, load that beautiful fluff into your piping bag—I use a star tip for those classic meringue kisses!
Baking and Drying Your Meringue Cookies
Pipe your little guys onto the sheets, spaced nicely apart. They go into that low oven for about an hour to an hour and fifteen minutes. They are done when they look dry and lift off the parchment paper without any fuss. But please don’t take them out yet! The real secret to achieving that ultimate Crispy Meringue Dessert texture is the cooling phase.
Turn your oven off, prop the door open with a wooden spoon—just an inch or so—and let them sit in there for at least another hour, or honestly, just leave them overnight. That slow, steady cooling prevents cracks and ensures they dry out completely so they become perfectly crunchy and light!
Troubleshooting Common Meringue Cookies Issues
Okay, let’s talk real life for a second. Meringues are delightful when they work, but they can be absolute drama queens! If things go wrong, don’t panic. Usually, it’s a simple fix related to water content or temperature, not a fault of yours.
If your finished cookies are weeping—that means little beads of syrup forming on the outside—it almost always means they were either taken out of the oven too soon, or they cooled down too fast in a blast of cold air. They needed more drying time, plain and simple. Next time, make sure you let them dry out completely in that cracked-open oven to avoid that shiny, sticky meltdown.
Cracking is another common complaint, and that usually happens when the oven temperature is too high initially. If the outside sets before the inside has time to inflate and dry, the structure expands too quickly and *crack*! You get a beautiful shell with a gooey middle. Remember the 200°F rule; low and slow wins this race every time.
If your meringue batter just won’t set up and stays soft no matter how long you whip it, first check your bowl and whisk—did even a drop of grease sneak in? That’s the most common culprit! If the equipment was perfect, you might have rushed the sugar addition. If the sugar isn’t fully absorbed, the meringue can’t achieve that stiff, glossy structure we need for the perfect cookie.
Tips for Success When Making Homemade Meringues
I feel you if you’ve sworn off these airy treats before! Making homemade meringues requires respecting two things above all else: temperature and atmosphere. First, those egg whites absolutely need to be room temperature; I usually take them out an hour before I start anything else. They just whip up better that way, giving you much more volume to start with.
Second, and this is tough love, do not attempt these on a rainy day! I once tried making a big batch for a school bake sale when a huge summer storm rolled in. Within ten minutes of piping, they started looking sad and wet. Humidity is the enemy, my friends; it prevents them from drying out properly in the oven. For the best results, save your meringue baking for dry, cool days. You can find my full breakdown of baking tips for meringue right here for when you’re ready!
Variations for Your Meringue Cookies Recipe
Once you’ve mastered the classic base, the fun really begins! Tweak your meringue cookies recipe by adding flavor right at the very end when you beat in the vanilla. A quarter teaspoon of good quality almond extract elevates them instantly, or try grating a little fine lemon or orange zest into the batter for a bright, sunny twist.
Also, don’t shy away from color! You want vibrant colors for fun looks, so please use gel food coloring, not the liquid kind. A tiny drop added in the last minute of mixing is all you need to transform your white kisses into something wild. If you’re looking for inspiration on mixing colors and flavors, you might love the ideas I have posted over with my recipe for soft pumpkin cookies!
Creating Holiday Themed Meringue Kisses Recipe
This dessert screams for a holiday makeover! For Easter, switch the vanilla to a tiny bit of strawberry extract and use pastel pinks and light greens. If you’re making Christmas meringue cookies, this is the time to shine. I love adding a touch of peppermint extract and dying half the batch vibrant red and the other half green.
You can pipe them into simple little swirls, like tiny wreaths, or even use a wide star tip to make them look like little rosettes standing up straight. They look just fantastic massed together on a platter; they’re so delicate and beautiful for any holiday cookie swap!
Storage and Reheating Instructions for Meringue Cookies
Now you have these unbelievably perfect, airy little delights, so we absolutely must protect them! Since these cookies rely on being totally dry inside and out, storage is key to keeping that lovely crunch.
Here’s my iron-clad rule: they must go into an airtight container immediately after they have completely cooled down—and trust me, they need to be cool all the way through, not even slightly warm.
Store them in a cool, dry spot in your pantry. Think of them like sugar statues; they absorb moisture from the air like crazy! I keep mine in large tins with layers of parchment paper between them, just to make sure every single cookie stays as crisp as the day it was baked.
And please, never, ever put them in the refrigerator! That environment is way too humid, and you’ll wake up to weeping, sticky cookies, and nobody wants that heartbreak after all that careful baking.
The best part? You don’t need to reheat them. If they’ve been stored properly in an airtight container, they stay perfect at room temperature for over a week! If you accidentally left the lid off, you can try popping them back into that very low oven (around 200°F) for just 15 minutes to dry them out again.
Frequently Asked Questions About Easy Meringue Cookies
I know meringues can seem intimidating, but once you understand the science, they become wonderfully easy! People always ask me questions about keeping them light and ensuring they have that lovely melt in your mouth cookies quality. Let’s tackle a few of the most common sticking points for anyone trying this classic meringue recipe!
Can I use a different sugar for these meringue cookies?
This is a great question! For this specific French method where we add the sugar slowly, you really need regular granulated sugar. Caster sugar works well too, but traditional powdered or confectioner’s sugar is a no-go. Why? Because powdered sugar contains cornstarch to keep it from clumping, and that cornstarch interferes with the egg white foam structure. We need that pure, hard sugar crystal to beat against the egg whites to create the strong, stable structure required for those stiff peaks. Stick to granulated for the best results!
Are these meringue cookies naturally gluten free?
Yes, absolutely! This is one of the fantastic bonuses when making easy meringue cookies. Since the base is just egg whites, sugar, and vanilla, these are completely naturally gluten free cookies. There’s no flour, no butter, nothing that would contain gluten at all. That makes them a perfect, safe treat to serve when you have guests with sensitivities. They truly are a wonderful, simple dessert option!
Why did my meringue cookies crack instead of staying smooth?
Cracking usually means the exterior set faster than the interior dried out. It’s a baking temperature issue! If the oven is too hot, the outside shell forms quickly and hardens, but the inside still has moisture expanding, so *crack*! Like I mentioned before, keep that temperature pegged at 200°F (95°C) or even a touch lower. The goal is drying, not browning. If they crack, don’t panic, they still taste amazing, but for that smooth, professional finish, watch your temperature!
If you’re looking for more general advice on keeping your bakes successful, check out some of my other baking tips!
Nutritional Estimates for Classic Meringue Cookies
So, these cookies are wonderfully light, but they are definitely made of pure sugar, so you know, keep that in mind when you’re enjoying a whole platter of them! I ran these ingredients through my standard calculator just so you have a general idea of what you are dealing with per cookie. Remember, these are just estimates because how much you pipe out and how much sugar you incorporate can vary slightly!
Since these homemade meringues are just egg whites and sugar, they are remarkably low in fat and protein, which is why they are such a popular choice for people looking for a gluten free cookies option. Honestly, they are mostly air and sugar!
Here is the breakdown for one single meringue kiss, based on a yield of about three dozen:
- Serving Size: 1 cookie
- Calories: 45
- Sugar: 11g
- Protein: 1g
- Fat: 0g
- Carbohydrates: 11g
Keep in mind that egg whites are mostly water and protein, so the bulk of the calories here definitely comes from the sugar we beat in to stabilize the structure. If you want to check out some of my other recipes that might fit into a different eating plan, you can read my full nutritional disclaimer on my site!
PrintClassic Light and Crispy Meringue Cookies

Follow these steps to make sweet, airy meringue cookies that melt in your mouth. This recipe uses the French method for simple, crisp results.
- Prep Time: 15 min
- Cook Time: 75 min
- Total Time: 90 min
- Yield: About 3 dozen
- Category: Dessert
- Method: Baking
- Cuisine: American
- Diet: Gluten Free
Ingredients
- 4 large egg whites, room temperature
- 1 cup granulated sugar
- 1/2 teaspoon cream of tartar
- 1 teaspoon vanilla extract
- Pinch of salt
Instructions
- Preheat your oven to 200°F (95°C). Line two baking sheets with parchment paper.
- Make sure your mixing bowl and whisk attachment are completely clean and grease-free. Add the egg whites and cream of tartar to the bowl.
- Beat the egg whites on medium speed until soft peaks form.
- Slowly add the granulated sugar, one tablespoon at a time, while beating continuously on high speed. Wait about 30 seconds between each addition.
- Continue beating until the meringue is stiff, glossy, and holds firm peaks. When you rub a small amount between your fingers, you should not feel any sugar granules. This takes about 8 to 10 minutes total.
- Beat in the vanilla extract and salt until just combined.
- Transfer the meringue to a piping bag fitted with a star tip (or use a spoon for rustic drops). Pipe small kisses or desired shapes onto the prepared baking sheets.
- Bake for 1 hour to 1 hour 15 minutes. The meringues should look dry and lift easily from the parchment paper.
- Turn off the oven, prop the door open slightly with a wooden spoon, and let the meringues cool completely inside the oven for at least 1 hour, or preferably overnight. This drying process helps them stay crisp.
Notes
- Ensure your egg whites are at room temperature; they whip up higher and hold air better.
- Do not attempt to make meringues on a humid or rainy day, as moisture prevents them from drying properly.
- If your meringues weep or crack, they were likely under-baked or cooled too quickly.
- For colored meringues, add a few drops of gel food coloring during the final minute of mixing.
Nutrition
- Serving Size: 1 cookie
- Calories: 45
- Sugar: 11
- Sodium: 5
- Fat: 0
- Saturated Fat: 0
- Unsaturated Fat: 0
- Trans Fat: 0
- Carbohydrates: 11
- Fiber: 0
- Protein: 1
- Cholesterol: 0