

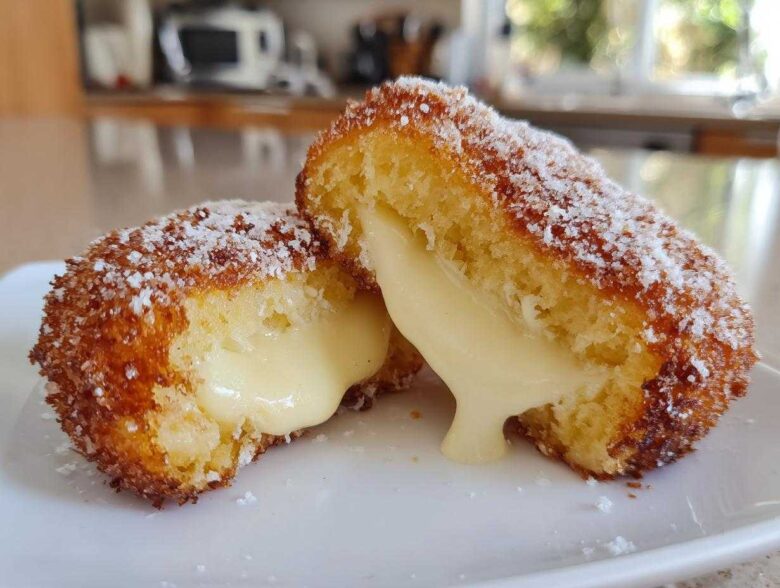
Oh my goodness, are you ready to make food that breaks the internet? Seriously, you see those videos—the slow-motion pull of cheese stretching a mile long—and you just *have* to know how they do it. Well, stop scrolling! Today, we’re bringing that absolute street-food magic home with what I’m calling the Ultimate Viral Korean Corn Dog Recipe. Owen and I had a total blast testing this one; it took a few tries to get that perfect, shattering crunch, but trust me, the payoff for this gooey cheese corn dog is worth every minute. We’re aiming for extreme crunch that sounds loud when you bite into it, perfect for announcing some majorly good news right from your kitchen!
Why You Will Make This Ultimate korean corn dog Recipe
I know there are endless recipes out there, but trust me, you are going to rave about this one. We focused on making sure you get that authentic street-food experience without needing a stall on the corner of a busy Seoul street. It’s just better when you make it yourself—and it’s way more fun!
Guaranteed Extreme Crunch with Dual Coating Options
- You get to choose your adventure: Go for the classic, light shatter of Panko, or try the chunky, amazing texture of potatoes (we call that the Homemade Gamja Hotdog style!).
The Best cheese pull recipe for Mozzarella Filling
- That moment when you pull the dog apart and the cheese just stretches? Pure magic! This recipe is the **Best cheese pull recipe** because we use perfectly sized mozzarella sticks.
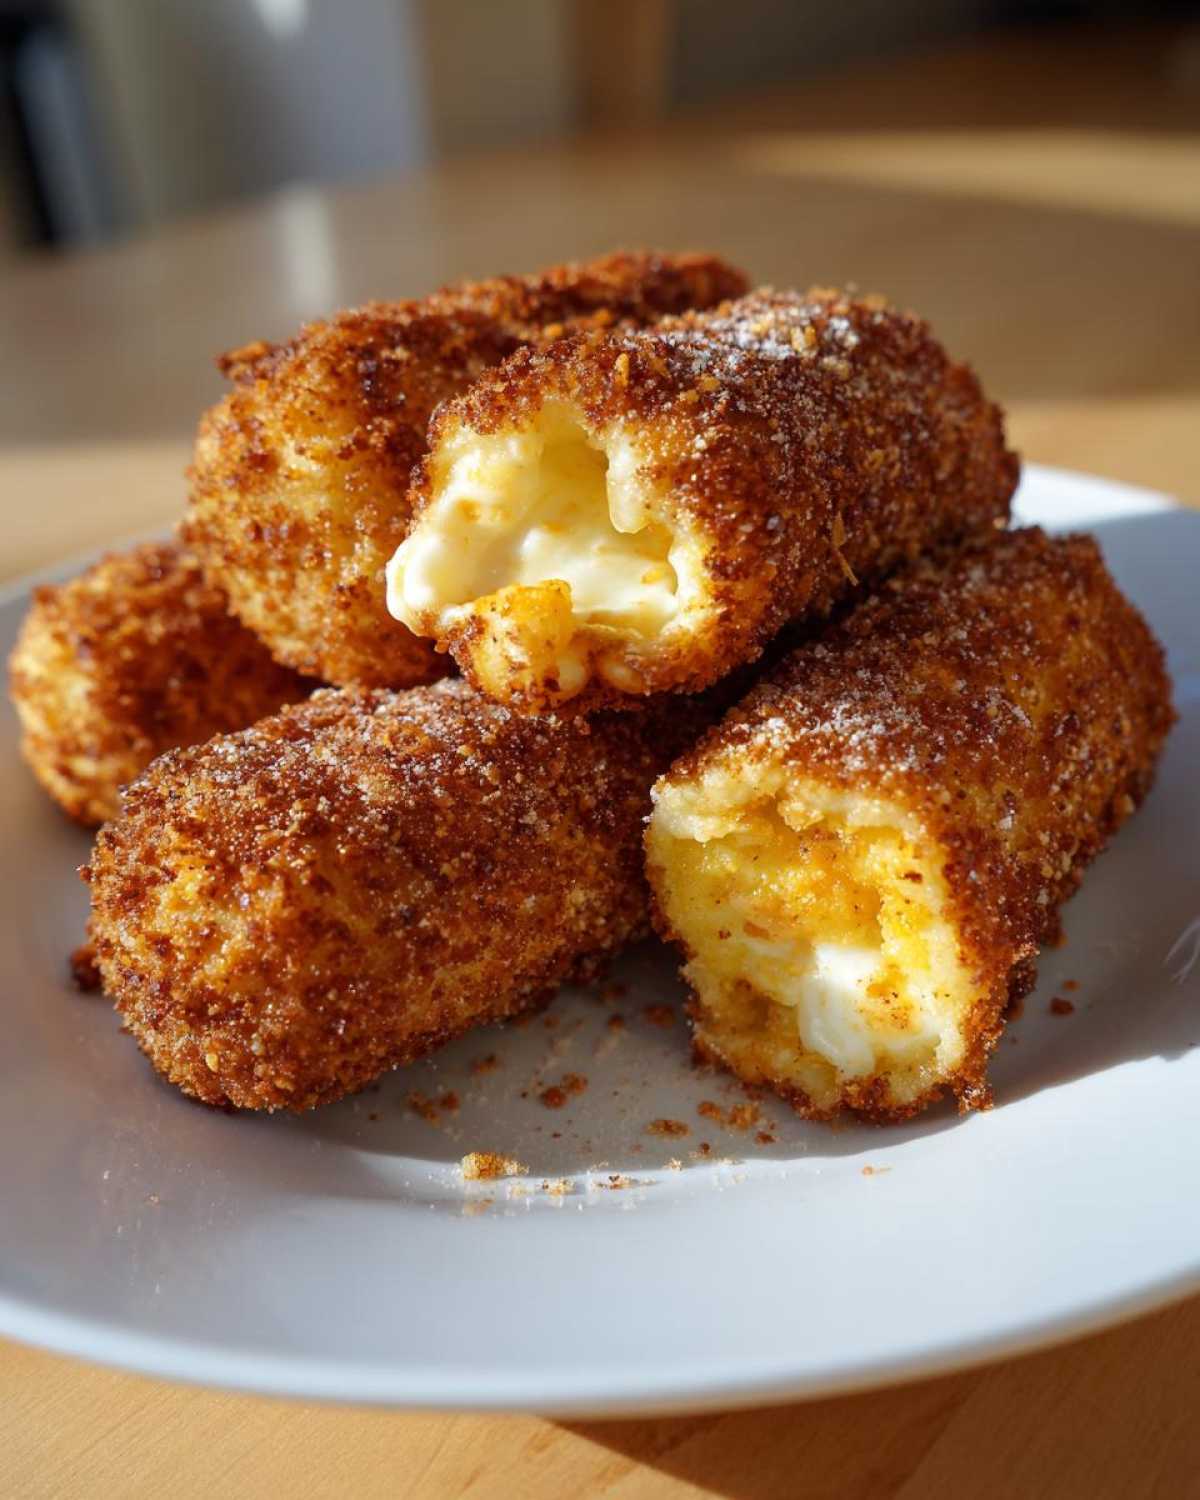
Gathering Ingredients for Your korean corn dog
Okay, let’s talk about what goes into making these absolute showstoppers. When you’re mastering a viral food trend recipe like this, ingredient quality really matters, you guys. Don’t skimp on the good stuff, or you won’t get that perfect contrast between the soft inside and that incredible crust! Also, before you get started, make sure you glance over Owen’s amazing recipe for homemade garlic butter—though we won’t be using it here, it’s a great link for future fun!
Ingredients for the Chewy Battered dogs
The batter is technically simple, but the secret to getting that chewy battered dogs texture that stays crispy after frying comes down to one thing: temperature. You *must* use very cold water. Seriously, if the water is lukewarm, you’re risking a soggy texture instead of that perfect crunch we’re after. Keep everything else in the batter bowl cool!
- 6 hot dogs or sausages (the usual suspects!)
- 6 wooden skewers
- 1 cup all-purpose flour
- 1 teaspoon baking powder
- 1/2 teaspoon salt
- 1/4 teaspoon black pepper
- 1 large egg
- 3/4 cup gloriously cold water
- Vegetable oil for deep frying—you’ll need enough for about 2 inches in your pot.
Coating Ideas for korean corn dog
This is where we create the *viral* look! You have two spectacular options here for that exterior crunch. The potato crust is my personal favorite for that chunky, satisfying coating, but Panko is the classic choice for a finer shatter. Both methods achieve that amazing, crispy battered sausage exterior!
- Option one: 1/2 cup plain panko breadcrumbs.
- Option two (for the Homemade Gamja Hotdog look): 1 cup frozen french fries, finely diced—and I mean *finely* diced, like little pebbles.
- Don’t forget the filling! 1 cup mozzarella cheese sticks, or cut your dogs in half and alternate with cheese pieces for that epic center.
How to Prepare the Ultimate Viral korean corn dog
Alright, put on your favorite playlist—this is officially a fun weekend cooking project! Making an authentic Korean corn dog is a bit of a process, but that just makes the reward that much sweeter. We need to be meticulous here, especially when it comes to assembly and handling the oil. You can’t rush this part if you want the legendary crunch everyone is looking for!
Assembling and Battering the korean corn dog
First things first: the construction! If you’re going half-and-half (which, yeah, you totally should for the ultimate experience), thread one piece of hot dog, then one piece of mozzarella, and end with a hot dog piece onto each skewer. Make sure it’s snug! Now for the batter. Whisk your dry ingredients, then pour in the wet ones. Remember what I said about cold water? Mix it until it’s *just* combined. Seriously, if you start beating it until it’s perfectly smooth like pancake batter, you’ll end up with tough, dense dogs. A few lumps are our secret to a lighter, authentic chewiness.
Mastering the Panko Coating Technique
Once they are fully dipped in that beautiful, lumpy batter, it’s coating time! Immediately roll the whole thing in your chosen coating—either those gorgeous Panko flakes or those tiny, diced frozen potatoes. Press gently to make sure that crust sticks everywhere; you don’t want any batter holes showing!
Here’s a pro move that truly helps achieve that professional, street-style Korean corn dog look: place the coated dogs on a tray lined with parchment paper and pop them in the freezer for about 15 minutes. This chilling step is critical! It sets the coating firm so it doesn’t slide off when it hits the hot oil. Don’t skip this if you want a crispy result!
Deep Frying for a Crispy Battered Sausage
Time to get hot! You need about 2 full inches of vegetable oil in a heavy pot. Get that oil temperature *exactly* to 365°F (185°C). I cannot stress this enough: temperature control is the difference between golden perfection and greasy sadness. Use a thermometer—don’t guess!
Carefully lower just two or three dogs in at a time. We cannot overcrowd the pot; it drops the oil temperature instantly, which means soggy dogs. Fry them for 3 to 4 minutes, turning them often so they get that even, beautiful deep golden color all the way around. Once they look fully cooked and super crisp, pull them out onto a wire rack over paper towels to drain. Now we get to the fun finishing touches!
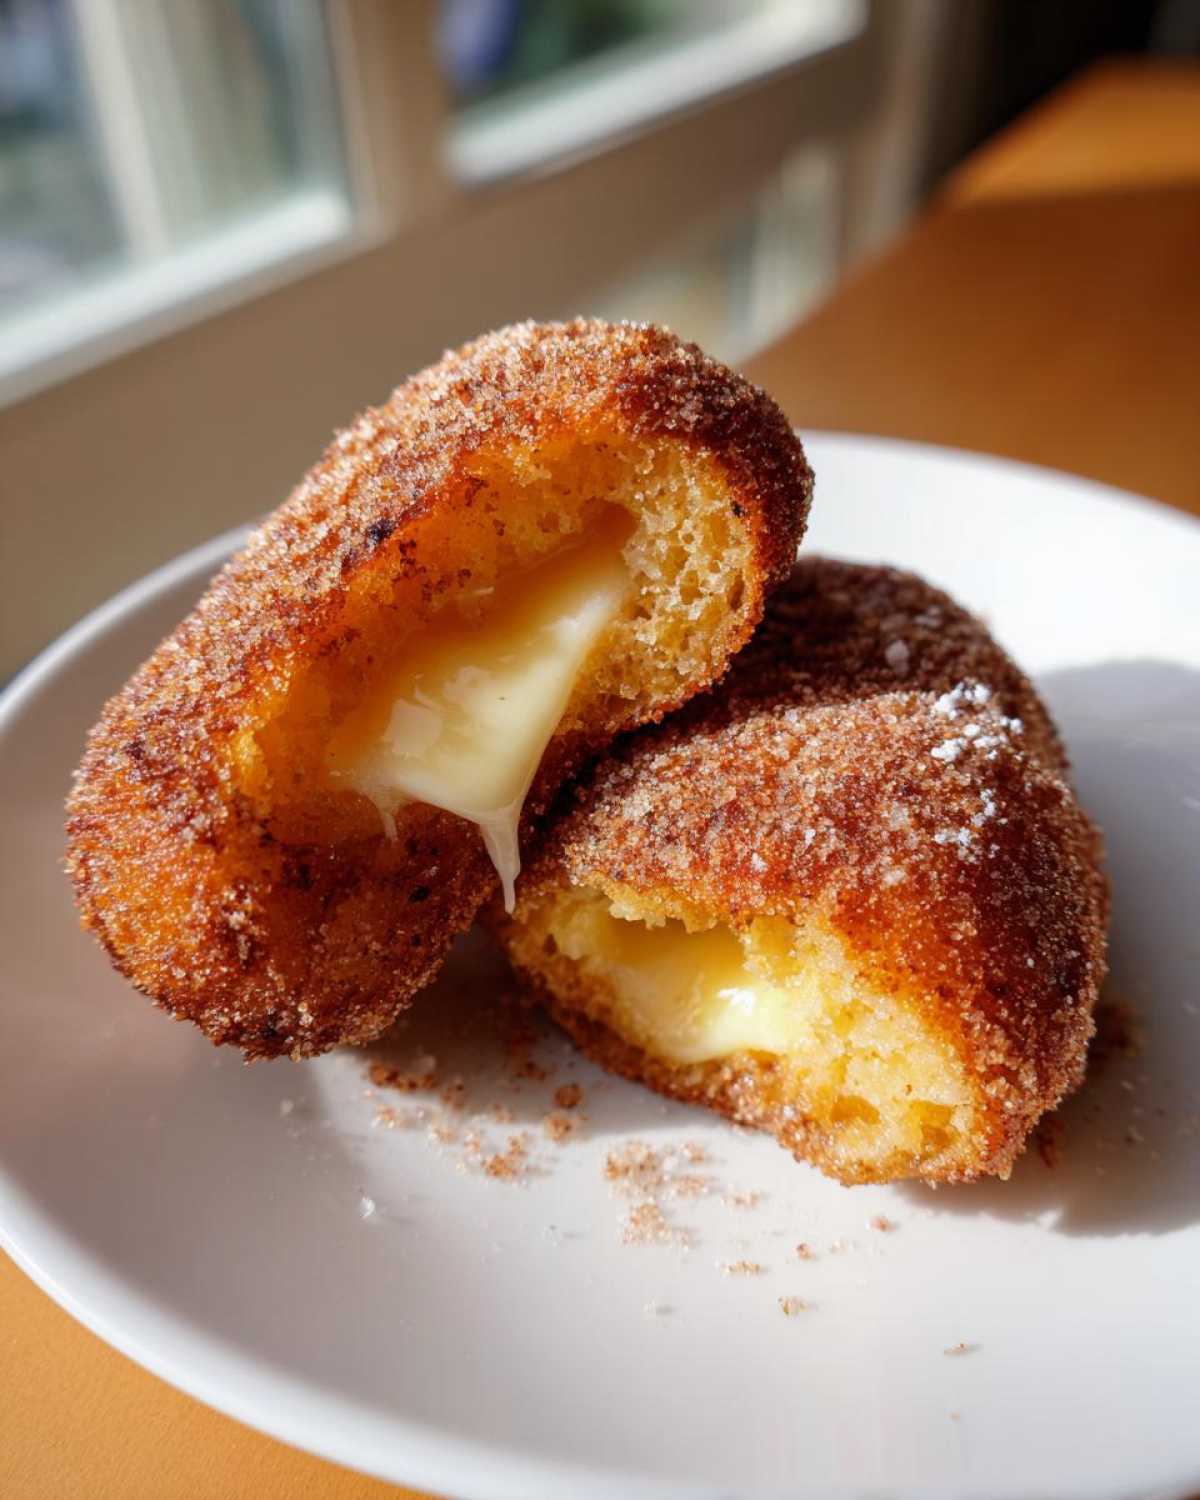
If you’re looking for more fried snack inspiration after conquering these, you absolutely must check out my tips for crispy fried cornbread and, dare I say, my favorite savory crispy bite, these Amish onion fritters.
Serving Suggestions for Your korean corn dog
Okay, the dogs are perfectly fried, they’re sitting on the rack draining off all that excess heat. Now we get to the part that makes the **korean corn dog** truly famous: the toppings! If you don’t finish them right away, they might just sit cold, and nobody wants that. They are best served immediately while that crust is still singing.
This combination of sweet and savory is what makes this an absolute addiction. For the classic street look, you absolutely must roll them generously in regular granulated sugar while they are still piping hot. The heat helps the sugar stick perfectly, creating that signature sweet exterior that contrasts completely with the savory sausage and cheese inside. It’s magic, I promise!
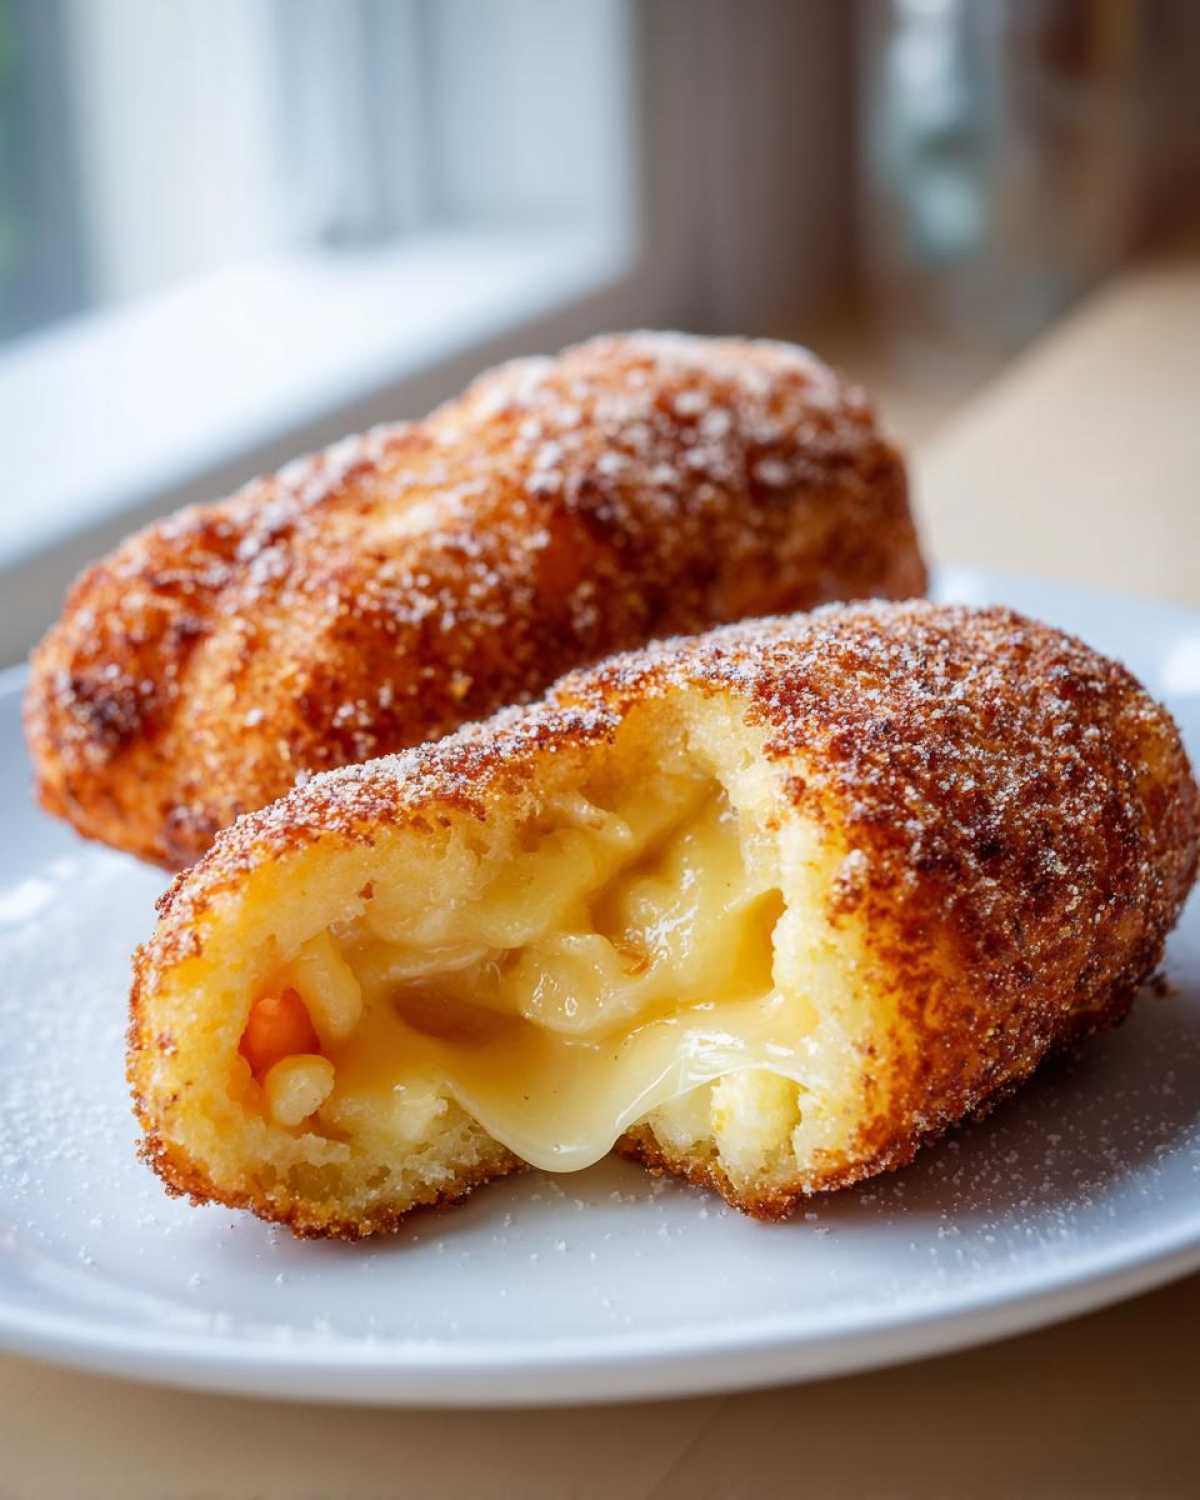
Next up is the visual appeal, because let’s face it, we eat with our eyes first, right? This is where you want to get artistic for those photos. Grab your ketchup, yellow mustard, and creamy mayonnaise. I like to use squeeze bottles for this—it gives you so much control!
Don’t just plop the sauce on. You want thin, zigzag lines going across the entire length of the corn dog. Alternate the colors! Red, yellow, white, repeat! The great thing about this amazing **sweet and savory snack** is that people rarely agree on which topping is best, so you can make a little station and let everyone customize their own. If you’re looking for more snack ideas that are easy to share (and look killer on social media), check out my recipe for easy homemade cheese crackers!
Tips for Success with Homemade korean corn dogs
Every time I make these, I learn something new, and since I want your batch of korean corn dogs to be absolutely perfect—that *viral food trend recipe* quality—I have to share a few of the ‘secrets’ Owen and I uncovered during testing. These aren’t in the main instructions, but they truly elevate the final bite, making you look like a total pro!
First up: the cheese. If you’re going for that jaw-dropping, mile-long cheese stretch that makes everyone stop scrolling? You need to plan ahead! Don’t pull your mozzarella sticks straight from the fridge. Let them sit out on the counter for maybe 15 minutes before skewering. Room temperature cheese melts more evenly and stretches better than rock-hard cold cheese. It’s a small difference, but it makes the best cheese pull recipe even better!
Next, let’s talk about the batter again, because this is where we can dial up the texture from merely good to utterly divine. If you find your batter seems just a *tad* too dense after mixing (even with the little lumps!), try swapping out some of that cold water called for in the recipe for club soda or even sparkling water. Those tiny bubbles are still active when they hit the hot oil, giving you an extra little lift and keeping the final coating magically light and airy, which is the key to the crunchiest crust!
I also noticed that when I was trying for that extra glossy, dark gold finish, the fryer basket looked dull. After looking up what the pros do, I found that keeping your oil clean—actually swapping it out or straining it aggressively between batches—makes a huge difference in the final color and keeps the flavor from getting that ‘old oil’ taste. You can read more tips on achieving that perfect finish over at Dish Delicious, which helped me solidify my frying technique.
And hey, if you’re also conquering the decorating stage and need that perfect, smooth drizzle glaze for a different kind of treat later, check out my notes on how the best sugar cookie icing sets up—sometimes the same principles of clean lines apply!
Storage & Reheating Instructions for korean corn dog Leftovers
So, maybe you made a double batch of these amazing korean corn dogs because, honestly, who can stop at just one? Or maybe you just couldn’t eat all six yourselves! Don’t worry about leftovers falling flat; we’ve got the trick to keeping that glorious crunch alive.
The first rule of storing fried food? Do NOT put them in an airtight container in the fridge. I know, it seems logical, but that trapped moisture is the sworn enemy of crispiness. It turns everything soft and sad faster than you can say ‘cheese pull.’ Instead, you need to let them breathe!
Pop your leftover dogs onto a wire cooling rack, completely uncovered, and let them chill in the refrigerator for about an hour. This lets any residual steam escape. Once they are fully cooled, *then* you can transfer them into a loosely covered container or a paper bag. They should last okay in the fridge for a day, maybe two if you are really lucky.
Reviving That Street-Food Crunch
Now for the main event: reheating! If you try the microwave method, I guarantee you’ll be opening that door to a soggy, mushy version of your beautiful creation. We are not doing that here! Microwave is a definite no-go for any good deep fried street snack.
Your best friends for reviving these are the oven or, even better, the air fryer. If you want that crunch back, you need dry, circulating heat.
- Air Fryer: This is my favorite method! Set your air fryer to about 375°F (190°C). Cook them for about 5 to 7 minutes, flipping halfway through. They come out unbelievably close to freshly fried. Crisp crust guaranteed!
- Oven: If you don’t have an air fryer, an oven set to 375°F works great too. Lay them on a baking sheet (metal racks are best if you have them so air circulates underneath) and reheat for 8 to 10 minutes. Keep an eye on them so the exterior darkens too much.
If you’re planning on saving them for a main meal later, like turning them into a component of a bigger meal, you could always check out this wonderfully hearty easy crockpot beef stew recipe for some inspiration, though I highly recommend eating these cheese dogs right away!
Frequently Asked Questions About Making a korean corn dog
It’s totally normal to have questions when you’re diving into a new, trendy recipe like this! We get asked all the time about the difference between home versions and the ones you see on the street. I’ve pulled together the most common things people wonder about when making their ultimate korean corn dog!
Can I bake or air fry the korean corn dog instead of deep frying?
This is the number one question, and I have to be just as honest here as I am on the plate! If you are aiming for that truly authentic, crunchy-as-can-be texture that makes these a famous Korean street food recipe delight, deep frying is the only way to go. Baking will give you a dense, cooked dough—it’s just not the same satisfying crisp! Now, if your dogs are already fried and you’re reheating them the next day, air frying is totally your hero! It brings that crust right back to life.
What is the best cheese for a gooey cheese pull?
Ah, the glorious cheese pull! You are looking for low-moisture mozzarella sticks. Seriously, that’s the ticket. High-moisture cheese, like fresh mozzarella balls, tends to just melt into a puddle rather than forming that beautiful, long, stretchy string we crave in a perfect mozzarella corn dog. Also, remember that tip about letting the cheese warm up slightly before you skewer it? Do that!
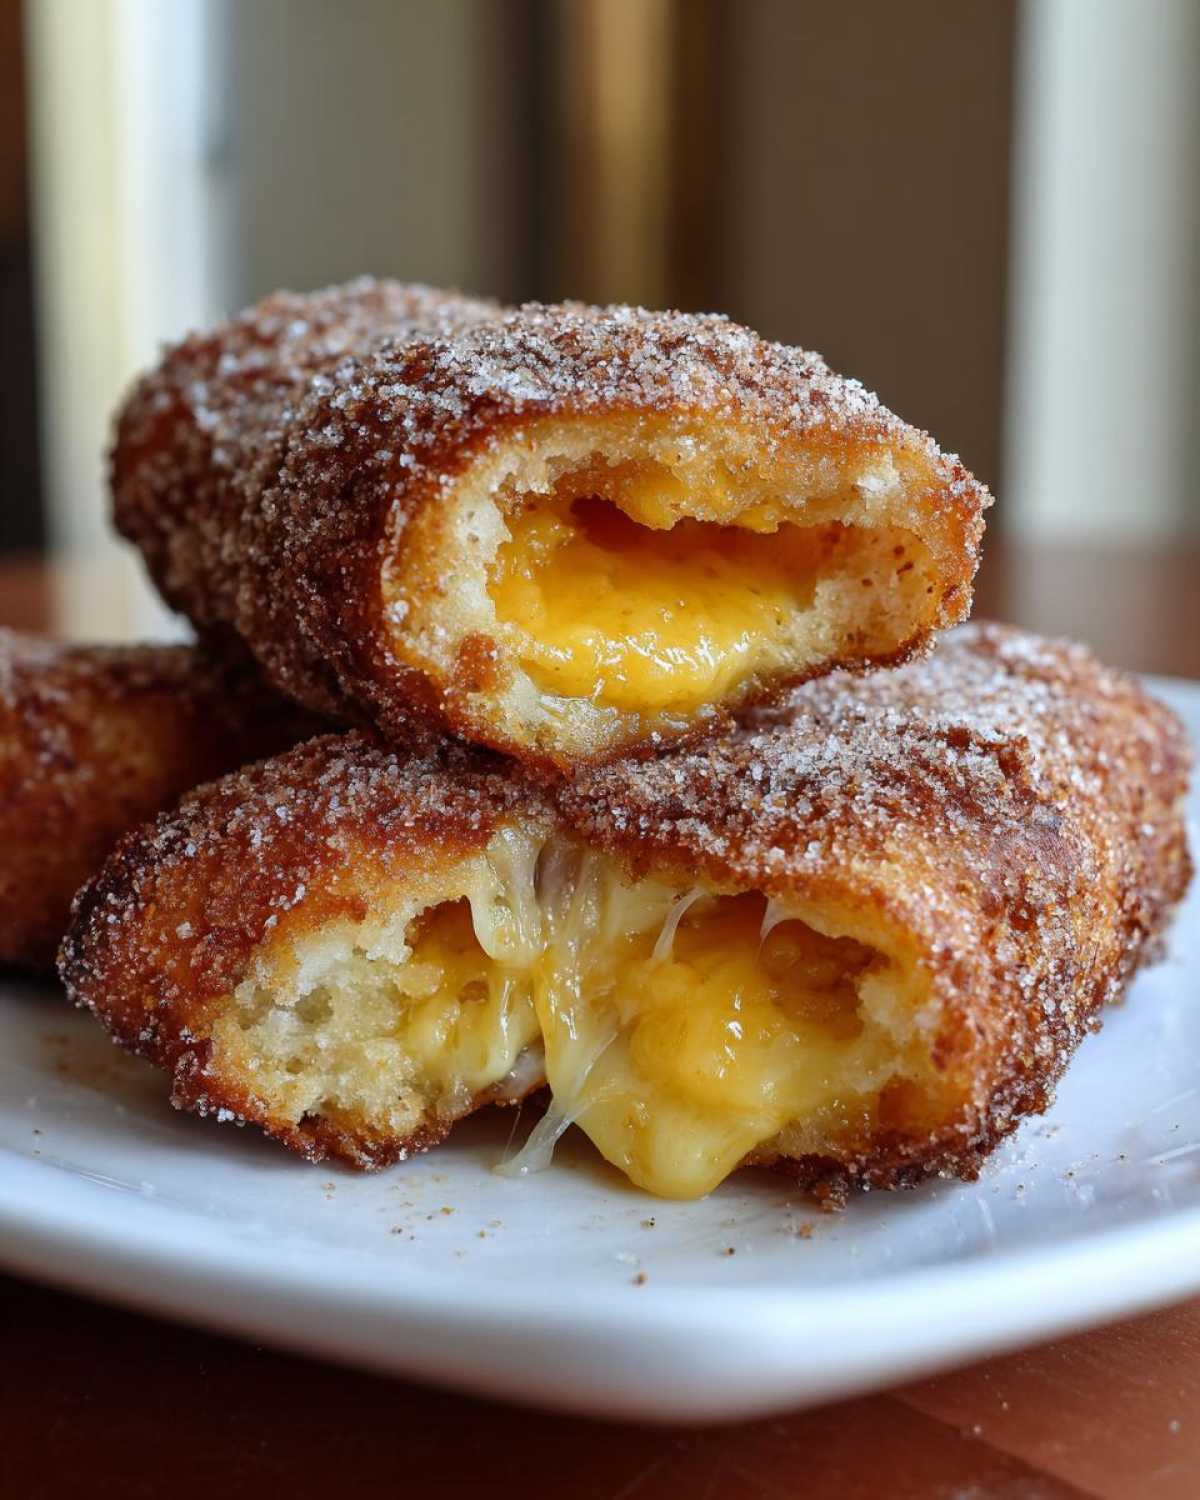
Is the sugar dusting essential for this korean corn dog?
If you want the authentic sweet and savory hit, then yes, it’s pretty essential! The sugar is what makes these different from, say, a regular American corn dog. The warm, slightly greasy crust is the perfect canvas for the granulated sugar to adhere to. It sounds weird, I know, but the sweet dusting completely balances the saltiness of the sausage and the richness of the fry. Don’t skip it—you’ll see why it’s famous!
What is the best sausage to use for flavor?
We kept this recipe flexible, but the kind of sausage you use really affects the flavor profile of your crispy battered sausage. For the most authentic taste, use a mild or slightly sweet hot dog, like a frankfurter. If you use a heavily smoked or spicy sausage, it can compete too much with the subtle sweetness of the batter and the sugar topping. You want the sausage flavor to complement the coating, not overpower it!
Nutritional Estimates for This korean corn dog Recipe
Okay, let’s talk honestly for a second. When you’re making something this utterly delicious, this satisfyingly crunchy, and this gloriously cheesy, you know it isn’t exactly garden salad! We’re deep-frying, we’re using cheese, we’re rolling it in sugar—it’s the perfect deep fried street snack for a reason, after all!
Because we aren’t using scientifically measured, preservative-packed ingredients, I want to be super clear that these numbers are just an estimate. Think of this as the general ballpark figure based on the recipe details provided, but remember that the actual count shifts depending on the brand of hot dog or how much sugar you choose to dust on top! This transparency is super important to us here at Hungry Herald, which is why we always post what we used.
Here are the estimated nutritional breakdowns for one serving (one amazing korean corn dog) based on our recipe measurements:
- Serving Size: 1 corn dog
- Calories: Around 350 (Wow, that’s a lot of joy!)
- Fat: Roughly 20g (That’s where the crispiness comes from—hello, oil!)
- Saturated Fat: About 7g
- Carbohydrates: Around 30g (Mostly from the batter and that sweet sugar dusting)
- Sugar: Approx. 12g (If you skip the sugar roll, you immediately drop this!)
- Protein: About 15g (Hello, sausage and cheese!)
- Sodium: Close to 550mg
Just looking at those numbers, you know this isn’t an everyday snack, right? This is your celebratory food! This is your ‘it’s Friday and I deserve this’ food. You’ve put in the work for the best korean corn dog recipe, so enjoy every single bite, knowing exactly what went into making that incredible, satisfying crunch. We’ll get back to balancing everything out with some lighter recipes next week, I promise!
Share Your korean corn dog Creations
We did it! You’ve conquered the fryer, you’ve nailed the batter, and I bet your kitchen smells like the best kind of chaos right now. Now comes the best part of being part of the Hungry Herald family: announcing the good news! We want to see those golden-brown beauties and, more importantly, we want to see those cheese pulls!
Seriously, when you finish making these korean corn dogs—especially if you got that potato crust just right—you need to show them off. This recipe is designed to be a showstopper, so let’s get it out there!
Head over to social media and snap a picture of your finished dogs. Tag us so Owen and I can see your work. We absolutely love seeing your creations; it makes all the careful testing and oil temperature management worth it! If you have any final questions or just want to tell us how loud your crunch was, don’t hesitate to reach out through our contact page!
And please, if this recipe made your night or brought a little spark of joy to your week, leave us a rating right here on the page. Five stars means you’re ready to put on some music and maybe have a little kitchen dance party, right? We can’t wait to hear all about your success with this perfect sweet and savory snack!
PrintThe Ultimate Viral Korean Corn Dog Recipe: Crispy Potato & Gooey Cheese

Make the internet-famous Korean Corn Dog at home! This recipe delivers extreme crispiness with a potato crust option and the satisfying, gooey mozzarella cheese pull you see in viral videos. It is a fun, sweet and savory snack.
- Prep Time: 20 min
- Cook Time: 15 min
- Total Time: 35 min
- Yield: 6 servings
- Category: Snack
- Method: Deep Frying
- Cuisine: Korean
- Diet: Vegetarian
Ingredients
- 6 hot dogs or sausages
- 6 wooden skewers
- 1 cup all-purpose flour
- 1 teaspoon baking powder
- 1/2 teaspoon salt
- 1/4 teaspoon black pepper
- 1 large egg
- 3/4 cup cold water
- 1/2 cup panko breadcrumbs (for coating option 1)
- 1 cup frozen french fries, finely diced (for coating option 2 – Gamja Hotdog style)
- Vegetable oil, for deep frying
- 1 cup mozzarella cheese sticks (or half mozzarella, half hot dog combination)
- For Serving: Granulated sugar, ketchup, yellow mustard, mayonnaise
Instructions
- Prepare the hot dogs and cheese: Cut the hot dogs in half. If using the half-and-half style, alternate threading one piece of hot dog and one piece of mozzarella cheese onto each skewer, ending with a hot dog piece. If using only hot dogs, just thread the whole hot dog onto the skewer.
- Make the batter: In a medium bowl, whisk together the flour, baking powder, salt, and pepper. In a separate small bowl, whisk the egg and cold water. Pour the wet ingredients into the dry ingredients and mix until just combined. Do not overmix; a few lumps are fine. This batter needs to be thick for a good coating.
- Prepare the coatings: Place the panko breadcrumbs in one shallow dish and the finely diced frozen french fries in another shallow dish.
- Coat the dogs: Dip each skewered item completely into the wet batter, letting excess drip off slightly.
- Apply the crust: Immediately roll the battered item in either the panko breadcrumbs or the diced frozen potatoes, pressing gently to adhere the coating evenly.
- Chill (Optional but recommended for crispiness): Place the coated corn dogs on a parchment-lined tray and chill in the freezer for 15 minutes. This helps the coating set before frying.
- Heat the oil: Pour vegetable oil into a deep, heavy-bottomed pot or deep fryer until it reaches about 2 inches deep. Heat the oil to 365°F (185°C). Use a thermometer to monitor the temperature; maintaining this heat is key for crispiness.
- Fry the corn dogs: Carefully lower 2-3 corn dogs into the hot oil, ensuring you do not overcrowd the pot. Fry for 3 to 4 minutes, turning occasionally, until the coating is deep golden brown and very crispy.
- Drain: Remove the corn dogs with tongs and place them on a wire rack set over a paper towel-lined baking sheet to drain excess oil.
- Finish and serve: While the corn dogs are still hot, roll them immediately in granulated sugar for the classic sweet and savory flavor. Serve immediately with your choice of ketchup, mustard, or mayonnaise drizzled on top. Enjoy the cheese pull!
Notes
- For the best cheese pull, ensure your mozzarella cheese is at room temperature before skewering.
- If you prefer a chewier batter texture, substitute half the cold water with club soda or sparkling water.
- To achieve the street-food look, use a thin stream of sauce applied in zigzag patterns across the dog.
Nutrition
- Serving Size: 1 corn dog
- Calories: 350
- Sugar: 12
- Sodium: 550
- Fat: 20
- Saturated Fat: 7
- Unsaturated Fat: 13
- Trans Fat: 0
- Carbohydrates: 30
- Fiber: 1
- Protein: 15
- Cholesterol: 45