

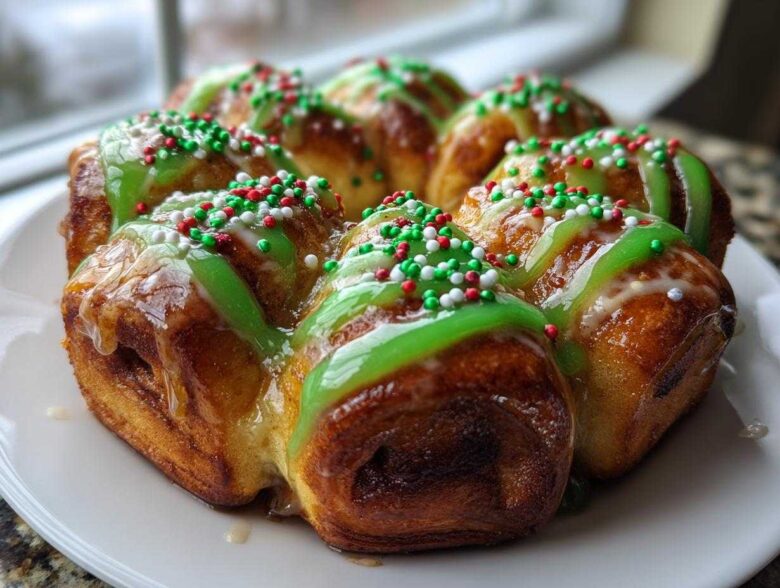
Christmas morning shouldn’t start with a stressful assembly line in the kitchen, right? That’s what Owen always reminds me, especially when the music is just right. We need joy, connection, and yes, something utterly delicious that basically screams holiday. That’s why I’m obsessed with these Christmas tree cinnamon rolls. They are the headline news of any festive spread! Forget complicated baking; these are easy, pull-apart beauties that look exactly like a decorated tree but come together so fast. They transform a chaotic morning into a moment worth celebrating with a little dance between the coffee maker and the counter. Trust me, announcing this dish is the best good news you’ll serve all season.
Why You Will Love These Easy Christmas Tree Cinnamon Rolls
Honestly, if you love cinnamon rolls but want something that feels truly special without requiring you to wake up at 4 AM, this recipe is your new holiday secret weapon. It hits every single mark we look for on a Festive Breakfast Idea morning. Here’s the good news about why this pull-apart creation is going straight onto your annual baking rotation:
- Instant Table Wow Factor: Let’s be real—the look of this thing is incredible! It’s a complete, edible centerpiece on a pan. Kids (and even grumpy relatives) will stop in their tracks when they see the tree shape.
- The Ultimate Shortcut: We are using store-bought dough here, and I won’t tell if you don’t! This cuts down the work by hours, meaning less time stressing over yeast and more time sipping hot cocoa. It truly makes this an Easy Christmas Tree Cinnamon Roll.
- Perfectly Pull-Apart Texture: Because we arrange the dough pieces slightly separated and then brush them with butter and sugar, they bake up fluffy and gooey. When you break off a piece, it stretches gloriously. It’s the best Fluffy Holiday Roll experience.
- Minimal Cleanup Drama: I usually bake these right on a pizza pan or a sheet pan lined with parchment if I’m feeling fancy. That means you skip the fuss of greasing and flouring a specialty mold. Less scrubbing means more time for merriment!
- Customizable Fun: While the green icing is classic, you can let the kids go wild with sprinkles, glazes, or little candy stars. It turns the whole thing into a wonderful Kids Holiday Baking Project before it even hits the oven.
Gathering Supplies for Your Christmas Tree Cinnamon Rolls
The beauty of this recipe is that we’re keeping things super simple, which is exactly what I need during the crazy holiday hustle. Owen usually takes charge of checking our pantry inventory because he claims he can’t resist ‘taste-testing’ all the cinnamon rolls when they’re still dough! Seriously though, using that refrigerated dough is the real magic here; it lets us focus entirely on making this a gorgeous Christmas Brunch Centerpiece rather than torturing ourselves with making dough from scratch.
Ingredients for the Fluffy Holiday Rolls
Keep your eyes peeled for these items at the store. Everything balances out to make sure these rolls are sweet, soft, and worth keeping around until Christmas Day!
- 1 (13.2 ounce) can refrigerated cinnamon roll dough (It *must* be the pack with 8 rolls total—that’s critical for the shaping!)
- 1/4 cup granulated sugar
- 1 tablespoon ground cinnamon
- 1/4 cup (1/2 stick) unsalted butter, melted
- 1/4 cup light brown sugar, packed
- 1/2 cup powdered sugar (for the icing)
- 2 tablespoons milk (or cream, if you’re feeling extra decadent!)
- 1/2 teaspoon vanilla extract
- Green food coloring (I like the gel kind if you have it; the color is richer)
- Assorted holiday sprinkles (The more colorful, the better, in my opinion!)
Essential Equipment for Shaping Christmas Tree Cinnamon Rolls
You don’t need fancy gadgets for this Shaped Cinnamon Rolls Recipe, thank goodness. Here are the few things you’ll want ready to go before you pull that dough out of the can:
- A pizza pan or a large, rimmed baking sheet (A pizza pan works best because the lip keeps the melted butter from running everywhere.)
- Small bowls for mixing the filling and the glaze.
- A pastry brush or a silicone brush for coating the dough with butter.
- A sharp knife or a pizza cutter for dividing the rolls evenly.
Step-by-Step Instructions for Shaped Cinnamon Rolls Recipe
Alright, this is where the fun really starts! Don’t let the shape intimidate you; it’s actually simpler than trying to perfectly swirl your own dough. I promise, by the time we’re done arranging this, you’ll feel like you just whipped up a beautiful, handcrafted centerpiece in minutes. Keep your mind focused, because the arrangement is everything here. If you’re looking for more easy baking ideas just like this one, you can check out all our latest headlines over on the blog!
Preparing the Dough and Cinnamon-Sugar Filling
First things first: get that oven working for us! You need to preheat it to the temperature listed on your store-bought can—it’s usually around 375°F (190°C). Don’t skip this! While it heats up, lightly grease that pizza pan or baking sheet. Now, for the flavor punch! Grab a small bowl and mix that 1/4 cup of granulated sugar with the tablespoon of ground cinnamon. Stir it vigorously until it looks uniform. This little mixture is what glazes the outside and gives us that amazing crisp, cinnamon-y bite around the edges while baking. Set that bowl of magic right next to your open can of dough so you’re ready to roll.
Mastering the Festive Dough Shape
This is the fun part, so put on some festive music! You need 7 of the rolls for the tree itself, and that last 1 roll is the trunk, got it? Take those 7 rolls and separate them. Now, here’s the trick: cut each of those 7 rolls straight in half. That gives you 14 little half-pieces. For the tree, you need to build rows starting with just one half-piece at the very top center of your pan. Then, build downwards in triangular layers, making each row wider than the last until you run out of pieces. Make sure there is a tiny little space between each half piece—they need room to puff up and touch their neighbors, creating that beautiful Pull Apart Christmas Bread effect. Finally, take that one leftover whole roll and slice it into four equal wedges. Arrange those four wedges right underneath the main triangle to make a sturdy little trunk!
Baking Your Christmas Tree Cinnamon Rolls to Golden Perfection
Once all your dough pieces are nestled into their tree shape, grab that melted butter and brush it generously over every single piece of dough. Then, sprinkle that pre-mixed cinnamon-sugar blend right over the butter. Now, slide that pan gently into the hot oven. You bake them exactly as the package tells you to, but aim for 15 to 20 minutes. I’m looking for that beautiful golden brown color, especially on the tips of the tree. When they look done and smell intoxicating—seriously, the whole house smells like Christmas morning—carefully pull them out. Let the tree sit on that pan for about five minutes only before you start icing. If you wait too long, the icing will just melt right off!
Creating the Perfect Green Glaze for Decorated Cinnamon Rolls
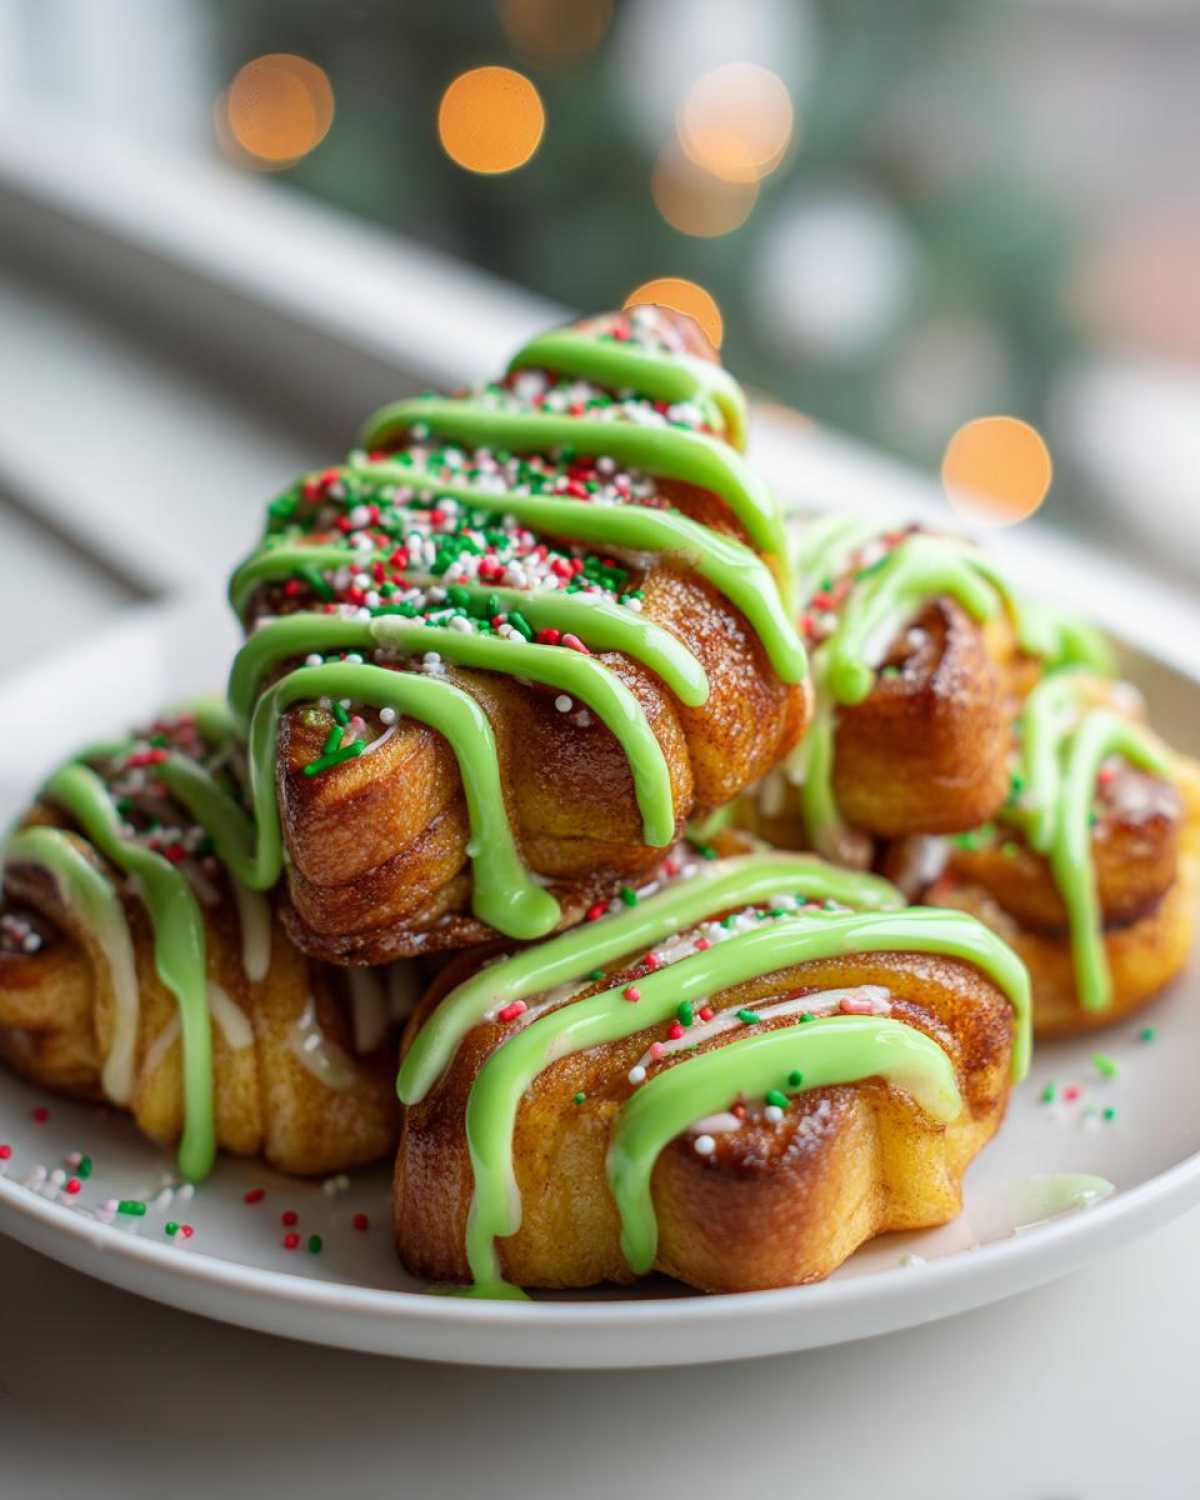
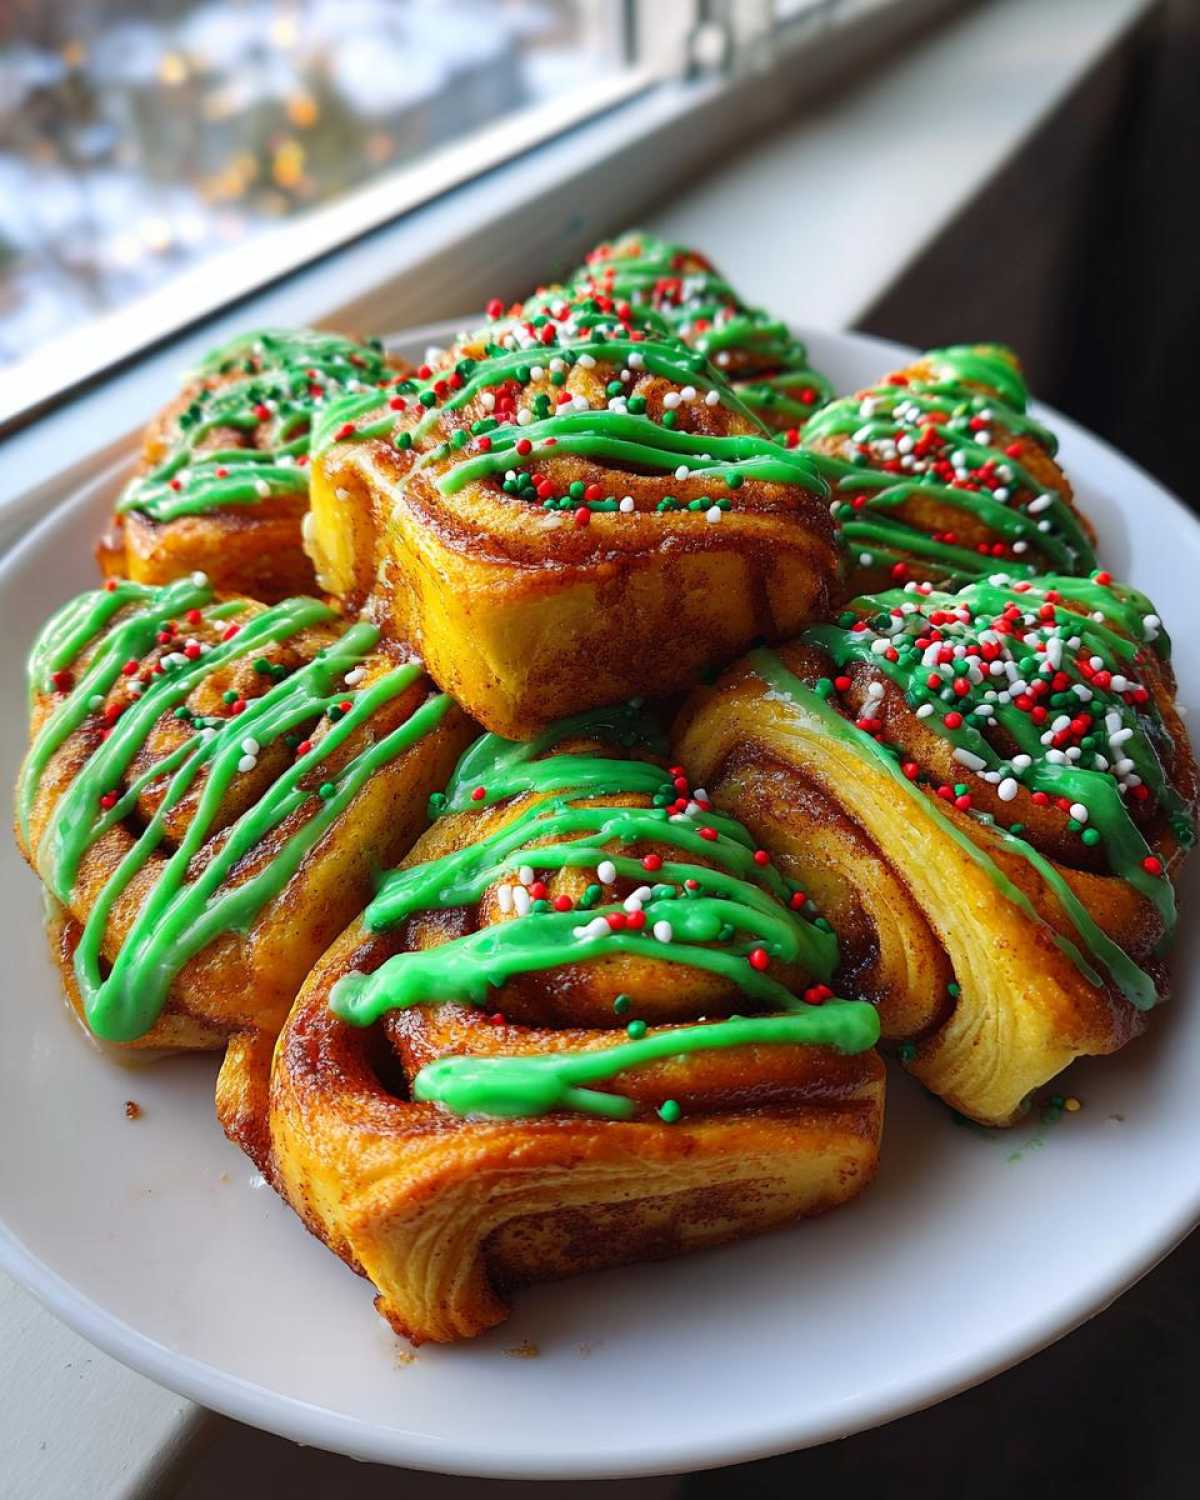
Okay, we have a stunning, fluffy tree, but what’s a Christmas tree without ornaments? We need that perfect, vibrant green icing to really seal the deal and make this the star of your Decorated Cinnamon Rolls lineup. I know those store-bought tubes of icing are tempting, but honestly, whipping up your own glaze in about 60 seconds is so much better, and it tastes way fresher.
This glaze is super simple, basically just powdered sugar and liquid, but the secret here is the color. You want that cheerful, bright green, not some weird, murky olive tone, right? I usually start with the powdered sugar in a bowl. Then, I add my milk just a tiny bit at a time—I mean, teaspoons only—while whisking like crazy. It’s so easy to add liquid, but impossible to take it out, so go slow!
Once it looks smooth and pourable (like thick honey!), it’s time for the green. I prefer gel food coloring if you have it, because those tiny drops pack a huge punch of pigment, unlike the watery liquid kind. Start with two drops, stir it in, and see what you get. You might need three or four drops total to get that perfect, jolly tint. If the glaze gets too thick while you’re coloring, just whisk in another half-teaspoon of milk until it flows beautifully off your spoon. I love to peek at my friend’s recipe for extra tips on frosting consistency, just in case I need a different base!
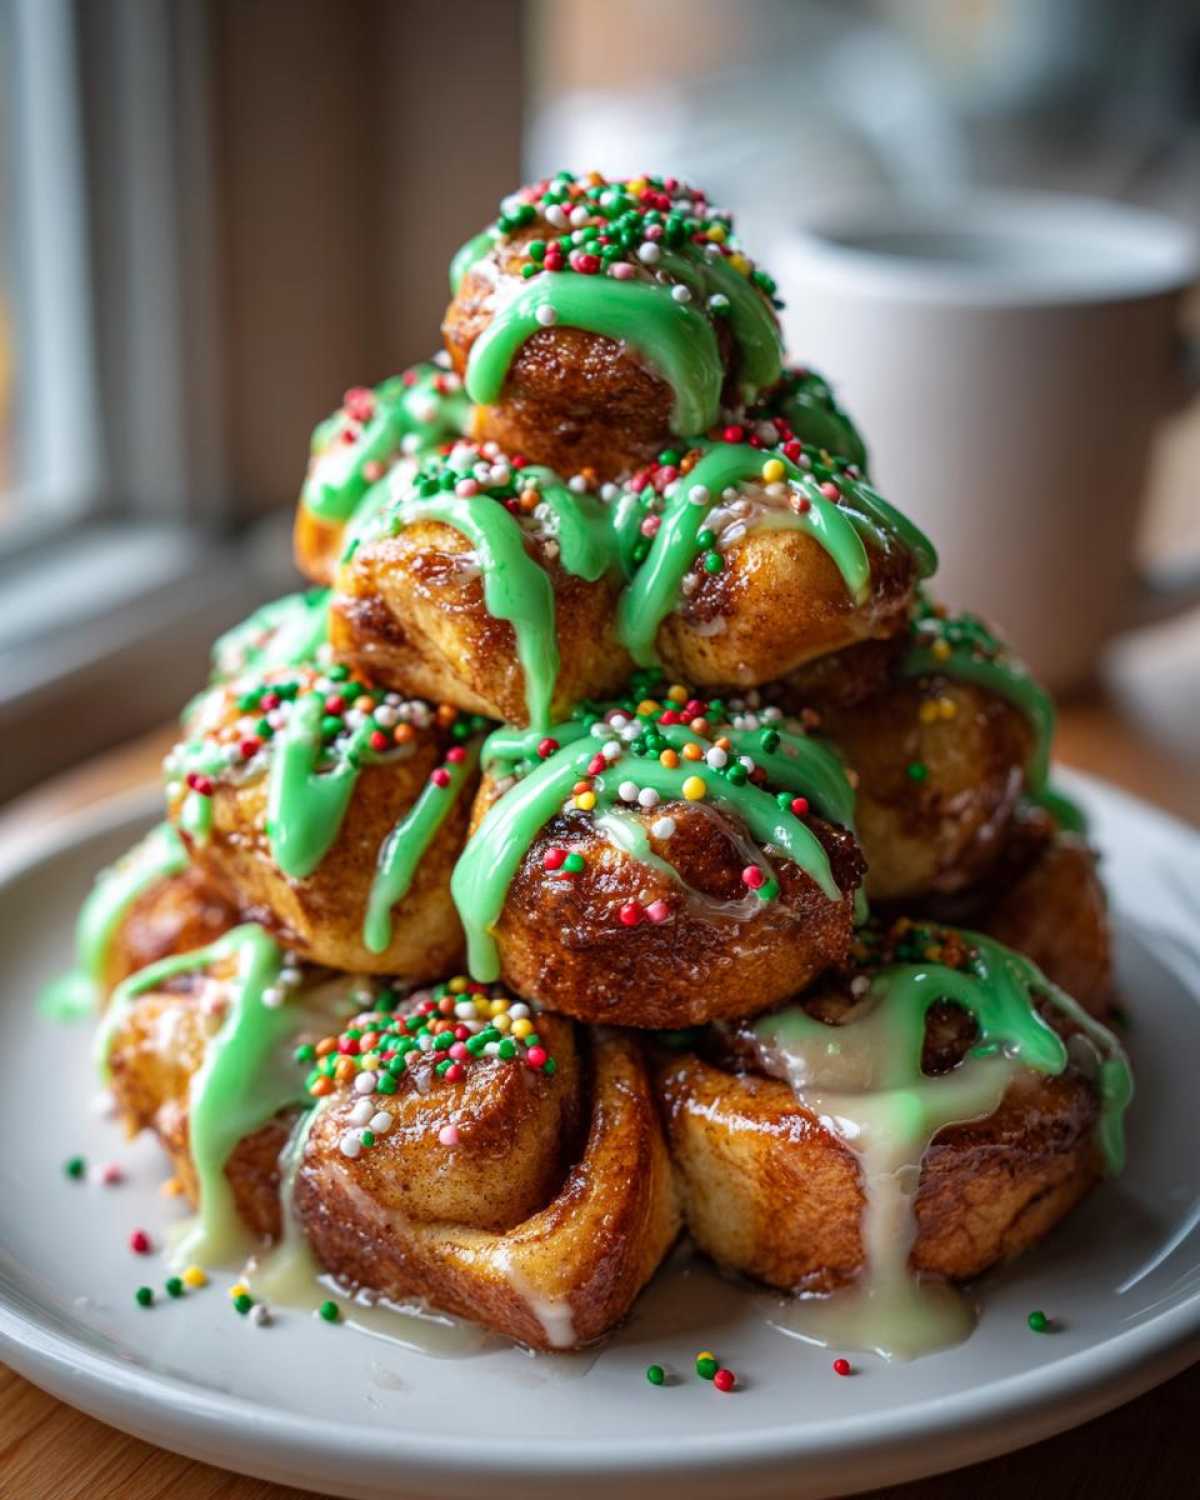
Once the tree has cooled for those five sacred minutes, drizzle that emerald-green goodness all over. And this is the final, most important announcement: Go heavy with the holiday sprinkles *immediately*. The green icing is still wet, and those little specks of red, white, and gold will stick instantly, turning your sweet bread into the most adorable holiday statement piece you’ve ever baked. Boom! Instant joy, zero stress.
Tips for Success: Achieving the Best Christmas Tree Cinnamon Rolls
Okay, look, I want your morning to go perfectly. I really do! But sometimes, even simple recipes have a tiny hiccup, especially when you’re trying to force dough into a specific shape. When I first tried this, Christmas morning was chaos because my tree looked more like a sad, lopsided blob instead of a beautiful festive triangle. That usually happens for two reasons, and I fixed both of them so you don’t have to suffer my initial mistakes!
The biggest trick relies on making sure those pieces of dough are cozying up to each other. Remember how we cut the 7 rolls in half? You *must* leave a tiny, maybe quarter-inch gap between each piece on the pan. If you press them all tightly together before baking, they over-proof and merge into one big dough blanket. But when the heat hits them, they naturally spread perfectly to meet their neighbors, creating that ideal, soft pull-apart texture. It’s like magic geometry!
If your dough starts looking like it won’t spread enough—maybe your kitchen is cooler than usual—here’s my fix. After arranging your tree and the trunk, take a clean, dry finger and gently press down on the *sides* of the wedges where they touch. You are just easing them closer together slightly. Don’t squish them flat, just encourage them! This lets them bake together nicely enough so you get that unified holiday shape, but leaves enough room for that wonderful warm buttery interior to cook through.
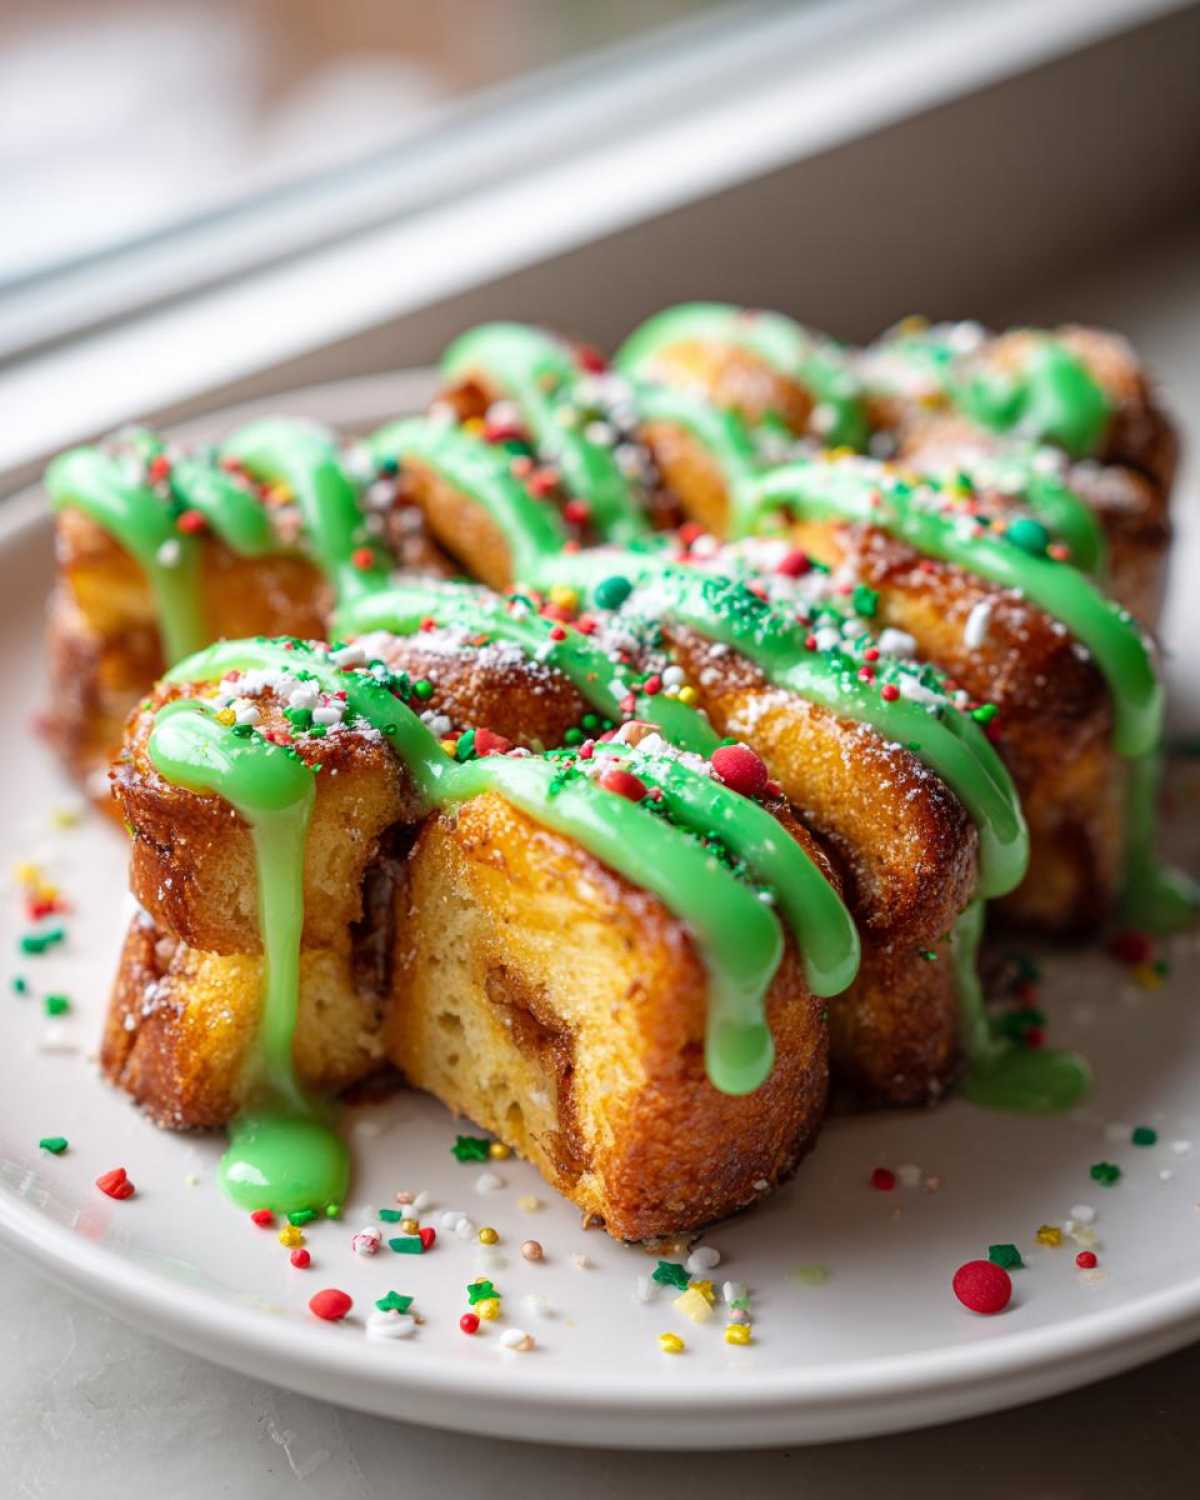
Another thing, especially if you’re using the **store bought dough Christmas tree** hack: keep the icing warm but don’t drown the warm rolls! Too much hot glaze melts right off and pools at the bottom of the pan. Drizzle thin, let it set for a minute, then add your second light layer of green, and *then* hit it with the sprinkles. This layering technique keeps the decorations looking crisp and bright, like actual ornaments, instead of just dissolving into the frosting.
Oh, and one final, slightly cheeky tip? If you use the icing packet that came with the rolls *first* (like the recipe notes suggest as an option), wait until it’s completely cooled and hardened up a bit before you pour your homemade green icing on top. That way, you get two distinct layers of sweetness, and the green stays bright green, not muted brown! It’s a little extra step, but it doubles down on the fun for their first bite.
Serving Suggestions for Your Christmas Brunch Centerpiece
Now that we have this gorgeous, fluffy, pull-apart tree shining on our table, the next announcement we have to make is what we’re eating *with* it! These sweet rolls are rich, so they pair wonderfully with something bright or something warm and comforting. Forget stressing over a huge, complicated menu; this tree is the star of the show, a true Holiday Morning Treat that deserves center stage. We usually serve this up on Christmas morning after the gifts are opened, keeping the menu low-key but festive.
For drinks, you absolutely need coffee, but make it special! We usually brew a pot of our favorite roast and set out fun additions like flavored creamers or some whipped cream, because why not? If you’re having friends over for a mid-morning brunch, you have to whip up a pitcher of something bubbly. I highly recommend making my Apple Cider Moscow Mules—they bring the perfect spice and fizz without being too heavy. They’re festive without being childish!
If you really feel the need to balance out all that sugar—and I get it, the kids are sugared up fast—keep your savory sides super simple. You don’t want anything that takes hours. Think about things you can prep the night before. I love having some simple baked eggs or a platter of pre-cooked sausage links ready to go. A big bowl of fresh, bright fruit is a must, too. Some nice ruby red grapefruit segments, bright orange slices, or a bowl of colorful berries really makes the greens and reds of the tree pop!
For more brilliant ideas on how to round out your entire holiday breakfast spread, my friend over at Homemade Interest always has the best roundup of inspiration, like their list of great ideas. Keep it light, keep it cheerful, and let that cinnamon tree do most of the heavy lifting for your Christmas Brunch Centerpiece!
Storage and Reheating for Leftover Christmas Tree Cinnamon Rolls
Okay, deep breaths. If by some miracle you actually have any **Christmas tree cinnamon rolls** left over after the main event, don’t panic! These are just as delicious the next morning, even if they’ve settled a bit. The important thing to know right away is that the incredible tree shape? It probably won’t survive storage perfectly. They’ll relax and flatten out a bit as they cool completely and compress, turning into a gorgeous, if slightly less majestic, tray of pull-apart rolls.
If you eat them within 24 hours, just cover the pan tightly with plastic wrap or transfer them to an airtight container and keep them right on the counter. Seriously, at room temperature is fine because of all that sugar in the dough and glaze. But you’re really looking for that fresh-out-of-the-oven fluffiness again, aren’t you? I totally get it.
Reheating is the name of the game to bring back that soft, gooey texture. Here’s what I do:
- Oven Revival (Best Method): This is the winner for bringing back the most texture. Scoop out your desired sections—you don’t need to bake the whole tree again!—and place them on a small, oven-safe dish. Tent them loosely with foil so they heat through without drying out the tops. Bake at about 300°F (150°C) for 8 to 10 minutes. When they are piping hot and soft, pull them out! Instant “Holiday Morning Treat” redux!
- Microwave Magic (Fastest Method): If you only have one section and you need it *right now*, the microwave works, but you have to be careful. Place a single roll section on a plate and cover it loosely with a damp paper towel. Microwave on 50% power for about 15-20 seconds. Less power for longer is better than high power for a short time, which turns them chewy rubber bands. This definitely softens them up in a pinch!
I definitely wouldn’t recommend freezing these if you can help it, especially since they look so fantastic fresh. But if you *must* save them until next week, wrap the un-iced rolls tightly in plastic wrap, then pop them inside a freezer bag. They should last about a month. When you’re ready, thaw them overnight in the fridge, then follow the oven revival steps above!
Frequently Asked Questions About Shaped Cinnamon Rolls Recipe
Whenever Owen and I post pictures of this tree, we get flooded with messages asking about the details. It’s wonderful that so many of you want to make this **Fun Christmas Breakfast**! Here are the most common things people ask me about the shaping and the icing. It’s usually about swaps, since everyone’s pantry looks a little different during the holidays.
Can I use my favorite homemade cinnamon roll dough instead of the store-bought kind?
Oh, you absolutely can! If you have a tried-and-true homemade dough recipe that you already trust, go for it. That’s what I love about turning this into a true **Kids Holiday Baking Project**—you can adapt it to your rhythm. The only thing you have to watch out for is the quantity. Since this recipe is built around that specific 8-roll pre-packaged can, you’ll need about 1.5 to 2 pounds of your own fully risen dough. Make sure you roll it out into a large rectangle before you start cutting and portioning for the tree shape. It just takes a little more initial measuring on your part!
How much thicker should the green icing be for a better decoration effect?
That’s a great question, especially if you hate runny frosting! My homemade glaze is deliberately on the thinner side so it flows nicely over the nooks and crannies of the tree branches, but if you want that thick, almost butter-cream consistency—the kind that sits up on top like a dollop—you simply need way less milk. I suggest starting with the 1/2 cup powdered sugar and only adding milk one *teaspoon* at a time, mixing totally after each addition. Add the green coloring right near the end. You want it thick enough that when you lift your spoon, the line of glaze holds some shape before slowly dripping back into the bowl. If you add too much liquid, just whisk in another tablespoon of powdered sugar to bulk it back up. Easy fix!
Can I assemble this the night before, like a true make-ahead holiday treat?
You can assemble about 90% the night before, which is what I suggest for any kind of **Sweet Christmas Morning** peace! You can cut, shape, butter, and sugar the dough exactly as written, arrange the whole tree shape on the pan, and cover it tightly with plastic wrap. Store it *in the refrigerator* overnight. The cold keeps the dough from proofing up too much while you sleep. Then, first thing in the morning, pull it out, let it sit on the counter for about 30 minutes to warm up slightly, and pop it in the preheated oven. The only thing you absolutely *must* save until after it bakes is the green icing and the sprinkles. You don’t want your ornaments melting overnight!
What if my cut pieces don’t spread out enough to touch while baking?
If you suspect they won’t touch—maybe your dough was cold coming straight from the fridge or your kitchen is chilly—you’ll need to cheat a tiny bit during the arrangement phase. Before baking, gently nudge the pieces on the pan so the sides are just barely kissing or overlapping by a millimeter or two. If you want a true pull-apart experience, a little overlap is perfect. If you are worried about that, you can always use a little bit of the reserved melted butter to paint a tiny dab right on the edges where two pieces meet. That acts like a little sticky glue to help them fuse during baking, creating one gorgeous, cohesive tree that’s still soft inside. It’s a great trick for any kind of shaped bread, really!
Estimated Nutritional Data for Christmas Tree Cinnamon Rolls
When we herald the good news about these amazing Holiday Morning Treats, people often ask if they are going to completely derail their entire Christmas Day budget of treats! I totally get it—when something tastes this festive, you figure the nutrition label must be a mile long. But since we are using that store-bought dough, we have a pretty solid baseline for what we’re working with here in terms of our Christmas tree cinnamon rolls.
Now, I need to be super clear, like I’m editing a headline for clarity: this breakdown is an **estimate**. It’s based on the standard refrigerated dough plus the butter, sugar, and icing ingredients we added. If you decide to double the cinnamon-sugar mix or go heavy on the sprinkles (which, honestly, I support!), your numbers will shift a bit. But this gives you a good ballpark for planning your celebrations!
Here is what you can generally expect per section of the baked tree (serving size is based on breaking the whole tree down evenly into 8 large servings):
- Calories: Around 350
- Fat: Approximately 18 grams (with 9 grams of that being saturated fat from the butter, yum!)
- Carbohydrates: Roughly 45 grams
- Sugar: About 30 grams (This is where the joy lives!)
- Protein: About 5 grams
- Cholesterol: Around 25mg
- Sodium: About 450mg
See? Not too bad for a centerpiece that looks like you spent half the day slaving over it! It’s the perfect balance of holiday indulgence that still leaves room for enjoying the rest of your truly special day. Enjoy announcing this deliciousness!
Share Your Sweet Christmas Morning Creations
And just like that, the big announcement is made—your kitchen smells absolutely incredible, and sitting right there on the cooling rack is the most adorable piece of holiday baking you’ve ever produced! I’m Stella, and this is the part I honestly love the most: hearing how this headline showed up in *your* homes. Sharing recipes is like sending out a good news dispatch, and I can’t wait to read yours!
Did your kids have fun arranging the dough wedges to make the perfect tree shape? Did Owen put on a great playlist while you were glazing? I want to hear all the details! Drop a comment down below and tell me how your **christmas tree cinnamon rolls** turned out. I always check the comments to pick up new tips or just to see the amazing photos you share!
If you ended up tweaking the recipe—maybe you used orange zest in that green icing like I mentioned earlier, or perhaps you tried freezing the dough for a few days—please let me know! Your experience helps the next person who comes looking for that perfect Festive Breakfast Idea feel confident tackling it on the big day.
And if you took a photo of your finished, sprinkle-covered masterpiece resting proudly on the table, please share it! You can tag us on social media or send a note through our contact page. Seeing your beautiful holiday creations is truly the best news I get all season. We link to some of my favorite examples, like Chloe’s beautiful presentation here!
Thank you so much for reading our dispatch today. I hope this recipe brings a little extra joy, connection, and maybe even a little spontaneous dance party to your Sweet Christmas Morning. Happy Holidays, and I hope to hear from you soon!
PrintEasy Pull-Apart Christmas Tree Cinnamon Rolls

Make your holiday mornings special with these adorable cinnamon rolls shaped like a Christmas tree. This recipe uses store-bought dough for simplicity, making it a fun, festive breakfast centerpiece.
- Prep Time: 10 min
- Cook Time: 20 min
- Total Time: 30 min
- Yield: 8 servings
- Category: Breakfast
- Method: Baking
- Cuisine: American
- Diet: Vegetarian
Ingredients
- 1 (13.2 ounce) can refrigerated cinnamon roll dough (8 rolls total)
- 1/4 cup granulated sugar
- 1 tablespoon ground cinnamon
- 1/4 cup (1/2 stick) unsalted butter, melted
- 1/4 cup light brown sugar, packed
- 1/2 cup powdered sugar
- 2 tablespoons milk
- 1/2 teaspoon vanilla extract
- Green food coloring
- Assorted holiday sprinkles
Instructions
- Preheat your oven to the temperature specified on the cinnamon roll container, usually 375°F (190°C). Lightly grease a round pizza pan or a large baking sheet.
- In a small bowl, mix the 1/4 cup granulated sugar and 1 tablespoon ground cinnamon. Set aside.
- Unroll the store-bought cinnamon rolls. Separate the rolls. You will need 7 rolls for the tree shape and 1 roll for the trunk.
- Cut the 7 rolls into smaller pieces. Cut each of the 7 rolls in half, creating 14 half-pieces. These will form the branches of the tree.
- Arrange the dough pieces on the prepared pan to form a Christmas tree shape. Place one half-piece at the top center for the tree top. Arrange the remaining 13 half-pieces in rows below it, making the rows wider as you go down to create a triangle shape. Leave a small space between each piece so they can expand and touch while baking.
- Take the remaining whole cinnamon roll and cut it into four equal wedges. Arrange these four wedges at the bottom center of the triangle shape to form the tree trunk.
- Brush the melted butter over all the dough pieces. Sprinkle the cinnamon-sugar mixture evenly over the buttered dough.
- Bake according to the package directions, usually 15 to 20 minutes, or until the rolls are golden brown and cooked through.
- While the rolls bake, prepare the icing. In a medium bowl, whisk together the powdered sugar, milk, vanilla extract, and 2-3 drops of green food coloring until smooth. Adjust the color as needed.
- Remove the baked rolls from the oven and let them cool on the pan for about 5 minutes.
- Drizzle the green icing generously over the warm cinnamon tree.
- Immediately decorate with your assorted holiday sprinkles to look like ornaments.
- Serve warm as a festive breakfast or holiday morning treat.
Notes
- For an extra sweet and gooey result, you can use the icing packet included with the store-bought dough first, then drizzle your homemade green icing over it.
- If you want a pull-apart bread experience, make sure the dough pieces are touching slightly before baking.
- This is a great kids holiday baking project; let them help arrange the dough pieces into the tree shape.
Nutrition
- Serving Size: 1 roll section
- Calories: 350
- Sugar: 30
- Sodium: 450
- Fat: 18
- Saturated Fat: 9
- Unsaturated Fat: 9
- Trans Fat: 0
- Carbohydrates: 45
- Fiber: 1
- Protein: 5
- Cholesterol: 25