

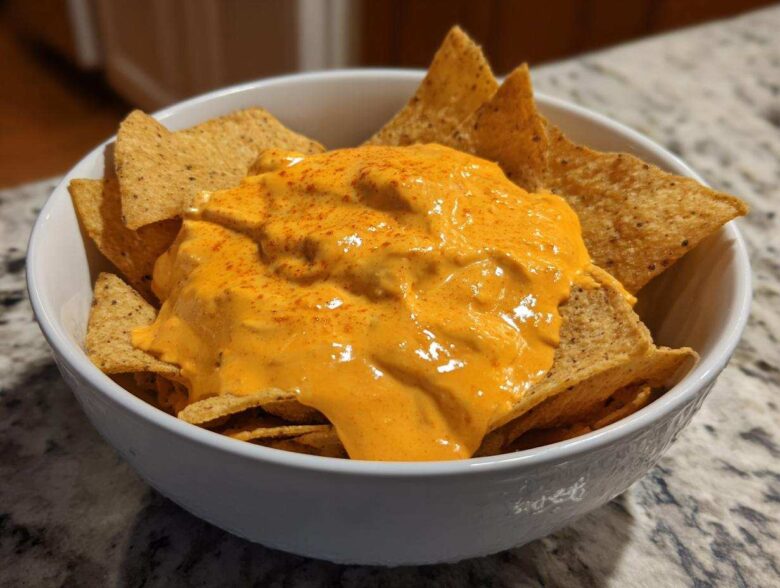
You know that moment when you’re reaching for the chips, and the only thing available is that sad, jarred orangey stuff? Yeah, we don’t do that here anymore. For Stella and me, food has to be exciting, a headline worth shouting about, and that includes even the simplest dip! Forget those heavily processed tubs; they just don’t bring the joy.
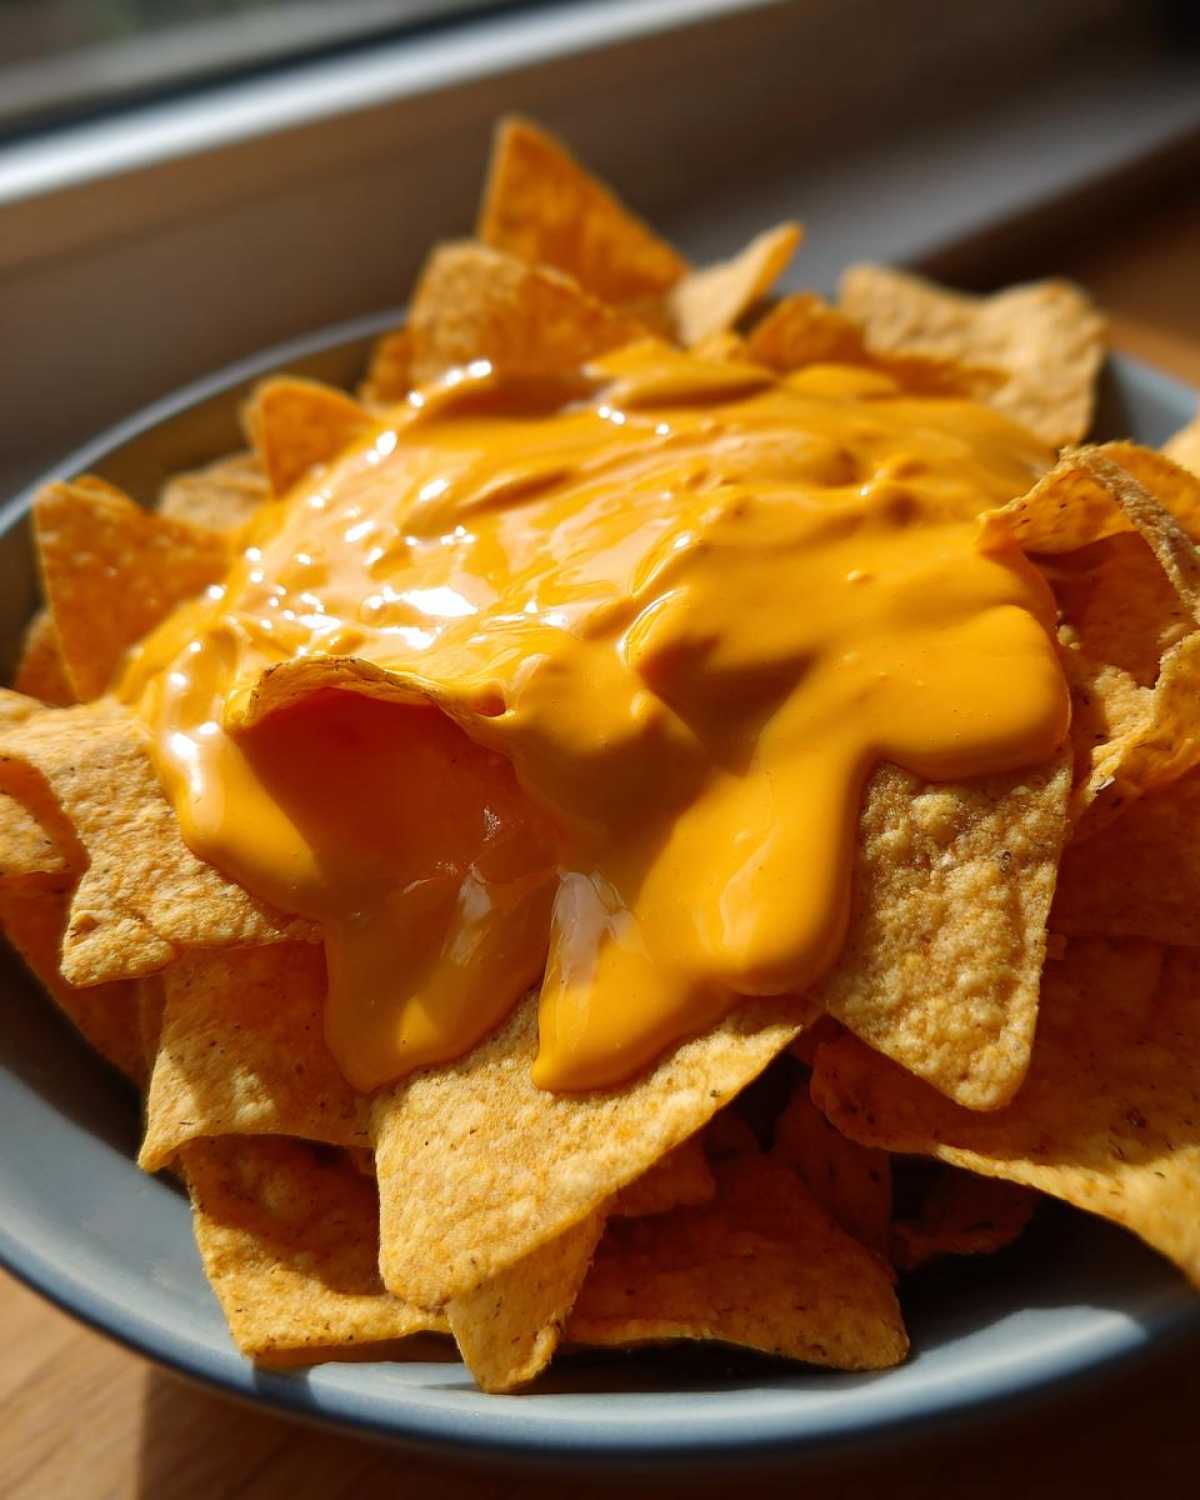
I’m Owen, and I’m telling you right now, making this unbelievably smooth, gloriously cheesy **nacho cheese** sauce from scratch is faster than driving to the store. Seriously, it takes less than 15 minutes! When this thick, luxurious sauce comes together—that perfect **Restaurant Style Cheese Sauce**—it’s a real news flash in the kitchen. It’s so good, it almost deserves its own dance party right on the counter. You can definitely read more about our kitchen chronicles over on the main blog if you want to see what other good news we’re reporting!
Why This Homemade Nacho Cheese Recipe Is Your New Go-To
Listen, I get it. Sometimes you need that comforting cheese fix *now*. That’s the beauty of this recipe; it delivers the huge, satisfying flavor you want without the long wait time. We’re talking about real, sharp cheddar taste, not that weird canned stuff. When you make this **nacho cheese** at home, you immediately win flavor points.
Here’s why this recipe jumps right to the top of your favorites list:
- It tastes intensely cheesy because we use real, good-quality shredded cheese—not fillers!
- It transforms from simple pantry staples into golden sauce super fast.
- It’s miles better than anything you buy in a plastic jar. Trust me, once you taste this fresh batch, you won’t go back. You can check out how we use cheese in our layered pizza dip too, for more cheesy goodness!
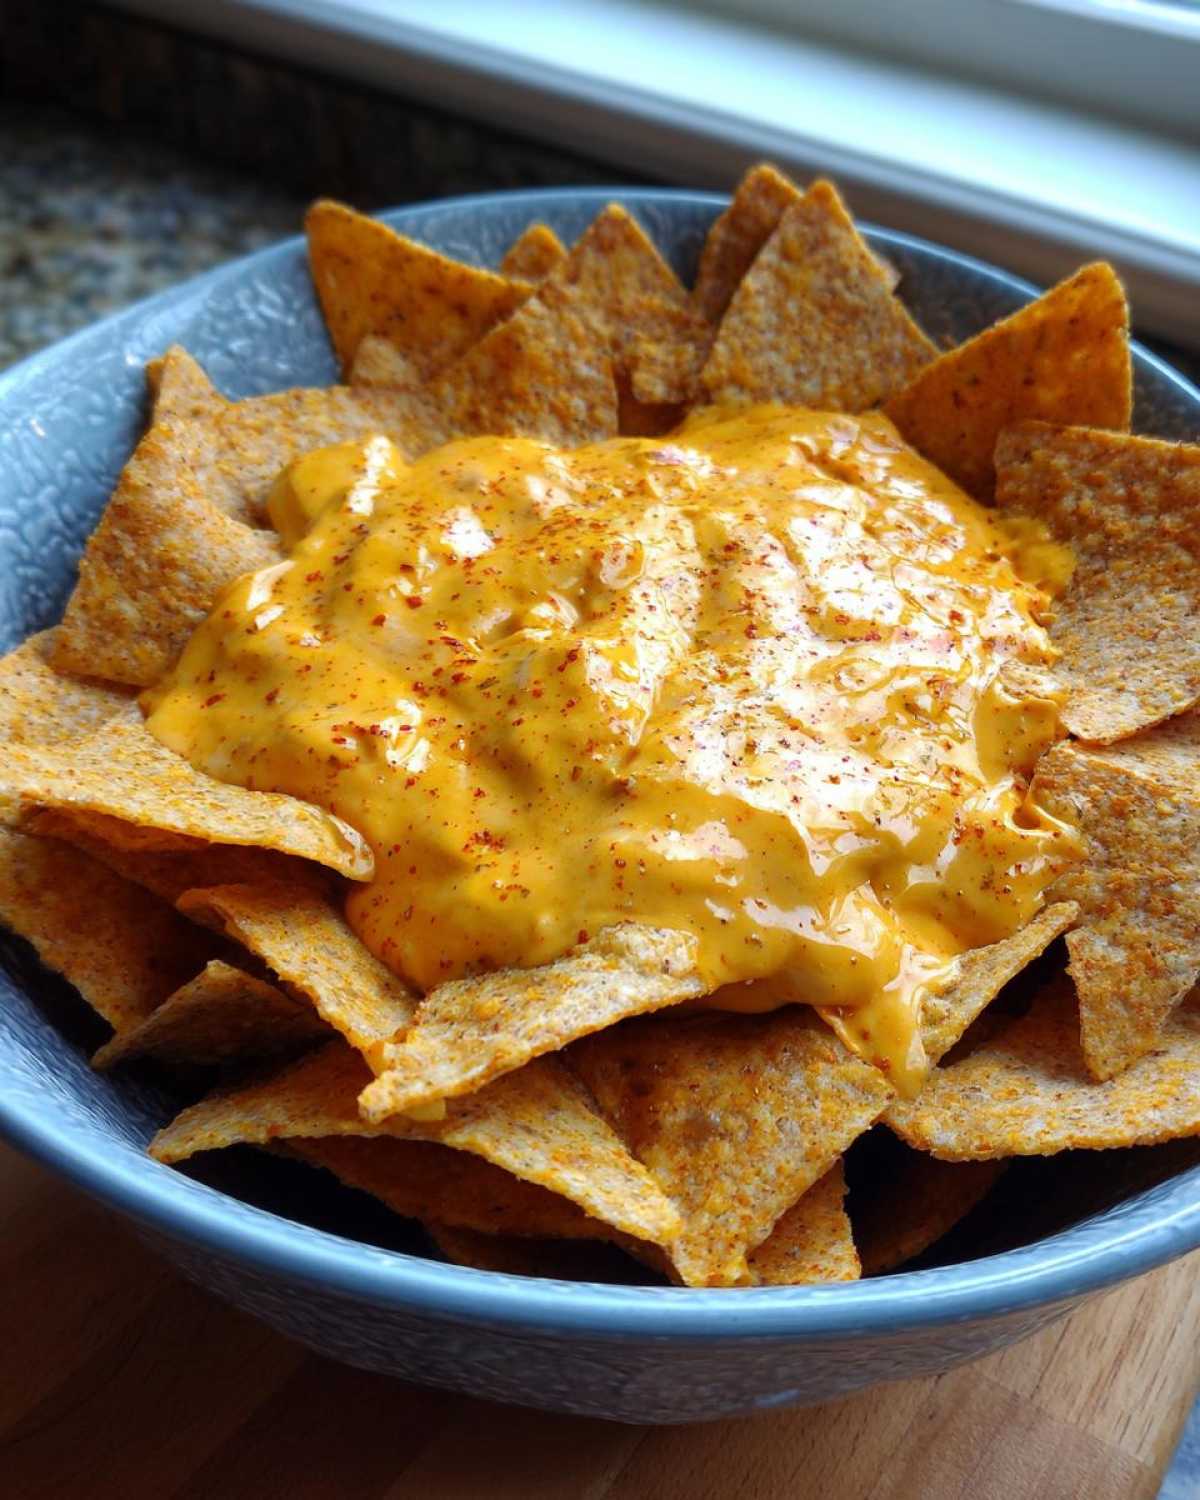
Achieving a Velvety Cheese Sauce Texture
The secret to avoiding that gritty or grainy texture that ruins so many cheese sauces? It’s all in the technique, folks. We start with a tiny roux—that’s just butter and flour cooked together—which stabilizes the milk. Then, the absolute key is taking the pan off the heat before we introduce the cheese. This gentle melting process is what guarantees you get a perfect, **velvety cheese sauce** every single time. It stays smooth, even as it cools a little!
Quick Nacho Dip Ready in Under 15 Minutes
Talk about instant gratification! Between chopping a few things and stirring, you’re looking at maybe 5 minutes of prep time. The cooking part takes barely 10 minutes total. If you need a seriously satisfying **quick nacho dip** for an unexpected movie night or game day rush, this recipe is your hero. It’s real food, made fast.
Gathering Ingredients for Your Nacho Cheese Sauce
Okay, let’s get our ingredients ready! This simple recipe shines because it uses ingredients you likely have on hand, but please, hear me out on one thing: shredding your own cheese is non-negotiable if you crave that ultra-smooth finish. Pre-bagged stuff has coatings that make it clump up, and we definitely don’t want sad, lumpy cheese here! We use a mix of sharp cheddar and Monterey Jack for the best color and flavor.
You’ll need:
- Two tablespoons of butter—yep, the real stuff!
- Two tablespoons of all-purpose flour.
- One cup of whole milk.
- Eight ounces of sharp cheddar cheese, freshly shredded.
- Four ounces of Monterey Jack cheese, shredded.
- Salt, garlic powder, and just a tiny pinch of cayenne if you’re feeling bold.
If you’re looking for other simple flavor boosters, you should check out my recipe for homemade garlic butter—it’s another pantry powerhouse!
How to Prepare Smooth Nacho Cheese
This process is ridiculously fast, but it requires your full attention for about ten minutes. Think of it as a quick kitchen performance! The foundation of any amazing cheese sauce is the roux, and we nail that first. If you’ve been meaning to upgrade your dipping game, this assembly process is what takes us from sad milk to the creamiest **nacho cheese** you’ve ever tasted.
Making the Roux Base for Creamy Cheese Sauce from Scratch
First, grab a medium saucepan—nothing too tiny, we need room to whisk! Melt your butter over medium heat. Once it’s shimmering nicely, dump in the flour and start whisking immediately. You’re making a quick paste, which we call a roux. Cook that mixture, stirring constantly, for one full minute. This quick cook dissolves that raw flour taste and is the crucial first step for achieving that true **creamy cheese sauce from scratch** texture. It should look like wet sand; don’t let it brown!
Next, we slowly pour in the milk while we *keep whisking* like crazy so there are zero lumps. Keep that whisk moving until it starts bubbling slightly and thickens up enough to coat the back of a spoon. That usually takes about three to five minutes. Now, this next part is super important!
Melting the Cheese for Perfect Nacho Cheese
As soon as that milk sauce is thick, yank the pan right off the burner! Seriously, stop the heat. We add our shredded cheddar and Jack cheeses, salt, garlic powder, and cayenne (if you’re using it) now. Stir gently until the cheese is totally melted into a gorgeous pool of **smooth cheese sauce recipe** perfection. If you try to melt the cheese while it’s still boiling on the heat, it often seizes up and gets grainy. We want velvet, not grit! Be gentle, stir until just combined, and rush it straight to the table. If you’re having trouble keeping up, remember you can always check out my recipe for white chicken enchiladas—those need warm sauce too!
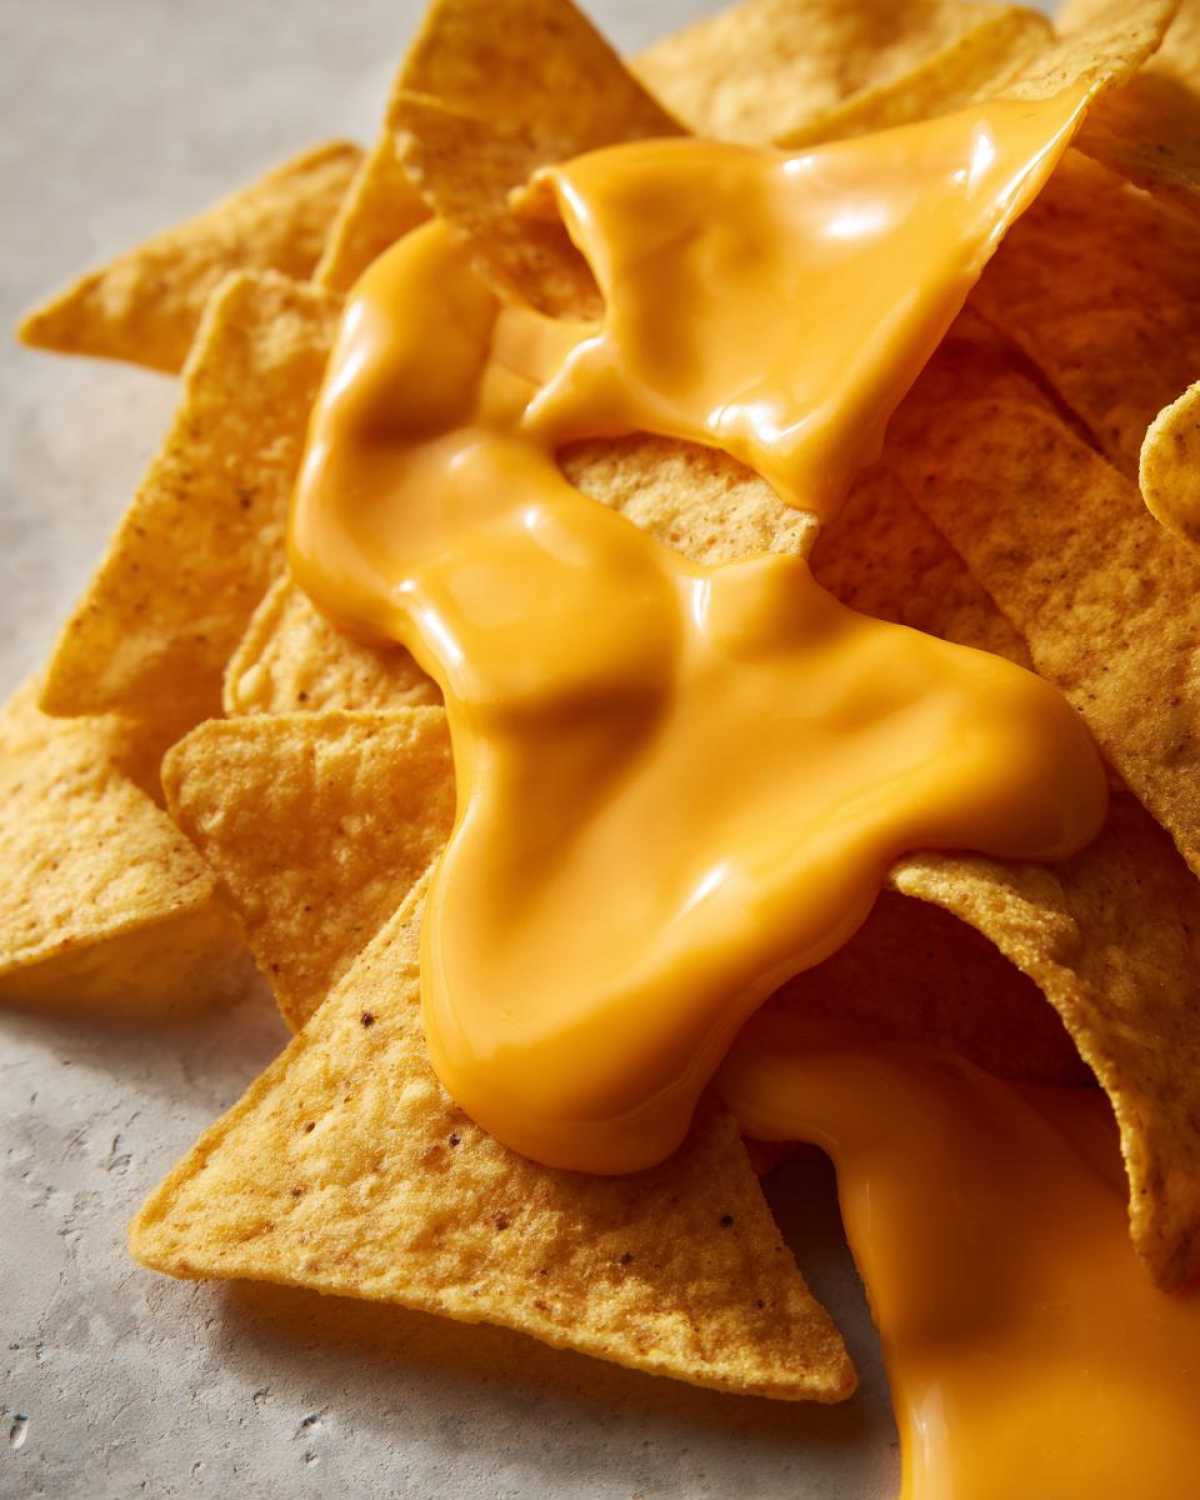
Expert Tips for the Best Nacho Topping
Okay, you’ve got the technique down, but let me give you the gospel on making this your absolute best **nacho cheese** yet. My biggest failure early on? I got lazy and used the pre-shredded stuff. Wow, what a mistake! I mean, it melted eventually, but it looked stringy and separated almost immediately. I learned the hard way that those anti-caking agents are the enemy of smooth cheese.
Always, always shred your own cheese—that’s rule number one for a proper melt. Rule number two: when you add that beautiful shredded cheddar and Jack to the roux, make absolutely sure the heat is OFF. Keeping the heat low when adding the cheese is the only way to get that gorgeous, velvety finish that makes this the **best nacho topping** around. My secret weapon when I accidentally let it get too hot? A splash of cold milk whisked in off the heat brings it right back from the brink. You can read more about my cooking mishaps (and successes!) over on my roasted chicken post—we all have them!
Versatile Uses for Your Nacho Cheese
Honestly, once you have this **nacho cheese** recipe down, you’ll be looking for excuses to use it. It’s not just for chips, even though that’s how most people start! When I make a batch this good, I find myself drizzling it on everything in sight. It instantly elevates any snack from zero to hero status, and that’s the kind of good news Stella and I love heralding around here!
We’ve already established it’s the ultimate partner in crime for tortilla chips—truly the best of the **dipping sauces for chips** you can find. But don’t stop there! Think about game day snacking. Forget plain fries; when you drench them in this sauce, you’ve instantly upgraded to incredible.
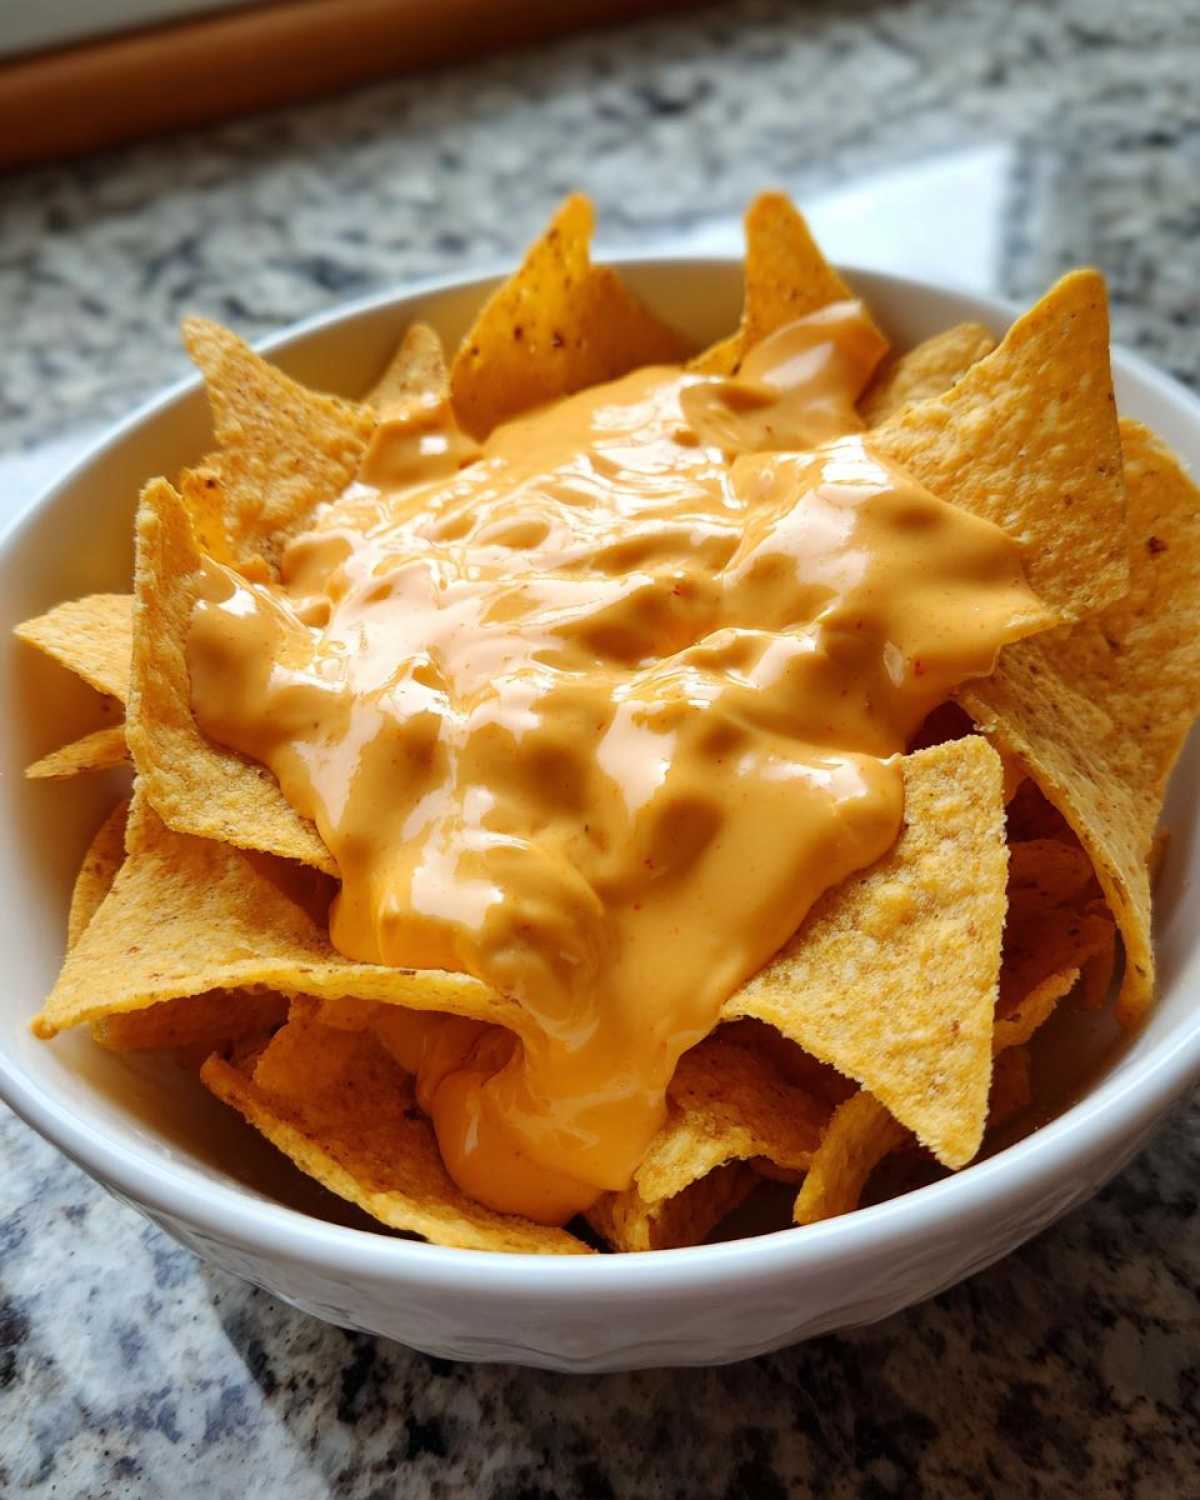
Seriously, try it as a **cheesy fry topping** next time you’re craving something decadent. My favorite low-effort dinner now is just microwaving a couple of big, fluffy baked potatoes and pouring this glorious sauce over the top, maybe with some chopped green onions. It’s incredible on tacos, mixed into scrambled eggs (don’t knock it ’til you try it!), or even as a binder when making homemade mac and cheese when you’re in a pinch. If you want to use cheese in a soup form sometime, check out how we do loaded baked potato soup!
It works anywhere you need a burst of smooth, melty, salty goodness. Just keep a batch warm on the stove at low heat, and you’re ready for snacking happiness all evening.
Storage and Reheating Instructions for Nacho Cheese
So, if you somehow manage to have leftovers—which I seriously doubt because this stuff is dangerously good—the cleanup process is easy, but you need to know how to bring it back to its original glorious state! We want to preserve that velvety texture we worked so hard for, right? Nobody wants sad, stiff cheese sauce the next day.
You can absolutely keep this sauce in the fridge. Pop it in an airtight container—a mason jar works great for me—and it should stay perfectly fine for about four to five days. Don’t worry if it firms up completely once it chills; that’s normal when you use real cheese instead of processed stabilizers!
When it’s time to reheat, I strongly recommend taking it slow on the stovetop. Place the sauce gently in a small saucepan over the lowest heat setting possible. You must stir it constantly while it warms up. If you notice it seems too thick or stiff, just splash in a teaspoon or two of whole milk at a time until it loosens up and gets back to that wonderful, pourable consistency.
You *can* use the microwave, especially if you are only reheating a small amount, but you have to be vigilant! Microwave in 15-second bursts, stirring well in between each blast. Microwaves heat unevenly, and if you forget it for too long, you risk it separating or getting tough. Slow and low is always the safest bet for reheating any sauce made from scratch. If you ever need a slow-cooking comfort meal, you can check out my recipe for beef stew!
Frequently Asked Questions About Making Nacho Cheese
I know questions always pop up when you deviate from the jarred stuff. Cooking with real ingredients is amazing, but sometimes you need confirmation that you’re on the right track. We get asked the same things all the time when we bring this dip to parties! Don’t worry, we’ve got the answers so your cheesy experience is always a celebration.
Can I use pre-shredded cheese in this nacho cheese recipe?
Oh, friend, please don’t! I learned this lesson the hard way, as I mentioned above. Pre-shredded cheese is coated with things like potato starch or cellulose to keep the shreds from clumping together in the bag. Guess what those things do to your saucepan? They cause clumpiness and graininess in your final sauce! For the silkiest, smoothest result possible—the kind of **creamy cheese sauce from scratch** that melts perfectly—you absolutely must buy a block of cheddar and Monterey Jack and shred it yourself. It takes two extra minutes, but it makes the entire recipe worth it.
How do I make this a Copycat Taco Bell Cheese Sauce?
This recipe is already incredibly close to that iconic fast-food flavor! We are using high-quality cheeses, which gives ours a much better taste, but the core flavor profile is definitely there. If you’re aiming for that specific, slight tang and gentle heat, the key is that tiny bit of spice. Make sure you include that small measure of cayenne pepper we listed in the ingredients. That little kick mimics that classic flavor note perfectly. If you need another great copycat recipe, check out my post on easy egg bites!
Also, if you’re making this for Game Day Dip Ideas or any big gathering, you might want to make a double batch. It disappears fast!
Nutritional Estimates for Your Homemade Nacho Cheese
Now, I’m Owen, and while I’m all about making delicious food that tastes like a celebration, I know some of you are keeping track of the numbers. So, here’s the deal: because we are cooking with real ingredients—real butter, real cheese—the exact count is going to vary slightly based on the brands you pick up! Think of this as a friendly guideline rather than a strict rulebook.
These figures are calculated based on the recipe ingredients, using a standard serving size of about 1/4 cup of the finished sauce. If you’re using a sharper cheddar or maybe a full-fat milk, the numbers might shift a little, but this gives you a great baseline for what you’re enjoying!
For example, for that 1/4 cup serving size, you’re looking at roughly:
- Calories: Around 180
- Fat: About 15 grams (that comes from the lovely butter and cheese!)
- Protein: A solid 9 grams, which is great for a simple dip!
- Sodium: Usually hovering around 350mg.
Remember, this is *so* much better than the stuff in a can because we are controlling what goes in. We are skipping all those questionable stabilizers and sticking to simple dairy goodness. If you want other recipes where we nail the measurements for something sweet, like my fantastic vanilla buttercream frosting, let me know! Cooking with real stuff just tastes like winning the lottery, doesn’t it?
Share Your Nacho Cheese Success Story
Now you have the recipe that guarantees a smooth, amazing batch of **nacho cheese**! Seriously, turn up the music loud enough for the whole neighborhood to hear, because finding a dip this good deserves a celebration. Go ahead and drizzle it over those fries, load up those chips, or try it on tacos. Don’t forget to tell us what you used it for in the comments below, or reach out to Stella and me on the contact page! If you need another incredibly popular recipe, you absolutely have to check out this amazing dip recipe over at Food Dexterity. Now, go make some noise!
PrintQuick & Creamy Homemade Nacho Cheese Sauce (Better Than Store-Bought)

Make this smooth, rich nacho cheese sauce from scratch in minutes. It is the perfect restaurant-style dip for chips, fries, or tacos, and it stays velvety without graininess.
- Prep Time: 5 min
- Cook Time: 10 min
- Total Time: 15 min
- Yield: About 1.5 cups
- Category: Appetizer
- Method: Stovetop
- Cuisine: American
- Diet: Vegetarian
Ingredients
- 2 tablespoons butter
- 2 tablespoons all-purpose flour
- 1 cup whole milk
- 8 ounces sharp cheddar cheese, shredded
- 4 ounces Monterey Jack cheese, shredded
- 1 teaspoon salt
- 1/4 teaspoon garlic powder
- 1/8 teaspoon cayenne pepper (optional, for a slight kick)
Instructions
- In a medium saucepan, melt the butter over medium heat.
- Whisk in the flour to create a smooth paste, called a roux. Cook the roux for one minute, stirring constantly.
- Gradually whisk in the milk until the mixture is smooth. Continue cooking, stirring often, until the sauce thickens enough to coat the back of a spoon, about 3 to 5 minutes. Do not let it boil rapidly.
- Remove the saucepan from the heat. Add the shredded cheddar and Monterey Jack cheeses, salt, garlic powder, and cayenne pepper, if using.
- Stir gently until all the cheese is completely melted and the sauce is smooth and velvety. Avoid over-stirring once the cheese is added.
- Serve immediately as a topping for nachos, fries, or as a dip for tortilla chips.
Notes
- Shred your own cheese; pre-shredded cheese contains anti-caking agents that prevent a smooth melt.
- Keep the heat low when adding the cheese to prevent the sauce from becoming grainy or separating.
- This sauce is excellent as a cheesy fry topping for game day snacks.
Nutrition
- Serving Size: 1/4 cup
- Calories: 180
- Sugar: 1
- Sodium: 350
- Fat: 15
- Saturated Fat: 9
- Unsaturated Fat: 6
- Trans Fat: 0.5
- Carbohydrates: 3
- Fiber: 0
- Protein: 9
- Cholesterol: 40