

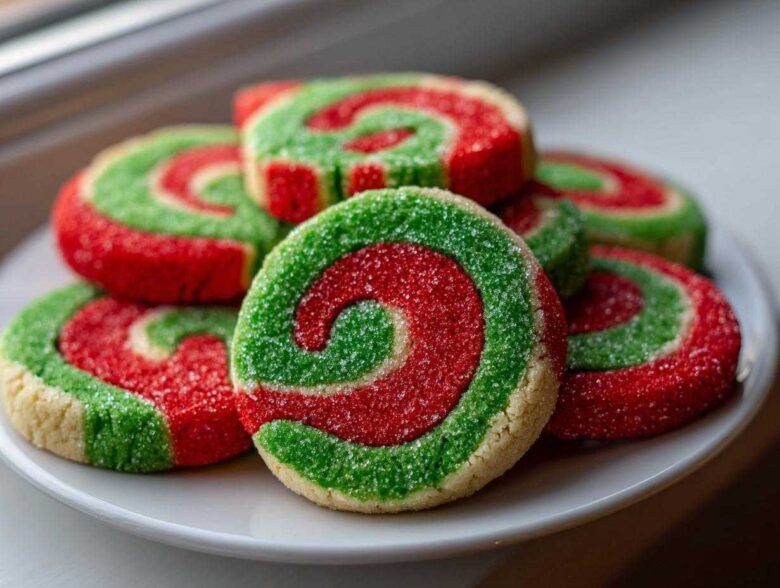
If you’re anything like Owen, you love a baking project that looks absolutely stunning but doesn’t actually require you to be a pastry chef. We’re talking about that magical moment when the cookie comes out looking like a target spotted from space! That’s why these classic pinwheel cookies are my absolute go-to when the holidays roll around. Or really, any time I need a pop of color!
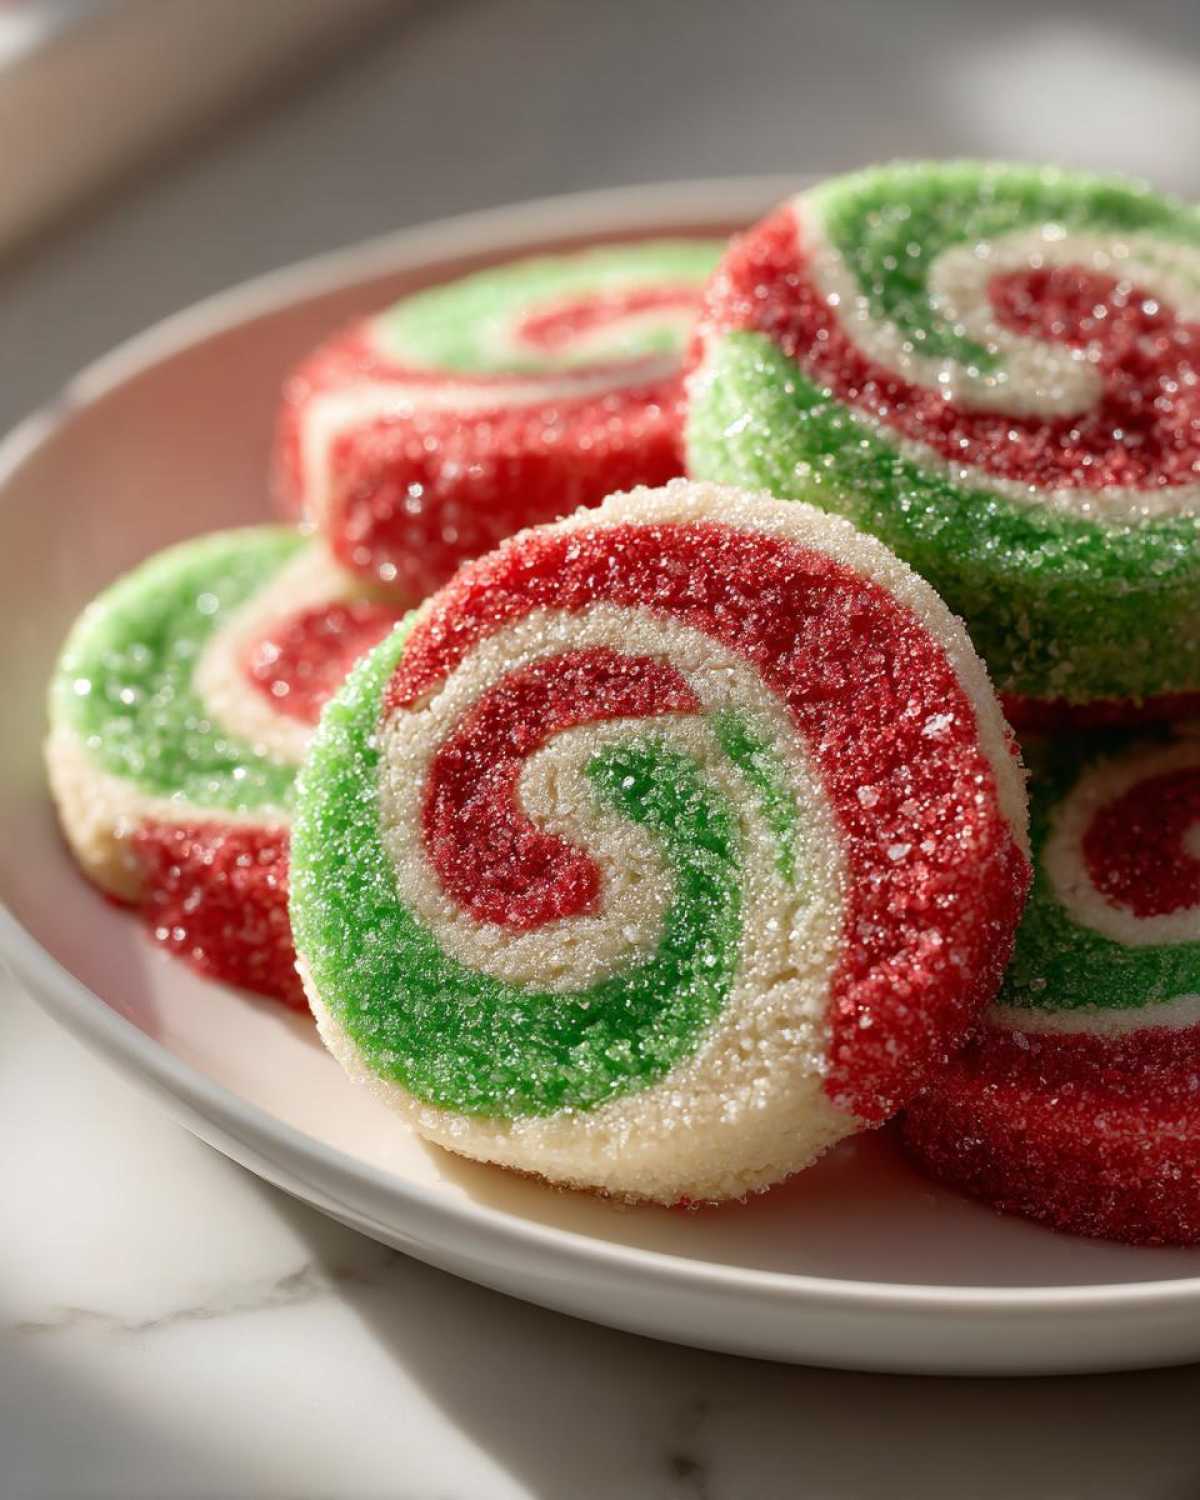
These aren’t just any cookies; they are perfectly buttery swirl cookies that use a clever slice-and-bake technique. It’s honestly one of the simplest ways to ramp up your festive cookie tray game without spending hours on intricate cuts or piping. Owen gets so excited when he sees the bright red and green dough logs lined up, ready to chill. Trust me, once you master this simple method of layering the colors, these colorful spiral cookies will become your signature showstopper. We’ve perfected the dough so it’s tender inside and crisp at the edges. To make your holiday spread even more amazing, check out our thoughts on Christmas sprinkle sugar cookies too!
Why These Pinwheel Cookies Are Your Next Holiday Baking Essential
Listen, if you’re looking for truly easy holiday cookies that don’t sacrifice looks, these are it. The appeal of these buttery swirl cookies is twofold: they look incredibly fancy, but they use the simplest slice-and-bake method. That means less time decorating and more time setting up the music playlist! They are absolute showstoppers when you bring them to a party or a cookie exchange. Trust me, people will think you spent hours on these spirals, but we know the secret!
The Magic of Slice and Bake Cookies
The genius here is the refrigeration step. Once the dough is colored and rolled into a tight log, you stick it in the fridge. This chilling process solidifies the butter, making the log super stable. It’s the key to perfect pinwheel cookies because when you slice them, the layers stay crisp and clean instead of squishing out! They are the ultimate make ahead cookies; you can prep them weeks in advance, which is a lifesaver in December.
Achieving Perfect Colorful Spiral Cookies
Getting that striking red-and-green effect is surprisingly straightforward. We aren’t doing complicated braiding or folding. We’re just making three flat sheets of dough—white, red, green—stacking them gently, and rolling them up like a jelly roll. The beauty of this method, as seen everywhere, like in this guide from vibrant red pinwheel cookies, is that the contrast between the three colors naturally forms those visible, stunning spirals when cut.
Gathering Ingredients for Classic Pinwheel Cookies
Okay, let’s get down to the good stuff! You need a solid foundation for these buttery treats, and trust me, precision matters here, even though we keep things casual. When you pull out your ingredients list, you’ll want to grab all-purpose flour, baking powder, salt, sugar, vanilla, and, crucially, butter that is perfectly softened—not melted, just nicely soft!
Ingredient Notes and Color Swaps
Here’s where we build Trust in the recipe: Don’t skimp on the food coloring! I learned years ago that the cheap liquid drops turn the dough slightly watery and the color gets weak, which ruins the whole look of those beautiful pinwheel cookies. You absolutely must use a high-quality gel food coloring for that vibrant red and green we love. If you skip that, you just end up with pinkish and pale green blobs, and nobody wants that! But hey, this is your kitchen, not a contest! If you’re making these for Valentine’s Day, just swap out the red and green for a bright pink dye, and suddenly you have marvelous Valentine’s Day cookies swirls!
Step-by-Step Guide: How to Make Pinwheel Cookies
Alright, this is where the magic really happens, but remember: patience is our secret weapon here! We’re going to get our dough divided and colored, but the most important non-baking step comes next.
I’ll never forget the first time Owen tried to skip the refrigeration timer. He said, “Stella, they look firm enough!” We sliced them, and honey, they looked less like beautiful, clean spirals and more like three melted crayon blobs that had decided to hug! Don’t be like Owen! That chilling time is what makes these slice and bake cookies work so well. You need that solid dough log to get the sharp edges we want on these colorful spiral cookies. If you love this kind of festive dough work, I really suggest you check out the process for our best sugar cookies soft and chewy cutout recipe too!
Mixing the Buttery Dough Base
First things first, we cream that softened butter and sugar until it’s light and truly fluffy—I mean nice and pale yellow! Then you mix in the egg and vanilla, getting it just right. When you add your dry stuff (flour, baking powder, salt), remember my rule: mix it until it *just* comes together. If you overmix here, you’ll develop too much gluten, and your resulting buttery swirl cookies will be tough, not tender. Nobody wants a tough cookie!
Coloring and Forming the Pinwheel Cookies Logs
Now, grab three equal bowls. One stays white, and you vigorously mix the color into the other two until you have deep, satisfying red and green doughs. You have to really work the color in to prevent white streaks. Once colored, take a big piece of plastic wrap for each color. Roll each dough ball into a tight, even rope, aiming for about 1.5 inches thick. Line those three ropes up right next to each other—white, red, green—and gently, but firmly, press them together into one giant log. It needs to look like one cohesive unit before you wrap it up. You can see how this works for other fun shades, maybe even some pink ones, over at this pink pinwheel recipe if you want inspiration for Valentine’s!
Chilling and Slicing Your Colorful Spiral Cookies
This is the moment of truth for these colorful spiral cookies! Wrap that combined log up tight—really tight—and send it off to the fridge for a minimum of two hours. Honestly, if you can leave it overnight, do it. When it’s rock hard, you unwrap it and roll that log gently in a shallow dish of granulated sugar or those teensy nonpareil sprinkles. That coating sticks best when the dough is cold!
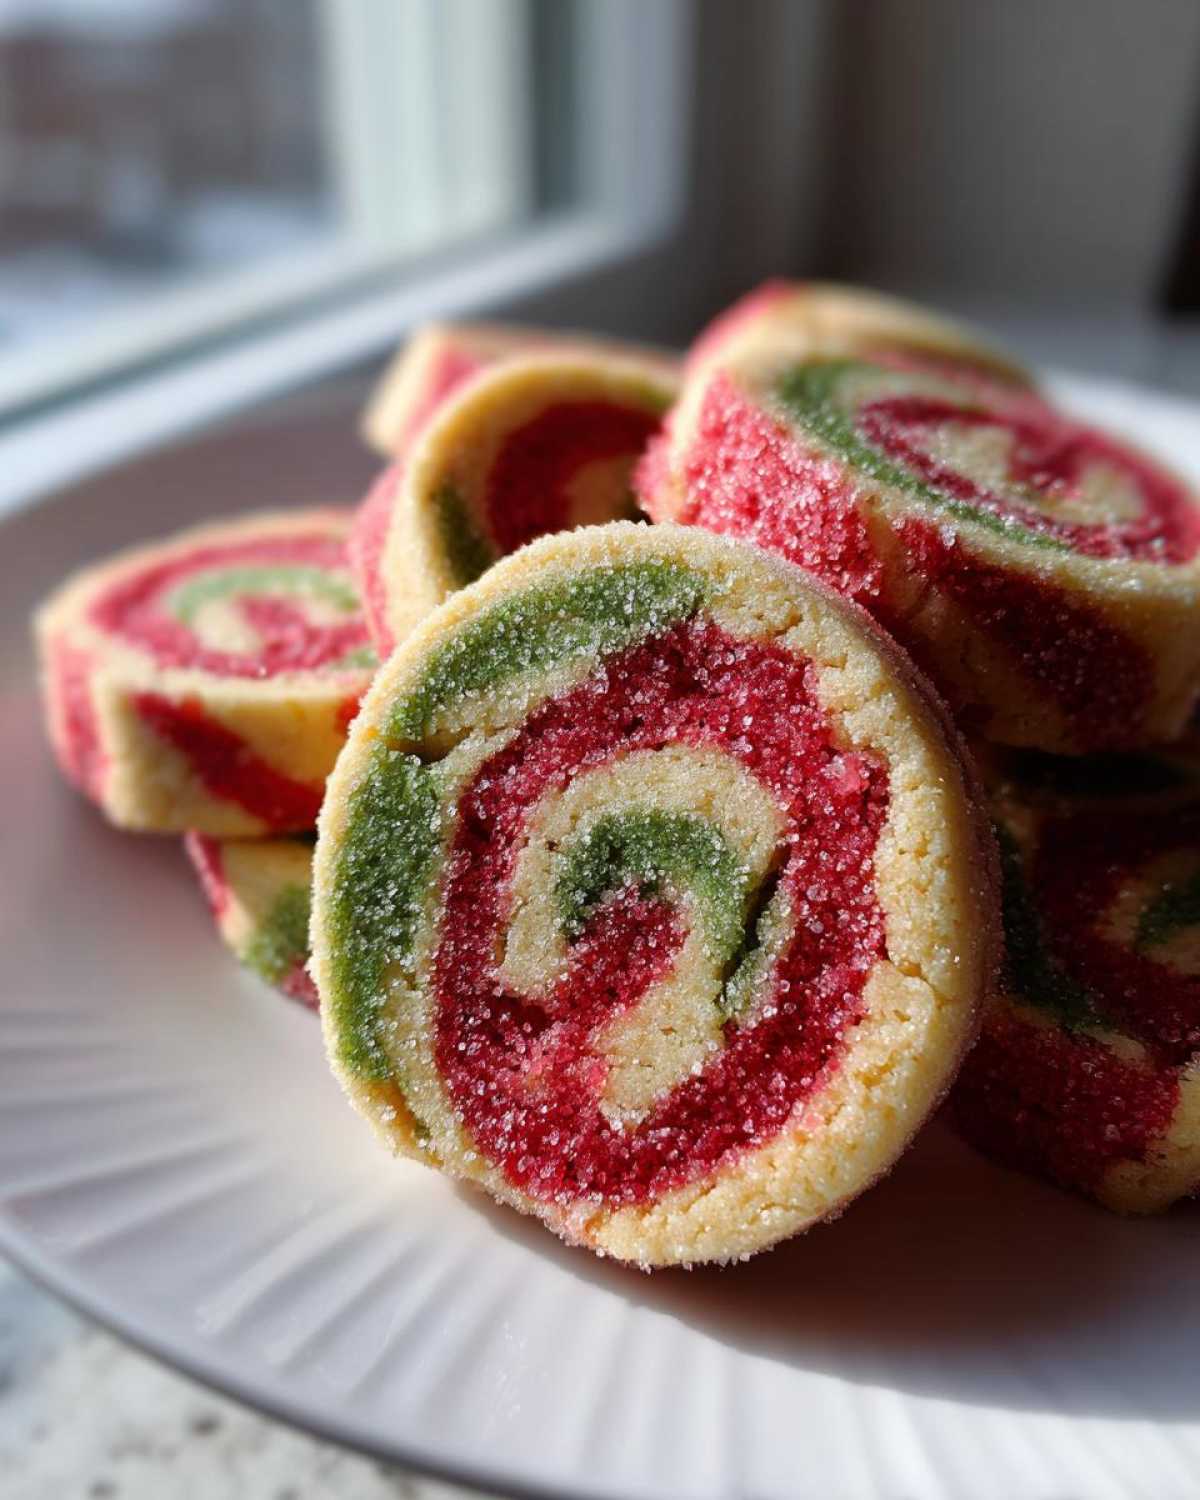
Using a nice sharp knife—be careful!—slice it into clean quarters of an inch rounds. If the dough is soft, the layers instantly merge, and poof! No swirl!
Baking Tips for the Best Pinwheel Cookies
Once your beautiful dough logs are firm, it’s time for the oven, but don’t just throw them in there! We need a hot house for these beauties to set quickly. Preheat that oven to 375 degrees F (190 degrees C). I swear by lining my baking sheets with parchment paper because these buttery swirl cookies can spread just a tiny bit, and this guarantees a clean release and easy cleanup. Owen always worries if I don’t use parchment—he insists it’s part of the good news!
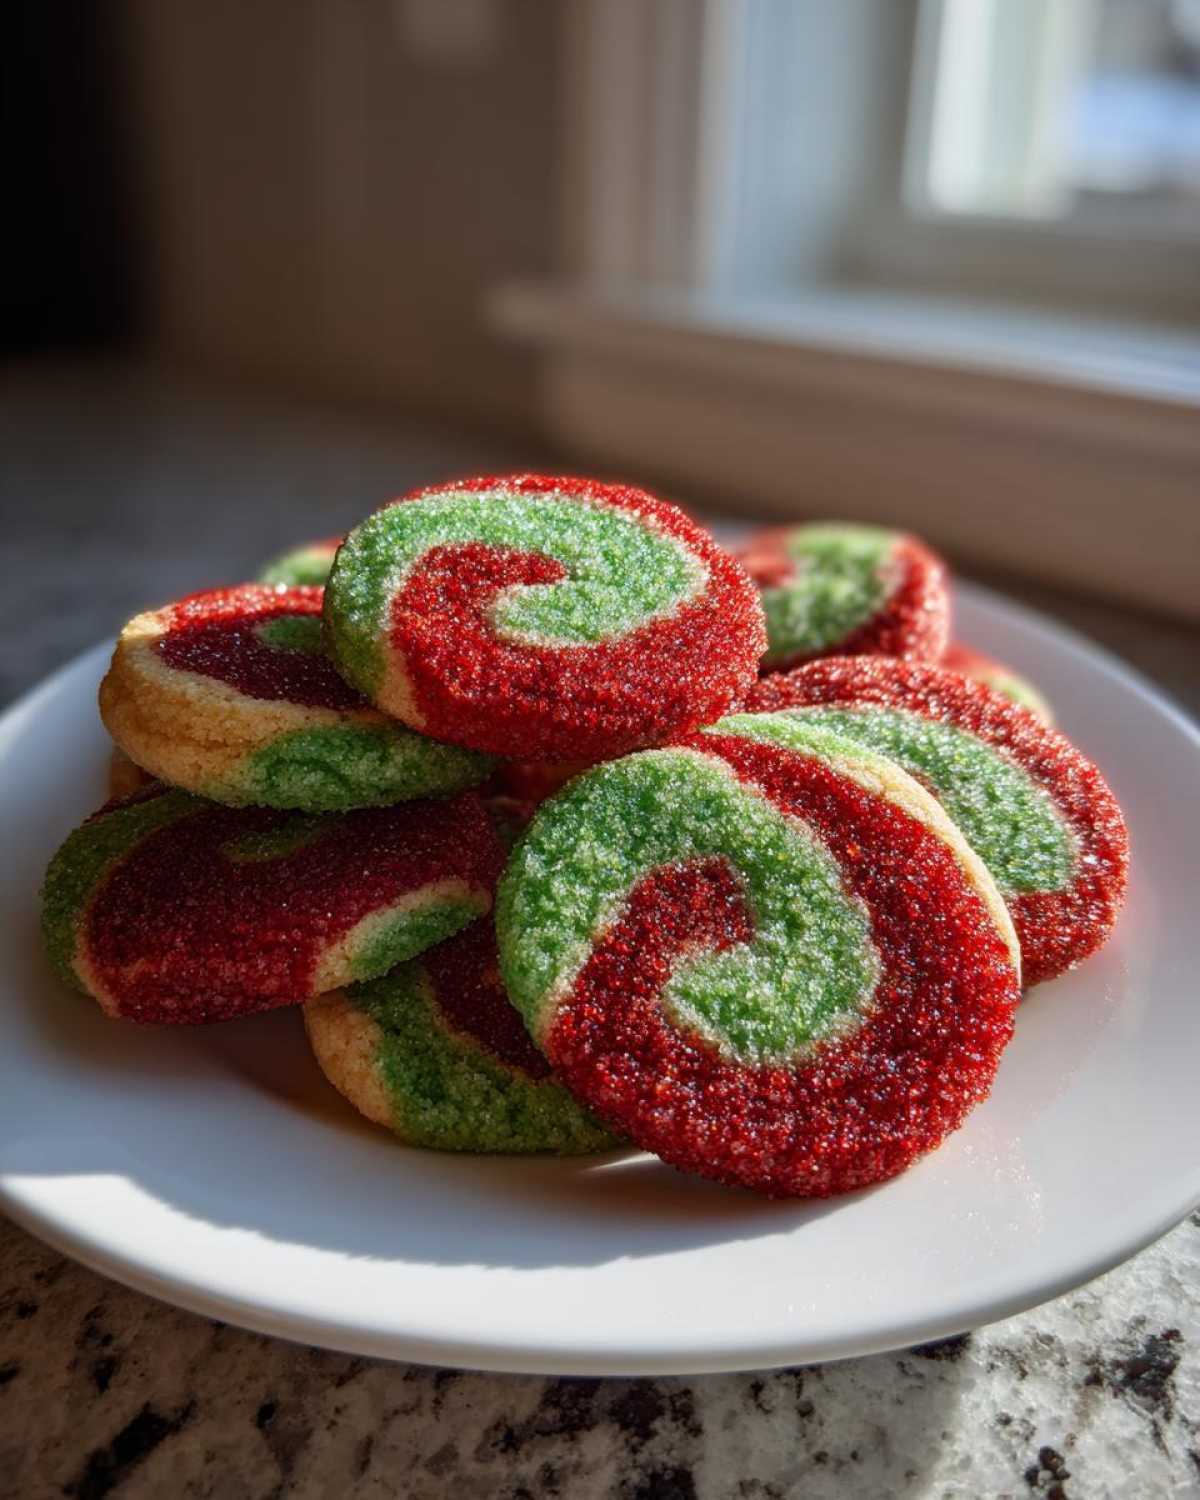
The baking time is short, which is another bonus of these slice and bake cookies, usually just 8 to 10 minutes. You are looking for the edges to just barely set. If you overbake them—and it happens, I promise!—they get crunchy instead of that perfect tender bite. Trust me, pulling them out when they still look a touch soft in the center is the key to the best pinwheel cookies. If you need refresher tips on handling soft cookie doughs, check out my notes on our favorite chewy sugar cookies base!
Making Pinwheel Cookies Ahead of Time
If you’re hosting or attending a big event, having make ahead cookies ready to go is a total game-changer. These pinwheels are superstars when it comes to planning ahead! After you’ve rolled those colorful dough logs, wrap them super tightly in plastic wrap—I mean, really seal them in there. Then they head straight to the fridge for up to a week.
But wait, we can do better! For serious planning, especially with Christmas cookie exchange recipes coming up, toss those wrapped logs into the freezer. They freeze beautifully for about three months! When you’re ready to bake, just pull them out, slice them straight from frozen, and pop them in the oven. You might need an extra minute or two of baking time, but trust me, having fresh dough on hand is worth the effort. For more great make-ahead stuff, check out my tips on some easy egg bites, though I know those aren’t cookies!
One of the best resources for holiday baking inspiration is definitely checking posts like the one from Savor the Best. They always have stunning holiday ideas!
Storage and Keeping Your Pinwheel Cookies Fresh
Once these beautiful pinwheel cookies are completely cool—and I mean stone cold—you need to treat them right! They are surprisingly sturdy, but we want that buttery texture to last. Store them in a good, airtight container. I don’t recommend stacking them too high unless you put parchment paper between the layers, or you might smudge those gorgeous spirals!
At room temperature, they stay perfectly delightful for about a week. Seriously, that rich butter content keeps them tasting fresh. If you need to revive one that might have gone a *little* stale after day five, just pop it on a plate in the microwave for about five seconds. It warms up the butter instantly, brings back that tender bite, and makes them taste freshly baked all over again!
Variations on Festive Cookie Designs
While the red and green version is classic for Christmas, these **colorful spiral cookies** are just screaming for a color swap based on whatever holiday is coming up! This is where the recipe really shows off its flexibility, making it super versatile for any baking goal. You aren’t locked into just the holiday palette, which I love.
The easiest switch is flavor. If you want a richer look, simply take one-third of the dough and beat in a tablespoon or two of cocoa powder until it’s deep brown—that gives you gorgeous chocolate vanilla pinwheels. Owen particularly loves those! Or, for a totally different winter vibe, swap the vanilla extract for peppermint extract in the white dough and add a drop of extra peppermint oil concentrate to the red dough. Those peppermint swirl cookies smell absolutely incredible coming out of the oven.
If you’re feeling a bit more adventurous and want to try something utterly different, search around for the old-fashioned directions on making chocolate vanilla pinwheel cookies—it’s essentially the same technique but swapping colors for brown and white. Don’t forget, if you love that minty profile, you have to check out my recipe notes on peppermint chocolate chip cookies too!
Frequently Asked Questions About Pinwheel Cookie Recipe
We get a ton of questions about these beauties, mainly because folks want to make sure their pinwheel cookie recipe turns out looking perfect! It’s all about managing the dough temperature and the visual layers. Here are the top three things readers ask when trying to achieve those amazing swirls.
Why did my swirl sugar cookies lose their pattern when baking?
Oh, that’s the saddest thing! It almost always happens because the dough wasn’t cold enough. If the dough is too soft when you slice it, or if the slices are thicker than about half an inch, the three colors start to melt and merge together before they have a chance to set in the oven. Make sure you chill those dough logs until they are truly firm—like a hockey puck almost!
Can I use liquid food coloring instead of gel for these easy holiday cookies?
You technically *can*, but I strongly advise against it if you want those intense red and green stripes! Liquid coloring is mostly water, and adding too much moisture to this butter-heavy dough throws off the texture; it makes the dough sticky right away. Plus, you have to use so much liquid to get a deep color that it just ends up diluting the whole dough. Stick to the thick gel stuff; it’s worth hunting down for the best results in your easy holiday cookies!
Are pinwheel cookies suitable for a kid friendly cookie decorating activity?
Absolutely, these are a blast with kids, but you need to divide the labor! The steps that involve sharp knives or heavy-duty mixing for the dough should be for the grown-ups—definitely not kid friendly cookie decorating territory yet. However, kids are *amazing* at helping to roll the chilled logs in the exterior sugar or sprinkles! Once they see those colors rolling around, they are totally engaged!
Estimated Nutrition for These Classic Pinwheel Cookies
When we’re making up a big batch for the holidays, I know you’re sizing up how many you can sneak before dinner! Because we use good amounts of butter in these buttery swirl cookies, they are definitely a treat. Based on the ingredients list for 3 dozen cookies, here’s a rough idea of what’s hanging out in one of these beautiful, festive cookies.
- Calories: Roughly 145 per cookie
- Fat: About 7 grams
- Carbohydrates: Around 19 grams
- Protein: About 2 grams
Now, remember this is just an estimate based on standard US pantry staples; if you use different sprinkles or a different brand of butter, that number shifts a tiny bit. See? Even the nutritional breakdown can be made into a story worth sharing from our kitchen! For more news from our kitchen, swing by the main Hungry Herald hub!
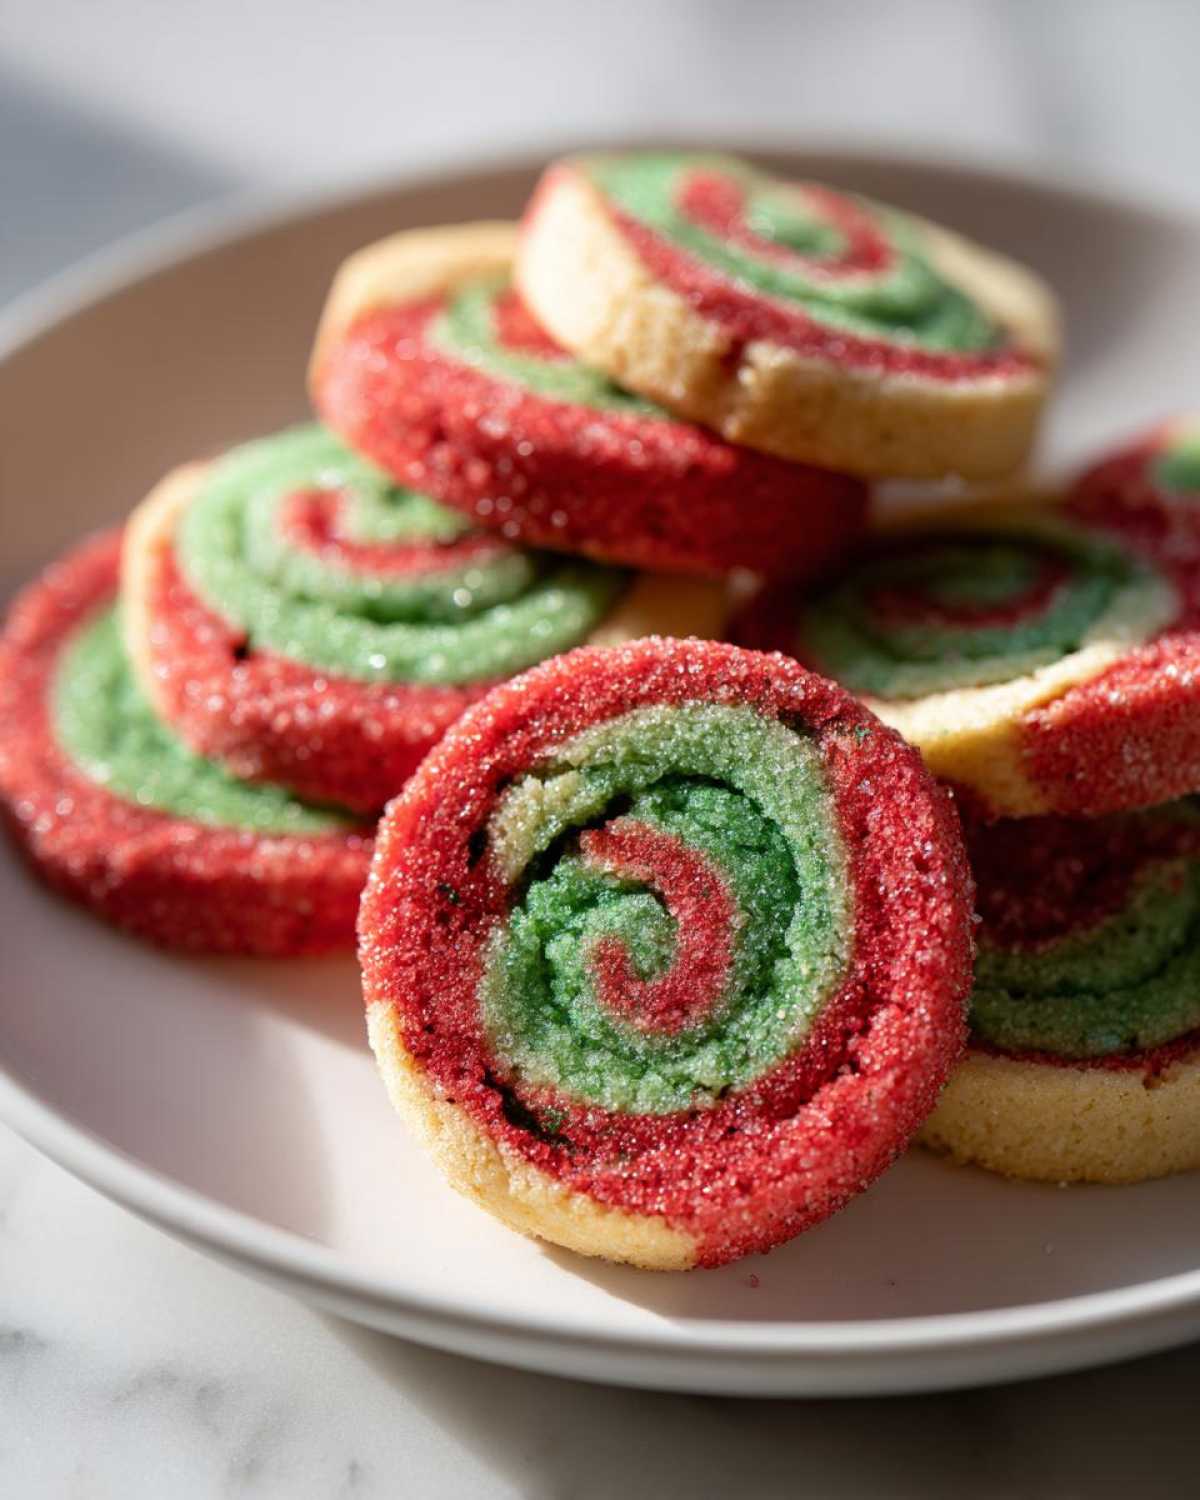
Classic Slice-and-Bake Holiday Pinwheel Cookies

Make these classic slice-and-bake pinwheel cookies featuring beautiful red and green swirls. This buttery swirl cookie recipe is simple to assemble and perfect for your next Christmas cookie exchange.
- Prep Time: 30 min
- Cook Time: 10 min
- Total Time: 190 min
- Yield: About 3 dozen cookies
- Category: Dessert
- Method: Baking
- Cuisine: American
- Diet: Vegetarian
Ingredients
- 1 cup unsalted butter, softened
- 1 cup granulated sugar
- 1 large egg
- 1 teaspoon vanilla extract
- 3 cups all-purpose flour
- 1 teaspoon baking powder
- 1/2 teaspoon salt
- Red food coloring (gel preferred)
- Green food coloring (gel preferred)
- Extra granulated sugar or nonpareil sprinkles for rolling
Instructions
- Beat the softened butter and 1 cup of sugar together in a large bowl until light and fluffy. Add the egg and vanilla extract, mixing until just combined.
- In a separate bowl, whisk together the flour, baking powder, and salt. Gradually add the dry ingredients to the wet ingredients, mixing on low speed until a soft dough forms.
- Divide the dough evenly into three equal portions. Leave one portion plain (this will be the white dough).
- Color the second portion with several drops of red food coloring until you achieve a vibrant red hue. Color the third portion with green food coloring.
- On a piece of plastic wrap, roll each color of dough into a smooth log, about 1.5 inches in diameter.
- Place the three logs side-by-side on a clean surface. Gently press them together to form one large log.
- Roll the combined log in extra granulated sugar or nonpareil sprinkles until fully coated.
- Wrap the log tightly in plastic wrap and chill in the refrigerator for at least 2 hours, or until firm enough to slice easily. This step is key for make ahead cookies.
- Preheat your oven to 375 degrees F (190 degrees C). Line baking sheets with parchment paper.
- Slice the chilled dough log into 1/4-inch thick rounds. Place the colorful spiral cookies about 2 inches apart on the prepared baking sheets.
- Bake for 8 to 10 minutes, or until the edges are set but the centers are still soft. Do not overbake.
- Let the cookies cool on the baking sheet for 5 minutes before transferring them to a wire rack to cool completely.
Notes
- For the best swirl effect, ensure the dough logs are firm before pressing them together.
- You can easily customize the colors for any occasion, such as pink and white for Valentine’s Day cookies swirls.
- This dough freezes well. Wrap the logs tightly and freeze for up to three months. Slice and bake directly from frozen, adding 1-2 minutes to the baking time.
Nutrition
- Serving Size: 1 cookie
- Calories: 145
- Sugar: 12
- Sodium: 75
- Fat: 7
- Saturated Fat: 4
- Unsaturated Fat: 3
- Trans Fat: 0
- Carbohydrates: 19
- Fiber: 0
- Protein: 2
- Cholesterol: 30