

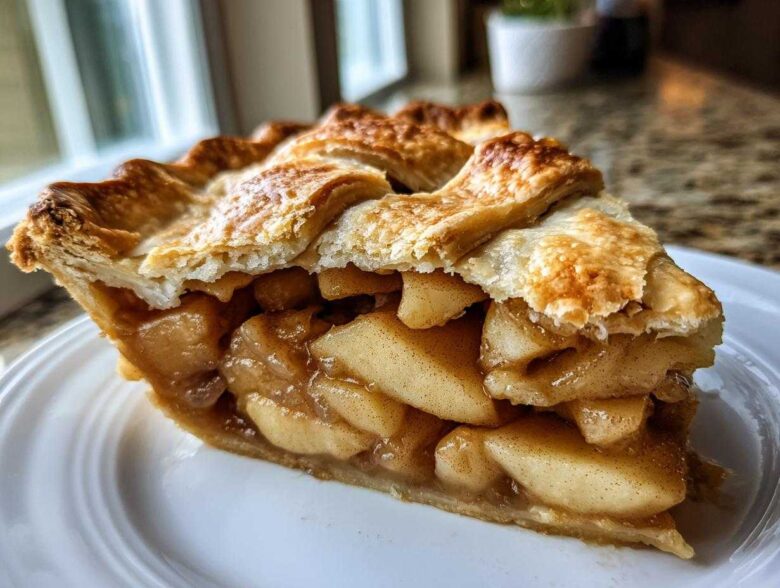
You know that feeling when you walk into a house and it just smells like *home*? For us, that scent is baked apples and warm cinnamon. We’ve spent years chasing that absolute perfect flavor and texture, and I am so excited to finally share our ultimate secret. This isn’t just any dessert; this is our Ultimate Classic Homemade Apple Pie with Flaky All-Butter Crust. Forget the stressful store-bought shortcuts—this recipe for homemade apple pie is surprisingly simple, and I promise you, it delivers results that taste like they came straight from a professional bakery. If you want to bookmark some more great news from our kitchen, check out the rest of our posts over at our main page. Trust me, once you nail this crust, you’ll be making pies for every little victory in life.
Why This Homemade Apple Pie Recipe Delivers Perfection
Making a truly amazing homemade apple pie often feels like magic, but it’s really just about respecting a few key texture points. We nailed the parts that usually trip people up, which is why this recipe is such a crowd-pleaser for us. It’s reliable, folks!
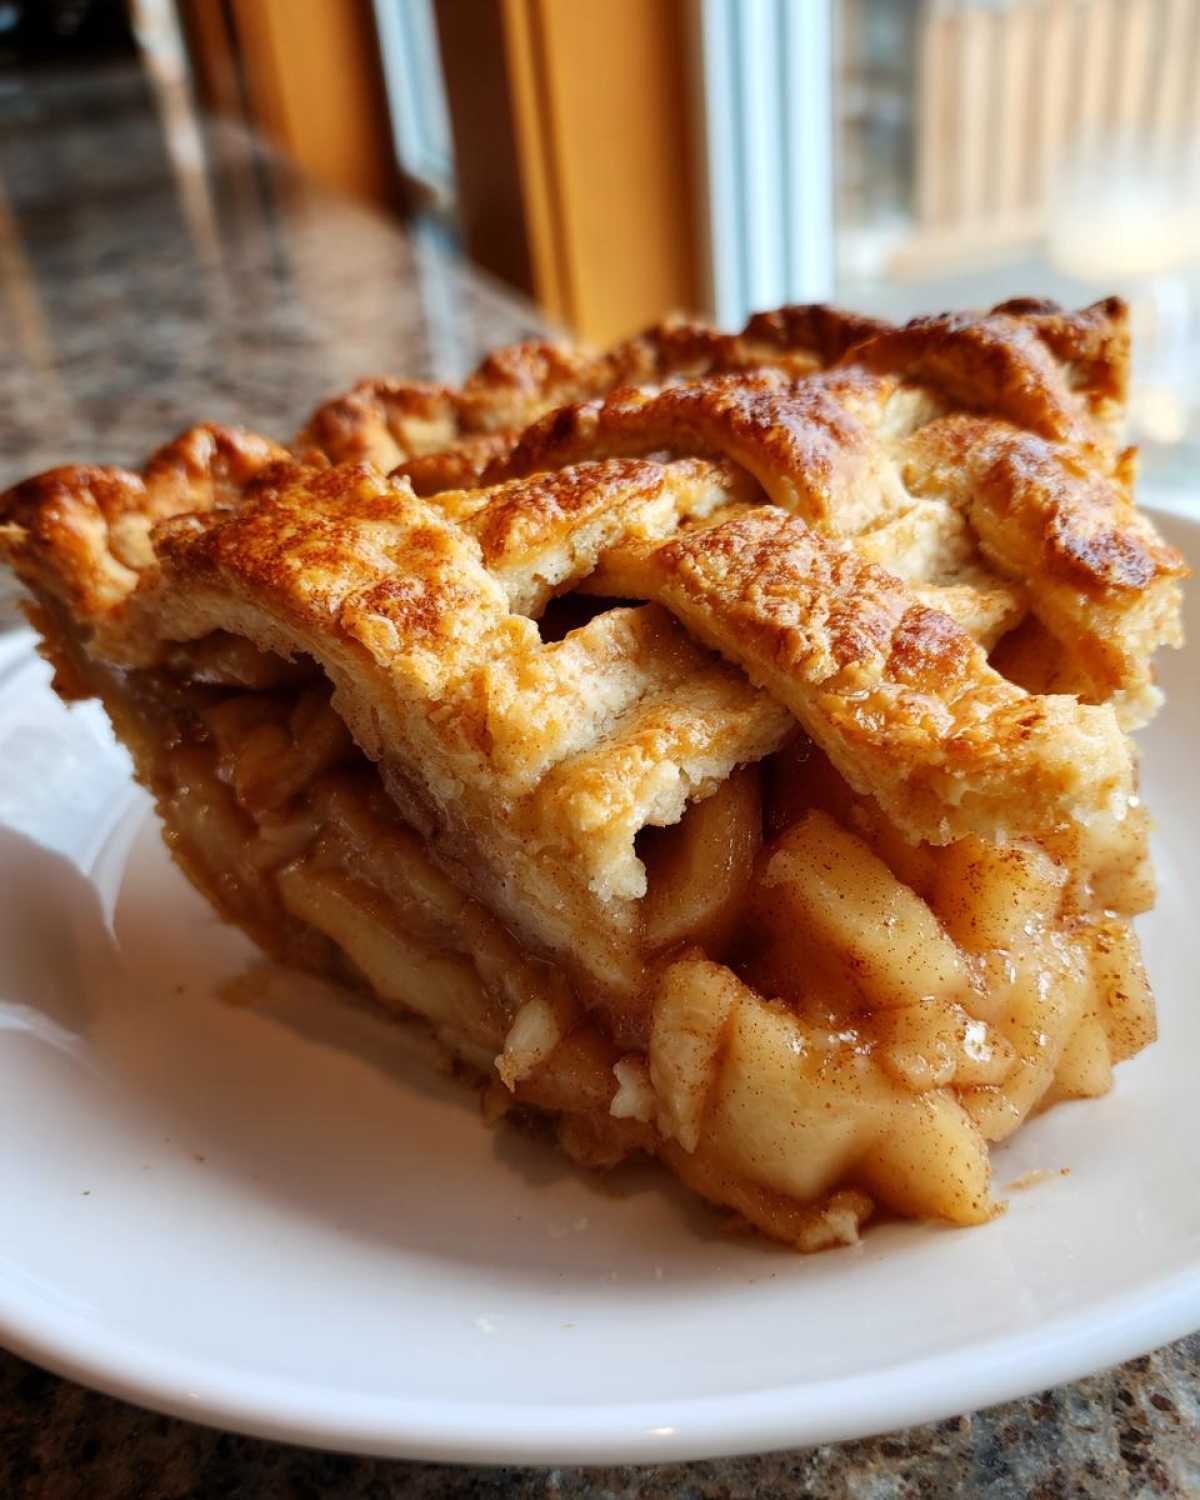
- The crust shatters beautifully when you slice it, not tough or chewy.
- The filling is sweet, spiced, and perfectly thick—no watery mess here!
- It’s the classic, traditional American pie taste you remember from childhood.
The Secret to a Flaky Butter Crust Tutorial
Listen, the flakiness comes down to two things: keeping your butter freezing cold and using an ice-cold liquid. Seriously, if you see melted butter in your bowl, you’ve gone too far! That visible, pea-sized cold butter is what creates those little steam pockets in the oven, which turns into those beautiful layers we call the Perfect Pie Crust. Minimal fuss, maximum flakiness. It’s the dream!
Achieving the Best Apple Pie Filling with Cinnamon Spiced Apples
The flavor backbone of this pie is definitely the apple blend. We use tart Granny Smiths for structure and Honeycrisp for that great sweetness that holds up during baking. We load it up with cinnamon, nutmeg, and just a tiny whisper of allspice. It’s what makes this homemade apple pie filling so irresistible and perfectly balanced. That warm spice blend really sings against the sweet, cooked fruit.
Gathering Ingredients for Your Homemade Apple Pie
Okay, now for the fun part: collecting our supplies! You absolutely cannot cut corners when it comes to quality here, especially for that crust. These aren’t optional items; they are the foundation for your incredible homemade apple pie. Remember, the coldness of the butter and the water determines how flaky this turns out. Don’t substitute that unsalted butter for anything else unless you absolutely have to. Learning how to make easy homemade garlic butter taught me that ingredient quality matters!
Ingredients for the Flaky Buttery Pie Dough Instructions
This is where the magic starts, so get everything properly chilled before you begin mixing this part:
- 2 1/2 cups all-purpose flour
- 1 teaspoon salt
- 1 cup (2 sticks) cold, unsalted butter, cut into small cubes (I mean, seriously cold!)
- 1/2 cup ice water, plus maybe a splash more if the dough is too crumbly.
Ingredients for the Sweet, Cinnamon-Spiced Apple Filling
For the filling, we need a great fruit backbone and the right supporting cast of spices. Cornstarch is crucial here; it’s the secret weapon that thickens everything up into the best apple pie filling without making it seem gloopy. Make sure your apples are prepped exactly as noted—we want uniform slices!
- 6 large Granny Smith apples, peeled, cored, and sliced 1/4 inch thick
- 2 large Honeycrisp apples, peeled, cored, and sliced 1/4 inch thick
- 3/4 cup granulated sugar and 1/4 cup packed light brown sugar
- 1 teaspoon ground cinnamon, 1/4 teaspoon ground nutmeg, and 1/8 teaspoon ground allspice
- 1 tablespoon lemon juice
- 2 tablespoons cornstarch
How to Prepare the Ultimate Homemade Apple Pie
Alright, deep breath! This assembly process is where we turn beautiful ingredients into a beautiful slice of Americana—our homemade apple pie. We are sticking closely to the steps that ensure we get that gorgeous golden color and that sturdy base. Don’t rush the chilling; that resting time is non-negotiable if you want that legendary flakiness!
Making the Buttery Pie Dough Instructions
First up, the dough! Whisk your flour and salt, then grab that cold butter—I mean, almost frozen cold. Use a pastry blender or your fingers to work it in until you see pieces about the size of peas scattered throughout the flour. This is key! Now, drizzle in the ice water, spoonful by spoonful, just mixing until it *barely* holds its shape. We want streaks of butter, not cement! Divide that shaggy mess into two disks, wrap them tight, and stick them in the fridge for at least a full hour. Seriously, don’t peek!
Mixing the Cinnamon Spiced Apples Filling
While that first disk is getting suitably chilly, get those mixed apples ready. Dump all your Granny Smith and Honeycrisp slices into a huge bowl. Now, shower them with both sugars, cinnamon, nutmeg, allspice, and that cornstarch. Give it one gentle toss—careful not to bruise the apples!—until every slice is coated in that sugary spice mix. Set this aside now; the apples start releasing juice, and we save that glorious liquid for when the crust is ready.
Assembling and Baking Your Classic Apple Pie Recipe
Once chilled, roll out the first disk large enough for your 9-inch pie plate. Ease it in gently, trim the edges, and give that base a quick trip back to the fridge. Now, mound those spiced apples high in the center! Roll out the second disk for your top. You can cut vents—classic look—or weave a lattice if you’re feeling fancy. Crimp those edges tight so none of that yummy juice escapes! Brush everything with your egg wash—mixed from the egg and milk/cream—and sprinkle on that coarse sugar for crunch. Preheat the oven to 425 degrees F. I like to place the pie on a baking sheet to catch any potential drips, just like they suggest over at Recipe Thrive. Bake it hot for 15 minutes, then drop the heat down to 375 degrees F for another 40 to 50 minutes until it’s deeply golden. If those edges look like they might burn too soon, just slip on some aluminum foil strips. And please, for the love of pie, let it cool for three or four hours before cutting. I know, I know, waiting is the hardest part, but it lets that filling set up! You can practice your frosting skills while waiting with my easy vanilla buttercream recipe!
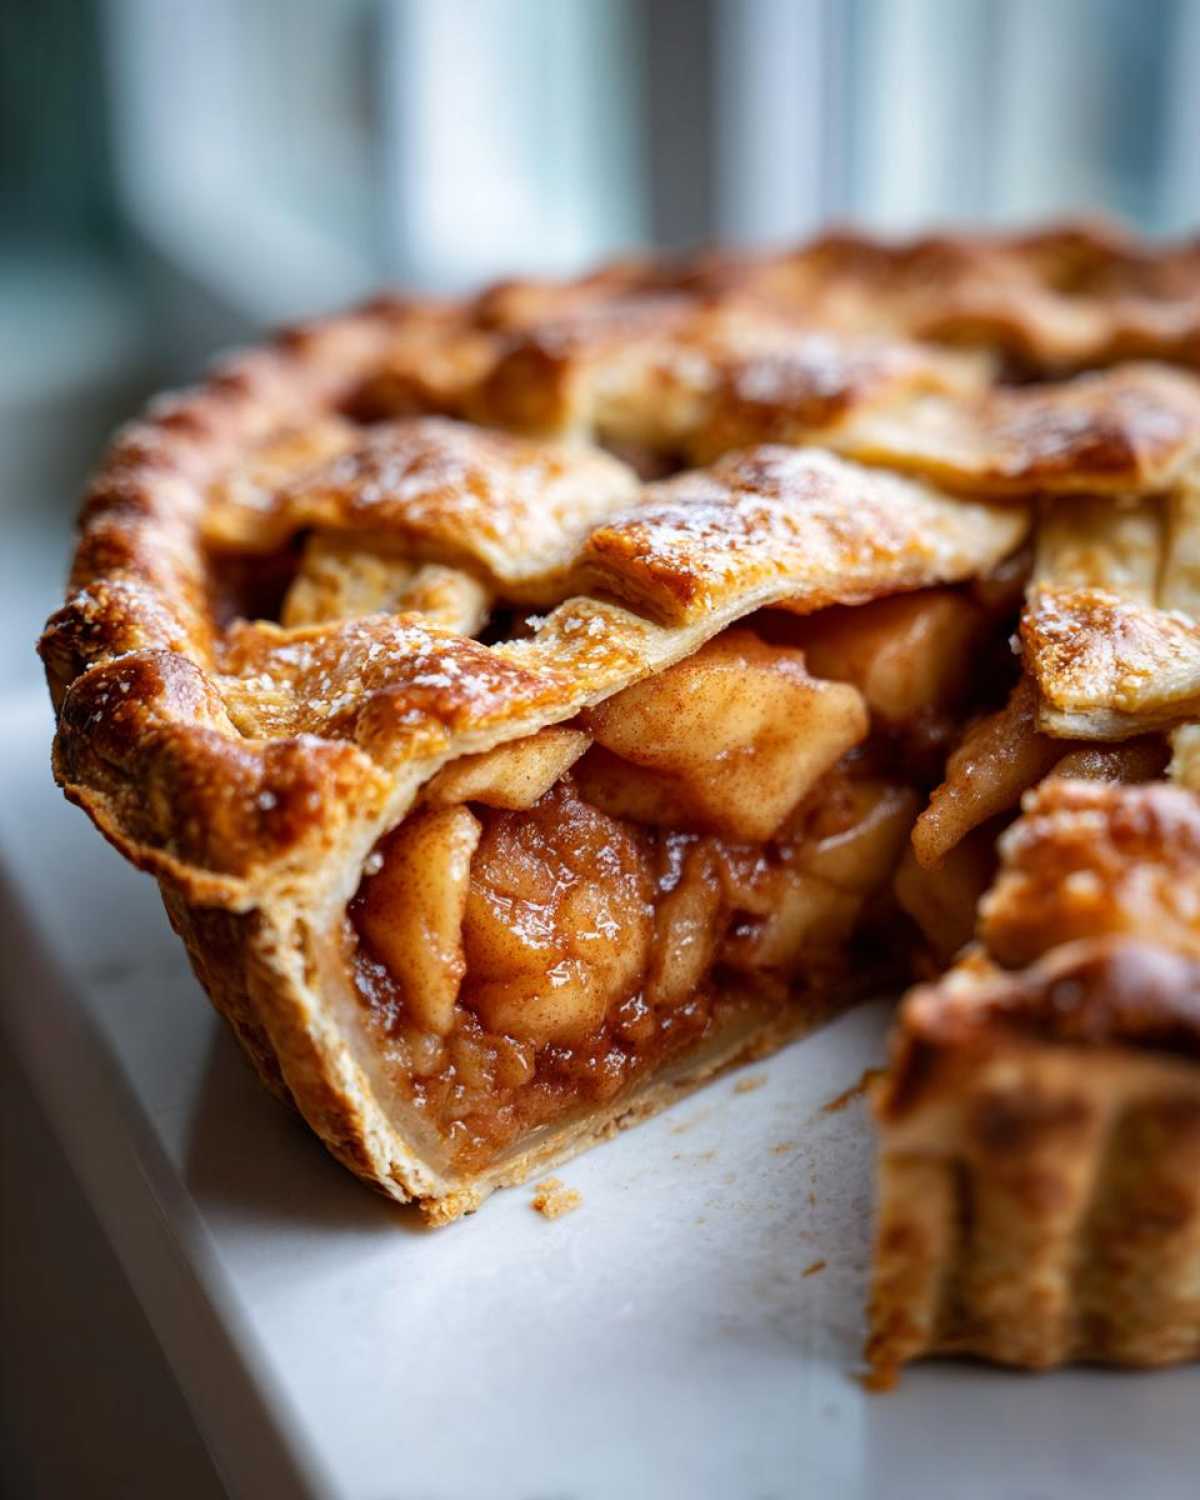
Tips for Success When Making Homemade Apple Pie
You’ve got the recipe, but a little insider knowledge goes a long way toward making this the best apple pie ever. Don’t worry if you’re new to baking from scratch; these little tricks will make you look like a pro!
- Don’t skip chilling the dough! This isn’t just busywork; it’s the non-negotiable step for that flaky texture. If your kitchen is hot when you roll it out, pop it back in the fridge for 15 minutes.
- To avoid that sad, soggy bottom, place your unbaked pie on the lowest rack in the oven for the first 20 minutes. That direct heat helps cook the bottom crust quickly.
- When tossing your apples, make sure the cornstarch is truly mixed everywhere. No big clumps hiding in the sugar—we want that filling thick and glossy!
- For extra flavor depth in your comfort food desserts, try adding just a tiny pinch (like one shake!) of black pepper to your spice mix. It sounds wild, but it really wakes up the cinnamon!
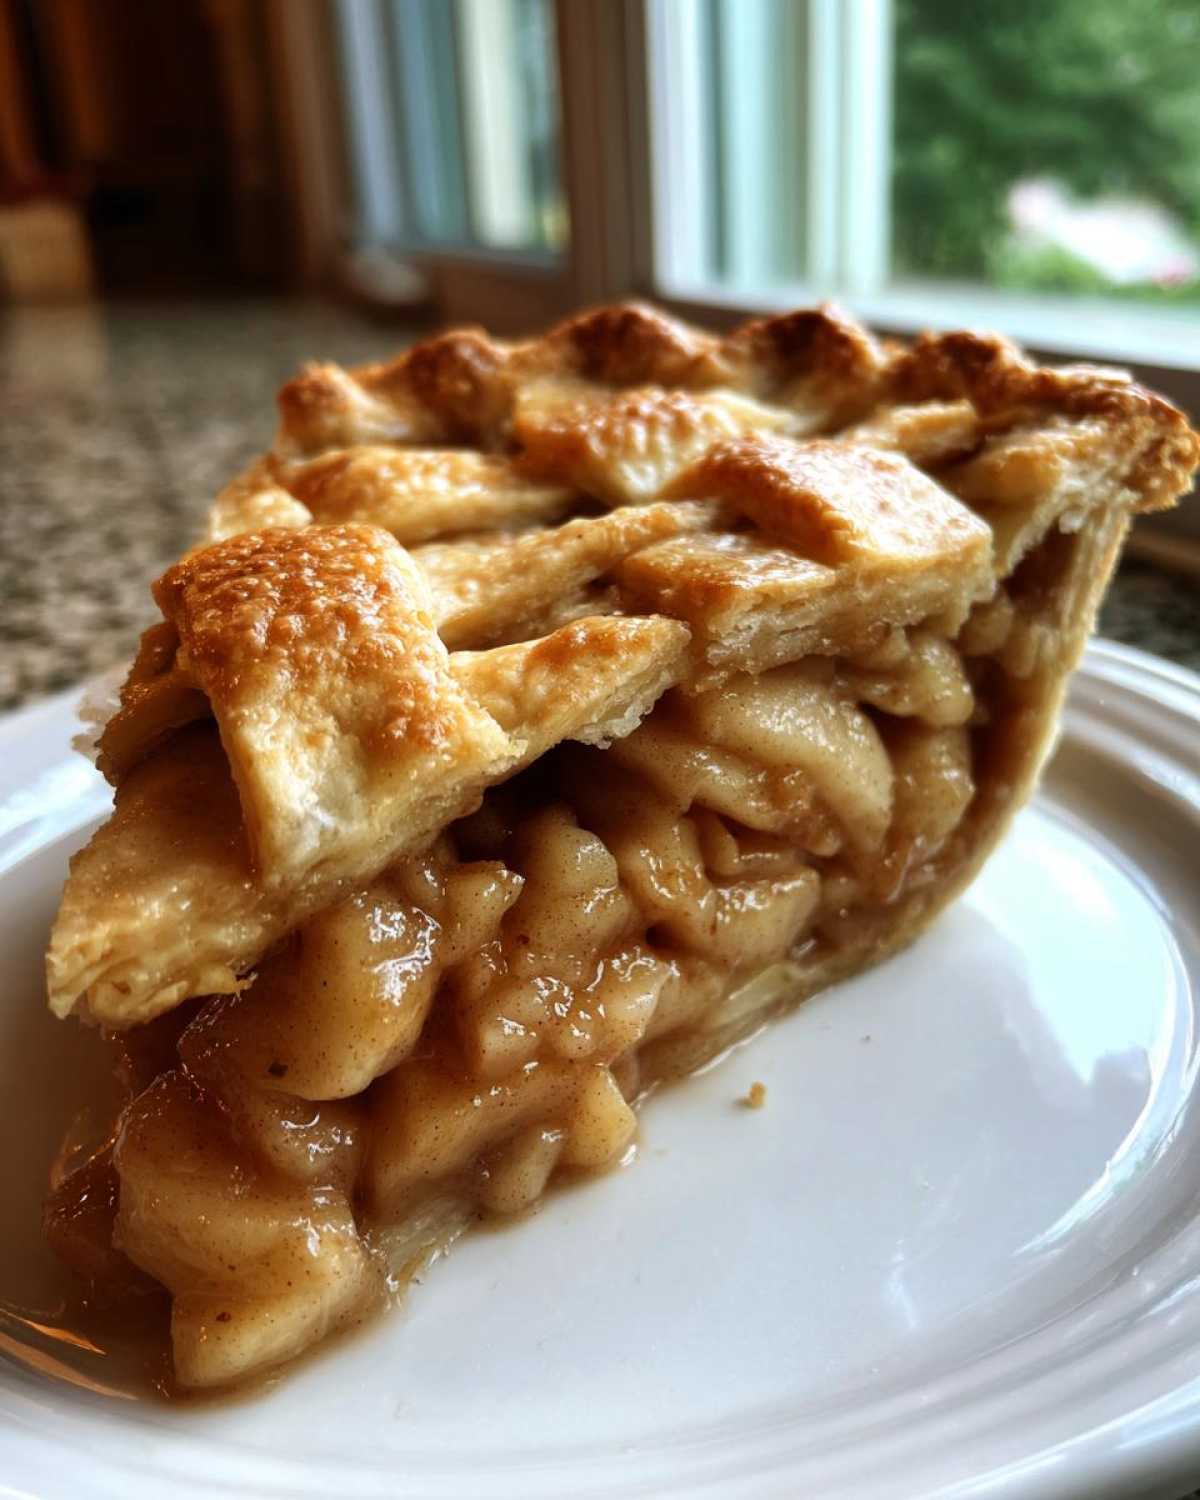
Storage and Reheating Instructions for Your Homemade Apple Pie
This pie tastes amazing right out of the oven, but honestly? It’s even better the next day once that filling has had time to truly set up. We’re going to make sure your crust stays flaky, too, while we store it. Keeping pie fresh for leftovers is almost as important as making it right the first time!
Once the pie has cooled completely—and I mean completely, save yourself the sadness of cutting into a runny mess by waiting at least four hours—you can cover it loosely. Don’t wrap it too tightly with plastic wrap right against the crust. That traps steam, and steam is the enemy of flakiness! A simple tent of aluminum foil works perfectly well.
A covered pie will sit happily on your counter for about two days. If you need it to last longer, definitely move it to the fridge, where it stays good for up to four days. Just remember that chilling can sometimes slightly soften the crust, so we need a plan for reheating if you want that perfect crunch back.
When it’s time to serve those lovely slices, reheat them gently. Skipping the microwave is my biggest piece of advice for reheating pie! Microwaves make that buttery crust limp. Instead, try popping a slice onto a baking sheet at about 350 degrees F for about 10 to 12 minutes. That little blast of dry heat brings the crispness right back into the dough and warms the spices up perfectly. If you need ideas for what to serve alongside it, check out how I make an incredibly simple easy crockpot beef stew that makes a surprisingly cozy pairing for a slice of pie!
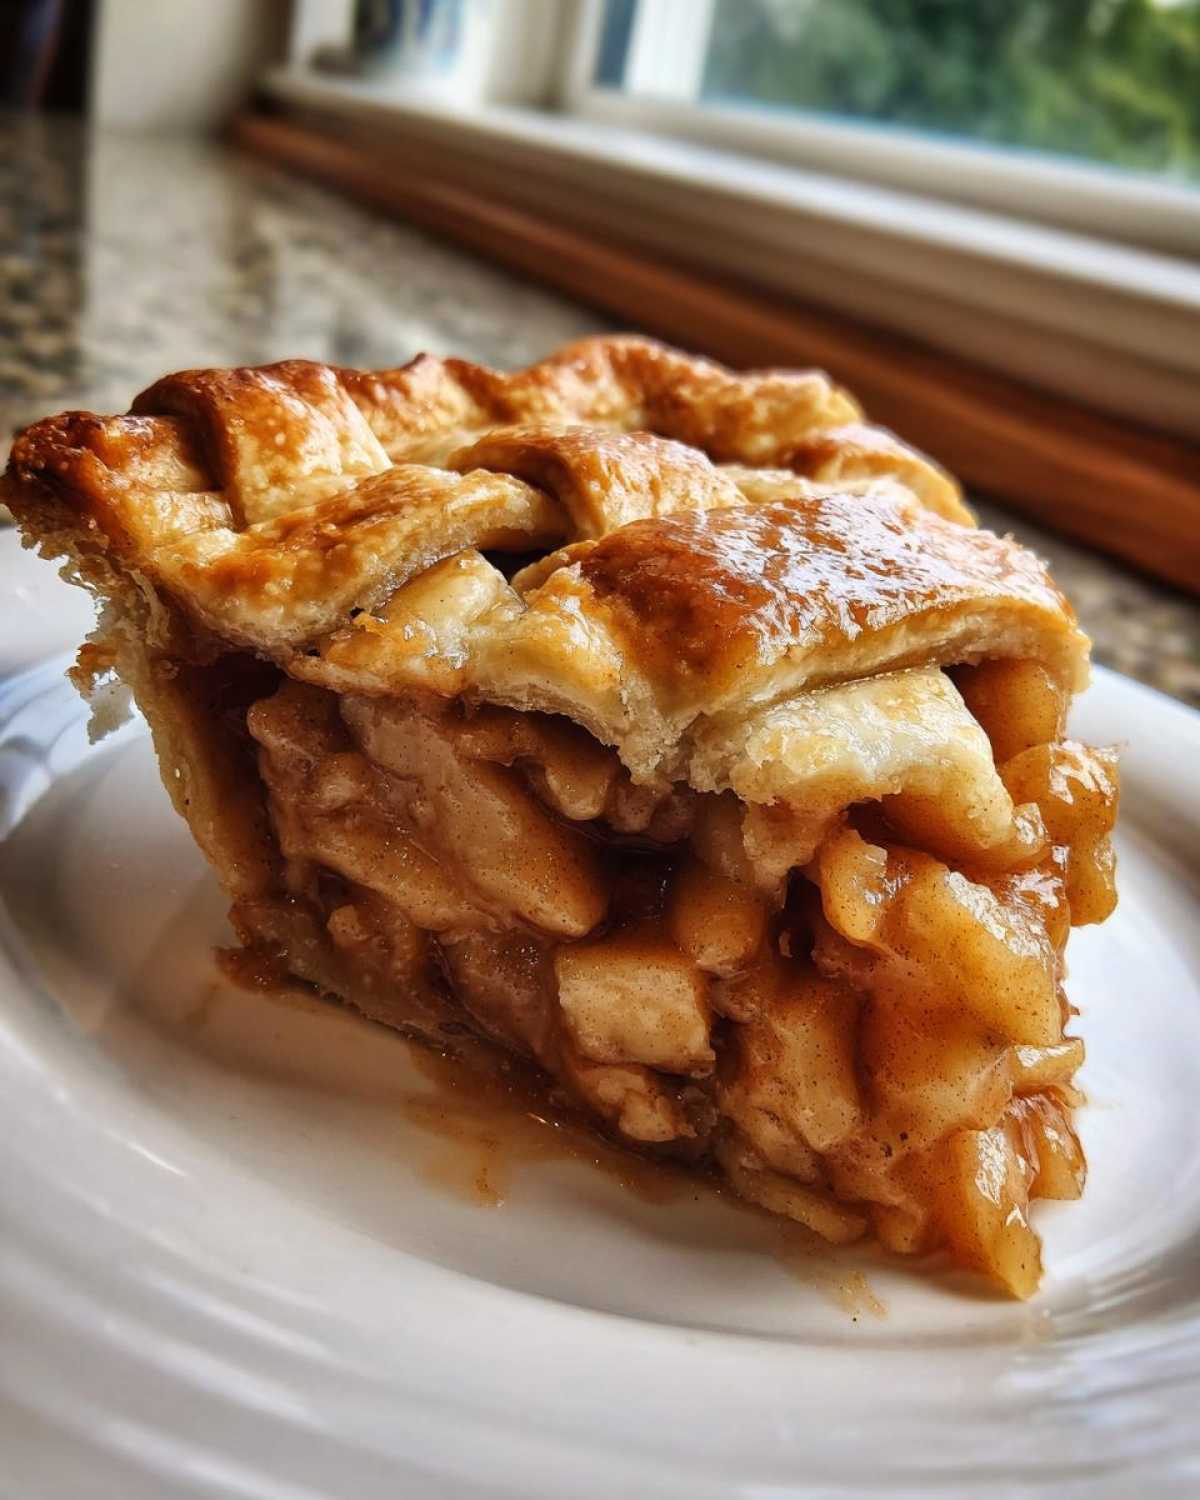
Frequently Asked Questions About Your Classic Apple Pie Recipe
It’s totally normal for questions to pop up when you’re working on a new Traditional American Pie, especially one as important as this one! Baking is chemistry, but it’s also intuition. So, let’s chat through those tricky spots so you can feel confident tackling this homemade apple pie the next time you decide to make a from scratch dessert.
Can I make the pie dough ahead of time for my homemade apple pie?
Oh, absolutely! This is one of my favorite tricks for having dessert ready when the mood strikes. You can wrap those two dough disks really tightly after you make them and pop them in the fridge for up to three days. If you need more lead time, freeze them! Wrap them really well in plastic wrap and then toss them into a zip-top freezer bag. They last great in the freezer for about three months. When you’re ready to bake, just move them to the fridge the night before you plan to roll them out. My recipe for the homemade reuben bake casserole also freezes well, so I often double the crust dough and just save the second half!
What is the best way to prevent weeping in my apple pie filling?
Weeping—that soupy puddle at the bottom of the crust—is the enemy of a good slice! We fight that on two fronts. First, make sure you use the full amount of cornstarch listed, and make sure it’s evenly distributed amongst the apples. Second, and this is huge, you *must*, must, must let the pie cool completely—we talked about 3 to 4 hours, right? Cutting into that hot pie releases steam and liquid instantly. When the filling cools, the starch locks everything into a thick, spoonable sauce. Patience results in the best slices!
Can I use different apples in this Traditional American Pie?
Yes, you totally can, but only if you’re smart about it! We use a mix because Granny Smith gives structure and tartness, and Honeycrisp brings the sweetness. If you use all sweet apples (like Gala or Red Delicious), your pie might turn to mush because they break down too fast. If you use all tart apples (like MacIntosh), it might be too sour. Aim for a 50/50 blend of a firm, tart apple and a firm, sweet one. That balance is what gets you this amazing flavor profile that makes it truly the best apple pie ever.
If you need more reassurance on prep methods, definitely check out how the folks at The Food Charlatan handle their apple pie too!
If you made this and perfected the Flaky Butter Crust Tutorial, let me know how it went!
Estimated Nutritional Data for Homemade Apple Pie
Now, before you dive headfirst into that slice—and trust me, I never skip it—here’s a rough idea of what you’re looking at per serving for this homemade apple pie. Remember, this is based on 8 even slices using all the sugar and butter specified. Real pie ingredients are delicious, but they aren’t exactly feather-light, if you catch my drift!
- Serving Size: 1 slice
- Calories: 450
- Fat: 25g
- Carbohydrates: 58g
- Sugar: 35g
- Protein: 5g
Consider this your ballpark estimate! If you swap sugar for a sugar substitute or use less butter on the crust, those numbers are going to shift. This estimate is just here so you know where you stand with this truly rich comfort food dessert.
Share Your Homemade Apple Pie Creations
I hope this recipe makes your kitchen smell amazing and brings everyone running to the table! If this homemade apple pie knocked your socks off—and I bet it did—please leave us a rating below! We love hearing about your baking successes. And hey, if you made it for a holiday, snap a photo and tag us! We need the good news!
If you’re looking for another showstopper dessert, make sure you check out the recipe for best sugar cookie icing that dries hard next time you’re baking for a crowd. I’d also love for you to visit Jeviko’s recipe for comparison—always fun to see how other bakers approach this classic!
Estimated Nutritional Data for Homemade Apple Pie
Now, before you dive headfirst into that slice—and trust me, I never skip it—here’s a rough idea of what you’re looking at per serving for this homemade apple pie. Remember, this is based on 8 even slices using all the sugar and butter specified. Real pie ingredients are delicious, but they aren’t exactly feather-light, if you catch my drift!
- Serving Size: 1 slice
- Calories: 450
- Fat: 25g
- Carbohydrates: 58g
- Sugar: 35g
- Protein: 5g
Consider this your ballpark estimate! If you swap sugar for a sugar substitute or use less butter on the crust, those numbers are going to shift. This estimate is just here so you know where you stand with this truly rich comfort food dessert.
Share Your Homemade Apple Pie Creations
I hope this recipe makes your kitchen smell amazing and brings everyone running to the table! If this homemade apple pie knocked your socks off—and I bet it did—please leave us a rating below! We love hearing about your baking successes. And hey, if you made it for a holiday, snap a photo and tag us! We need the good news! If you’re looking for another showstopper dessert, make sure you check out the recipe for best sugar cookie icing that dries hard next time you’re baking for a crowd. I’d also love for you to visit Jeviko’s recipe for comparison—always fun to see how other bakers approach this classic!
PrintUltimate Classic Homemade Apple Pie with Flaky All-Butter Crust
Make the best homemade apple pie from scratch. This recipe gives you a perfectly flaky, buttery crust and a sweet, cinnamon-spiced apple filling that is easy for beginners.
- Prep Time: 45 min
- Cook Time: 65 min
- Total Time: 110 min
- Yield: 8 servings
- Category: Dessert
- Method: Baking
- Cuisine: American
- Diet: Vegetarian
Ingredients
- 2 1/2 cups all-purpose flour
- 1 teaspoon salt
- 1 cup (2 sticks) cold, unsalted butter, cut into small cubes
- 1/2 cup ice water, plus more if needed
- 6 large Granny Smith apples, peeled, cored, and sliced 1/4 inch thick
- 2 large Honeycrisp apples, peeled, cored, and sliced 1/4 inch thick
- 3/4 cup granulated sugar
- 1/4 cup packed light brown sugar
- 1 teaspoon ground cinnamon
- 1/4 teaspoon ground nutmeg
- 1/8 teaspoon ground allspice
- 1 tablespoon lemon juice
- 2 tablespoons cornstarch
- 1 large egg, beaten (for egg wash)
- 1 tablespoon milk or cream (for egg wash)
- 1 tablespoon coarse sugar for sprinkling
Instructions
- Prepare the All-Butter Crust: In a large bowl, whisk together the flour and salt. Cut in the cold butter using a pastry blender or your fingers until the mixture resembles coarse crumbs with some pea-sized pieces of butter remaining.
- Gradually add the ice water, one tablespoon at a time, mixing lightly until the dough just comes together. Do not overmix. Divide the dough in half, flatten each half into a disk, wrap in plastic wrap, and chill for at least 1 hour.
- Prepare the Apple Filling: In a very large bowl, gently toss the sliced apples with the granulated sugar, brown sugar, cinnamon, nutmeg, allspice, lemon juice, and cornstarch until the apples are evenly coated. Set aside while you roll out the bottom crust.
- Assemble the Bottom Crust: On a lightly floured surface, roll out one disk of dough into a 12-inch circle. Carefully transfer the dough to a 9-inch pie plate. Trim the edges, leaving a 1-inch overhang. Place the pie plate in the refrigerator.
- Fill the Pie: Pour the apple mixture into the chilled bottom crust, mounding the apples slightly in the center.
- Assemble the Top Crust: Roll out the second disk of dough into an 11-inch circle. You can cut vents or create a lattice top. Place the top crust over the filling. Trim the overhang and crimp the top and bottom crust edges together to seal.
- Apply Egg Wash: In a small bowl, whisk the egg and milk/cream together. Brush the top crust lightly with the egg wash and sprinkle evenly with coarse sugar.
- Bake the Pie: Preheat your oven to 425 degrees F (220 degrees C). Place the pie on a baking sheet to catch any drips. Bake for 15 minutes at 425 degrees F.
- Reduce Heat: Reduce the oven temperature to 375 degrees F (190 degrees C). Continue baking for another 40 to 50 minutes, or until the crust is golden brown and the filling is bubbly. If the edges brown too quickly, cover them loosely with foil strips.
- Cool Completely: Let the pie cool on a wire rack for at least 3 to 4 hours before slicing. This allows the filling to set properly for perfect slices.
Notes
- For the flakiest crust, keep all your butter and water extremely cold.
- Use a mix of tart and sweet apples for the best flavor balance in your sweet, cinnamon-spiced apple filling.
- If you want a quicker dessert, use store-bought pie dough, but the homemade buttery pie dough instructions here yield superior results.
Nutrition
- Serving Size: 1 slice
- Calories: 450
- Sugar: 35g
- Sodium: 250mg
- Fat: 25g
- Saturated Fat: 15g
- Unsaturated Fat: 10g
- Trans Fat: 0g
- Carbohydrates: 58g
- Fiber: 3g
- Protein: 5g
- Cholesterol: 60mg