

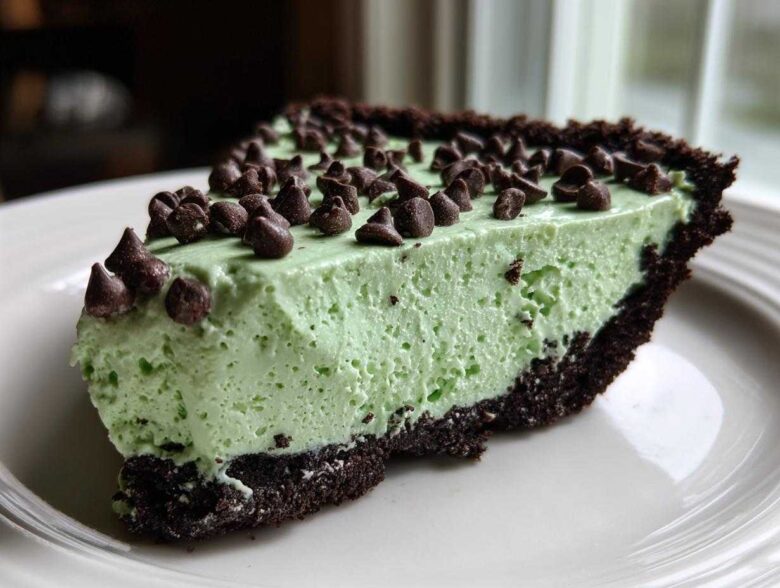
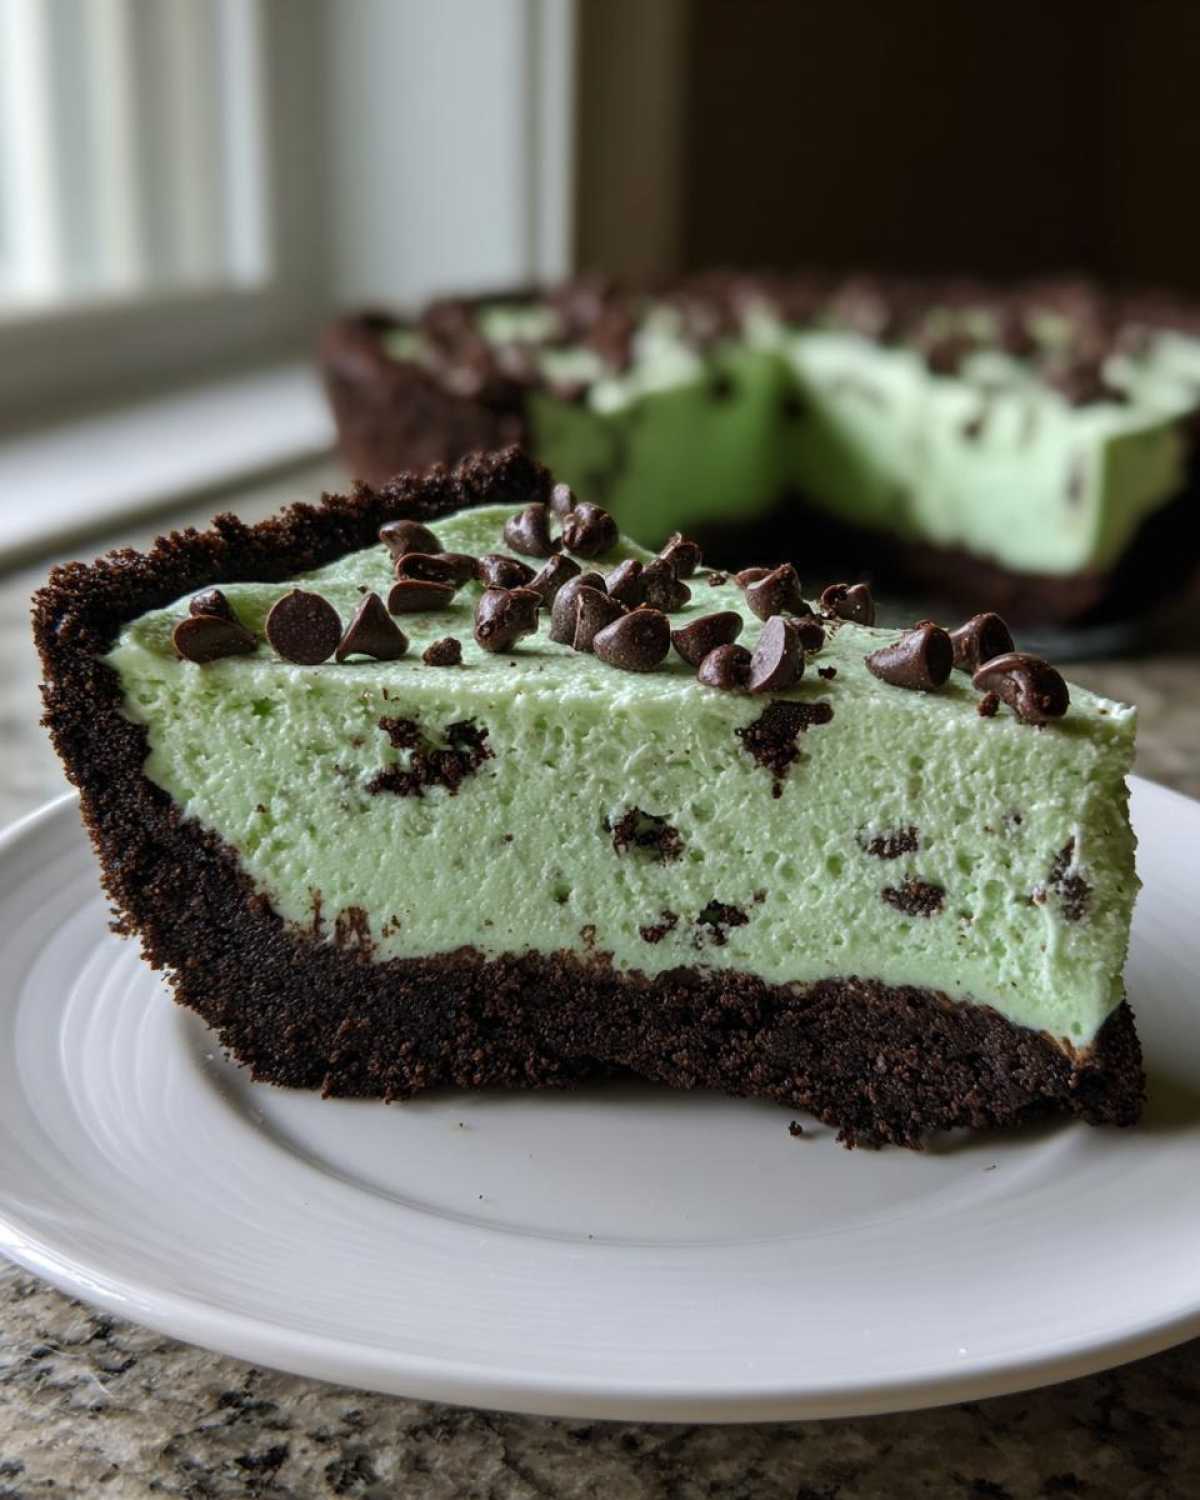
When the weather gets warm, or frankly, any time I need a quick dose of happy nostalgia, nothing beats something cold, green, and deeply chocolatey. Forget the oven, friends—we’re bringing the good news in the form of **No-Bake Creamy Mint Grasshopper Pie**!
This isn’t just another dessert; it’s the headline story of easy entertaining. This legendary *grasshopper pie* recipe whips up a stunning, vibrant green pie that tastes like a dream but takes almost no effort. It fits perfectly into our Hungry Herald mission right here: making simple, delicious food the best part of your day. You can read more about our whole story right here. Trust me, once you try this, you’ll be shouting the news from the rooftops!
Why This No Bake Grasshopper Pie Recipe Deserves a Headline
When I tell people this stunning mint chocolate pie comes together without ever touching the oven, they always look skeptical! But it’s true, and that’s why this *easy grasshopper pie* is such a treasure. It’s quick, stunning for parties, and requires almost zero hands-on time once you get stirring.
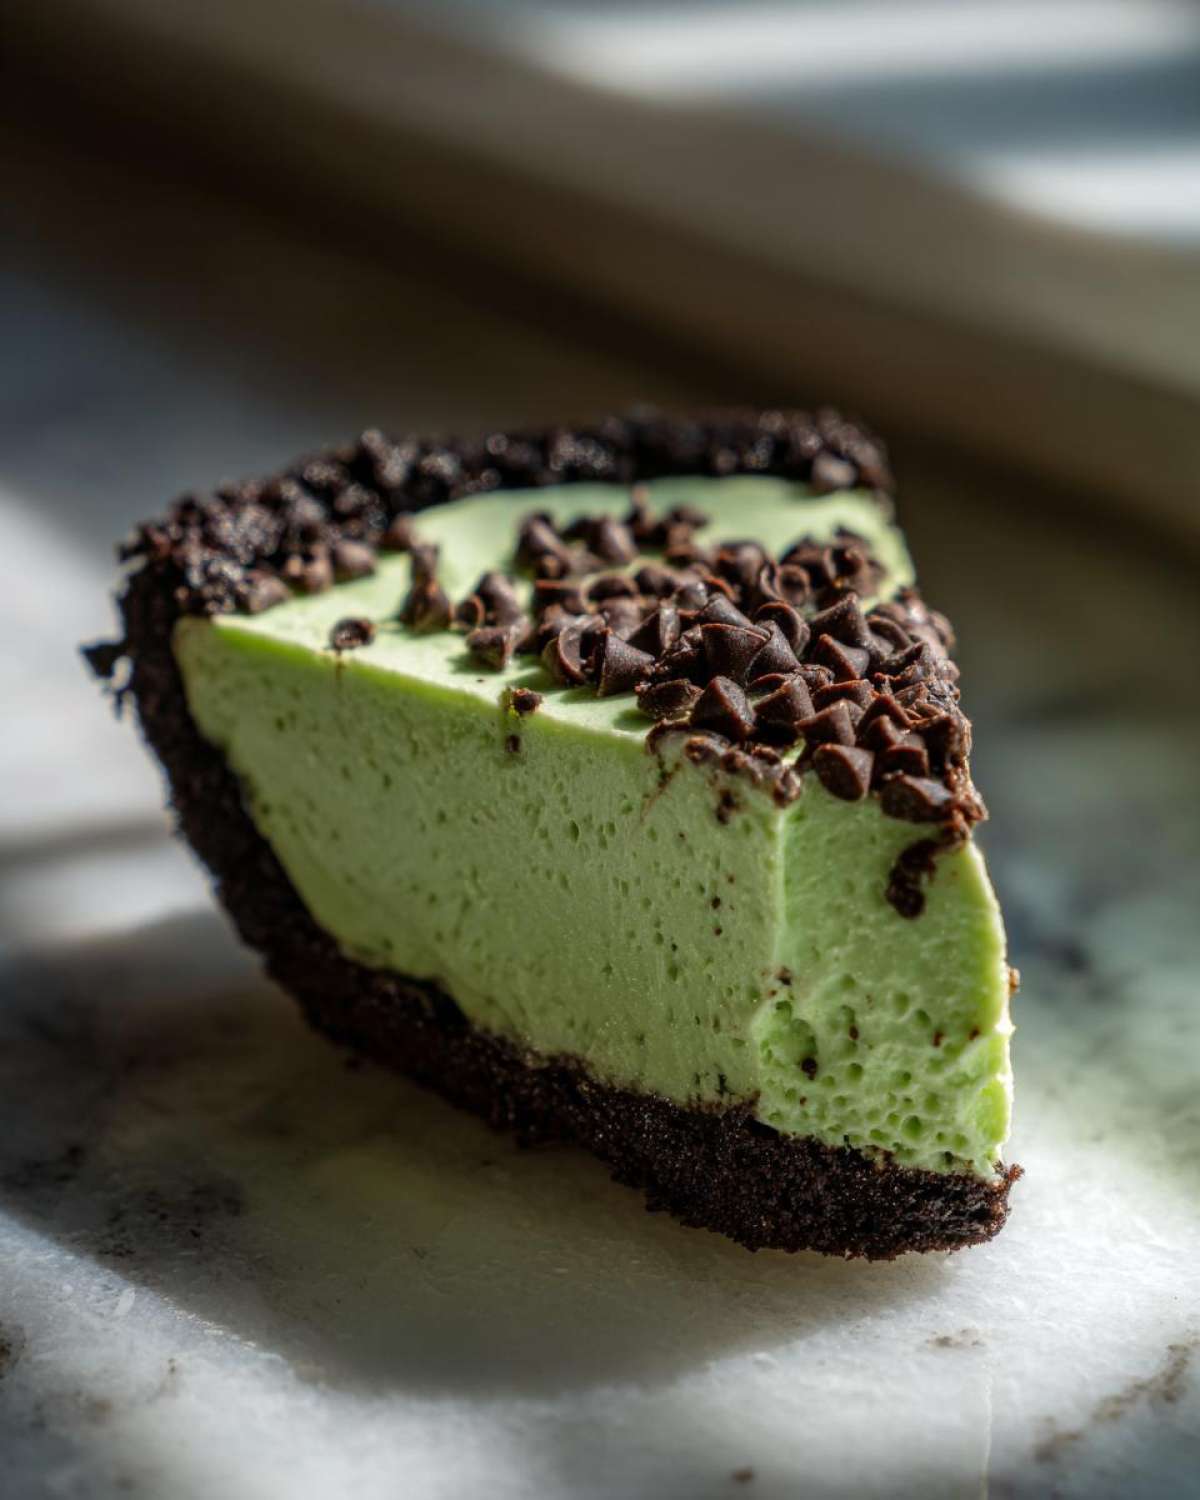
- It’s the ultimate make-ahead treat, ready when you need it!
- It delivers that classic mint and chocolate punch everyone expects.
- It’s one of the simplest recipes for a show-stopping *creamy mint dessert*.
We work hard enough; our baking shouldn’t add stress. You can check out my other no-bake obsession, the peanut butter pie, when you have a minute! Click here for that simple pie recipe.
Family-Friendly Flavor: No Alcohol in This Grasshopper Pie
A lot of the old-school recipes for this use crème de menthe, and while that’s great for grown-up evenings, it doesn’t always work for family get-togethers. So, I swapped it out! We use high-quality peppermint extract instead. You get all that bright, refreshing mint flavor without any alcohol. Honestly, my little cousins can’t tell the difference, and that’s a huge win!
The Perfect Creamy Dessert Texture for Any Season
This filling is the best blend of fluffy and rich. It’s moussey when chilled, which makes it incredibly light—the perfect *cool and refreshing pie* for summer gatherings. But if you want it firmer, pop it in the freezer for an extra hour, and it transforms into a delightful *frozen mint pie* consistency. It truly holds up beautifully!
Gathering Your Ingredients for the Ultimate Grasshopper Pie Recipe
Okay, friend, gathering our supplies is where we start building this beautiful, easy dessert. Because this is a *no bake grasshopper pie*, we don’t need much for the oven, which is exactly how I like it! Following these exact measurements for our *grasshopper pie* ensures the texture is that signature creamy perfection we’re aiming for. Having everything ready to go makes the mixing process so smooth. If you’re looking for other chocolate mint treats, you might enjoy looking at recipes like the peppermint chocolate chip cookies Owen and I whipped up last week!
You can see my list below. Don’t skip softening that cream cheese—it’s crucial for a smooth filling!
For the Oreo Crust Pie Base
- 1 1/2 cups chocolate cookie crumbs (that should be about 25 Oreos if you’re counting!)
- 6 tablespoons unsalted butter, melted
For the Creamy Mint Filling
- 1 (8 ounce) package cream cheese, softened—this has to be soft, or it won’t blend!
- 1 cup powdered sugar
- 1 teaspoon vanilla extract
- 1 teaspoon peppermint extract
- 1/4 teaspoon green food coloring (this is optional, but wow, does it make the *mint chocolate pie* pop!)
- 1 (8 ounce) container frozen whipped topping, thawed
- 1/2 cup miniature chocolate chips, for topping
Simple Steps to Assemble Your No Bake Grasshopper Pie
This is where the magic happens, and I promise you, it’s all downhill from here—in the best way possible! Since we aren’t baking, the main steps are mixing, blending, and chilling. Seeing this beautiful *grasshopper pie* come together without turning on the stove just feels like cheating, it’s so easy! Take a peek at what a few other bakers made when following these steps; they definitely captured that vibrant green! Check out their results here.
Creating the Oreo Crust Pie Foundation
We start with the crunch! In a bowl, mix those chocolate cookie crumbs right up with the melted butter, just like we do for other great crusts, maybe even similar to making the base for my favorite easy homemade garlic butter recipe—except this is sweet! You want everything coated well—it should look like wet sand. Press that mixture firmly into the bottom and up the sides of your 9-inch pie plate. Don’t skimp on pressing it down, especially the sides! Then, pop that whole thing in the freezer while you handle the filling. Chilling the *oreo crust pie* base makes sure it sets up hard!
Mixing the Light, Mousse-Like Filling
Grab a big bowl and get your mixer going on that softened cream cheese until it’s totally smooth—zero lumps, please! Next, slowly beat in the powdered sugar, vanilla, and that crucial peppermint extract. Once that’s combined, this is the fun part: Add your green food coloring if you’re going for maximum color impact! Now, stop the mixer. Take your thawed whipped topping and gently, I mean *gently*, fold it into the cream cheese mixture using a spatula. We want to keep all those nice air bubbles we just beat in! This is the mixing technique that gives us the best *creamy mint dessert*.
Chilling and Serving Your Grasshopper Pie
Spoon that lovely green filling right into that chilled crust and smooth the top out so it looks professional. Now, it has to chill out! Cover it loosely—we don’t want it touching the topping—and let it set in the fridge for at least four hours. If you’re short on time, you can aim for a *frozen mint pie* texture by freezing it for about two hours. Before serving this *delicious easy dessert*, sprinkle those miniature chocolate chips all over the top. Perfect!
Tips for the Best Creamy Mint Grasshopper Pie
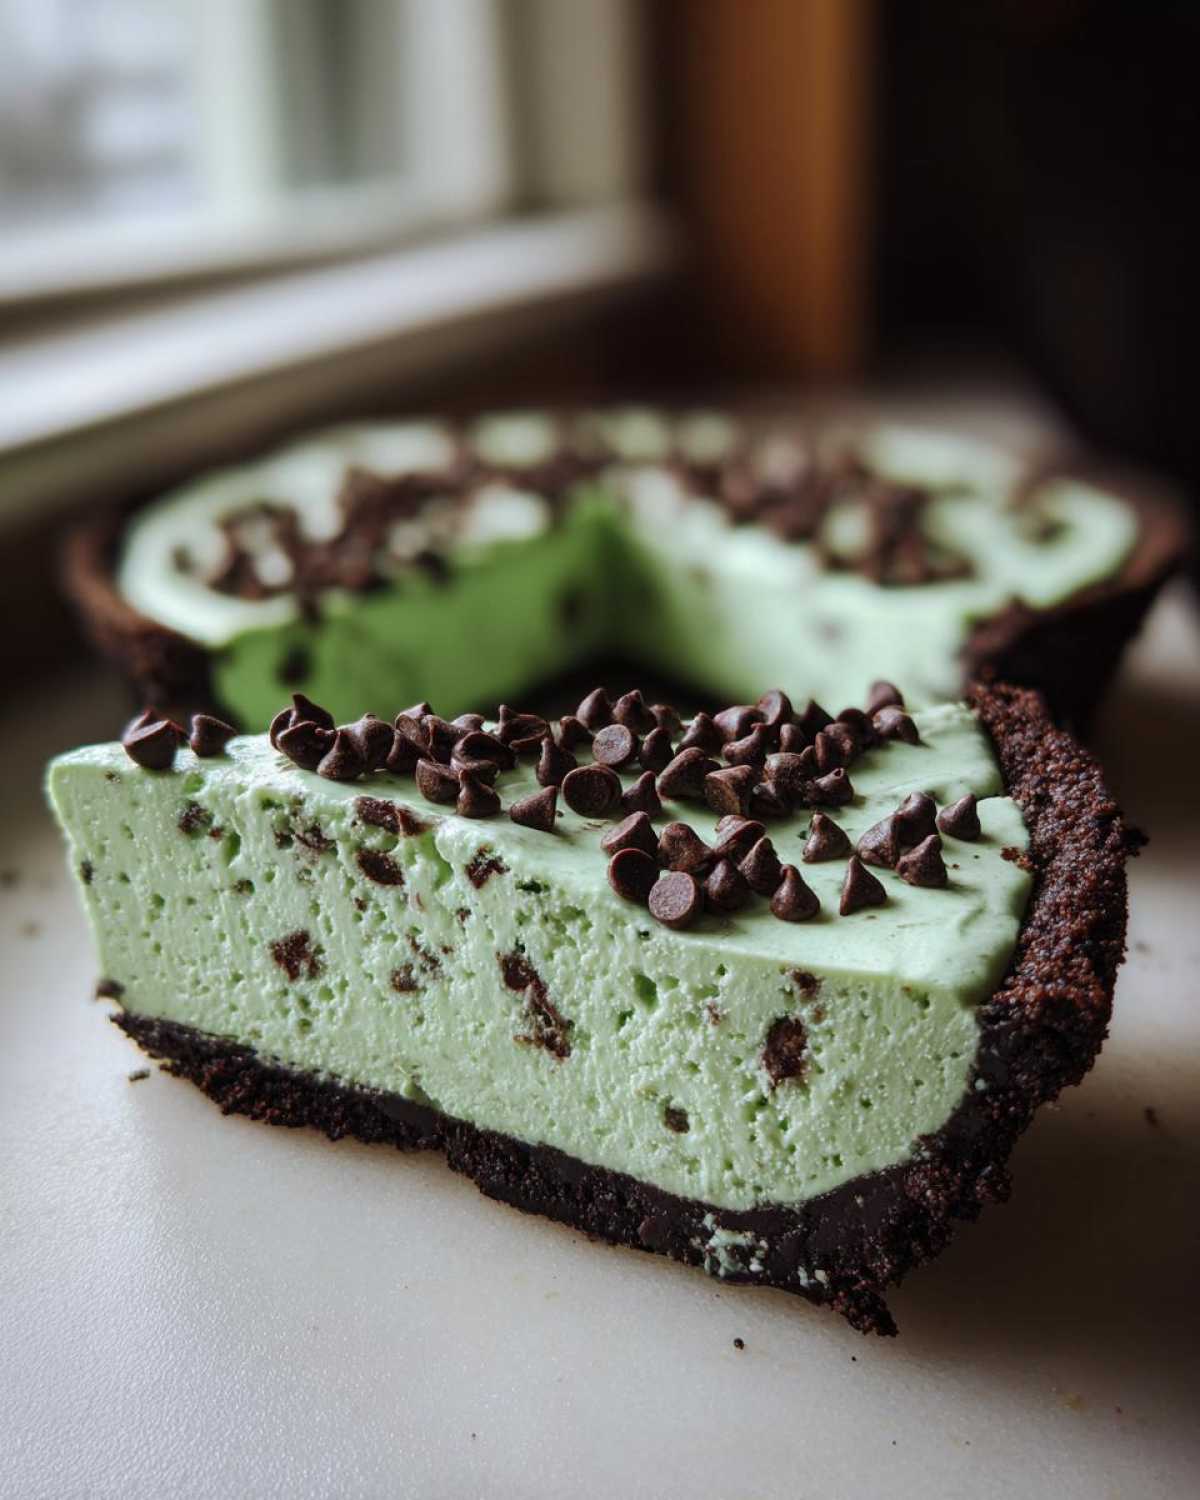
Even though this is a *simple pie recipe*, a couple of little tricks ensure it’s absolutely magazine-worthy. We want that beautiful, bright green color without tasting like we dipped the whole thing in food dye! These little pointers are what turn a good pie into a *delicious easy dessert* worthy of a headline. If you want to see how others made their *no bake mint dessert* shine, check out the results from Paula’s Kitchen! Click here for their take.
Achieving Perfect Color in Your Grasshopper Pie
If you are using the green food coloring—and I highly recommend you do for that classic *retro dessert recipe* look—start small! Seriously, one drop at a time. You only need enough to give you that festive, vibrant look. Too much, and you risk overpowering the delicate peppermint flavor we worked so hard to balance. We want minty fresh, not chemically green, you know?
Make Ahead Dessert Planning
This is my favorite part: it’s the ultimate solution for busy hosts! This *grasshopper pie* holds up incredibly well in the fridge. You can honestly assemble the whole thing the day before your event, and it will be even better after sitting overnight. The instructions say it keeps for about three days covered in the refrigerator, which means I can focus on the party instead of worrying about dessert on the day itself. If you love baking brownies, you should bookmark my recipe for ultimate fudgy brownie cookies too!
Variations on the Classic Grasshopper Pie Recipe
While my version of this *grasshopper pie* is fantastic because it’s so simple and kid-friendly, I always love hearing how you all adapt recipes in your own kitchens! This mint and chocolate combination is so flexible, which is why it’s remained such a classic *retro dessert recipe*.
If you want a deeper chocolate flavor in that crust, try crushing up Mint Oreos instead of the regular ones—it really amps up the chocolate mint treat factor! Another fun way to change things up is to skip putting all the chocolate chips on top. Instead, mix about half a cup of those miniature chips right into the filling along with the whipped topping. When you slice it, you get little surprises of melted chocolate throughout the creamy mint!
If you’re obsessed with chocolate like we are, you absolutely have to try my peppermint chocolate chip cookies next time you want just a small bite of minty goodness!
Serving Suggestions for Your Mint Chocolate Pie
This beautiful *mint chocolate pie* shines all on its own, but you know me—I love a celebration! Since this *grasshopper pie* is so cool and refreshing, it makes an incredible *summer dessert*. But honestly, that vibrant green makes it perfect for a *holiday pie* too, especially around St. Patrick’s Day!
If you want to dress it up for company, don’t fret about complicated sauces. A quick drizzle of good quality chocolate syrup across the plate before setting the slice down looks fancy! You could also serve a tiny dollop of homemade vanilla frosting—I have a super easy recipe for vanilla buttercream frosting if you want to try it.
Owen loves having a few fresh mint leaves sprinkled on top alongside those chocolate chips. It just makes the whole presentation feel brighter, don’t you think?
Storing Leftovers of Your Easy Grasshopper Pie
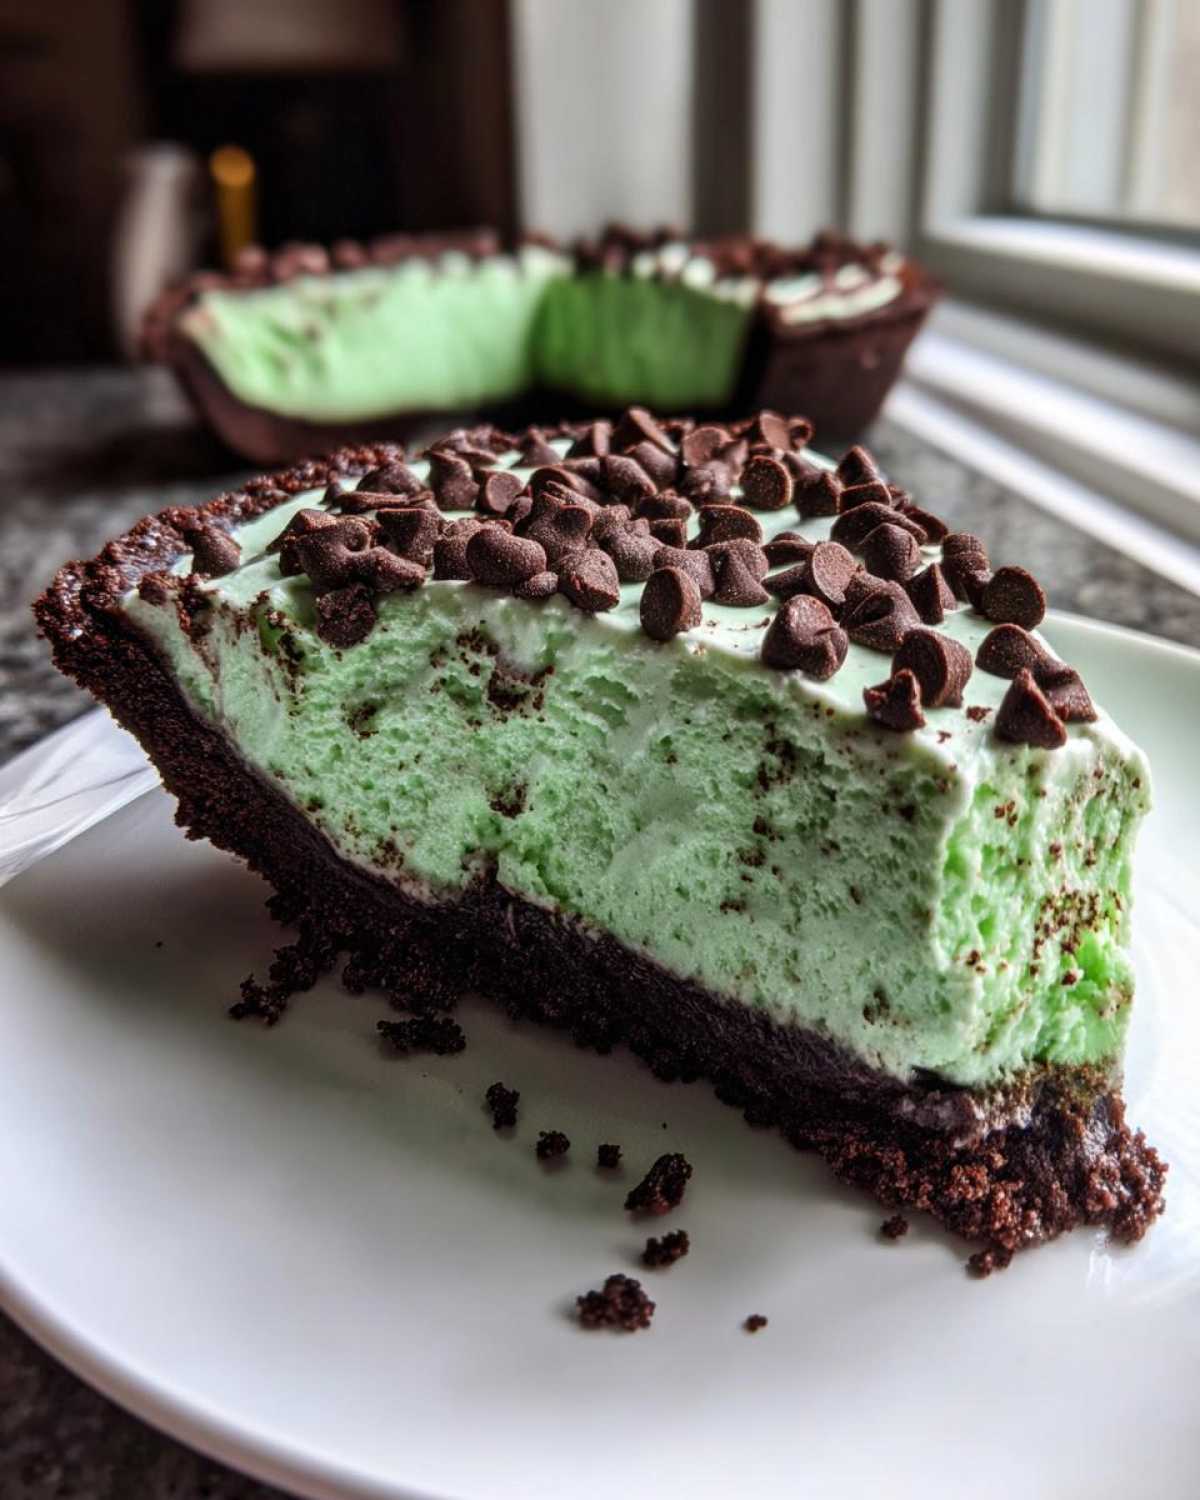
Now, let’s talk about the aftermath, because if you’re hosting a party like I am, you might end up with some amazing *easy grasshopper pie* left over! You definitely want to treat this right to keep that texture perfect.
For refrigeration, just cover the pie loosely with plastic wrap—make sure the wrap isn’t touching the surface of the filling if you can help it, or you might stick to it later! It stays wonderfully creamy and good for about three days. If you need it to last longer, this pie freezes like a dream!
If you’re freezing slices, just wrap them up tight in plastic wrap, and then maybe throw them in a freezer bag. You can check out some other great tips for pie storage over at Sweet Treat Recipes if you’re curious! See what they suggest here. When you’re ready to eat a frozen slice, just let it sit on the counter for about five to ten minutes before diving in.
Frequently Asked Questions About Grasshopper Pie
I always get so many questions once I post this recipe—which is great, because it means people are excited to make it! Since this is such a wonderful *retro dessert recipe*, people often wonder how our non-alcoholic, *creamy mint dessert* version stacks up against the old ways. Here are the most common things people ask me about making this *grasshopper pie* the star of the show!
Can I make this grasshopper pie recipe with marshmallows instead of whipped topping?
That’s a fantastic question! The base recipe I gave you uses thawed whipped topping because it gives you that light, airy, mousse-like finish that sets up beautifully in the fridge. Some of the older, more *retro dessert recipe* versions did use melted marshmallows, which definitely results in a slightly denser, chewier texture, leaning a bit more toward a *frozen mint pie* consistency if you freeze it. I stick to the whipped topping combination because I love how light the cream cheese filling stays!
How do I get the vibrant green color for my mint chocolate pie?
This is all about presentation, right? If you want that stunning, classic St. Patrick’s Day green, you’ll need a little help from food coloring. Remember what I said about folding gently? That rule applies here too! Add just a drop or two of nice quality green food coloring into the cream cheese mixture *before* you fold in the whipped topping. Mix until it’s uniform, but stop as soon as you hit that perfect shade. You don’t want to deflate all that lovely air you just introduced!
What is the best way to slice a very cold grasshopper pie?
If you pull this *mint chocolate pie* straight from a deep chill or the freezer, trying to cut it often results in messy slices, and nobody wants that! It’s so important to let it relax just a tiny bit. I always pull the dish out of the cold environment about five to ten minutes before I plan to serve it. That little bit of warming time softens the whipped topping just enough so that a sharp, thin knife glides right through it. Clean slice, every time!
If you need more help deciding what delicious news to report next from your kitchen, you can always browse through all my posts right here on the main blog page!
Nutritional Snapshot of This Simple Pie Recipe
Sharing the details is just as important as sharing the delicious result! Here’s a quick look at the estimated nutritional information for one slice of this *grasshopper pie*. Remember, because this is a from-scratch recipe, your exact count can shift depending on the butter brand or specific chocolate chips you use. These are just guiding numbers for our *simple pie recipe*!
- Serving Size: 1 slice
- Calories: 350
- Sugar: 28g
- Sodium: 210mg
- Fat: 22g
- Saturated Fat: 12g
- Carbohydrates: 35g
- Protein: 4g
Report Your Good News: Share Your Grasshopper Pie Success
Okay, Heralds, the news is out! You’ve made the *no bake grasshopper pie*, you’ve chilled it, you’ve sliced it, and now I need to hear all about it. Sharing the good news is half the fun of cooking, right?
Did it get that vibrant green color we were hoping for? Are your guests already asking for the recipe? Please drop a comment below and tell me everything! I absolutely love seeing your successes, whether it was your first time making a *creamy mint dessert* or if you’re a seasoned pro.
If you took a picture of your finished masterpiece—maybe you even convinced Owen to play some celebratory music while you cut the first slice—tag us so we can cheer you on! We love seeing how our headlines come to life in your homes.
And if you have any lingering questions that popped up while you were mixing, please don’t hesitate to ask! You can always get in touch with us directly through our contact page here if you need anything else. Thank you for joining our kitchen dance party. Go announce something delicious!
PrintNo-Bake Creamy Mint Grasshopper Pie

Announcing the good news: you can make this cool, creamy, and refreshing mint chocolate pie without turning on your oven. This easy grasshopper pie recipe uses mint extract for a family-friendly flavor.
- Prep Time: 20 min
- Cook Time: 0 min
- Total Time: 4 hr 20 min
- Yield: 8 servings
- Category: Dessert
- Method: No Bake
- Cuisine: American
- Diet: Vegetarian
Ingredients
- 1 1/2 cups chocolate cookie crumbs (about 25 Oreos)
- 6 tablespoons unsalted butter, melted
- 1 (8 ounce) package cream cheese, softened
- 1 cup powdered sugar
- 1 teaspoon vanilla extract
- 1 teaspoon peppermint extract
- 1/4 teaspoon green food coloring (optional, for vibrant color)
- 1 (8 ounce) container frozen whipped topping, thawed
- 1/2 cup miniature chocolate chips, for topping
Instructions
- Prepare the crust: In a medium bowl, mix the chocolate cookie crumbs and melted butter until the crumbs are evenly moistened. Press the mixture firmly into the bottom and up the sides of a 9-inch pie plate. Place the crust in the freezer while you prepare the filling.
- Make the cream cheese base: In a large bowl, beat the softened cream cheese with an electric mixer until smooth. Add the powdered sugar, vanilla extract, and peppermint extract. Beat until fully combined and creamy.
- Add color and texture: Mix in the green food coloring, if using, until you achieve your desired vibrant color. Gently fold in the thawed whipped topping until no streaks remain. This creates your light, mousse-like filling.
- Assemble the pie: Spoon the mint filling evenly into the chilled chocolate cookie crust. Smooth the top with a spatula.
- Chill the pie: Cover the pie loosely with plastic wrap and refrigerate for at least 4 hours, or until the filling is firm. For a firmer, frozen mint pie texture, you can freeze it for 2 hours.
- Serve: Before serving this delicious easy dessert, sprinkle the top evenly with miniature chocolate chips. Slice and report the good news!
Notes
- If you prefer a richer chocolate flavor in the crust, use Mint Oreos instead of regular Oreos.
- For an extra cool and refreshing pie, freeze the pie completely and serve it frozen. Let it sit at room temperature for 5 minutes before slicing.
- This is a great make ahead dessert; it holds well in the refrigerator for up to 3 days.
Nutrition
- Serving Size: 1 slice
- Calories: 350
- Sugar: 28
- Sodium: 210
- Fat: 22
- Saturated Fat: 12
- Unsaturated Fat: 10
- Trans Fat: 0
- Carbohydrates: 35
- Fiber: 1
- Protein: 4
- Cholesterol: 45