

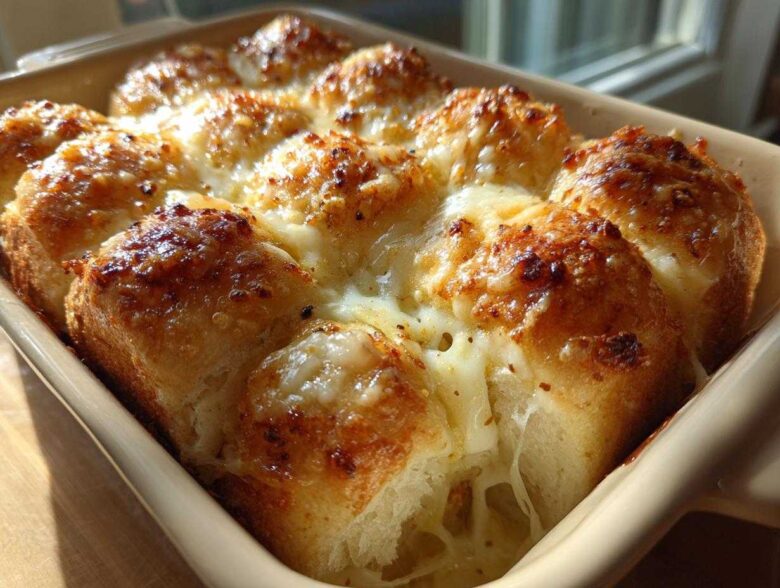
Oh my gosh, if you bake one thing this week, make it this bread! The aroma alone will bring everyone running into the kitchen—seriously, it’s that unbelievably good. I’m talking about the one and only Garlic Parmesan Pull-Apart Bread, and I promise you, this is the easiest, gooiest, most ridiculously cheesy version you will ever make. Forget kneading dough; we are starting with those soft little refrigerated dinner rolls, which is my secret weapon for speed!
I once brought this to a potluck where every dish was competing with fancy casseroles, and within ten minutes, the platter was totally bare with happy crumbs everywhere. It’s the ultimate party appetizer bread because everyone just digs right in. We’re creating a super rich garlic butter that coats every single tearable segment perfectly. It’s so simple, you’ll feel like a baking wizard. Trust me, you need the recipe for this homemade garlic butter base!
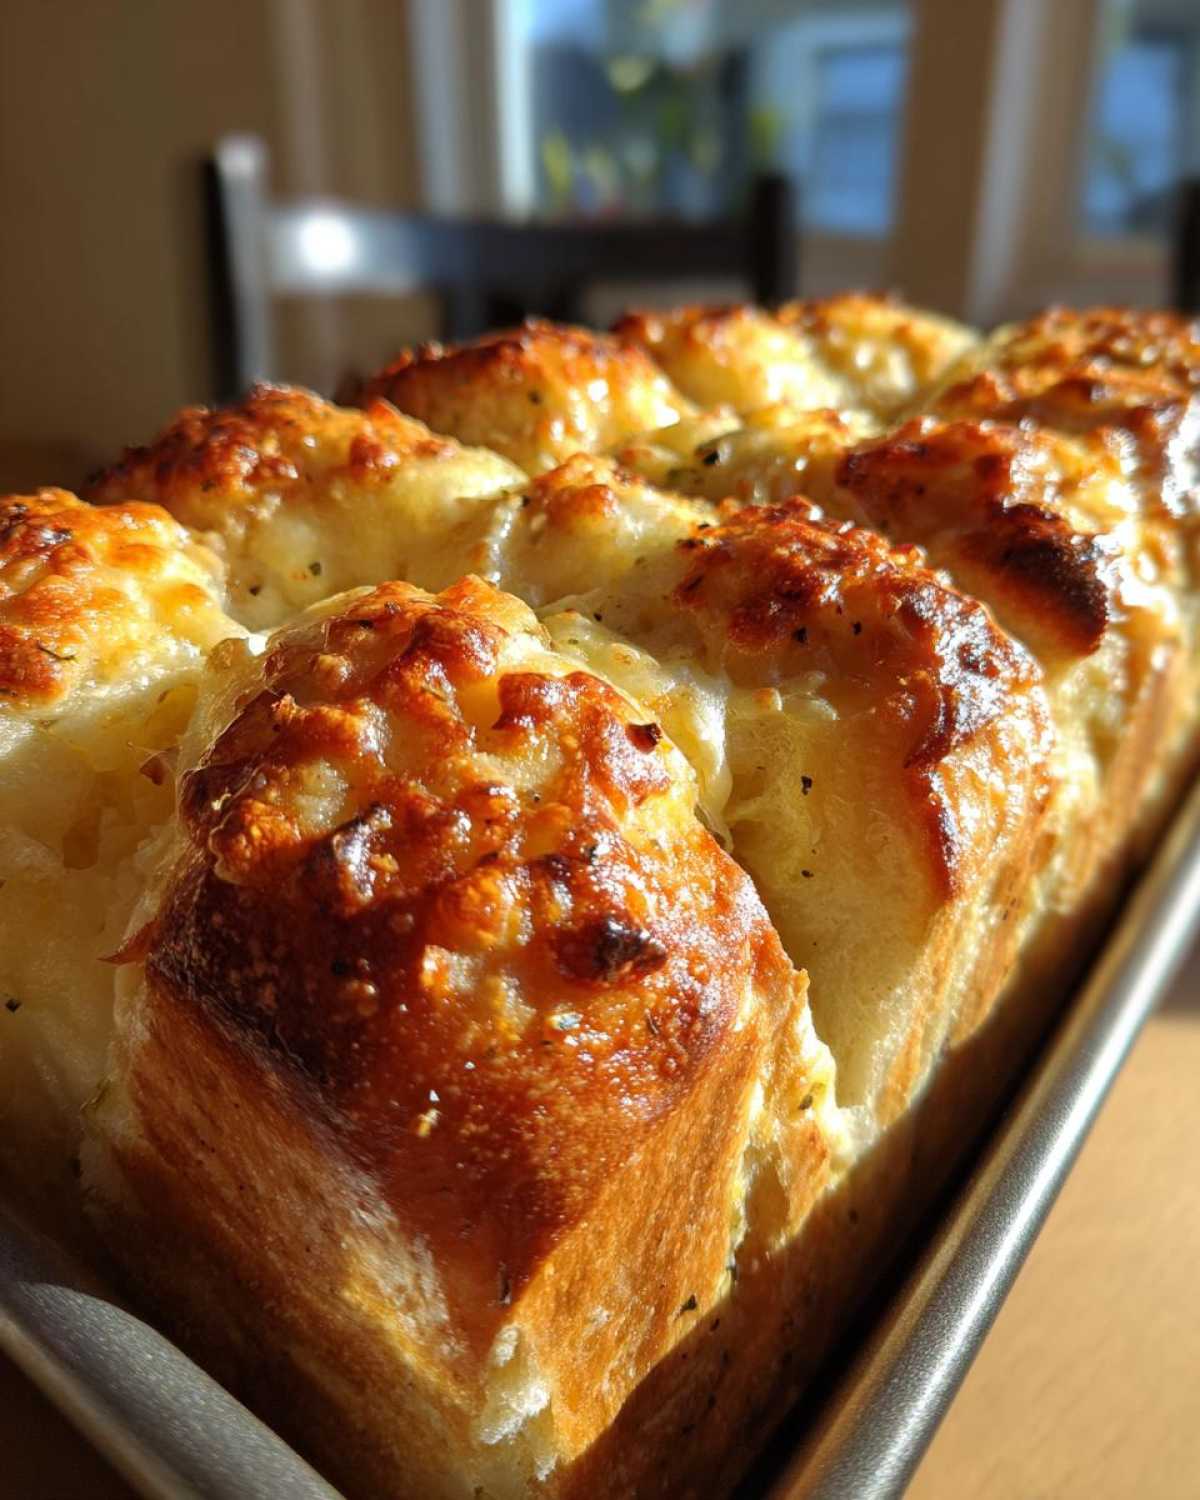
Why This Garlic Parmesan Pull-Apart Bread Recipe Works So Well
Honestly, this recipe is a lifesaver when you need something impressive fast. It hits all the high notes without demanding hours in the kitchen. It’s just the best pull apart bread because it nails that perfect balance of gooey texture and intense flavor.
- Incredible Speed: We’re talking minimal prep time. You can have this assembled and baking in under fifteen minutes, making it the ultimate quick garlic rolls fix.
- Flavor Punch: Don’t skimp on the garlic! The fresh stuff we use ensures this isn’t just bland bread; it’s an irresistible garlic bread experience.
- Perfect Texture: Using soft dinner rolls, they steam inside the pan, giving you bread that is unbelievably soft, cheesy, and incredibly shareable. It’s truly the best party appetizer bread.
- Effortless Sharing: Who needs plates? This is the definition of low-effort savory baked bread—just pull a piece off and enjoy!
Gathering Ingredients for Your Garlic Parmesan Pull-Apart Bread
The ingredient list for this cheesy garlic bread recipe is super short, which I just love! That means less time shopping and more time smelling that amazing garlic baking. The key here, like with any great side dish, is using real ingredients, especially when it comes to the garlic. Don’t even think about using that dusty old jarred stuff when we have the chance for that fresh, pungent kick!
We rely heavily on the combination of soft rolls and a rich butter mixture to bring this party appetizer bread home. Everything you need is usually right in your fridge or pantry:
- 24 refrigerated soft dinner rolls (I usually grab the slightly sweet Hawaiian style ones because they bake up divine!)
- 1/2 cup (1 stick) unsalted butter, melted
- 6 cloves garlic, minced—yes, 6! We want this strong!
- 1/4 cup fresh parsley, chopped
- 1 teaspoon dried oregano
- 1/2 teaspoon salt
- 1/4 teaspoon black pepper
- 1 cup shredded Parmesan cheese, divided
See? That’s it! With these simple items, we create something extraordinary that tastes like it took hours of effort. It’s our secret weapon for a quick, homemade cheesy bread experience.
Essential Equipment for the Best Pull Apart Bread
You really don’t need much specialized gear for this quick garlic rolls creation, which is part of its beauty. Grab a large mixing bowl—you need room to coat all those rolls without making a huge mess! Next, you’ll want the right pan. I usually opt for a 9×5 inch loaf pan, but a 9-inch round cake pan works just as well for that classic look. And of course, a sharp knife to cut/quarter your rolls!
Step-by-Step Instructions: How to Make Garlic Parmesan Pull-Apart Bread
Okay, this is where the magic happens! Making this savory baked bread is a quick assembly job, so make sure you have your pan ready to go right away. First things first, crank that oven up to 350 degrees Fahrenheit (175 degrees Celsius). While it’s heating up, grab your loaf pan or round cake pan and give it a good grease—we don’t want any sticky spots when we go to serve this beautiful bread!
Preparing the Garlic Butter Mixture
This sauce is what makes this Cheesy Garlic Bread Recipe absolutely irresistible. Grab a small bowl, nothing fancy needed here. Pour in your melted butter. Now, dump in that freshly minced garlic—don’t be shy! Toss in the chopped parsley, oregano, salt, and pepper. Give it a really good stir with a fork until everything is combined. You’ll notice that fantastic, sharp garlic smell already hitting you. That’s the sign of true savory bread in the making!
Coating and Assembling the Garlic Parmesan Pull-Apart Bread
Now for the fun part! Take your 24 dinner rolls. You can either slice each one horizontally in half like a little sandwich, or if they are small, just rip them into quarters. You want bite-sized pieces that are easy to pull apart later. Put all your torn roll pieces into a big mixing bowl.
Pour that glorious garlic butter mixture right over the rolls. Gently toss everything together. You want every single piece coated in that buttery goodness. Once they look glossy, sprinkle in half a cup of your Parmesan cheese and toss one more time. Now, transfer all those beautiful, coated pieces into your greased baking pan. Don’t worry about making them neat; pile them in! Finally, sprinkle that remaining half cup of Parmesan cheese right over the top layer. That’s going to give us that perfect golden crust we’re looking for. If you want to peek at my tips for getting a really great crust, check out my snickerdoodle post—the mindset about the sugar topping is similar!
Baking and Resting the Savory Baked Bread
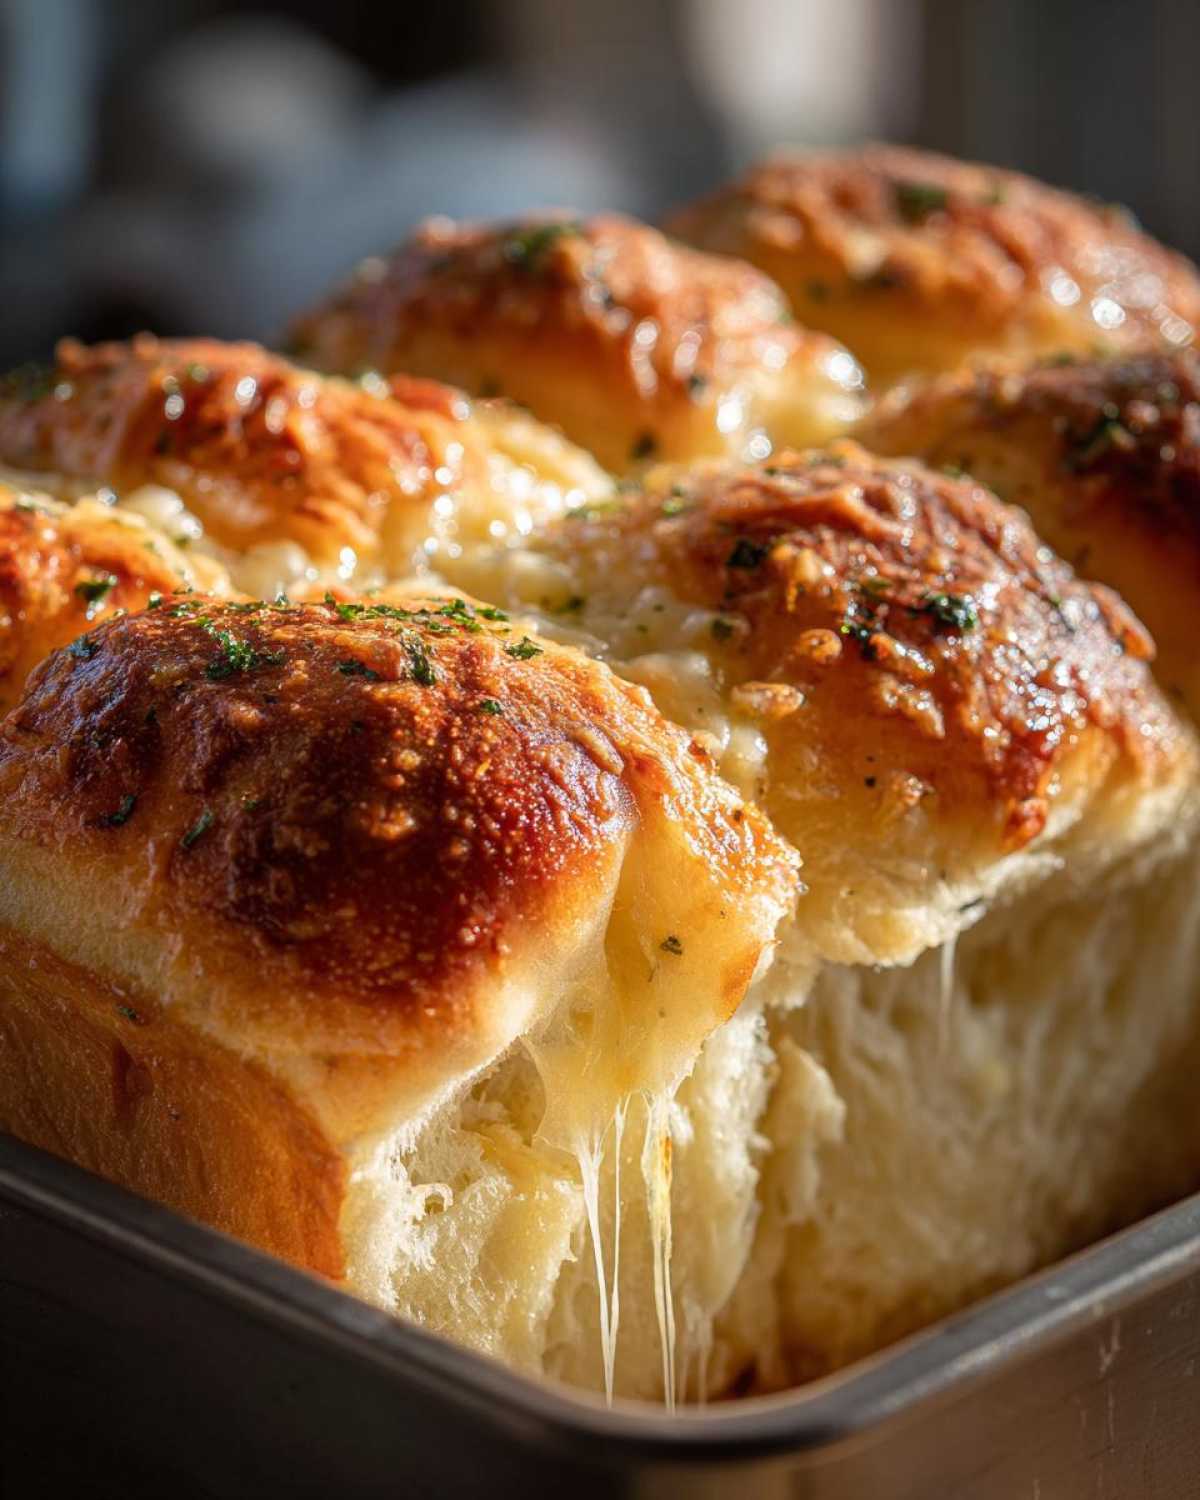
Into the 350°F oven they go! Bake this for about 18 to 22 minutes. You’re looking for the bread to be totally hot and cooked through, and that top layer of cheese should be bubbly and just starting to turn a lovely golden brown. Timing is everything here for maintaining that soft and cheesy texture.
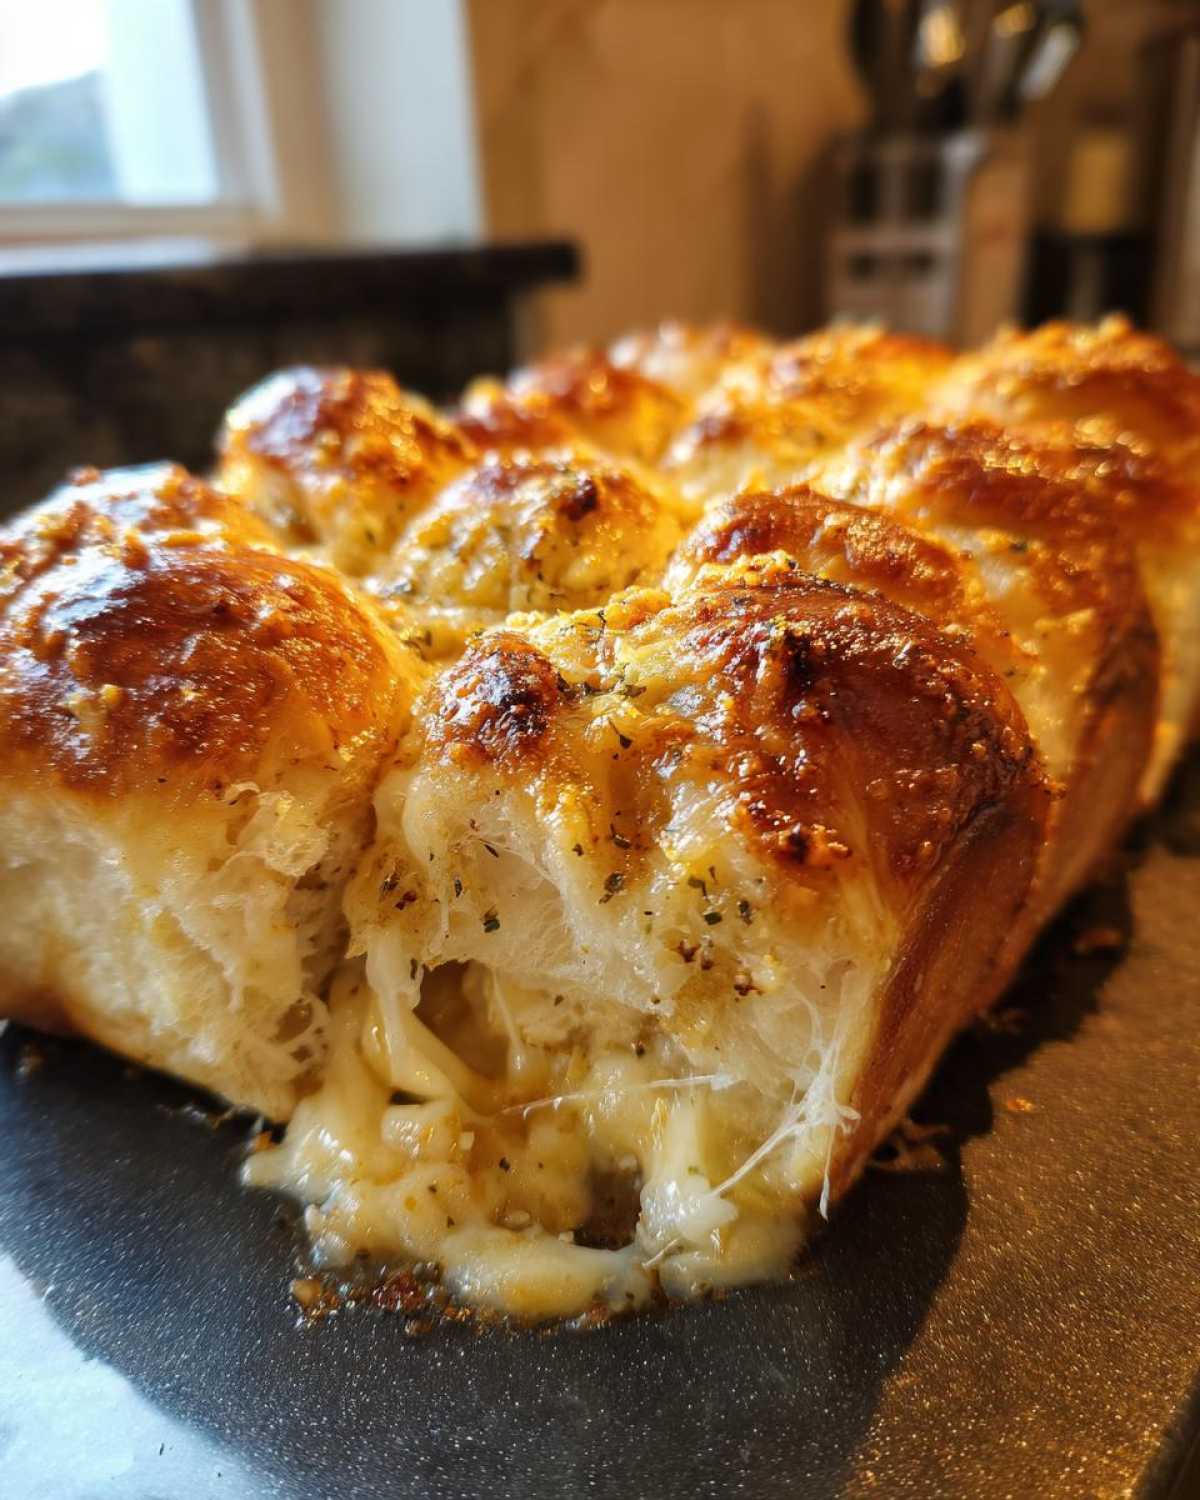
Once they look perfect, pull them out. Now, this is key to avoid a gooey mess when serving: let the bread rest in the pan for just 5 minutes. This allows the butter to settle and firm up just enough. When that timer is up, put it right on the table—this is bread meant to be torn apart immediately while it’s steaming hot!
Expert Tips for Perfect Garlic Parmesan Pull-Apart Bread
Listen, even though this is the easiest recipe ever, a few tweaks can take this from great to truly irresistible garlic bread status. If life happens and you’re out of fresh garlic, don’t panic! You can swap in about 1 teaspoon of good quality garlic powder for those 6 cloves, but honestly, the impact isn’t quite the same. Fresh is always best for that huge flavor delivery!
Now, for the true cheese enthusiasts out there—and I count myself among you! If you are making this for a big group and want extra ooze factor, try adding about 1/4 cup of shredded mozzarella cheese in right alongside the Parmesan during the last five minutes of baking. It melts beautifully and adds such satisfying stretch.
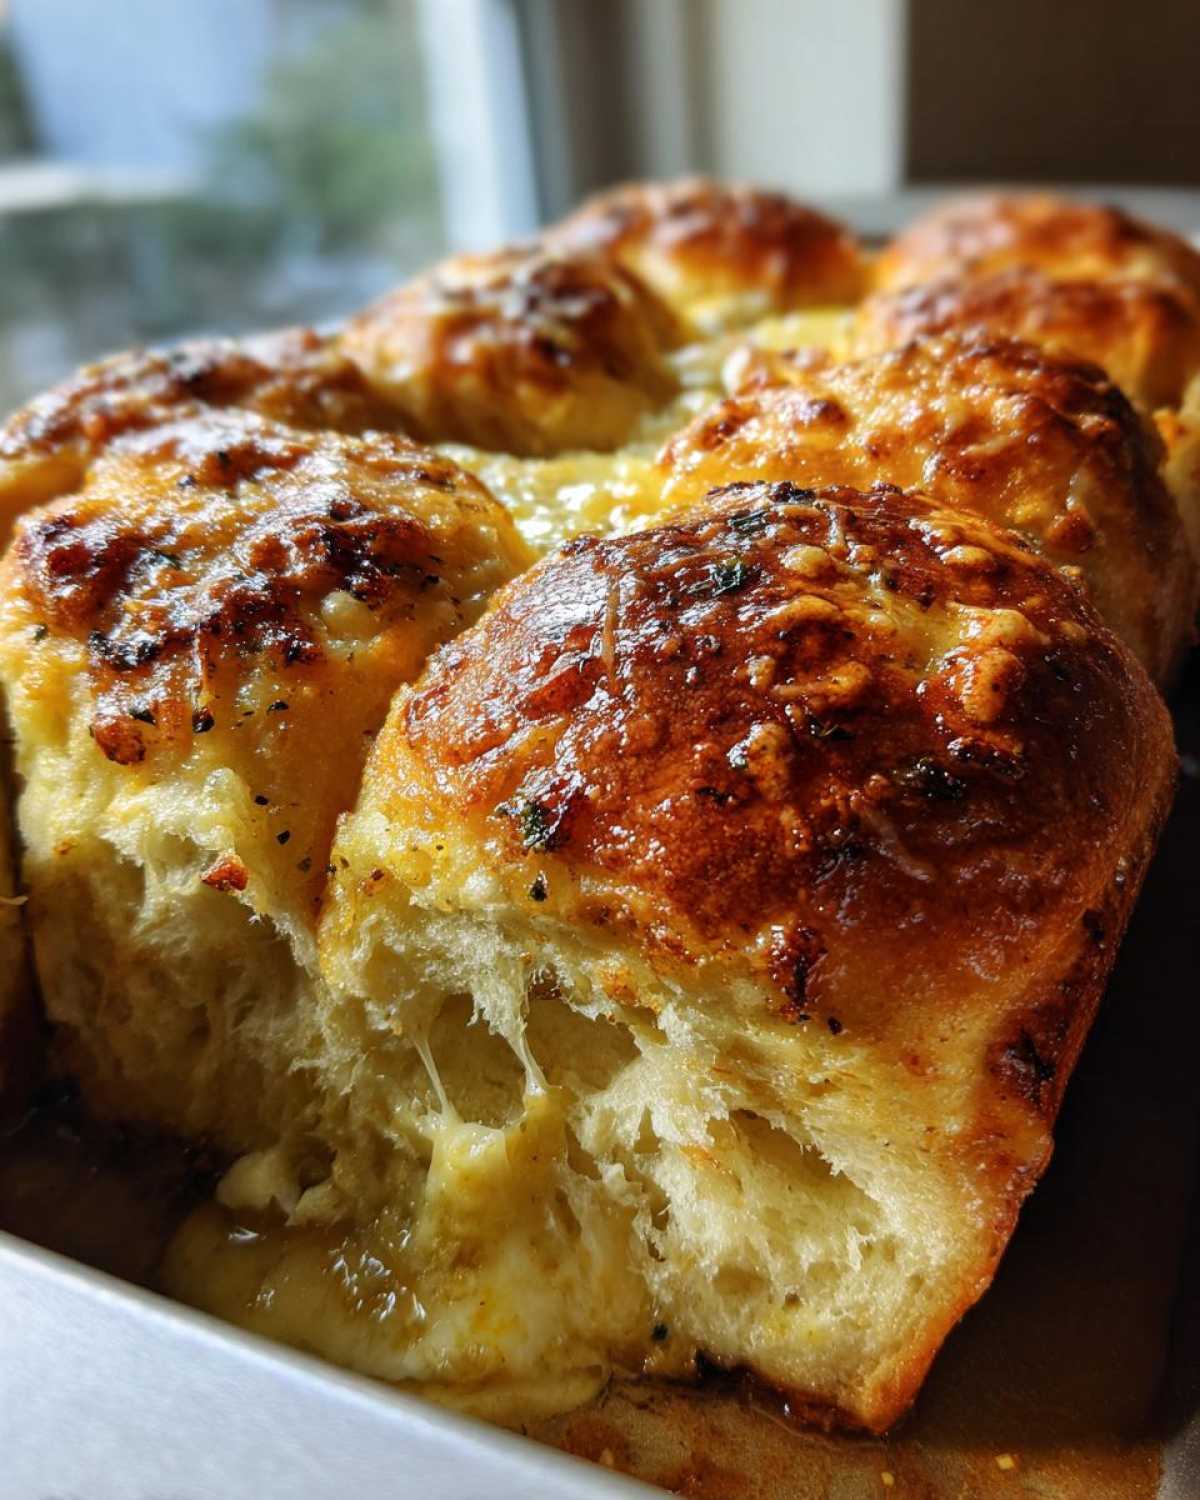
Another little thing I sometimes do, especially if my rolls seem a little pale after the standard bake time, is to switch gears right at the end. I carefully place the pan under the broiler for just sixty to ninety seconds. Watch it like a hawk, though! That high heat gives you a crispier, deeply golden brown top crust that is addictive. Need to whip up a great topping for another treat? Check out my go-to buttercream frosting for ideas!
Serving Suggestions for Your Party Appetizer Bread
When you pull this Garlic Parmesan Pull-Apart Bread out of the oven, the first question everyone asks is, “What are we eating this with?” Because it’s so rich and savory, it pairs beautifully with almost anything comforting, but it really shines next to something lighter that needs a hearty sidekick.
For a perfect cozy weeknight side dish bread, I always pair this with soup. It’s non-negotiable! Dipping these cheesy, soft pieces into anything creamy is pure heaven. You absolutely must try it alongside my rich Creamy Potato Leek Soup—the savory cheese perfectly cuts through the smooth root vegetable flavor. Wow.
If you are serving this as your main party appetizer bread, set out a simple bowl of marinara sauce for dipping. That little bit of tomato acidity is just divine with all that garlic butter! Alternatively, if you’re making it for dinner, it accompanies baked chicken or spaghetti perfectly. It’s hearty enough to stand up to big flavors, yet light enough that you won’t feel weighed down after grabbing three or four pieces.
Storage and Reheating Instructions for Leftover Garlic Parmesan Pull-Apart Bread
I’m going to be honest here—there are rarely leftovers when I make this! People generally can’t stop pulling pieces until the bottom of the pan is bare. But if you somehow manage to have some of this glorious savory baked bread left over, don’t fret! You absolutely do not want to throw it away.
For storage, you need to keep the air out so it doesn’t get stale overnight. Cover the leftovers tightly right in the pan if you can, or transfer them to an airtight container. Since it has all that butter and cheese, it’s safest to keep it stored in the refrigerator for up to three days. Just remember, it needs to reheat to bring that soft and cheesy texture back, so room temperature isn’t quite going to cut it if you want that gooey pull.
When you are ready for round two—and you *will* be ready—the microwave is your enemy! Trust me on this one. Zapping it in the microwave just turns the interior gummy and the outside tough. We want to resurrect that perfect bake. The best tool for the job is your oven.
Preheat your oven to a happy medium, around 325 degrees Fahrenheit. Pop the leftovers (still in an oven-safe dish!) in there for about 8 to 10 minutes. This gentle heat wakes up the butter and softens the rolls beautifully without burning the Parmesan crust. If you have just a few pieces, you can wrap them loosely in foil before placing them in the oven; that locks in moisture just perfectly. It comes out tasting almost as good as fresh, ready for dipping!
Frequently Asked Questions About This Cheesy Garlic Bread Recipe
I get so many questions about this recipe because everyone wants to make sure they nail that perfect texture for their party appetizer bread! Here are some of the things I hear most often about making this irresistible garlic bread.
Can I use a different type of bread besides refrigerated rolls?
That’s a great question! While I absolutely adore starting with soft dinner rolls—they give us incredible steam and softness—you can experiment if you need to. You could dice up some day-old French bread or even use thicker slices of Texas Toast, though you’ll have to adjust the quantity since a loaf has more volume than 24 small rolls. Just remember, the goal for the Best Pull Apart Bread is small, manageable chunks that soak up all that butter!
How long does it take to bake this Quick Garlic Rolls recipe?
If you think about the prep time (maybe 10 minutes to tear and toss everything), this is shockingly fast! The actual baking time for the Garlic Parmesan Pull-Apart Bread is usually just 18 to 22 minutes at 350°F. Since we are using rolls that are already cooked, we are just heating them through, melting the cheese, and getting that beautiful golden top. But always check at 18 minutes!
What if I don’t have fresh garlic cloves?
Don’t let raw ingredients stop you! If you are in a pinch, you can certainly use garlic powder. I suggest substituting about 1 teaspoon of garlic powder for the 6 minced cloves. You’ll still get that wonderful savory flavor, but I have to be honest, the fresh garlic really elevates this to the next level of homemade cheesy bread. If you like bold flavors, you might even want to check out my Reuben Bake—it uses tons of strong flavor profiles too!
Can I bake this ahead of time?
If you are prepping for a big event, you can certainly assemble the entire thing—rolls coated in butter and layered with cheese—in the pan. Cover it tightly with plastic wrap and keep it in the fridge for up to 24 hours. When you are ready to bake, just pull it out about 30 minutes before putting it in the oven so it can lose that deep chill. You might need to add 2 or 3 minutes to the baking time if the bread is cold going in, but the result is the same amazing comfort food bread recipe!
Estimated Nutritional Data for Garlic Parmesan Pull-Apart Bread
I always include this section because I believe in full transparency, even though this bread is clearly meant for indulgence, not counting calories! When you’re making something this delicious, you just have to accept that it’s going to be rich. These numbers are based on the serving size of 4 pieces per serving (Yield: 6 Total Servings) using the standard ingredients listed.
Please keep in mind that this is all just an estimate, especially since the way you cut your rolls or the exact brand of dinner roll you choose can make a tiny difference. But mainly, this is just a guide so you know what you’re getting into when reaching for a second handful of this soft and cheesy side!
- Serving Size: 4 pieces
- Calories: 310
- Fat: 18g
- Saturated Fat: 10g
- Carbohydrates: 30g
- Protein: 9g
- Sugar: 5g
- Sodium: 550mg
It’s high on fat because, well, it’s butter and cheese, right? That’s what makes it comfort food bread, after all! Enjoy every single bite of this incredible Easy Parmesan Appetizer.
PrintGarlic Parmesan Pull-Apart Bread
Make this easy, cheesy pull-apart bread using soft dinner rolls coated in rich garlic Parmesan butter and baked until golden.
- Prep Time: 10 min
- Cook Time: 20 min
- Total Time: 30 min
- Yield: 6 servings
- Category: Appetizer
- Method: Baking
- Cuisine: American
- Diet: Vegetarian
Ingredients
- 24 refrigerated soft dinner rolls (like Hawaiian or yeast rolls)
- 1/2 cup (1 stick) unsalted butter, melted
- 6 cloves garlic, minced
- 1/4 cup fresh parsley, chopped
- 1 teaspoon dried oregano
- 1/2 teaspoon salt
- 1/4 teaspoon black pepper
- 1 cup shredded Parmesan cheese, divided
Instructions
- Preheat your oven to 350 degrees Fahrenheit (175 degrees Celsius). Grease a 9×5 inch loaf pan or a 9-inch round cake pan.
- In a small bowl, combine the melted butter, minced garlic, chopped parsley, oregano, salt, and pepper. Mix well to create the garlic butter.
- Take each dinner roll and cut it in half horizontally, or simply tear it into quarters if using small rolls. You want pieces that are easy to pull apart later.
- Place the roll pieces into a large bowl. Pour the garlic butter mixture over the rolls. Toss gently until all the pieces are evenly coated.
- Sprinkle 1/2 cup of the Parmesan cheese over the coated rolls and toss again lightly.
- Transfer the buttered roll pieces into the prepared baking pan, arranging them somewhat randomly so they touch.
- Sprinkle the remaining 1/2 cup of Parmesan cheese evenly over the top of the bread pieces.
- Bake for 18 to 22 minutes, or until the bread is heated through, the cheese is melted, and the top is lightly golden brown.
- Let the bread cool in the pan for 5 minutes before serving. Serve warm directly from the pan for easy pulling.
Notes
- You can use store-bought garlic powder if you do not have fresh garlic, using 1 teaspoon of powder instead of 6 cloves.
- For extra moisture, you can add 1/4 cup of melted mozzarella cheese along with the Parmesan in the last 5 minutes of baking.
- If you prefer a crispier top, place the pan under the broiler for the last 1-2 minutes, watching closely to prevent burning.
Nutrition
- Serving Size: 4 pieces
- Calories: 310
- Sugar: 5
- Sodium: 550
- Fat: 18
- Saturated Fat: 10
- Unsaturated Fat: 8
- Trans Fat: 0.5
- Carbohydrates: 30
- Fiber: 1
- Protein: 9
- Cholesterol: 45