

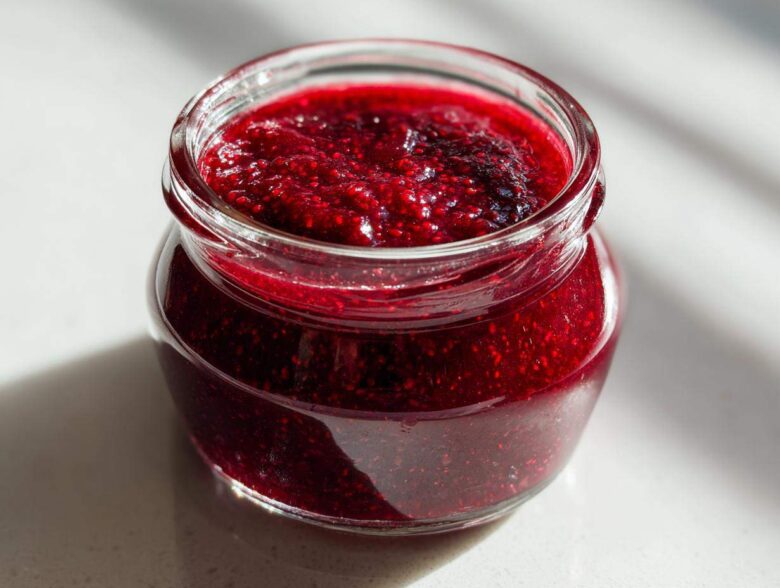
Oh, there is nothing quite like that moment when summer finally bursts onto your counter in the form of perfect, vibrant raspberries! Making your own homemade raspberry jam feels like bottling sunshine, I swear. Forget those tubs of jelly from the store that taste too much like sugar; this recipe strips everything back. We are making the absolute best, sweet and tart raspberry jam using exactly three ingredients, and trust me when I say you absolutely won’t need any store-bought pectin for this batch.
When the berries are calling your name at the farmer’s market, you have to answer! This whole process is so fast—you’ll be amazed at how quickly you go from fruit to finished jar. You can find out more about our kitchen philosophy over here at our little corner of the food world.
Why This Easy Jam Recipe Delivers the Best Homemade Jam
So why do I keep coming back to this exact method when I have a mountain of fresh raspberries? It’s all about letting the fruit do the heavy lifting! The main thing people get nervous about is skipping the pectin, but honestly, raspberries are naturals. They naturally contain enough pectin to set beautifully, especially when we add that zingy lemon juice for the acid boost.
That lemon juice isn’t just for tartness, folks; it’s the chemical key that helps all those fruit pectins link up perfectly. It ensures our **raspberry jam** isn’t a runny mess but a spreadable dream. You get that purest berry flavor because we aren’t hiding it behind any extra stabilizers.
Quick Berry Preserves with Minimal Ingredients
If you look at the ingredient list, you’ll see it’s ridiculously short. We only need three things! That really makes this an incredibly quick berry preserves adventure. You’ll be looking at about 15 minutes of prep time, and then maybe another 30 minutes of active cooking. That means you can transition from sticky fingers to having a jar ready for toast in under an hour. It’s the definition of an **easy jam recipe**.
Versatility: Canning Raspberry Jam or Making Freezer Jam Recipe
The best part about this recipe structure is its flexibility. If you want jam *now* to go on your sourdough tomorrow morning, just follow the freezer instructions! That’s my favorite rapid option. But if you’re looking to stock up your pantry for winter holidays or gifting, this recipe is perfectly suited for the water bath canning process too. You get shelf-stable goodness or instant gratification, depending on how you finish it.
Gathering Ingredients for Your Raspberry Jam No Pectin Batch
Okay, gather ‘round, because the ingredient list for our gorgeous **raspberry jam no pectin** batch is short, sweet, and simple. This is what I love about making quality fruit spread from scratch—you control everything that goes in. You only need three things to make a batch that is miles better than anything you can buy!
We are aiming for about four half-pint jars, which is a perfect small batch for testing or immediate enjoyment. Don’t worry about the berries, either! You can absolutely use frozen ones if you catch a great sale off-season, or if you simply have a bunch lingering in the freezer.
- 4 cups fresh or frozen raspberries
- 3 cups granulated sugar
- 1 tablespoon fresh lemon juice
Ingredient Notes and Substitutions for Natural Fruit Jam
Just a quick word on that sugar. I listed three cups because that ratio is what guarantees a proper set when relying solely on natural pectin and acid, and it keeps the jam safe for water bath canning. However, if you happen to have super sweet, perfectly ripe berries straight from the garden, I sometimes reduce it down to about 2 1/2 cups.
If you play around with the sugar amount too much—say, cutting it significantly below that 2 1/2 cup mark—you might notice two things. First, the final **raspberry jam** won’t be quite as thick when it cools. Second, and this is important for safety, it dramatically shortens the shelf life if you plan on water bath canning. For long-term storage, keep that sugar content high! If you are only planning on making freezer jam, you have a little more wiggle room there.
How to Make Jam From Scratch: Preparing for Raspberry Jam Success
Before we even think about turning on the heat, we have to get organized, especially if you’re planning on canning this glorious **homemade raspberry jam** for later enjoyment. Safety first in the kitchen, always! If you skip the prep work, you’ll be scrambling later, and nobody wants a jar of half-finished jam sitting on the stove.
First things first: if you are preserving these babies, make sure your jars are clean and simmering on a rack in your water bath canner, keeping them hot. Don’t forget to check out our general disclaimer on home cooking projects over at our disclaimer page just to be safe!
Once we have the jars ready, we mix the berries, sugar, and lemon juice in our biggest, heaviest saucepan—seriously, give it lots of room to bubble up later! Then, we let it sit for about 30 minutes. This step, often called maceration, is vital when learning **how to make jam from scratch** without added pectin. The sugar pulls out all that wonderful juice from the raspberries, making sure everything breaks down evenly when it hits the heat.
Cooking Instructions for Sweet and Tart Jam
Now for the fun part—watching the magic happen! Get that pot over medium-high heat. Remember those raspberries sitting in the sugar? Stir them constantly until you can’t feel any grit left; that means the sugar is totally dissolved. Now, toss in that tablespoon of lemon juice. Once it starts bubbling, you need to crank up that heat slightly until you hit what’s called a full, rolling boil. This is an aggressive bubble that won’t go away even when you stir it—that’s how you know the water content is reducing correctly so your jam will set.
From this point forward, don’t wander too far! You need to stir almost constantly. Raspberries have tiny seeds and a lot of sugar, which means they love to stick and scorch on the bottom of the pot in a blink. Keep stirring, scraping the bottom gently, for about 15 to 25 minutes. This isn’t a gentle simmer; we are boiling away that extra water so the natural pectin in the fruit can do its job and create that perfect **sweet and tart jam** texture. Seriously, keep that spoon moving!
Testing for the Perfect Set Point
Knowing exactly when to stop cooking is the biggest hurdle when learning **how to make jam from scratch** without relying on pre-measured pectin packets. You want it thick, but if you overcook it, it turns into candy! So, we need the plate test. Before you start cooking, put a few small, clean saucers in your freezer.
When you think it’s close, pull one chilled plate out, drop a tiny spoonful of that bubbling mixture right onto the cold surface, and place it back in the freezer for maybe thirty seconds. After that short chill, take it out and gently push the blob of jam with your fingertip. If the surface wrinkles when you push it, you’ve done it! That wrinkle means the pectin-sugar concentration is spot on. If it just runs back together like liquid, put the pot back on the heat for another five minutes and test again. That wrinkle is your signal that the flavor and preservation level are absolutely perfect.
Storage Options: Freezer Jam Recipe Versus Canning Raspberry Jam
Alright, we nailed the set—that wrinkle on the cold plate was beautiful! Now it’s time for the most important decision: how are you going to keep this incredible **raspberry jam**? You have two fantastic paths, and both are super easy, but they serve different needs.
If you need jam right away or plan on making a triple batch but don’t want the fuss of the water bath canner, go the freezer route. It’s quick! Just skim off any foamy bits that rose to the surface while it was boiling, let the jam cool down *slightly* (never put scorching hot jam into the freezer, trust me), and then pour it into clean freezer-safe jars or containers. Remember the golden rule for all frozen goods: leave about a half-inch of space at the top—that’s your headspace! This is the fastest way to enjoy your preserves, and I love having ready-made portions for quick toast in the mornings. Honestly, I just made a batch of these last month for my weekend breakfast burritos project, which you can check out right here.
If you want to put this beautiful **classic raspberry preserves** on the shelf in your pantry to last all year long—that’s when we break out the canning gear. Make sure those jars are sterilized and simmering hot! Pour that boiling hot jam right into your waiting hot jars, leaving exactly a quarter-inch of headspace. Wipe those rims super clean, put the lids on fingertip tight, and then they go into the boiling water bath canner. For the actual processing time, if you are at sea level, ten minutes is usually the standard. If you live up high, make sure you check your altitude adjustments! Once they come out, let them sit for a whole day undisturbed so they can seal properly. That satisfying *pop* when it cools down is just the best feeling!
Tips for Success Making Small Batch Jam Recipe
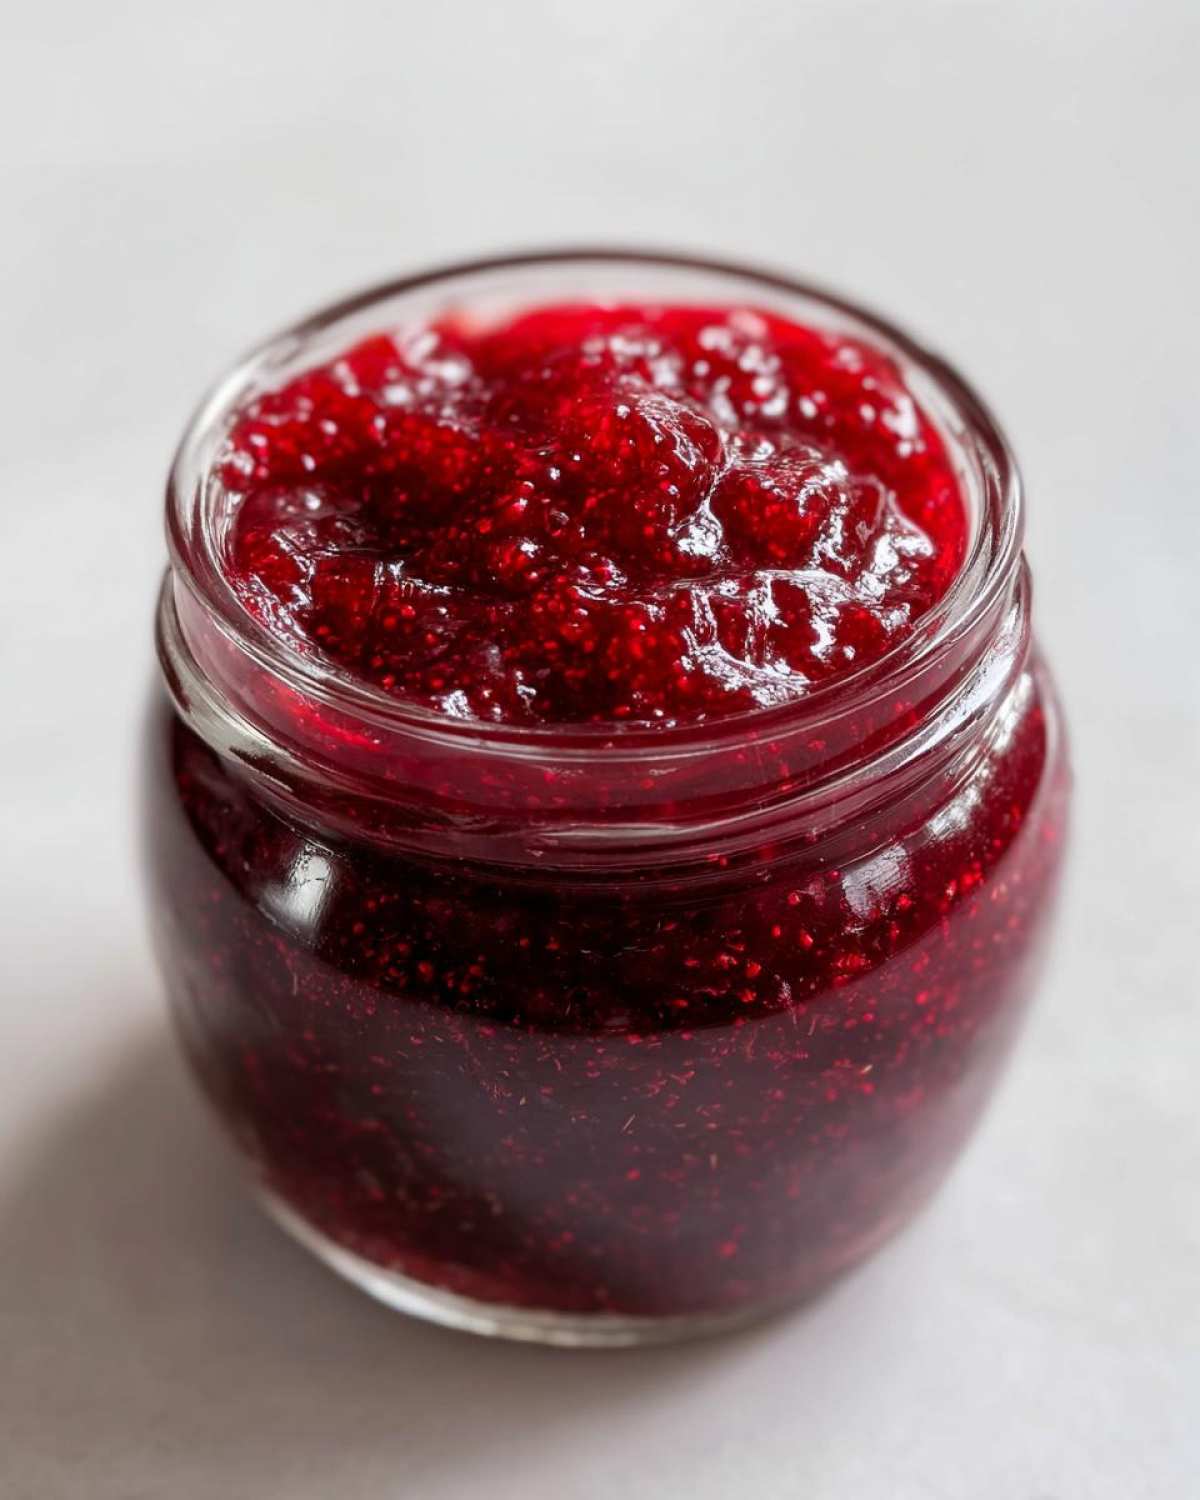
When you’re only making a very small batch of **raspberry jam**—maybe just two cups of berries instead of four—the physics of cooking change a little bit, and you need to be extra vigilant. Small batches heat up way faster than large ones, which is great for speed, but terrible if you aren’t paying attention! The biggest mistake people make with a small batch is using a pot that’s way too big.
If your pot is huge and your jam mixture is only an inch deep, the surface area is too large, and you’ll lose too much moisture too quickly, scorching the sugar before the fruit breaks down enough. I always recommend using a pot just large enough to hold the mixture comfortably when it boils up—usually, that means using a 3-quart saucepan for a standard small recipe.
Another trick I use when I’m just whipping up a couple of jars? I keep a small bowl of water nearby, but I don’t use it for testing the set point—we already know the plate test works! Instead, I keep a pastry brush soaking in water. If I see any sugar starting to crystallize on the sides of the pot above the jam line, I quickly dip that brush in clean water and flick it up onto the sugary bits. This washes the crystals back down into the liquid before they can spread and ruin the whole batch. It might sound fussy, but it’s a game-changer for a smooth finish!
Remember, this recipe is fantastic for testing out new flavor combinations before committing to a huge canning session. Have you thought about stirring in a little vanilla extract right at the end? It’s amazing. For more breakfast-related inspiration after you’ve finished preserving, you can always browse through all our breakfast ideas! Happy preserving!
Serving Suggestions for Your Fresh Raspberry Jam
Now that you have jars brimming with this fantastic **fresh raspberry jam**, you probably want to eat it all right now, right? I know I do! Don’t just let these sit on the shelf feeling lonely. This sweet and tart fruit spread does so much more than just sit next to the peanut butter.
Of course, it’s divine slathered thick on warm toast or crusty bagels, but try stirring a spoonful into plain Greek yogurt or mixing it right into your morning oatmeal. I’ve even used it as a filling layered between simple chocolate chip cookie slabs. If you’re feeling fancy, a little dollop makes a fantastic topping for vanilla ice cream or even stirred into a summer cocktail! If you are looking for other ways to elevate simple breakfast items, check out this great toast inspiration!
Frequently Asked Questions About Homemade Raspberry Jam
Since making homemade preserves can feel a little intimidating at first, especially when dealing with canning logistics, I’ve pulled together the questions I get asked the most about this **easy jam recipe**. Don’t fret if things don’t go exactly to plan the first time; that’s just part of learning **how to make jam from scratch**!
If your question isn’t answered here, feel free to drop a line over at the contact page, and I’ll do my best to help you trouble-shoot your **classic raspberry preserves**!
What if my jam doesn’t set properly?
This is the worry of every beginner jam maker! First, don’t panic, because a thin jar of **raspberry jam** is still incredibly tasty. If your jam didn’t wrinkle on the plate test, it likely needs just a little more cooking time. You can very carefully return the pot to the stove and boil it down for another five minutes, then retest. If you’ve already jarred the batch and it’s still liquidy, you can always reheat the entire batch and try adding a teaspoon of lemon juice, or even a commercial pectin product if you truly want a guaranteed set on the next attempt. For now, though, treat it like a delicious sauce!
How do I adjust for altitude when canning raspberry jam?
This is super important for safety when **canning raspberry jam** on the shelf! Altitude changes how water boils. If you live high up above sea level, water boils at a lower temperature, meaning you need to process the jars longer to achieve the same sterile result. Most canning instructions provide helpful charts, but generally, you need to add a few extra minutes to that 10-minute processing time—check your local agricultural extension office charts for exact times starting around 1,000 feet elevation.
How long does this raspberry jam last when frozen?
If you opted for the quick **freezer jam recipe**, you are looking at excellent quality for about six months. Because freezing doesn’t sterilize like canning does, the quality starts to degrade slightly after that, although it will likely remain safe to eat for longer. Just try to use those frozen jars within six months for the absolute best flavor and texture when you spread it on your next piece of toast!
Can I make this a no sugar added jam alternative?
You *can* try, but you’re fundamentally changing what this recipe is. Remember, sugar isn’t just for sweetness; it’s one of the two main preserving agents, alongside the acid from the lemon. If you try to make a true **no sugar added jam alternative**, you lose a crucial component for preservation, which means you absolutely *must* use the freezer method or process it longer under pressure canning (which we aren’t covering here). If you want less sugar but still need shelf stability, stick to the 2 1/2 cups of sugar recommended in the notes, but do not go lower than that for traditional water bath canning.
Estimated Nutritional Data for This Fruit Spread Recipe
I know some of you are curious about what exactly goes into your amazing, homemade creation besides berries and sunshine! Since this **fruit spread recipe** is so simple—just fruit, sugar, and lemon—the nutrition label is pretty straightforward. Keep in mind that these numbers are estimates based on using the exact amounts listed in the recipe above, and they might shift slightly depending on the natural sugar content of your batch of raspberries.
For general reference, here are the estimated stats per serving (which we figure is about two tablespoons):
- Serving Size: 2 tablespoons
- Calories: 105
- Sugar: 27g (Yes, this is where most of the calories come from, thanks to the necessary sugar for preservation!)
- Sodium: 1mg
- Fat: 0g
- Carbohydrates: 27g
- Protein: 0g
While it’s high in sugar, remember that sugar is essential for ensuring your hard work staying safe on the shelf or in the freezer. For any further questions regarding methodology or ingredients, please feel free to reach out via our contact form!
Estimated Nutritional Data for This Fruit Spread Recipe
I know some of you are curious about what exactly goes into your amazing, homemade creation besides berries and sunshine! Since this **fruit spread recipe** is so simple—just fruit, sugar, and lemon—the nutrition label is pretty straightforward. Keep in mind that these numbers are estimates based on using the exact amounts listed in the recipe above, and they might shift slightly depending on the natural sugar content of your batch of raspberries.
For general reference, here are the estimated stats per serving (which we figure is about two tablespoons):
- Serving Size: 2 tablespoons
- Calories: 105
- Sugar: 27g (Yes, this is where most of the calories come from, thanks to the necessary sugar for preservation!)
- Sodium: 1mg
- Fat: 0g
- Carbohydrates: 27g
- Protein: 0g
While it’s high in sugar, remember that sugar is essential for ensuring your hard work staying safe on the shelf or in the freezer. For any further questions regarding methodology or ingredients, please feel free to reach out via our contact form!
PrintEasy Homemade Raspberry Jam (No Pectin)
Make simple, sweet and tart raspberry jam using only three ingredients. This recipe provides instructions for both water bath canning for shelf stability and making freezer jam.
- Prep Time: 15 min
- Cook Time: 30 min
- Total Time: 45 min
- Yield: About 4 half-pint jars
- Category: Dessert
- Method: Stovetop Cooking and Canning
- Cuisine: American
- Diet: Vegetarian
Ingredients
- 4 cups fresh or frozen raspberries
- 3 cups granulated sugar
- 1 tablespoon fresh lemon juice
Instructions
- Prepare your canning equipment if water bath canning. Sterilize jars and keep them hot.
- Combine raspberries and sugar in a large, heavy-bottomed pot. Stir them together.
- Let the mixture sit for 30 minutes to allow the sugar to draw out the fruit juices.
- Place the pot over medium-high heat. Add the lemon juice. Stir constantly until the sugar dissolves completely.
- Bring the mixture to a full, rolling boil that cannot be stirred down.
- Continue to boil rapidly, stirring frequently to prevent scorching, until the jam thickens. This usually takes 15 to 25 minutes.
- Test for set: Drop a small spoonful of jam onto a chilled plate. If it wrinkles when pushed, it is done.
- For Freezer Jam: Remove from heat, skim any foam, and let cool slightly before pouring into clean freezer-safe containers. Leave 1/2 inch headspace. Seal and freeze.
- For Water Bath Canning: Remove from heat, skim foam. Ladle the hot jam into hot, sterilized jars, leaving 1/4 inch headspace. Wipe rims clean. Apply lids and bands fingertip tight.
- Process jars in a boiling water bath canner for 10 minutes, adjusting for altitude if necessary. Remove jars and let cool undisturbed for 12 to 24 hours. Check seals.
Notes
- If using frozen raspberries, do not thaw them before starting the cooking process.
- If you prefer a less sweet jam, you can reduce the sugar to 2 1/2 cups, but this may slightly affect the final set and shelf life for canning.
- This jam is excellent spread on toast, mixed into yogurt, or used in cookies.
Nutrition
- Serving Size: 2 tablespoons
- Calories: 105
- Sugar: 27g
- Sodium: 1mg
- Fat: 0g
- Saturated Fat: 0g
- Unsaturated Fat: 0g
- Trans Fat: 0g
- Carbohydrates: 27g
- Fiber: 1g
- Protein: 0g
- Cholesterol: 0mg