

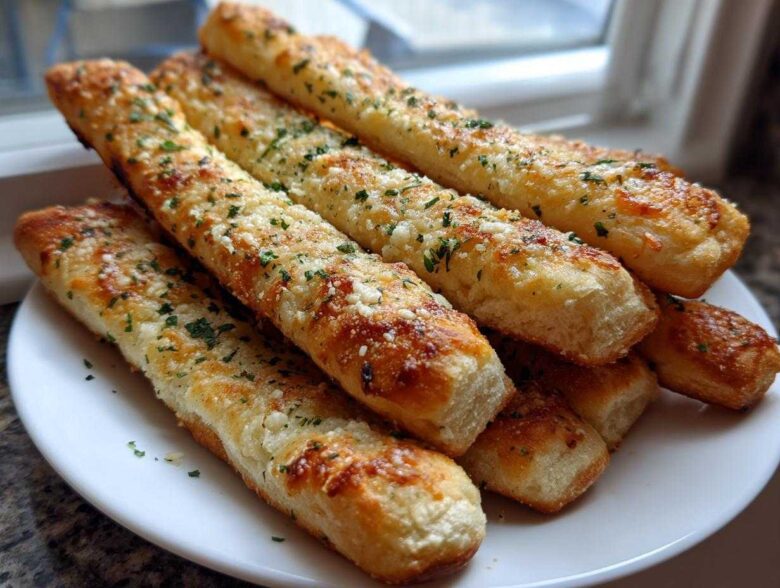
Oh, you know those nights, right? When you’re done with the day, the kids are winding down (maybe!), and all you really want is that warm, comforting side dish from your absolute favorite casual Italian spot? Owen and I used to just *sigh* wishing we could magically get a basket of those soft, buttery sticks delivered. Well, I’m here to tell you the good news, and you can read more about our journey here! Stop dreaming and start baking! These Copycat Olive Garden Style Garlic Parmesan Breadsticks are phenomenal. Seriously, the texture is insanely soft and fluffy, and that garlic butter? It just hits different. Making these breadsticks brought so much real, noisy joy back into our routine. Forget assembly line dinners; these demand a little celebration!
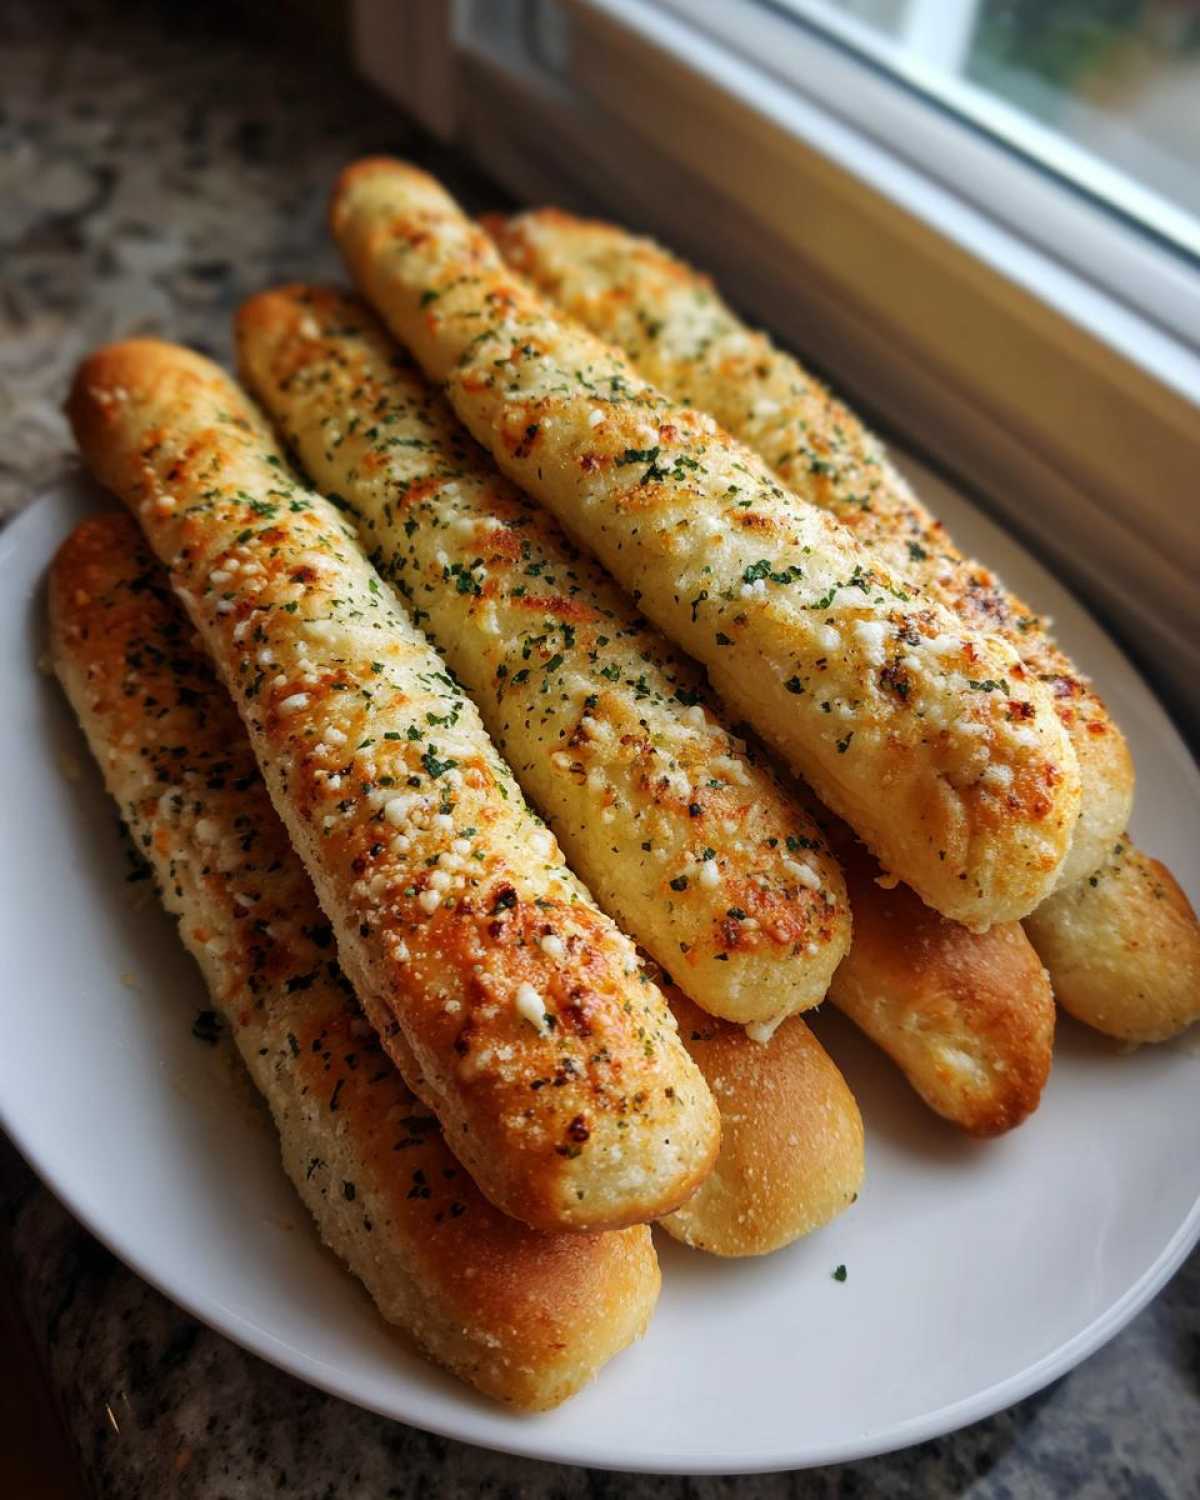
Why You Will Love These Copycat Olive Garden Style Breadsticks
I’m not exaggerating when I say these are the best breadsticks you’ll ever make at home. Seriously, every time Owen pulls these out of the oven, I start hunting for music, because they just feel like a celebration!
- You get that unbelievably soft and fluffy breadsticks texture we all chase.
- The topping is loaded—think rich garlic butter breadsticks swimming in Parmesan.
- Even with the yeast, this is a surprisingly easy breadsticks recipe to tackle on a weeknight.
- They make the absolute best dinner side dish breadsticks or appetizer ever.
Essential Ingredients for Perfect Homemade Breadsticks Recipe
The magic of these breadsticks really relies on treating the dough right, and that starts with the yeast. If your yeast isn’t happy, your soft and fluffy breadsticks won’t be either! Don’t skip checking the temperature on that water; it’s the ticket to getting that gorgeous rise. But honestly, the topping—that’s where the rich, buttery breadsticks flavor comes from, and I use amazing garlic on mine. You can find my favorite basic garlic spread recipe right here if you want to go next-level.
For the Soft and Fluffy Breadsticks Dough
- 2 1/4 teaspoons active dry yeast
- 1 cup warm water (make sure it’s between 105-115°F—not too hot!)
- 1 tablespoon granulated sugar
- 3 cups all-purpose flour, plus more for dusting when you knead
- 1 teaspoon salt
- 2 tablespoons olive oil, plus more for greasing the bowl
For the Garlic Butter Parmesan Breadsticks Topping
This is the part that makes them totally addictive!
- 1/2 cup (that’s one whole stick!) unsalted butter, melted
- 2 cloves garlic, minced super fine
- 1 teaspoon dried parsley (for that pretty color!)
- 1/2 cup grated Parmesan cheese
How to Prepare the Best Breadsticks Recipe Step-by-Step
Okay, making incredible homemade breadsticks like these isn’t complicated, but we need to respect the process, especially the yeast. This is where we build that fluffy base so they aren’t dense like hockey pucks! Trust me, following these steps exactly will guarantee restaurant-quality breadsticks. For more inspiration on what to cook next, check out our latest posts on the main blog page!
Activating Yeast and Mixing the Breadsticks Dough
First things first, let’s wake up that yeast! Combine your warm water, sugar, and yeast in a small bowl. Wait about 5 to 10 minutes. If it gets foamy and bubbly on top? Woohoo! That means your yeast is alive and ready for action. Now, whisk your flour and salt together in a big bowl, then pour in the activated yeast mixture along with that initial olive oil. You’re just mixing until it looks like a messy, shaggy mass. Don’t worry about perfection here; that comes next!
Kneading and Rising Time for Fluffy Breadsticks
Time to work those arms, but gently! Turn that shaggy dough onto a lightly floured surface and knead it for a good 5 to 7 minutes. You are looking for smooth and elastic—it should feel resilient when you poke it. Then, we let it rest and grow! Coat a clean bowl with a little oil, drop the dough in, cover it, and let it sit in a warm spot for a full 1 to 1.5 hours. Seriously, don’t rush this rise. That long, slow rest is what gives us those wonderfully soft and fluffy breadsticks.
Shaping and Baking Your Homemade Breadsticks
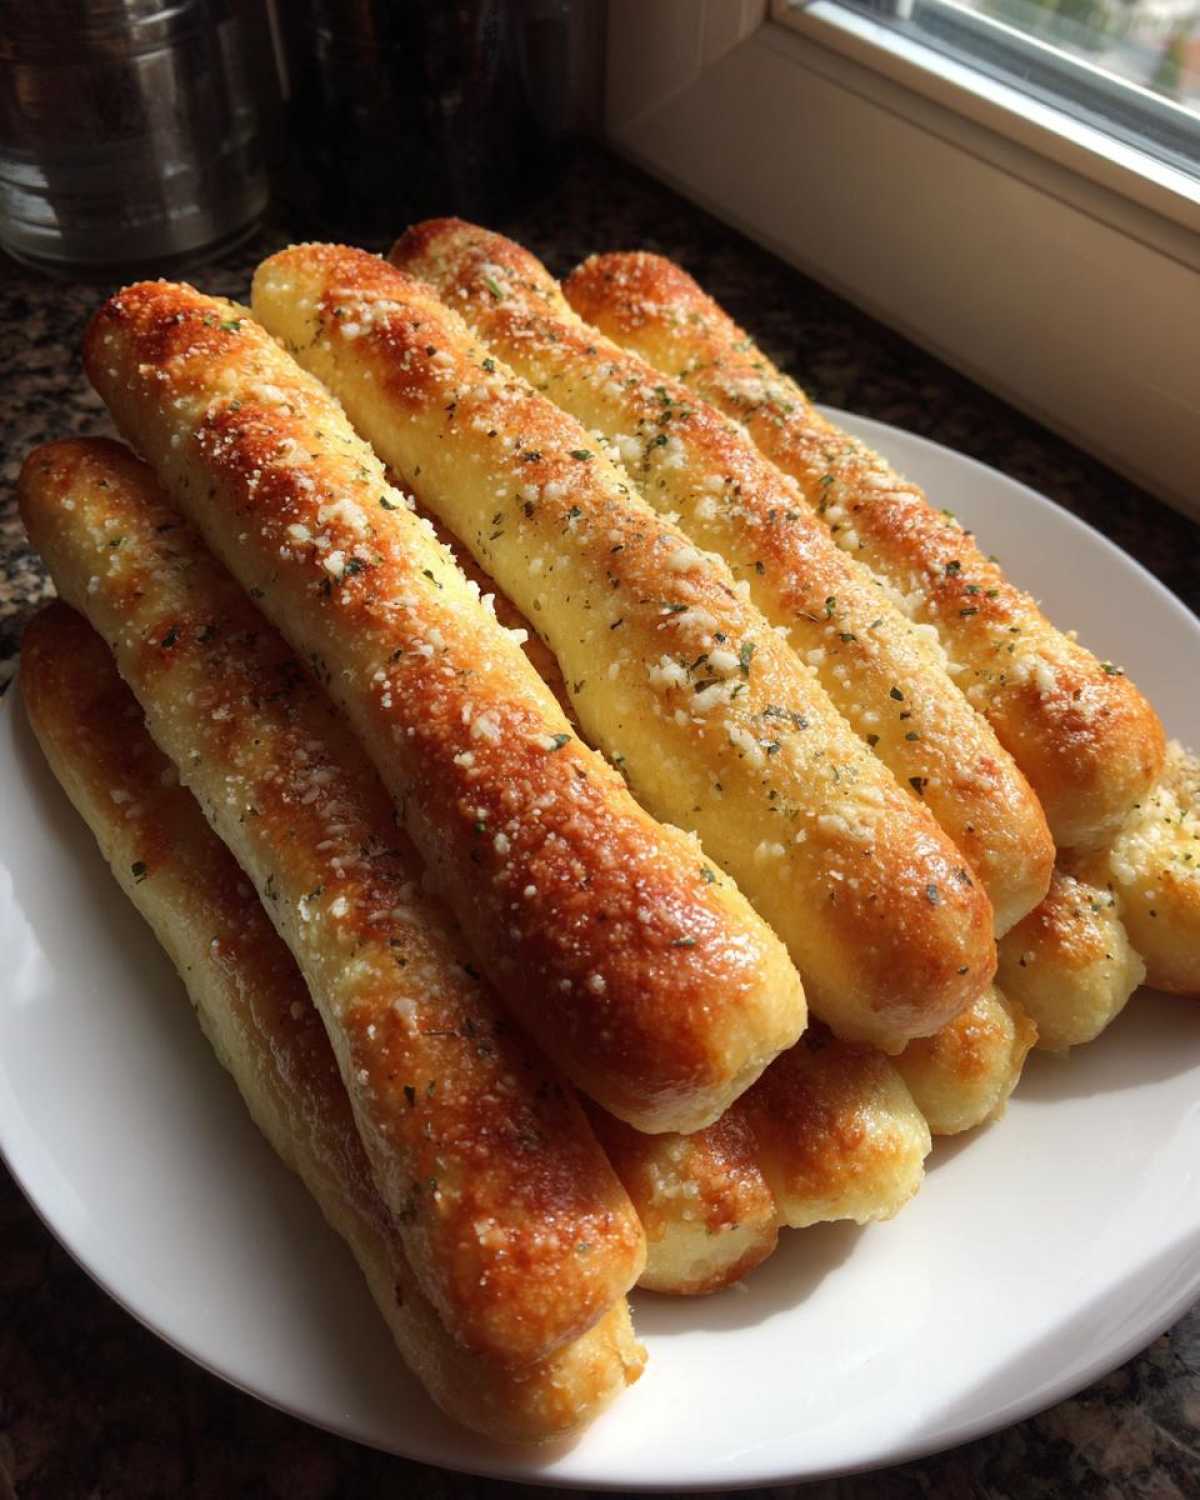
When your dough has doubled, gently punch it down—it’s so satisfying! Preheat your oven to 400°F (200°C) and grab your baking sheet lined with parchment paper. Divide the dough into 12 equal pieces. Roll each piece out long, about 10 to 12 inches. If you have an extra 15 minutes, cover them loosely and let them rest again while the oven finishes heating up; that gives them one last puff. Bake them for just 10 to 12 minutes until they are just kissing golden brown at the edges.
Finishing with Garlic Butter Parmesan for Amazing Breadsticks
This is the grand finale! While they are baking, mix up your topping: melted butter, minced garlic, and parsley. The absolute second those breadsticks come out of that hot oven—and I mean *immediately*—you need to brush every single surface aggressively with the garlic butter. Then, hit them hard with that grated Parmesan! The residual heat makes the butter soak right into the dough, giving you that beautiful, restaurant-quality flavor!
Tips for Success with Soft and Chewy Breadsticks
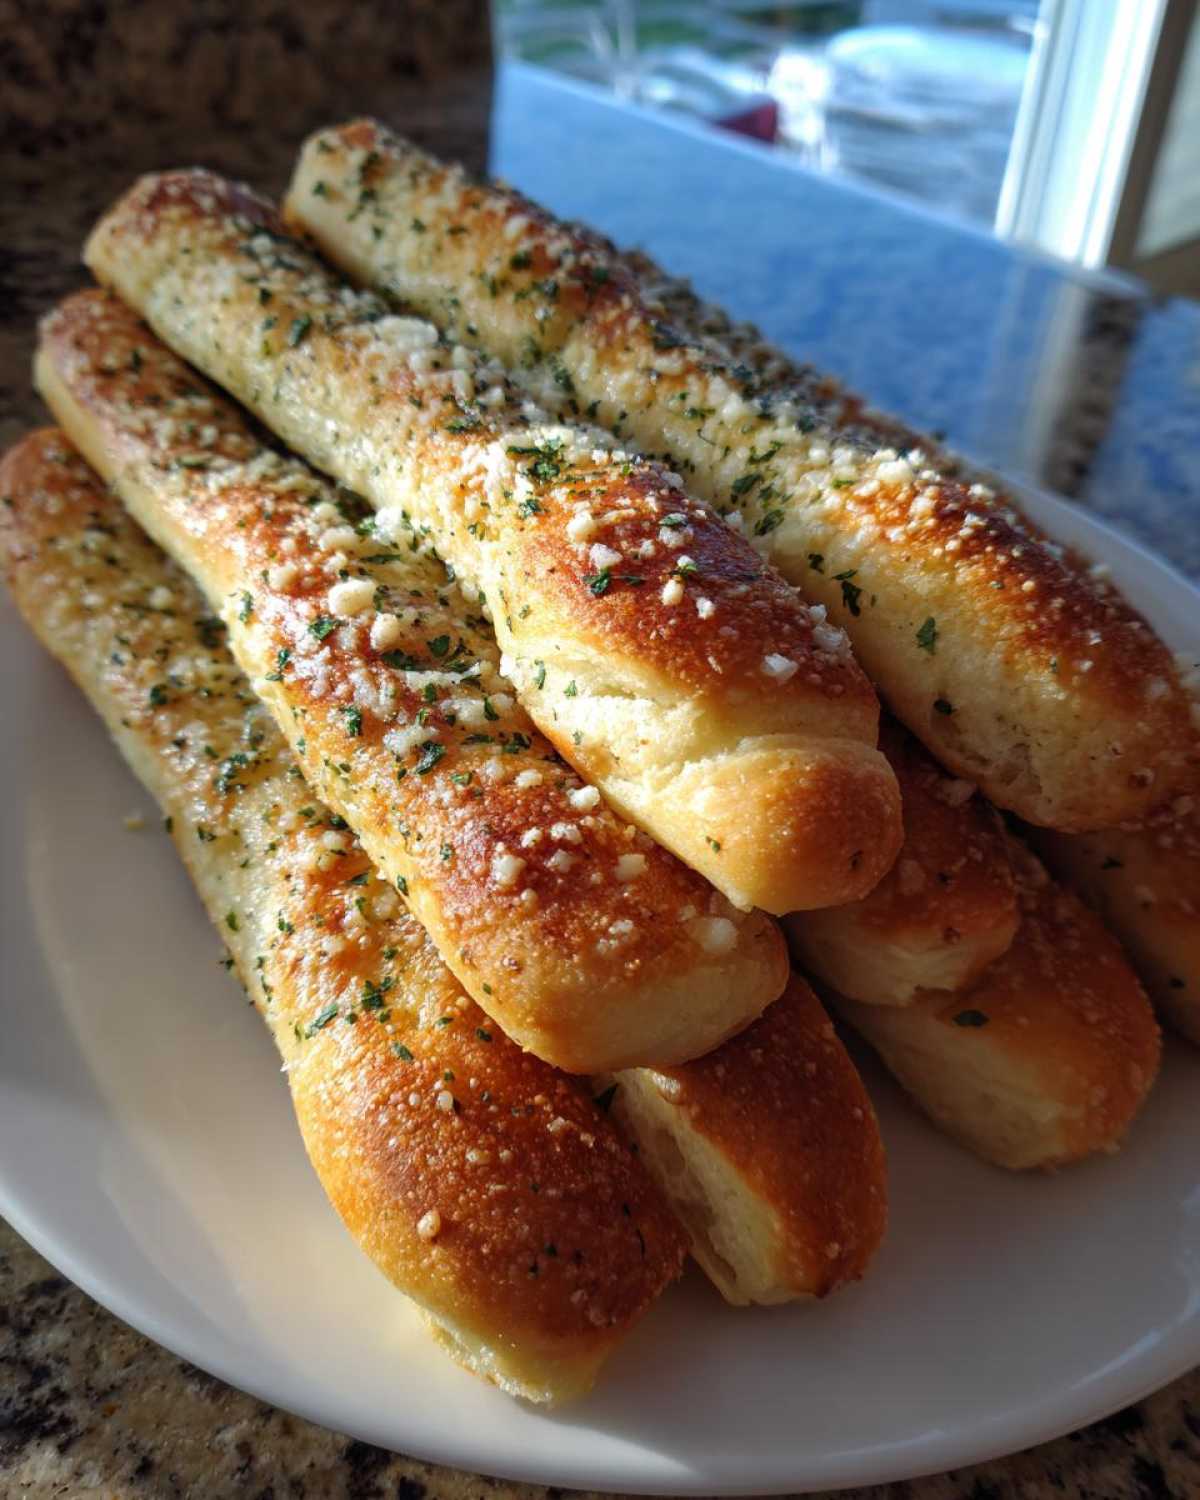
Even a recipe this easy can have little hiccups, but don’t you worry! I’ve made approximately a gazillion of these breadsticks now, and I’ve learned exactly what keeps them soft and chewy instead of tough. We want that perfect melt-in-your-mouth experience every time we serve these as an appetizer breadsticks offering!
Watch that water temperature! I cannot stress this enough. Remember how I said to check for 105-115°F? If the water feels hot to your pinky finger, it’s probably way too hot for the yeast, and it will kill those little guys dead. Dead. Yeast means no rise, which means sad, hard breadsticks. Go low before you go high on the temp test!
When you’re rolling out the dough after the main rise, you need to be mindful of how much extra flour you use. We want the dough to be slightly tacky—that stickiness helps the final garlic butter adhere better. If you dust the surface too heavily to stop sticking, you risk incorporating too much dry flour into the dough structure, leading to a drier final product instead of these buttery breadsticks we are aiming for.
For the perfect color, it’s all about watching them closely near the end of the bake. Since every oven is a little different, use 10 minutes as your starting guide. When you are looking for that light golden-brown, pull one breadstick out and gently tug it. If it stretches nicely without snapping right away, you are golden. Better to pull them out a minute early and brush them with butter (which continues the cooking process slightly) than to risk letting them overbake under the heat for that perfect color.
Ingredient Notes and Cheesy Breadsticks Variations
I’ve gotten so many questions about changing things up! Listen, I love keeping things true to the original, but sometimes we just gotta improvise, right? If you don’t have active dry yeast on hand, you can totally swap it for instant yeast. Just skip the waiting step where you add the sugar and water; you can dump the instant yeast right into the flour mixture. Easy peasy! If you only have salted butter for that amazing topping, decrease the salt in the dough by about half a teaspoon—it takes the guesswork out of it. But let’s talk about leveling up from garlic butter breadsticks to something even more indulgent!
If you really want to lean into the cheesy side, you have to try making cheesy breadsticks! Before you roll out the dough into strips (Step 6), flatten your ball of dough out into a rectangle shape. Sprinkle about half of your Parmesan cheese—or go wild with some mozzarella—right over the top! Then, roll it up tightly like a jelly roll, seal the edges, and then cut that log into 12 even slices. Let those rest for the optional 15 minutes, and when you bake them, they get all gooey and delicious. You can find some other great ideas for cheesy baking classics over here!
Storage and Reheating Instructions for Leftover Breadsticks
Listen, homemade breadsticks rarely last long, but if you do manage to keep some, we need to treat them right! They really are best the day you make them, but they should stay soft for about two days stored at room temperature in an airtight bag or container. Don’t even think about the fridge; that’s the enemy of soft rolls!
To bring those leftovers back to life, forget the microwave unless you want chewy little rocks. Pop your buttery breadsticks right back into a 350°F oven for about 5 to 7 minutes. If you wrap them loosely in foil first, that traps just enough steam to get that incredible, fluffy texture back. They’ll be so good you’ll swear they just came out of the oven!
Serving Suggestions for Your Homemade Breadsticks
Now that you have this massive batch of incredible, warm breadsticks, what should we pair them with? This is where you can really announce some good news at your dinner table! If you are aiming for classic Italian, you absolutely must have a side of marinara sauce ready for dipping. If we’re having pasta night, these dinner side dish breadsticks are the perfect mop for extra sauce.
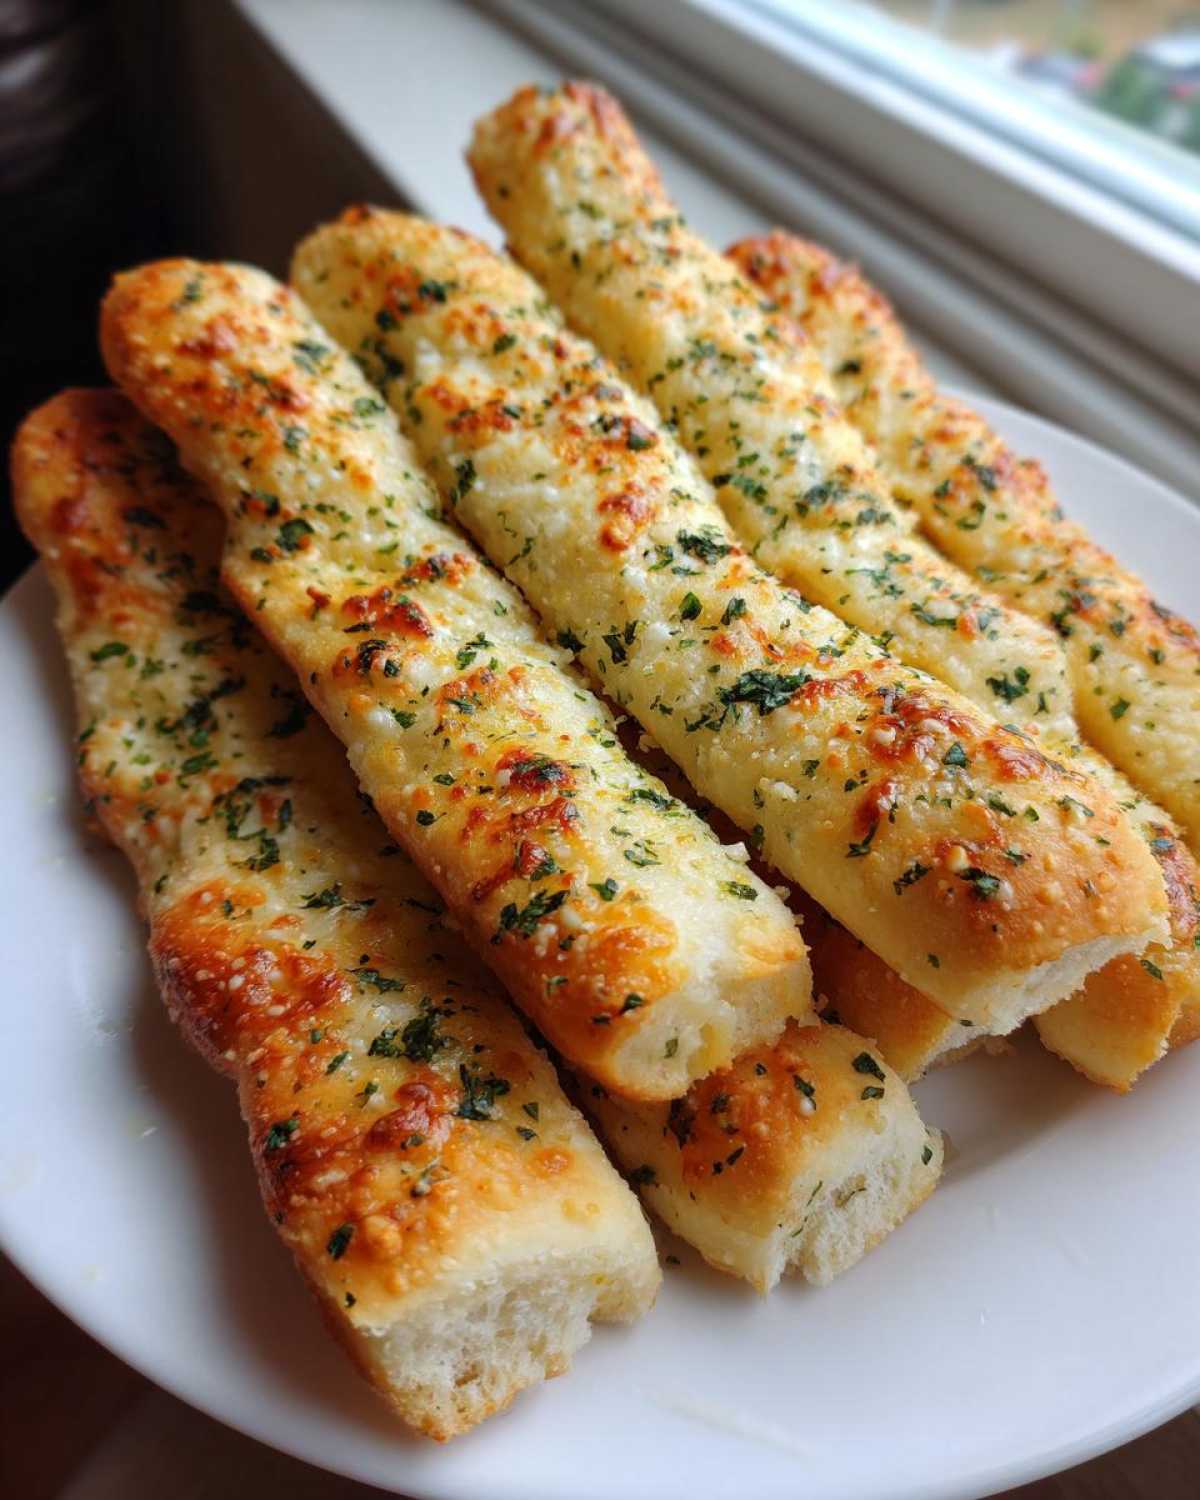
But honestly, my favorite way to use them when the weather gets cool is alongside soup. They are incredible dipped into a creamy tomato soup or even alongside my famous creamy ravioli soup! As an appetizer breadsticks offering, they disappear instantly.
Frequently Asked Questions About Making Breadsticks
I’ve gathered up the questions I hear most often about these glorious breadsticks. It’s all about making sure you get that famous soft texture without spending all day waiting around!
Can I make these Olive Garden Copycat Breadsticks without yeast?
That is a great question if you’re hunting for a Quick Breadsticks Recipe! For this specific recipe, I wholeheartedly recommend the yeast. It’s the secret sauce for that signature pillowy, airy crumb you get in those restaurant loaves—that’s why they call them soft and fluffy breadsticks! If you absolutely can’t use yeast, you can absolutely make a sort of no rise breadsticks version, but you’d need to swap out the yeast mixture for about 2 teaspoons of baking powder mixed right in with your flour. Just know they won’t be quite as light and airy as these incredible copycats, but they’ll still be delicious!
How long does it take to make these breadsticks from scratch?
When people search for easy breadsticks, they really want to know the commitment level! Total time for these Olive Garden Copycat Breadsticks is about an hour and a half, but remember most of that is hands-off rising time. The active work—mixing, kneading, and shaping—takes maybe 25 minutes total. So, if you start early afternoon, you’re looking for that “ready in about 1 hour” payoff once the rising is done! I promise it’s worth the wait for such amazing homemade breadsticks recipe results.
What is the best way to reheat leftover breadsticks to keep them soft?
This is crucial! If you try to microwave them, they’ll get chewy and tough almost immediately. For the best results—to keep those delightful buttery breadsticks soft—always go for the oven. Wrap your leftover sticks loosely in aluminum foil. You want the foil to shield them a bit so they don’t dry out, but not seal them completely tight, or they’ll get soggy. Place them in a 350°F oven for about 5 to 7 minutes. That gentle heat warms them through and brings back that heavenly, fluffy interior perfectly!
Nutritional Estimates for These Buttery Breadsticks
Now, I’m Stella, not a certified nutritionist, so take these numbers with a tiny grain of salt—just like you would a tiny grain of Parmesan on top! These estimates are based on using the ingredients listed and dividing the batch into 12 servings. Since we are making incredible, buttery breadsticks, they aren’t exactly a diet food, but they are totally worth it for a special side!
- Serving Size: 1 breadstick
- Calories: Approximately 180
- Total Fat: 8g
- Protein: 4g
- Carbohydrates: 23g
They are delicious comfort food, plain and simple. If you want some genuinely high-protein options for another day, you should check out my favorite egg bites recipe!
Announce Your Culinary Headline
Well, there you have it—the ticket to making the most amazing breadsticks right in your own kitchen! I truly hope you give this Homemade Breadsticks Recipe a shot. Seriously, next time you get these golden and garlicky out of the oven, crank up some good music and maybe even pull Owen in for an impromptu kitchen dance party. That’s what these recipes are for, right? To make a little good news!
When you make these, please come back and tell me all about it! Did you leave a comment? How fast did they disappear? Did you make them cheesy breadsticks style, or stick to the classic garlic butter? I love hearing about your successes, and if you have any lingering questions, you can always reach out to us directly through our contact page. Happy baking, and I hope you have something wonderful to herald at your dinner table tonight!
PrintCopycat Olive Garden Style Garlic Parmesan Breadsticks
Make the famous soft, buttery, and fluffy breadsticks right at home. This easy recipe delivers the ultimate Olive Garden copycat experience with a rich garlic parmesan topping, perfect for any dinner side dish or appetizer.
- Prep Time: 20 min
- Cook Time: 12 min
- Total Time: 1 hour 32 min
- Yield: 12 breadsticks
- Category: Side Dish
- Method: Baking
- Cuisine: Italian-American
- Diet: Vegetarian
Ingredients
- 2 1/4 teaspoons active dry yeast
- 1 cup warm water (105-115°F)
- 1 tablespoon granulated sugar
- 3 cups all-purpose flour, plus more for dusting
- 1 teaspoon salt
- 2 tablespoons olive oil, plus more for greasing
- 1/2 cup (1 stick) unsalted butter, melted
- 2 cloves garlic, minced
- 1 teaspoon dried parsley
- 1/2 cup grated Parmesan cheese
Instructions
- Activate the yeast: In a small bowl, combine the warm water, sugar, and yeast. Let it sit for 5 to 10 minutes until foamy.
- Mix the dough: In a large bowl, whisk together the flour and salt. Pour in the yeast mixture and 2 tablespoons of olive oil. Mix until a shaggy dough forms.
- Knead the dough: Turn the dough out onto a lightly floured surface. Knead for 5 to 7 minutes until the dough is smooth and elastic.
- First rise: Lightly grease a large bowl with olive oil. Place the dough in the bowl, turning to coat. Cover the bowl with plastic wrap or a clean towel and let it rise in a warm place for 1 to 1.5 hours, or until doubled in size.
- Preheat and prep: Preheat your oven to 400°F (200°C). Line a large baking sheet with parchment paper.
- Shape the breadsticks: Gently punch down the risen dough. Divide the dough into 12 equal pieces. Roll each piece into a long, thin breadstick shape, about 10 to 12 inches long. Place the breadsticks on the prepared baking sheet, leaving a small space between them.
- Second rise (optional but recommended): Cover the shaped breadsticks loosely and let them rest for 15 minutes while the oven finishes preheating.
- Bake: Bake for 10 to 12 minutes, or until the breadsticks are lightly golden brown.
- Prepare the topping: While the breadsticks bake, combine the melted butter, minced garlic, and dried parsley in a small bowl.
- Brush and finish: Immediately after removing the breadsticks from the oven, brush them generously with the garlic butter mixture. Sprinkle evenly with the grated Parmesan cheese.
- Serve: Serve your homemade breadsticks warm as a dinner side dish or appetizer.
Notes
- For extra soft and fluffy breadsticks, ensure your water temperature for the yeast is correct—too hot will kill the yeast.
- If you want a quicker version, you can skip the second 15-minute rest after shaping.
- These breadsticks are perfect for dipping sauce; have your favorite marinara ready!
Nutrition
- Serving Size: 1 breadstick
- Calories: 180
- Sugar: 1
- Sodium: 250
- Fat: 8
- Saturated Fat: 4
- Unsaturated Fat: 4
- Trans Fat: 0
- Carbohydrates: 23
- Fiber: 1
- Protein: 4
- Cholesterol: 15