

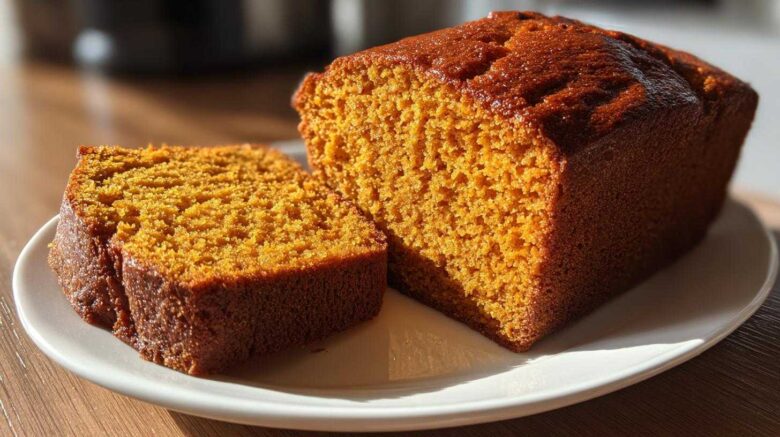
I remember when our kitchen felt more like a distant dream than a cozy haven. For the longest time, it was just a space, functional but lacking soul. We were so caught up in the rush of life, work, and building our future, that meals became mere pit stops. Food was just fuel. Then came a Tuesday. A really tough one. We were exhausted. Dinner was a silent, obligatory task. But then, something shifted. The sauce was just right. The pasta, perfect. It was a small victory, a moment of pure relief. Owen grabbed my hand, put on some music, and we just danced. Right there, between the sink and the stove. That night, we realized we’d been missing the point. The meal wasn’t the end of the day; it was the headline. It was the good news worth sharing. And that’s how this Classic Pumpkin Bread came to be – a headline of deliciousness and pure, unadulterated joy. It’s a recipe that brings that same good news right into your kitchen.
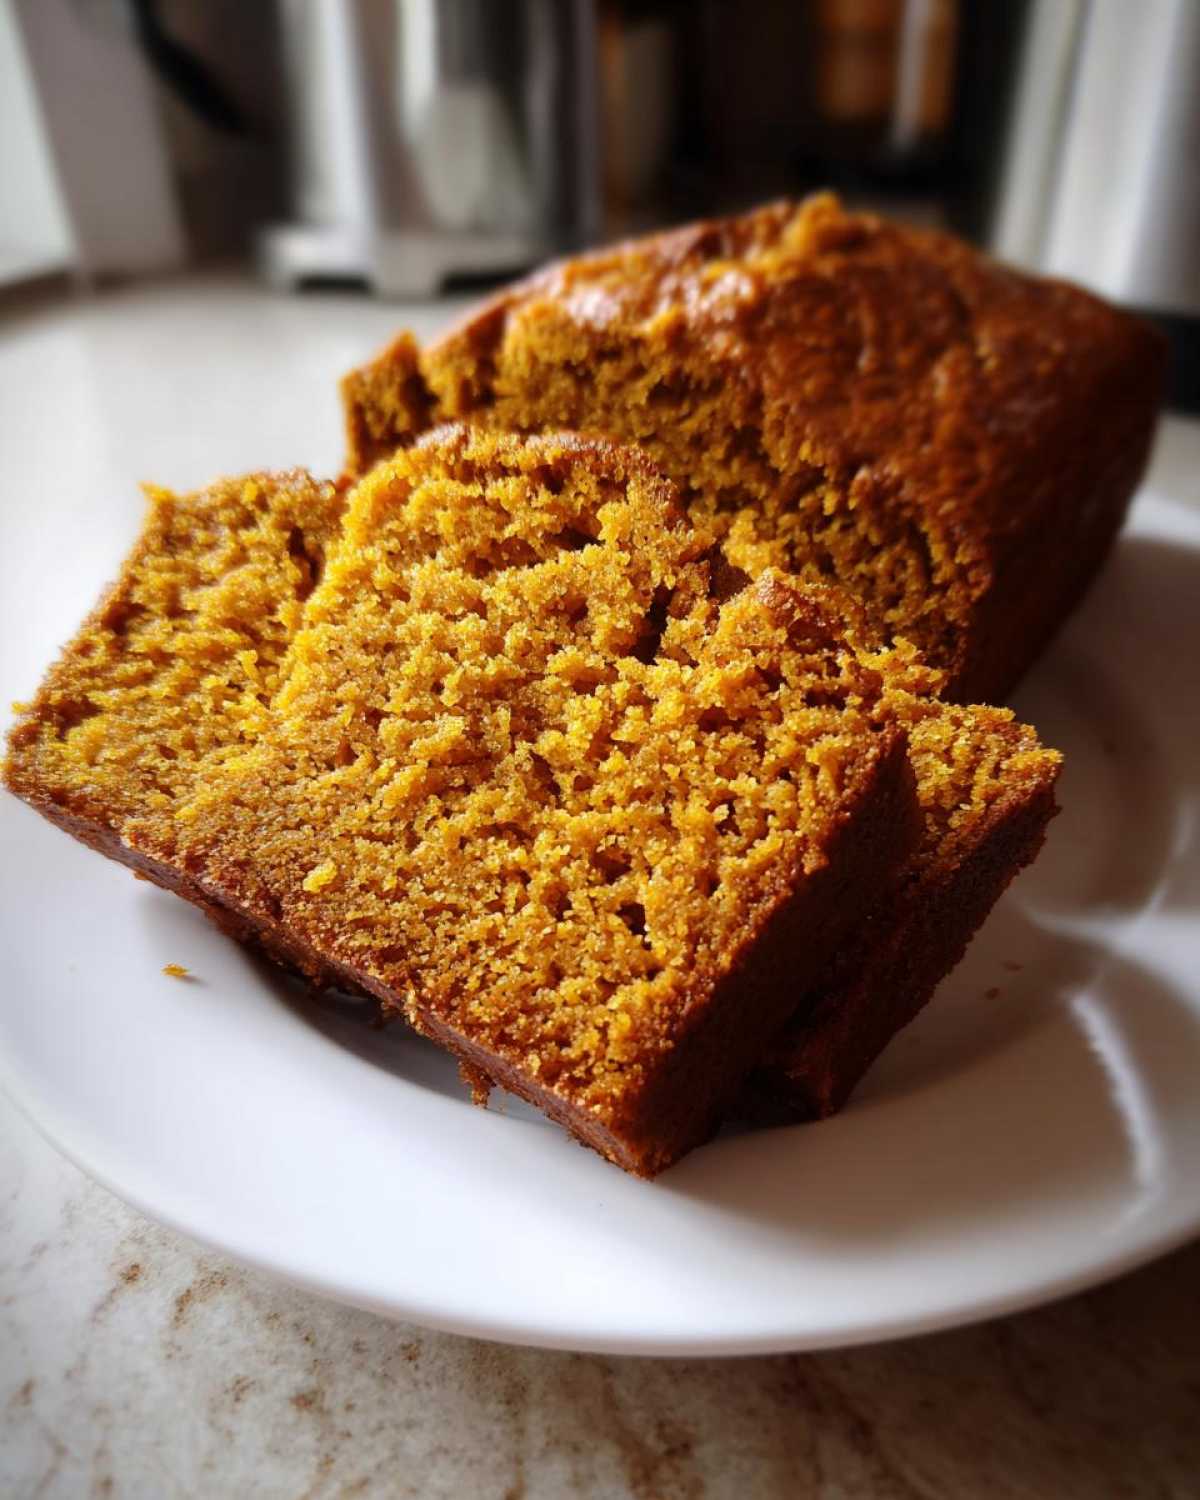
Why You’ll Love This Classic Pumpkin Bread
This recipe for Classic Pumpkin Bread is a true winner. It’s your go-to for that comforting fall feeling.
- It’s incredibly easy to make.
- The taste is wonderfully warm and inviting.
- You’ll get a perfectly moist crumb every time.
- It’s ideal for all your autumn baking needs.
Perfect for Fall Snacking
This Classic Pumpkin Bread is just right for cozy afternoons. It’s a delightful treat for leaf-peeping drives or casual get-togethers.
Simple and Straightforward Steps
You don’t need to be an expert baker for this recipe. We’ve made the steps super clear. Even beginners will feel like pros making this delicious pumpkin loaf.
Gather Your Ingredients for Classic Pumpkin Bread
Let’s get our kitchen ready for some autumn magic! Gathering the right ingredients is the first step to a truly wonderful Classic Pumpkin Bread. I always find that having everything measured out before I start makes the whole process so much smoother, like a well-rehearsed dance. You’ll want to have your ingredients at room temperature for the best results. This helps everything combine beautifully.
Flour and Leavening Agents
We start with 2 cups of all-purpose flour. This is the backbone of our Classic Pumpkin Bread. Baking soda, 1 teaspoon of it, acts as our leavener. It gives the bread its lovely rise. A half teaspoon of salt balances the sweetness and brings out all the other flavors.
Spices for Warmth
Ah, the spices! They are the soul of fall baking. We’ll use 1 teaspoon of ground cinnamon for that classic warm hug. Then, a half teaspoon of ground nutmeg adds a touch of earthy sweetness. A whisper of ground cloves, just a quarter teaspoon, gives it that extra cozy depth. These spices truly make our Classic Pumpkin Bread sing.
Wet Ingredients for Moisture and Sweetness
For sweetness and moisture, we need 1 and a half cups of granulated sugar. This will cream beautifully with the 3/4 cup of vegetable oil. We’ll add 2 large eggs, one at a time, for richness. A teaspoon of vanilla extract is always a good idea for extra flavor. And of course, the star: 1 cup of canned pumpkin puree. Make sure it’s pure pumpkin, not pie filling!
Optional Add-ins
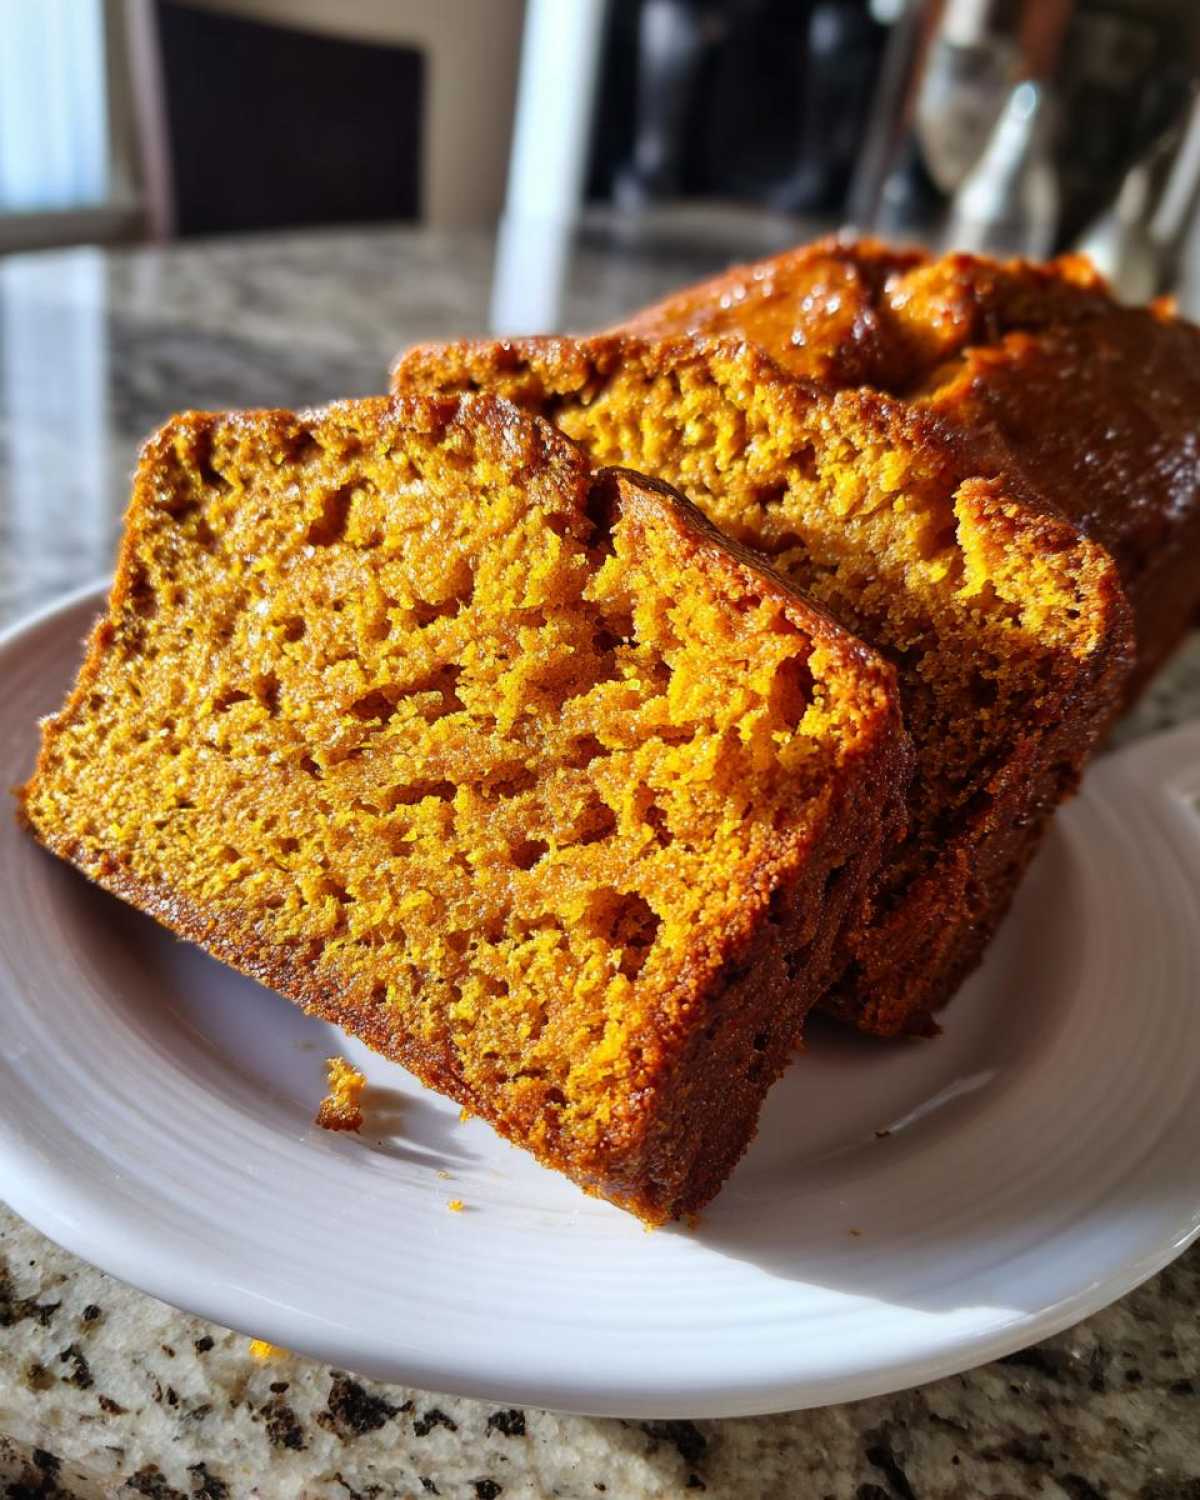
If you love a little crunch, I highly recommend adding a half cup of chopped walnuts or pecans. They add a wonderful texture and nutty flavor to the Classic Pumpkin Bread. Just give them a quick chop before you start mixing!
How to Prepare Your Classic Pumpkin Bread
Now for the fun part! Let’s turn these lovely ingredients into a delicious loaf. Preparing this Classic Pumpkin Bread is a joy, and I’ll walk you through each step. It’s like a little dance in the kitchen. You want to be gentle and mix with care.
Combining Dry Ingredients
First, grab a large bowl. Whisk together your flour, baking soda, salt, cinnamon, nutmeg, and cloves. Whisking them well ensures everything is evenly distributed. This is our dry foundation.
Creating the Wet Mixture
In a separate bowl, cream the sugar and vegetable oil. Beat them together until they look light and combined. Then, add your eggs, one by one, beating after each addition. Stir in the vanilla extract and the pumpkin puree. Mix until it’s all smooth and dreamy.
Bringing it All Together
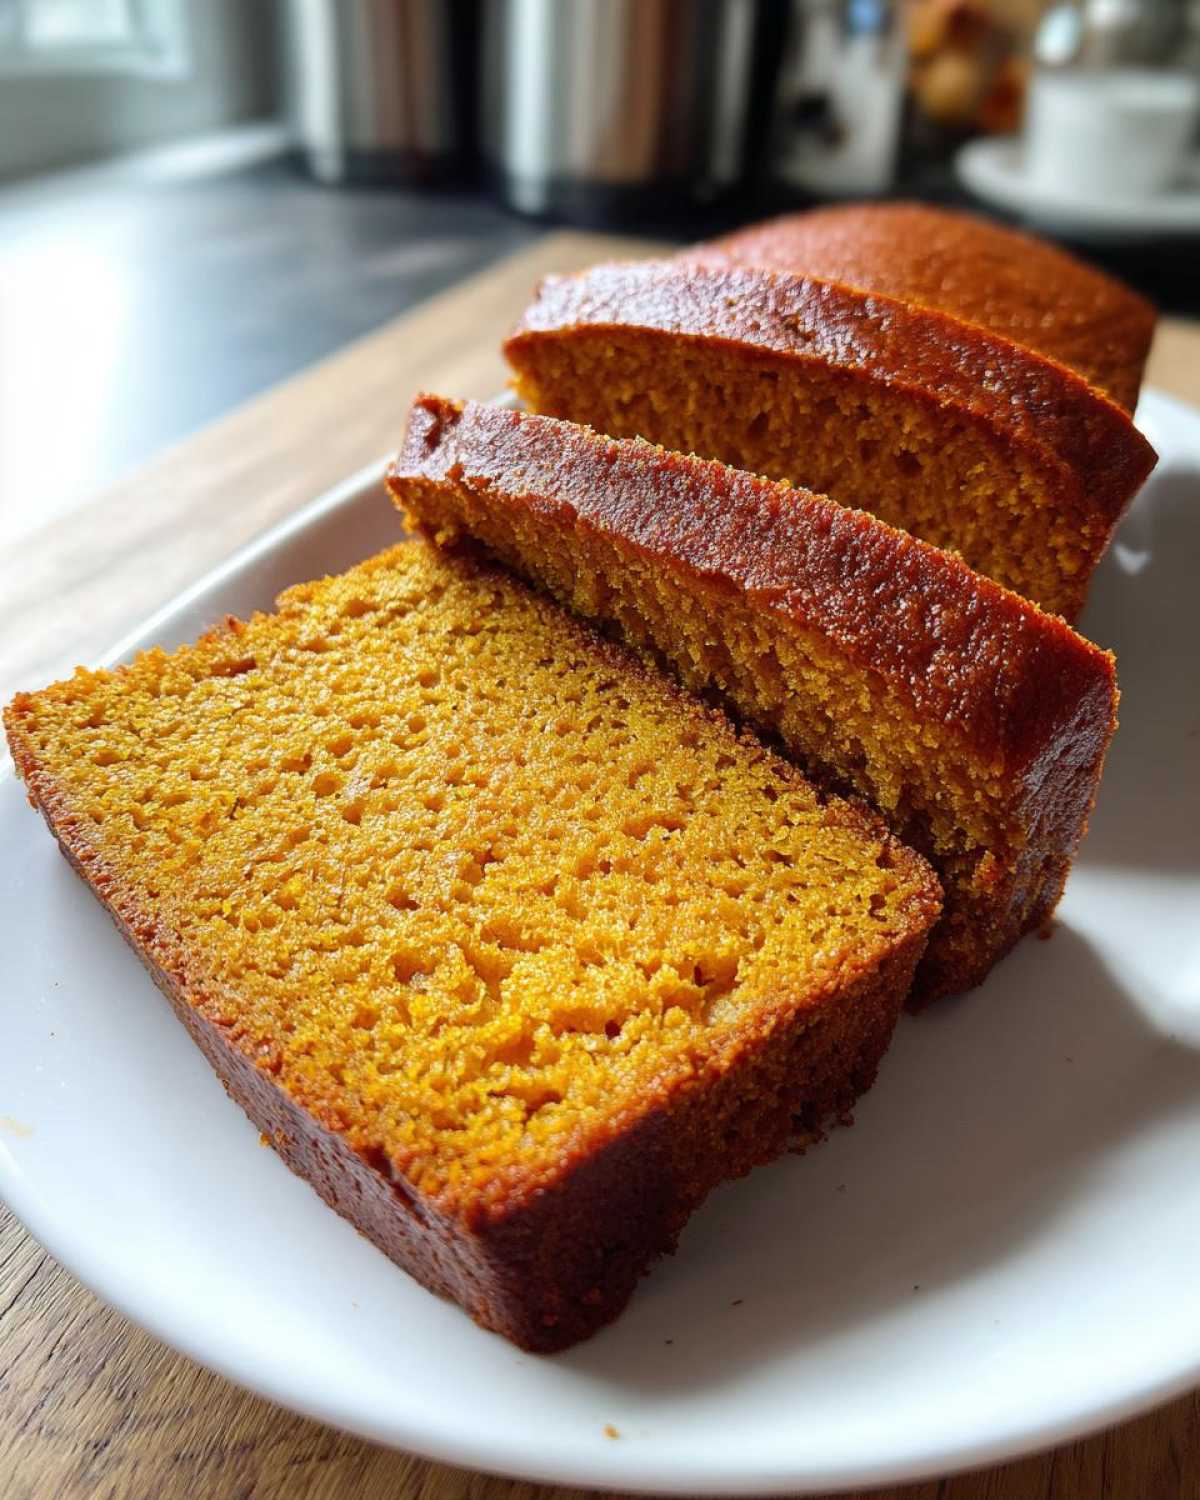
Now, we’ll slowly add the dry ingredients to the wet ones. Mix until just combined. Please, try not to overmix here! Overmixing can make your Classic Pumpkin Bread tough. If you’re adding nuts, gently fold them in now.
Baking Your Classic Pumpkin Bread to Perfection
Pour your batter into the prepared loaf pan. It should fill it nicely. Bake in your preheated oven at 350°F (175°C). This usually takes about 60 to 75 minutes. You’ll know it’s ready when a wooden skewer inserted into the center comes out clean. If it has wet batter, give it a few more minutes.
Cooling for the Best Texture
Once baked, let the bread cool in the pan for about 10 minutes. This helps it set up. Then, carefully turn it out onto a wire rack. Let it cool completely. Patience here is key for the best texture!
Tips for a Perfect Classic Pumpkin Bread
Making a great Classic Pumpkin Bread is all about a few simple tricks. I’ve learned these over many batches. They help ensure your loaf is always a success. Think of them as little helpers to make your baking journey smoother and more joyful.
Ingredient Quality Matters
Using good quality ingredients truly makes a difference. For our Classic Pumpkin Bread, fresh spices and pure pumpkin puree are key. They bring out the best flavors. Your taste buds will thank you!
The Art of Not Overmixing
When you mix the dry and wet ingredients, be gentle. Overmixing develops the gluten too much. This can lead to a tough or dense loaf. We want a tender crumb!
Oven Variations and Doneness Tests
Ovens can be a bit quirky. Yours might run hotter or cooler. Always check your Classic Pumpkin Bread near the end of the baking time. A wooden skewer is your best friend here. If it comes out clean, it’s ready!
Ingredient Notes and Substitutions for Classic Pumpkin Bread
Sometimes, you might wonder about specific ingredients. Let’s clear up a couple of common questions for our Classic Pumpkin Bread. These little details can make a big difference in your baking success. I find that understanding the ‘why’ behind each ingredient makes me a more confident cook.
Pumpkin Puree vs. Pumpkin Pie Filling
This is a super important point for your Classic Pumpkin Bread! Always use canned pumpkin puree. Never pumpkin pie filling. Pie filling has added sugars and spices. It will throw off the flavor and texture of your bread. Puree is just plain pumpkin. It’s what gives our loaf that lovely, natural pumpkin flavor. For more information on pumpkin varieties and their uses, you can check out Allrecipes’ guide to pumpkins.
Adding Extra Moisture
Want an even moister loaf? I have a great tip for you! You can add about 1/4 cup of sour cream or plain Greek yogurt to the batter. This adds extra moisture and a slight tang. It really makes the Classic Pumpkin Bread incredibly tender. Just stir it in with the wet ingredients!
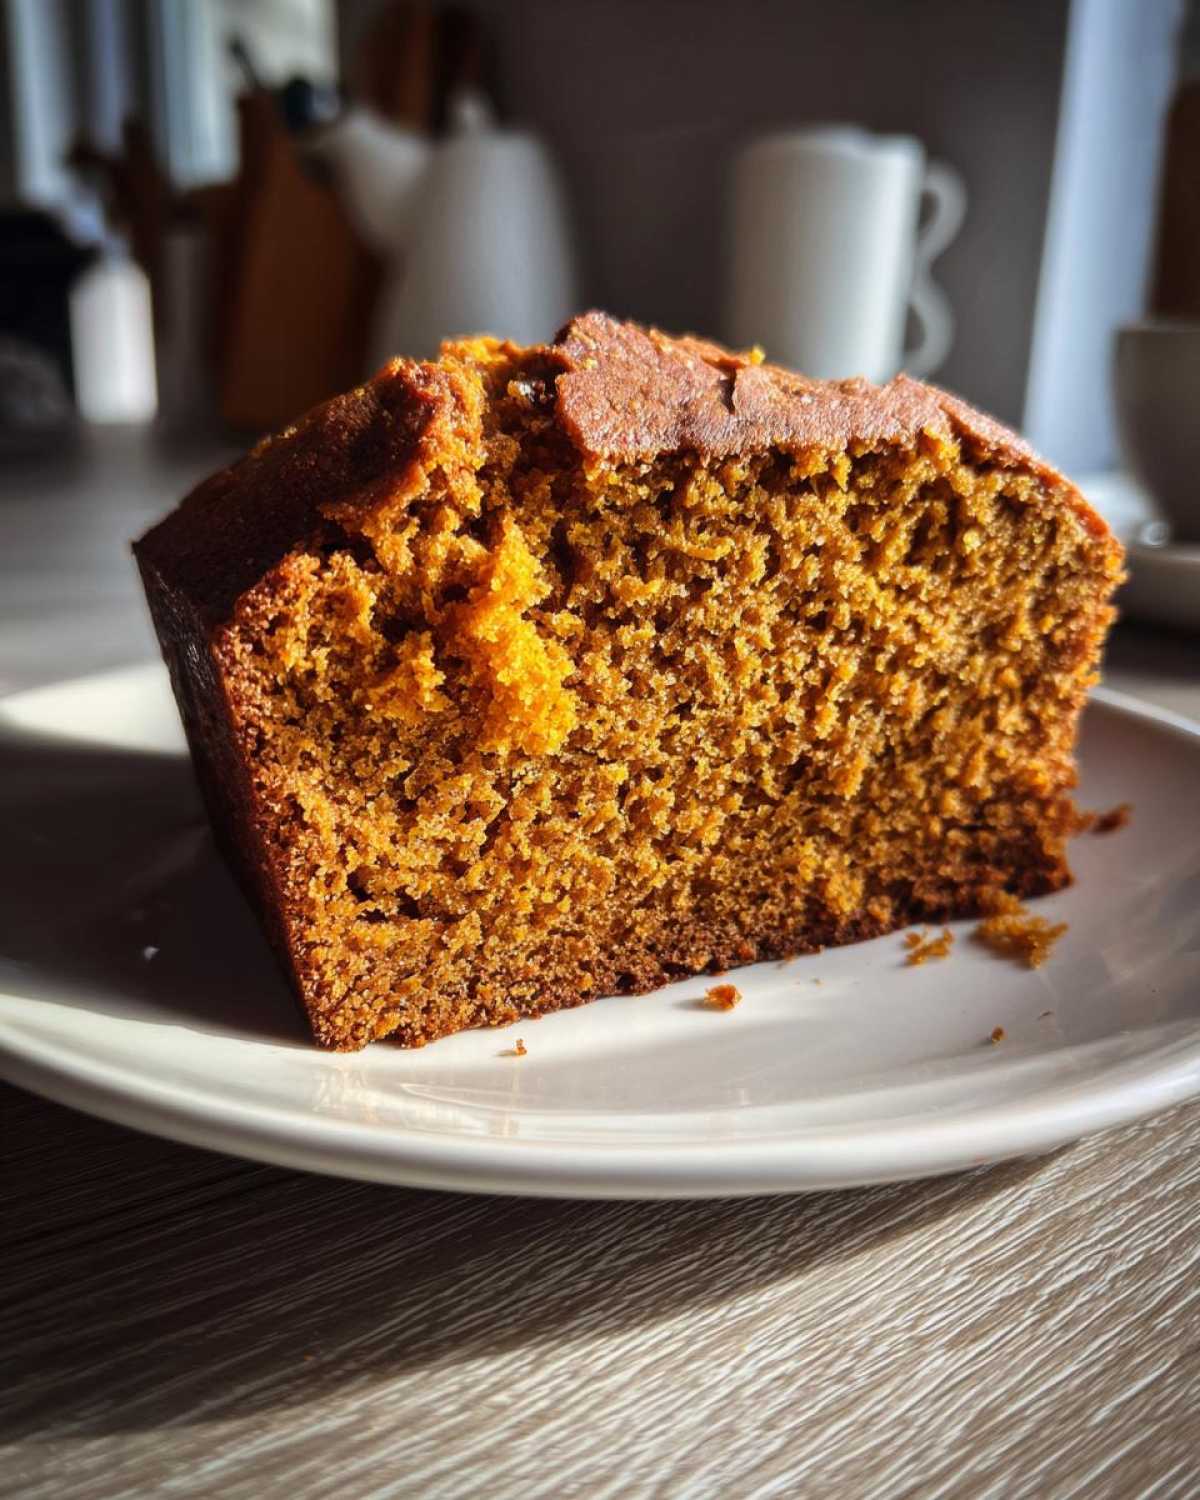
Serving Suggestions for Classic Pumpkin Bread
Once your beautiful Classic Pumpkin Bread is completely cool, it’s ready to be enjoyed! I love a simple slice, just as it is. It’s perfect for a quiet morning with a cup of coffee. Or maybe a warm mug of apple cider on a chilly afternoon. For an extra treat, a light smear of butter is always lovely. You could also try a drizzle of honey or a dollop of cream cheese frosting if you’re feeling fancy. It’s versatile and always welcome.
Storing and Reheating Your Classic Pumpkin Bread
Once your delicious Classic Pumpkin Bread has cooled, you’ll want to store it properly. This helps keep it moist and flavorful for days. I usually wrap the completely cooled loaf tightly in plastic wrap. Then, I place it in an airtight container. This will keep it fresh at room temperature for about 2 to 3 days. For longer storage, you can refrigerate it. It will stay good for up to a week. If you want to reheat a slice, just wrap it in a damp paper towel. Microwave it for about 15-20 seconds. It’ll be warm and wonderfully soft again!
Frequently Asked Questions about Classic Pumpkin Bread
Got some burning questions about making this delightful Classic Pumpkin Bread? I’ve got you covered! Baking should be fun, not frustrating. Let’s tackle some common queries to make sure your loaf turns out perfectly.
Can I make muffins from this Classic Pumpkin Bread batter?
Absolutely! This batter is wonderfully versatile. You can easily use it to make muffins. Just fill your prepared muffin liners about two-thirds full. Bake at the same temperature, 350°F (175°C). They’ll likely take less time, around 20-25 minutes. Keep an eye on them! They make for a great grab-and-go treat.
How long does Classic Pumpkin Bread stay fresh?
When stored properly, your Classic Pumpkin Bread will stay fresh at room temperature for about 2 to 3 days. For longer freshness, wrap it tightly and refrigerate it. It should keep well for up to a week. Freezing is also an option for even longer storage!
Can I use a different oil for this Classic Pumpkin Bread?
Yes, you can! While vegetable oil is great, you can also use other neutral-flavored oils. Melted coconut oil or canola oil work well. Some people even like using unsweetened applesauce instead of oil for a lower-fat version. Just keep in mind that applesauce might change the texture slightly, making it a bit denser.
Share Your Classic Pumpkin Bread Story
I’d absolutely love to hear about your baking adventures with this Classic Pumpkin Bread! Did you try any fun variations? Did you add extra spices or maybe some chocolate chips? Please share your photos and stories in the comments below. Your experiences are the best part of this community!
PrintPerfectly Moist Classic Pumpkin Bread: 25-Minute Joy
Enjoy a moist and flavorful Classic Pumpkin Bread, perfect for fall. This recipe is simple to follow, making it an ideal treat for any occasion.
- Prep Time: 15 minutes
- Cook Time: 60-75 minutes
- Total Time: 1 hour 15 minutes to 1 hour 30 minutes
- Yield: 1 loaf
- Category: Baking
- Method: Baking
- Cuisine: American
- Diet: Vegetarian
Ingredients
- 2 cups all-purpose flour
- 1 teaspoon baking soda
- 1/2 teaspoon salt
- 1 teaspoon ground cinnamon
- 1/2 teaspoon ground nutmeg
- 1/4 teaspoon ground cloves
- 1 1/2 cups granulated sugar
- 3/4 cup vegetable oil
- 2 large eggs
- 1 teaspoon vanilla extract
- 1 cup canned pumpkin puree
- 1/2 cup chopped walnuts or pecans (optional)
Instructions
- Preheat your oven to 350°F (175°C). Grease and flour a 9×5 inch loaf pan.
- In a large bowl, whisk together the flour, baking soda, salt, cinnamon, nutmeg, and cloves.
- In a separate bowl, cream together the sugar and vegetable oil until well combined.
- Beat in the eggs one at a time, then stir in the vanilla extract and pumpkin puree until smooth.
- Gradually add the dry ingredients to the wet ingredients, mixing until just combined. Do not overmix.
- If using, fold in the chopped nuts.
- Pour the batter into the prepared loaf pan.
- Bake for 60-75 minutes, or until a wooden skewer inserted into the center comes out clean.
- Let the bread cool in the pan for 10 minutes before transferring it to a wire rack to cool completely.
Notes
- For extra moisture, you can add 1/4 cup of sour cream or Greek yogurt to the batter.
- Ensure you use pumpkin puree, not pumpkin pie filling.
- Baking time may vary depending on your oven.
Nutrition
- Serving Size: 1 slice
- Calories: Approx. 250-300 (will vary based on ingredients and additions)
- Sugar: Approx. 20-25g
- Sodium: Approx. 150-200mg
- Fat: Approx. 12-15g
- Saturated Fat: Approx. 2-3g
- Unsaturated Fat: Approx. 10-12g
- Trans Fat: 0g
- Carbohydrates: Approx. 35-40g
- Fiber: Approx. 2-3g
- Protein: Approx. 3-4g
- Cholesterol: Approx. 30-40mg