

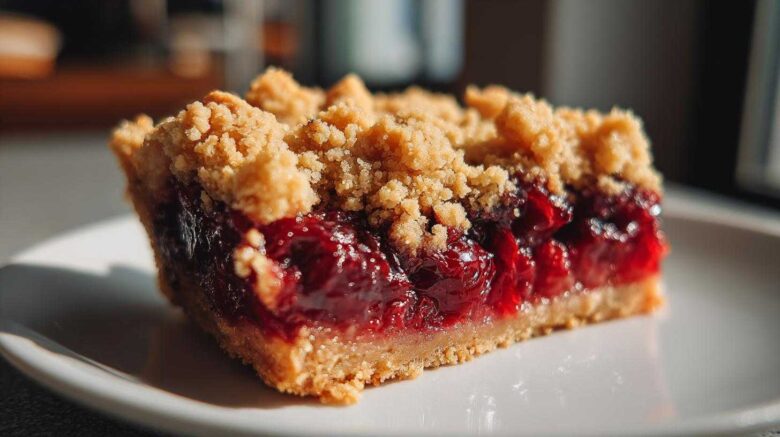
Sometimes, you just crave the comfort of cherry pie. But let’s be real, rolling out pie crust can be a whole event! That’s where these Cherry Pie Bars come in. They capture all that wonderful, fruity goodness. Plus, they’re so much easier to make. I remember when our weeknight dinners felt like a chore. Food was just fuel. Then, one night, a simple meal turned into a dance party. It showed me that cooking could be pure joy. These bars are a perfect example of that magic. They bring a smile to my face every time.
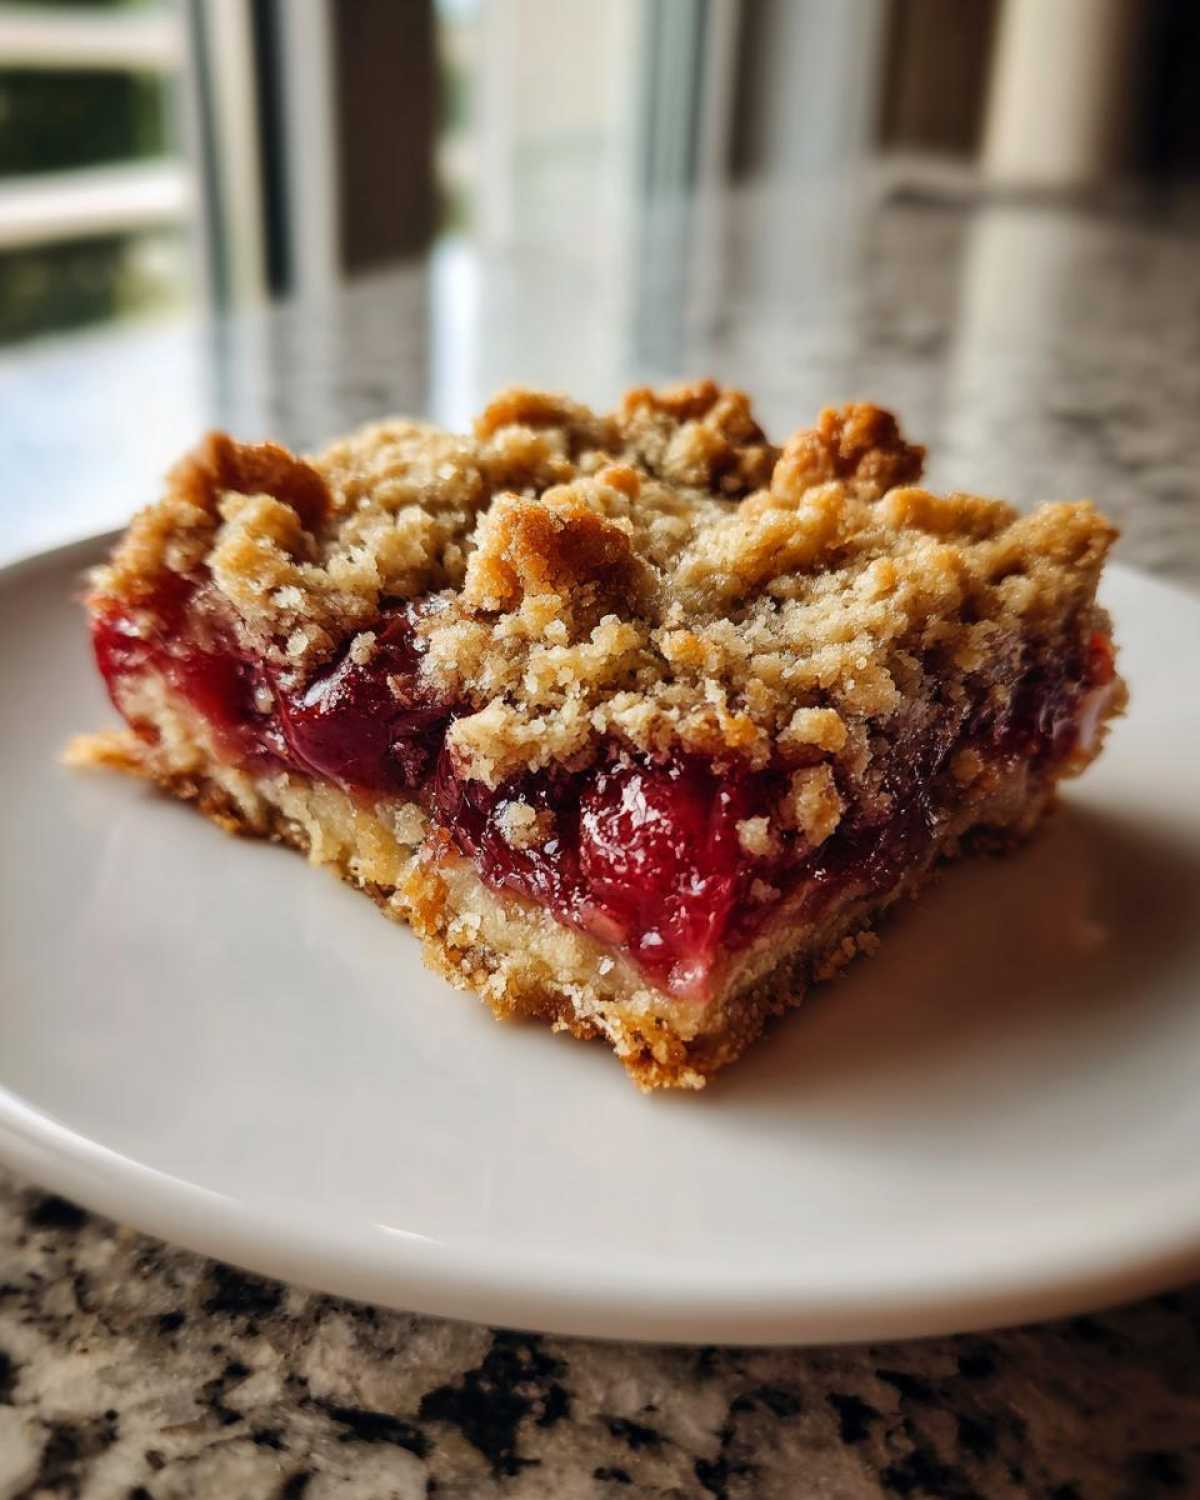
Why You’ll Love These Cherry Pie Bars
- Super easy to whip up.
- Tastes just like classic cherry pie.
- Perfect for picnics or potlucks.
- A guaranteed crowd-pleaser.
- No fussy pie crust needed!
Stella’s Kitchen Story: Finding Joy in Every Bite
Our kitchen used to be a place of stress. Honestly, it felt like another task on our endless to-do list. Owen and I were so busy building our lives. We forgot to just *live* in our home. Then, one Tuesday, something shifted. A simple pasta dish came together perfectly. We put on some music and just danced. It was a revelation! Cooking could be fun. It could be a celebration. That night, we realized we’d been missing the point. Food wasn’t just fuel. It was the headline of our day. Now, making something like these Cherry Pie Bars is like writing a happy story. It’s a reason to pause, to connect, and to celebrate the little things.
Gather Your Ingredients for Cherry Pie Bars
Ready to make some magic? Gathering your ingredients is the first step. You’ll need 1 cup of softened unsalted butter. Make sure it’s nice and soft, not melted. Grab 1 cup of granulated sugar too. We’ll also use 1 teaspoon of vanilla extract for that lovely aroma. You’ll need 2 large eggs. For the dry stuff, get 2 ½ cups of all-purpose flour. Also, have 1 teaspoon of baking powder and ½ teaspoon of salt ready. The star is 2 cans of cherry pie filling, each 21 ounces. Don’t drain them! And if you like a little crunch, have ½ cup of chopped nuts on hand. Walnuts or pecans work great.
Ingredient Notes and Substitutions for Cherry Pie Bars
Using softened butter is key here. It creams nicely with the sugar. This makes the base light and tender. If you forget to soften your butter, you can quickly microwave it for a few seconds. Just be careful not to melt it! For the nuts, if you have allergies or just don’t like them, feel free to leave them out. They’re totally optional. You could also try pepitas or sunflower seeds for a different crunch. These little touches make your Cherry Pie Bars truly your own.
Crafting Your Perfect Cherry Pie Bars
Let’s get baking! First, preheat your oven to 350°F (175°C). Grab your 9×13 inch baking pan. Grease and flour it well. This stops our bars from sticking. Now, in a big bowl, cream together the softened butter and sugar. Beat them until they’re light and fluffy. This is where the magic begins. Next, add the vanilla extract. Then, crack in your eggs, one at a time. Mix well after each addition.
In another bowl, whisk together the flour, baking powder, and salt. This dry mix is important. Gradually add this dry mixture to your wet ingredients. Mix until it’s just combined. Don’t overmix it! Overmixing makes things tough. Now, press half of this lovely dough into your prepared pan. Spread it out evenly. This is your bottom crust.
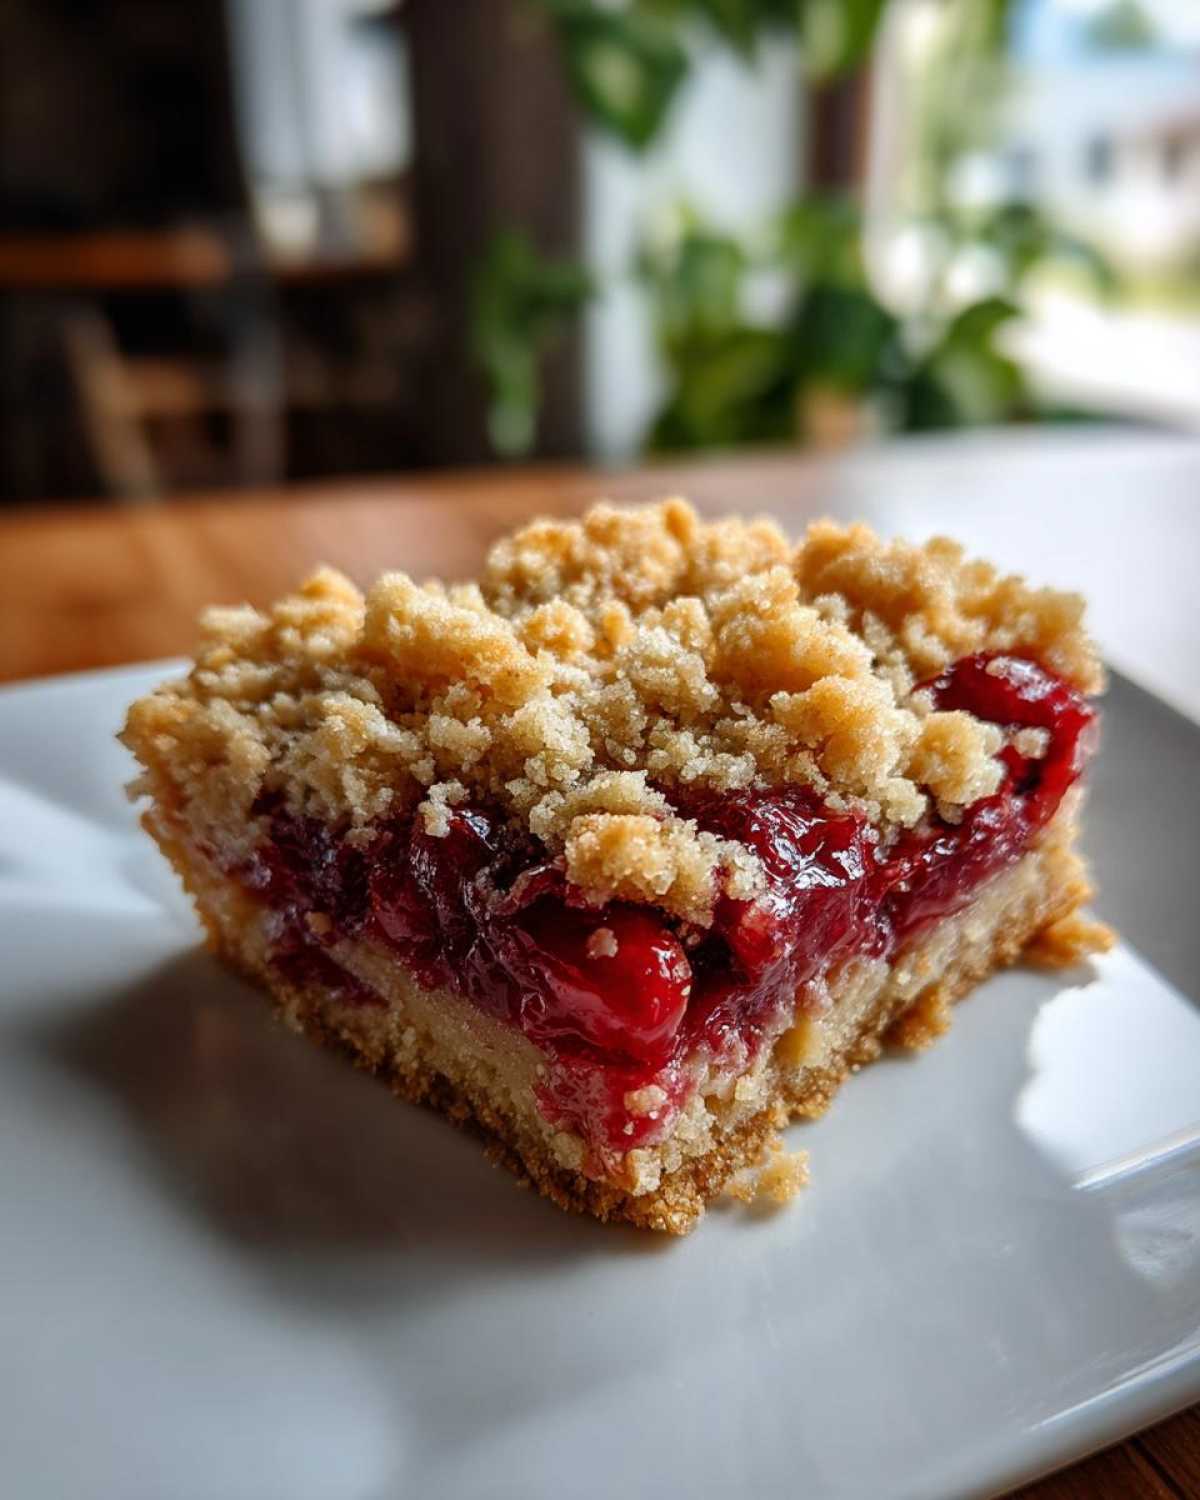
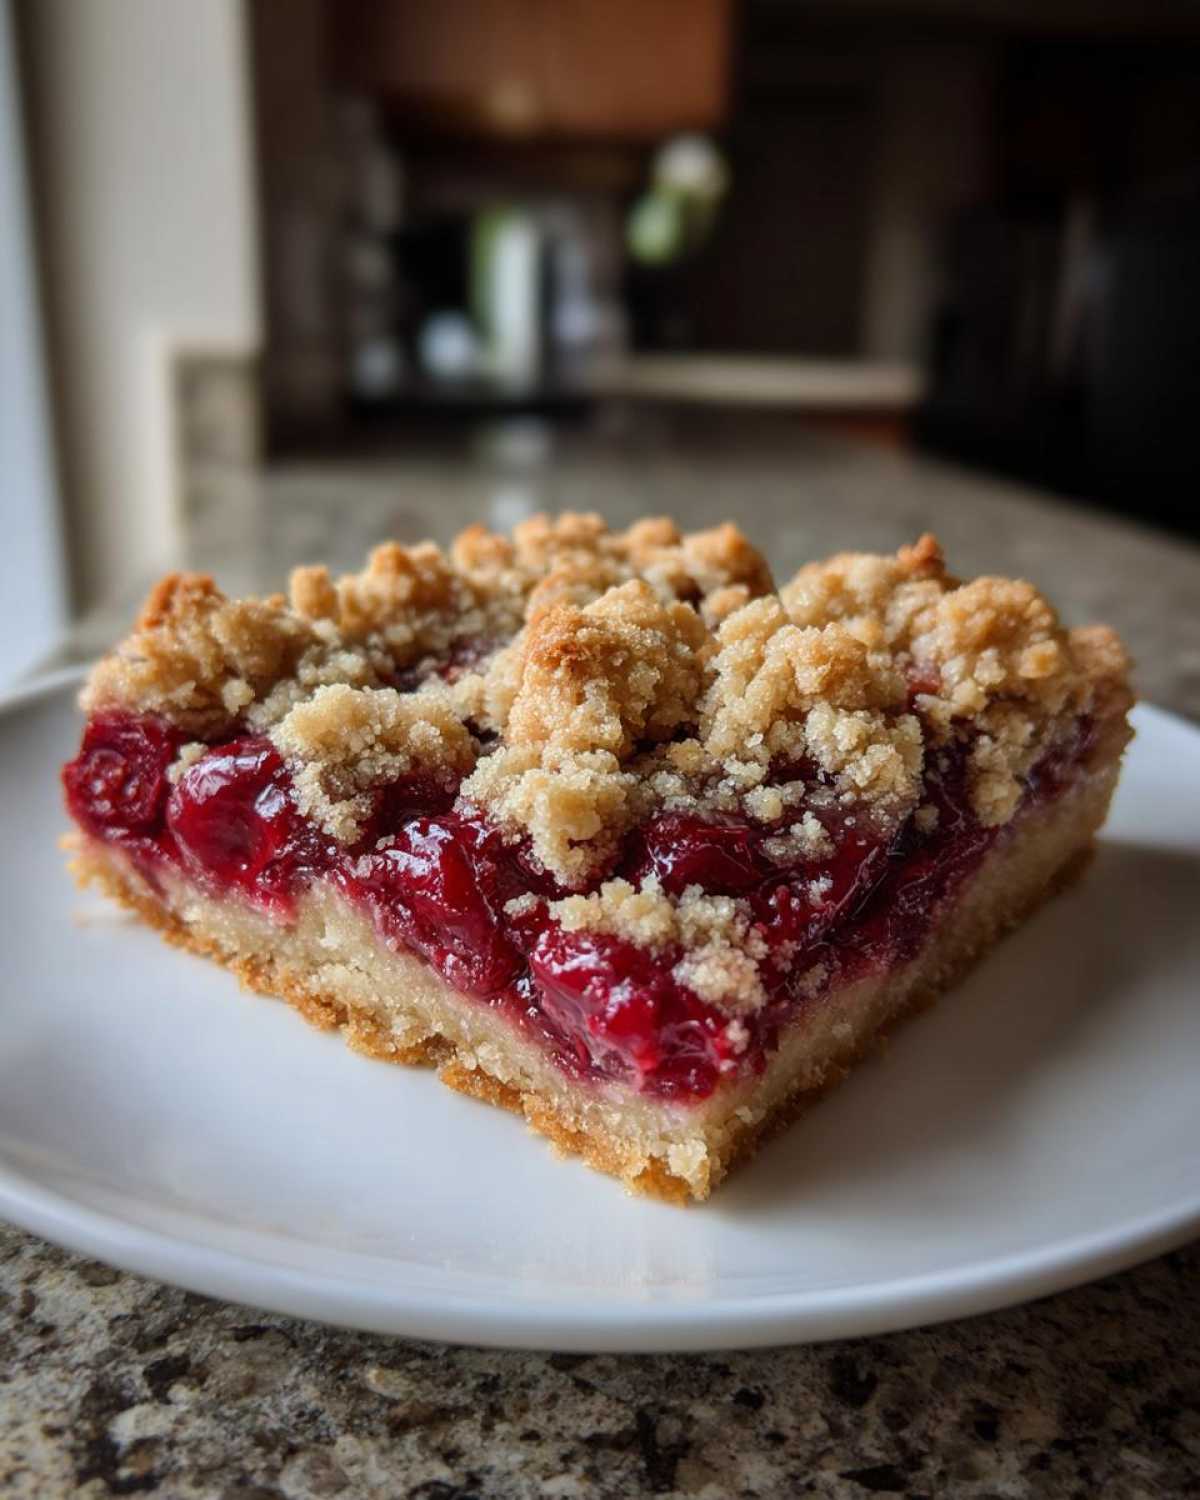
Next comes the star: the cherry pie filling. Spread both cans evenly over the dough. If you’re using nuts, sprinkle them over the cherry filling now. They add a wonderful crunch. For the topping, take the remaining dough. Crumble it over the filling. Try to get an even layer. This topping is what makes our Cherry Pie Bars so special. It’s like a delicious, streusel-like crown.
Baking Your Cherry Pie Bars to Golden Perfection
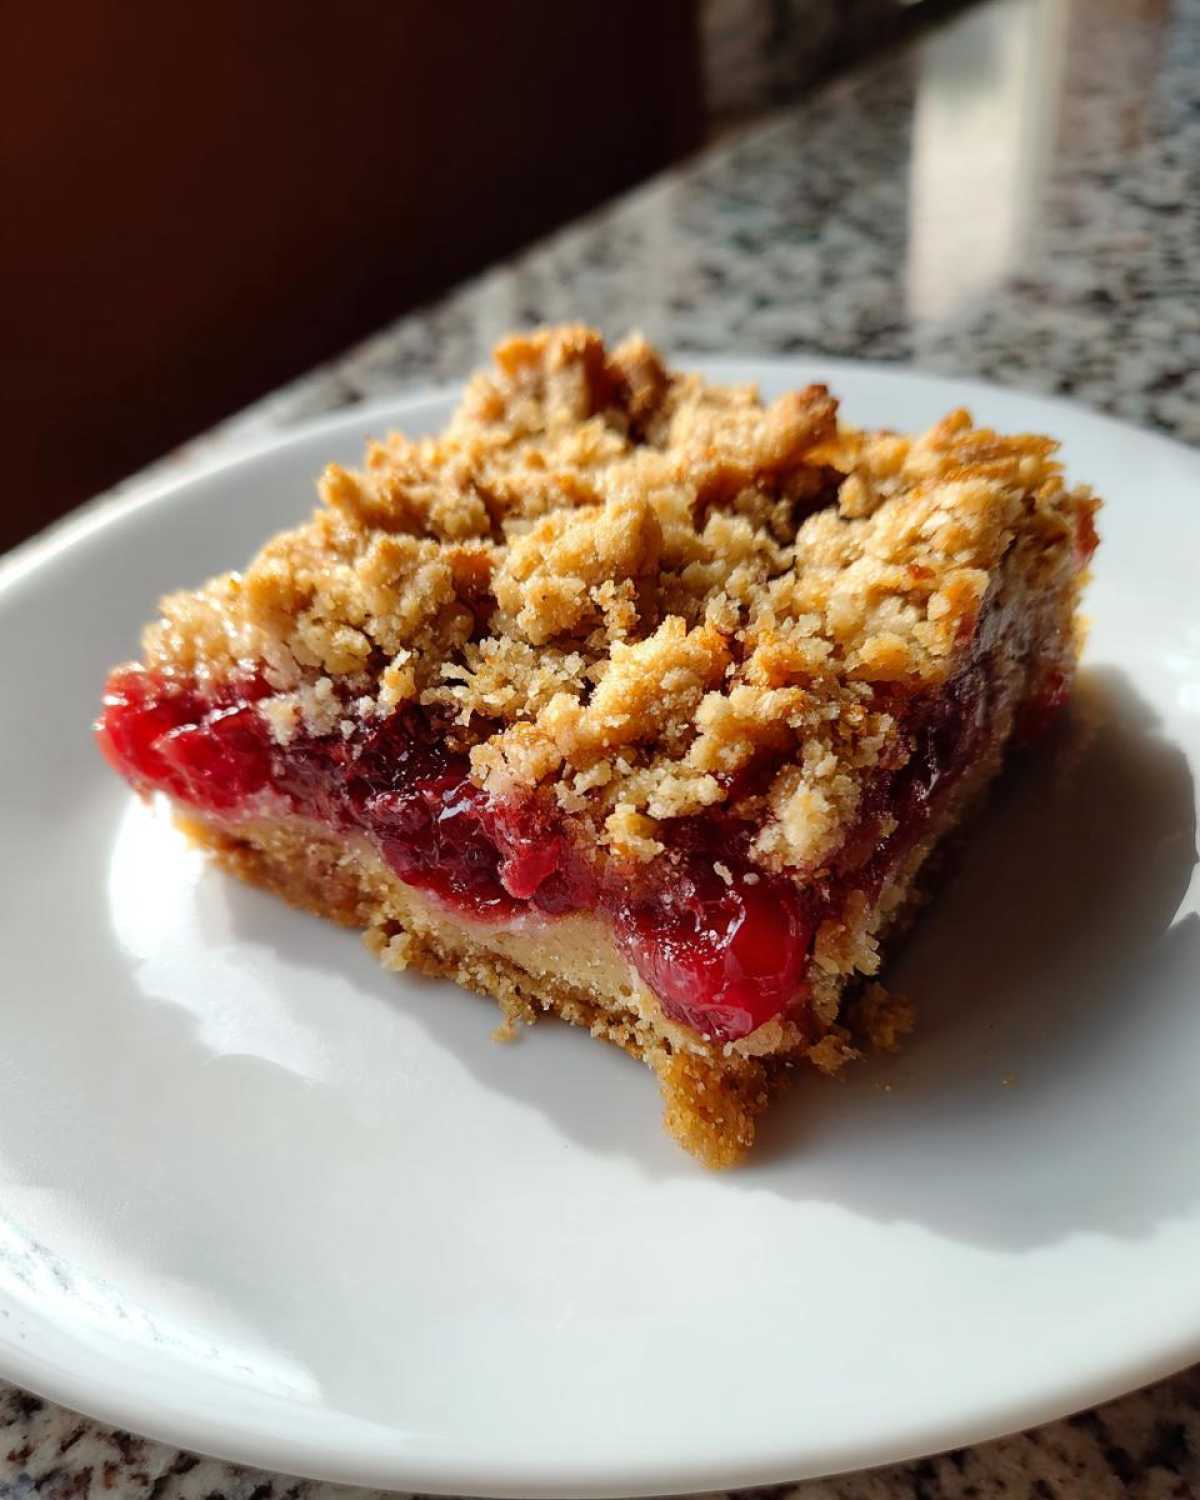
Now for the oven! Bake your Cherry Pie Bars for about 35 to 45 minutes. You’re looking for a golden brown topping. The filling should be nice and bubbly around the edges. This tells you everything is cooked through. Once they’re out, resist the urge to cut into them right away. Patience is key for perfect bars.
Cooling and Cutting Your Cherry Pie Bars
Let your Cherry Pie Bars cool down completely in the pan. This is super important. It helps them set up. Trying to cut them while they’re hot will make a mess. Once they’re fully cooled, use a sharp knife. Cut them into neat squares. This makes them look as good as they taste.
Tips for Cherry Pie Bar Success
Want your Cherry Pie Bars to be absolutely perfect? I’ve got a few tricks. For a really lovely, crumbly topping, make sure your remaining dough is cold when you crumble it. It makes a big difference. If you’re worried about a soggy bottom, try blind-baking the bottom crust for about 10 minutes before adding the cherry filling. This step ensures your base stays firm.
Another great tip for amazing Cherry Pie Bars is to use a good quality cherry pie filling. It really is the star of the show. Sometimes, I like to add a pinch of cinnamon to the topping mixture. It gives it a warm, cozy flavor. And remember, letting them cool completely is crucial for clean cuts. Happy baking!
Serving and Storing Your Delicious Cherry Pie Bars
These Cherry Pie Bars are fantastic on their own. But, for an extra special treat, try serving them warm with a scoop of vanilla ice cream. The contrast is divine! If you happen to have any leftovers, which is rare in my house, store them in an airtight container. They’ll keep well at room temperature for a couple of days. For longer storage, pop them in the fridge. They stay yummy for up to a week.
Frequently Asked Questions about Cherry Pie Bars
Got questions about these delightful Cherry Pie Bars? I’ve got answers!
Q: Can I make Cherry Pie Bars ahead of time?
A: Absolutely! You can bake them a day in advance. Let them cool completely. Store them in an airtight container at room temperature. They’re just as delicious the next day, maybe even better as the flavors meld.
Q: What are some variations for Cherry Pie Bars?
A: So many! You can swap the cherry pie filling for blueberry or raspberry filling. For a twist, add some almond extract to the dough. Or, try a sprinkle of cinnamon and nutmeg on top for extra warmth. Pecans or walnuts are great, but chopped almonds work too. These variations make your Cherry Pie Bars truly unique.
Q: My topping is too crumbly. What did I do wrong?
A: This usually happens if the dough is too warm. Try chilling the remaining dough for about 15-20 minutes before crumbling it over the filling. This helps it hold its shape a bit better and creates a lovely streusel-like topping for your Cherry Pie Bars.
Estimated Nutritional Information
Here’s a look at the estimated nutritional breakdown for these delightful Cherry Pie Bars. Keep in mind these numbers are approximate. They can change based on the specific brands you use and any optional additions like nuts.
- Serving Size: 1 bar
- Calories: 300
- Sugar: 25g
- Sodium: 100mg
- Fat: 15g
- Carbohydrates: 40g
- Protein: 3g
These figures give you a general idea. Enjoy your delicious Cherry Pie Bars!
Share Your Cherry Pie Bar Creations!
I’d absolutely love to see your beautiful Cherry Pie Bars! Did you add nuts? Try a different fruit filling? Snap a picture and share it with me! Tag us on social media. Let me know how they turned out in the comments below. Your feedback makes my day. Reading about your kitchen adventures is the best part!
PrintAmazing Cherry Pie Bars: 1 easy recipe
Enjoy the classic taste of cherry pie in a convenient bar form. These Cherry Pie Bars are easy to make and perfect for any occasion, bringing a burst of fruity sweetness to your day.
- Prep Time: 20 minutes
- Cook Time: 40 minutes
- Total Time: 1 hour
- Yield: 24 bars
- Category: Dessert
- Method: Baking
- Cuisine: American
- Diet: Vegetarian
Ingredients
- 1 cup unsalted butter, softened
- 1 cup granulated sugar
- 1 teaspoon vanilla extract
- 2 large eggs
- 2 ½ cups all-purpose flour
- 1 teaspoon baking powder
- ½ teaspoon salt
- 2 (21 ounce) cans cherry pie filling
- ½ cup chopped nuts (optional)
Instructions
- Preheat your oven to 350°F (175°C). Grease and flour a 9×13 inch baking pan.
- In a large bowl, cream together the softened butter and granulated sugar until light and fluffy.
- Beat in the vanilla extract and eggs one at a time.
- In a separate bowl, whisk together the flour, baking powder, and salt.
- Gradually add the dry ingredients to the wet ingredients, mixing until just combined.
- Press half of the dough evenly into the bottom of the prepared baking pan.
- Spread the cherry pie filling evenly over the dough.
- If using, sprinkle the chopped nuts over the cherry filling.
- Crumble the remaining dough and sprinkle it evenly over the top of the filling.
- Bake for 35-45 minutes, or until the topping is golden brown and the filling is bubbly.
- Let the bars cool completely in the pan before cutting into squares.
Notes
- For an extra sweet topping, you can sprinkle a little extra sugar over the crumbled dough before baking.
- Ensure the bars are completely cooled before cutting for cleaner slices.
- These bars are delicious served with a scoop of vanilla ice cream.
Nutrition
- Serving Size: 1 bar
- Calories: 300
- Sugar: 25g
- Sodium: 100mg
- Fat: 15g
- Saturated Fat: 9g
- Unsaturated Fat: 6g
- Trans Fat: 0g
- Carbohydrates: 40g
- Fiber: 2g
- Protein: 3g
- Cholesterol: 50mg