

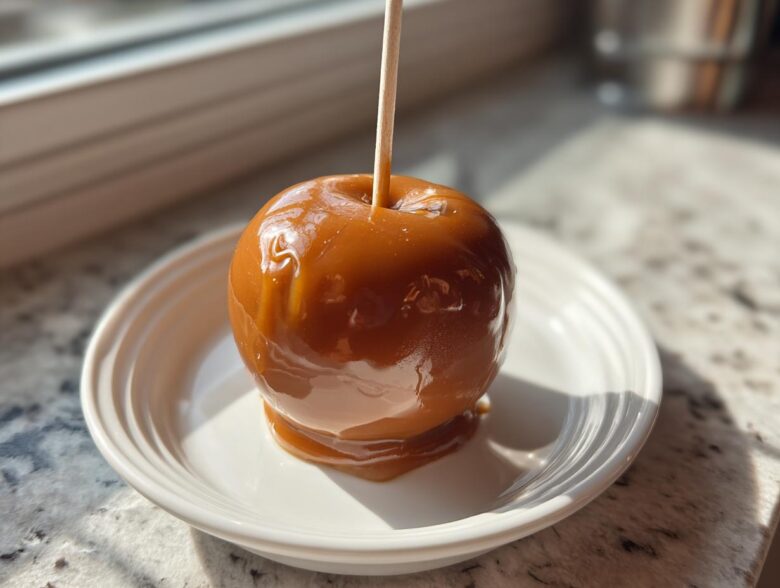
Oh, the smell of autumn! It instantly transports me back from stressed-out executive mode straight into the kitchen, and you know what signals fall better than anything? Perfect, gooey, beautiful caramel apples! Owen and I used to avoid making these because the caramel always ran right off or hardened like a brick. It was another chore in our busy week. But guess what? We figured out the secret handshake to get that coating to actually stick! We turned that kitchen frustration into our headline news: this foolproof caramel apples recipe guarantees a thick, chewy coat that stays put, turning a holiday chore into a joyful announcement worth celebrating.
Seriously, if you’ve ever ended up with sticky puddles instead of perfect caramel apples, you need this dispatch. We’re reporting live from the stovetop with the tried-and-true method for making homemade caramel apples that look like they came straight from a fancy fair, but were made right here, stress-free. If you’re celebrating apple season, you should also check out my recipe for the Apple Cider Moscow Mule—it’s the perfect cozy pairing!
Why This is the Best Caramel Apple Recipe
I know, everyone promises the “best” recipe out there for caramel apples, but ours actually works every time! The real headline here is temperature control. We are shooting for that magical 245°F mark, which is what transforms simple melted candy into that signature, satisfyingly chewy caramel coating. Skip the thermometer, and you risk runny caramel that slides right off when you try to eat it. No thank you! This method is so reliable, making it our go-to, foolproof caramel apples choice for every party. You can see inspiration for similar classic attempts over at Adventures of a DIY Mom!
This easy execution is what sets the Best Caramel Apple Recipe apart. Forget complicated candy-making; we keep the ingredient list short, but we are laser-focused on the process. It’s the difference between a stressed-out mess and a quick announcement that something delicious has arrived. If you want more inspiration on apple treats, you can check out my tips for sticky apple pie toppings, too!
Trust me on this one: getting to that precise chewy stage is key to having no slide caramel apples. It’s worth watching the thermometer closely, promise!
Gathering Supplies for Perfect Homemade Caramel Apples
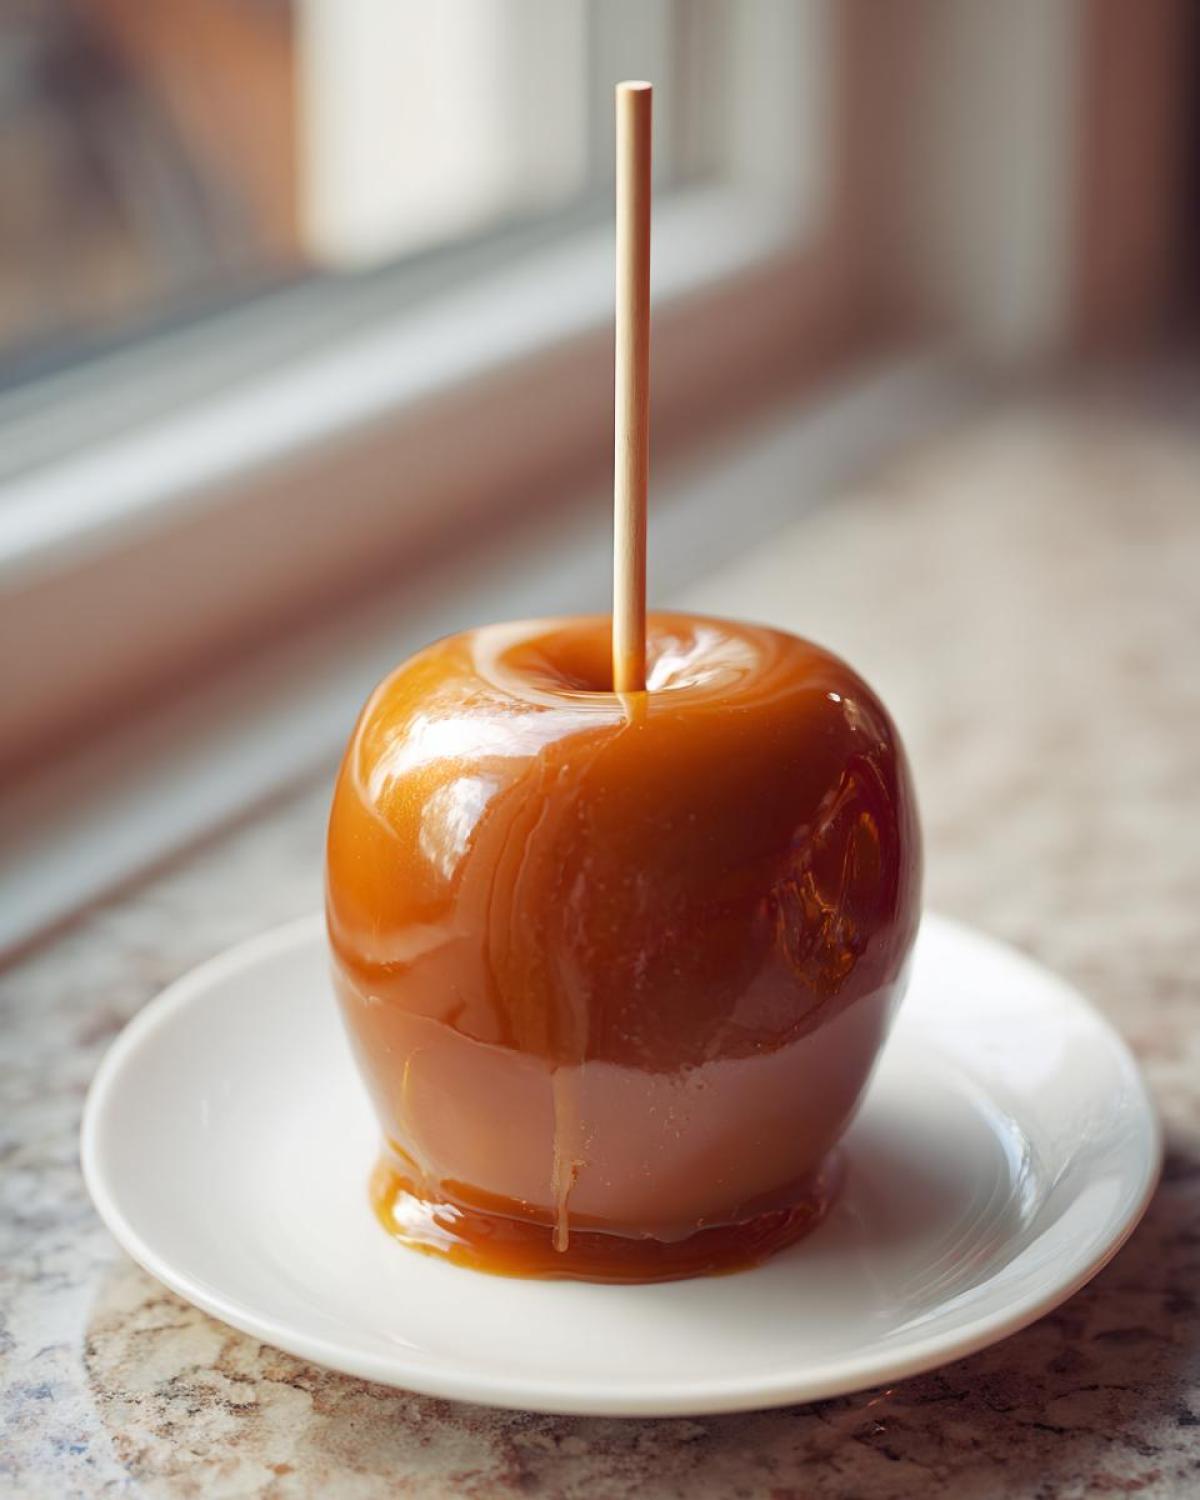
Okay, before we get to the actual dipping part of making our caramel apples, we need to talk about our supplies. You need the right tools and the right apples, or the whole endeavor becomes a sticky mess that just won’t set right. Owen always jokes that preparation is 90% of the culinary effort, and for these, he’s totally right!
The apples make a huge difference here. We stick strictly to firm, crisp apples. Granny Smith is my go-to because its tartness cuts through that deep sweetness of the caramel perfectly. Honeycrisp is also fantastic if you like a slightly sweeter apple. Those soft, mushy apples? They just don’t hold up to dipping, so pick firm ones! If you’re looking for other ways to make things buttery and delicious while you gather your chocolate chips, check out my recipe for easy homemade garlic butter—it’s a game-changer on toast!
Ingredients for Your Caramel Apples
Keep this list handy; it’s super simple. If you want the full gourmet experience, have your toppings ready to go before the caramel even starts bubbling!
- 6 large, firm apples (Granny Smith or Honeycrisp recommended—they MUST be firm!)
- 1 (14-ounce) bag soft caramel candies, unwrapped (please, unwrap them first!)
- 2 tablespoons heavy cream (this is what keeps it soft)
- 1 tablespoon unsalted butter
- Optional Toppings: Chopped nuts, mini chocolate chips, white chocolate for drizzling
Essential Equipment for Dipping
This is non-negotiable equipment if you want those no slide caramel apples we talked about. You just can’t fake good equipment in candy making.
- A medium, heavy-bottomed saucepan. Trust me, thin pans burn the sugar fast!
- A reliable candy thermometer. This is your best friend for hitting that 245°F target for that perfect chewy caramel coating.
- A baking sheet lined with parchment paper or a silicone mat. Remember to give it a little spray or brush with butter so they don’t stick while setting.
- Sticks for holding! Wooden skewers or those classic lollipop sticks work great for dipping.
Step-by-Step: How to Make Caramel Apples
Alright, this is where the real fun begins—learning exactly how to make caramel apples that actually stick! We have to move in a strict order here, or you end up wasting good caramel. Get your apples ready first, *then* make the candy, because once that caramel is done, you need to move fast!
This process, honestly, is what separates the good caramel apples from the great ones. Trust me, the payoff when you nail that perfect coating is huge. We learned this the hard way, but now we’re reporting the good news! If you’re celebrating apple season, you should also check out my recipe for the Apple Cider Donut Muffins—they are absolute heaven!
Preparing the Apples for Maximum Adhesion
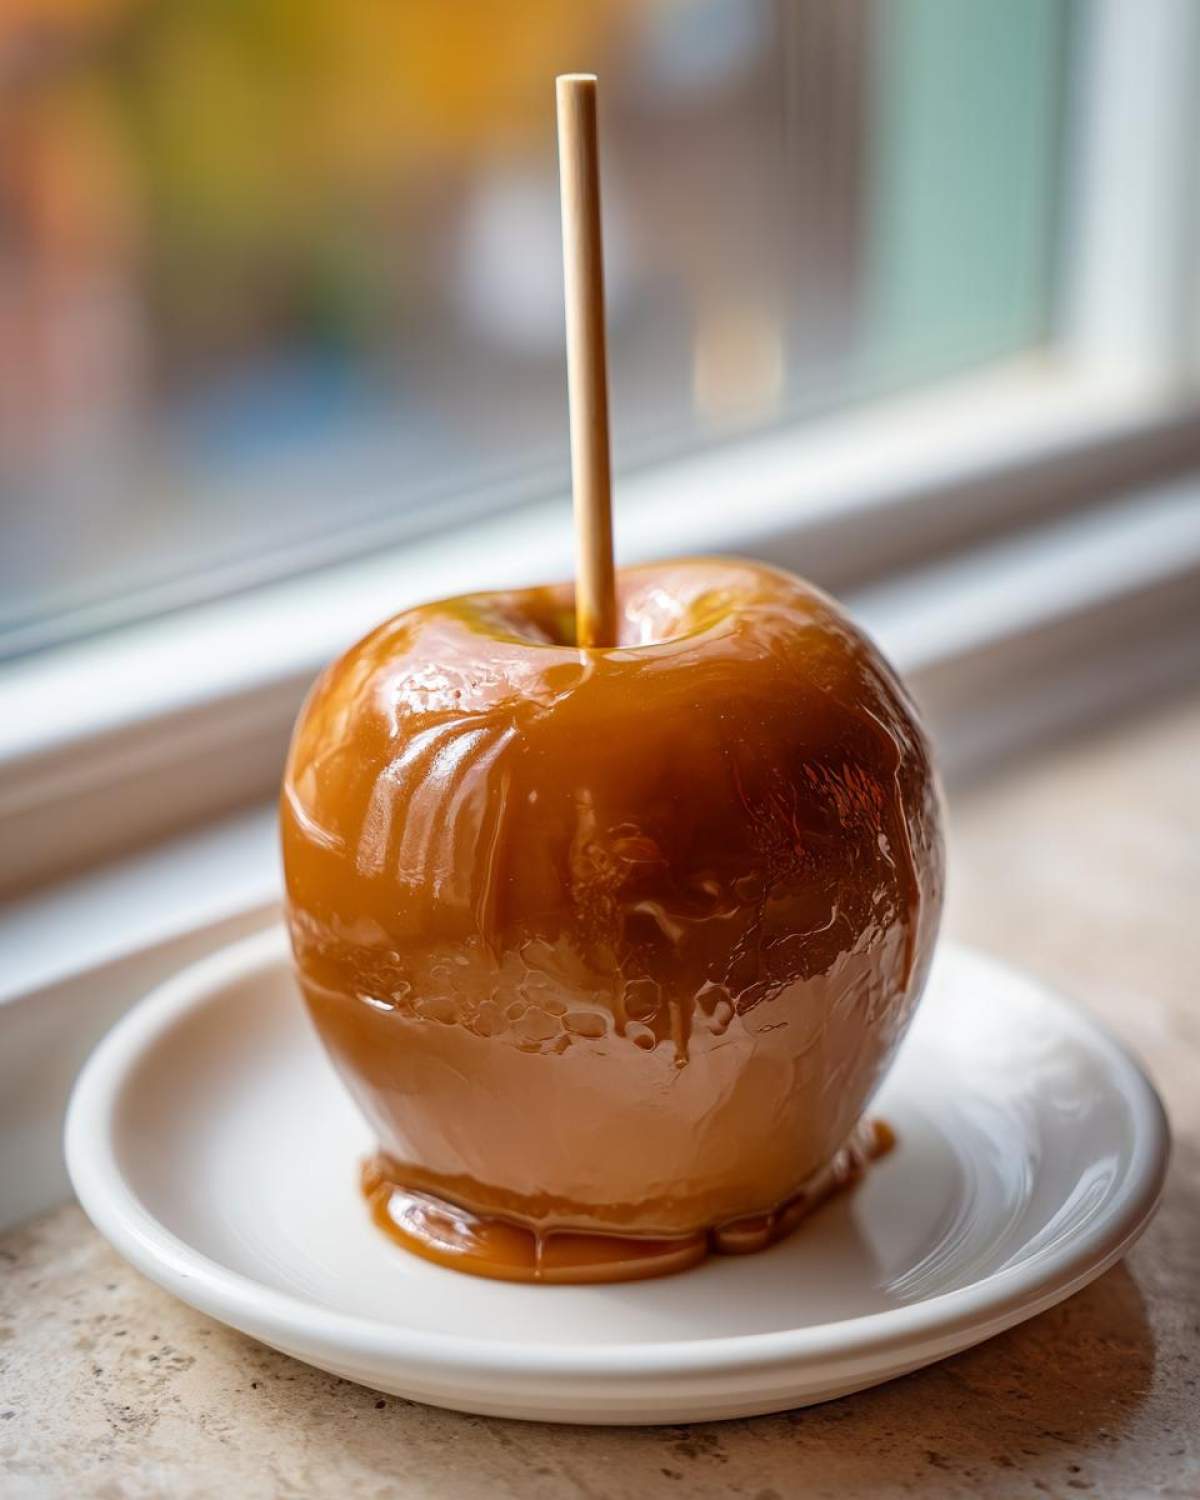
You absolutely cannot skip this prep stage, or your beautiful work will end up swimming on the baking sheet. Wax is the enemy of caramel! You need to wash those apples really well. Seriously, scrub them gently. My top tip, whispered to me by a friend who works at a caramel shop, is to wipe each apple down with a little bit of white vinegar before you dry them. I know, weird, right? It helps strip off any waxy coating the grocery store put on them.
After the vinegar wipe, they must be bone dry. I mean, blot them with paper towels until you think they can’t possibly be any drier. Any moisture guarantees that disastrous, sloppy slide we are trying to avoid on our caramel apples. Once they are dry, pop your sticks in firmly—about an inch or so—and set them aside on your parchment or silicone mat.
Achieving the Perfect Chewy Caramel Coating
Time to cook! Head back to that heavy saucepan. We are combining the caramels, the butter, and the heavy cream over medium-low heat. Stir constantly until everything is melted into one smooth, golden liquid. This is important: don’t rush this by turning up the heat; we aren’t making hard candy, we are aiming for that glorious texture.
Now, insert that candy thermometer. This is our guiding light! We need to cook this mixture until it hits exactly 245 degrees Fahrenheit. That is the magic number for that deeply satisfying, chewy caramel coating. Once it hits that temperature, pull it off the heat immediately so it doesn’t keep cooking and get too hard. Let it cool down on the counter for about five minutes. This slight cool-down thickens it up just enough for dipping. We learned this vital step from great resources, like the guide over at Delish Craze!
Dipping and Setting Your Caramel Apples
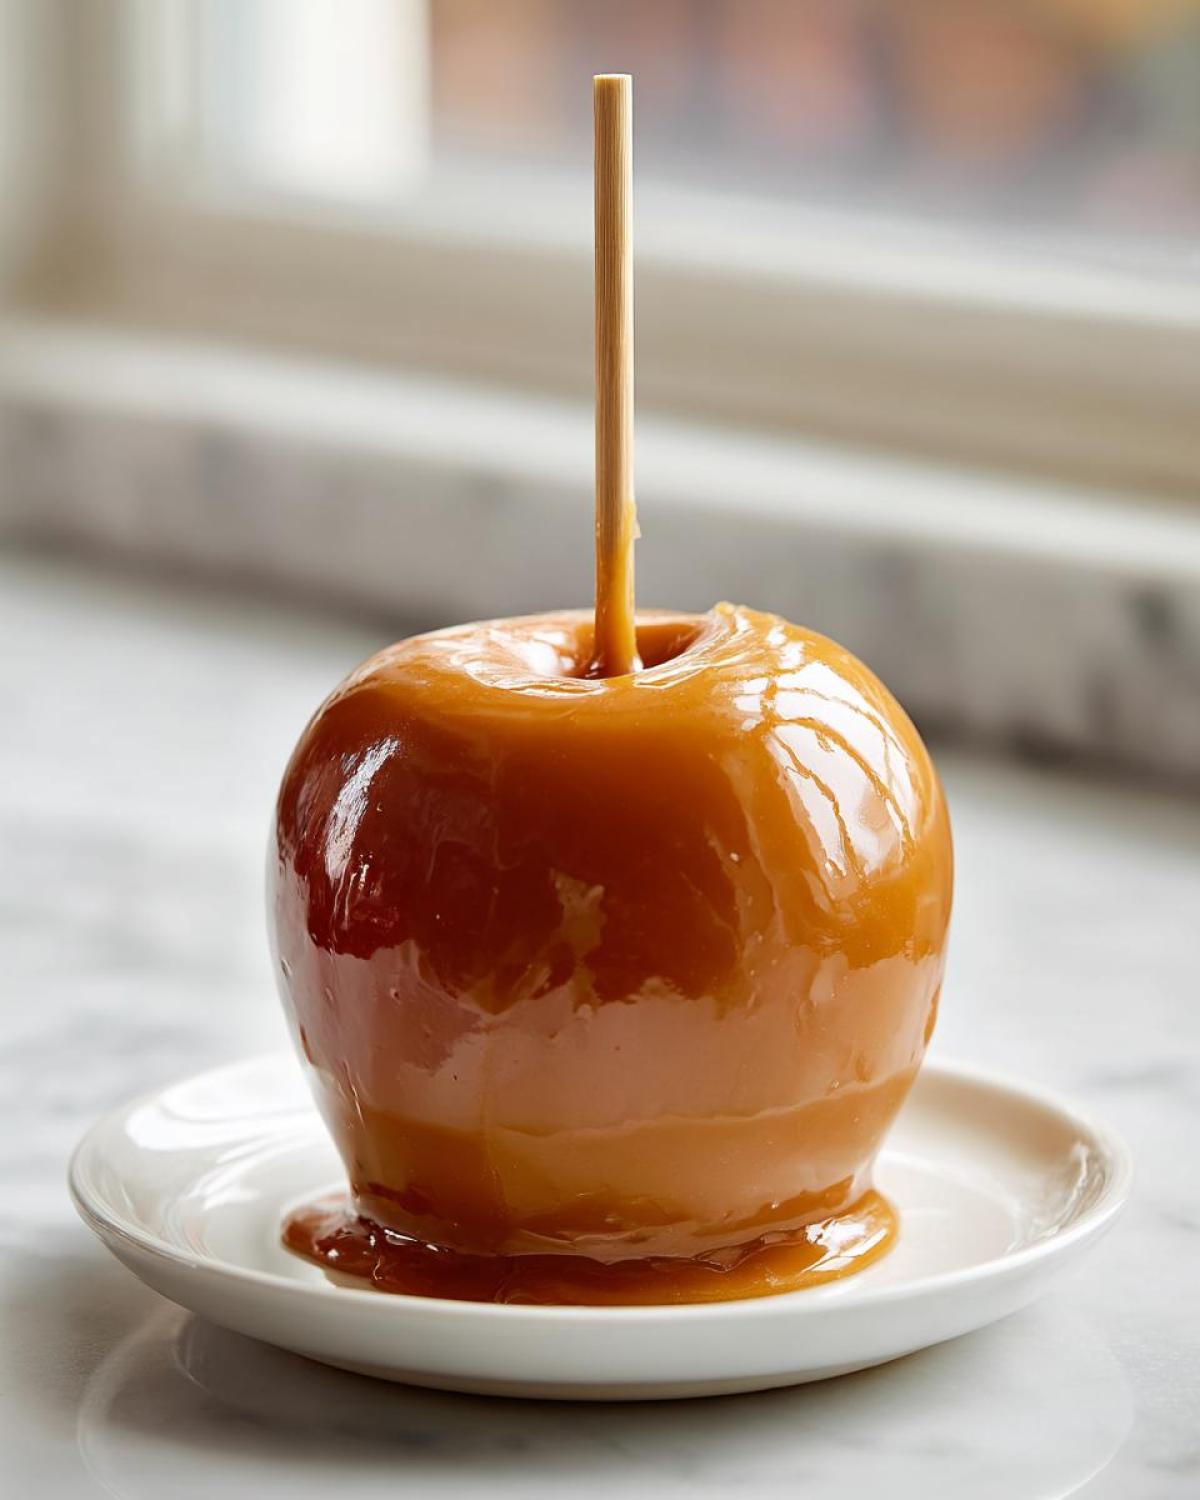
Tilt that pan slightly so the caramel pools on one side. Take your first apple, dip it down, and give it a good spin to make sure the whole thing is coated evenly. Then, lift it straight up and gently let all the thick excess caramel drip back into the pot. Don’t scrape the sides, just let gravity do its work!
Quickly place the dipped apple onto the waiting parchment sheet. If you want toppings like nuts, sprinkle them on RIGHT NOW before that caramel skin forms. Let them set up completely. If you’re impatient like me (and Owen knows I am!) or hosting a big party, you can pop them in the fridge for 30 minutes, but letting them set on the counter for an hour usually works perfectly for a beautiful set.
Tips for Foolproof Caramel Apples Success
Making caramel apples should be fun, not frustrating! Since we’re reporting on the foolproof caramel apples method, let me share a few crucial notes from our testing phase. If you’re skipping the thermometer—and I won’t judge if you are—you absolutely must do the ice water test. Drop a tiny bit of caramel in ice water; if it forms a firm, pliable ball that doesn’t dissolve right away, you’ve hit the chewy spot!
Also, if you get halfway through your batch and the caramel starts thickening up too much in the pot, don’t panic! Just put the saucepan back on the lowest heat setting for a quick minute, stirring gently, to loosen it up again. That simple reheat keeps your coating liquid enough for perfect dipping. Remember, the secret to no slide caramel apples is starting with wax-free, dry apples. It’s just the best announcement we can make for guaranteed success! If your chicken game needs a similar lift to guarantee crispy skin, you should definitely check out my guide to the best crispy skin roasted chicken.
Gourmet Caramel Apples: Topping Variations
Once you have that gorgeous, chewy coat locked onto your apples, it’s time to announce the good news and make them truly spectacular! This is where we turn simple caramel apples into magnificent gourmet caramel apples ready for any photo shoot or party spread. The key to great caramel apple toppings is speed—you have to get them on immediately after dipping, while the caramel is still warm and tacky. Don’t wait even a minute!
We usually have three bowls ready to go when we start dipping. One bowl for chopped nuts—pecans or peanuts work wonderfully for crunch. Another bowl for colorful sprinkles or mini chocolate chips. Having everything ready means you can move quickly from the dipping pot to the topping buffet. This is the fun part where everyone can customize their own Halloween apple treat!
For more fun ideas on what you can throw on top of these beauties, check out this fantastic list of inspiration from Savory Experiments. They have amazing suggestions for making your caramel apples look professional!
Adding Chocolate Drizzled Caramel Apples Finishes
If you ask Owen, a sprinkle of nuts is great, but a drizzle of chocolate is pure celebration! This is how you really elevate these to look like they cost a fortune at the fancy fruit stands. You’ll want to wait until the caramel has completely set first—about an hour at room temperature is usually fine. If you rush the chocolate drizzle, it just melts right into the caramel layer, and we don’t want that messy look.
Melting the chocolate is easy! I usually use just a few ounces of good quality bittersweet or milk chocolate chips. Pop them in a microwave-safe bowl with about half a teaspoon of coconut oil or shortening. Microwave in 20-second bursts, stirring really well in between each burst until it’s perfectly smooth. Seriously, don’t worry too much about tempering unless you want that professional snap; for a homemade drizzle, smooth is what matters!
Once melted, load that chocolate into a small plastic zip-top bag. Snip just the tiniest piece off the corner—we’re going for a thin thread, not a thick worm! Drizzle back and forth over the set caramel apples. If you need a great base frosting recipe for other projects that might inspire your drizzling technique, you can always check out my vanilla buttercream frosting guide. Once the chocolate is set, your gourmet caramel apples are ready to announce their arrival!
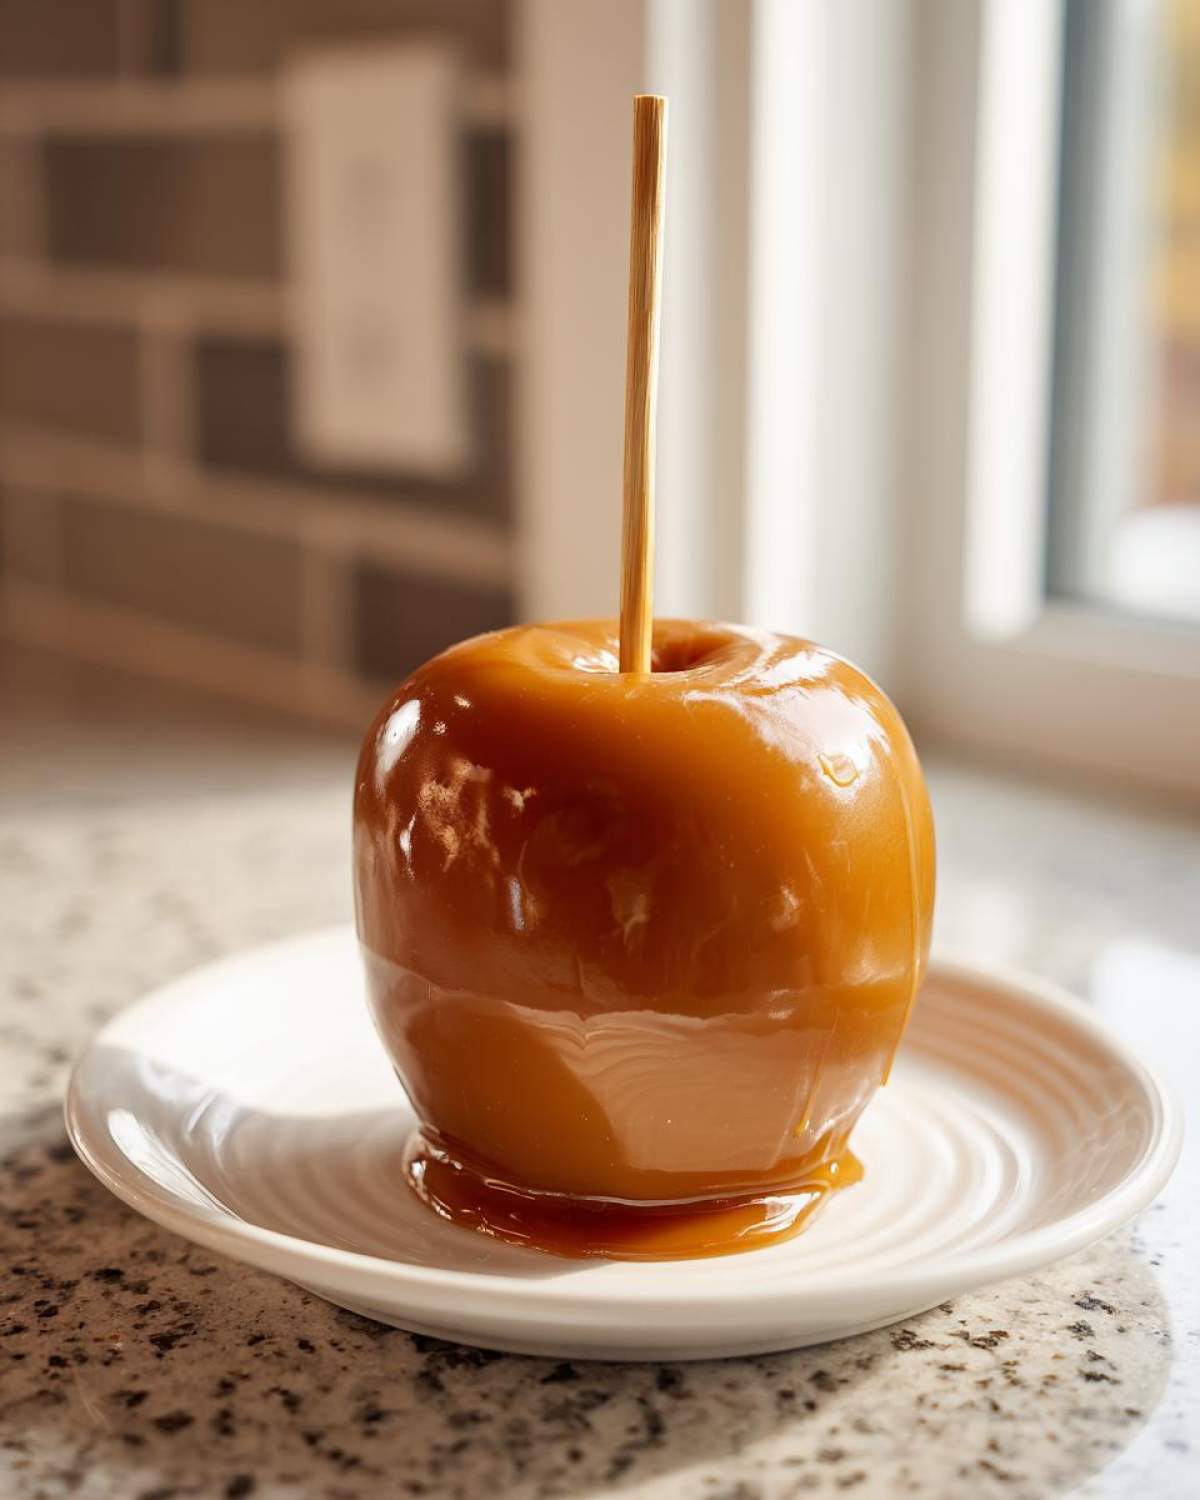
Alternative: Easy Caramel Apple Slices Dessert
You know, sometimes you want that amazing flavor of caramel apples but you just don’t want committed to wrestling with a whole apple on a stick. Totally fair! If you need a less messy option for snacks or for the kids, making Caramel Apple Slices Dessert is the perfect announcement. You follow all the same steps for the caramel coating, but instead of dipping the whole apple, you just slice them first—remembering to dry them really well!
You can arrange the slices on your parchment paper in a fun pattern and then drizzle the caramel over the top of the slices right there. It’s just as delicious! If you love apple desserts but want something baked instead, you absolutely have to try my apple dapple cake recipe—it’s pure comfort. For more inspiration on slice-style treats, take a peek at this great idea for chocolate-covered caramel apple slices!
Storage and Keeping Your Caramel Apples Fresh
So, what happens after you’ve made the most beautiful homemade caramel apples? You need the right storage announcement! Good news: if you cooked that caramel to 245°F, these last a while. For the best texture, try to serve them the day you make them. If you need to store them, room temperature for a day is fine, but the fridge works best for longer storage—about a week max.
When you pull them out of the fridge, let them sit on the counter for about 30 minutes before digging in. That slightly warms the caramel back up, making it soft and chewy again, so you get that perfect bite every time!
Frequently Asked Questions About Caramel Apples
I’m Stella, checking in from the kitchen! You’ve made the grand announcement that you’re tackling caramel apples, and I bet you have a few lingering questions. That’s okay! That’s what this section is for—clearing up any last bits of confusion so your treats come out perfectly chewy every single time. We want your delicious news to be a huge success!
Do I need a candy thermometer to make caramel apples?
Okay, this is the big one. While I always, always say a candy thermometer is the key to getting that chewy caramel coating and avoiding runny caramel, it’s not technically impossible to make them without one. If you don’t have one, you have to use the ice water test. You take a tiny drop of your bubbling caramel mixture and drop it into a glass of ice water. If it immediately forms a firm, pliable little ball that doesn’t dissolve right away, you’ve hit the magical temperature zone!
How do I prevent the caramel from sliding off the apples?
This is my favorite problem to solve! The absolute biggest culprit for slide-off is wax left on the apple peel. We went over this, but it bears repeating for anyone looking for truly no slide caramel apples. You must wash them vigorously, and if you want extra insurance, use that white vinegar wipe! After washing, they have to be completely, totally, desert-dry before dipping. The caramel refuses to bond with water or wax, so spotless preparation is your best defense against messy puddles!
Are these easy caramel apples good for Halloween apple treats?
Are they EVER! These easy caramel apples are seriously my go-to dish when we have people over in October. They look impressive, they taste amazing, and since we worked so hard to make the coating foolproof, you can make a huge batch ahead of time without worrying about them failing mid-party. They are the perfect seasonal announcement of fun and flavor! If you want to explore more Halloween apple treats, pop over to the main blog archive to see what else we’ve been cooking up!
Estimated Nutritional Data for Caramel Apples
Because we are running a tight ship here at Hungry Herald—we report the good news, but we also like to keep things honest—I wanted to include a quick rundown of the nutrition in these beautiful caramel apples. Remember, this is just an estimate based on the standard recipe we used, especially since the apple size can really change the numbers. This is just guidance, not a formal declaration by a registered dietitian, ha!
If you’re comparing this to other seasonal treats, you should know that these contain a fair bit of sugar, which is expected when you’re dealing with a caramel candy coating, but they look so impressive, and the crisp apple base makes you feel a tiny bit better about it! For something that packs a protein punch if you need a different snack, check out my guide to high-protein egg bites.
Here’s the approximate breakdown based on one large, coated apple:
- Serving Size: 1 apple
- Calories: 450
- Sugar: 65g
- Fat: 20g (12g Saturated)
- Carbohydrates: 70g
- Protein: 2g
- Sodium: 150mg
Share Your Kitchen Dance Party Results
And there you have it! We’ve officially reported the good news: you now have the secrets to making the most incredible, perfectly set, homemade caramel apples. I’m so excited for you to try this recipe. Please, don’t keep your success a secret!
When you make these, I sincerely hope you turn up the music and have your own little kitchen dance party, just like Owen and I do. Did the caramel stick perfectly? Did you go for the nuts or stick to a simple classic? Let me know! Your feedback helps us keep reporting the best recipes.
Leave a rating below—five stars means you’re ready to report on the delicious news to everyone you know! If you ran into any snags or have a question about your caramel apples, drop a comment, and let’s troubleshoot together. You can also always reach out directly through our contact page if you need a personal dispatch. Happy cooking, and enjoy that harvest flavor!
PrintFoolproof Homemade Caramel Apples: The Chewy, No-Slide Recipe
Learn the best homemade caramel apples recipe designed for beginners. This tutorial guarantees a rich, chewy caramel coating that sticks perfectly every time, making it ideal for fall parties and Halloween treats.
- Prep Time: 15 min
- Cook Time: 10 min
- Total Time: 25 min
- Yield: 6 servings
- Category: Dessert
- Method: Stovetop Cooking
- Cuisine: American
- Diet: Vegetarian
Ingredients
- 6 large, firm apples (Granny Smith or Honeycrisp recommended)
- 1 (14-ounce) bag soft caramel candies, unwrapped
- 2 tablespoons heavy cream
- 1 tablespoon unsalted butter
- Optional Toppings: Chopped nuts, mini chocolate chips, white chocolate for drizzling
Instructions
- Prepare the apples: Wash the apples thoroughly to remove any wax coating. Dry them completely; moisture prevents the caramel from sticking. Insert a wooden stick firmly into the core of each apple.
- Line a baking sheet with parchment paper or a silicone mat. Lightly grease the paper with cooking spray or butter.
- Make the caramel: Combine the unwrapped caramel candies, heavy cream, and butter in a medium, heavy-bottomed saucepan.
- Heat over medium-low heat, stirring constantly until the caramel is completely melted and smooth. Do not let the mixture boil rapidly.
- Cook the caramel: Continue to cook, stirring frequently, until the caramel reaches 245 degrees Fahrenheit on a candy thermometer. This temperature ensures a chewy, non-runny coating. This usually takes about 8 to 10 minutes after melting.
- Remove the pan from the heat immediately when it reaches temperature. Let the caramel cool slightly for about 5 minutes; this helps it thicken before dipping.
- Dip the apples: Tilt the pan slightly. Dip each apple into the caramel, rotating to coat evenly. Lift the apple and allow excess caramel to drip back into the pan.
- Place the coated apples on the prepared baking sheet. If using toppings, sprinkle them on immediately before the caramel sets.
- Set the caramel: Allow the caramel apples to set completely at room temperature for at least 1 hour, or place them in the refrigerator for 30 minutes until the coating is firm.
Notes
- For a truly foolproof, no-slide caramel, make sure your apples are completely free of wax and moisture before dipping. Wiping them with a little white vinegar before drying helps remove the wax.
- If you skip the candy thermometer, the caramel is done when a drop placed in ice water forms a firm, pliable ball that does not dissolve quickly.
- If the caramel becomes too thick while dipping, return it to low heat for a minute or two to thin it slightly.
- For gourmet caramel apples, drizzle melted chocolate over the set caramel layer before serving.
Nutrition
- Serving Size: 1 apple
- Calories: 450
- Sugar: 65g
- Sodium: 150mg
- Fat: 20g
- Saturated Fat: 12g
- Unsaturated Fat: 8g
- Trans Fat: 0g
- Carbohydrates: 70g
- Fiber: 3g
- Protein: 2g
- Cholesterol: 15mg