

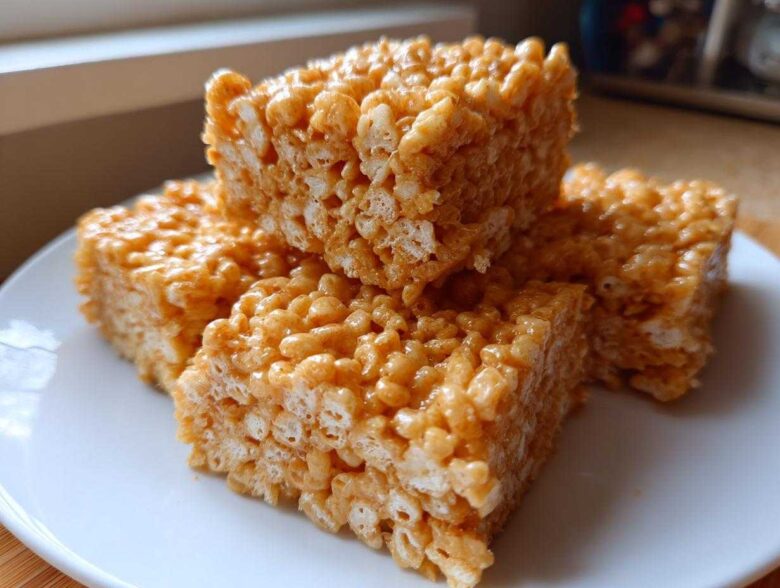
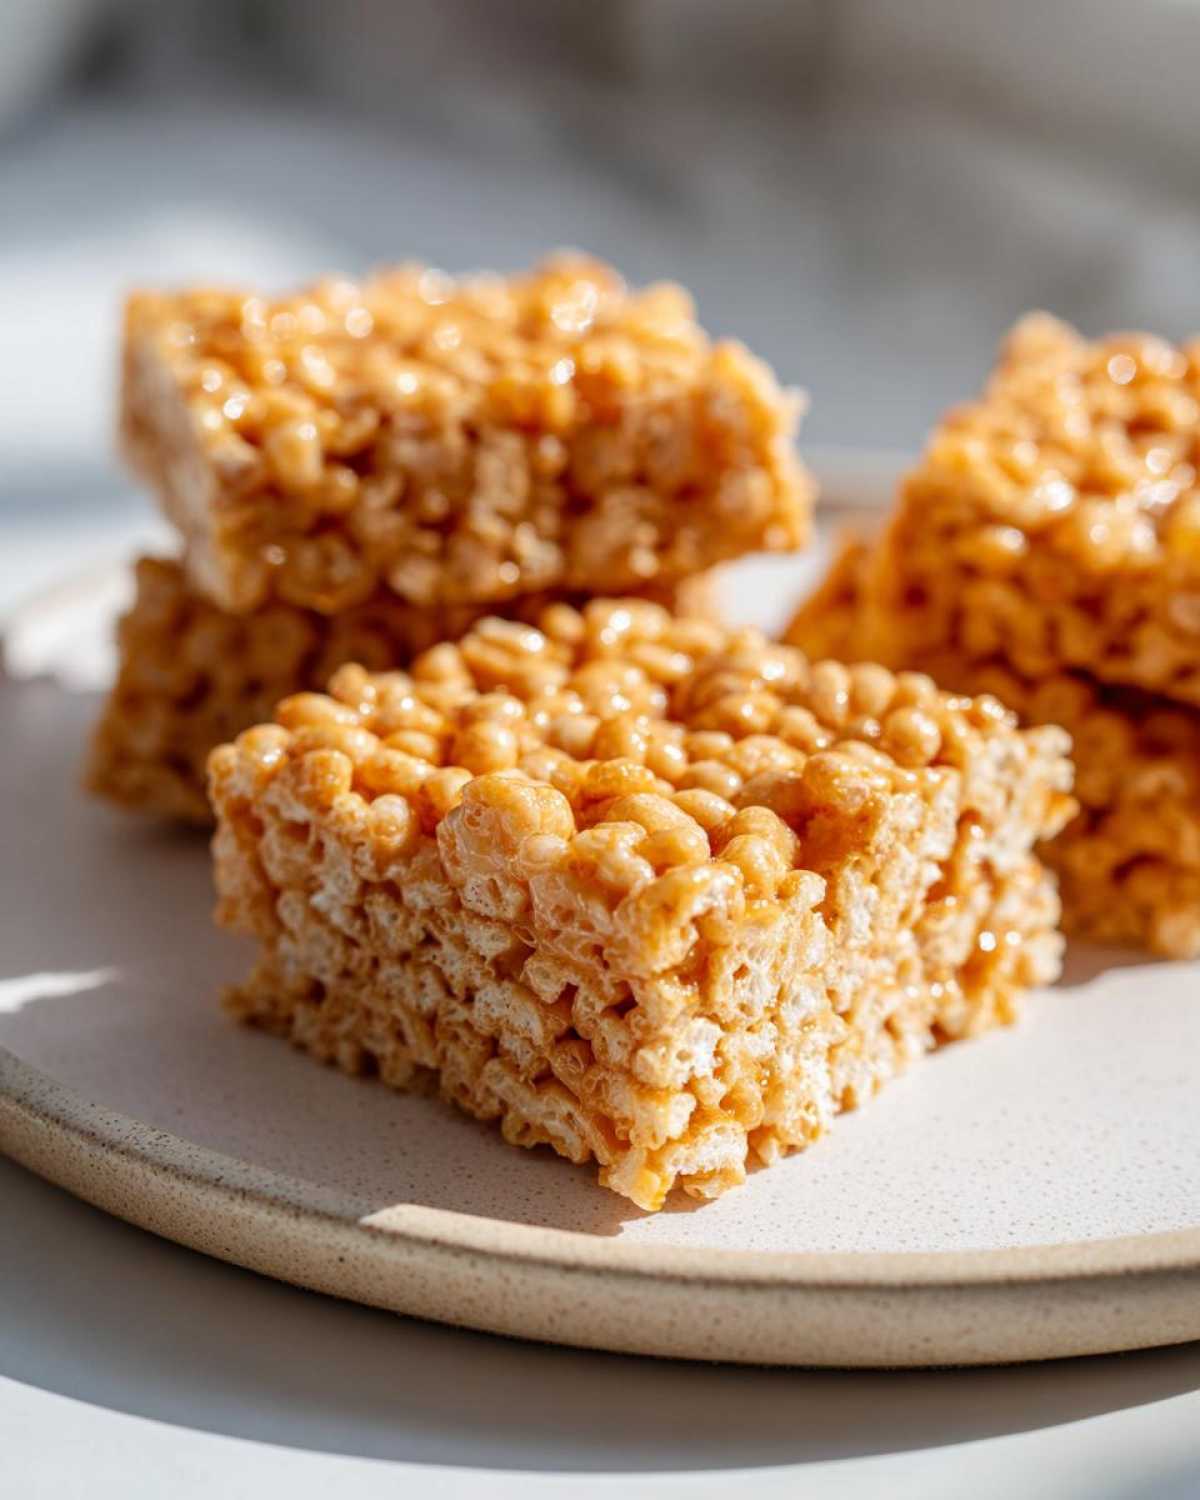
Okay, stop everything you’re doing! We all love a classic Rice Krispie Treat, right? Easy, nostalgic, perfect. I even have a fantastic cookie with brown butter, but let’s talk about how to take those marshmallow squares from basic to absolutely gourmet. We’re talking about my recipe for Brown Butter Rice Krispie Treat Bars, and trust me, that little extra step of browning the butter changes everything.
When you cook the butter just right, those milk solids toast up, releasing this incredibly deep, nutty, almost caramel aroma. It’s magic! It transforms that simple dessert instantly. Forget those pale, overly sweet bars of childhood; these have depth. My first attempt, I nearly burned it—whoops!—but once I nailed that perfect golden-brown color, I knew I couldn’t go back. You deserve this nutty upgrade!
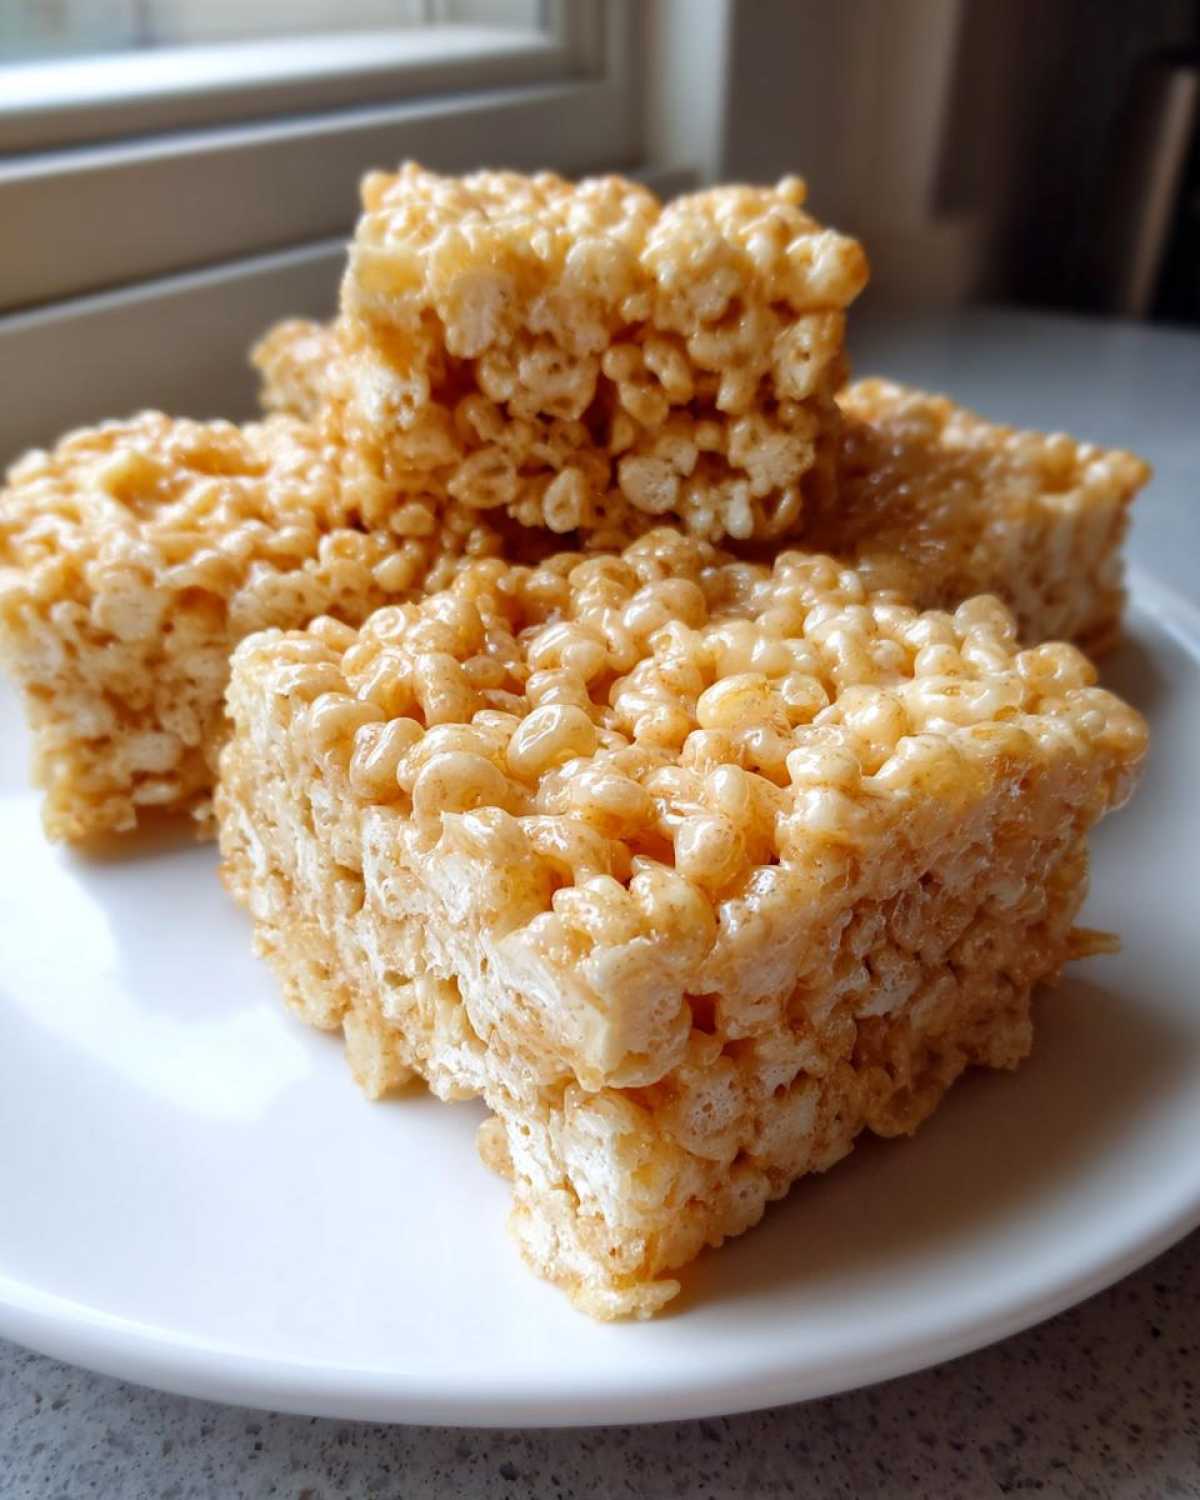
Why These Brown Butter Rice Krispie Treat Bars Are Superior
Honestly, I think this is the only way I’ll ever make them again. It takes maybe four extra minutes, but the payoff is huge. You aren’t just getting a sweet treat; you’re getting a rich, complex dessert packed with unbelievable flavor. That’s why they are the Best Brown Butter Crispy Bars!
- Unmatched Flavor: That toasted, nutty note turns these into true Deep Flavor Marshmallow Squares.
- Superior Chew: The process actually helps deliver the ultimate texture.
- Still Super Easy: It’s still a 15-minute dessert—just one slightly more exciting cooking process!
Achieving the Perfect Chewy Brown Butter Bars Texture
People always ask me how to keep them chewy and not rock-hard leftovers. The beauty of using brown butter here is that the fat is already super flavorful, which means you don’t need as much encouragement to mix later on. My big tip? When you fold in the cereal, use a gentle hand. Seriously, don’t squash them down into the pan!
You want to coat the cereal, yes, but pressing too hard compacts everything and squeezes all the lovely air out we just worked so hard to create. Go light; treat that mixture like it’s fragile spun sugar.
Essential Ingredients for Brown Butter Rice Krispie Treat Bars
The ingredients for these Gourmet Marshmallow Squares look familiar, but the quality really matters when you are elevating something so simple. I keep the base recipe the same because, honestly, you don’t need much to make something spectacular. Everything is measured out for a 9×13 pan, which gives you about 18 perfect squares. The key here is really focusing on that butter—it’s doing heavy lifting flavor-wise!
You’ll need:
- 6 tablespoons unsalted butter
- 1 (10 ounce) package miniature marshmallows
- 1 teaspoon vanilla extract
- 6 cups crispy rice cereal
- 1/2 teaspoon flaky sea salt (optional, for sprinkling)
That’s it! Simple, right? With these few items, we create something way better than your standard boxed mix bars.
Ingredient Notes and Substitutions for Brown Butter Dessert Bars
Let’s talk butter. You absolutely must use unsalted butter here, folks. The whole point of this recipe is that *we* control the salt level by browning it, and then we add that lovely flaky salt on top at the end. If you use salted butter, you run the risk of these getting way too salty once the marshmallow melts in. Don’t do it!
For the marshmallows, please use the mini ones. They melt smoother and faster than the big ones, which is crucial since we are pulling the pan off the heat quickly after the butter is browned. If you were in a total bind, you could use larger marshmallows, but you’d need to stir much longer, and you risk burning your beautiful browned butter base!
And that sea salt? That’s just the final pop of flavor that balances the richness. If you don’t have flaky salt, just skip it, but I highly recommend adding it—it really brings out the nutty flavor of the butter.
Step-by-Step Instructions for Brown Butter Rice Krispie Treat Bars
Alright, this is where the action happens! The process for making these Brown Butter Rice Krispie Treat Bars is almost identical to the classic method, but we stop early to coax out that amazing flavor from the butter. It’s simple, but timing is everything in this first step, especially if you want that perfect toasty taste!
Here is the full roadmap. Remember to have your 9×13 pan ready to go the second the marshmallows melt!
- First things first, prep your 9×13 inch pan. I like to lightly grease it or, even better, line it with parchment paper leaving an overhang on the sides—that makes lifting them out later a dream.
- Place your 6 tablespoons of unsalted butter into a medium saucepan over medium heat.
- Now, let it melt completely. It will foam up a bit. Keep swirling the pan gently; you’ll start seeing tiny brown specs forming at the bottom. This whole process takes about 5 to 7 minutes. Do NOT walk away!
- Once those little brown bits appear and the smell turns super nutty and rich, pull the pan off the heat immediately. That aroma means you nailed it!
- Toss in those mini marshmallows right away while the pan is scorching hot. Stir constantly until every single one has dissolved into a smooth, glossy mixture with the brown butter.
- Stir in your vanilla extract quickly.
- Remove the pan from the stove entirely, and then fold in the 6 cups of crispy rice cereal until everything is coated evenly in that nutty goo.
- Scoop the mixture into your prepared pan. Here’s a pro tip I learned the hard way: use a piece of wax paper or a lightly buttered spatula to press it down just enough to level the surface. Don’t compact it!
- If you are going for that extra flavor kick, sprinkle your flaky sea salt right over the top now.
- Let them cool down completely at room temperature for at least an hour before you even think about slicing them. Patience pays off!
Mastering the Browning Process for Toasted Butter Rice Krispie Recipe
This is the absolute make-or-break moment for your toasted butter rice krispie recipe. When I started baking years ago, I definitely overcooked the butter the first time—it went from nutty perfection to acrid charcoal dust in about three seconds flat! You have to watch for two things: the visual cue and the smell.
Visually, the bubbling foam subsides, the clear liquid butter turns amber, and little brown specks form on the bottom. Olfactory-wise, you are looking for that deep, hazelnut aroma. If it smells burned (sharp or bitter), you’ve waited too long. Remove it instantly! Once it smells nutty, that beautiful flavor is locked in, and those solids are ready to elevate your marshmallow squares.
Mixing and Pressing Homemade Crispy Treats Recipe
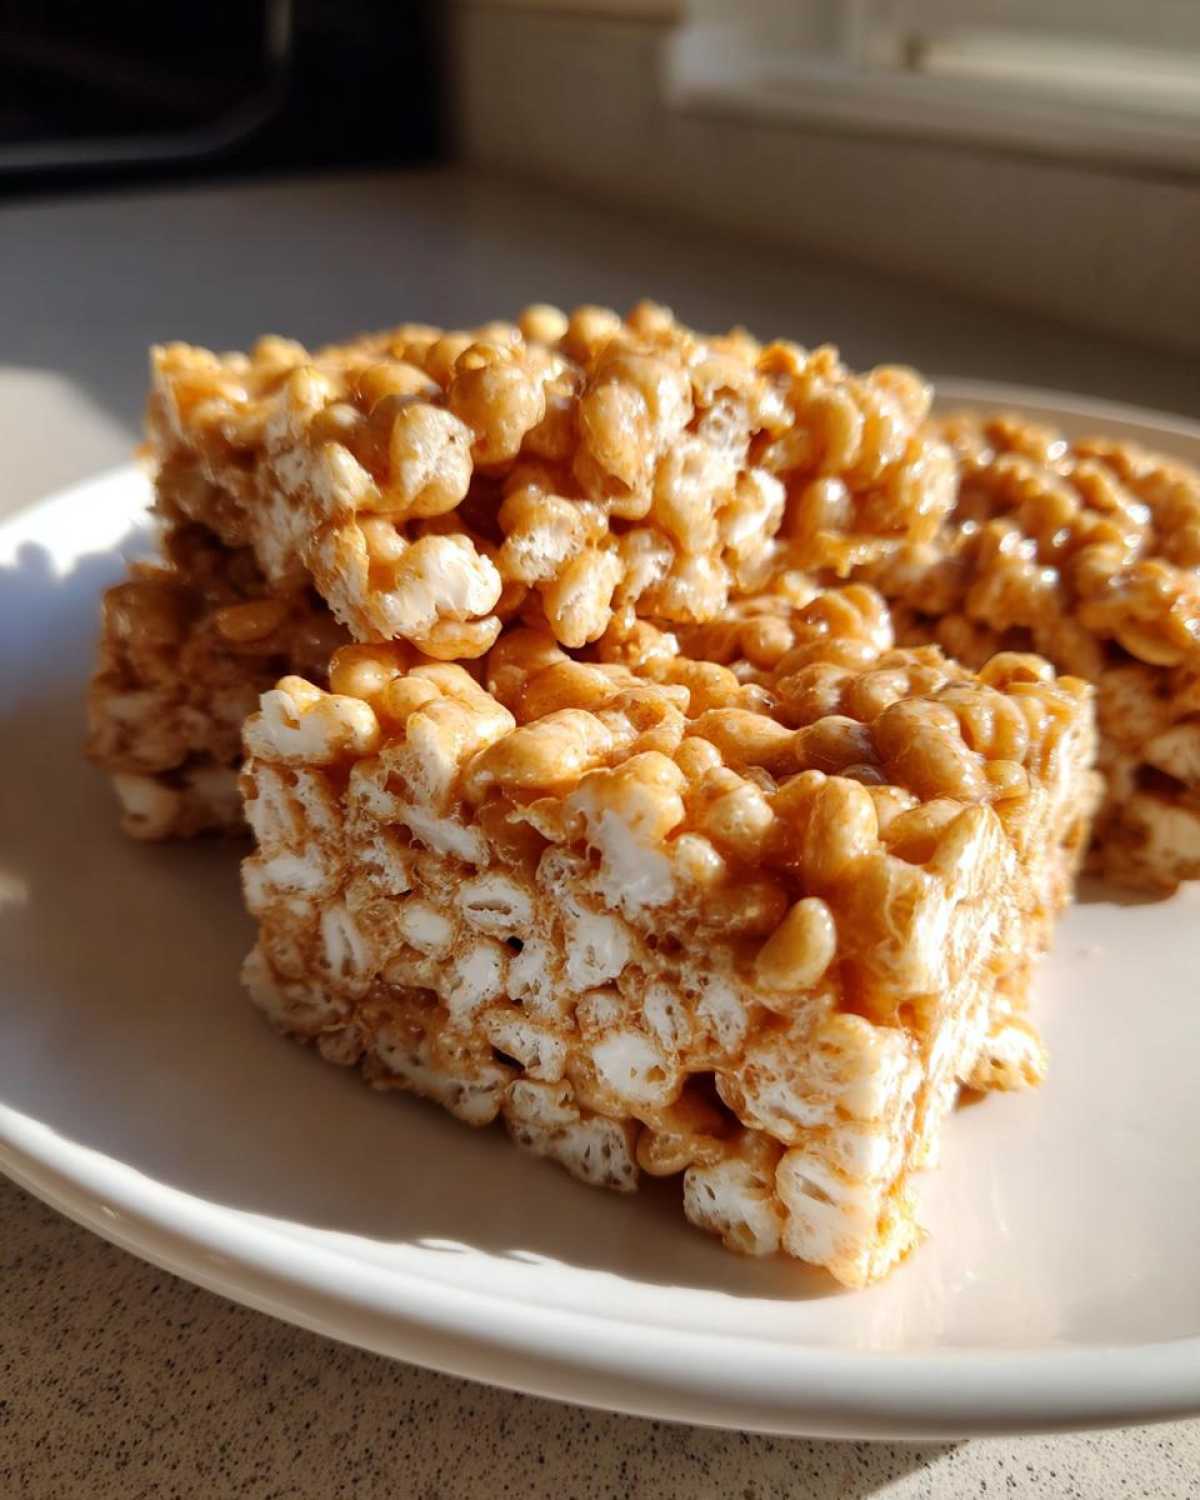
Once the marshmallows are fully melted with the brown butter, make sure you get the cereal in there fast so the mixture doesn’t start seizing up before everything is coated. When folding, use big, sweeping motions rather than frantic stirring. We want air! We want loft!
The most important part about pressing these Homemade Crispy Treats Recipe bars is *not* to press them down hard into the pan. People who over-press their treats end up with something closer to a brick than a chewy bar. Just gently spread them out until the top is even. If you press them too firmly, you crush the air bubbles you need for that perfect chew. A light touch is all you need for a beautiful bar!
Tips for Success with Gourmet Marshmallow Squares
Even though these are easy breezy, a few tricks ensure these Best Brown Butter Crispy Bars come out absolutely perfect every single time, looking professional instead of messy. Nobody likes dealing with a sticky mess, especially when the treats smell this good!
Here are my top three must-do actions:
- The Parchment Lift: I mentioned this before, but seriously, use parchment paper with an overhang, like little handles on the side of your pan. Once they cool, you can just lift the entire slab out in one easy piece. No scraping required! If you skip this, you’ll end up fighting the pan, trust me—I’ve lost that battle before.
- The Light Press: This is crucial for texture! When you spread the mixture into the pan, use a piece of wax paper or even an oiled spatula to gently nudge it into place. Do not use the back of a spoon and lean your weight into it. We want loft, not density. If they are too dense, they won’t be chewy!
- Chill for Clean Cuts: If you want those impossibly neat squares you see in bakeries, you have to chill them first. Once they are cooled to room temperature, stick the whole pan in the fridge for about 30 minutes. This firms up the melted marshmallow just enough so that when you slice them with a sharp knife, the edges stay perfectly crisp and don’t drag all over the place.
Follow these few simple steps, and you’ll have flawless, nutty, amazing treats ready for your next party. I used to struggle with getting mine out cleanly until I started chilling them before slicing. It’s a game-changer for any of my chewy bar recipes!
Variations for Your Brown Butter Dessert Bars
Part of the fun of making something like these Easy Brown Butter Dessert bars is making them your own! While I adore the simple, perfect flavor combo of brown butter, cereal, and salt, sometimes you just need a little extra something, right? Luckily, that nutty base plays incredibly well with so many mix-ins.
The general rule is to add your mix-ins right after you stir in the vanilla extract, just before folding in the crispy rice cereal. That way, they get fully coated by that gorgeous, hot brown butter marshmallow mixture. Since the base recipe is for an 18-bar yield in a 9×13 pan, you can add up to about one full cup of extras without drastically changing the texture.
Here are a few ways I’ve jazzed these up that you absolutely have to try:
- Chocolate Chip Boost: Fold in about 1/2 cup of semi-sweet or milk chocolate chips along with the cereal. The heat melts them slightly just around the edges, creating these little pockets of gooey goodness. This is my absolute go-to when I’m feeling decadent.
- Nutty Crunch: If you want even more crunch and depth, add 1/2 cup of toasted pecans or walnuts. Toasting them lightly in a dry pan before chopping them up really maximizes their flavor before they hit the batter. It just leans into that toasty brown butter vibe perfectly.
- Spice it Up: A tiny pinch of cinnamon or even a *very* small dash of cayenne pepper (if you like a little heat!) works wonders with the caramel notes. Just start small—a quarter teaspoon of cinnamon is usually enough to lift the whole flavor profile.
- Salted Caramel Swirl: If you’re feeling ambitious, drizzle a swirl of store-bought or homemade salted caramel sauce over the top just before you sprinkle the flaky salt on. It’s a lot, but wow, is it worth the effort!
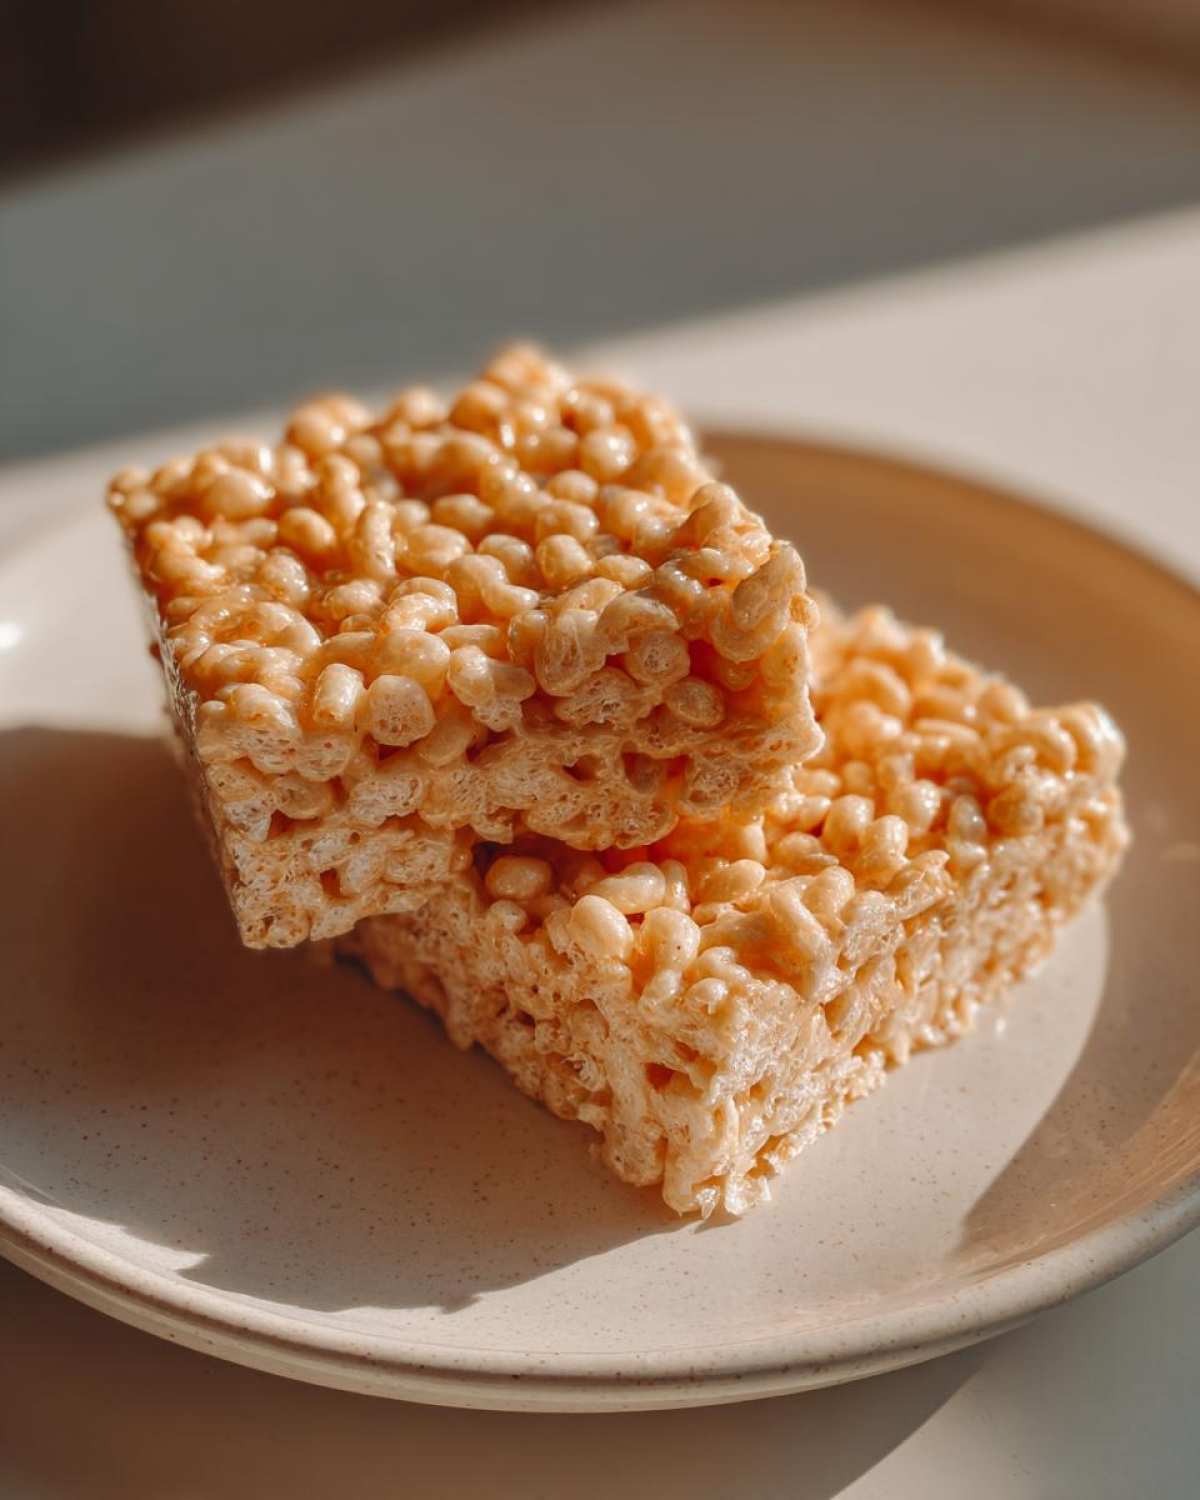
See? It’s so simple to create a whole new treat without needing a whole new recipe! They still come together in under 20 minutes, but now you have a custom batch of Brown Butter Dessert Bars for whatever mood strikes you.
Storage and Reheating Instructions for Brown Butter Rice Krispie Treat Bars
The best part about these Brown Butter Rice Krispie Treat Bars is that they genuinely taste even better the next day, which is rare for a crispy treat! Since we used that wonderful brown butter fat, they stay remarkably fresh and chewy. You don’t really need to reheat them at all because they are best served at room temperature, but I’ll tell you exactly how to keep them perfect.
Storing them is super easy. Once they are completely cool—and I mean *completely* cool, otherwise they sweat and get sticky—you want to transfer them to an airtight container. If you used that parchment paper overhang, just fold the paper over the top of the bars before sealing the container. This keeps out any unwanted kitchen moisture that might try to make them stale or soft.
They should last beautifully at room temperature for about three days. Seriously, they never last longer than that in my house! I’ve found that trying to refrigerate them actually makes them harder than I like, so I avoid the fridge unless it’s absolutely sweltering outside and keeping them cool is the only option. If you do refrigerate them, let them sit out on the counter for a good 30 minutes before you plan to eat them so they can soften back up into that perfect chewy texture.
Frequently Asked Questions About Browned Butter Cereal Bars
I know you’re probably itching to get baking, but sometimes questions pop up when you’re reading through the steps, especially when dealing with something new like browning butter! I’ve pulled together the most common things folks ask me when they are making these Browned Butter Cereal Bars for the first time.
Can I use salted butter instead of unsalted for these Brown Butter Rice Krispie Treat Bars?
Oh, that’s a tough one! I really advise against it. Remember, the entire point here is that we are building complex, deep flavors, and we want total control over the salt level. If you use salted butter, you skip controlling that crucial flavor balance. If you absolutely, positively have nothing else, use the salted butter but skip the flaky salt you sprinkle on top at the end. You’ll still get that nutty flavor, but it just won’t be quite as perfectly balanced.
How do I prevent my Homemade Cereal Bars with Brown Butter from becoming too hard?
This is probably the number one complaint about crispy treats in general! It comes down to two things, both of which I hammered home above. First, make sure you pull the pan off the heat the second the marshmallows are melted; don’t let them boil or cook further with the cereal. Second, and most vital: be gentle when pressing them into the pan. Seriously, just lightly spread them until they are even. If you pack them down hard, they seize up like concrete!
If you want the best experience making Salted Brown Butter Treats, check out my About Me page to see why I focus so much on technique!
Quick Facts: Details for This Easy Brown Butter Dessert
I know sometimes you just need the highlights without reading all my exciting stories about nutty butter solids, ha! For those moments when you’re whipping up a quick batch of these Brown Butter Rice Krispie Treat Bars for a last-minute event, here is the essential data you need to know at a glance. Even though this is an Easy Brown Butter Dessert, knowing the timing helps you plan!
We manage to get this entire spectacular snack done in under 30 minutes total, which I think is pretty incredible considering the flavor complexity we pack into them. It’s proof that you don’t need hours in the kitchen to make something truly special!
- Prep Time: 10 minutes (Mostly just getting the pan ready!)
- Cook Time: 10 minutes (All heat time is focused on browning that butter!)
- Total Time: About 20 minutes (Plus one hour chilling/setting time)
- Yield: 18 great-sized bars
- Category: Dessert / Snacks
- Method: No Bake (Hooray for avoiding the oven!)
If you’re looking to save these for school lunches or just general snacking, you can find more great ideas in my Snacks category!
Share Your Salted Brown Butter Treats Experience
Now you have all the secrets to making these unbelievably flavorful Salted Brown Butter Treats! I am just so excited for you to try this upgrade. The magic of the nutty butter is going to blow you away, I promise.
So, what do you think? Did you try adding those chocolate chips I mentioned? Or maybe you went classic with just the flaky salt on top? I absolutely love hearing how you’ve customized my favorite recipes!
Don’t be shy—head down to the comments box right now and let me know how that browning process went for you. Did you hit that perfect nutty aroma on the first try? Rate the recipe while you’re down there so others know how amazing these Brown Butter Rice Krispie Treat Bars are!
If you loved these or made them for a party, please share this recipe with a friend who deserves a little upgrade in their life! You can send them the link right over here: Let us know if you have questions!
PrintBrown Butter Rice Krispie Treat Bars
A recipe for classic Rice Krispie Treat Bars made richer and nuttier by using browned butter.
- Prep Time: 10 min
- Cook Time: 10 min
- Total Time: 20 min
- Yield: 18 bars
- Category: Dessert
- Method: No Bake
- Cuisine: American
- Diet: Vegetarian
Ingredients
- 6 tablespoons unsalted butter
- 1 (10 ounce) package miniature marshmallows
- 1 teaspoon vanilla extract
- 6 cups crispy rice cereal
- 1/2 teaspoon flaky sea salt (optional, for sprinkling)
Instructions
- Lightly grease a 9×13 inch baking pan or line it with parchment paper, allowing some overhang for easy removal.
- Place the butter in a medium saucepan over medium heat. Cook the butter, swirling the pan occasionally, until it melts, foams, and then brown bits form at the bottom and the butter smells nutty. This takes about 5 to 7 minutes. Watch carefully to prevent burning.
- Remove the pan from the heat immediately once the butter is browned.
- Add the marshmallows to the saucepan with the hot brown butter. Stir continuously until the marshmallows are completely melted and smooth.
- Stir in the vanilla extract.
- Remove the pan from the heat and quickly fold in the crispy rice cereal until it is evenly coated with the marshmallow mixture.
- Transfer the mixture to the prepared baking pan. Lightly press the mixture into an even layer using a piece of wax paper or a lightly buttered spatula. Do not press too firmly, as this can make the bars hard.
- If using, sprinkle the flaky sea salt evenly over the top.
- Let the bars cool completely at room temperature for at least 1 hour before lifting them out of the pan using the parchment paper overhang.
- Cut into squares or bars.
Notes
- For cleaner cuts, chill the finished bars in the refrigerator for 30 minutes before slicing.
- Store the bars in an airtight container at room temperature for up to 3 days.
- For an extra layer of flavor, you can fold in 1/2 cup of white chocolate chips along with the cereal.
Nutrition
- Serving Size: 1 bar
- Calories: 150
- Sugar: 12
- Sodium: 110
- Fat: 6
- Saturated Fat: 4
- Unsaturated Fat: 2
- Trans Fat: 0
- Carbohydrates: 24
- Fiber: 0
- Protein: 2
- Cholesterol: 15