

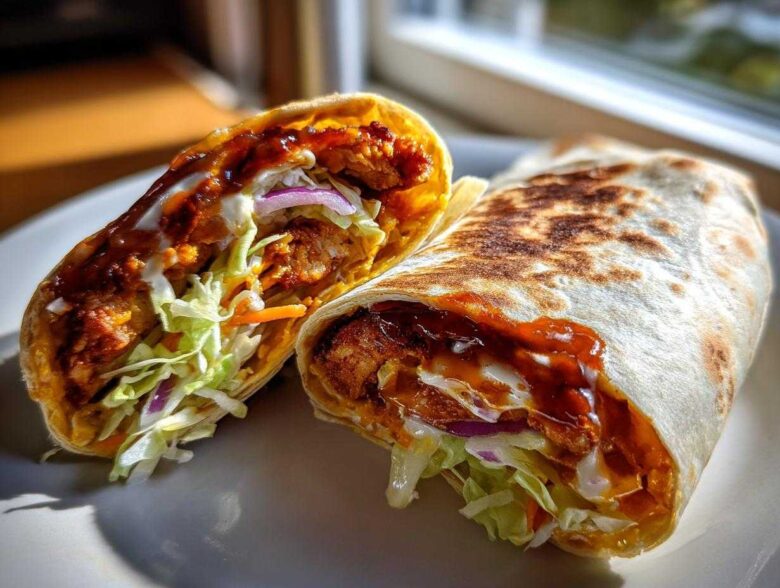
Oh, you know those days! You’re scrolling through your phone, and suddenly you just have to have one of those incredible, crunchy restaurant wraps, but you don’t want the grease bomb that comes with deep frying? Me too! That’s precisely why I spent weeks nailing this recipe down for you.
Forget limp, soggy filling; we are hitting maximum crunch here. I’m going to show you how to make the absolute Crispy Chicken Wrap with Honey Garlic Sauce you’ve been dreaming about, and we’re using the air fryer to get that perfect texture without all the oil. Trust me, achieving restaurant-level crunch at home without dropping a vat of oil in the fryer is my specialty. This recipe is fast, fun, and the sweet-and-savory glaze is just addictive!
If you want to learn more about the kitchen philosophy that brings these simple recipes to life, you can always pop over to check out our philosophy here!
Why This Crispy Chicken Wrap with Honey Garlic Sauce is a Weeknight Winner
I know what you’re thinking: “Crispy chicken takes forever.” Not with this magic formula! This Crispy Chicken Wrap with Honey Garlic Sauce is designed specifically to rescue your busy schedule. You get that incredible, satisfying crunch you crave from takeout, but it’s ready faster than you can decide what to watch on TV.
Honestly, this recipe hits all the right notes without any fuss. It’s the perfect balance of sweet, savory, and crunchy. You’ll find yourself making this over and over again, especially when you need killer quick weeknight wraps!
- Air-Fried Perfection: Seriously crunchy coating on the chicken without the heavy cleanup of frying.
- Flavor Explosion: That sticky honey garlic glaze clings perfectly to every bite.
- Speed Demon: We’re done and on the table in under an hour!
Quick Prep and Cook Times
This entire masterpiece comes together in a jiffy. We’re looking at only 20 minutes of prep time, and the air fryer does its thing in about 15 minutes! That means you can realistically get this on the table in about 35 minutes total. It’s truly one of my favorite easy chicken wrap ideas when I’m short on time but don’t want to sacrifice that essential crunch factor.
Gathering Ingredients for Your Crispy Chicken Wrap with Honey Garlic Sauce
Okay, ingredient time! This is where we ensure success before we even turn on the oven or air fryer. Getting these simple things right is the difference between a good wrap and the best Crispy Chicken Wrap with Honey Garlic Sauce you’ve ever made at home. Everything you need is pretty standard pantry fare, but I want to talk about the coating in a second, because that’s the real secret weapon!
Don’t skimp on any of these measurements, especially for the sauce. If you want that sticky, homemade glaze, you need those fresh aromatics. You can check out some of my other simple homemade sauce recipes right here if you’re feeling inspired!
Chicken and Coating Components
For the star of the show, you’ll need 1 lb boneless, skinless chicken breasts, which we cut into nice 1-inch strips—this size cooks perfectly evenly in the air fryer. For the dredge, grab 1 cup of flour, salt, pepper, paprika, and garlic powder. The absolute game-changer here is using 1/2 cup of panko breadcrumbs. Seriously, never substitute regular breadcrumbs; panko is what brings that architectural crunch we are aiming for! You’ll also need two eggs, beaten, and a light spray of olive oil.
Sticky Honey Garlic Sauce Recipe Ingredients
The sauce ingredients are non-negotiable for that signature flavor. You need 1/4 cup of honey for sweetness, 2 tablespoons of soy sauce for depth, 1 tablespoon of rice vinegar for a tiny bit of tang, and, most importantly, 3 cloves of garlic, minced, plus 1 teaspoon of fresh ginger, grated. That fresh ginger really wakes up the glaze! We finish it with a simple slurry made from 1/2 teaspoon of cornstarch mixed with 1 teaspoon of cold water to get that beautiful, clingy texture.
Wrap Assembly Ingredients
Finally, for the rolling part, you’ll need 4 large flour tortillas. I like the big ones, honestly, because they hold up so much better to the juicy chicken and sauce—no one likes a gaping hole in their wrap! Then, just grab 1 cup of shredded lettuce for some freshness and about 1/2 cup of thinly sliced red onion for a little sharp bite to cut through the sweetness of the glaze.
Mastering the Crispy Chicken for Your Honey Garlic Wrap
This is it, folks. This is the part that separates an okay wrap from the most satisfying Crispy Chicken Wrap with Honey Garlic Sauce you’ll ever make. If you skip the attention to detail here, that beautiful honey garlic glaze is just going to create steam, and steam equals soggy chicken. No thank you!
We are building a crust here, layer by layer, using the three-step dredge. It seems like extra work, but it takes maybe five minutes longer, and it’s the secret to asking yourself truly, “How to make crunchy chicken wraps?”
First, you’re going to set up your station: one dish for your seasoned flour (that’s the salt, pepper, etc.), one dish for the beaten eggs, and the most important station—the one dedicated to the panko breadcrumbs. You want to take each chicken strip, dust it well in the flour, shake off the excess, dip it quickly in the egg, and then press it firmly into those panko crumbs.
And when I say *firmly*, I mean it! Really press those crumbs into the chicken with your fingers. That surface tension is what helps the breading lock on tight when it hits the hot air fryer. This thorough coating ensures we get that restaurant-style crunch we are after!
Air Frying Instructions for the Best Crispy Chicken Wrap recipe
Now that our chicken is armored up, we move to the air fryer, which is the hero of this entire operation. Preheat that baby up to 400°F (200°C). Line your basket, place your coated strips in a single layer—and I mean single layer! If you pile them up, you might as well just wrap them in a wet towel because they are going to steam.
Once they are laid out, give them a good, generous spray with olive oil spray. This helps them brown beautifully and crisp up like crazy. Pop them in for about 10 to 12 minutes total. You have to flip them halfway through, usually around the 5 or 6-minute mark, to make sure both sides get that deep golden color and reach an internal temperature of 165°F. Don’t rush this; the timing is key to having perfectly cooked, delightfully crunchy chicken ready for the glaze!
Creating the Perfect Sticky Honey Garlic Glaze for Chicken
While that chicken is getting its final crisp in the air fryer, we need to whip up the star of the show: the incredible, clingy glaze! This Crispy honey garlic sauce recipe is what elevates this from just a crispy chicken wrap to the ultimate Honey Garlic Chicken Wrap experience. It’s so simple, but layering these flavors correctly makes a huge difference. If you ever want to try this glaze on something thicker later on, you can check out my favorite recipe for honey garlic glazed chicken thighs!
Grab a small saucepan on the stove over medium heat. Toss in your honey, soy sauce, rice vinegar, that beautiful minced garlic, and the grated fresh ginger. Let that mixture just come up to a gentle simmer. You want to give it a gentle stir as it warms up so those flavors really start mingling together. That savory aroma filling your kitchen right now? That’s pure weeknight magic!
Now, here comes the most important part of the sauce creation—the thickening step! If you just cook it down, it turns into a thin syrup that slides right off the chicken. We don’t want that; we want it sticky! You need to whisk up a cornstarch slurry—that’s just 1/2 teaspoon of cornstarch mixed really well with 1 teaspoon of cold water. Once your sauce is simmering, whisk that slurry in quickly.
Keep stirring constantly for just about one minute. You’ll see it transform right before your eyes! It goes from thin liquid to a beautiful, glossy glaze that coats the back of your spoon. As soon as it starts bubbling thickly, take it right off the heat. We don’t want to overcook it, or the cornstarch can break down. Once it’s off the heat, that’s your cue to pull out the chicken and get tossing!
Assembling the Ultimate Crispy Chicken Wrap with Honey Garlic Sauce
The air fryer has beeped, the glaze is thick and glossy, and now it’s time for the grand finale! Pulling together your Crispy Chicken Wrap with Honey Garlic Sauce is thrilling because you know you’re seconds away from the best lunch or dinner. Don’t let the chicken cool down too much, though; we want the glaze to stick properly!
First things first, take those beautiful, hot, crispy chicken strips and drop them right into the bowl with your warm honey garlic glaze. Use tongs to toss everything super gently but thoroughly. You want every single crunchy piece coated in that sweet, sticky stickiness. Do this right before you start building the wraps so the coating stays as crisp as possible—we’re trying to maintain that crunch until the very last bite!
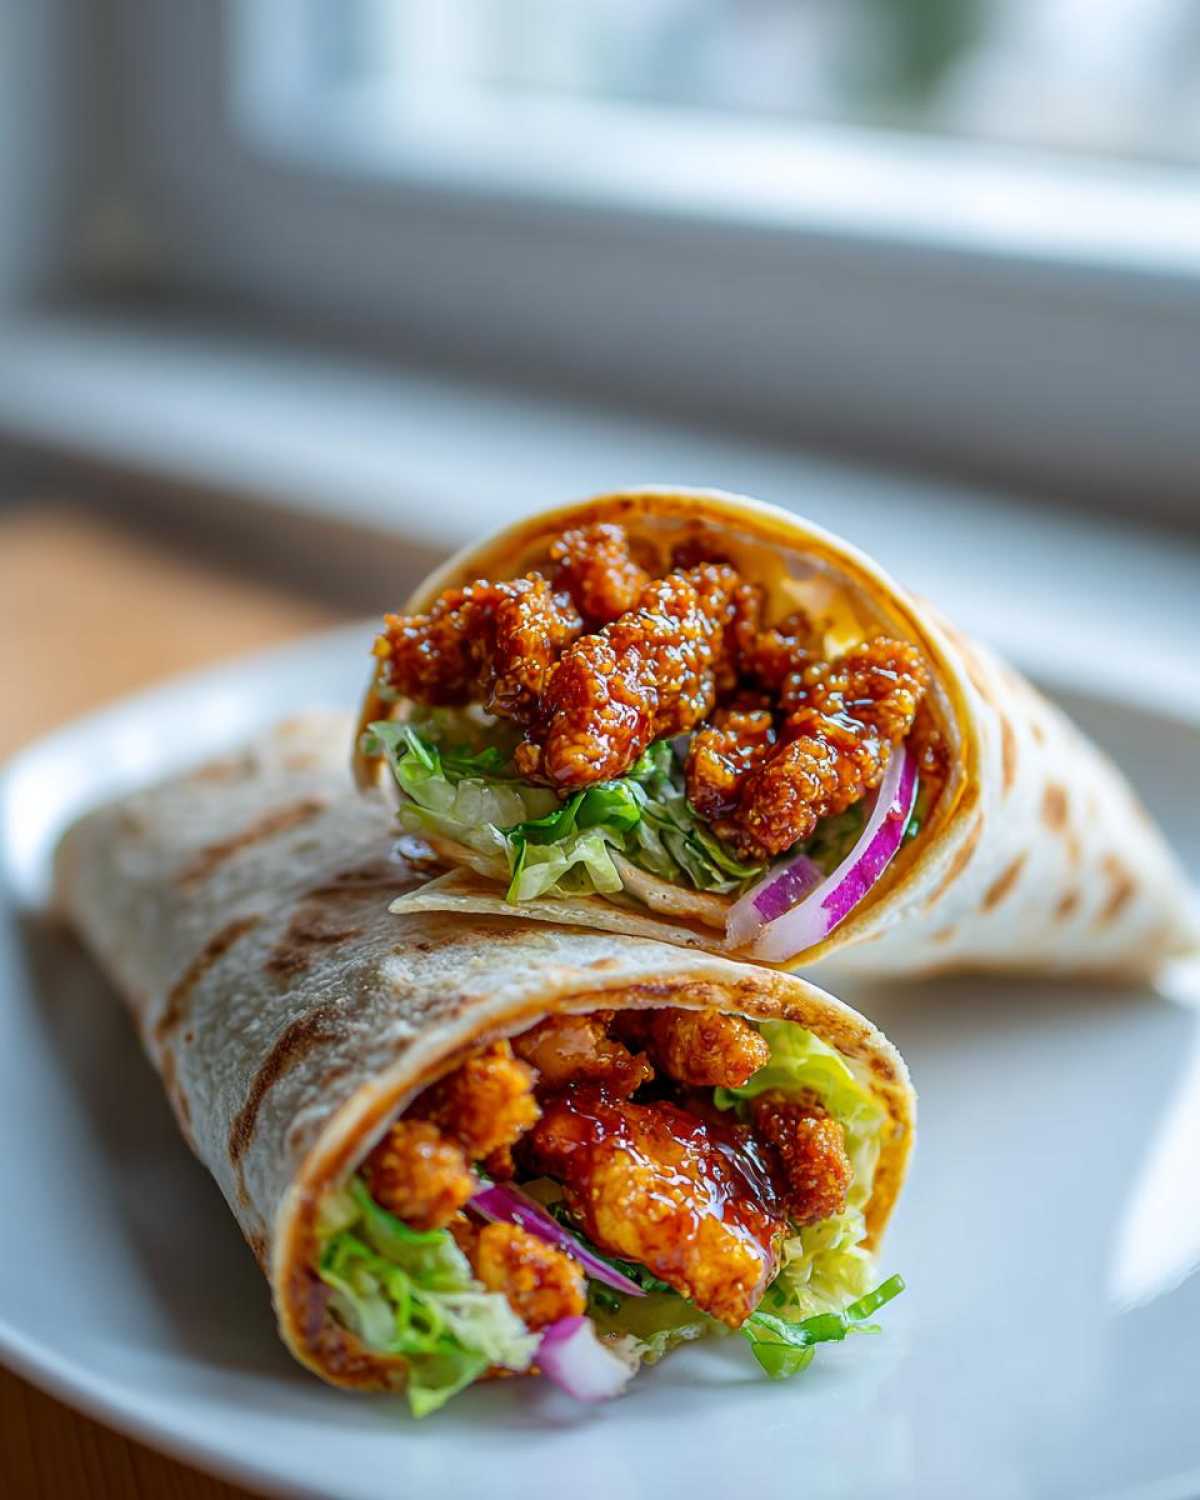
While you’re coating the chicken, take a moment to warm your tortillas. You don’t want them steaming hot, just soft and pliable so they don’t crack when you roll them up. I usually throw them into a dry skillet over medium heat for about 20 seconds per side, or you can microwave them wrapped in a damp paper towel for 15 seconds. If you want more great ideas on how to use these versatile flatbreads, check out my collection of tortilla wrap recipes!
Now for the layering! Lay your warm tortilla flat. I start with a small bed of shredded lettuce right in the center—this acts like a moisture barrier between the tortilla and the saucy chicken, which I find helps prevent sogginess later on! Then, pile on your glazed chicken strips and top it with those lovely, sharp slivers of red onion. Load it up—but not *too* much—and get ready to roll!
Tips for Tightly Rolling Tortilla Wrap Recipes
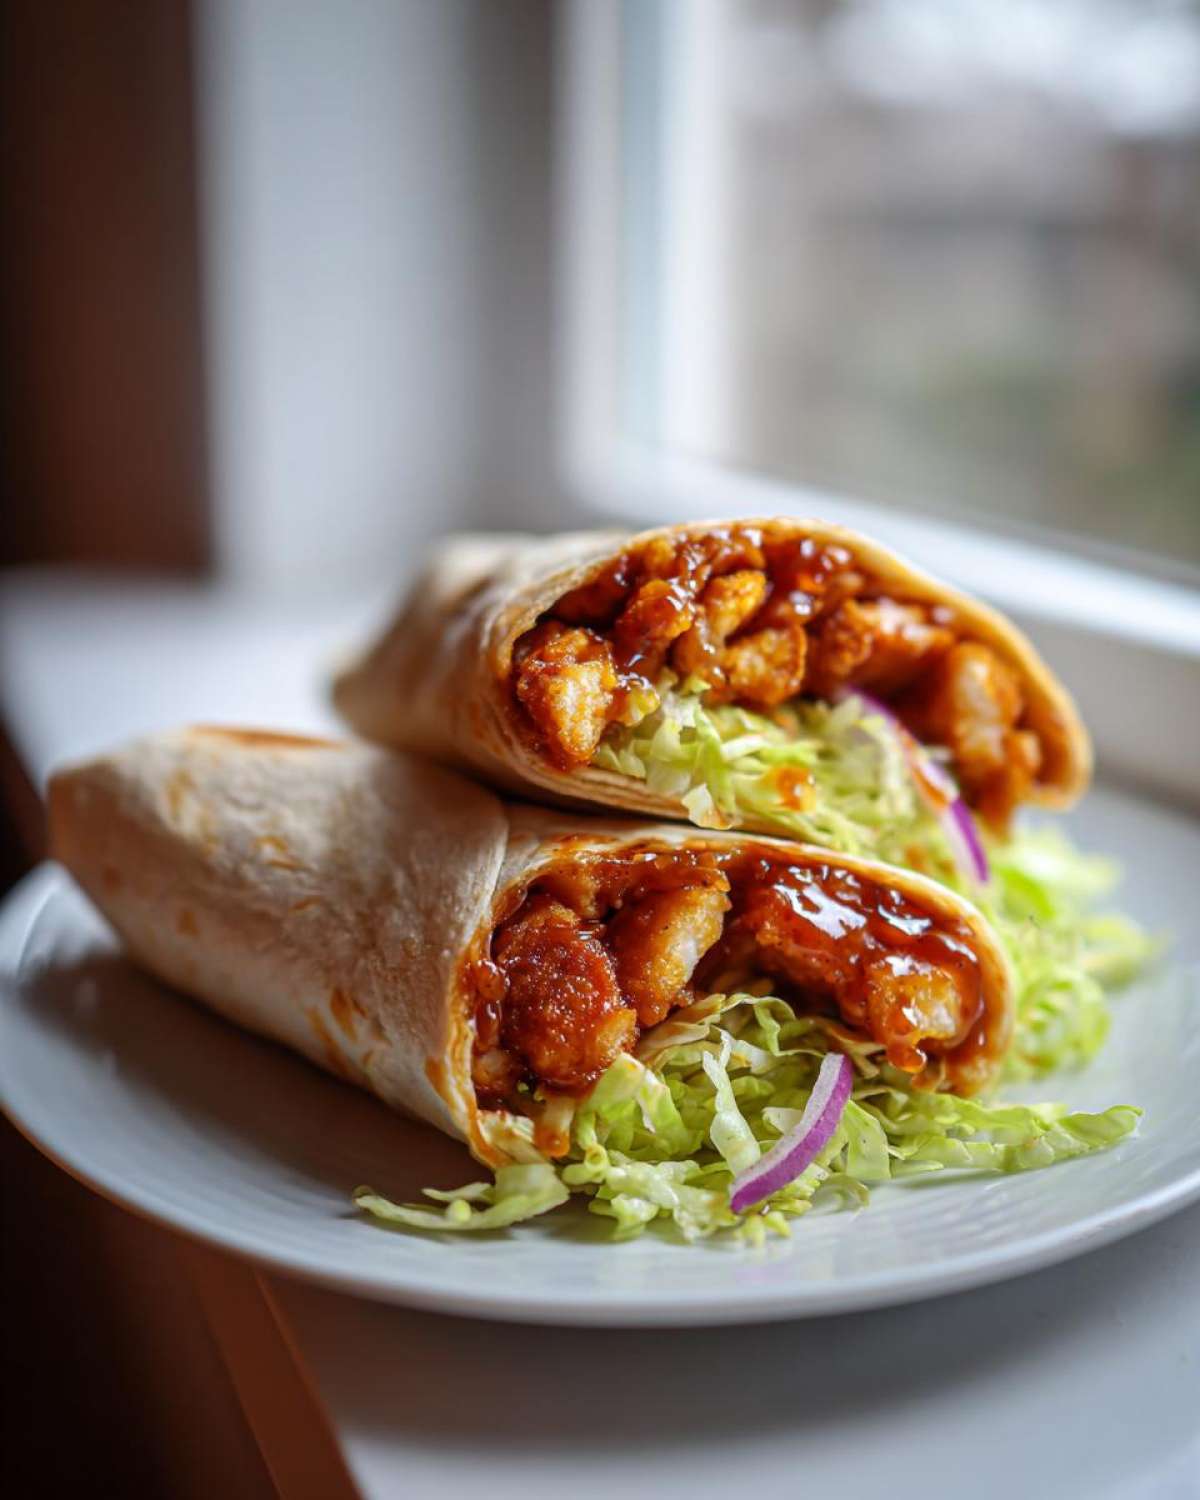
Rolling a wrap so that the filling doesn’t spill out the sides is practically an art form, but I’ve got the secret technique down pat. This is crucial, especially when you’ve got juicy, saucy filling like our honey garlic chicken. You need to fold those edges in sharply!
Take the left and right sides of the tortilla and fold them inward, snugly over the filling. Make sure you press down lightly to keep them tucked in place. Then, grab the bottom edge—the one closest to you—and pull it up tightly over the filling and the tucked-in sides. Once you get that bottom edge tucked, roll forward toward the top edge in one smooth, controlled motion. Keep that bottom edge tight against the filling as you roll. If you do this right, you’ll have a perfectly sealed, restaurant-style little package of crunchy goodness that won’t leak out on you. It takes a little practice, but soon you’ll be rolling these faster than I can mix up a batch of that glaze!
Ingredient Notes and Substitutions for Your Honey Garlic Chicken Wrap
Listen, I know not everyone keeps the exact same pantry stocked, and sometimes we just have to pivot! That’s totally fine, but I want to give you some pointers before you start swapping ingredients in this specific Crispy Chicken Wrap with Honey Garlic Sauce recipe, especially since we are relying on that panko crust for texture.
If you are trying to make this a gluten-free option, you can absolutely swap out the all-purpose flour and the panko breadcrumbs. For the flour, just use a gluten-free 1-to-1 blend. For the panko, look for GF panko specifically, or use crushed buttery cornflakes—they give a surprisingly good crunch, though the flavor profile shifts slightly. If you’re interested in another recipe using different textures, you can check out this avocado chicken salad recipe which skips the frying/air frying entirely!
What about the chicken itself? Using the boneless, skinless breasts cut into strips is ideal for air frying because they are uniform and cook quickly. If you only have chicken thighs, that’s fine, but cut them into smaller pieces (maybe 3/4 inch) because thighs take longer to cook through safely, and we don’t want the panko burning before the meat is done.
Now, let’s talk about the rice vinegar in the sauce, which provides that lovely, subtle tang necessary to balance the honey. If you run out of rice vinegar, white wine vinegar works perfectly as a stand-in. Apple cider vinegar is a bit stronger, so if you use that, knock the amount down to maybe 2 teaspoons instead of a full tablespoon, just so it doesn’t overpower the entire Honey Garlic Chicken Wrap flavor profile.
Remember, any changes you make will subtly alter the final taste, but as long as you keep the ratio of honey to soy sauce about the same, you should be golden! The goal is always sweet and savory glaze that embraces that crunchy chicken perfectly.
Storage and Reheating Instructions
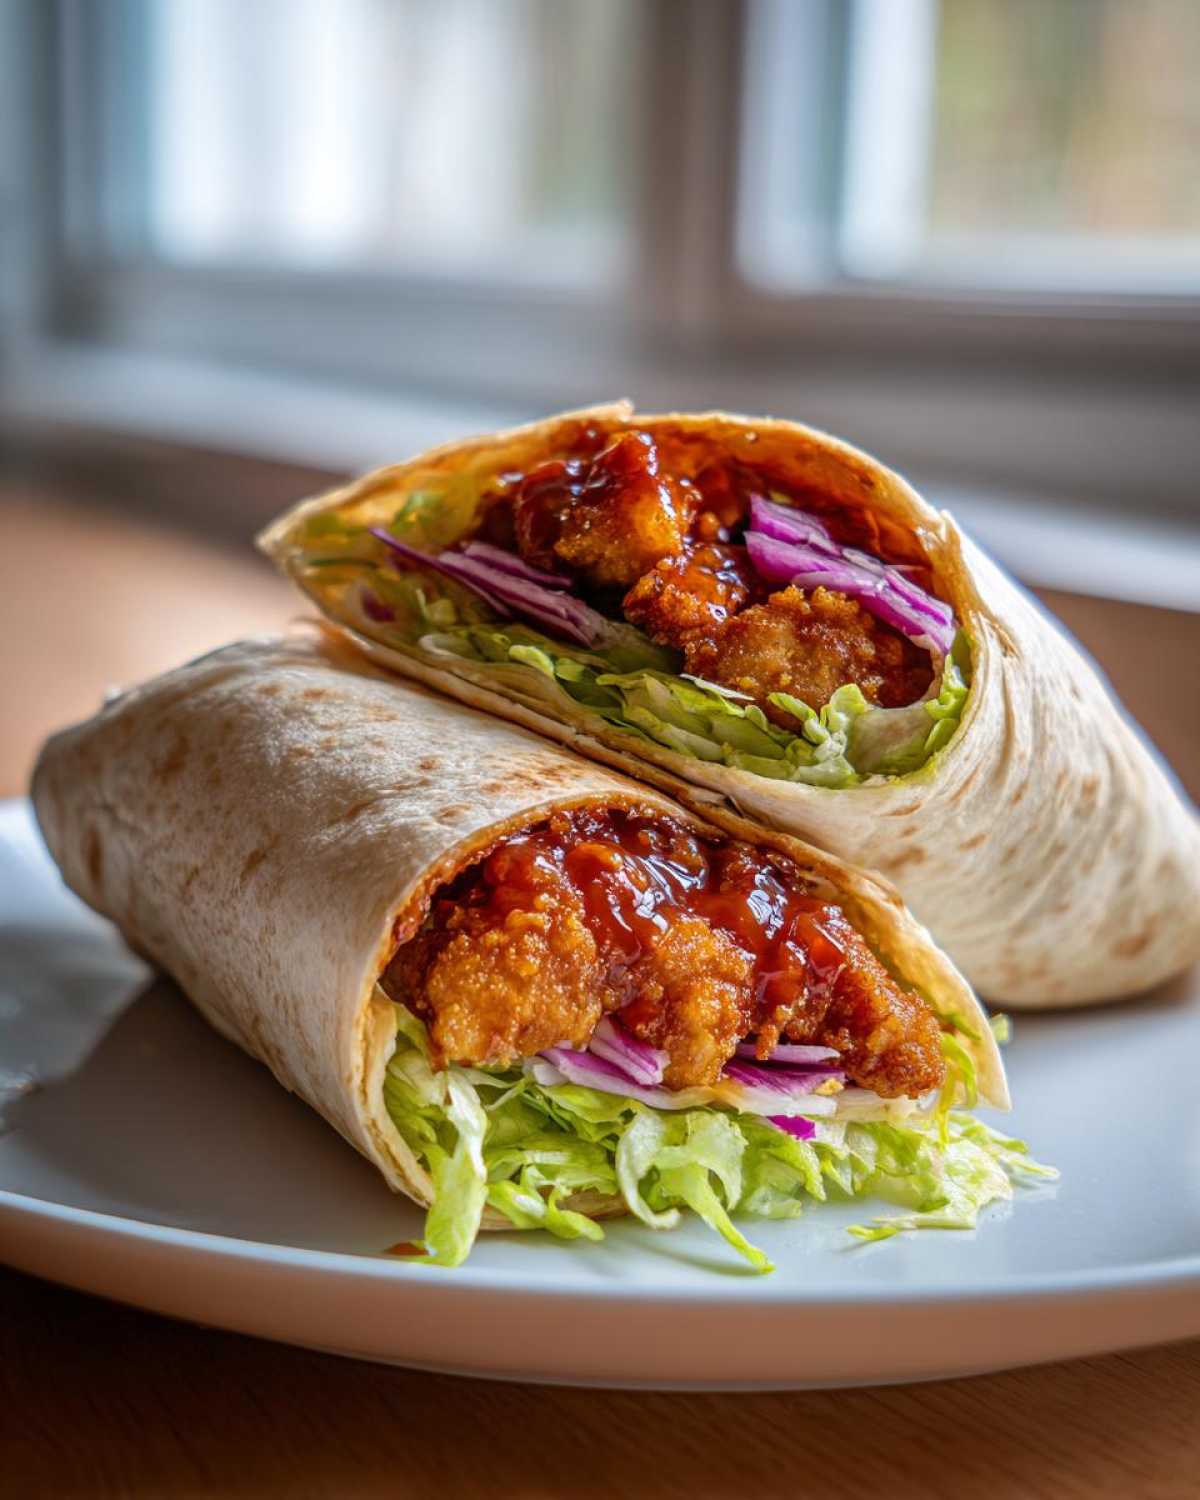
Look, I know these Crispy Chicken Wraps with Honey Garlic Sauce are best eaten the second they come off the assembly line, hot and crunchy, but sometimes life happens! If you have leftovers of this fantastic Honey Garlic Chicken Wrap, you have to handle them correctly, or that beautiful crispness turns sad really fast.
The absolute best approach for storage is to keep the wet ingredients separate from the dry ones, even if it means a little extra work. If you think you’ll have leftovers, try not to glaze all the chicken at once. Store any extra crispy, un-glazed chicken strips in an airtight container in the fridge. Keep your tortillas, lettuce, and onion separate too. This stops the moisture from the sauce and veggies from ruining the coating!
They will keep nicely like that for about two or maybe three days. If you’re planning way ahead, you can actually freeze those un-glazed, breaded chicken strips for up to a month—just make sure they’re fully cooked first! You can check out some of my tips for freezing foods, although these aren’t freezer burrito recipes, the storage principles are similar: check out some freezing guides here.
Now, reheating is tricky! Microwaving a saucy wrap is just going to result in a soft, gummy mess. Save yourself the heartbreak and avoid the microwave! If you absolutely must reheat the assembled wrap, place it in a toaster oven or a conventional oven preheated to about 350°F for maybe 5 to 7 minutes. The goal is to heat it through without allowing the tortilla to dry out completely.
If you only saved the glazed chicken strips (my preferred method!), that’s even easier. Pop them on a small baking sheet and reheat them in a 400°F oven for about 5 minutes. They won’t get 100% back to that fresh-out-of-the-air-fryer crunch, but they will get warm, sticky, and enjoyable! Remember, the crunch factor degrades quickly once that wonderful honey garlic glaze hits the breading, so try to plan on eating these fresh when you make them!
Frequently Asked Questions About Crispy Chicken Wraps
I always get so many questions after I post this recipe because everyone wants to know how to nail that crunch! It’s totally understandable; who doesn’t want the best Crispy Chicken Wrap recipe possible? Here are a few things I hear most often about making these sweet and savory wraps. If you’re looking for more ways to make chicken for dinner, take a peek at all the amazing dinner recipes with crispy chicken we have saved up!
Can I use pre-cooked chicken for this Crispy Chicken Wrap recipe?
My honest answer is: you can, but you might be disappointed! If you use pre-cooked chicken—say, leftover baked chicken or even rotisserie chicken—it’s already cooked through, right? The dredging and air frying step is what creates that beautiful, hard, crisp shell thanks to the raw flour and panko hitting the heat. If you try to just reheat pre-cooked chicken in the air fryer with the breading, it often just gets dry, or it burns before the inside warms up properly.
If speed is truly your only concern, you can skip the dredging/air frying and just toss fully cooked chicken pieces into the warm honey garlic glaze. But honestly, it won’t achieve that satisfying, authentic crunch that makes this the best crispy chicken for wraps!
What is the best way to keep the chicken crunchy after glazing?
This is the eternal struggle with saucy chicken, isn’t it? Once the delicious, sticky honey garlic glaze hits that beautiful panko crust, the clock starts ticking on the crispiness! The single best thing you can do is treat the glazing like the very last step before serving.
Don’t glaze all the chicken at once unless you are eating it instantly! Only toss the strips you are assembling into a wrap right then and there. The air fryer method really helps create a more resilient crust than deep frying, but even so, aim to assemble and eat these delicious Savory glazed chicken wraps immediately. If they sit for even 15 minutes, you’ll notice a slight softening—that’s just the physics of sauce meeting crunch, but it’s worth it!

Are there good low-carb options for the tortilla wrap?
Absolutely! While I adore the classic soft chew of a large flour tortilla for the ultimate holding experience, I totally get wanting to cut back on carbs sometimes. For this recipe, you have two excellent options that work really well.
First, use large iceberg or romaine lettuce cups! You can layer the saucy chicken right inside the lettuce leaves, fold them up like little boats, and you get a fresh, cool crunch that contrasts nicely with the warm chicken. It’s a great choice for Satisfying crunchy lunch ideas! Second, if you prefer something closer to a traditional tortilla, there are fantastic low-carb or keto flour tortillas available now. Just make sure they are sturdy—the lower the carb count, the sometimes the more delicate they can be if you overfill them!
Next Steps After Making Your Crispy Chicken Wrap with Honey Garlic Sauce
Wow, look at you! You just successfully tackled the ultimate Crispy Chicken Wrap with Honey Garlic Sauce, and I bet it was loud on that first bite! I’m so thrilled you made this with me, and honestly, I really want to hear how it went down. Did your chicken get that jaw-dropping crispiness you were hoping for?
Cooking is all about sharing triumphs, right? Whether you successfully mastered the tight roll or you discovered a new favorite technique for getting that sweet glaze to stick, please let me know! Every time someone makes this, I get this little thrill knowing another batch of perfectly crunchy, sticky chicken is out there in the world.
If you ended up loving this recipe, the best way you can support the kitchen is by leaving a quick rating below—it really helps other folks looking for the best Crispy Chicken Wrap with Honey Garlic Sauce find this recipe! And if you snapped a picture of that beautiful, saucy cross-section of your finished wrap, please tag me on social media or drop a comment down below with your results. I’m always looking for feedback to make sure the next recipe is even better!
If you want to tell me about your experience, or if you have a burning question that didn’t get answered above, don’t hesitate to reach out! You can always connect with me directly through my contact page. Happy cooking, and enjoy every single crunchy bite!
PrintUltimate Crispy Air-Fried Chicken Wraps with Sticky Honey Garlic Glaze
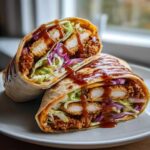
Make satisfying, crunchy chicken wraps featuring tender chicken coated in a sweet and savory honey garlic glaze, cooked perfectly crisp in the air fryer.
- Prep Time: 20 min
- Cook Time: 15 min
- Total Time: 35 min
- Yield: 4 servings
- Category: Lunch
- Method: Air Frying
- Cuisine: American
- Diet: Low Fat
Ingredients
- 1 lb boneless, skinless chicken breasts, cut into 1-inch strips
- 1 cup all-purpose flour
- 1 teaspoon salt
- 1/2 teaspoon black pepper
- 1/2 teaspoon paprika
- 1/4 teaspoon garlic powder
- 2 large eggs, beaten
- 1/2 cup panko breadcrumbs
- 1 tablespoon olive oil spray
- 4 large flour tortillas
- 1 cup shredded lettuce
- 1/2 cup thinly sliced red onion
- For the Sauce:
- 1/4 cup honey
- 2 tablespoons soy sauce
- 1 tablespoon rice vinegar
- 3 cloves garlic, minced
- 1 teaspoon grated fresh ginger
- 1/2 teaspoon cornstarch mixed with 1 teaspoon cold water (slurry)
Instructions
- Prepare the chicken coating: In one shallow dish, mix the flour, salt, pepper, paprika, and garlic powder. In a second dish, place the beaten eggs. In a third dish, place the panko breadcrumbs.
- Dredge each chicken strip first in the flour mixture, shaking off excess. Dip into the egg, letting excess drip off. Finally, press firmly into the panko breadcrumbs to coat completely.
- Preheat your air fryer to 400°F (200°C). Lightly spray the breaded chicken pieces with olive oil spray.
- Air fry the chicken in a single layer (work in batches if necessary) for 10-12 minutes, flipping halfway through, until golden brown and cooked through (internal temperature of 165°F).
- While the chicken cooks, make the sauce: Combine honey, soy sauce, rice vinegar, minced garlic, and ginger in a small saucepan. Bring to a simmer over medium heat.
- Whisk in the cornstarch slurry and cook for 1 minute, stirring constantly, until the sauce thickens slightly into a glaze. Remove from heat.
- Place the cooked crispy chicken pieces in a bowl and toss gently to coat them thoroughly with the sticky honey garlic glaze.
- Warm the tortillas briefly in a dry skillet or microwave until pliable.
- Assemble the wraps: Lay a tortilla flat. Layer with lettuce, a portion of the glazed crispy chicken, and a few slices of red onion.
- Roll the tortilla tightly to form a wrap. Serve immediately.
Notes
- For extra crispiness, you can briefly bake the coated chicken at 425°F for 5 minutes before air frying.
- If you do not have an air fryer, you can bake the chicken at 425°F for 18-20 minutes, flipping halfway.
- Use thicker tortillas to prevent tearing when rolling the wraps.
Nutrition
- Serving Size: 1 wrap
- Calories: 550
- Sugar: 22
- Sodium: 750
- Fat: 15
- Saturated Fat: 3
- Unsaturated Fat: 12
- Trans Fat: 0
- Carbohydrates: 55
- Fiber: 3
- Protein: 48
- Cholesterol: 110