

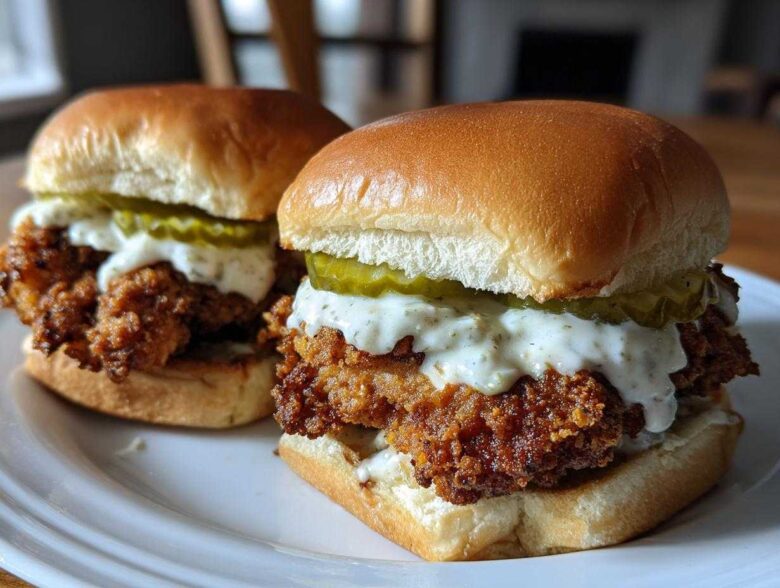
There are comfort foods, and then there are Game Day Chicken Appetizers that make you forget about the score—this recipe is firmly in the latter category! I have spent way too much time trying to recreate that perfect crunch you find at those trendy sandwich shops, and I finally nailed it. We aren’t messing around with soggy chicken here; we are talking about shatteringly crisp coating thanks to buttermilk and a little secret in the dredge.
But honestly, what separates an okay sandwich from the absolute best? The sauce! These Crispy Chicken Sliders with Garlic Sauce have a bright, zingy homemade garlic sauce that cuts right through the richness of the fried chicken and the soft bun. Trust me when I say once you try this pairing, you won’t go back to just plain mayo again. This is my go-to formula for truly unforgettable small chicken sandwich meals. For more fantastic comfort food slider ideas, check out what we’re cooking up over on the main blog!
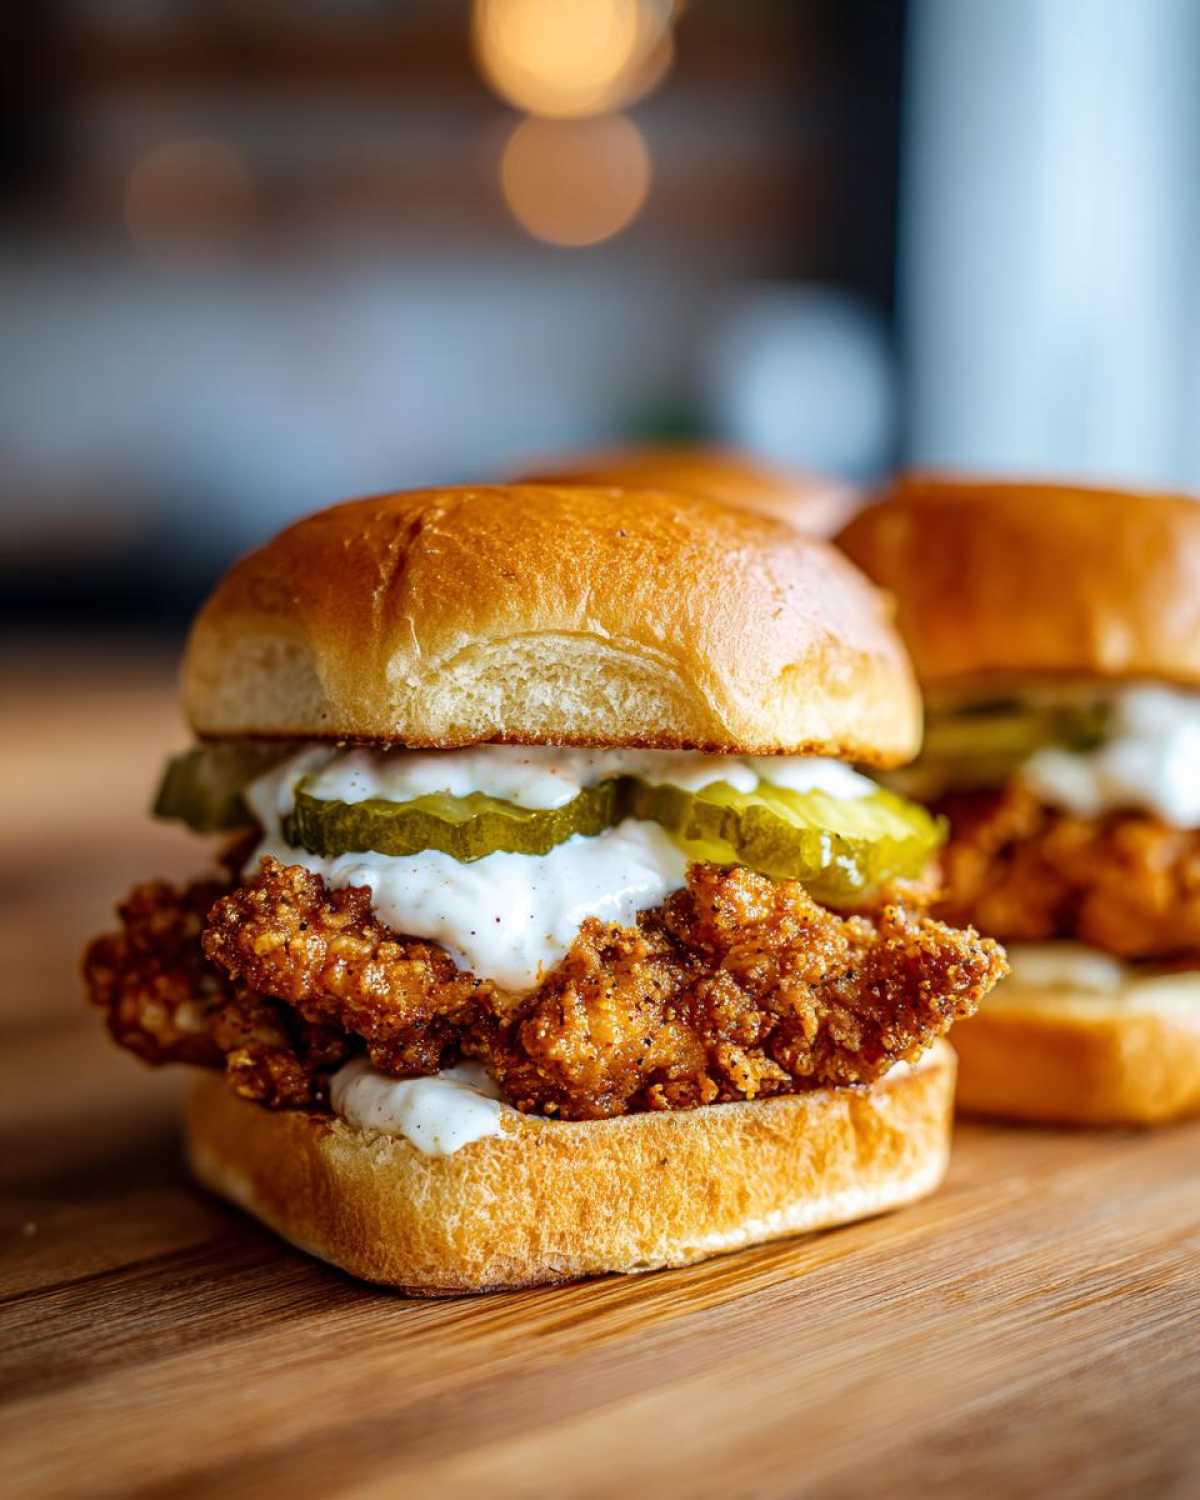
Why You Will Crave These Crispy Chicken Sliders with Garlic Sauce
Seriously, what is there not to love here? These sliders hit every single texture mark you could want:
- The crunch factor is insane—I promise restaurant-style crispiness every time!
- The homemade garlic sauce balances everything perfectly; it’s tangy and garlicky heaven.
- They come together surprisingly fast, making them perfect for quick chicken dinner ideas.
- Perfectly sized for an amazing party food slider recipe!
Essential Ingredients for Crispy Chicken Sliders with Garlic Sauce
Okay, buckle up, because having the right things ready is half the battle for these Crispy Chicken Sliders with Garlic Sauce. Don’t skip the prep on the chicken—it matters! I’ve broken down exactly what you need for the three main components: the chicken prep, the crunch maker, and that glorious sauce.
For the chicken itself, you’ll want about 1.5 lbs of boneless, skinless chicken breasts. Make sure you slice those horizontally so they are nice and thin, about 1/2 inch thick cutlets. You need 2 cups of buttermilk and a splash of hot sauce for the marinade. You can read all about why buttermilk is my jam for buttermilk marinated chicken cutlets right here!
Now for the breading—this combo locks in moisture and creates that shatteringly crisp breading: 2 cups of all-purpose flour mixed with 1/2 cup of cornstarch. Flavor-wise, we’re adding 1 tablespoon of paprika, 1 teaspoon each of garlic powder and onion powder, plus salt and pepper.
Finally, the sauce requires 1/4 cup mayonnaise, 2 tablespoons sour cream, 2 cloves garlic that you’ve minced really fine, a teaspoon of lemon juice to keep it bright, and just a pinch of salt. For assembly, grab 12 slider buns, some butter for toasting, and your favorite dill pickle chips. That’s the lineup!
Mastering the Buttermilk Marinade for Tender Chicken
Listen, if you’re skipping the buttermilk soak, you’re missing the entire point of why these are restaurant-quality! Buttermilk is magic because its acidity gently breaks down the fibers in the chicken. This is what gives you that tender interior, even after you’ve given the exterior a serious frying session.
For our lovely cutlets, you want to let them chill out in that buttermilk bath for at least an hour. That’s the minimum time to see real tenderizing action. But honestly? If you have the time, let them marinate for up to four hours. I usually prep my chicken first thing in the morning if I plan on making these for game night!
Here’s a little trick I learned: If you want to amp up the heat inside the flavor profile, throw a teaspoon of cayenne pepper right into that buttermilk with the hot sauce. It subtly infuses the chicken, so you get spice in every single bite, not just from the topping. Don’t just soak it; let that buttermilk *work*!
How to Make Crispy Chicken Breading for Perfect Crispy Chicken Sliders with Garlic Sauce
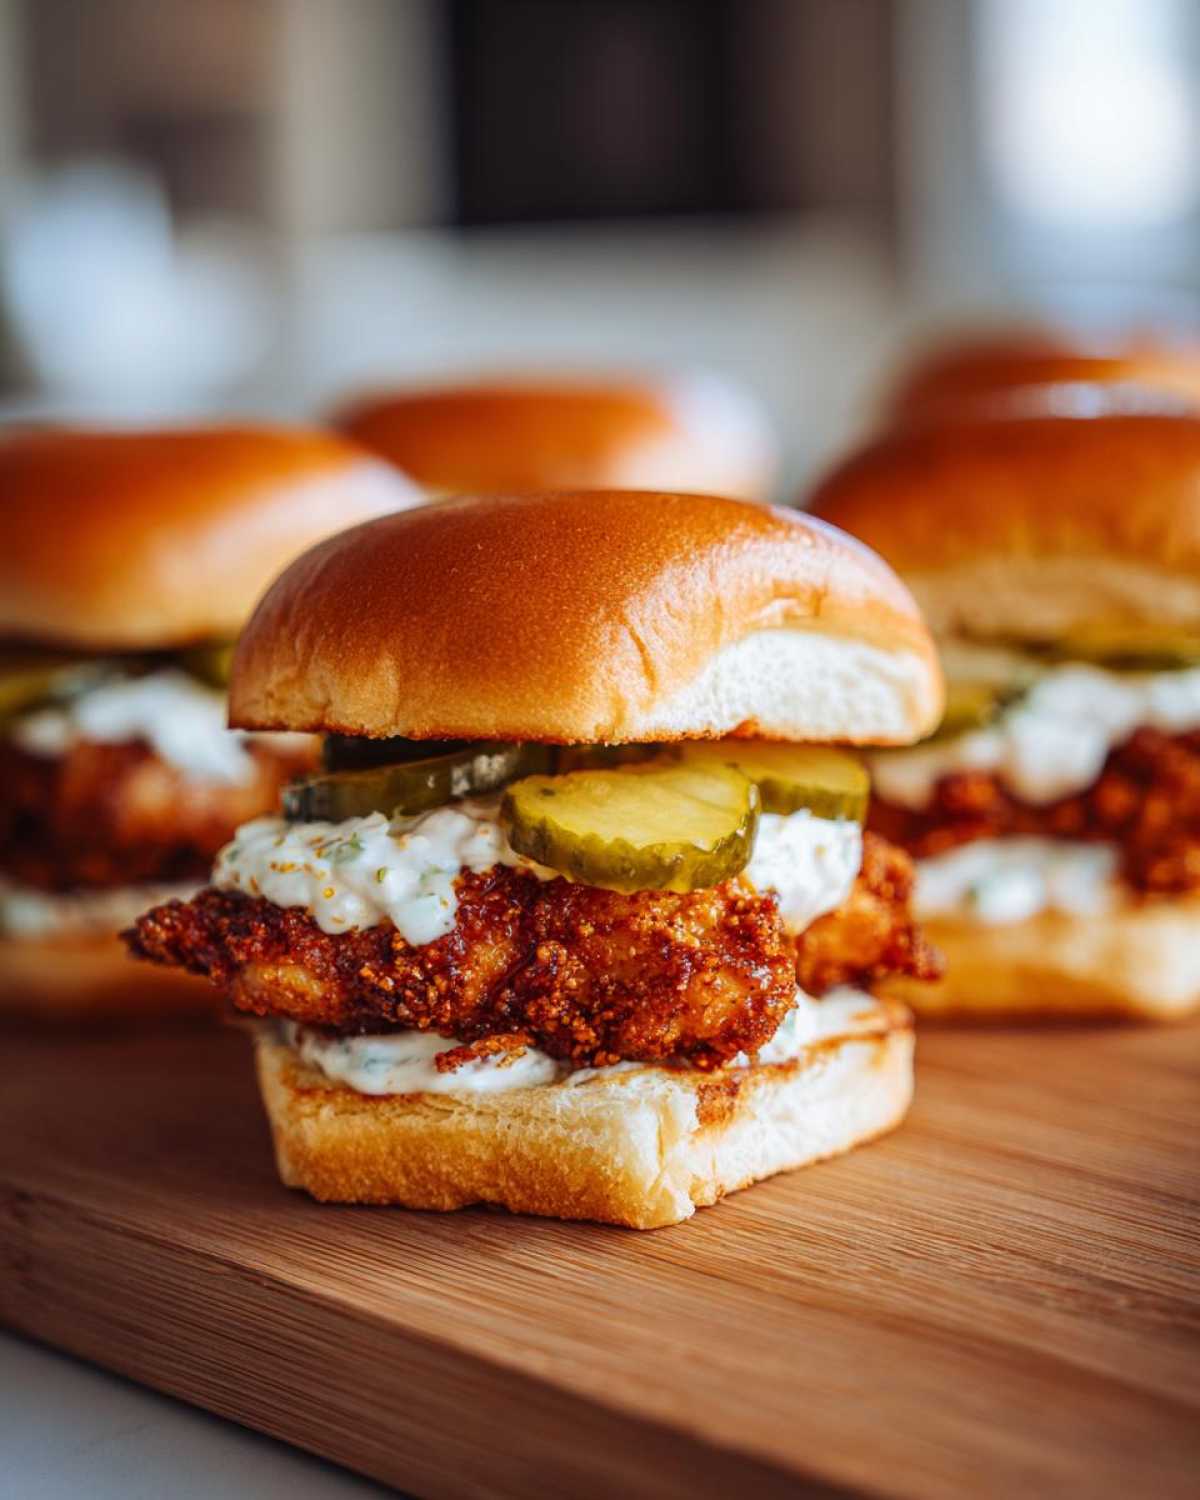
This is where the noise happens! We need craggy, thick breading that stays put, and that means we can’t just toss the chicken quickly through some flour. We have to work it in there! Grab that shallow dish where you mixed your flour, cornstarch, paprika, garlic powder, onion powder, salt, and pepper. That cornstarch is our secret weapon for extra crispiness, so don’t skip it!
Once the chicken drips off the buttermilk, you press it firmly into that dry mixture until it’s totally coated. Now, for the maximum crunch everyone craves in their Crispy Chicken Sandwich Recipe: dip that floured piece right back into the buttermilk just for a second—don’t let it soak!—and then dredge it one more time in the flour. That double-dredge technique builds up those wonderful craggy edges.
Here is the pro tip you need for superior adherence, which I reference over on my guide on how to make crispy chicken breading: After you have dredged all your cutlets, lay them out on a clean wire rack. Let them chill there, untouched, for about ten minutes before they hit the hot oil. This period lets the coating really settle and glue itself to the meat. If you skip this rest, your beautiful breading might just fall right off in the fryer. Trust me on this one—it makes all the difference for your Crispy Chicken Sliders with Garlic Sauce!
Homemade Garlic Sauce for Chicken: The Secret Flavor Layer
This sauce is what puts these sliders over the top! Honestly, I barely even make my own mayo anymore because this simple topping is so addictive. It’s a *Garlic Mayo Topping for Sandwiches* that actually tastes fresh and bright, not heavy and dull. We’re stirring together 1/4 cup of mayonnaise—use the good stuff, okay?—with 2 tablespoons of sour cream. The sour cream is key; it adds a little tang that cuts through the richness of that fried chicken.
Next, you need that potent flavor. Grab two cloves of garlic and mince them as fine as you possibly can. Clumps of raw garlic are no good here! Mix that minced garlic, a teaspoon of fresh lemon juice for zing, and just a pinch of salt into the mayo and sour cream base. Whisk it until everything is totally smooth. You can find my full breakdown of why this Homemade Garlic Sauce for Chicken recipe is the best right here, but seriously, ten minutes max and you have the perfect partner for your crispy chicken.
Cooking Methods: Achieving Restaurant Quality Crispy Chicken Sliders with Garlic Sauce
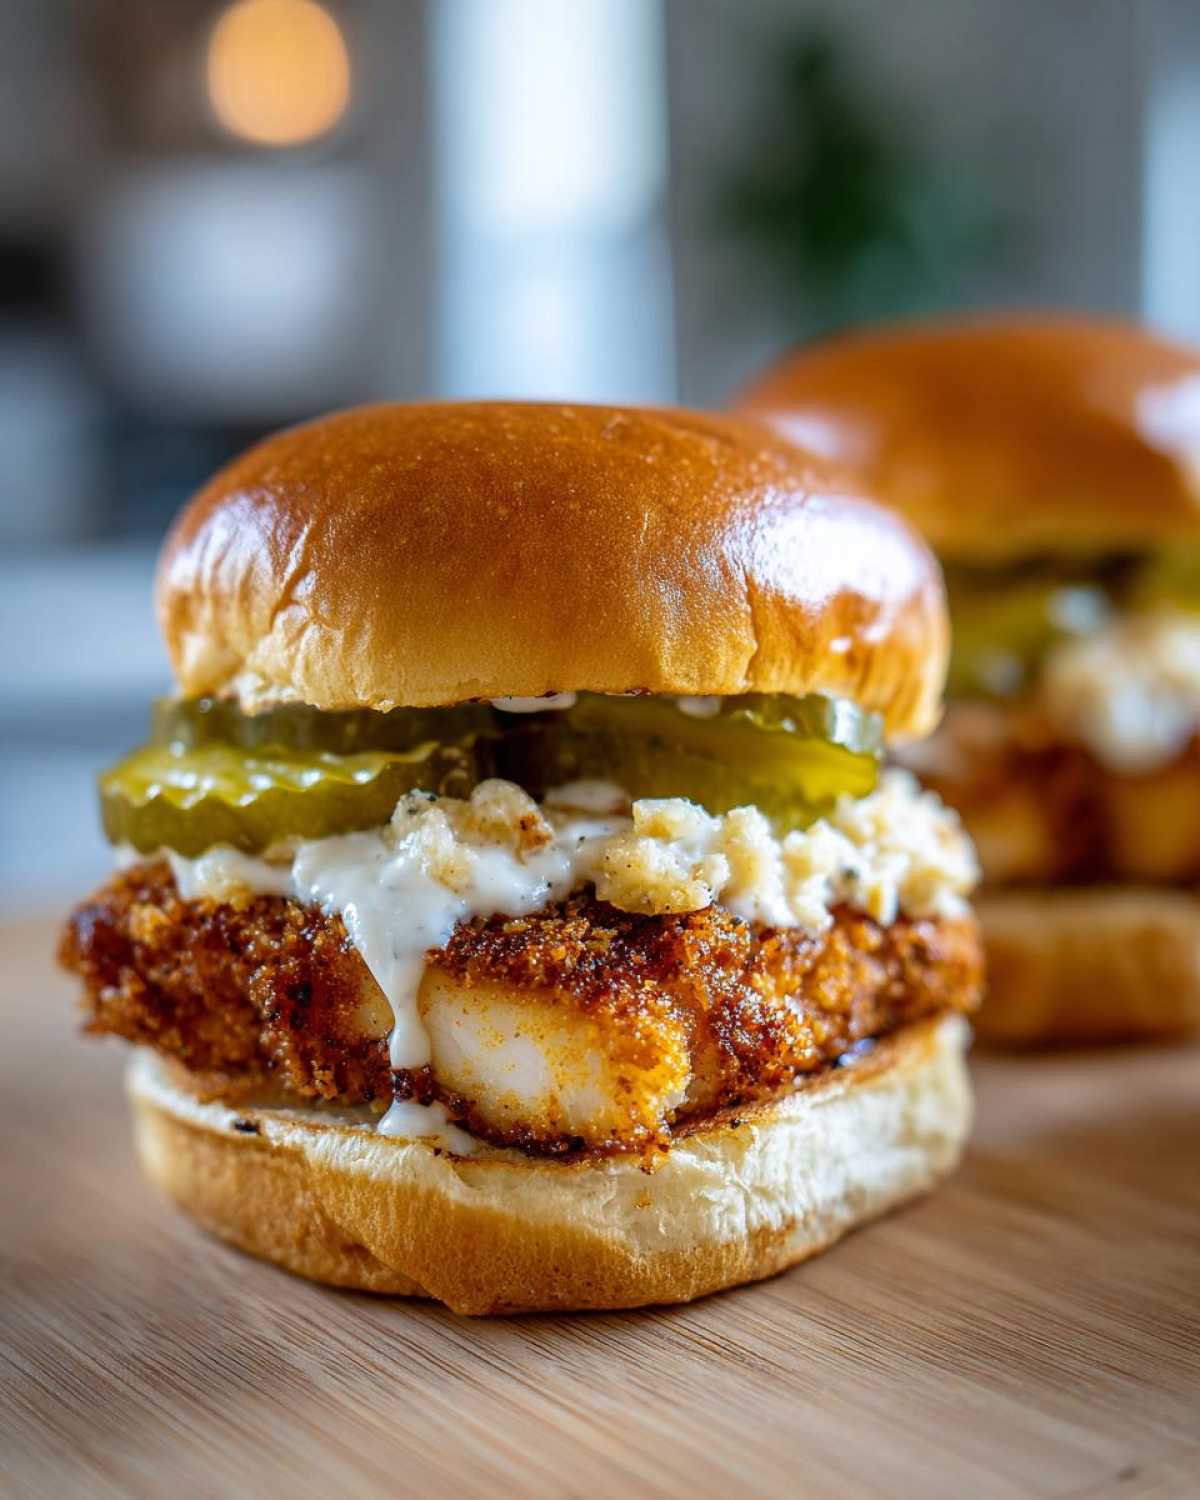
We put all this work into the marinade and the crispy breading, so we absolutely cannot let down the final step! You have two great routes to perfect chicken cutlets: traditional frying or taking the lighter route with the air fryer. If you go for frying, you need a good inch of vegetable oil in a deep skillet heated to exactly 350°F (175°C). Don’t guess the temperature; use a thermometer! You’ll fry these beauties in batches so you don’t drop the oil temp. Four to six minutes per side should get them perfectly golden brown and, crucially, cooked through to 165°F (74°C) internally—always check that temp for safety!
If you’re aiming for my preferred low-mess solution, dust off that air fryer! Preheat it to 390°F (200°C). You might need a light spritz of cooking spray if your coating looks a little dry, but otherwise, they just go right in. Air frying takes about 12 to 15 minutes total, just remember to flip them halfway through so both sides get that fantastic color.
No matter which method you choose, the rule is the same: NEVER drain them on paper towels! Those towels trap steam, and steam is the enemy of crispiness. Always move the cooked chicken straight onto a wire rack. This allows air to circulate all around the cutlet, keeping that hard-earned crunch intact while you toast those buns. For more air fryer goodness, check out my guide on Air Fryer Crispy Chicken Sliders!
Assembly Tips for the Best Crispy Chicken Sliders with Garlic Sauce
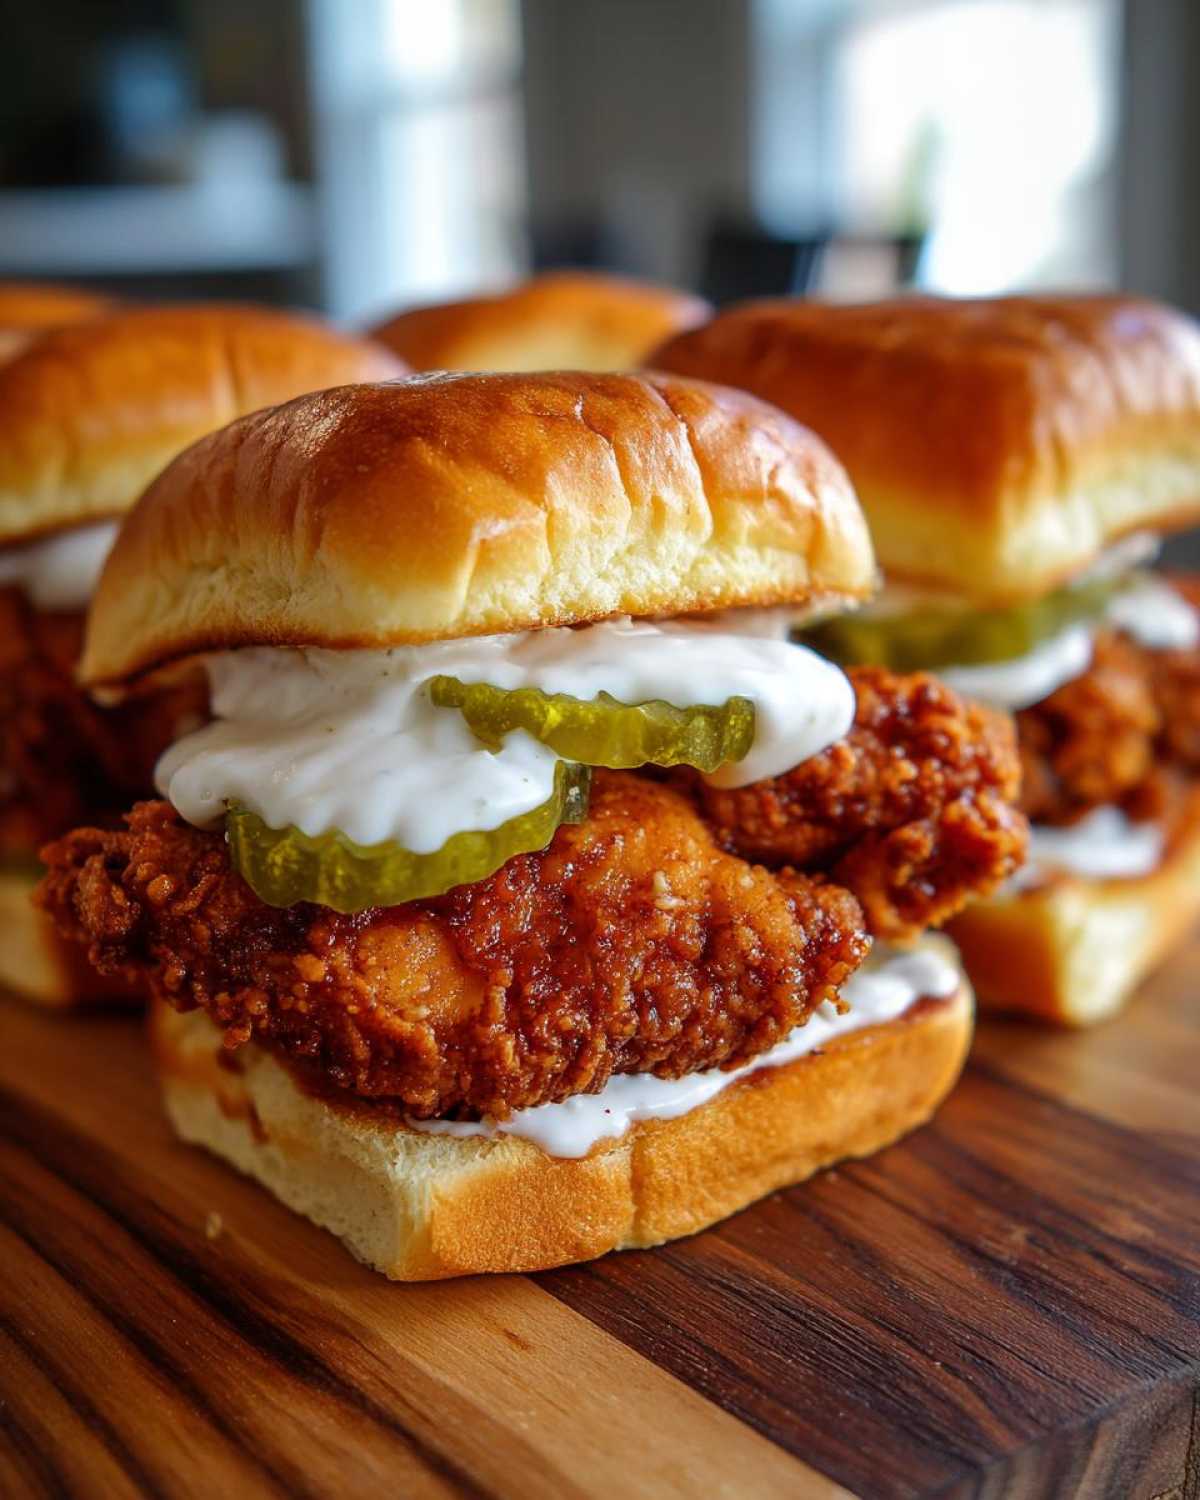
The moment of truth! After all that frying and sauce mixing, putting these incredible Crispy Chicken Sliders with Garlic Sauce together has to be done right. First things first: we honor the bread. Take those slider buns—I always grab brioche or potato buns because their softness is the perfect contrast to the crunch—slice them open, and lightly spread butter on the cut sides. Then, toast them! I quickly sear them face-down in a dry skillet until they are barely golden, or you can just use the broiler for a minute. Toasting keeps the bottom bun from getting soggy when the juices and sauce start working their magic.
Layering is simple, but order matters. Start with the bottom bun. Place your piping hot, crispy chicken cutlet right on top. Don’t be shy with that chicken, it should fill the bun nicely! Next, add your essential topping: a few crisp dill pickle chips, just like the recipe called for. They bring that necessary sharp, vinegary bite. Finally, take the top bun and slather a generous amount of that homemade garlic sauce right on it. Close it up, and serve immediately while the chicken is still sizzling. That’s how you build a perfect, restaurant-style slider!
Tips for Success and Variations on Crispy Chicken Sliders
I know these Crispy Chicken Sliders with Garlic Sauce are already fantastic, but why stop there? We’re always looking to make things our own, right? My notes section always had great reminders about technique. The most important thing I want you to remember is letting that breaded chicken rest on the rack for 10 minutes before cooking. Seriously, that stops the breading from dropping off into your oil!
Also, remember that tip about the buns? Please go for potato or brioche buns. Their softness is essential for the texture contrast we’re seeking. If you want to shake things up, try swapping out those dill pickles for a creamy coleslaw right on top of the chicken—it’s amazing!
And if you’re wondering about taking the spice level up, you have two options. You can always punch up the hot sauce in that initial buttermilk soak, or for a completely different flavor profile, check out how I make my spicy version when I go full-on flavor bomb, like in this Buffalo chicken sliders recipe adaptation. Keep experimenting!
Frequently Asked Questions About Crispy Chicken Sliders
I know you’re probably already thinking about leftovers, or maybe how to prep for your next party! Don’t worry, I’ve answered the most common questions I get about these Crispy Chicken Sliders with Garlic Sauce so you can serve them up perfectly every time. If you’re looking for more easy meals, check out my full list of easy chicken slider recipes!
Can I prepare the chicken ahead of time for these Crispy Chicken Sliders with Garlic Sauce?
Oh, you totally can! For the absolute best crunch, I recommend marinating the chicken the day before, but only breading it right before you plan to cook. If you need to get ahead, bread the chicken entirely, lay it on a rack, and freeze it solid. Then, cook straight from frozen (you’ll just need a few extra minutes in the fryer or oven!).
What is the best way to reheat leftover crispy chicken?
Please, for the love of crispiness, do not use the microwave! Microwaves turn that incredible breading into sad, soggy mush instantly. The best way to resurrect leftovers is in the air fryer at about 375°F for 4 to 6 minutes until it’s hot all the way through. If you don’t have an air fryer, a standard oven or toaster oven on a wire rack set to 375°F works nearly as well!
Can I make a spicy version of the Homemade Garlic Sauce for Chicken?
Absolutely! That’s my favorite variation. If you want that extra kick in your Homemade Garlic Sauce for Chicken, it’s super easy to modify. While the lemon juice is in there, just whisk in about a teaspoon or two of Sriracha or maybe a tiny bit of chipotle powder if you like smokiness. Taste as you go; you want the garlic flavor to still lead, but those hot additions are super welcome!
PrintCrispy Chicken Sliders with Garlic Sauce
Make restaurant-quality crispy chicken sliders featuring a simple homemade garlic sauce, perfect for game days or quick meals.
- Prep Time: 20 min
- Cook Time: 20 min
- Total Time: 40 min
- Yield: 12 sliders
- Category: Lunch
- Method: Frying or Air Frying
- Cuisine: American
- Diet: Low Fat
Ingredients
- 1.5 lbs boneless, skinless chicken breasts, sliced horizontally into 1/2 inch thick cutlets
- 2 cups buttermilk
- 1 tablespoon hot sauce
- 2 cups all-purpose flour
- 1/2 cup cornstarch
- 1 tablespoon paprika
- 1 teaspoon garlic powder
- 1 teaspoon onion powder
- 1 teaspoon salt
- 1/2 teaspoon black pepper
- Vegetable oil, for frying (or cooking spray for air fryer)
- 12 slider buns
- Butter, softened
- Dill pickle chips, for topping
- 1/4 cup mayonnaise
- 2 tablespoons sour cream
- 2 cloves garlic, minced
- 1 teaspoon lemon juice
- Pinch of salt
Instructions
- Place the chicken cutlets in a bowl. Pour buttermilk and hot sauce over the chicken. Cover and refrigerate for at least 1 hour, or up to 4 hours.
- In a shallow dish, whisk together the flour, cornstarch, paprika, garlic powder, onion powder, salt, and pepper for the dredge.
- Remove chicken from the buttermilk, letting excess drip off. Dredge each piece thoroughly in the flour mixture, pressing firmly to coat. For extra crispiness, dip the floured chicken back into the buttermilk briefly, then dredge again in the flour mixture.
- Prepare the garlic sauce: In a small bowl, mix the mayonnaise, sour cream, minced garlic, lemon juice, and a pinch of salt. Set aside.
- Heat about 1 inch of vegetable oil in a deep skillet to 350°F (175°C). Alternatively, preheat your air fryer to 390°F (200°C).
- Fry the chicken in batches for 4-6 minutes per side until golden brown and cooked through (internal temperature of 165°F/74°C). If air frying, cook for 12-15 minutes, flipping halfway. Drain cooked chicken on a wire rack.
- Lightly butter the cut sides of the slider buns. Toast them in a dry skillet or under the broiler until lightly golden.
- Assemble the sliders: Place a piece of crispy chicken on the bottom bun. Top with a few pickle chips. Spread a generous amount of garlic sauce on the top bun and place it on top. Serve immediately.
Notes
- For the crispiest result, let the dredged chicken rest on a wire rack for 10 minutes before frying. This allows the coating to adhere better.
- Use brioche or potato slider buns for a soft texture contrast to the crispy chicken.
- If you prefer a spicy kick, add cayenne pepper to the flour dredge or increase the hot sauce in the marinade.
Nutrition
- Serving Size: 1 slider
- Calories: 350
- Sugar: 4
- Sodium: 650
- Fat: 18
- Saturated Fat: 4
- Unsaturated Fat: 14
- Trans Fat: 0
- Carbohydrates: 28
- Fiber: 1
- Protein: 22
- Cholesterol: 75