

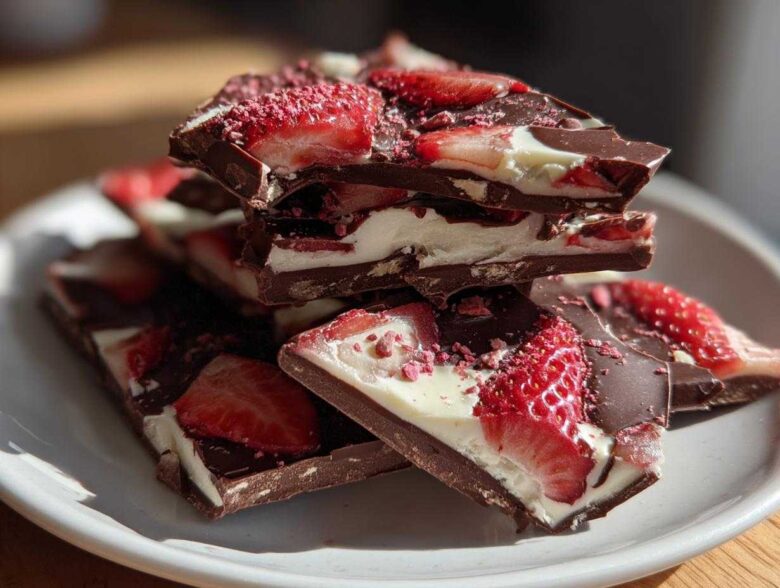
Oh my goodness, do I have a treat for you today! If you’re anything like me, you love making desserts that look like you spent forever fussing over them, but really, only took about fifteen minutes of active work. You know, the kind of thing that makes people ask, “Wait, you made that?!” That’s why I’m obsessed with this Chocolate Covered Strawberry Bark. It’s truly the ultimate no-bake chocolate treat, especially when you need something sweet in a hurry.
I perfected this recipe after a disastrous attempt at making fancy chocolate truffles last Christmas. Seriously, it was a sticky mess! I realized I don’t need temperamental stovetop work to impress my guests. This bark is different. With just a baking sheet and a microwave, we get gorgeous layers of rich chocolate and bright, fresh strawberries. Trust me, the prep time is tiny, and the jaw-dropping results are huge! For other quick flavor boosters around the kitchen, you should check out how I whip up my easy homemade garlic butter for weeknight meals.
Why This Chocolate Covered Strawberry Bark Recipe Works So Well
Honestly, this is the recipe I turn to when I need a last-minute showstopper. It ticks all the boxes for an easy win in the kitchen. You don’t even need an oven, which makes it fantastic for hot days or when my oven is already full of something else!
- It’s one of the best no bake chocolate treats! No fuss, no complicated melting techniques required.
- It’s the perfect quick homemade candy when you need something impressive for a party tray or holiday gift giving.
- The combination of fruit and chocolate makes it feel decadent, but it’s truly one of the simplest simple dessert ideas out there.
Essential Ingredients for Perfect Chocolate Covered Strawberry Bark
When you’re making a recipe with only a handful of components, listen to me: quality matters! For this layer of fudgy brownie cookies perfection, we need proper chocolate to get that truly decadent strawberry chocolate flavor we’re aiming for. See, you don’t need to stress about tempering—if you buy good chips, they melt beautifully right in the microwave!
Here is exactly what you need gathering on your counter for this batch:
- 12 ounces semi-sweet chocolate chips
- 8 ounces white chocolate chips
- 1 tablespoon coconut oil
- 1 cup fresh strawberries, thinly sliced
- 1 teaspoon freeze-dried strawberry powder (optional, for dusting)
Ingredient Notes and Substitutions for Strawberry Bark
Let’s talk about the additions. The coconut oil is our secret weapon here; it helps the chocolate melt smoothly and gives the final bark that perfect snap when you break it. Don’t skip it, or your chocolate might seize up on you! If you don’t have semi-sweet, feel free to use milk chocolate, or if you’re brave, high-quality dark chocolate, though it will be less sweet overall.
The fresh strawberries need to be sliced thin—think paper-thin if you can manage! If you are making this out of strawberry season, you can totally skip the fresh ones and just rely on the freeze-dried powder for flavor, but you’ll miss that gorgeous texture contrast. Keep that powder handy, though; even a little dusting on top adds a pop of color and intense strawberry flavor without adding extra moisture that could ruin your set.
How to Make Chocolate Covered Strawberry Bark Step-by-Step
Okay, this is where the magic happens, but seriously, don’t stress—this is the easiest layering process you’ll ever do! We’re building this puppy right on the parchment paper, which is what makes cleanup such a breeze. We’re going to handle one chocolate layer at a time, so don’t mix anything until I tell you to. Get your sheet ready first; just line a baking sheet with parchment paper and have it handy nearby. That way, when the chocolate is perfectly melted, you can move fast!
Melting and Creating the Base Layer of Chocolate Covered Strawberry Bark
First up, the dark, luscious semi-sweet layer. Put your semi-sweet chips and that little bit of coconut oil in a microwave-safe bowl. Now, here’s the key to preventing that awful scorched chocolate taste: don’t zap it for a full minute! Microwave it for 30 seconds, pull it out, and stir, stir, stir, even if it doesn’t look melted yet. Repeat that 30-second burst and stir again until it’s smooth and glossy.
Once it’s like liquid velvet, dump it onto your prepared parchment paper. Grab an offset spatula—that’s my favorite tool for this—and spread it quickly into an even layer. Aim for about a quarter of an inch thick. If you go too thin, it’ll snap into tiny shards, and if you go too thick, it takes forever to set up. This is the structure for our beautiful chocolate bark recipe, so make it look nice and even!
Layering Strawberries and Setting the Layered Chocolate Bark
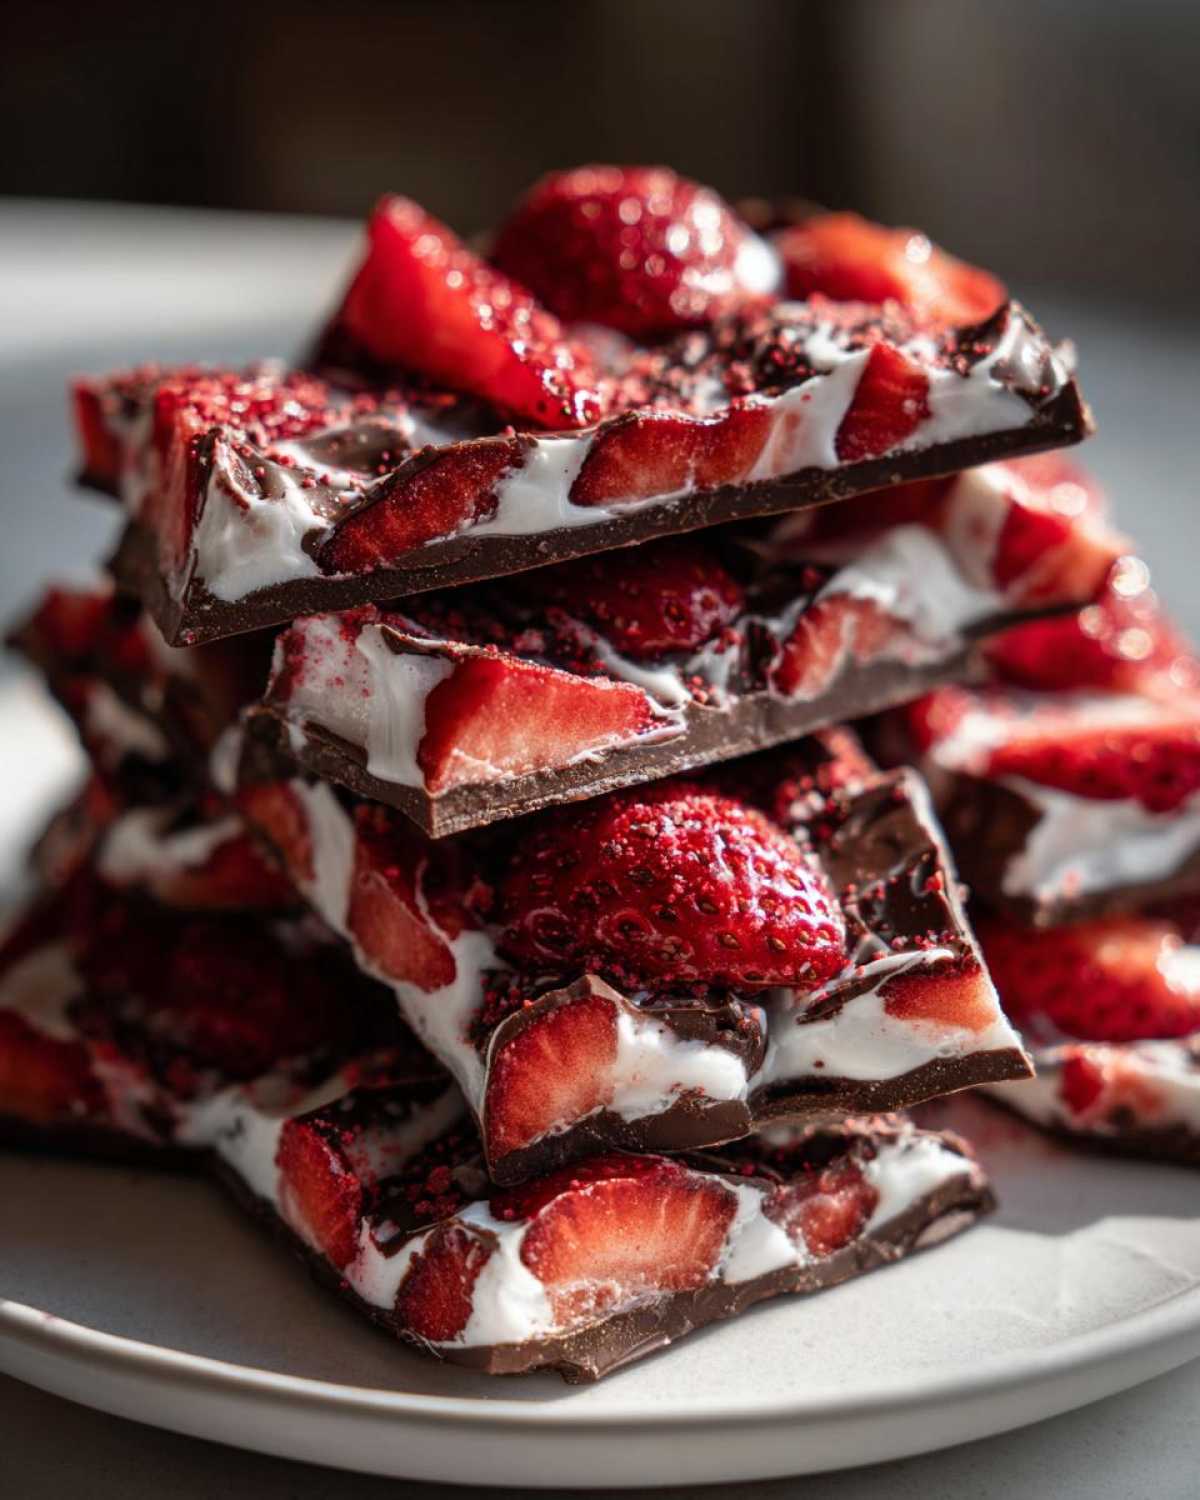
Next, before the semi-sweet layer has a chance to fully set up (but after it’s stopped being scorching hot), you need to place those thinly sliced fresh strawberries across the top. Spread them out evenly; you want a good distribution of fruit in every piece, right? Press them down just slightly so they stick into the chocolate a tiny bit. This helps them stay put!
Now for the creamy top layer. Melt your white chocolate and the remaining teeny bit of coconut oil using the exact same 30-second interval method we used before for the base. Gently pour or drizzle this over the strawberries. You might have to spread this second layer a bit more carefully to make sure all the fruit is covered. If you have that optional freeze-dried powder, now is the time to dust it lightly over the top for a pop of color!
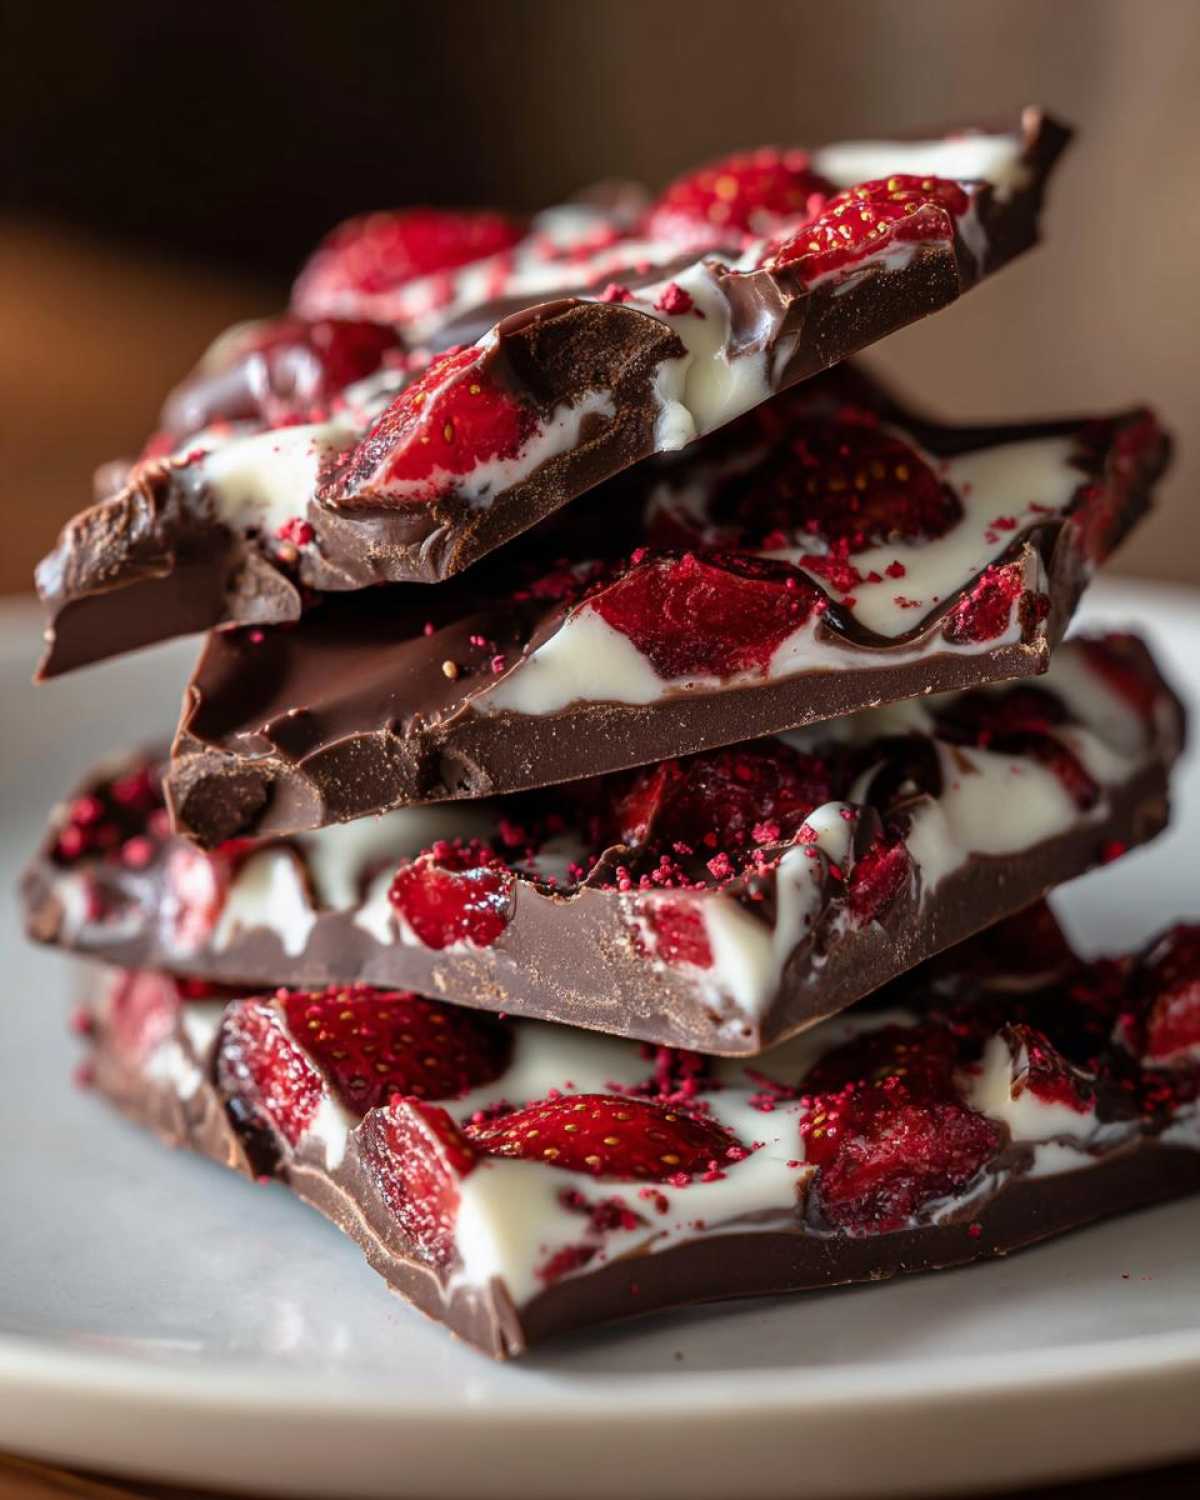
This layered chocolate bark needs time to solidify, so pop that whole baking sheet into the refrigerator. You’ll want it in there for at least a full hour until it’s totally firm to the touch. If you’re impatient like me, you can pop it in the freezer for 20 minutes after the first hour in the fridge just to speed things along!
Expert Tips for Perfect Chocolate Covered Strawberry Bark
Okay, we’ve covered the assembly, but the difference between chunky, sticky chocolate and gorgeous, snappy candy pieces really comes down to a few little insider tricks! Since we aren’t tempering the chocolate here, we’re relying on the quality of the chips and the chilling process to give us that beautiful texture. I cannot stress this enough: use the best melting chocolate you can afford! If you use cheap stuff, you get a dull finish and flavor. We want that vibrant, deep color in our chocolate bark recipe.
A common panic point is seeing the red juice from the strawberries start to bleed into the white chocolate layer. This usually happens if your semi-sweet layer isn’t completely set yet, or if the strawberries weren’t patted totally dry. I always give my sliced berries a quick, gentle pat-down with a paper towel before layering them. It takes an extra minute, but it stops the color migration dead in its tracks.
Achieving Clean Breaks in Your Strawberry Bark Recipe
Getting those perfectly irregular, sharp-looking pieces of bark—that’s pure satisfaction! It all comes down to temperature control during chilling. Remember, we chilled it for at least an hour in the fridge, right? Once it’s totally solid, you need to pull it out and *let it sit on the counter for about five minutes* before you try to break it. If it’s too cold, the chocolate will crack shatteringly, which looks messy rather than artisanal.
When it’s ready, lift the whole sheet of parchment paper off the tray. Place it on a sturdy countertop. Don’t use a knife for this whole part; we want those beautiful, rustic edges! Just start by applying pressure with your hands near the center and push outwards. The snap should be clean and decisive. If it bends instead of breaking, it needs another 15 minutes back in the fridge. Getting the right texture for a clean break is the final hurdle for perfect holiday chocolate bark pieces!
Storage and Keeping Your Homemade Strawberry Candy Fresh
Alright, we’ve made this gorgeous creation, but now we have to deal with the sad reality: how long does it actually last? Since this is a chocolate-heavy recipe using fresh fruit, proper storage is absolutely key to keeping your beautiful chocolate covered fruit recipe tasting perfect and looking snappy!
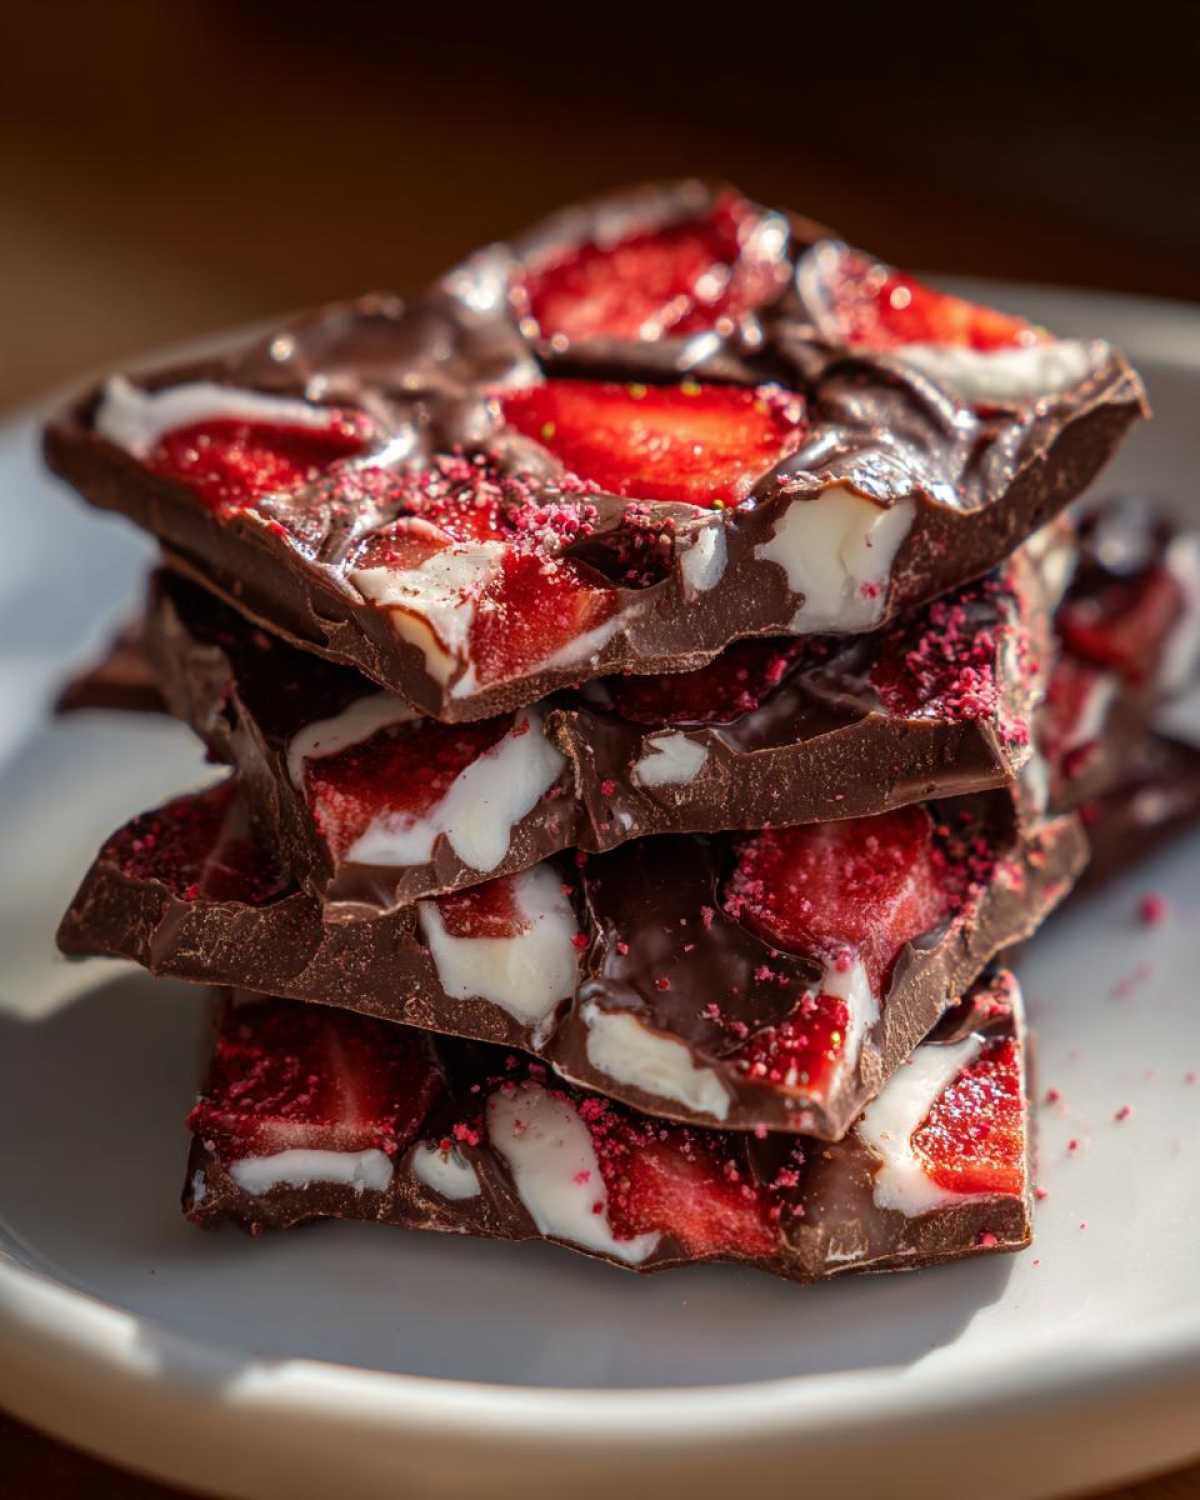
Because we used fresh strawberries, this candy doesn’t last as long as pure chocolate bark might, but it’s still pretty sturdy if you keep it cool. You must store the finished pieces in an airtight container. I try to put a small piece of wax paper between layers of bark if I’m stacking them, just to make sure those layers don’t stick together, especially if you used a glaze, though mine usually just has a little powdered sugar left on top.
Here’s the big rule: Keep it in the refrigerator! Chocolate hates humidity, and ambient room temperature, especially in the summer, can make it soften up and get that white, streaky film—that’s called blooming, and we definitely don’t want that dulling the shine of our homemade strawberry candy.
When you keep it chilled and sealed up tight, it stays fresh and delicious for up to a week. If you pull it out to serve, try not to leave it sitting on the counter for hours and hours. If you’re making this way ahead for a big event, I suggest waiting to break it until the day before and keeping it sealed in the fridge until about 20 minutes before serving. That little bit of time lets the flavors bloom without turning your candy soft!
Serving Suggestions for This Easy Chocolate Dessert
Now that you have your beautiful, snappy bark, how should you present this masterpiece? Honestly, because it looks so elegant with the bright red strawberries peeking through the dark and white chocolate, it really doesn’t need much help! But if you’re building out a whole spread, this bark is a superstar.
If you’re making this for Valentine’s Day, of course, it goes without saying it’s a perfect Valentine S Day candy recipe. Just arrange the pieces artfully on a white platter—the contrast is stunning! People love breaking off their own pieces; it feels communal and fun.
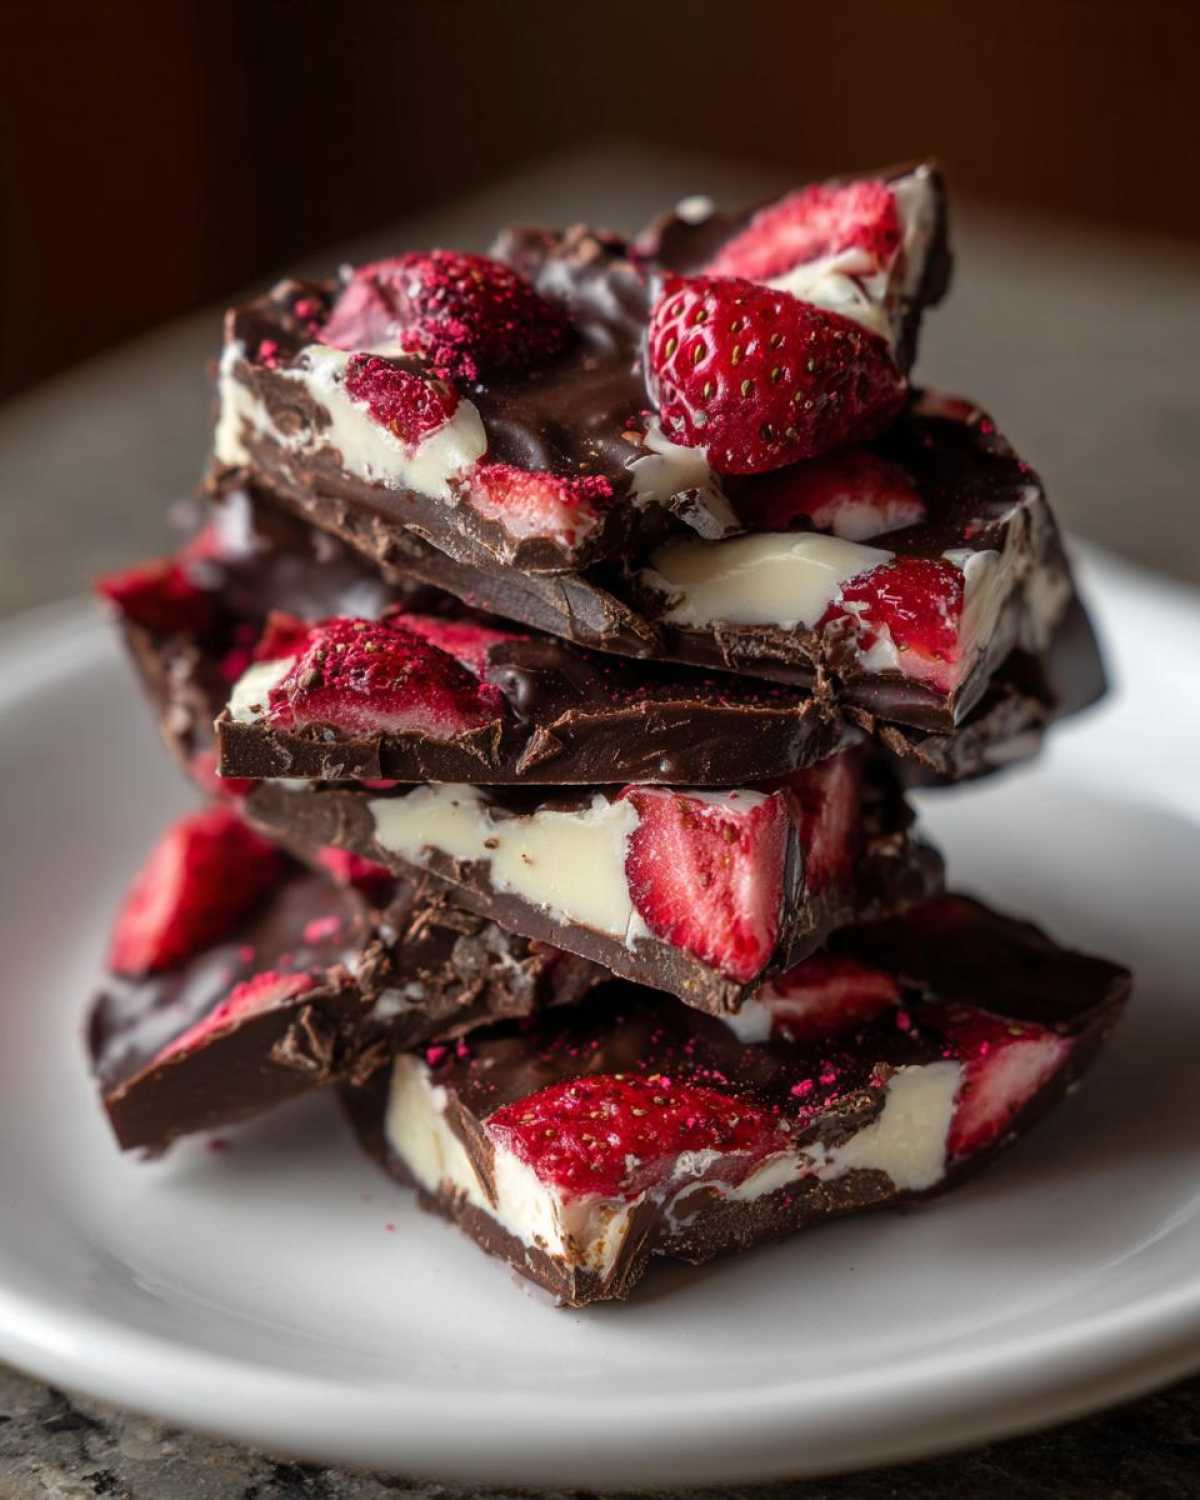
This is one of those amazing party dessert board ideas because it’s finger food that doesn’t need utensils! I love setting it out next to some really rich, dark coffee or maybe a mug of hot chocolate during the winter months. The slightly tart strawberry cuts through the richness of the chocolate so perfectly, making it a great palate cleanser between richer desserts.
For an extra fancy look, you can arrange the pieces in a tall glass jar, almost like hard candy, and tie a nice velvet ribbon around the neck. Give it to neighbors or friends—they’ll think you bought it from an expensive candy shop. It’s truly the easiest showstopper!
Frequently Asked Questions About Chocolate Covered Fruit Recipe
It’s so common to have little questions pop up when you’re trying a new candy recipe, especially when you’re dealing with fruit and chocolate! I’ve gathered up the ones I get asked most often about making our simple chocolate covered fruit recipe. Hopefully, these clear things up so you can get straight to the fun part!
Can I use frozen strawberries instead of fresh for the Chocolate Covered Strawberry Bark?
This is the first question everyone asks, and I have to say, please, please try to avoid using frozen strawberries if you can! When frozen strawberries thaw, they weep, right? They release a ton of water that we absolutely do not want seeping into our beautiful chocolate layers. That extra moisture will absolutely destroy your set, making your bark soft, sticky, and liable to melt right through your parchment paper. If you can’t get fresh ones that look perfect, freeze-dried is a much better alternative for adding that strawberry flavor punch without the water content. We need that clean snap for a good chocolate bark recipe!
What is the best type of chocolate to use for this No Bake Chocolate Treats recipe?
For this recipe, I rely on high-quality chocolate chips because they are formulated specifically to melt easily and set up well without tempering, which keeps this a true no bake chocolate treat. Most major brands of baking chips work great—semi-sweet for the bottom and white chocolate for the top.
Now, if you are wanting to be a real purist, you can certainly use bars of real chocolate (like couverture chocolate) that you chop up yourself. If you use those, you might find you need to add a tiny bit more coconut oil to get the right consistency. If you use those cheaper melting wafers, you might notice the final snap isn’t as clean, but they work in a pinch if you’re in a real hurry!
Nutritional Estimate for This Simple Dessert Idea
Now, I’m not a nutritionist, so take these numbers with a grain of salt—or maybe a tiny sprinkle of that freeze-dried strawberry powder we talked about! But if you’re tracking things, I pulled these estimates straight from the recipe details. Since this is a rich, decadent treat, it’s best enjoyed in moderation, even though it’s one of my go-to easy egg bites high protein copycat recipe stand-ins when I need a little pick-me-up!
These numbers are based on splitting the entire batch (using the ingredients listed) into 8 nice, generous pieces. Remember, every batch can vary slightly depending on the brand of chocolate you use and how thick you spread that first layer!
- Serving Size: 1 piece
- Calories: approx. 280
- Total Fat: 18g
- Saturated Fat: 11g
- Total Carbohydrates: 30g
- Protein: 4g
It’s certainly a splurge in the sugar department (28g!), which is expected in a candy recipe like this one, but the good news is there’s a little fiber working for you with the strawberries!
Share Your Homemade Strawberry Candy Creations
That’s truly everything you need to know to make this stunning Chocolate Covered Strawberry Bark! I just love how straightforward it is. I hope you loved reading about all my little tips and tricks for getting that perfect snap and the vibrant strawberry layer.
Now, I seriously want to see what you all came up with! Did you crush freeze-dried berries on top? Did you line your pieces up beautifully for a party board? Don’t keep that gorgeous candy to yourself!
Once you pull that tray out of the fridge and break up your first batch of homemade strawberry candy, please come back here and drop a rating! Let me know in the comments just how easy this was and if your family loved it as much as mine does. If you snap a picture of your finished bark, tag me on social media! I always love seeing your creations and getting new ideas for my next kitchen adventure. Happy baking—or in this case, happy chilling!
PrintEasy Chocolate Covered Strawberry Bark
Make simple, no-bake chocolate bark layered with fresh strawberries. This recipe is quick to prepare and sets firm for easy breaking.
- Prep Time: 15 min
- Cook Time: 0 min
- Total Time: 75 min
- Yield: 8 servings
- Category: Dessert
- Method: Chilling
- Cuisine: American
- Diet: Vegetarian
Ingredients
- 12 ounces semi-sweet chocolate chips
- 8 ounces white chocolate chips
- 1 tablespoon coconut oil
- 1 cup fresh strawberries, thinly sliced
- 1 teaspoon freeze-dried strawberry powder (optional, for dusting)
Instructions
- Line a baking sheet with parchment paper. Set aside.
- Melt the semi-sweet chocolate chips and coconut oil together in a microwave-safe bowl in 30-second intervals, stirring well after each interval, until smooth.
- Pour the melted semi-sweet chocolate onto the prepared baking sheet. Use an offset spatula to spread it into an even layer, about 1/4 inch thick.
- Arrange the thinly sliced fresh strawberries evenly over the semi-sweet chocolate layer. Press them down slightly.
- In a separate microwave-safe bowl, melt the white chocolate chips with 1/2 teaspoon of coconut oil using the same method as step 2 until smooth.
- Gently pour or drizzle the melted white chocolate over the strawberries, covering them completely. Spread lightly if needed.
- If using, lightly dust the top with freeze-dried strawberry powder for color.
- Place the baking sheet in the refrigerator for at least 1 hour, or until the chocolate is completely firm.
- Once set, remove the bark from the refrigerator. Lift the parchment paper and break the bark into irregular pieces.
Notes
- Use good quality chocolate for the best flavor.
- If you prefer a thinner bark, use a larger baking sheet.
- Store the finished bark in an airtight container in the refrigerator for up to one week.
- For a faster set time, place the bark in the freezer for 20 minutes after chilling in the refrigerator.
Nutrition
- Serving Size: 1 piece
- Calories: 280
- Sugar: 28
- Sodium: 25
- Fat: 18
- Saturated Fat: 11
- Unsaturated Fat: 7
- Trans Fat: 0
- Carbohydrates: 30
- Fiber: 2
- Protein: 4
- Cholesterol: 5