

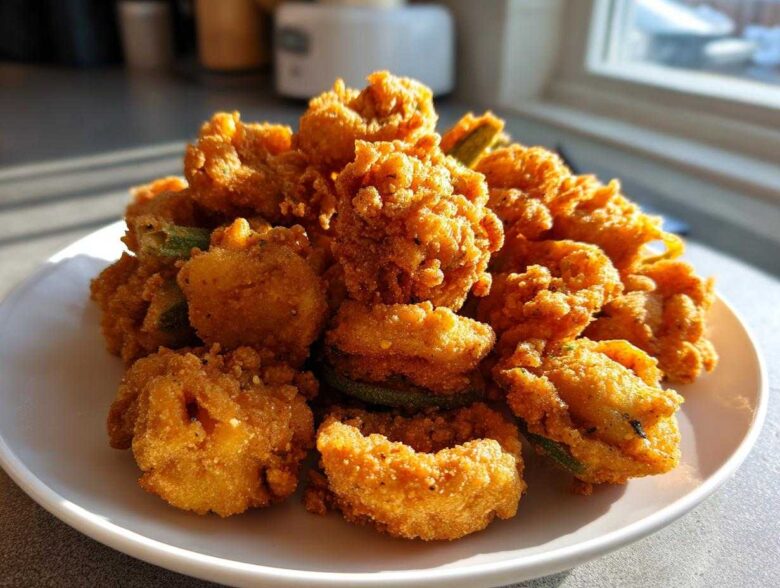
If you think vegetables are boring, you just haven’t had the right ones fried up Southern-style! Owen and I are so excited to share what might be our favorite way to eat a summer veggie: this recipe for the ultimate fried okra. We spent ages perfecting this so you get that satisfying, audible crunch every single time—we’re talking zero sliminess allowed in our kitchen, ever. That’s our promise to you. When the food is this good, it demands a celebration, and here at Hungry Herald, we believe every spectacular meal deserves to be announced! This crispy coating and tender inside makes for a side dish truly worth shouting about. Head over to our About Us page to hear the full story of how dance parties started in our kitchen!
Why This Southern Fried Okra Recipe Delivers Maximum Crunch
You know people always talk about avoiding the slime factor when making fried okra, right? Well, trust Owen and me, we’ve cracked the code! This isn’t just another simple side dish; this is traditional southern cooking dialed up to 11. We focus on texture first. If you follow these two steps religiously, you will get that unbelievable crunch we all crave.
- Check out this technique—it’s all about the prep work before the heat even comes on!
The Buttermilk Soak Secret for Perfect fried okra
The buttermilk isn’t just for flavor, folks! Letting that sliced okra chill out in the dairy for half an hour does heavy lifting. It tenderizes the okra pod just enough so that the coating adheres beautifully. More importantly, leaving that slight wet layer means the cornmeal mix is clinging on for dear life once it hits the hot oil, which is exactly what we want!
Achieving Golden Brown Okra with the Right Dredge
Our coating mix is heavy on the cornmeal, which is key for that signature crunch. When you’re dredging, don’t just toss the okra around! You have to press that mixture into every single little slice. We want a thick, shaggy jacket of coating so that when it fries up, you get that perfect, shatteringly golden brown okra crust.
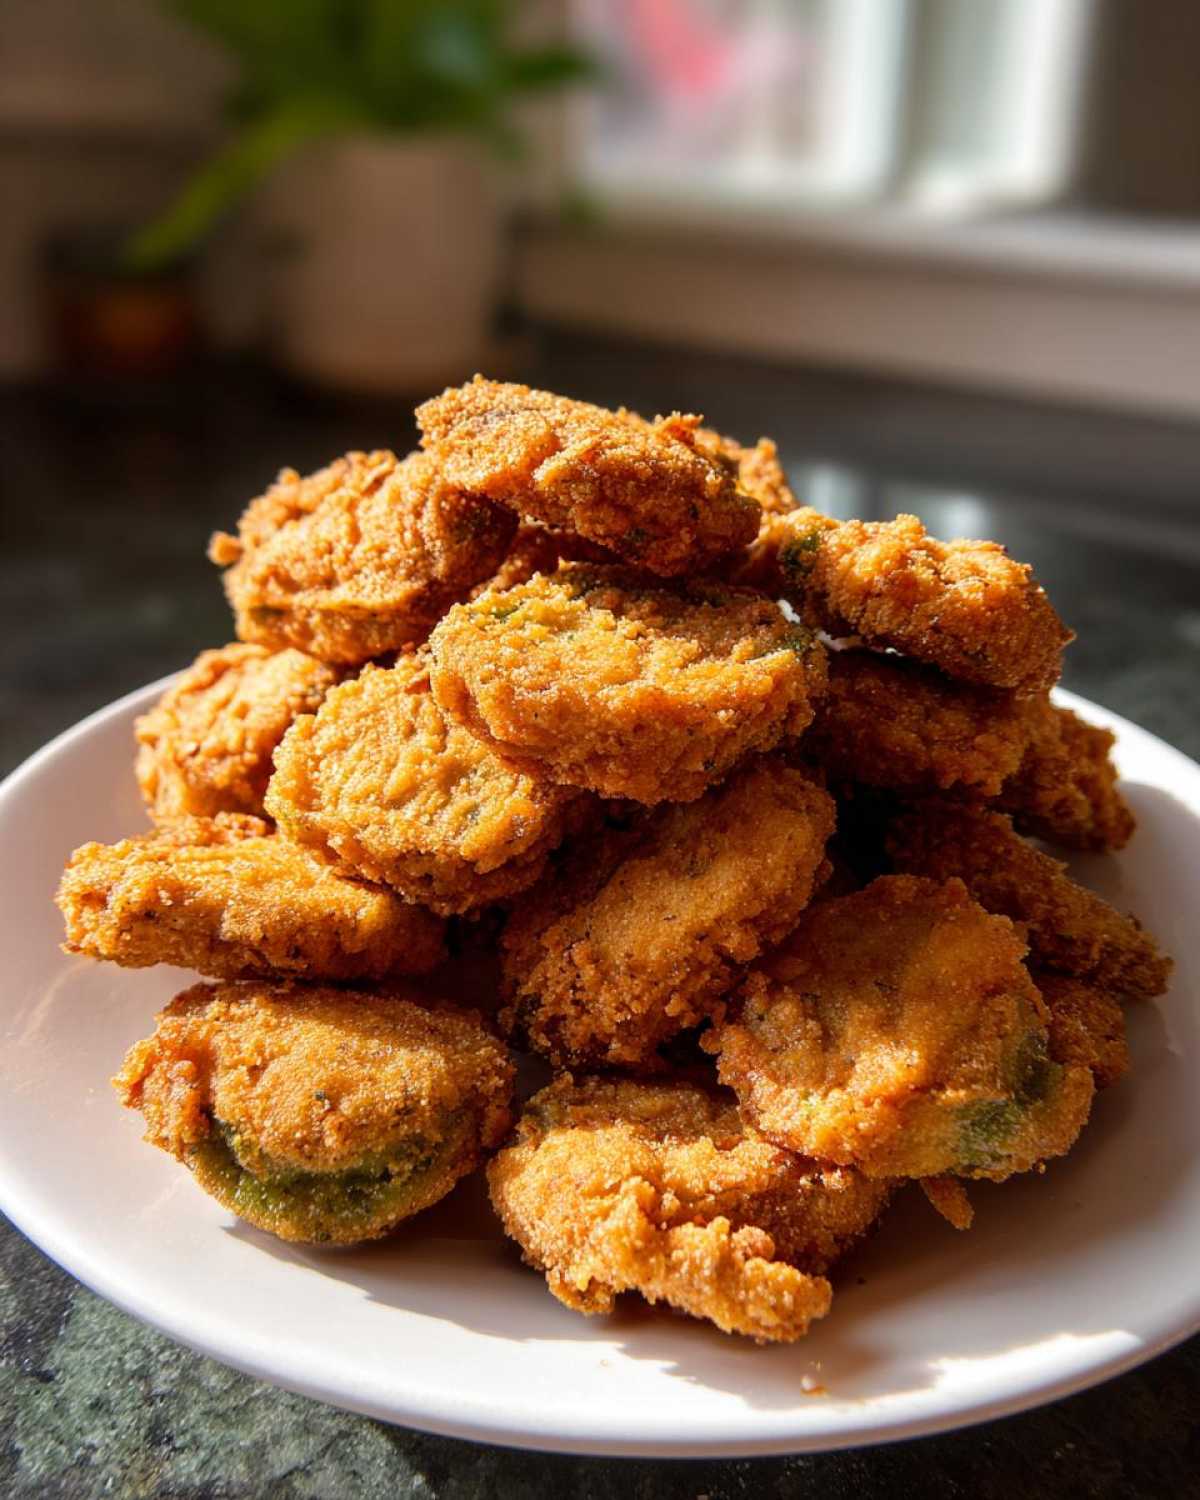
Gathering Ingredients for Your Crispy fried okra
Okay, getting the right stuff together is non-negotiable for the best fried okra experience, right? Don’t go grabbing anything old from the fridge! We need precision here so that coating sticks perfectly. Here is exactly what you need to pull this off. Make sure your okra is fresh—that’s the real secret weapon here!
- 1 pound fresh okra, make sure you wash it well and slice it into nice, even 1/4-inch thick rounds.
- 1 cup of buttermilk—don’t skimp on this soak time!
- 1 cup yellow cornmeal (this is the crunch maker!).
- 1/2 cup all-purpose flour
- 1 teaspoon salt
- 1/2 teaspoon black pepper
- 1/2 teaspoon garlic powder
- 1/4 teaspoon paprika (for just a hint of color and warmth)
- Plenty of vegetable oil for frying—you need enough to properly cover the bottom of the skillet!
Step-by-Step Instructions for Easy fried okra
Alright, this is where the magic happens! Don’t panic about the oil; if you follow these steps carefully, you’ll have the most flavorful, easy fried okra imaginable. We break it down so you can focus on making sure that oil stays hot! Remember, temperature control is everything if you want that true Southern texture.
Preparing the Okra and Buttermilk Soak
First, make sure your okra is sliced nice and neat—about 1/4 inch thick is perfect. Now, pour all that buttermilk over the top and give it a good stir. You want every single piece coated! Now, step away. You have to let this soak for at least 30 minutes. Seriously, don’t rush this part; this soak is your insurance policy against any potential sliminess breaking out later.
Mixing the Seasoned Cornmeal Dredge
While the okra is getting happy in the buttermilk, whisk together your cornmeal, flour, and all those lovely seasonings—salt, pepper, garlic powder, and paprika. Whisk it until it looks completely uniform. If you skip this step, you might end up with pockets of salty flour in your batch. We want even flavor in every bite!
Frying for the Best fried okra Side Dish
Time to heat the oil! Get it to a steady 375 degrees Fahrenheit. This is crucial! Once it’s hot, pull the okra from the milk, let the excess drip just a tiny bit, and press it hard into the dry mix. Fry just a few pieces at a time—we are making the best fried okra side dish here, not steaming the poor little guys! Turn them gently until they hit that perfect golden brown, usually just 3 to 5 minutes. Scoop them out and let them drain on a wire rack. That crunch is coming, I promise you! You can see this gorgeous preparation over at Cherry Cooks for some extra plating inspiration.
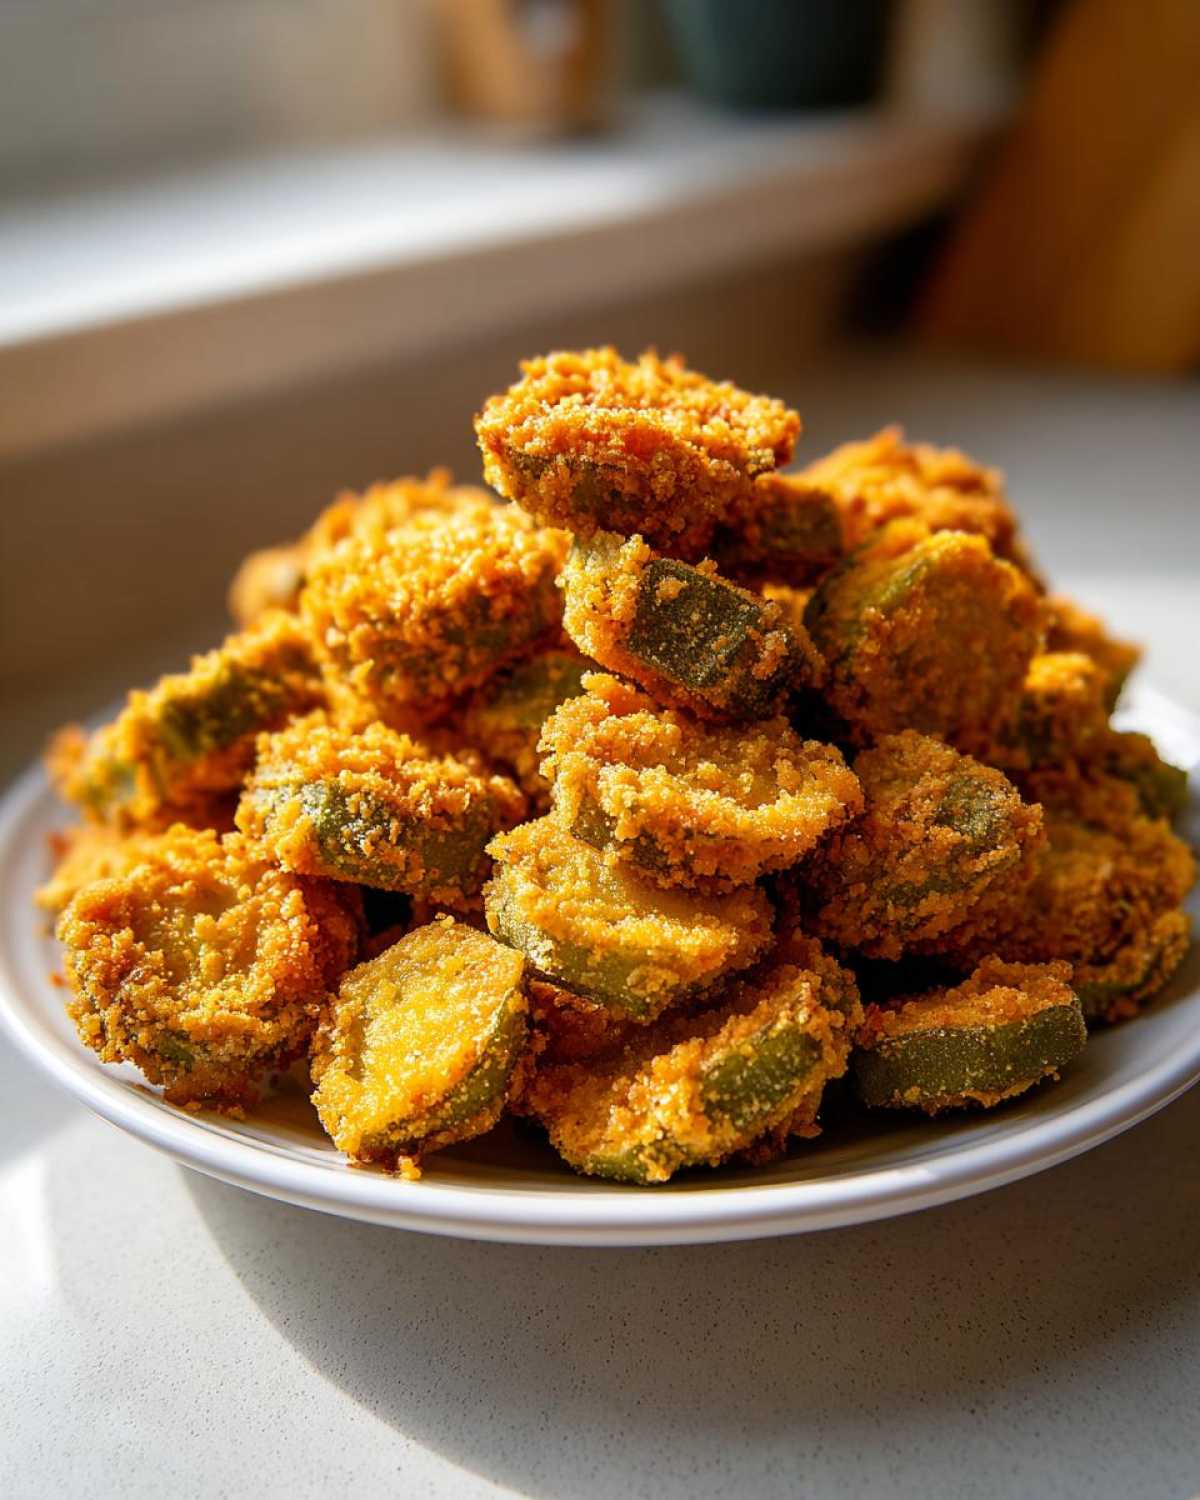
If you’re looking for inspiration on what to pair with this masterpiece, check out some of our favorite accompaniments, like our homemade garlic butter. And for the perfect cooking soundtrack, Owen is always ready with a fresh playlist!
Tips for Making Your homemade fried okra Perfectly Crispy
We’ve covered the foundation, but now let’s talk about leveling up to true, no-fail crispy fried okra! Trust me, a few extra seconds of effort here pays off huge when you bite into that crunchy exterior. This is the stuff of kitchen legend, the secret handshake among folks who know how to fry vegetables right.
Troubleshooting Common fried okra Issues
If you are worried about sliminess creeping back in, I have two final pieces of advice. First, when you lift the okra out of the buttermilk bath, let it drip—but don’t go shaking it vigorously or rinsing it! You need that residual liquid to help the cornmeal cling.
Second, if you really want to go the extra mile for that impossible crunch, try the double-dredge. After the first time you coat it in the cornmeal mix, dip it back into the buttermilk for just a second, and then coat it again completely in the cornmeal. That extra thick layer creates a barrier that locks out sogginess. Also, drain it on a wire rack, not paper towels if you can swing it; paper towels trap steam underneath, and steam is the enemy of crispiness!
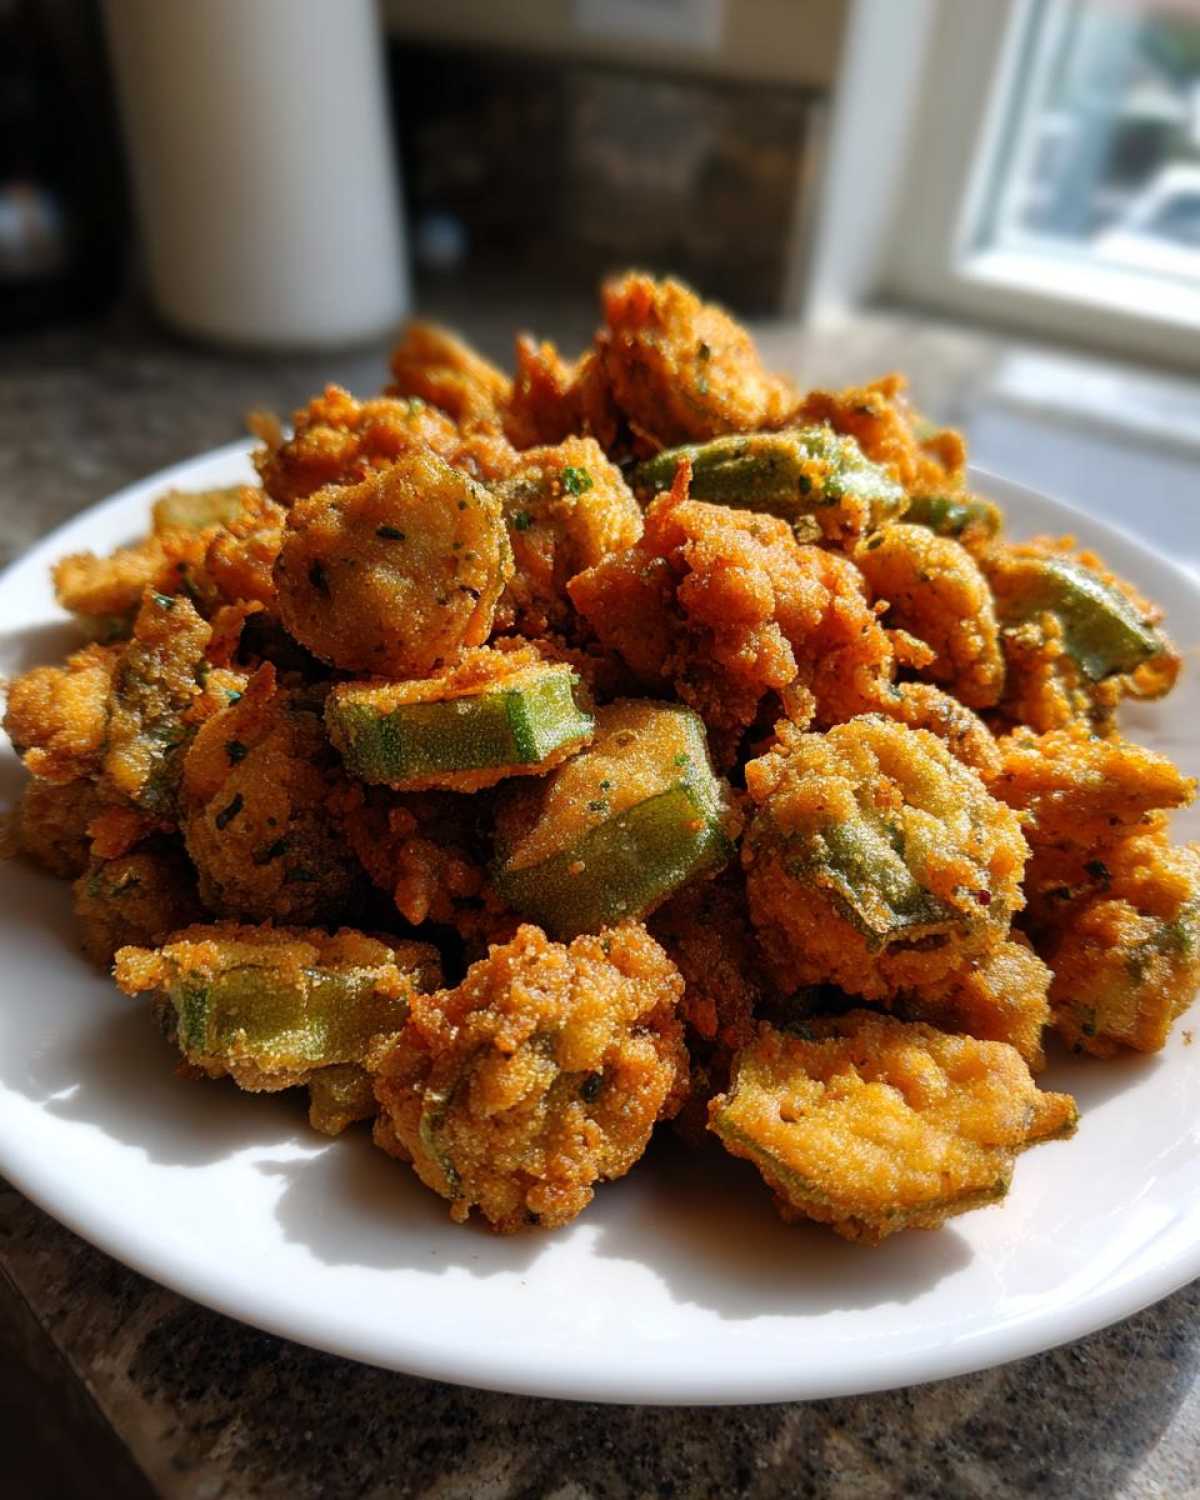
Owen insists on this method every time, and honestly, the results are stunning. You can see the beautiful, thick coating discussed in this amazing inspiration post over at Dish Glory.
Variations: Air Fryer Okra Recipe and Gluten Free fried okra Options
Now, I know not everyone wants to stand over a pot of deep-frying oil, even for something as wonderful as perfect fried okra. Owen is always looking for ways to lighten up our side dishes when we’re not feeling completely indulgent. The good news is that this recipe structure is super adaptable!
We’ve done some experimenting, and I can happily report that you can absolutely make a fantastic version of this using modern appliances. This shows that even in traditional southern cooking, there’s room for innovation!
Making an Air Fryer Okra Recipe
If you’re reaching for your air fryer, the trick is replicating that thick coating without getting a huge mess inside the basket. After you do the buttermilk soak and the initial dredging in our cornmeal mix, you need to make sure the pieces aren’t clumped together. Toss those coated pieces with just a very light mist of cooking spray—don’t forget this part! Then, put them into the air fryer basket in a single layer. We found 380 degrees Fahrenheit for about 12 to 15 minutes works beautifully. They come out looking almost exactly like the deep-fried ones, just less oily! It’s a fantastic way to get that crispy fried okra crunch.
Adapting for Gluten Free fried okra Needs
We frequently get asked about making this for friends who eat gluten-free, and honestly, it’s almost just as easy! You simply swap out the all-purpose flour in the dry dredge for a good quality gluten free fried okra blend. You can use a 1-to-1 GF baking blend, or even just use straight cornmeal if you prefer a heavier crust.
The cornmeal and buttermilk combo is naturally gluten-free anyway, so you’re only swapping out that half cup of standard flour. We tried this for our neighbor last summer, and she said it was the best okra appetizer recipe she’d had since going gluten-free. Head over and take a peek at what my friend over at Blackberry Babe did with their technique—it gives you great visual guides!
Serving Suggestions for Your Okra Appetizer Recipe
The absolute best part about fried okra is serving it immediately! You want that crunch while it’s still searingly hot. This makes it a phenomenal okra appetizer recipe that disappears fast at any party we host. Folks usually grab these little golden rings before they even look at the main course.
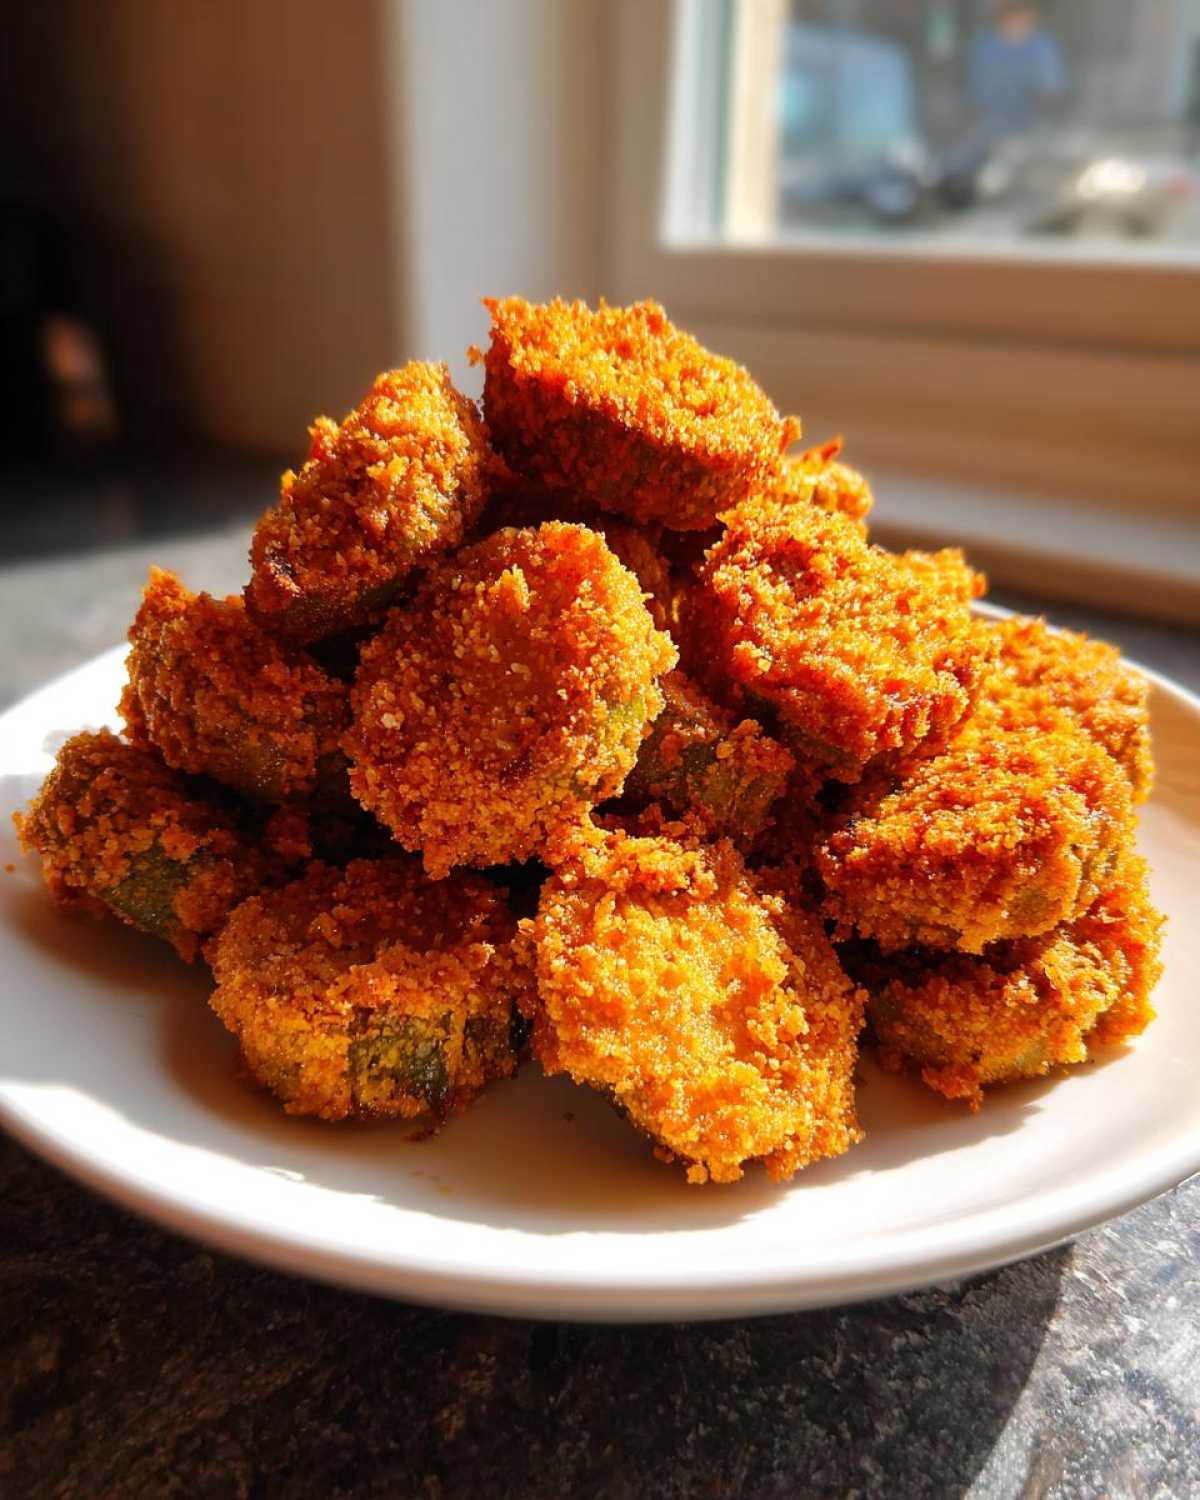
For dipping, you can’t go wrong with ranch, but Owen always insists we make a special sauce. A quick mix of mayo, a little hot sauce, and some fresh herbs we whip up in five minutes is my favorite pairing. You can find the recipe for our easy homemade garlic butter that also works amazingly well here!
When you set these out, turn up the music! Seriously, nothing says southern comfort food like hot, crispy okra and a great soundtrack.
Storage and Reheating for Leftover fried okra
Now, if you’re anything like us, you probably don’t have many leftovers of perfect fried okra because they vanish instantly! But let’s say you managed to hide a small batch away for lunch the next day—I wouldn’t blame you. We still want that crunch, though, right? That’s the tricky part about anything deep-fried; it hates humidity and steam!
Listen closely: Do not, under any circumstances, try to revive them in the microwave. Seriously, don’t do it! The microwave turns perfectly crunchy breading into sad, steamy sponges. We are fighting against sogginess here, not inviting it over for tea!
For the best chance at bringing back that glorious texture, you need dry heat. Your best bet is the oven or, even better, the air fryer. If you use the oven, spread the okra in a single layer on a baking sheet—and make sure it’s lined with parchment paper, not foil, to encourage airflow underneath.
Set your oven to about 375 degrees Fahrenheit. You only need about five to eight minutes. Keep an eye on them! You just want them heated through and crisp enough to snap. If you use the air fryer, it’s even faster—try 350 degrees for maybe four minutes. It’s not quite as good as fresh from the oil, but it’s miles better than any microwaved attempt. Store any leftovers airtight in the fridge for up to three days!
Frequently Asked Questions About fried okra
Can I use frozen okra for this fried okra recipe?
Oh, I totally get why you’d ask this! When you’re craving snack food now, waiting for fresh produce feels like forever. But for the absolute best, most crispy fried okra, you really should stick to fresh. Frozen okra has too much icy water locked inside, and when it thaws, it releases a ton of moisture. That moisture basically turns your beautiful cornmeal crust into soup before it even hits the oil! If you absolutely must use frozen, try thawing it completely, patting it bone-dry with paper towels, and chilling it again before you proceed with the buttermilk step. But honestly? The results won’t stack up to fresh slices.
What oil temperature is best for frying okra?
This is one of those moments where being precise really pays off! For the perfect golden brown okra that cooks through without absorbing a ton of grease, you need your oil hovering right around 375 degrees Fahrenheit. If it’s too cool, say below 350, the coating gets saturated before it has a chance to crisp up, and boom—soggy texture. If it’s screaming hot, like over 400, the outside burns before the middle is warm. We check it with a thermometer every time we start a new batch because putting cold okra in actually drops the temperature!
What is the secret to making southern fried okra recipe without sliminess?
This answer is so important, but I’m happy to repeat it because it’s the headline news of this whole recipe! If you want an authentic, crunch-heavy southern fried okra recipe, you must embrace the two-step preparation Owen and I swear by. First, the buttermilk soak for at least 30 minutes to tenderize. Second, and this is critical: press that coating onto the buttermilk-soaked okra really firmly, then fry it right away in hot oil! That buttermilk bath protects the pod while the coating locks everything down. You can find more details on keeping things super crisp over at Recipe Vibrant.
Your Next Culinary Headline: Share Your fried okra Success
Whew! Now that you’ve mastered the art of making truly crispy fried okra, we are so eager to know what you think! Remember, here at Hungry Herald, the story doesn’t end when you turn off the stove. The good news is meant to be shared!
Did you follow the buttermilk trick? Did your kitchen smell absolutely incredible while that cornmeal crisped up? We thrive on hearing about your kitchen moments! Please stop back by and let us know how it went in the comments below.
If this recipe helped you announce some delicious news at your dinner table, we hope you’ll rate it up! And if you snapped any pictures of your perfectly golden brown okra, tag us! We love seeing your celebrations. Don’t forget to check out the rest of our latest dispatches over on our main blog page!
PrintUltimate Crispy Southern Fried Okra (No Slimy Texture)

Learn how to make the best homemade fried okra with a perfectly crispy, golden-brown crust. This easy southern fried okra recipe uses a simple dredging method to eliminate sliminess, making it the perfect side dish or appetizer.
- Prep Time: 35 min
- Cook Time: 15 min
- Total Time: 50 min
- Yield: 6 servings
- Category: Side Dish
- Method: Deep Frying
- Cuisine: Southern
- Diet: Vegetarian
Ingredients
- 1 pound fresh okra, washed and sliced 1/4 inch thick
- 1 cup buttermilk
- 1 cup yellow cornmeal
- 1/2 cup all-purpose flour
- 1 teaspoon salt
- 1/2 teaspoon black pepper
- 1/2 teaspoon garlic powder
- 1/4 teaspoon paprika
- Vegetable oil, for frying
Instructions
- Prepare the okra by slicing the fresh okra into 1/4-inch thick rounds. Place the sliced okra in a bowl.
- Pour the buttermilk over the sliced okra. Stir to coat completely. Let the okra soak in the buttermilk for at least 30 minutes. This step helps prevent sliminess.
- In a separate shallow dish, whisk together the cornmeal, flour, salt, pepper, garlic powder, and paprika. This is your dry dredge mixture.
- Heat about 1 to 1.5 inches of vegetable oil in a heavy-bottomed skillet (like cast iron) over medium-high heat until it reaches 375 degrees Fahrenheit.
- Working in batches, lift the okra from the buttermilk, allowing excess to drip off. Do not shake off all the buttermilk; you want some moisture to help the coating stick.
- Dredge the buttermilk-coated okra thoroughly in the cornmeal mixture, pressing gently to ensure a thick, even coating.
- Carefully place the coated okra into the hot oil, ensuring you do not overcrowd the pan. Overcrowding lowers the oil temperature and results in soggy okra.
- Fry the okra for 3 to 5 minutes, turning occasionally, until it is golden brown and crispy.
- Use a slotted spoon to remove the crispy fried okra from the oil and transfer it to a wire rack lined with paper towels to drain excess oil.
- Repeat with the remaining okra, ensuring the oil returns to 375 degrees Fahrenheit between batches. Serve immediately as a best fried okra side dish or appetizer recipe.
Notes
- For extra crispiness, you can perform a double dredge: after the first coating, dip the okra back into the buttermilk briefly, then coat again in the cornmeal mixture.
- If you prefer a lighter cooking method, this recipe adapts well to an air fryer okra recipe. Toss coated okra lightly with cooking spray and air fry at 380 degrees Fahrenheit for 12-15 minutes, shaking halfway through.
- This recipe focuses on traditional southern cooking methods for maximum flavor.
Nutrition
- Serving Size: 1 cup
- Calories: 280
- Sugar: 4
- Sodium: 450
- Fat: 18
- Saturated Fat: 3
- Unsaturated Fat: 15
- Trans Fat: 0
- Carbohydrates: 28
- Fiber: 5
- Protein: 5
- Cholesterol: 15