

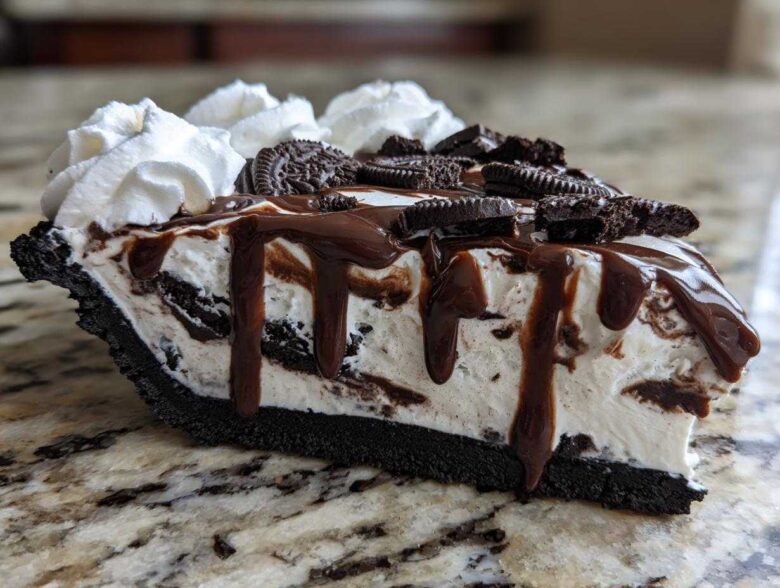
If you’re hunting for the absolute pinnacle of easy summer desserts, stop looking right now! We have the good news you need to bring immediate joy to your weekend: the Ultimate No-Bake Oreo Ice Cream Pie with that gooey hot fudge swirl. Honestly, this incredible ice cream pie is the kind of recipe that makes you want to crank up the volume and break out into a spontaneous kitchen dance party, just like Stella and I talk about over on our About Us page.
When the heat hits, the last thing I want to do is turn on the oven, and this recipe means zero baking time for you! It’s decadent, it’s creamy, and it requires so little active work. Trust me, this simple frozen dessert pie is destined to be the headline of your summer menu. Let’s get this news reported!
Why This Ultimate No-Bake Oreo Ice Cream Pie is Your New Favorite ice cream pie recipe
Look, if you need a showstopper that screams summer but whispers “I barely tried,” this is it. This ice cream pie recipe is the definition of instant gratification. We aren’t messing around with ovens here; this delivers exactly the kind of decadent frozen desserts everyone craves without the hassle. It’s truly the best ice cream pie because it blends phenomenal flavor with absolute ease.
Quick Prep for Your Best ice cream pie
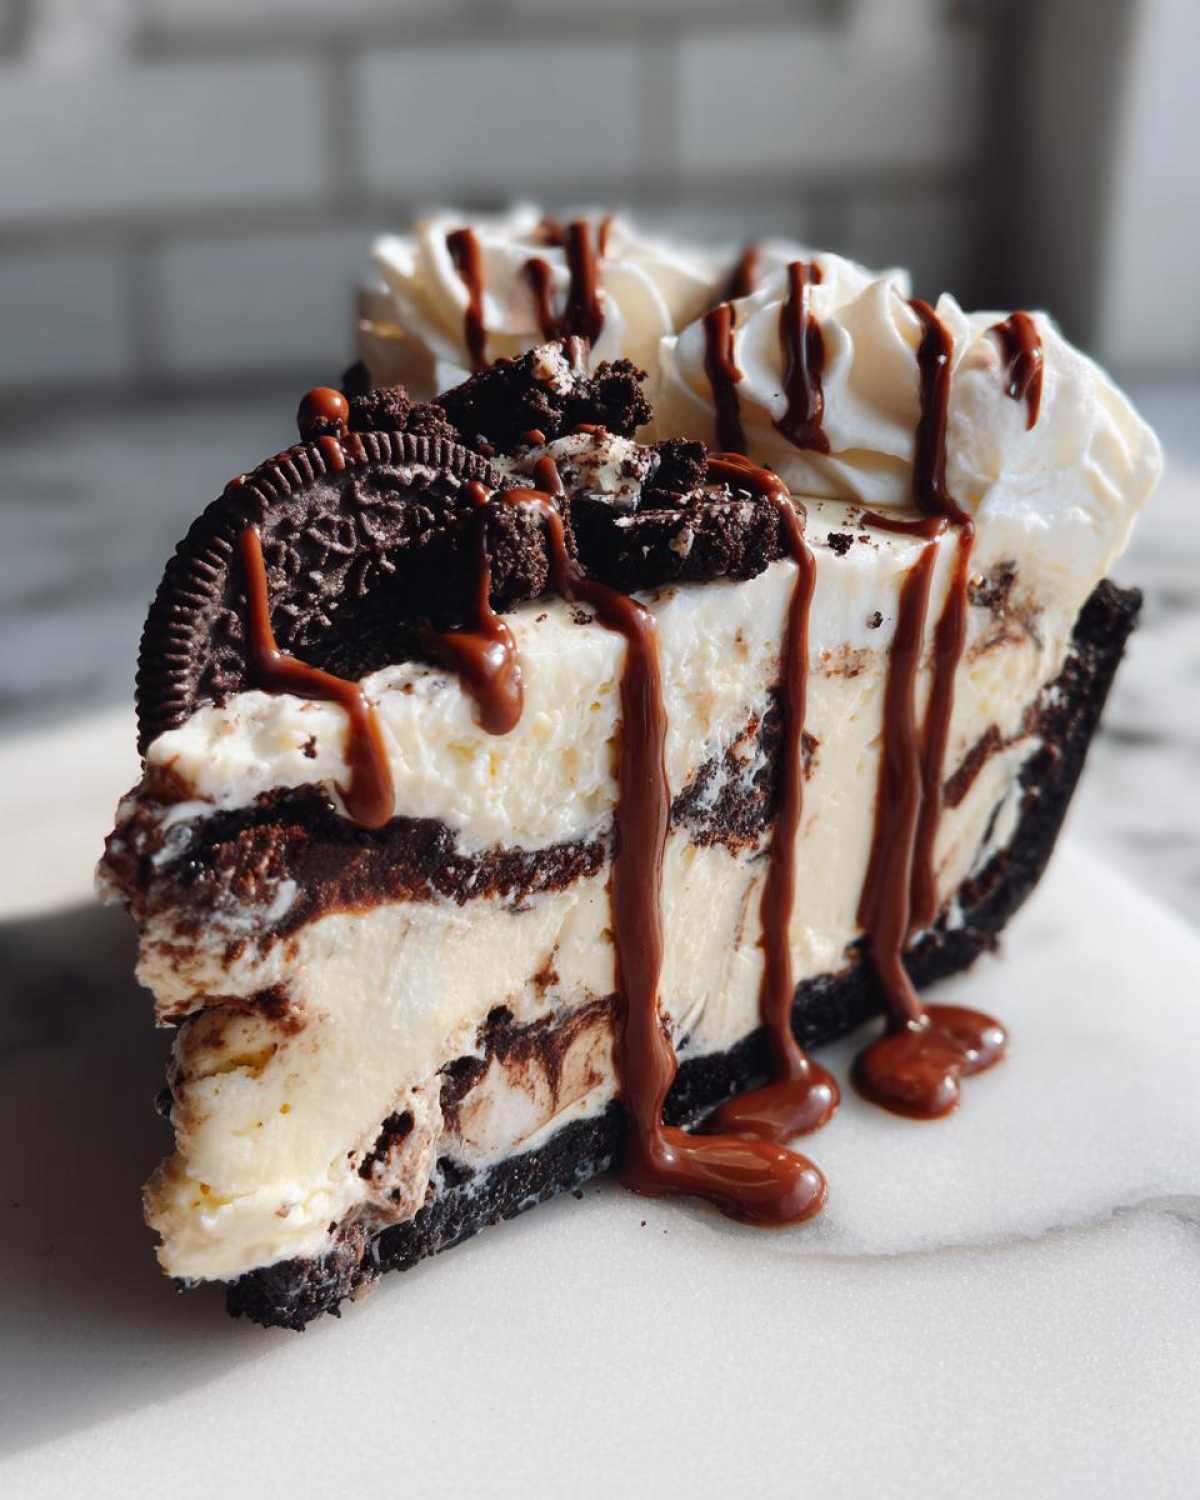
The best part? Your active time is ridiculously short! You’re looking at maybe 20 minutes of actual work before this beauty goes into the freezer. That’s why this makes the perfect quick frozen pie for those last-minute summer gatherings or when the kids suddenly decide they need a celebration *right now*. You just can’t beat that!
The Perfect Oreo Crust Pie Foundation
You know I love a good graham cracker crust ice cream pie too, but there is something special about the Oreo. It’s crunchy, it’s classic, and it holds up perfectly as the base for that creamy filling. This deeply satisfying Oreo crust pie foundation is non-negotiable for this particular dessert. It stands strong so you can pile on all the goodies!
Gathering Ingredients for Your Creamy ice cream pie
Okay, for our Ultimate No-Bake Oreo Ice Cream Pie, we keep the ingredient list short and perfect because we need this dessert to come together fast. When you’re making something this good, you don’t need a mile-long shopping list. We’re sticking to what matters most: crunch, cream, and that amazing chocolate river running through the middle!
It’s important to grab your ingredients and have everything ready to go before you start cranking the music. Think of this as gathering the best headlines for your evening news report—each item plays a crucial role in the final amazing story!
Crust Components for the ice cream pie
- Two cups of crushed Oreo cookies. And I mean crushed! Don’t leave huge chunks in there, or the crust won’t set nicely.
- Six tablespoons of unsalted butter, melted. Make sure it’s fully melted, not just slightly soft, so it binds those cookies into one gorgeous base.
Filling and Topping for a Decadent ice cream pie
- One and a half quarts of vanilla ice cream. Now, this is important: it needs to be softened slightly. Not soup, just soft enough that you can persuade it into the crust without breaking your spoon.
- One cup of chocolate fudge sauce. This has to be warmed up right before you use it for the ultimate swirl effect.
- One cup of heavy whipping cream.
- Two tablespoons of powdered sugar for sweetness.
- One teaspoon of vanilla extract for that extra pop.
Step-by-Step: How to Make This No Bake ice cream pie
Alright, you’ve got your headlines ingredients ready—now let’s get this amazing no bake ice cream pie assembled and into the freezer! Don’t rush this part; the freezing times are what separates a messy puddle from a perfect slice. Remember, the goal here is a sturdy, creamy creation that’s ready for its big reveal.
This is where the magic really happens. Grab your favorite playlist—Owen usually puts on something upbeat for this part—and let’s get layering. If you’ve ever wanted to make an easy ice cream pie that looks like it came from a fancy bakery, just follow these steps exactly. You can check out our guide on other no-bake wonders for inspiration, but this one is truly the classic!
Preparing and Freezing the Oreo crust pie Base
First things first, the base! Mix those cookie crumbs and the melted butter until everything is evenly moistened. Then, press that mixture really firmly into the bottom and up the sides of your 9-inch pie plate. Don’t be shy; packing it tight is key! Pop that crust into the freezer now for about 30 minutes. This little chill time is essential to set the base for your ice cream pie before we add the soft stuff.
Layering the Ice Cream and Fudge Swirl for your homemade ice cream pie
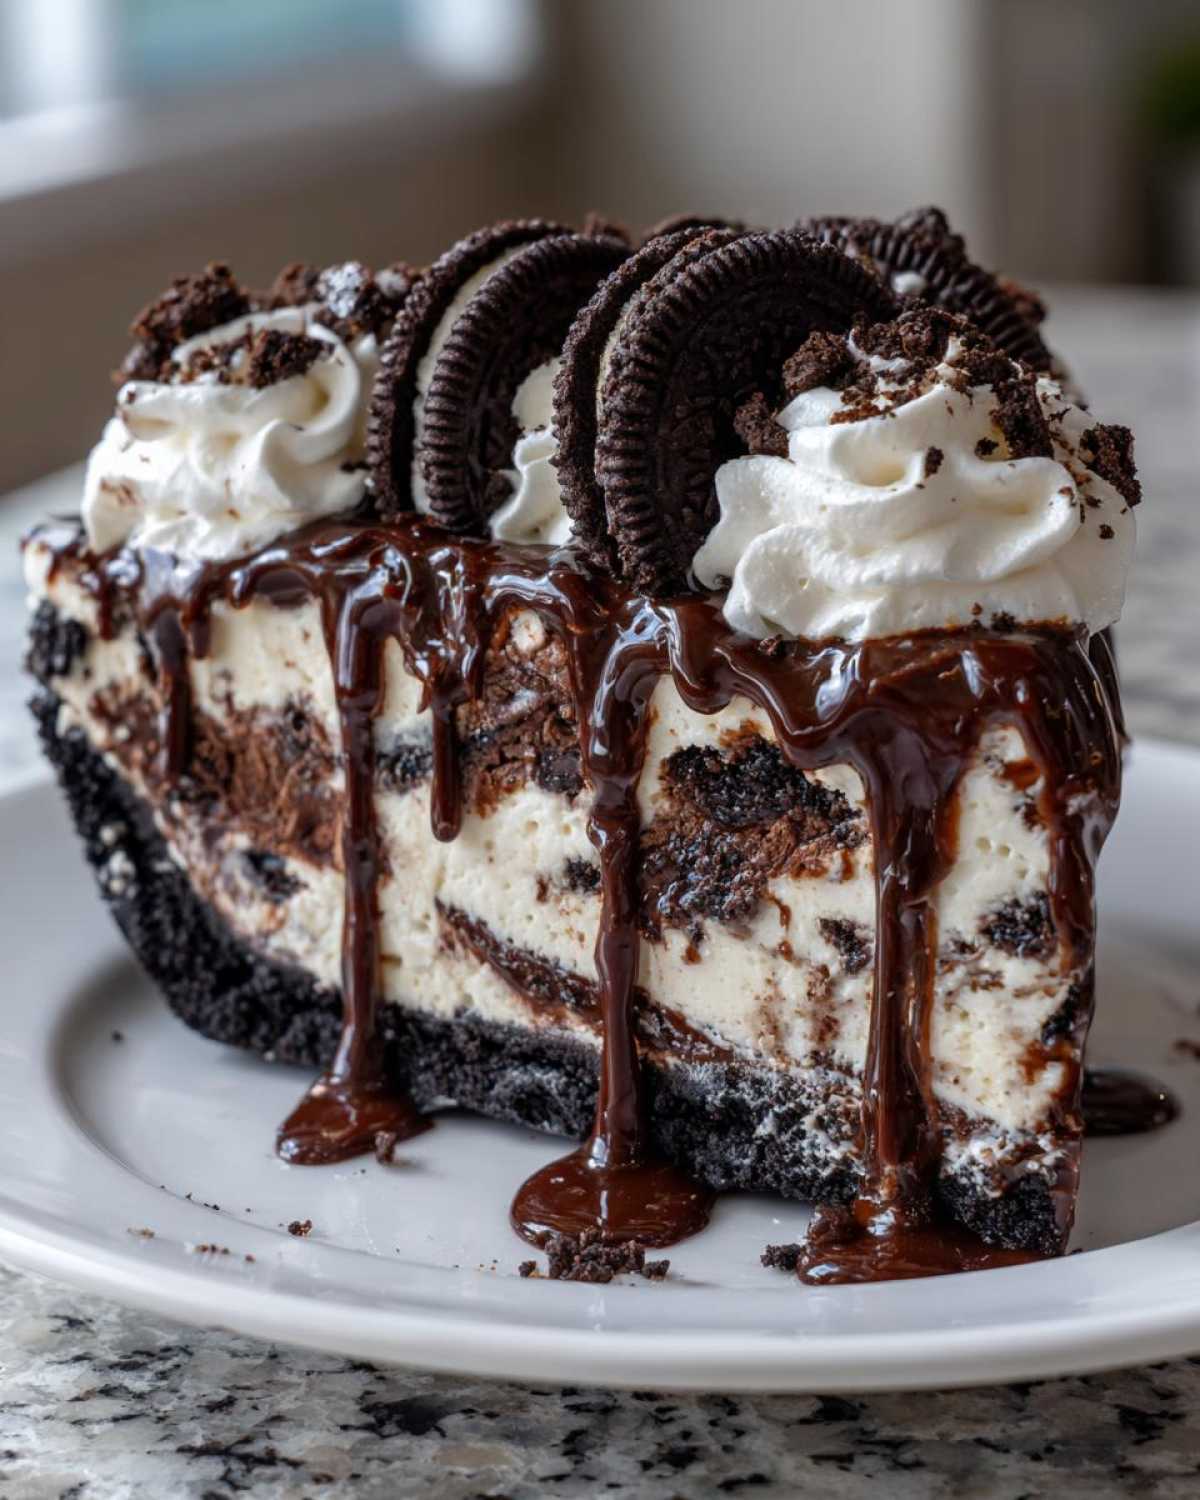
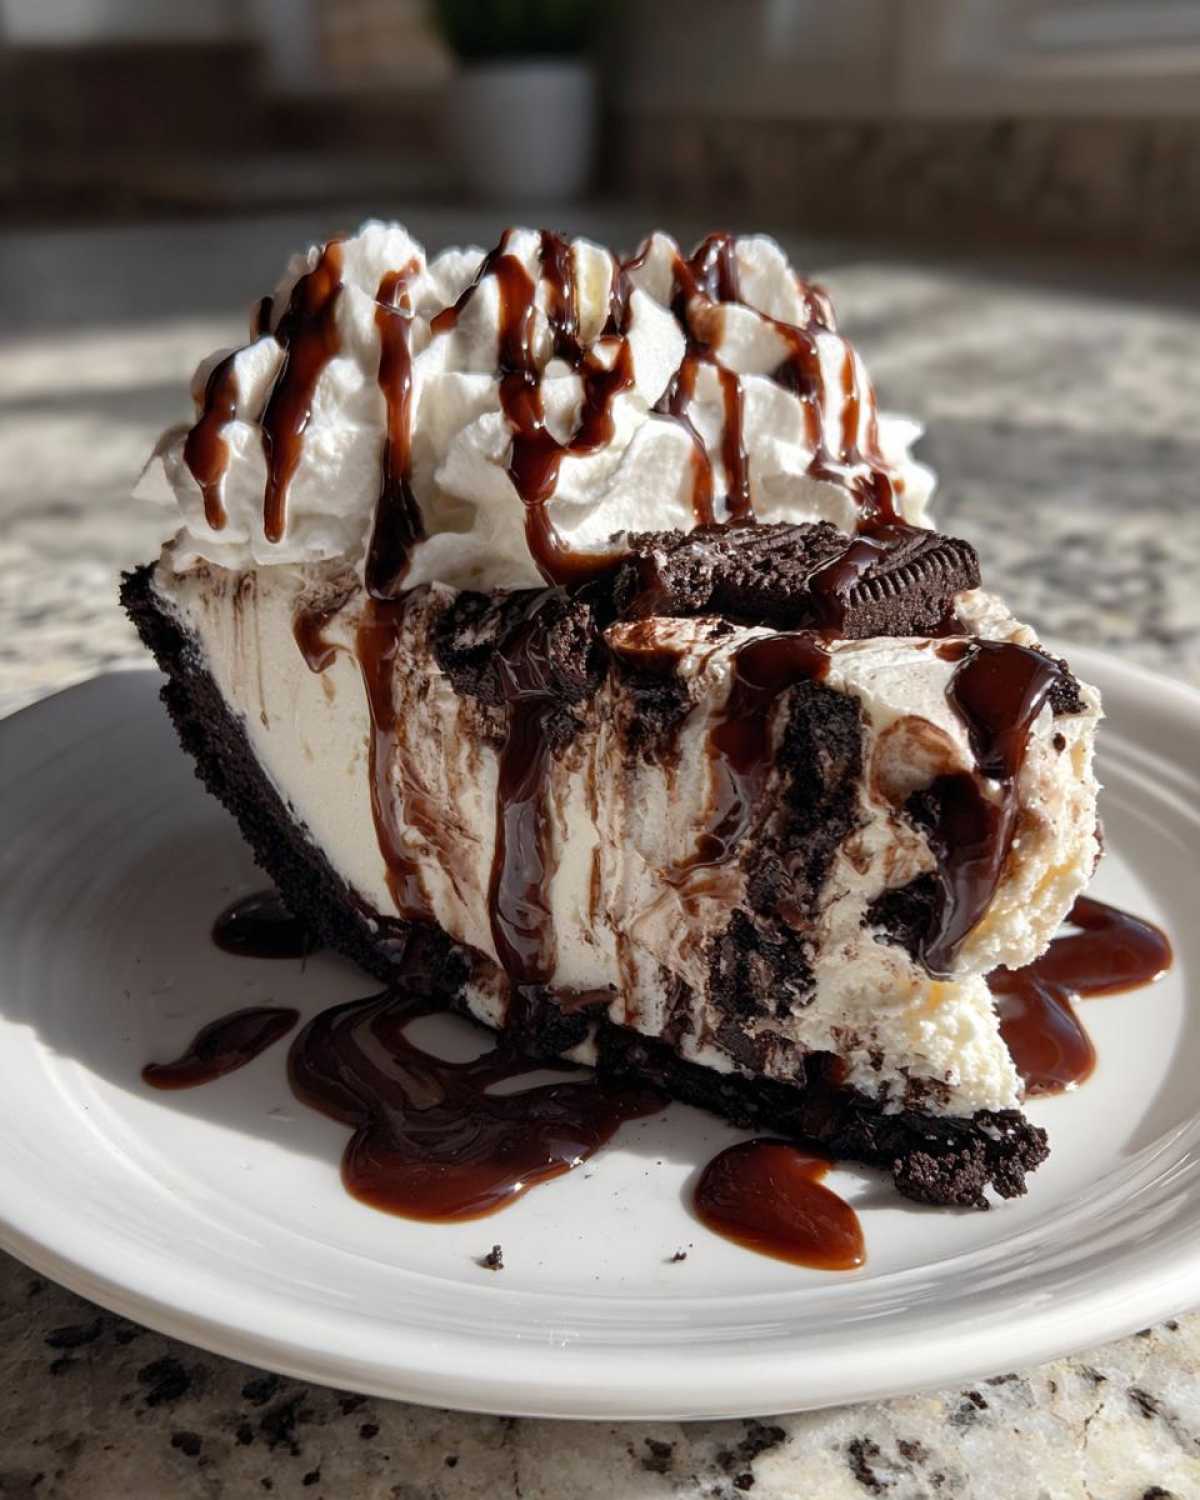
Once the crust is hard, take out your slightly softened vanilla ice cream and spread it around evenly. Don’t hesitate; use an offset spatula to smooth it out nice and flat. Then, take about half of your warm fudge sauce and drizzle it right over the top. Grab a butter knife or even a skewer and gently, slowly swirl that fudge into the ice cream. Wow, the visual impact alone is fantastic for this homemade ice cream pie!
Setting the Frozen dessert pie Firmly
This is the hardest step because it requires patience! Once you’ve swirled the fudge, the entire frozen dessert pie needs to go back into the freezer. Set the timer for a minimum of 4 hours—honestly, overnight is even better. If it’s not rock solid, serving it neatly will be a struggle, so give it time to fully set!
Finishing Touches: Whipped Cream and Final Drizzle on the ice cream pie
When you’re ready to serve, whip up your heavy cream, powdered sugar, and vanilla until you get stiff, beautiful peaks. Spread that heavenly whipped cream all over the top layer of the now frozen pie. Finally, drizzle that last bit of warm fudge sauce right over the top of the whipped cream. That’s it! You’ve finished assembling your stunning ice cream pie!
Expert Tips for the Best ice cream pie Success
We’ve got the ultimate ice cream pie recipe, but even the best recipes need a little insider polish to turn out perfect every single time, especially when dealing with frozen desserts! I’ve learned a few tricks over the years to avoid that dreaded watery center or cracked crust. Think of these as the final-minute edits on our headline story—they make all the difference! If you’re dealing with sticky situations later, remember some of the principles we use when making our icing; temperature control is everything!
Slicing Your Frozen dessert pie Perfectly
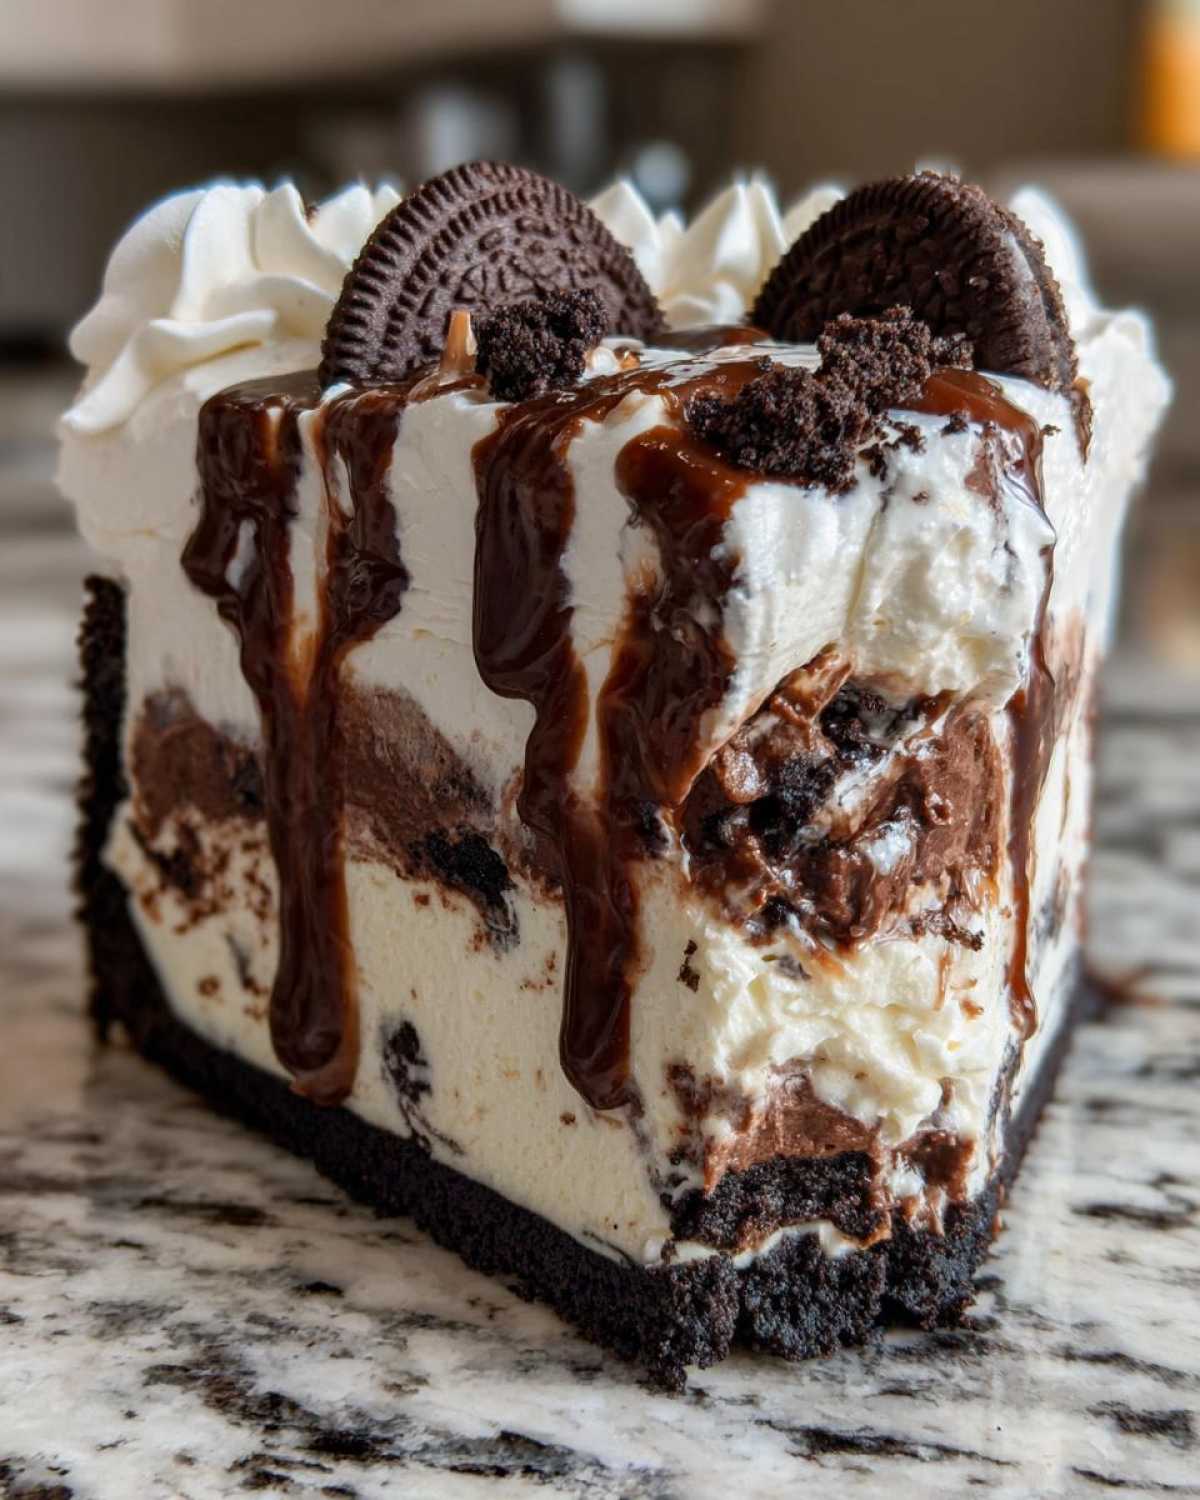
This is a classic frozen dessert trap, so listen closely! If you try to cut that rock-solid pie straight from the freezer, you’ll probably end up with a shattered mess. My number one tip is to let the finished pie sit out on the counter for about 5 to 10 minutes before you go at it with the knife. That little bit of warmth softens the edges just enough so you get a clean slice. It’s a game-changer for presentation!
Customizing Your ice cream pie Flavor Profile
The beauty of this recipe is how forgiving it is, which makes it perfect for parties where everyone has a different favorite flavor. According to the notes I tucked away, you can swap out that vanilla ice cream easily. Are you a fan of mint chocolate? Go for it! Do you crave something salty and sweet? Use peanut butter ice cream pie filling instead! Just make sure whatever you use is slightly softened before it hits that Oreo base. It really lets you make this ice cream pie totally your own.
Storage and Reheating Instructions for Your ice cream pie
Since this ice cream pie is truly the ultimate make-ahead dessert, knowing how to store it right is vital! The good news is that this is a freezer champion. Once your beautiful pie is fully set and topped, the best way to keep it fresh is to wrap it up tightly. I usually use a layer of plastic wrap directly against the whipped cream, followed by a layer of aluminum foil.
This keeps freezer burn out of the picture and helps maintain that gorgeous presentation. You can store your amazing frozen dessert pie safely in the freezer for up to two weeks. We never reheat ice cream, of course, but remember that little 5-minute counter rest I mentioned? That’s your only thawing needed before serving!
Variations: Beyond the Classic Oreo ice cream pie
The best news about finding a fantastic ice cream pie recipe, like this ultimate no-bake version, is that it becomes a blueprint for endless creativity! We used Oreos because they are fantastic, but you absolutely shouldn’t stop there. If you’re hungry for different textures or flavor profiles, this is your chance to announce something fun and new for your next party.
Think about swapping out that ice cream base! People go absolutely wild for fruit flavors, chocolate combinations, or even coffee flavors in the summer. If you’re looking for more bright ideas, maybe take a peek at some of our fruitier favorites, like these cheesecake cookie alternatives for inspiration on flavor pairings. Or, if you want to see a delicious fruity take on a frozen pie, check out this amazing cherry option I found!
Graham Cracker Crust ice cream pie Alternative
Don’t have Oreos on hand, or maybe you just prefer that classic buttery snap? No problem at all! You can swap the Oreo crumbs for a perfectly acceptable graham cracker crust ice cream pie base. It’s a slightly different texture—a bit lighter, maybe a touch sweeter—but it still provides that strong anchor for your creamy filling. The prep is identical! Just melt your butter and press the graham cracker crumbs firmly into the bottom and sides. It’s a great way to give this same amazing filling a whole new look!
Serving Suggestions for an Ice Cream Pie for Parties
When you’re making an announcement this good, you need to present it properly! This ice cream pie shouldn’t just taste amazing; it needs to look like the headline event on your dessert table. Since it’s no-bake, it’s already perfect for making hours ahead of time, meaning you can focus on the presentation when the guests arrive!
For a fantastic ice cream pie for parties, skip serving it on regular plates. Try placing the sliced pie on colorful, small dessert plates—maybe something bright red or neon blue to really make that chocolate swirl pop! If you’re celebrating a special occasion, like a summer birthday ice cream pie, consider adding some fresh berries around the base. It adds a pop of color that says, “I planned this!”
And speaking of pairing, if you’re serving this amazing frozen treat to adults, you have to try a little something special on the side. We often whip up a couple of refreshing non-alcoholic splashes like our Seasonal Mules, but if you want to go adult, a tiny drizzle of Kahlúa over the top right before serving is just heavenly. For another amazing birthday idea, don’t forget to check out this recipe inspiration here!
Frequently Asked Questions about Making an ice cream pie
I know you might have a few questions swirling around once you’ve decided to tackle this amazing dessert! That’s totally fair; working with frozen treats can sometimes feel a little intimidating until you get the hang of it. But trust me, once you make this ice cream pie once, it becomes an absolute staple. I gathered a few of the questions I get asked most often about this recipe and our general approach to making a perfect frozen dessert pie.
Can I make this ice cream pie recipe ahead of time?
Yes, you absolutely can, and I highly encourage it! That’s one of the best things about making a no bake ice cream pie—it’s all about advance planning. Once you have everything assembled and set solid in the freezer, wrap it up really well—I mean, really tight with plastic wrap and then foil. You can easily keep this delicious dessert perfect for up to two weeks! It means you can have your biggest headline dessert ready days before the event! If you’re looking for even more inspiration on making desserts ahead of time, definitely check out my general blog area for more ideas!
What is the best way to soften ice cream for an easy ice cream pie?
This is critical for spreading that filling evenly! You don’t want soup, trust me. The best method I’ve found for getting the perfect consistency for an easy ice cream pie filling is counter patience. Just take the carton out of the freezer and leave it on the counter for about 10 to 15 minutes. You want it pliable, not melting. If you’re truly in a rush and time is of the essence, you can use the microwave, but you have to be super gentle—think 5-second bursts, stop, check, repeat. It builds that trust level in the kitchen when you learn how your freezer handles things!
How do I prevent my ice cream pie from weeping or melting quickly?
Weeping—the sad little beads of moisture that form on top—is usually a temperature shock issue, or sometimes it means the frozen structure wasn’t quite right. Keep that pie fully frozen until the absolute moment you plan to serve it. When you do go to slice, don’t let it sit out uncovered since it’ll start warming up fast! If you have one, serving it on an insulated pie dish or even a chilled glass plate can buy you a few extra minutes of perfect structure. For more ideas on keeping things cool and delicious, take a look at this roundup of great frozen desserts!
Nutritional Estimates for This Decadent Frozen Dessert Pie
Okay, I know we’re here for the joy and maybe a little bit of celebratory indulgence, but I always feel like a good herald reports all the facts! Here are the general estimates for one slice of this glorious ice cream pie. Remember, because this is a homemade ice cream pie, these numbers change if you swap in peanut butter ice cream or use a different crust. Always check the labels if you are tracking strictly. For our full transparency statement, check out our official disclaimer page.
- Serving Size: 1 slice
- Calories: 450
- Sugar: 45g
- Fat: 28g
It’s a treat, no doubt, intended for a special occasion or when you just really need a win! Enjoy every creamy, chocolatey bite!
Share Your Kitchen Dance Party Moments
Well, that’s the scoop on the best ice cream pie you’ll ever make! I truly hope this recipe brings some fun, easy cheer to your kitchen. Now that you’ve got this headline dessert sorted out, the only thing left to do is start celebrating!
Did you serve this for a summer BBQ? Did the fudge swirl look just as fantastic as you hoped? Did you break out into that kitchen dance party? Stella and I absolutely live for these moments!
Whether you stuck to the classic vanilla and fudge or went wild with a totally different ice cream flavor, please let us know how it went! Drop your rating below—five stars means you danced at least once while eating it, right? And if you captured a picture of your finished frozen dessert pie looking amazing, share it on social media and tag us!
Your feedback is the news update we count on the most, and we love seeing how you bring these recipes to life. If you have any burning questions that didn’t get answered above, feel free to reach out through our Contact page. Now go announce some good news—one delicious slice at a time!
PrintUltimate No-Bake Oreo Ice Cream Pie with Hot Fudge Swirl
Make this easy, decadent ice cream pie using a simple Oreo crust and creamy filling. It is a perfect frozen dessert for summer parties or birthdays.
- Prep Time: 20 min
- Cook Time: 0 min
- Total Time: 4 hours 20 min
- Yield: 8 servings
- Category: Dessert
- Method: No-Bake
- Cuisine: American
- Diet: Vegetarian
Ingredients
- 2 cups crushed Oreo cookies
- 6 tablespoons unsalted butter, melted
- 1.5 quarts vanilla ice cream, softened slightly
- 1 cup chocolate fudge sauce, warmed
- 1 cup heavy whipping cream
- 2 tablespoons powdered sugar
- 1 teaspoon vanilla extract
Instructions
- Combine the crushed Oreo cookies and melted butter in a bowl. Press this mixture firmly into the bottom and up the sides of a 9-inch pie plate. Freeze the crust for 30 minutes.
- Spread the slightly softened vanilla ice cream evenly over the frozen Oreo crust.
- Drizzle about half of the warmed chocolate fudge sauce over the ice cream layer. Use a knife or skewer to gently swirl the fudge into the ice cream.
- Freeze the pie for at least 4 hours, or until completely firm. This step is key for a good homemade ice cream pie.
- Before serving, prepare the topping: Beat the heavy whipping cream, powdered sugar, and vanilla extract until stiff peaks form.
- Spread or pipe the whipped cream over the frozen pie. Drizzle the remaining warm fudge sauce over the whipped cream.
- Slice and serve this easy ice cream pie immediately.
Notes
- For a different flavor, substitute the vanilla ice cream with your favorite flavor, like mint chocolate or peanut butter ice cream.
- If you do not have an Oreo crust, you can use a graham cracker crust for a slightly different texture.
- Let the pie sit at room temperature for 5 to 10 minutes before slicing to make serving easier.
Nutrition
- Serving Size: 1 slice
- Calories: 450
- Sugar: 45g
- Sodium: 280mg
- Fat: 28g
- Saturated Fat: 15g
- Unsaturated Fat: 13g
- Trans Fat: 0.5g
- Carbohydrates: 48g
- Fiber: 1g
- Protein: 5g
- Cholesterol: 55mg