

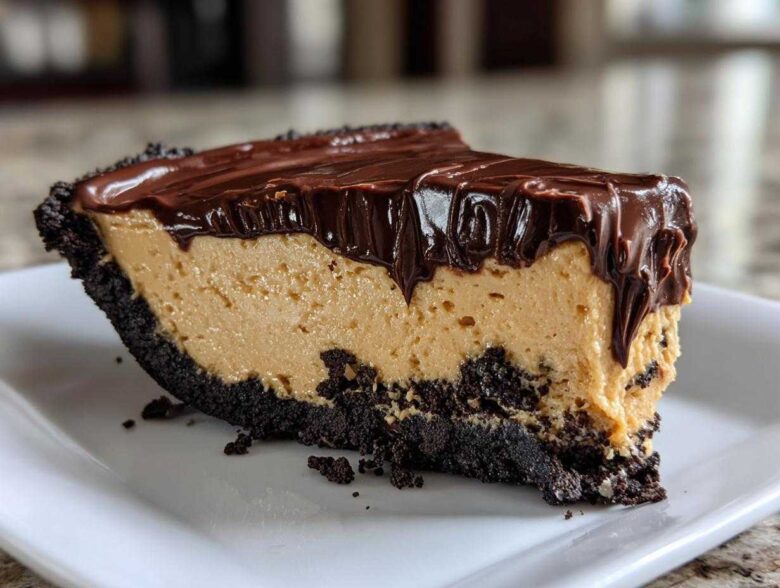
Oh my goodness, are you ever craving something ridiculously rich but you just absolutely cannot turn on the oven? I totally get it, especially when it’s hot outside or you’re short on time! That’s why this Easy No-Bake Peanut Butter Pie has become my secret weapon in the kitchen. Forget those complicated fillings; this one comes together so fast, and using that crunchy, dark Oreo crust just elevates it to ridiculous levels of deliciousness.
Seriously, I brought this exact peanut butter pie to my cousin’s barbecue last weekend, and it vanished before the pulled pork even cooled down! It’s the perfect, creamy dessert for a crowd. I’m going to show you exactly how I make this simple sweet treat so you can wow everyone too. You won’t believe how straightforward it is. Let’s get started!
Why This Easy No-Bake Peanut Butter Pie Stands Out
What makes this recipe the absolute winner in my kitchen? Well, for starters, it requires zero oven time. That’s right—a No Bake Peanut Butter Pie that is ready for the fridge, not the oven! It’s the ultimate Quick Dessert Idea when panic strikes.
- It’s unbelievably fast; you are mostly just mixing things after crushing cookies.
- It holds its structure beautifully, making it a true Dessert for a Crowd centerpiece.
- The mix of tangy cream cheese, sweet peanut butter, and dark chocolate topping is just heaven.
- It’s one of the best Make Ahead Pie Recipes because it needs that chilling time anyway!
Gathering Supplies for Your Peanut Butter Pie Recipe
Alright, for this truly creamy peanut butter dessert, the measurements are everything! Since we aren’t baking anything, the texture relies entirely on getting these components just right. Make sure you grab everything before you start mixing, especially making sure that cream cheese is properly softened and the whipped topping is thawed but still cold. Trust me, having everything ready makes this an absolute dream.
Ingredients for the Oreo Crust Peanut Butter Pie
- 1 1/2 cups crushed Oreo cookies (about 25 cookies)
- 6 tablespoons unsalted butter, melted
- 1 (8 ounce) package cream cheese, softened
- 1 cup creamy peanut butter
- 1 1/2 cups powdered sugar
- 1 teaspoon vanilla extract
- 1 (12 ounce) container frozen whipped topping, thawed
- 1/2 cup semi-sweet chocolate chips
- 1/4 cup heavy cream
Step-by-Step Instructions for the No Bake Peanut Butter Pie
Now for the fun part! We’re moving fast here since this is a no bake peanut butter pie, which means precision comes from the chilling rather than the baking, if that makes sense. Just remember our motto: slow on the mixing, fast on the chilling! We need every layer to set up perfectly so our slices look gorgeous when you pull them out for dessert.
Preparing the Oreo Crust Base
First things first, grab those crushed Oreos and that melted butter. Mix them up real good until it all looks like wet sand. Take your 9-inch pie plate and really press that mixture down firmly! I like to use the bottom of a measuring cup to make sure the base is totally packed, and push some up the sides too. This crust needs to be sturdy because it’s holding the weight of all that creamy goodness. Pop that into the fridge for at least 15 minutes while we get the filling ready.
Creating the Creamy Peanut Butter Filling
This is where your mixer earns its keep! Start by beating that softened cream cheese until it is completely smooth—seriously, no lumps allowed! Slowly add your peanut butter, powdered sugar, and vanilla. Beat it until it looks uniform. Now, here is the tricky part: take half of your thawed whipped topping and gently fold it in with a spatula. Don’t use the mixer here! We want to keep all those lovely air bubbles so the filling isn’t too dense. Spread this gorgeous filling right into your chilled Oreo crust.
Setting and Topping the Peanut Butter Pie
Once the filling is in, top it with the rest of the whipped topping and smooth the top out. The most important instruction is next: this pie needs to chill quietly in the refrigerator for a minimum of four hours. I usually aim for overnight if I can stand it! Once it’s firm, we make the topping. Heat your heavy cream until it just simmers—don’t boil it! Pour that hot cream right over your chocolate chips and let it sit for five minutes. No peeking! Then whisk it slowly until you have a gorgeous, smooth ganache. Pour that right over your set pie filling. Back into the fridge for one last 30-minute set, and you are done! If you’re looking for more quick recipes like this, check out my instructions for no-bake pumpkin oat bites!
Tips for the Best Creamy Peanut Butter Dessert
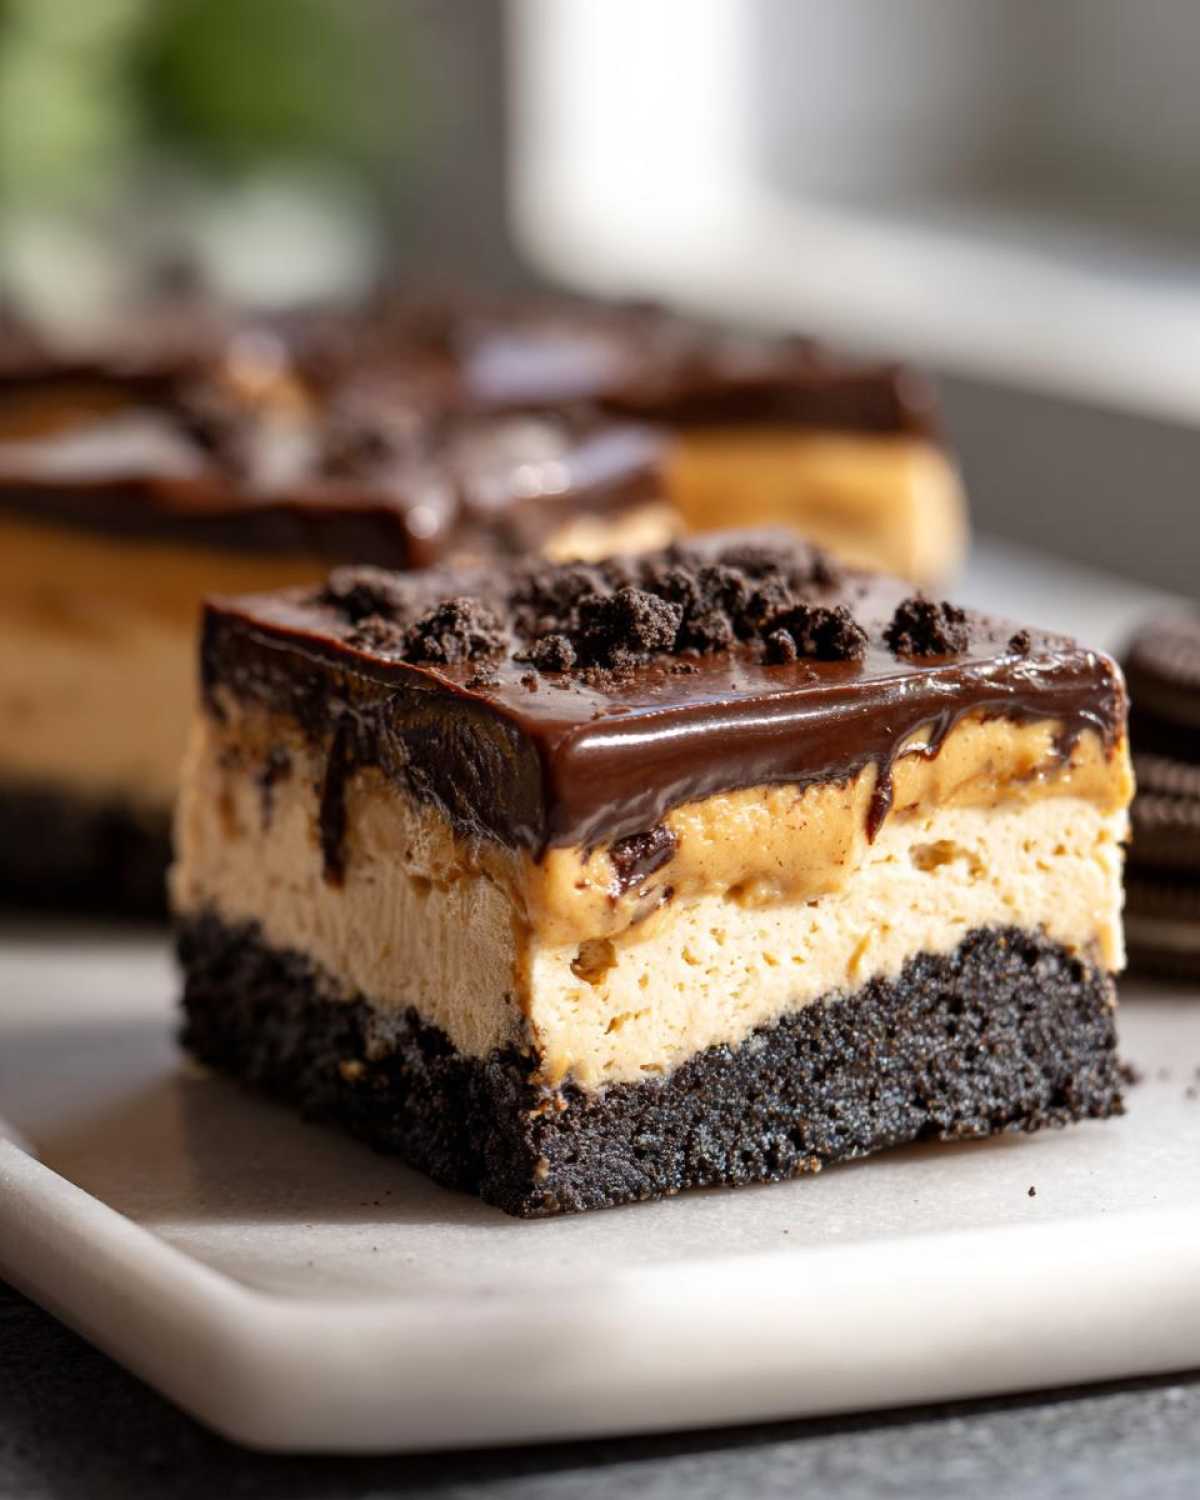
Okay, listen up, because getting that perfectly smooth, cloud-like filling for your creamy peanut butter dessert is all about technique, not ingredients! The number one thing I learned is that your cream cheese has to be truly room temperature. If it’s cold, you’re going to end up with little lumps, and then you spend ages trying to beat them out. Don’t do that to yourself!
When you are mixing the filling, remember to stop as soon as everything is incorporated. Overmixing the filling with the whipped topping is a huge mistake; it deflates the air, and suddenly your light pie feels heavy. You want it to be airy and easily spreadable. If you want to know more about how temperature affects fat in baking, check out my tips on browning butter for cookies—it’s the same principle about managing heat! You can read all about it here.
Another little secret for that silky texture? Use commercial creamy peanut butter—not the natural kind that separates, unless you want to spend extra time stirring it! This makes achieving that classic, stable filling so much easier.
Ingredient Notes and Substitutions for Your Peanut Butter Pie
We’ve made a commitment to keeping this peanut butter pie recipe easy, right? That means sticking to what works, but I know substitutions happen! If you don’t have Oreos lying around, don’t panic. You can absolutely swap that in for a classic Graham Cracker Crust Pie. Just use about 1 3/4 cups of graham cracker crumbs mixed with the melted butter instead. It offers a totally different, slightly nuttier flavor profile, but it’s still delicious!
Regarding the topping, if you want to make this even more of an indulgent experience, then go for the gold! My favorite move is to skip the plain ganache sometimes and chop up some peanut butter cups—mini Reese’s are perfect—and scatter those over the top right after the ganache sets up just a little. It turns this into a true Reese’s Peanut Butter Pie iteration!
Also, I always get asked about crunchy versus creamy peanut butter. For this filling to be truly smooth and creamy, I strongly recommend sticking to the creamy style. If you try crunchy, the pieces of peanut will throw off the texture, making it grainy instead of silky. We want that luxurious mouthfeel you expect from a Classic Peanut Butter Pie!
Make Ahead Pie Recipe Timing and Storage
Because this wonderful dessert is designed around chilling, it’s truly one of the best Make Ahead Pie Recipes you’ll ever find. The wonderful thing about this peanut butter pie is that it actually tastes better the next day! Once the ganache has set, everything melds together perfectly.
You can safely keep this pie covered tightly in the refrigerator for up to four days. If you need to keep it longer, say for a holiday spread, you can freeze it! It freezes like a dream, though I always recommend skipping the ganache if you plan on freezing it overnight. Just cover the plain filling tightly with a layer of plastic wrap, then foil, and freeze it for up to a month. When you are ready to serve, just thaw it overnight in the fridge first. If you prep things in advance, check out how I save time with my freezer breakfast burrito prep!
If you freeze it and plan to add the chocolate topping afterward, make sure it’s completely thawed before you pour on that chocolate ganache, or the cold temperature will make the chocolate seize up instantly. Nobody wants that!
Serving Suggestions for this Chocolate Peanut Butter Dessert
When you finally pull this gorgeous Chocolate Peanut Butter Dessert out of the fridge, you want to make a grand entrance, right? Because this pie is so incredibly rich, you don’t need much on the side, but presentation matters!
For slicing? This is important! Use a sharp, long knife dipped in hot water between every slice. Wipe the knife clean, dip it again, and then cut. That way, the ganache and the creamy filling melt away cleanly instead of dragging across the slice looking messy. It makes such a difference!
As for pairings, this pie demands something a little acidic or warm to cut through all that delicious fat. A strong, black coffee pairs perfectly. If you want something sweeter, a tiny dollop of fresh, slightly tart raspberries on the side is amazing. Or, if it’s chilly out, a side of my homemade pumpkin spice latte is the coziest partner for this decadent slice!
Frequently Asked Questions about the Classic Peanut Butter Pie
I always get so many questions when folks first try making this recipe, because it is so different from a baked pie! People worry about things getting too soft or looking messy, but trust me, we fixed all those potential problems already. Here are a few things I hear all the time about making my Classic Peanut Butter Pie.
Can I use crunchy peanut butter instead of creamy?
You absolutely *can*, but I really advise against it if you want that melt-in-your-mouth experience. Crunchy peanut butter works fine for flavor, but the texture gets a little gritty instead of purely silky smooth. Since this is a Creamy Peanut Butter Dessert, stick to creamy for the best results. Save the crunchy bits for stirring into smoothies!
What if I really don’t like chocolate? Can I skip the ganache?
Yes, of course! The chocolate is a decadent addition, but this Peanut Butter Pie Recipe stands strong on its own. If you skip the ganache, you should definitely use that simple dusting of powdered sugar Grandma always used, or maybe just top it with some crushed peanuts for crunch. It still sets up beautifully in the fridge without the chocolate topping.
How do I stop the Oreo crust from getting soggy?
That’s a great question—soggy crusts are the worst! Because we are using melted butter on the crust and then chilling it *before* adding the filling, it actually sets up quite hard. The key to preventing sogginess, though, is making sure the pie itself is very well chilled—at least four hours—before you serve it or store it long-term. For more recipe policies and how we handle data, you can check out our privacy policy here.
Can this be made in individual cups instead of a full pie?
Oh, I love that idea! That makes for perfect little single servings, which is great for parties. Layer the crust mixture, filling, and topping right into little jars or cute glasses. You’ll probably only need to chill them for two to three hours since the layers are thinner. They make for adorable Simple Sweet Treats!
Sharing Your Homemade Peanut Butter Pie Experience
I really hope you love making this Peanut Butter Pie as much as I love eating it! Please, please leave me a comment below once you’ve tried it. Tell me if you used the Oreo crust or went for the graham cracker version, and how fast it disappeared at your house! If you made this simple sweet treat, I’d absolutely love to see your photos, so tag me on social media! If you want to get in touch for any reason, you can reach out on my contact page. Happy baking—or should I say, happy chilling!
PrintEasy No-Bake Peanut Butter Pie with Oreo Crust

Make this simple, creamy peanut butter pie using an Oreo crust. This no-bake recipe is quick to prepare and serves a crowd well.
- Prep Time: 20 min
- Cook Time: 0 min
- Total Time: 4 hr 20 min
- Yield: 8 servings
- Category: Dessert
- Method: No-Bake
- Cuisine: American
- Diet: Vegetarian
Ingredients
- 1 1/2 cups crushed Oreo cookies (about 25 cookies)
- 6 tablespoons unsalted butter, melted
- 1 (8 ounce) package cream cheese, softened
- 1 cup creamy peanut butter
- 1 1/2 cups powdered sugar
- 1 teaspoon vanilla extract
- 1 (12 ounce) container frozen whipped topping, thawed
- 1/2 cup semi-sweet chocolate chips
- 1/4 cup heavy cream
Instructions
- Combine the crushed Oreo cookies and melted butter in a medium bowl. Press the mixture firmly into the bottom and up the sides of a 9-inch pie plate. Chill the crust for 15 minutes.
- In a large bowl, beat the softened cream cheese until smooth. Add the peanut butter, powdered sugar, and vanilla extract. Beat until fully combined and creamy.
- Gently fold in half of the thawed whipped topping until just blended. Spread this filling evenly into the chilled Oreo crust.
- Top the filling with the remaining whipped topping, spreading it to cover the surface. Chill the pie for at least 4 hours, or until firm.
- To make the ganache, place the chocolate chips in a small, heatproof bowl. Heat the heavy cream in a small saucepan until it just begins to simmer. Pour the hot cream over the chocolate chips. Let stand for 5 minutes, then whisk until smooth.
- Pour the chocolate ganache over the chilled pie. Return the pie to the refrigerator for 30 minutes to allow the ganache to set before slicing and serving.
Notes
- You can substitute a graham cracker crust if you prefer a different base flavor.
- For a richer topping, use mini Reese’s Peanut Butter Cups chopped on top of the ganache.
- If you do not have heavy cream, you can use milk, but the chocolate topping will be thinner.
Nutrition
- Serving Size: 1 slice
- Calories: 450
- Sugar: 35g
- Sodium: 280mg
- Fat: 30g
- Saturated Fat: 12g
- Unsaturated Fat: 18g
- Trans Fat: 0g
- Carbohydrates: 40g
- Fiber: 2g
- Protein: 8g
- Cholesterol: 45mg