

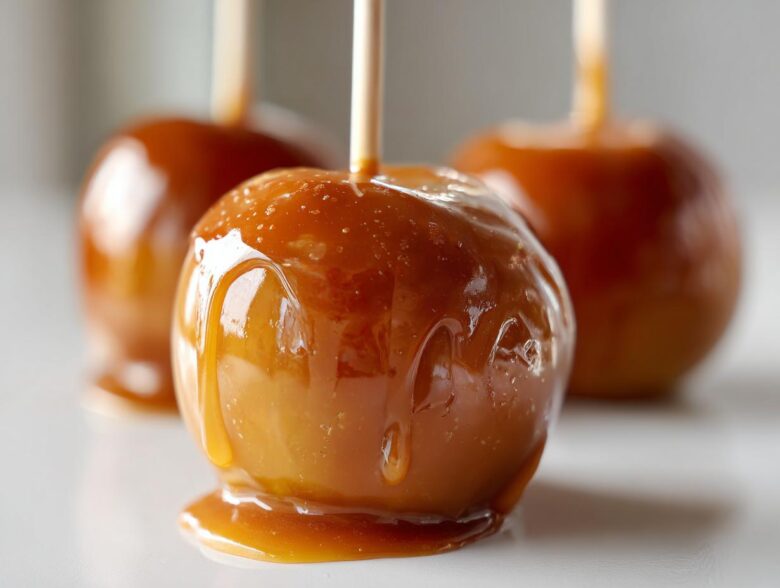
Oh my gosh, you are going to fall in love with these! Making homemade caramel apples used to feel like some kind of dark magic trick, right? I spent years producing sticky, drippy messes where the caramel slid right off the second they hit room temperature. It was so frustrating, especially when you’re trying to make something special for the kids or a fall party!
But I cracked the code! Seriously, after so many failed batches, I figured out the secrets to getting that thick, gloriously gooey caramel sauce that stays glued to the apple until the very last bite. This isn’t just another recipe; this is the foolproof guide to making caramel apples that stick every single time. Trust me, when you nail the prep and the temperature, it becomes one of the easiest, most impressive fall treats you can manage. Let’s get that perfect coating on your apples!
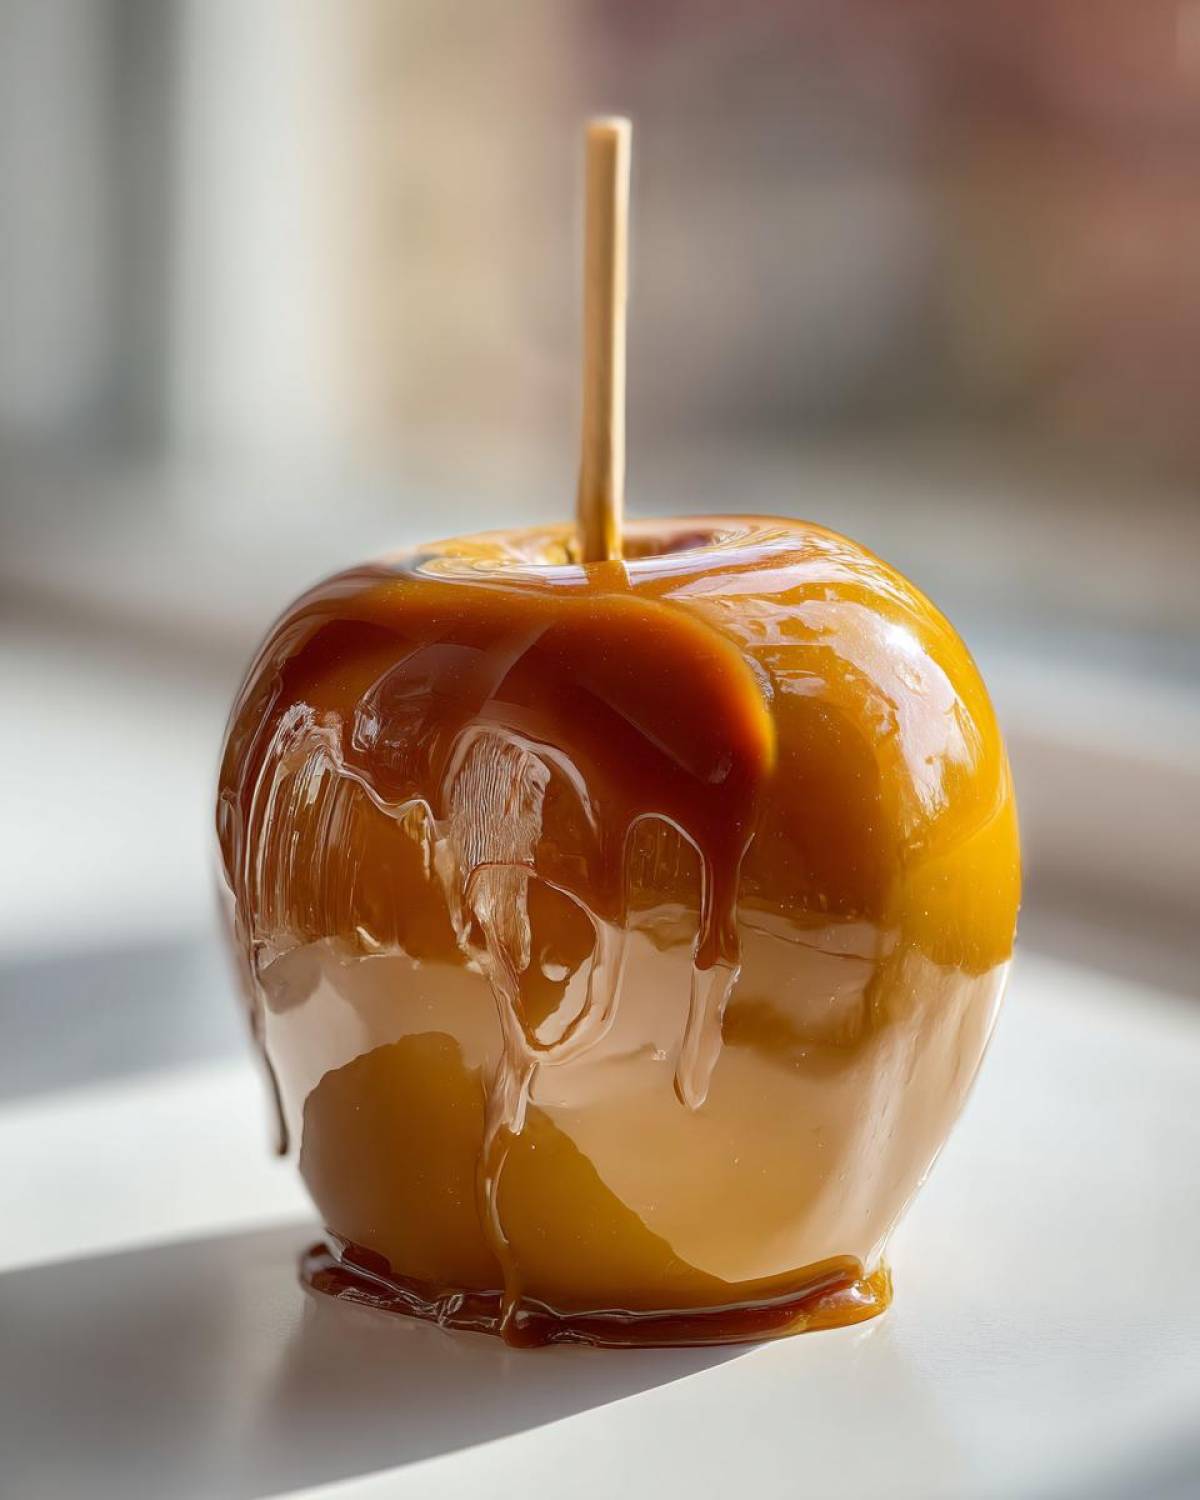
Why This is the Best Easy Caramel Apple Recipe
Look, you don’t need to be a candy maker to nail this! This is the recipe that finally delivers on that promise of the perfect, thick coating. Forget runny caramel or apples you have to frantically eat before the coating slides off the stick. We’re focusing on reliability here!
If you follow the dipping rules, you’ll be rewarded with that amazing, chewy, gooey caramel sauce that tastes a million times better than anything store-bought.
Key Benefits of These Homemade Caramel Apples
- No Stick Guarantee: We spend extra time prepping those apples so the caramel adheres beautifully.
- Perfect Firm Ball Stage: Hitting exactly 245°F means the caramel sets up perfectly chewy—not rock hard, not runny!
- Simple Cooking: It’s all one pot! Once it boils, you just watch the thermometer; no complicated stirring nonsense.
- Rich Flavor: Using real butter and heavy cream makes the caramel taste incredibly rich and decadent.
Selecting the Best Apple for Caramel Apples
Here’s where a lot of people mess up before they even turn the stove on! You can’t just grab any apple from the fruit bowl. If you use something soft or mealy, it’ll just shrink away from that beautiful hot caramel and you’ll end up with a sad, naked apple core!
For the absolute best experience when making caramel apples, you need apples that are firm, crisp, and slightly tart. Why tart? Because that sharp bite cuts right through the incredible sweetness of the homemade caramel. If it’s all sweet on sweet, you get overwhelmed fast. Trust me on this one.
When I’m shopping, I always look for Granny Smith—they are the classic gold standard for this treat because they hold up so well to heat and dipping. Honeycrisp or Braeburn are fantastic too if you want a little more sweetness right out of the gate. Knowing the best apple for caramel apples is half the battle won!
Ingredients Needed for Perfect Caramel Apples
Okay, let’s look at what you need for that incredible, rich caramel. The beauty of this recipe is that it uses simple pantry staples, but the quality of a couple of key players really makes the difference between okay caramel and ‘oh my goodness, I need another one’ caramel.
You’ll need 12 apples, obviously, and make sure you have your sticks ready to go—I prefer the sturdy wooden ones! For the caramel itself, you are combining sugar, light corn syrup, heavy cream, and a full one cup of unsalted butter. I know that seems like a lot of butter, but honestly, that’s what gives you that unbelievably smooth, gooey caramel sauce that melts just right in your mouth.
Don’t try to skimp here! When you get to the final assembly in the post, I’ll have you lay out everything nicely, but for now, gather up those measurements. The vanilla and salt are essential for rounding out the flavors, so don’t skip those either!
Ingredient Notes and Substitutions
Let’s talk specifics about the ingredients that hold the key to that no stick caramel apples success. First, the cream: you absolutely must use heavy cream, not half-and-half or milk. The fat content is what helps stabilize the sugars when cooking, ensuring it wraps beautifully around the apple instead of just dissolving into syrup.
Second, the corn syrup. This is non-negotiable for a smooth, non-crystallizing finish. If you absolutely can’t find light corn syrup, you can try substituting it with golden syrup or even a bit more granulated sugar mixed with water, but I won’t guarantee that shiny, perfect coating if you skip it. It’s the insurance policy for your caramel!
For the apples, remember what we talked about—firm and tart. If you plan on making a couple of these batches, maybe try using a mix: Granny Smith for the classic lovers and maybe a Gala for someone who likes a softer bite. But for the caramel, stick to the recipe; that’s how we lock in that amazing texture!
How to Prepare Apples for Caramel Apples: The Crucial First Steps
This is the most important part, seriously! If you mess up this section, those beautiful caramel apples will slide right off their sticks while they cool. The main enemy here is wax. Most grocery store apples are coated in a thin layer of food-grade wax to keep them looking vibrant, but that wax is the absolute enemy of adhesion. The caramel just slides right off that slick surface!
So, we have to strip that wax off. First, wash those apples really well under warm water. Dry them until you swear they can’t possibly get any drier—I use clean paper towels and rub vigorously. Then, here’s the chef’s secret: take a small piece of paper towel, dab it in some plain white vinegar, and wipe down the entire outside surface of each apple.
Vinegar cuts through the wax without leaving any flavor behind! Once you’ve done that, they need to be totally air-dried again. Finally, take your stick and push it firmly into the core. Chill those babies in the fridge for about thirty minutes right before dipping. A cold, clean apple grabs onto warm caramel like nothing else. This prep work ensures you get those gorgeous, no stick caramel apples!
Step-by-Step Instructions: How to Make Caramel Apples
Alright, deep breath! This is the part that feels intimidating, but it’s actually super straightforward once you have your thermometer ready. Get a heavy-bottomed saucepan—we don’t want any hot spots scorching our beautiful ingredients, you know?
In that pot, you’re going to combine your sugar, corn syrup, heavy cream, and all that butter. Get it over medium heat and stir constantly, just until everything is melted and looks happy. The second it starts to boil, you need to stop stirring! I know, it feels wrong, but stirring after it boils can actually cause crystallization, and we want smooth, gooey caramel sauce, not sugar rocks!
Clip your candy thermometer onto the side—make sure it’s not touching the bottom of the pan. You are cooking this mixture, without touching it, until it hits exactly 245 degrees Fahrenheit. That specific magic number is called the Firm Ball Stage. This is where your expertise comes in; getting the temperature right is *why* these caramel apples won’t slide off later! Once it hits the mark, pull it off the heat immediately. Stir in your vanilla and salt, let it cool for about five minutes so it thickens up slightly, and then we dip!
Mastering the Caramel Dipping Guide for Caramel Apples
Now that your caramel has cooled just a tick—it should be thick enough to coat a spoon but thin enough to pour—it’s dipping time! Carefully insert your prepared apple stick. Tilt the saucepan slightly so the caramel pools up on one side. Dip the apple right into the pool, rotating it slowly so the caramel flows evenly over the entire surface. Don’t try to scoop it; let gravity do the work!
Lift the apple out, holding it straight up over the pot, and just let the extra drip back down. Give it a little twist as it drips—this helps seal the bottom edge so you don’t get that weird long drip hanging off when you set it down. Place the dipped beauties on your parchment-lined tray. They need a solid couple of hours to set up completely at room temperature before anyone touches them. Resist the urge to put them in the fridge immediately; we want them to set slow and stay gourmet caramel apples style!
Caramel Apple Tips and Tricks for Success
Okay, you’ve timed your candy perfectly, but maybe you’re wondering what happens if the caramel starts getting stubborn mid-dip? This is where the real caramel apple tips and tricks come into play to save the day!
If your caramel gets too thick while you’re dipping—maybe you got distracted chatting or the room is cold—do not panic! Just scoop the pan back onto the burner over your lowest heat setting for just thirty seconds. Gently whisk it a little, and it should loosen right up. Remember, you don’t want it to boil again; just warm it enough to flow nicely.
Also, quick reminder: make sure those apples are cool before they hit the caramel. They don’t have to be fridge-cold, but they certainly can’t be room temperature, especially if your kitchen is warm. A slightly chilled apple grabs that warm caramel and holds it tight. These little actions are what separate a good attempt from truly successful homemade caramel apples every time you make them!
Creative Caramel Apple Toppings and Variations
Now that you’ve mastered the dipping, this is the fun part where you get to play artist! The best part about using this easy caramel apple recipe is that the base is so stable, it holds almost anything you throw at it. You have to move fast here, though, right when the apple comes out of the caramel and before it sets, throw whatever toppings you want on quickly!
Salted peanuts or pecans are an absolute classic—the salt cuts the richness so perfectly. If you’re feeling extra fancy, crushed Oreos or colorful sprinkles make these instant hits for kids. A drizzle of melted dark chocolate over the finished caramel is also just heavenly for making them look extra fancy. They turn into true gourmet caramel apples with minimal effort!
And don’t think you are limited to whole apples! This base works beautifully for caramel apple variations too. Try cutting the apples into thick chunks and poking sticks into them for easy-to-eat caramel apple slices. Or, if you’re feeling ambitious, use mini apples for fantastic little two-bite treats. Whatever you choose, enjoy making these into your signature fall dessert recipes!
Storage and Serving Suggestions for Classic Caramel Apples
So, you’ve made a dozen of the most perfect, non-slipping, gooey caramel apples in history. Congratulations! Now, how do you save them? This is where people sometimes run into trouble again.
The biggest secret for the best texture is eating them the day you make them! The apples are crispest, and the caramel is at its absolute peak of chewiness right after it sets up. If you wait too long, the apple starts to weep moisture, which inevitably makes the bottom of the caramel coating soggy. Not what we want!
If you absolutely must store them, avoid the fridge if you can. Putting them in the refrigerator makes the caramel super hard, and it can get sticky when you bring it back out into room temperature, plus they might sweat. If you must store them, keep them on a parchment-lined tray tightly covered at cool room temperature for up to 2 days max. They are fantastic served alongside a steaming mug of hot coffee or even better, some warm mulled apple cider. These treats just scream cozy autumn mornings!
Frequently Asked Questions About Caramel Apples
I get asked about these ALL the time because everyone wants that perfect, non-slip coating! Here are the quick answers to the questions I hear most often about making the best caramel apples.
Why did my caramel turn runny and why didn’t it stick?
Nine times out of ten, this is either because you didn’t boil the butter/sugar mixture long enough—you MUST hit that 245°F mark for the Firm Ball Stage—or you didn’t properly clean the wax off the apple skin. If the caramel doesn’t stick, go back and wipe those apples down with vinegar next time! That’s the key to a no fail caramel apples experience.
Can I skip the corn syrup or substitute it with something else?
Honestly, I strongly advise against skipping it. Corn syrup is an invert sugar, which keeps your caramel smooth and stops it from hardening into brittle candy or crystallizing into sand. If you absolutely cannot find it, you can try using golden syrup, but using just plain sugar is risky; you won’t get that signature luscious texture that makes these perfect for halloween candy apples.
Do I need to keep my caramel apples refrigerated?
Nope! That’s a common misconception. Refrigeration can cause condensation when you take them out, which makes the caramel soggy and sticky on the outside. Keep your finished classic caramel apples covered at cool room temperature for about two days max. They are always best eaten the day of!
What do I do if the caramel gets too thick while I’m dipping?
It happens! If the caramel becomes stiff and hard to work with while you’re coating the last few apples, just put the whole pot back on the absolute lowest heat setting for less than a minute—just enough to loosen it up. Don’t let it bubble again! This little warm-up keeps your dipping smooth.
Estimated Nutritional Data for Homemade Caramel Apples
I always feel a little guilty looking at this section, but hey, these are an indulgence, right? These numbers are based on the recipe yielding 12 servings, and remember, that’s one whole, big apple coated in glorious caramel!
When we look at the numbers, we see that each one of these homemade caramel apples clocks in around 550 calories. Most of that is going to come from the sugar and the high fat content we need to make that caramel so perfectly gooey and rich. That’s why we usually only have one!
A single apple has approximately 85 grams of sugar and about 24 grams of fat. That’s a lot of energy packed into a crisp Granny Smith! The breakdown shows about 88 grams of carbohydrates per serving. I always tell my family, these are a holiday treat; they are not an everyday snack, but oh my goodness, they are worth every single calorie when made right.
Here is the quick breakdown so you can see exactly what you’re working with in this recipe, keeping in mind these are just estimates:
- Serving Size: 1 apple
- Calories: 550
- Total Fat: 24g
- Saturated Fat: 15g
- Total Carbohydrates: 88g
- Sugar: 85g
- Protein: 2g
Please remember the disclaimer about this data—it gives you a great starting point, but if you start throwing on extra chocolate chips or crushed pecans, those numbers are definitely going up! Enjoy them responsibly (or maybe just enjoy them!
Share Your Perfect Caramel Apples
I am so incredibly happy that you made it through the whole process! You’ve conquered candy-making, and I bet those caramel apples look absolutely stunning sitting on your kitchen counter right now.
The most rewarding part of developing this foolproof recipe was hearing from all of you who finally mastered getting that perfect, non-sliding coat. Did you try the vinegar trick? Did you hit that perfect 245°F temperature on the first try?
I would absolutely love to see your creations! Snap a picture of your gorgeously dipped apples, maybe with some fun caramel apple toppings, and tag me on social media! And if this recipe saved you from a sticky disaster, please leave it a rating below. It helps other bakers know they can trust this method too!
PrintFoolproof Homemade Caramel Apples

Make perfect, gooey caramel apples where the caramel sticks every time. This recipe covers apple preparation and dipping technique for classic results.
- Prep Time: 20 min
- Cook Time: 30 min
- Total Time: 170 min
- Yield: 12 servings
- Category: Dessert
- Method: Stovetop Cooking
- Cuisine: American
- Diet: Vegetarian
Ingredients
- 12 medium firm apples (like Granny Smith or Honeycrisp)
- 2 cups granulated sugar
- 1 cup light corn syrup
- 1 cup heavy cream
- 1 cup (2 sticks) unsalted butter
- 1 teaspoon vanilla extract
- 1/2 teaspoon salt
- 12 wooden or parchment-covered sticks
Instructions
- Wash and thoroughly dry the apples. Remove the stems. Wipe each apple surface with a small amount of white vinegar or rub them with a paper towel to remove any wax residue; this helps the caramel adhere. Insert a stick firmly into the core of each apple.
- In a heavy-bottomed saucepan, combine the sugar, corn syrup, heavy cream, and butter.
- Stir the mixture constantly over medium heat until the butter melts and the sugar dissolves. Stop stirring once it boils.
- Insert a candy thermometer into the side of the pan, making sure it does not touch the bottom.
- Cook the mixture without stirring until it reaches 245 degrees Fahrenheit (Firm Ball stage). This usually takes 15 to 25 minutes. Watch the temperature closely.
- Remove the saucepan from the heat immediately when it reaches 245 degrees F. Stir in the vanilla extract and salt. Let the caramel cool for 5 to 10 minutes until it thickens slightly.
- Tilt the saucepan. Dip each prepared apple into the caramel, rotating to coat evenly. Lift the apple out and let excess caramel drip back into the pan.
- Place the coated apples on a baking sheet lined with parchment paper or a silicone mat.
- Allow the caramel apples to set completely at room temperature for at least 2 hours before serving or adding toppings.
Notes
- For the best stick, ensure the apples are completely dry and slightly chilled before dipping.
- If the caramel becomes too thick while dipping, return the pan to low heat briefly to thin it out, but do not let it boil again.
- For chocolate drizzle or nut toppings, apply them immediately after dipping while the caramel is still wet.
Nutrition
- Serving Size: 1 apple
- Calories: 550
- Sugar: 85g
- Sodium: 150mg
- Fat: 24g
- Saturated Fat: 15g
- Unsaturated Fat: 9g
- Trans Fat: 0.5g
- Carbohydrates: 88g
- Fiber: 1g
- Protein: 2g
- Cholesterol: 75mg