

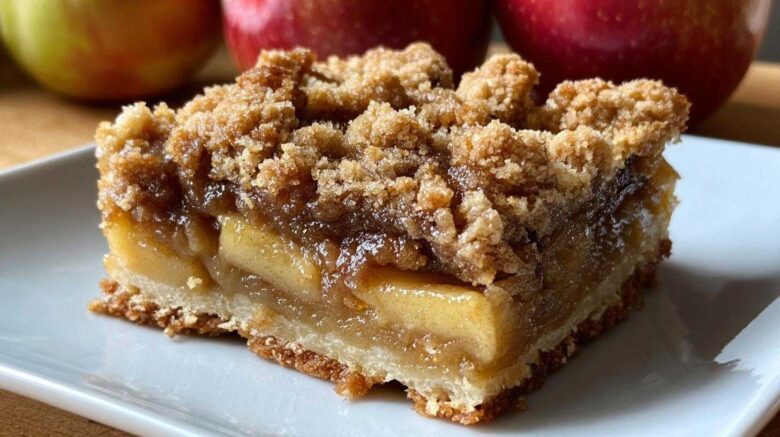
Delicious Apple Pie Bars: Your Perfect Handheld Fall Treat
You know that feeling when fall arrives? The air gets crisp. Leaves turn fiery shades of red and gold. And your kitchen starts to smell like pure comfort. For me, that smell is always apples and cinnamon. I remember when our kitchen was just a place to rush through dinner. Now, it’s where the real magic happens. It’s where we create memories, one delicious bite at a time. These Apple Pie Bars are a perfect example. They capture all those cozy fall flavors. Plus, they’re wonderfully handheld. No fuss, just pure enjoyment. I love making these because they bring such simple joy to our home. They’re a taste of autumn you can carry with you. They truly are my favorite kind of handheld dessert. They make any day feel special.
Why You’ll Love These Easy Apple Pie Bars
These Apple Pie Bars are a game-changer for fall baking. They’re incredibly simple to make. You get all the classic apple pie taste. But in a convenient, handheld format.
- So easy to whip up.
- Bursting with warm fall flavors.
- Perfect for picnics or parties.
- A guaranteed crowd-pleaser.
- These easy apple bars are pure comfort.
You’ll adore how quickly they come together. They bring a smile to everyone’s face. Making these Apple Pie Bars is a small joy. A big taste of autumn.
Gather Your Ingredients for Apple Pie Bars
Let’s get our kitchen ready for some fall baking magic. Gathering the ingredients for these Apple Pie Bars is part of the fun. You’ll see it’s a simple list. Nothing too fancy required. Just good, honest ingredients that come together beautifully. Think of them as the building blocks for pure autumn joy.
- 1 cup (2 sticks) unsalted butter, softened
- 1 cup granulated sugar
- 1 egg
- 1 teaspoon vanilla extract
- 2 1/2 cups all-purpose flour
- 1 teaspoon baking soda
- 1/2 teaspoon salt
- 6 cups chopped peeled apples (about 6 medium apples)
- 3/4 cup packed light brown sugar
- 2 tablespoons all-purpose flour
- 1 teaspoon ground cinnamon
- 1/4 teaspoon ground nutmeg
- 1/4 teaspoon ground allspice
- 2 tablespoons unsalted butter, cut into small pieces
See? It’s all straightforward. We’re just setting ourselves up for success here.
How to Prepare These Amazing Apple Pie Bars
Now for the fun part! Making these Apple Pie Bars is a journey I truly enjoy. It’s like painting a delicious picture, layer by delicious layer. We’ll start with the base. Then we’ll create that wonderful apple filling. Finally, we’ll put it all together. Get ready for some serious autumn goodness.
Preparing the Base and Filling
First things first. Preheat your oven to 375°F (190°C). This is super important. It ensures everything bakes evenly. Grab a 9×13 inch baking pan. Grease and flour it well. This stops our bars from sticking.
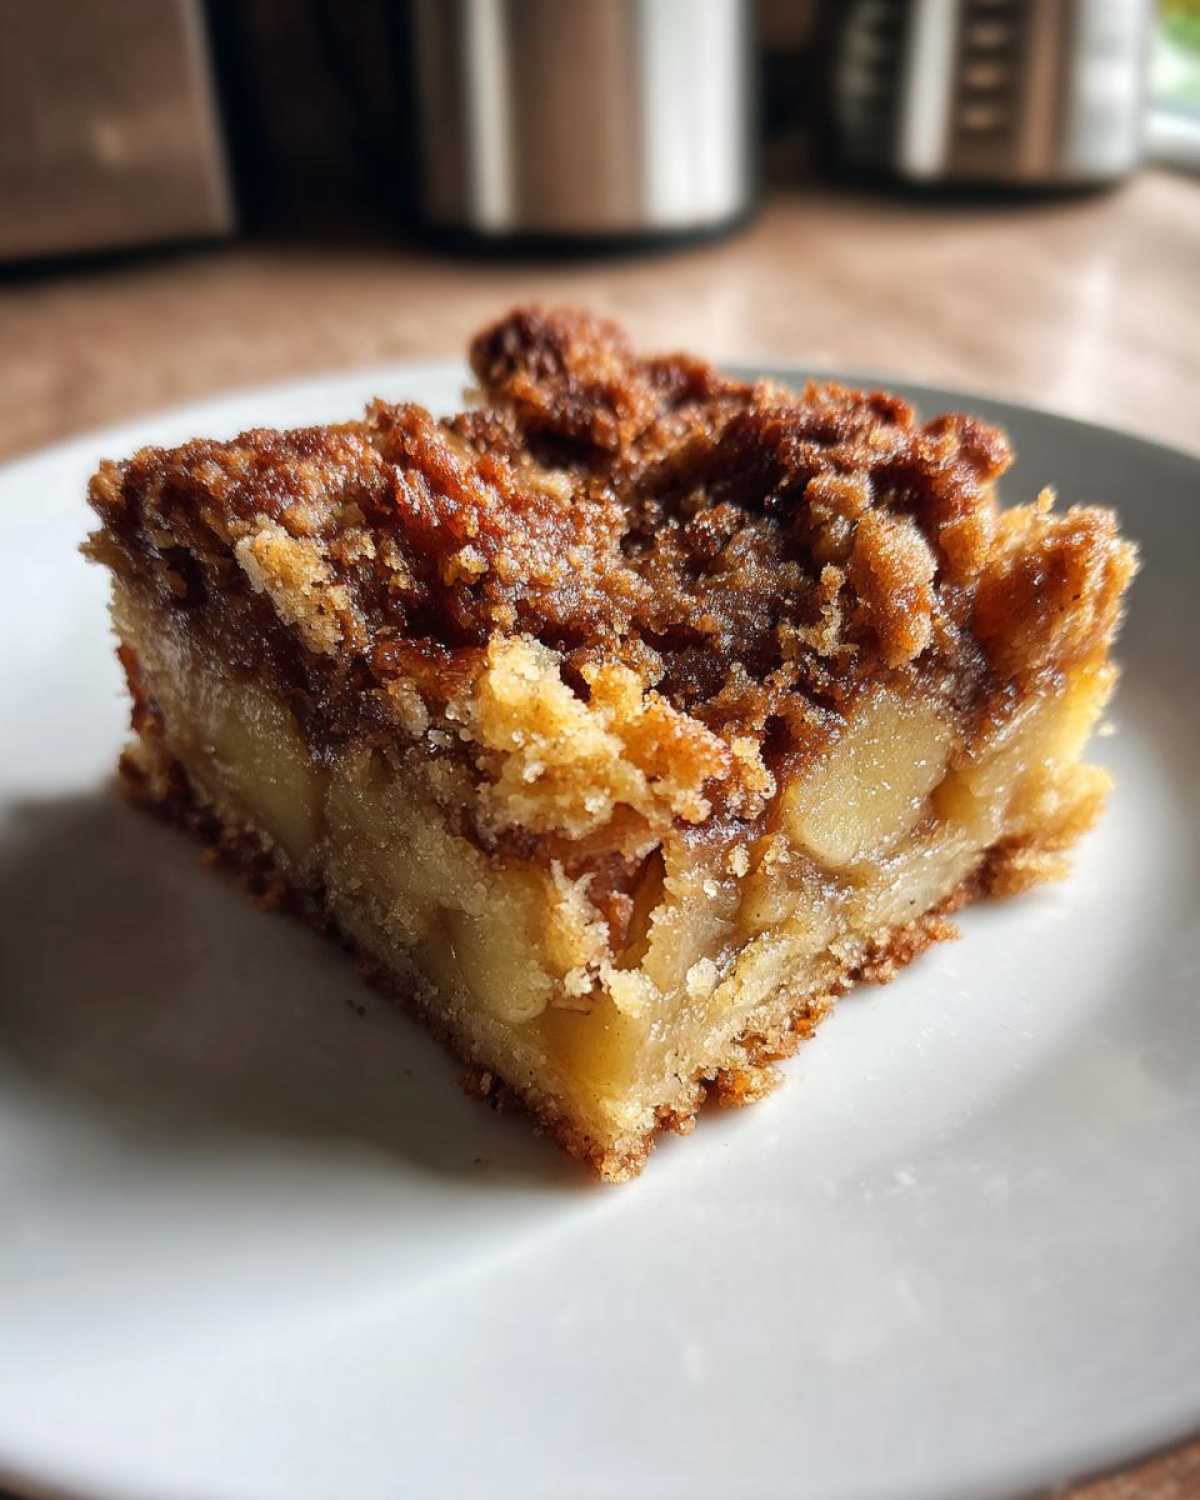
In a big bowl, cream together the softened butter and granulated sugar. I like to use my electric mixer for this. It makes it so light and fluffy. It’s like whipped clouds. Then, beat in the egg and vanilla extract. Make sure it’s all mixed in nicely.
Now, in a separate bowl, whisk together the flour, baking soda, and salt. This dry mix needs to be combined well. Gradually add these dry ingredients to the wet ones. Mix until it’s just combined. Don’t overmix! Overmixing can make the crust tough.
Press about two-thirds of this dough into the bottom of your prepared pan. Spread it out evenly. This forms our lovely crust. It’s the foundation for our apple bars.
For the filling, toss the chopped apples in a medium bowl. Add the brown sugar, flour, cinnamon, nutmeg, and allspice. Mix it all up. Make sure every apple piece is coated. This makes for a truly flavorful apple layer. It’s where those warm cinnamon bars flavors really shine.
Assembling and Baking Your Apple Pie Bars
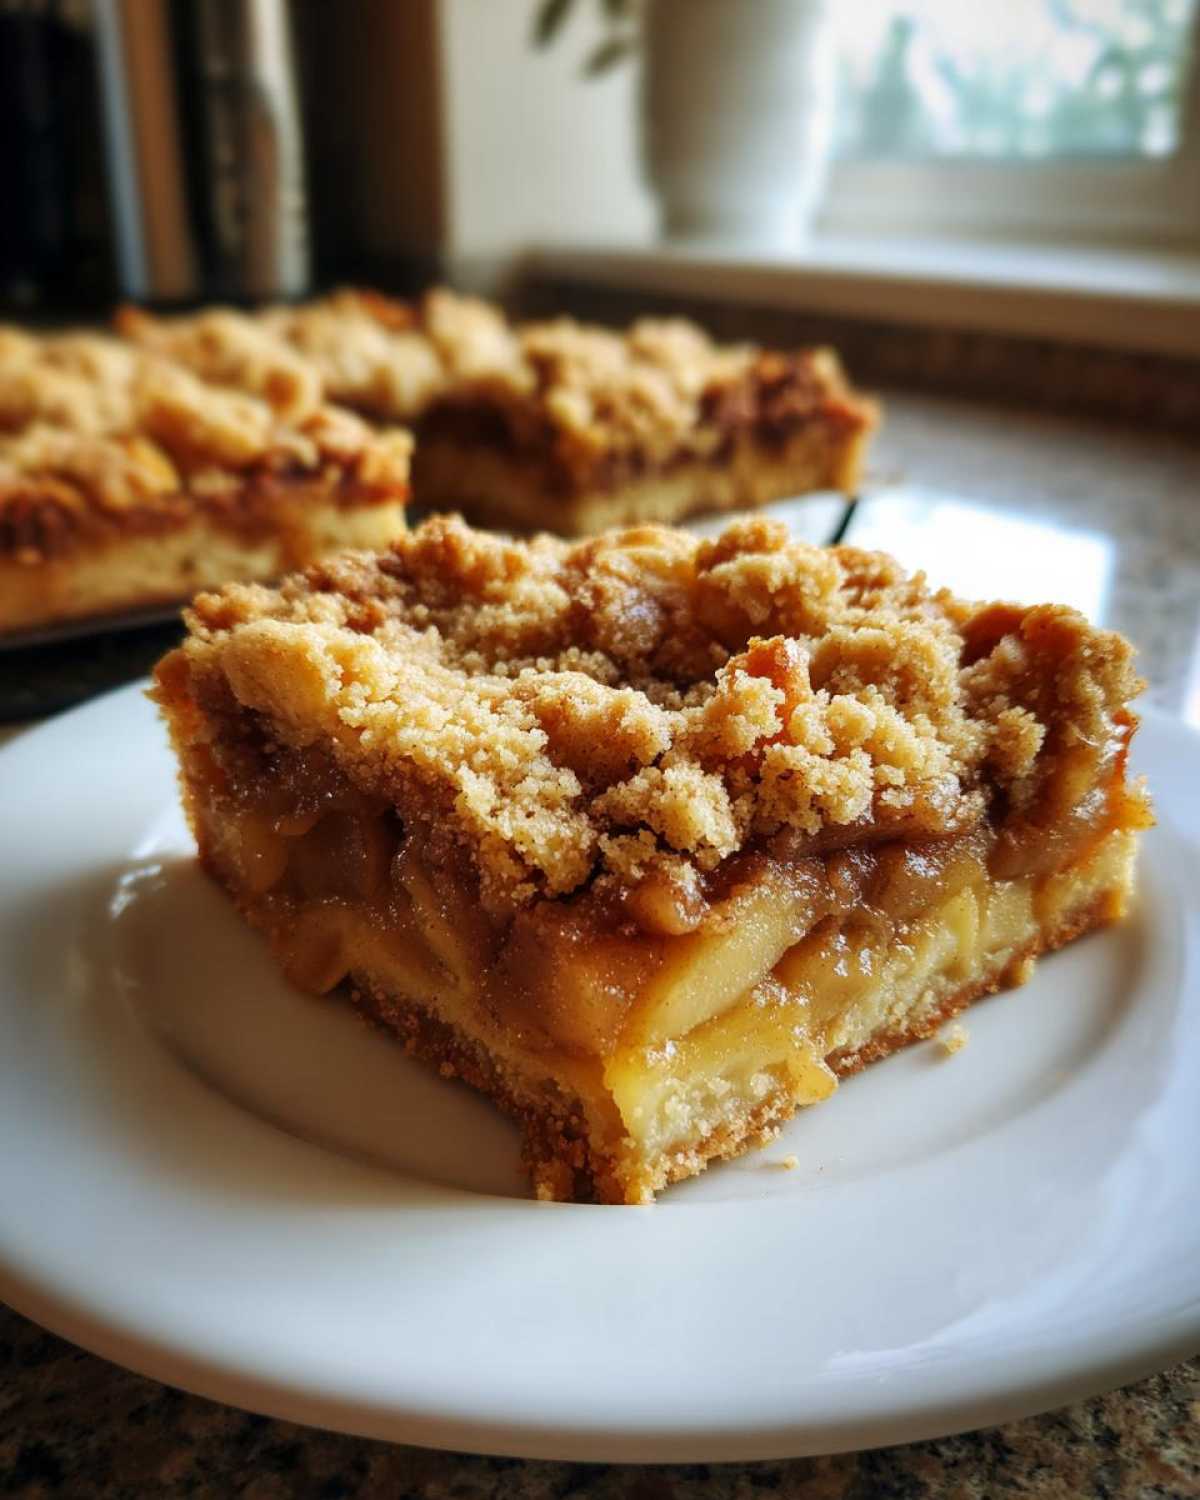
Now we assemble. Spread that glorious apple mixture evenly over the crust. Make sure it reaches all the edges. Then, dot the top of the apple layer with those small pieces of butter. They’ll melt as it bakes. Oh, the aroma!
Crumble the remaining one-third of the dough over the apple topping. I like to break it into small pieces. This creates a lovely, rustic topping. It looks as good as it tastes.
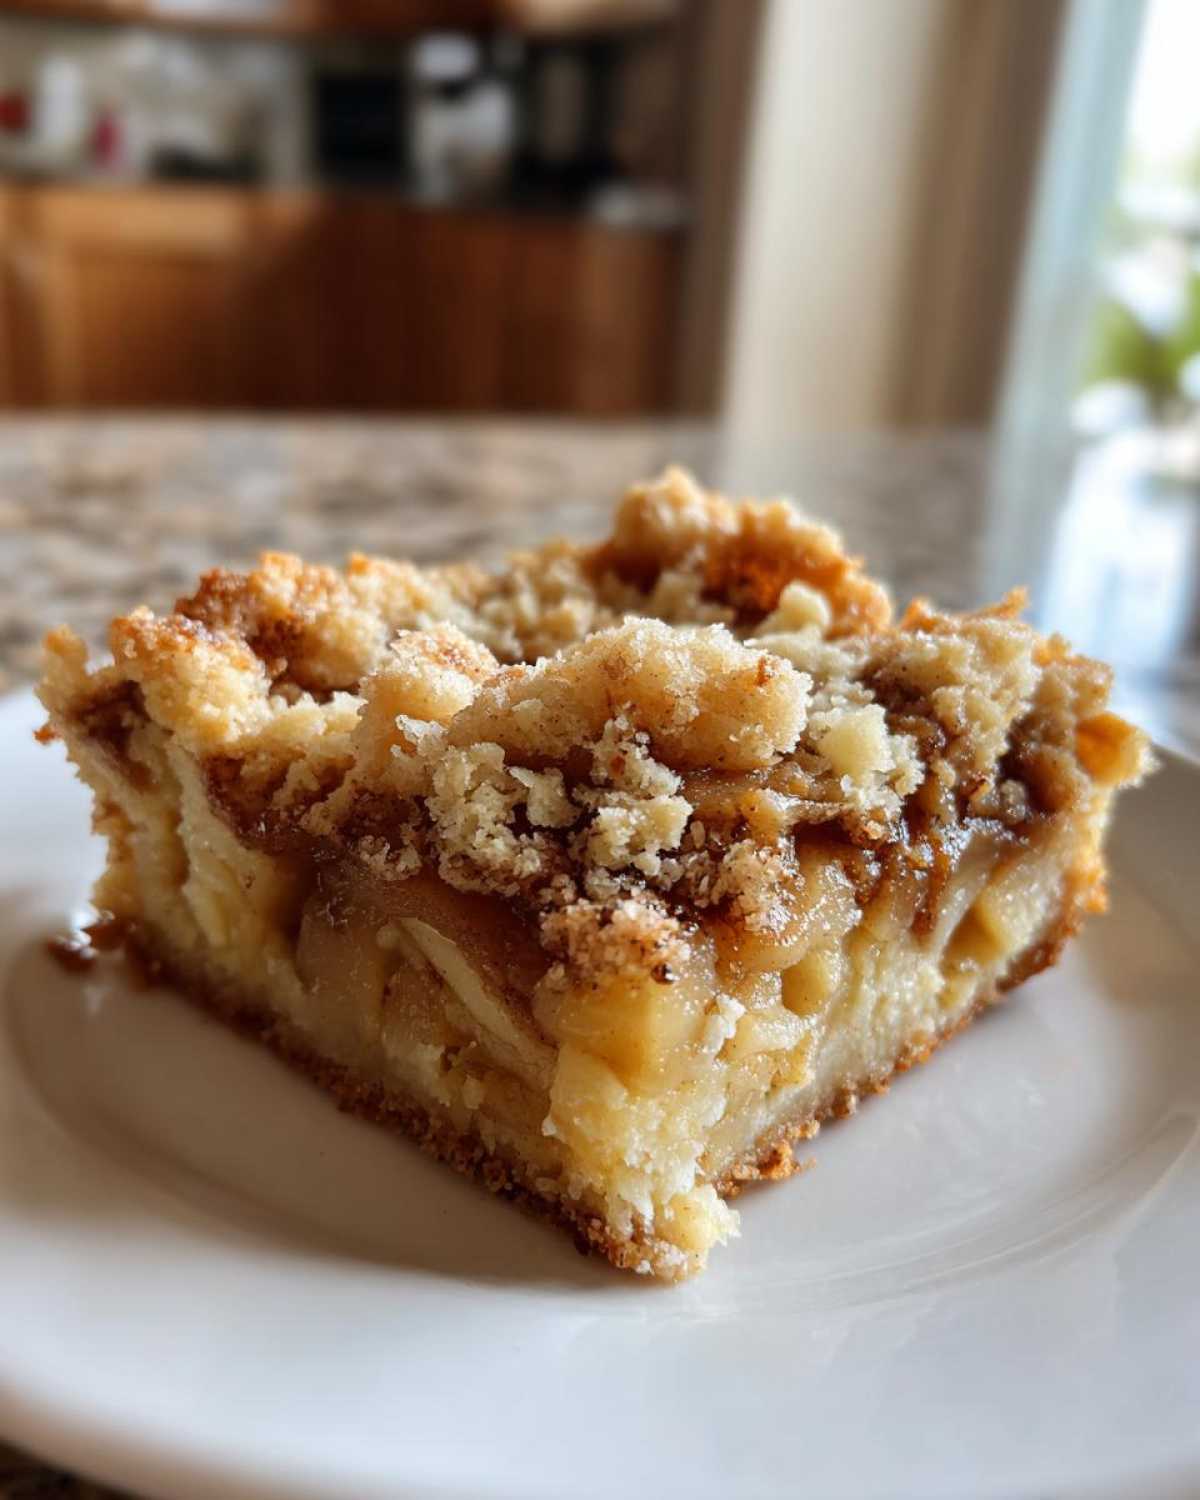
Bake for 40-50 minutes. Keep an eye on it. You want the topping to be golden brown. The apples underneath should be tender when you poke them. If they seem a little firm, give them a few more minutes. These apple pie bars smell heavenly while baking.
Cooling and Cutting Your Apple Pie Bars
This is the hardest part. Patience, my friends! Let the bars cool completely in the pan. This is crucial. If you try to cut them too soon, they’ll fall apart. The gooey apple filling needs time to set. It makes for much cleaner cuts.
Once they’re completely cool, you can cut them into squares. A sharp knife is your best friend here. Run it under hot water and wipe it dry between cuts. This helps get those perfect, neat squares. Now you have beautiful, handheld apple pie bars ready to enjoy. They are a true delight.
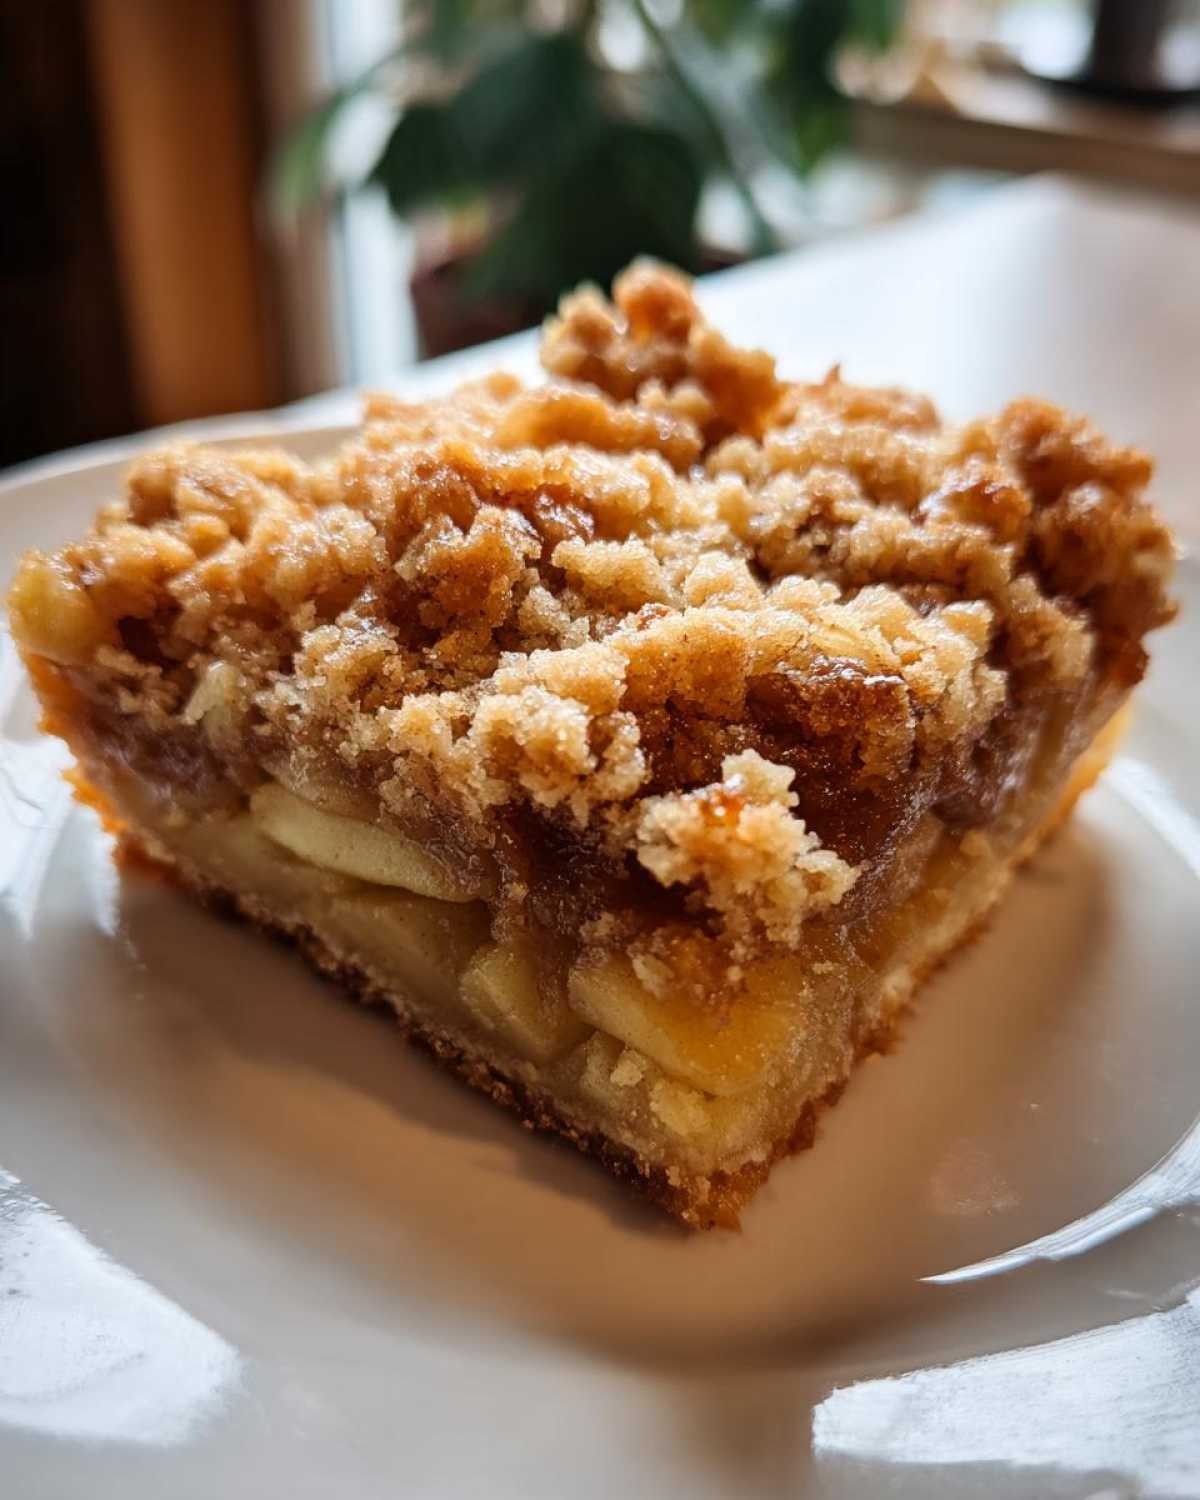
Tips for Perfect Apple Pie Bars Every Time
Making these Apple Pie Bars is usually a breeze. But I’ve learned a few tricks along the way. They help ensure you get perfect results every time.
- Choose the Right Apples: For the best flavor and texture, use a mix of apples. I love Honeycrisp for sweetness. Granny Smith adds a nice tartness. They hold their shape well during baking.
- Don’t Overmix the Dough: Overmixing makes the crust tough. Mix the dough ingredients until they just come together. A slightly shaggy dough is perfect.
- Prevent a Soggy Bottom: Tossing the apples with a bit of flour helps absorb excess moisture. This is key to avoiding a soggy bottom crust. Baking on the middle rack also helps with even heat distribution.
- Check for Doneness: Look for a golden-brown topping. The apples should be tender when pierced with a fork. Sometimes, the center might need a little more time. If the top is browning too quickly, you can loosely tent it with foil.
Follow these tips, and your Apple Pie Bars will be a smashing success. They really are a wonderful treat.
Variations for Your Apple Pie Bars
These Apple Pie Bars are fantastic as is. But sometimes, I love to switch things up a bit. It’s all about making this apple dessert your own!
- Add Some Crunch: Toss in a handful of chopped pecans or walnuts with the apple filling. It adds a wonderful nutty texture.
- Spice it Up: Feeling adventurous? Add a pinch of ground ginger or cardamom to the apple mixture. It gives a lovely warmth.
- Go for Streusel: For an extra decadent topping, ditch the crumbled dough. Make a simple streusel topping with flour, brown sugar, cinnamon, and melted butter. Sprinkle it generously over the apples before baking.
These little twists make each batch of Apple Pie Bars a new adventure. They’re still easy, but with a personal touch. Enjoy creating your perfect apple dessert!
Serving Suggestions for Apple Pie Bars
These Apple Pie Bars are pure comfort. They are even better with a little something extra. I love serving them warm. A scoop of creamy vanilla ice cream is pure bliss. It melts into the warm apples. Whipped cream is also a lovely choice. It adds a touch of lightness. Either way, it makes these apple bars feel extra special. They are a perfect ending to any meal.
Storage and Reheating Apple Pie Bars
These Apple Pie Bars are truly best enjoyed fresh. That said, leftovers are a happy problem to have! Store any extras in an airtight container at room temperature. They’ll stay lovely for up to 3 days. If you want to reheat them to enjoy that warm, gooey goodness again, just pop a square in the microwave for about 15-20 seconds. They’ll be almost as good as the first time. It’s a little taste of fall anytime.
Frequently Asked Questions About Apple Pie Bars
Got questions about these delightful Apple Pie Bars? I’ve got answers! It’s my goal to make your baking journey smooth and joyful.
Can I use different types of apples for Apple Pie Bars?
Yes, absolutely! While I love a mix of Honeycrisp and Granny Smith for their balance, feel free to experiment. Fuji, Gala, or Braeburn apples also work wonderfully. Just aim for apples that hold their shape well when baked. This ensures your apple bars stay lovely.
How long do Apple Pie Bars last?
These apple dessert bars are best when fresh. But if you have leftovers, store them in an airtight container at room temperature. They should stay good for about 3 days. They’re a great grab-and-go snack.
What makes these Apple Pie Bars so easy?
The beauty of these bars lies in their simplicity. You don’t need to roll out pie dough. You press most of the dough into the pan for the crust. Then you simply layer the apples. The remaining dough is crumbled on top. It’s a much less fussy way to enjoy apple pie flavor. They are truly easy apple bars.
Can I make these Apple Pie Bars ahead of time?
You can prepare the dough and the apple filling a day in advance. Store them separately in the refrigerator. Then, assemble and bake them closer to when you want to serve them. This helps ensure the best texture. They are a delightful handheld treat.
Estimated Nutritional Information for Apple Pie Bars
I always like to give you a general idea of what you’re getting with each delicious bite. These are just estimates, of course. Every kitchen is a little different! Baking can vary slightly. But this should give you a good snapshot of the nutrition in our wonderful Apple Pie Bars.
- Serving Size: 1 bar
- Calories: 350
- Sugar: 25g
- Sodium: 150mg
- Fat: 18g
- Saturated Fat: 11g
- Unsaturated Fat: 7g
- Trans Fat: 0g
- Carbohydrates: 45g
- Fiber: 3g
- Protein: 3g
- Cholesterol: 50mg
This information helps me appreciate the balance in these tasty apple bars. Enjoy every moment!
PrintStella’s Amazing 5-Star Apple Pie Bars
Enjoy the comforting flavors of fall with these delicious Apple Pie Bars. They’re a perfect handheld treat for any occasion.
- Prep Time: 20 minutes
- Cook Time: 45 minutes
- Total Time: 1 hour 5 minutes
- Yield: 16-20 bars
- Category: Dessert
- Method: Baking
- Cuisine: American
- Diet: Vegetarian
Ingredients
- 1 cup (2 sticks) unsalted butter, softened
- 1 cup granulated sugar
- 1 egg
- 1 teaspoon vanilla extract
- 2 1/2 cups all-purpose flour
- 1 teaspoon baking soda
- 1/2 teaspoon salt
- 6 cups chopped peeled apples (about 6 medium)
- 3/4 cup packed light brown sugar
- 2 tablespoons all-purpose flour
- 1 teaspoon ground cinnamon
- 1/4 teaspoon ground nutmeg
- 1/4 teaspoon ground allspice
- 2 tablespoons unsalted butter, cut into small pieces
Instructions
- Preheat your oven to 375°F (190°C). Grease and flour a 9×13 inch baking pan.
- In a large bowl, cream together the softened butter and granulated sugar until light and fluffy.
- Beat in the egg and vanilla extract until well combined.
- In a separate bowl, whisk together the flour, baking soda, and salt.
- Gradually add the dry ingredients to the wet ingredients, mixing until just combined.
- Press about two-thirds of the dough evenly into the bottom of the prepared baking pan to form the crust.
- In a medium bowl, toss the chopped apples with brown sugar, flour, cinnamon, nutmeg, and allspice until evenly coated.
- Spread the apple mixture evenly over the crust.
- Dot the top of the apple layer with the small pieces of butter.
- Crumble the remaining one-third of the dough over the apple topping.
- Bake for 40-50 minutes, or until the topping is golden brown and the apples are tender.
- Let the bars cool completely in the pan before cutting into squares.
Notes
- For extra warmth, you can add a pinch of ground ginger to the apple mixture.
- Serve with a scoop of vanilla ice cream or a dollop of whipped cream for an extra treat.
- These bars are best enjoyed fresh, but can be stored in an airtight container at room temperature for up to 3 days.
Nutrition
- Serving Size: 1 bar
- Calories: 350
- Sugar: 25g
- Sodium: 150mg
- Fat: 18g
- Saturated Fat: 11g
- Unsaturated Fat: 7g
- Trans Fat: 0g
- Carbohydrates: 45g
- Fiber: 3g
- Protein: 3g
- Cholesterol: 50mg