

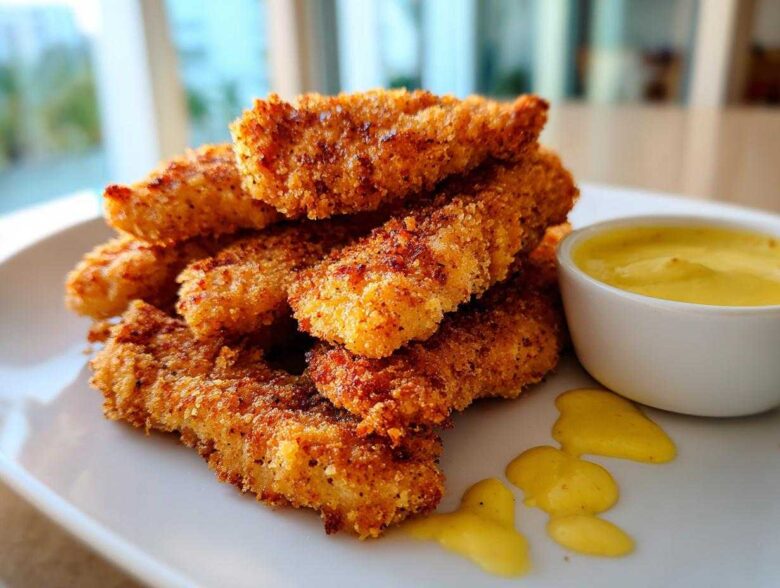
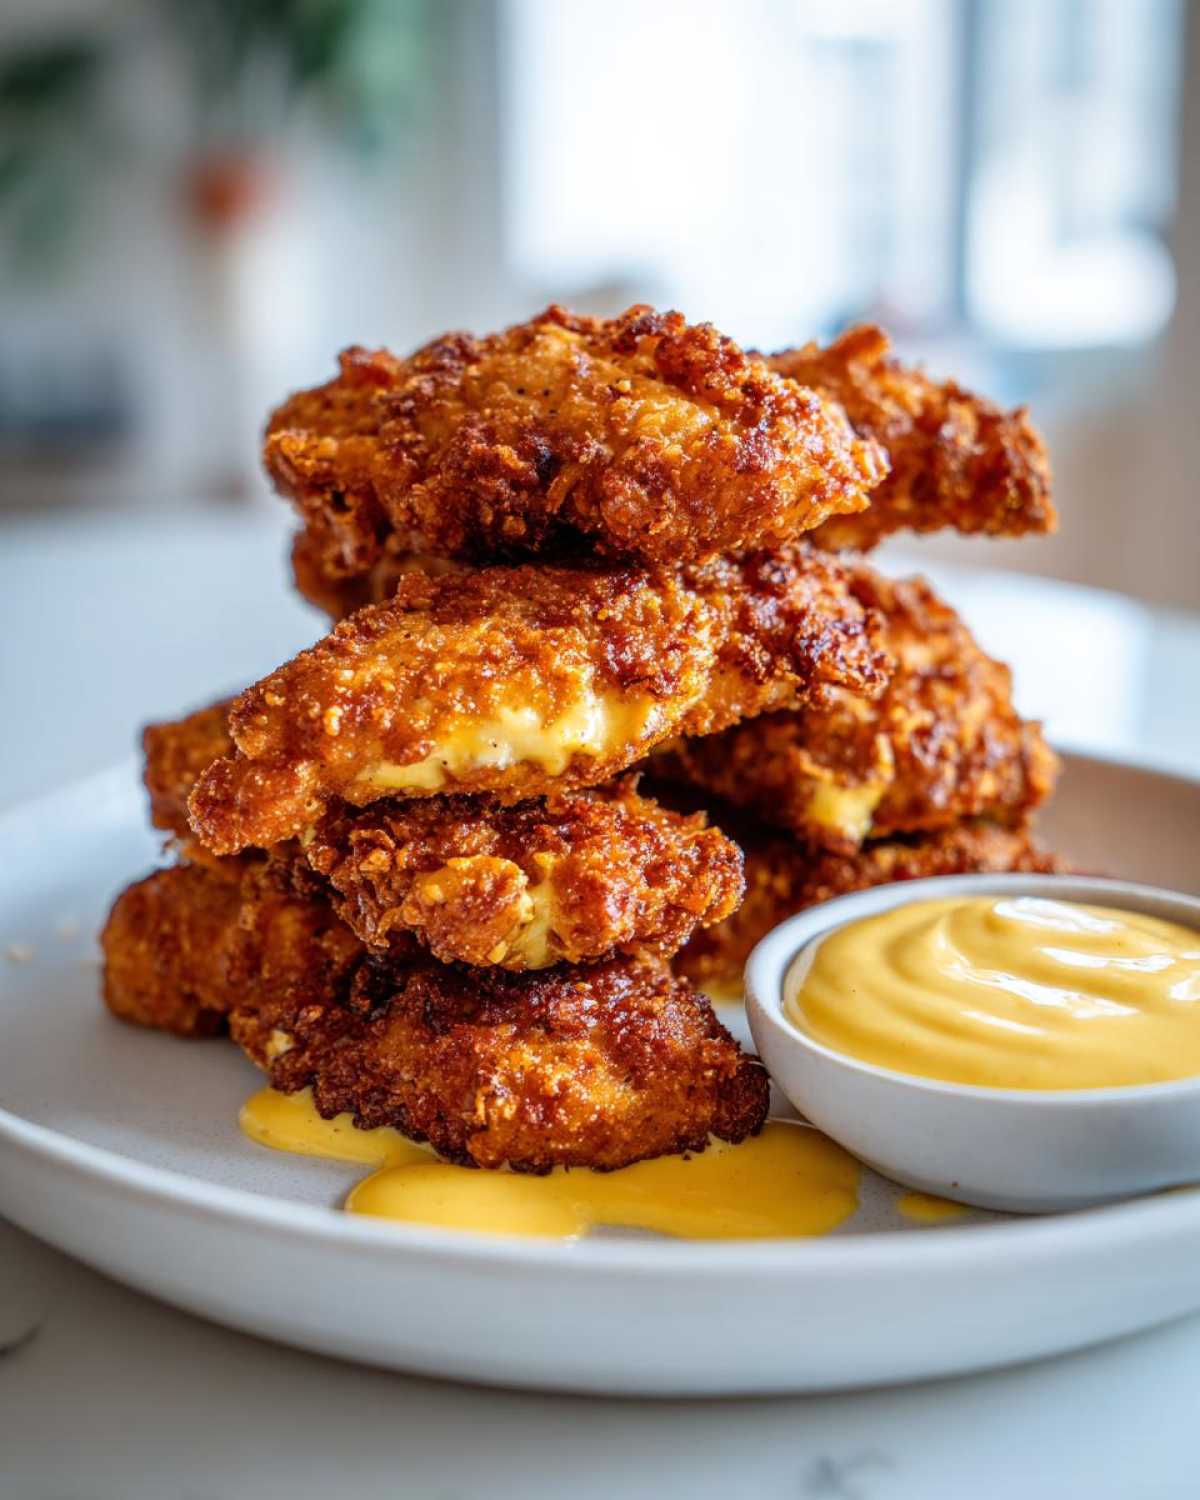
Oh my gosh, if you’ve ever bitten into a chicken tender that promised crunch but delivered sad sogginess, you know the disappointment! Forget takeout forever, because I’m handing over the blueprint for the absolute best crispy chicken tenders with honey mustard you will ever make. We are talking next-level crunch—the kind that shatters when you bite it, while the inside stays unbelievably juicy. Trust me, getting that perfect coating takes a couple of little tricks I learned the hard way, but once you nail this dredging technique, you’re set for life!
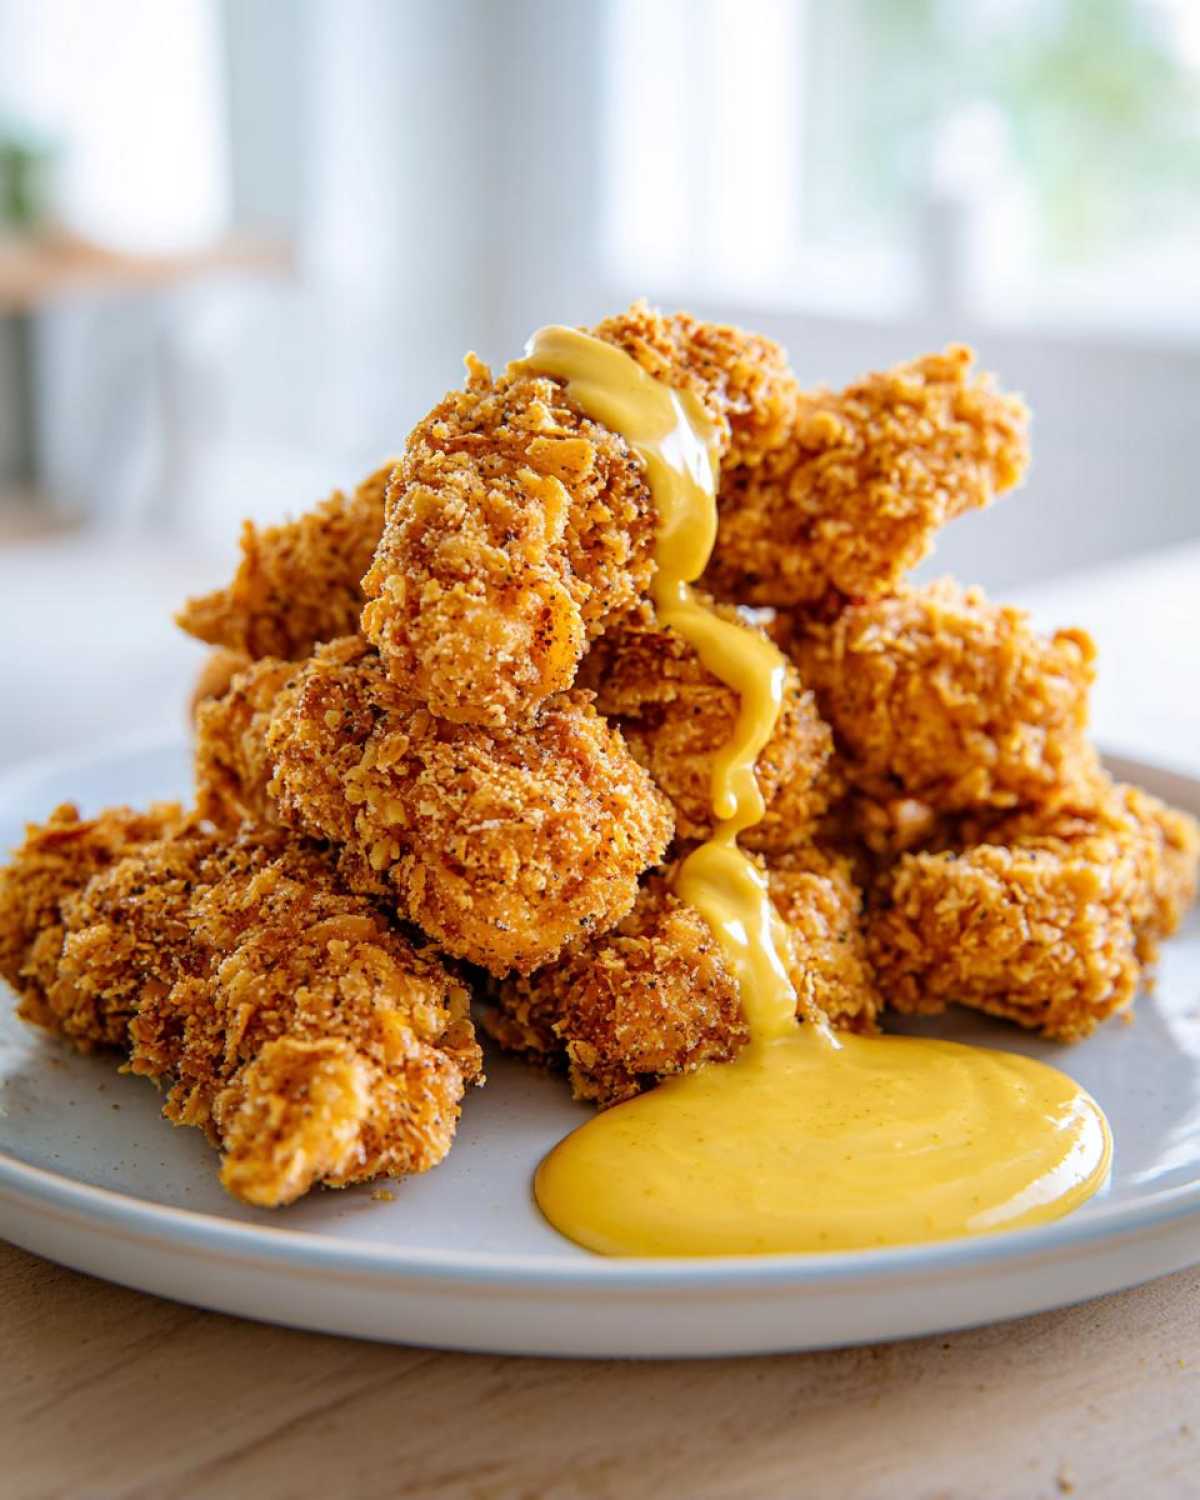
Why You Will Love This Crispy Chicken Tenders with Honey Mustard Recipe
Seriously, these aren’t just good tenders; they are the benchmark. I keep making them because they check every single box.
- It creates genuinely Juicy Chicken Tenders thanks to that essential buttermilk soak—no dry bites here, I promise!
- The coating is shatteringly crisp; we are aiming for Better Than Takeout Chicken Tenders status every single time.
- The Easy Honey Mustard Sauce Recipe is shockingly simple and tastes miles better than anything bottled.
- It’s a fantastic Kid Friendly Chicken Dinner that even the pickiest eaters will devour without complaint.
- The preparation is quick! You can have these breaded and ready for the oil in under 30 minutes total cooking time.
- You get that amazing crunch whether you fry them or use the oven—we’ve covered all your bases for the Best Crispy Chicken Recipe!
Ingredients for Perfect Crispy Chicken Tenders with Honey Mustard
Okay, gathering your ingredients is step one to getting that signature crisp! Don’t skimp on the buttermilk soak—that’s what keeps the inside tender while the outside gets super crunchy. And speaking of crunch, I sometimes add a tiny bit of cornstarch to my flour dredge, which I highly recommend for that shatteringly crisp result. You can check out my favorite garlic butter recipe inspiration if you decide to finish these off with butter, though we’re sticking to frying today!
For the Crispy Chicken Tenders
You’ll need all of this for the chicken itself and that crucial, moisture-locking coating:
- 1.5 lbs boneless, skinless chicken breasts, cut into 1-inch strips
- 1 cup buttermilk
- 1 teaspoon salt
- 0.5 teaspoon black pepper
- 1.5 cups all-purpose flour
- 0.5 cup cornstarch (Don’t skip this if you want ‘Better Than Takeout’ texture!)
- 1 teaspoon paprika
- 0.5 teaspoon garlic powder
- Vegetable oil, for frying (you’ll want about 2 inches deep in your pot)
For the Easy Honey Mustard Sauce Recipe
This sauce takes literally two minutes to whip up, and it’s the perfect sweet and tangy partner for your spicy-savory tenders!
- 0.5 cup Dijon mustard
- 0.5 cup honey
- 2 tablespoons mayonnaise
- 1 teaspoon apple cider vinegar
Whisk these four things together, and you’ve got an amazing Dipping Sauce for Chicken that beats any bottle version, hands down.
Mastering the Dredging Technique for Frying Crispy Chicken Tenders
Listen, getting that beautiful, craggy, crunchy exterior is all about the technique. This is where we turn plain chicken strips into the star of the show. First, make sure those chicken tenders hang out in that buttermilk bath for at least 30 minutes—that’s your secret weapon for Juicy Chicken Tenders because it tenderizes the meat and gives the dry flour something really sticky to grab onto!
Once they come out of the buttermilk, don’t rinse them! Just let the extra drip off. Then, drop the tenders right into that seasoned flour mixture. This is key: when you dredge them, you really need to press. Use your fingers to wiggle and pack that flour mixture right onto every surface. We want coverage!
I use the official Dredging Technique for Frying by doing a quick double-dip. After the first coat, drop it back into the buttermilk for just a second, and then straight back into the dry flour for a final, thick coat. Shake off the loose excess, and that’s what gives you that ultimate texture you see in the best fried chicken pics. If you want to see how I perfect the coating every time, check out my tips on perfectly fried chicken coating!
Step-by-Step Instructions for Crispy Chicken Tenders with Honey Mustard
Now that our chicken is soaked and beautifully coated, it’s time for the main event: frying! Remember, temperature control is everything when you’re aiming for that ultimate crunch without burning the outside before the inside is cooked. Safety first, always use a heavy pot and monitor that heat closely. You want that happy, consistent sizzle!
First thing’s first: get your oil heated up. You need about two inches of vegetable oil in a deep, heavy pot—like a Dutch oven if you have one. Use a thermometer, seriously! We are looking for a steady 350°F (175°C). If it’s too cool, the tenders will absorb too much oil and get greasy. Too hot, and they will burn before they cook through.
- Once that oil hits 350°F, gently lower your breaded tenders into the pot. Don’t dump them in! Work in small batches—maybe four or five at a time. Overcrowding drops that oil temperature way too fast, and that guarantees soggy tenders.
- Let them fry undisturbed for about 4 to 6 minutes. Turn them over gently every couple of minutes so they get golden brown all over.
- The most important moment: you must check the temperature. They are done when they hit an internal temperature of 165°F (74°C). This step is crucial for quality and safety!
- Use a slotted spoon to fish those gorgeous, golden-brown beauties out and put them immediately onto a wire rack set over a baking sheet. Putting them on paper towels steams the bottom, so the rack is key for maintaining that crunch!
While they rest and drain for just a minute, quickly whisk together those sauce ingredients—Dijon, honey, mayo, vinegar—and boom! You’ve got the perfect best crispy chicken recipe combo around. Serve them piping hot!
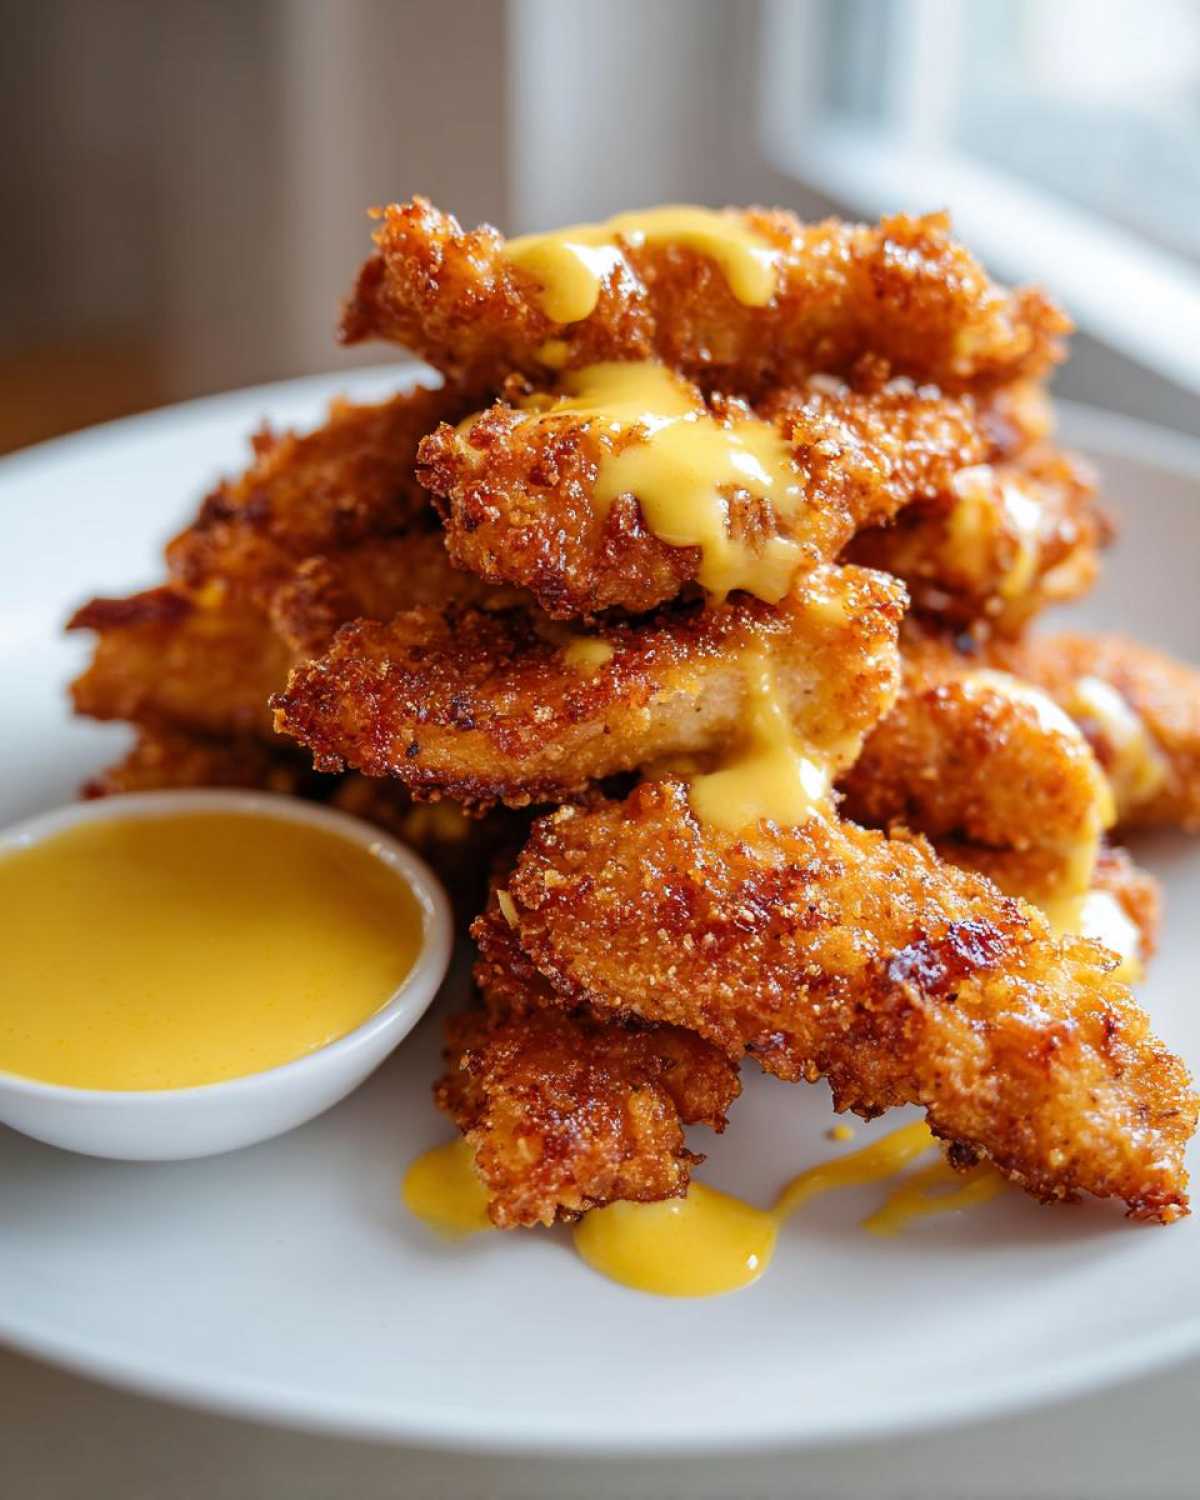
Alternative Cooking Methods: Air Fryer Chicken Tenders Crispy
Okay, I know not everyone wants to deal with a big pot of oil, and that is totally understandable! That’s why I absolutely love testing out dry-heat methods. If you’re looking for a Healthy Crispy Chicken Alternative, the air fryer is your new best friend for making these tenders.
The process starts exactly the same: you need that buttermilk soak and that gorgeous double-dredge coating we talked about. The coating is what really holds up in the air fryer basket. Once they are fully coated, you don’t rinse off the excess flour—that flour is the secret weapon here!
For the best results getting Air Fryer Chicken Tenders Crispy, you want a high heat setting. Set your air fryer basket to 400°F (200°C). I highly recommend giving the basket a quick spritz with non-stick spray or brushing a tiny bit of oil onto the rack so they don’t stick instantly.
Lay the tenders in a single layer—and I mean single layer, you can’t overcrowd an air fryer! Cook them for 12 to 15 minutes total. You’ll need to shake the basket or flip them halfway through to make sure both sides get that beautiful golden crunch. If you try to rush it, they might turn out closer to the baked texture mentioned earlier, so keep the time consistent!
They come out tasting so close to the fried ones, honestly! It saves so much cleanup, and you get that amazing crust with very little added fat. It’s a total win-win for a quick weeknight meal.
Tips for Success with Your Crispy Chicken Tenders with Honey Mustard
Even with the best recipe, a few small details can make the difference between good tenders and legendary ones. I’ve learned these tricks the hard way over probably a hundred batches, so listen up, because these are my secrets to making sure that coating stays glued on and the crunch lasts!
First, let’s talk about moisture right at the beginning. After that wonderful buttermilk bath, you *must* let the excess drip off. If you skip this step, your flour coating gets gummy immediately, and that’s a direct road to disappointing texture. You want the chicken damp, not dripping wet, when it goes into the flour dredge. That dampness is what activates the flour and cornstarch mix!
And please, please, please, skip the paper towels when draining the cooked tenders! I know it seems like the easy choice, but those paper towels trap steam right against the bottom of your beautiful crust. That steam instantly turns the bottom soggy. Instead, always use a metal wire rack set over a baking sheet. This lets the air circulate all the way around the chicken, letting any excess oil drip freely while keeping the bottom crisp.
If you’re planning on making these for a party or just want a super relaxed dinner prep, you can totally make the sauce ahead of time. The flavors in the Homemade Honey Mustard Sauce Recipe actually get a tiny bit better after sitting in the fridge for a few hours. Just give it a quick stir before serving. Speaking of parties, if you ever need a great make-ahead option, my Reuben Bake Casserole is another crowd-pleaser, but these tenders are perfect for game day appetizers!
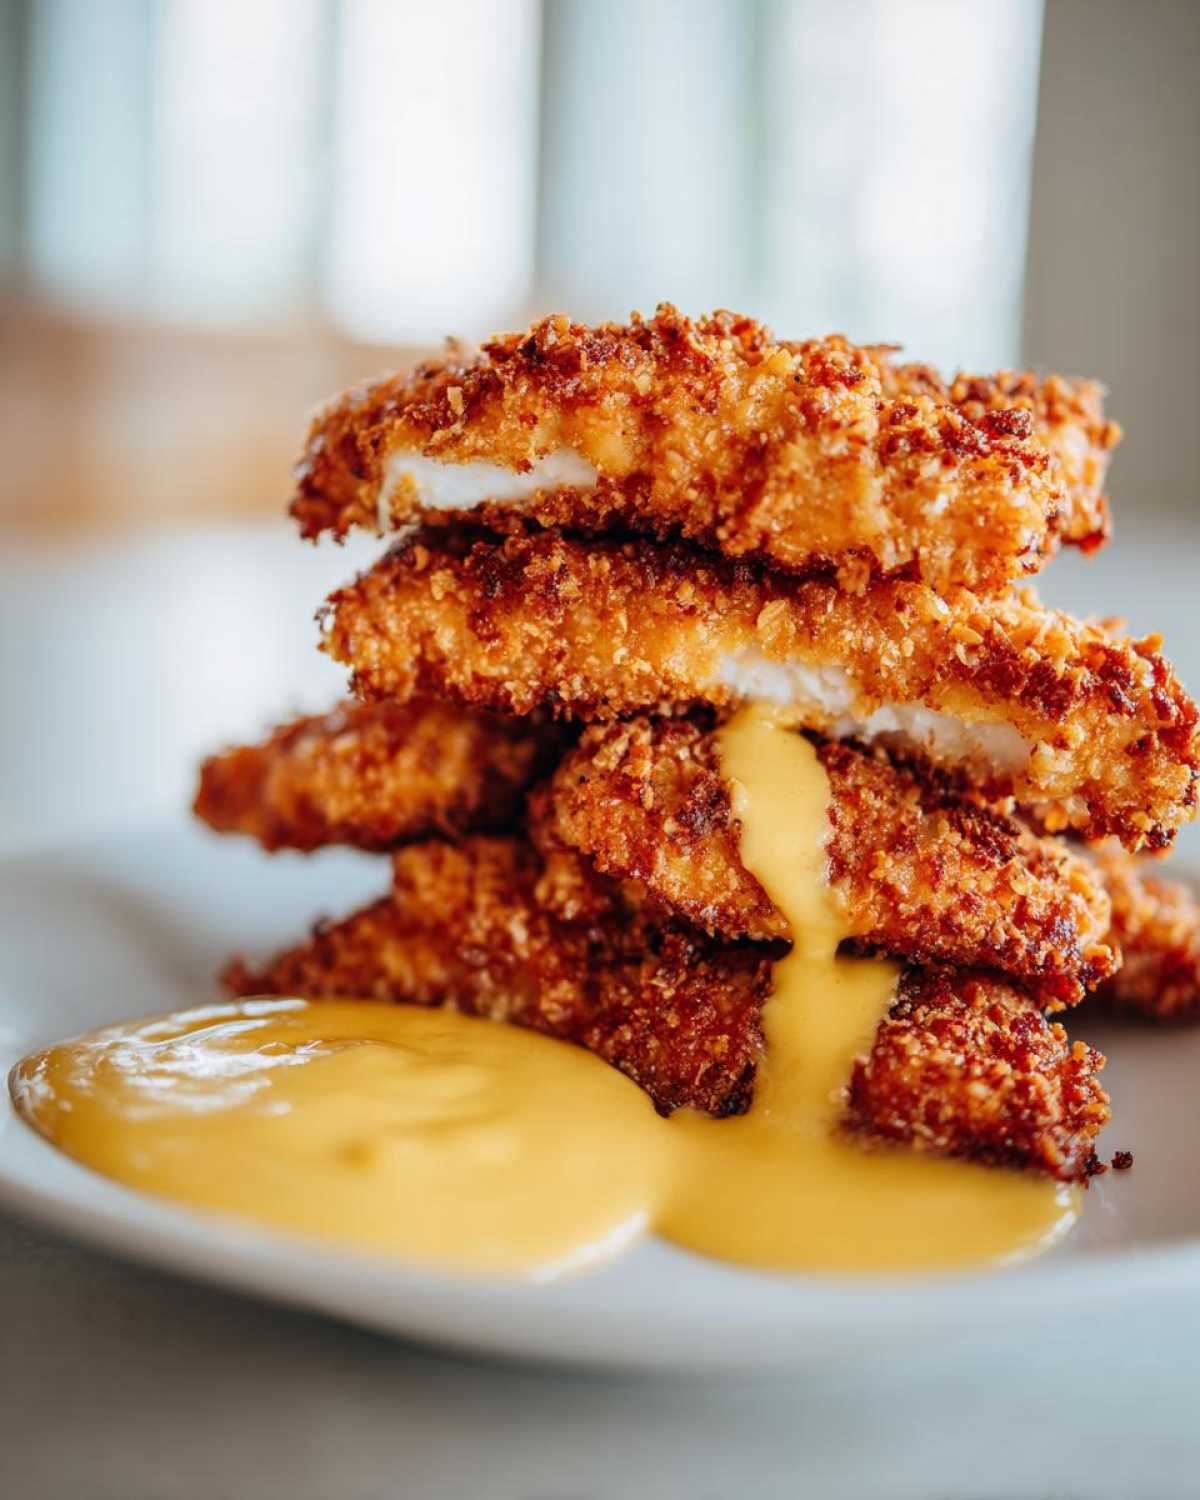
Finally, whatever method you choose—fry, air fry, or even bake—make sure your cooking surface (oil or air fryer basket) is hot *before* the chicken goes in. A cold start guarantees a flat, greasy crust. We want sizzling action instantly!
Variations for Your Sweet and Tangy Mustard Sauce
The base recipe for this Easy Honey Mustard Sauce Recipe is already fantastic—it’s that perfect blend of sweetness from the honey and tang from the Dijon and vinegar. But listen, cooking is all about putting your own little spin on things, right? If you want to level up your dipping game, I have three super easy tweaks for your Sweet and Tangy Mustard Sauce.
First off, do you like a little kick? Spice is your friend here. Just take a tiny pinch of cayenne pepper and whisk it into the sauce when you mix everything else. You only need a little bit; it warms things up without blowing your head off. It pairs beautifully with the savory chicken flavor.
For those of you who love that deep, savory, almost barbecue-like note, try incorporating smoke. I personally love adding a half teaspoon of smoked paprika. It changes the whole profile of the sauce! It makes it feel richer, less like a standard dipping sauce and more like a gourmet accompaniment.
If you want a touch of extra zing, try boosting the acidity. Instead of using just the apple cider vinegar, I sometimes substitute half of it with fresh lemon juice. It brightens everything up, making the sauce feel lighter and sharper right against that crispy coating. Seriously, try one batch as written, and the next batch with one of these little additions. You’ll be shocked how much flavor you can pack into four simple ingredients!
Storage and Reheating Instructions for Crispy Chicken Tenders
Now, these Crispy Chicken Tenders with Honey Mustard are truly at their peak the moment they come out of the oil, shimmering and hot! But let’s be real, sometimes we make too much—or maybe you want to prep for a party tomorrow, which is totally smart thinking for a great Make Ahead Appetizer Chicken.
If you have leftovers, the best way to store them is in a single layer first on a cooling rack covered loosely with plastic wrap or in an airtight container. You want to avoid stacking them right away! If you trap moisture while they are still cooling down, they guarantee sogginess later. Give them a full 15 minutes on the counter to stop steaming before you seal them up.
They’ll keep nicely in the fridge for about three days, but when it comes to reheating, you have to be loyal to the crunch! This is my absolute, non-negotiable rule: never, ever use the microwave. Microwaves are the sworn enemy of crispy coatings; they turn crusts into rubber bands almost instantly.
To bring them back to life and recapture that beautiful texture, you have two awesome options that work perfectly:
The Oven Method (Great for larger batches):
- Preheat your oven to a nice, toasty 400°F (200°C).
- Place the cold tenders directly onto a wire rack set over a baking sheet—again, skip the foil or solid pan bottom!
- Bake them for about 8 to 10 minutes. Just check them halfway through to make sure they aren’t burning on one side.
The Air Fryer Method (My personal favorite for speed):
- Set your air fryer to 375°F (190°C).
- Lay the tenders in the basket without overlapping. A little space helps them reheat evenly.
- Cook for 4 to 6 minutes. You’ll hear that familiar crunch returning as the coating re-crisps!
If you’re looking for other make-ahead ideas for serving friends, you should definitely look at my thoughts on make ahead appetizer chicken options when planning big meals!
Frequently Asked Questions About Crispy Chicken Tenders with Honey Mustard
Can I bake these instead of frying them for a healthier option?
Absolutely! While deep frying gives you that unbeatable “Better Than Takeout Chicken Tenders” crunch, you can definitely bake these. The notes above mentioned the oven adjustments: preheat your oven to 425°F (220°C). Make sure you spray your baking sheet lightly with oil or use parchment paper. Place the coated tenders on a wire rack set over the sheet (that rack is key, remember?) and bake for about 20 to 25 minutes, flipping halfway through. They won’t be quite as craggy crispy as the fried ones, but they are still delicious and far healthier!
How do I prevent the coating from falling off my chicken tenders?
This is the biggest frustration when making From Scratch Chicken Fingers! The primary trick here, as discussed in the dredging section, is the buttermilk soak—it must be thick enough to cling. But if they are still falling off, you need to really press that flour mixture onto the chicken. Wiggle it in with your fingers! My best defense against separation is the quick double-dip: dust, dip briefly, dust again. That second layer of flour holds on tight during the hot frying process, ensuring you get a full, Perfectly Fried Chicken Coating.
What is the best oil to use for frying the chicken tenders?
For that classic texture and high smoke point needed for frying, you want a neutral oil with low flavor, which is why vegetable oil is my go-to in the recipe. Canola oil or peanut oil are also fantastic substitutes—they handle high heat really well without breaking down or imparting weird flavors into your Homemade Chicken Tenders Recipe. Whatever you choose, just make sure you have enough to reach that 350°F (175°C) temperature consistently!
Can I make the Honey Mustard Sauce ahead of time?
Yes, you totally can! In fact, I think it tastes even better the next day. The flavors of the Dijon, honey, and vinegar have more time to meld together. Just whisk all the ingredients for your Sweet and Tangy Mustard Sauce together, store it in an airtight container in the fridge, and give it a good stir before serving. It’s a fantastic trick if you’re trying to get ahead of your meal prep! I share more make-ahead tips over on my main recipe blog if you need more ideas for easy entertaining!
PrintCrispy Chicken Tenders with Honey Mustard Sauce

Follow these steps to make juicy chicken tenders with an extra crispy coating, served with a simple homemade honey mustard dipping sauce.
- Prep Time: 15 min
- Cook Time: 15 min
- Total Time: 45 min
- Yield: 4 servings
- Category: Appetizer
- Method: Frying
- Cuisine: American
- Diet: Low Fat
Ingredients
- 1.5 lbs boneless, skinless chicken breasts, cut into 1-inch strips
- 1 cup buttermilk
- 1 teaspoon salt
- 0.5 teaspoon black pepper
- 1.5 cups all-purpose flour
- 0.5 cup cornstarch
- 1 teaspoon paprika
- 0.5 teaspoon garlic powder
- Vegetable oil, for frying (about 2 inches deep)
- For the Sauce:
- 0.5 cup Dijon mustard
- 0.5 cup honey
- 2 tablespoons mayonnaise
- 1 teaspoon apple cider vinegar
Instructions
- Place the chicken strips in a bowl and cover them with buttermilk, salt, and pepper. Let this mixture sit for at least 30 minutes in the refrigerator.
- In a shallow dish, whisk together the flour, cornstarch, paprika, and garlic powder for the coating.
- Remove the chicken from the buttermilk, letting excess drip off, but do not rinse.
- Dredge each piece of chicken thoroughly in the flour mixture, pressing the coating onto the chicken to make it stick well. Shake off any loose flour.
- Heat the vegetable oil in a deep, heavy-bottomed pot or Dutch oven to 350°F (175°C). Use a thermometer to monitor the temperature.
- Carefully place 4 to 5 tenders into the hot oil, ensuring you do not overcrowd the pot. Fry for 4 to 6 minutes, turning occasionally, until golden brown and cooked through (internal temperature reaches 165°F or 74°C).
- Remove the cooked tenders with a slotted spoon and place them on a wire rack set over a baking sheet to drain excess oil.
- While the chicken rests, prepare the sauce by whisking together the Dijon mustard, honey, mayonnaise, and apple cider vinegar in a small bowl until smooth.
- Serve the hot, crispy chicken tenders immediately with the honey mustard sauce.
Notes
- For extra crispiness, you can double-dip the chicken: coat in flour, dip briefly back into the buttermilk, and then coat again in the flour mixture.
- If you prefer baking, preheat your oven to 425°F (220°C). Place coated tenders on a lightly oiled baking sheet and bake for 20 to 25 minutes, flipping halfway through.
- To make the sauce spicy, add a dash of hot sauce or a pinch of cayenne pepper to the mustard mixture.
Nutrition
- Serving Size: 4 tenders
- Calories: 450
- Sugar: 18
- Sodium: 550
- Fat: 22
- Saturated Fat: 4
- Unsaturated Fat: 18
- Trans Fat: 0
- Carbohydrates: 35
- Fiber: 1
- Protein: 30
- Cholesterol: 95