

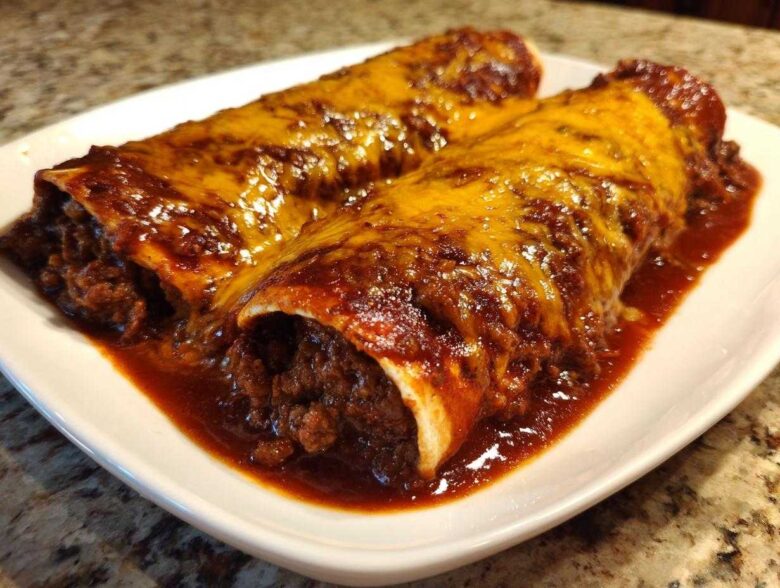
There are comfort foods, and then there are things that just feel like a warm hug after a long week, you know? For me, that’s always been a pan of bubbling, cheesy enchiladas. Forget those tired, thin jarred sauces; we’re talking about the real deal today—the ultimate **Cheesy Beef Enchiladas with Rich Sauce**. I spent years wrestling with enchilada recipes that tasted either too much like tomato paste or just… thin. Oops! Finally figured out the secret to that deep, smoky flavor that just screams authentic Tex-Mex flavor, and it all comes down to treating those chilies right. Trust me, once you make this slow-simmered, homemade sauce, you’ll never go back to the can again. It’s glorious!
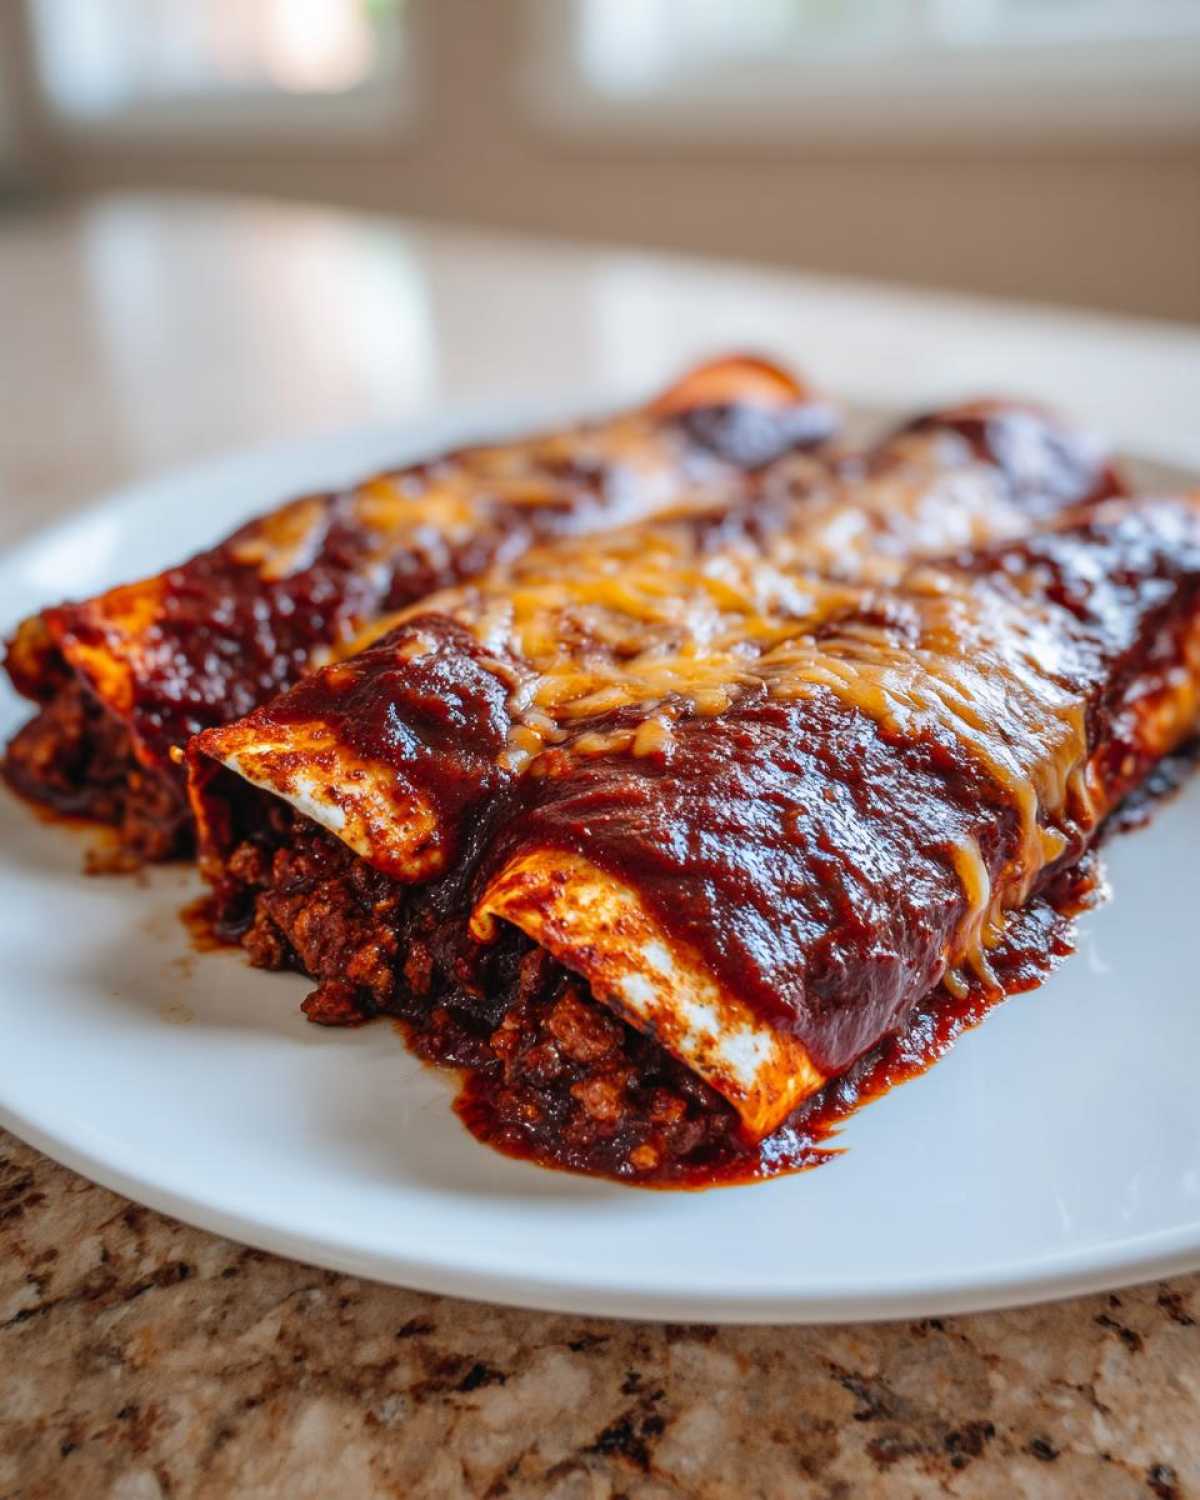
I remember the first time I tried to nail the sauce for my family-favorite dinner. It ended up watery, and the beef filling was so bland it needed a rescue mission! After trying every store-bought brand on the shelf, I finally settled down with my husband’s grandmother’s note card. It wasn’t even about the beef; it was about making a proper roux with quality chili powder and letting it simmer slow. Seriously, that slow simmer is the game-changer for richness. These are the gooey, spicy, unbelievably satisfying rolls you’ve been dreaming of!
Why You Will Make These Cheesy Beef Enchiladas with Rich Sauce Often
Honestly, this recipe turns even a boring Tuesday night into a celebration. I keep coming back to this exact version because it nails everything I look for in homemade comfort food. Everyone who tries them asks for the recipe, especially for the sauce!
- The Deep Flavor from the Ancho Sauce just can’t be beaten; it tastes cooked all day even when it’s not!
- That perfect cheese combination ensures ultimate gooeyness in every bite.
- The seasoned beef filling always stays savory, never bland.
- These **Cheesy Beef Enchiladas with Rich Sauce** freeze beautifully, making them perfect for impromptu meals.
- They are genuinely easy enough for a weeknight but feel fancy enough for company.
Essential Ingredients for Cheesy Beef Enchiladas with Rich Sauce
Okay, let’s talk about what goes into these amazing **Cheesy Beef Enchiladas with Rich Sauce**. Don’t let the list scare you; it’s broken down, and most of this stuff is probably already in your pantry! Getting the right cheese mix and seasoning the meat correctly is half the battle won, and the other half is that incredible, thick sauce we make from scratch. For real flavor payoff, try to find Ancho chili powder—it makes all the difference!
For the Savory Beef Filling
This filling is simple but we load it up with flavor so it doesn’t get lost under all that cheese and sauce. Remember to drain that fat really well!
- 1 tablespoon olive oil
- 1 pound ground beef (I always grab 80/20 because we need that little bit of fat for flavor!)
- 1 medium yellow onion, finely chopped
- 2 cloves garlic, minced
- 1 teaspoon ground cumin
- 1 teaspoon dried oregano
- 1/2 teaspoon salt
- 1/4 teaspoon black pepper
For the Best Rich Enchilada Sauce Recipe
This is where the magic happens, folks. Toasting the spices before adding the liquids transforms the flavor profile completely. That little bit of flour helps us get that beautiful, thick coating texture!
- 1/4 cup all-purpose flour
- 3 tablespoons chili powder (Seriously, an Ancho or New Mexico blend gives the best depth!)
- 1 teaspoon smoked paprika
- 1/2 teaspoon garlic powder
- 1/4 teaspoon cayenne pepper (Only if you want a little zing!)
- 2 cups beef broth, low sodium
- 1 (8 ounce) can tomato sauce
- 1 tablespoon apple cider vinegar
- 1 teaspoon sugar
For Assembly and Cheesy Topping
The cheese blend is key for that perfect, gooey, stringy experience. You want melting power, not just flavor!
- 12 corn tortillas (They soften better than flour for rolling, trust me!)
- 2 cups shredded Monterey Jack cheese (For stretch and melt)
- 1 cup shredded sharp cheddar cheese (For that necessary, tangy flavor punch)
If you want to grab a few basic things to stock up on for future Tex-Mex adventures, check out my easy homemade cheese crackers recipe—you won’t regret adding homemade cheese goodness into your rotation!
How to Prepare the Deep Flavor Enchilada Sauce Secrets
Alright, let’s get down to the real heart of the operation: that thick red chile sauce for enchiladas. If your sauce runs off the back of your spoon, you’re missing out on that velvety texture everyone loves. The secret? We start by toasting! It seems simple, but I promise, toasting the dry spices—that chili powder, smoked paprika, and garlic powder—before anything hits the pan wakes them right up. It takes maybe 60 seconds over medium heat, but oh boy, the aroma alone is worth the effort!
Next, we build our little flavor base, the roux, using that flour and a bit of fat from the beef pan, or whatever cooking liquid you saved. Whisk that flour mixture into the toasted spices until it smells nutty. Then, slowly, slowly, start adding that cold beef broth, whisking like your life depends on it so you don’t get lumps. No one wants lumpy sauce!
Once that’s smooth as silk, toss in your tomato sauce, that shot of apple cider vinegar, and the sugar. The vinegar is my little trick to brighten up the deep chile flavor; don’t skip it! Now comes the crucial part for achieving that satisfying thickness: simmer it low and slow. You’re looking for about 10 to 15 minutes. It should coat the back of a spoon beautifully. If you run out of time, use a quick immersion blender, but honestly, just walk away and let it bubble quietly. That simmering time lets those flavors marry up perfectly. I use the same principle when I make my garlic butter—low heat equals maximum infusion!
Step-by-Step Instructions for Cheesy Beef Enchiladas with Rich Sauce
Okay, now that we have our amazing sauce ready and our meat seasoned perfectly, it’s time to put these beautiful **Cheesy Beef Enchiladas with Rich Sauce** together! The whole process comes together super fast once the sauce is simmering. Keep your oven hot at 375 degrees Fahrenheit (190 Celsius) while you work. Grease that 9×13 pan—I use a bit of leftover oil from the beef—and spread a thin layer of the sauce across the bottom first. This keeps the bottom layer from sticking and gives the first row of enchiladas a little saucy bath!
Creating the Seasoned Beef Filling
First up is getting the filling done right. You need to brown your ground beef slowly in that skillet until it’s totally cooked through and no pink remains. It’s important to drain off every last bit of excess fat; no one wants greasy enchiladas! Once it’s drained well, toss in your minced garlic and cook it for just 60 seconds until it smells incredible. Then, stir in your cumin, oregano, salt, and pepper. Let those spices toast onto the meat for a minute, then take it off the heat. Simple, but so much flavor!
Assembling Your Gooey Cheese Beef Rolls
Here is the absolute trick for happy rolling: you must warm your corn tortillas first. If you try to roll them cold, they just snap! I heat mine for about 20 seconds per side in a dry skillet. They become soft and pliable. Dip each warm tortilla briefly into the remaining sauce—just a quick dunk on both sides to wet them thoroughly. That coating is what helps everything stick together. Spoon a modest amount of the beef filling down the center, sprinkle with maybe a tablespoon of your cheese mix, and roll it up tight. Place it seam-down next to the others in your prepared dish.
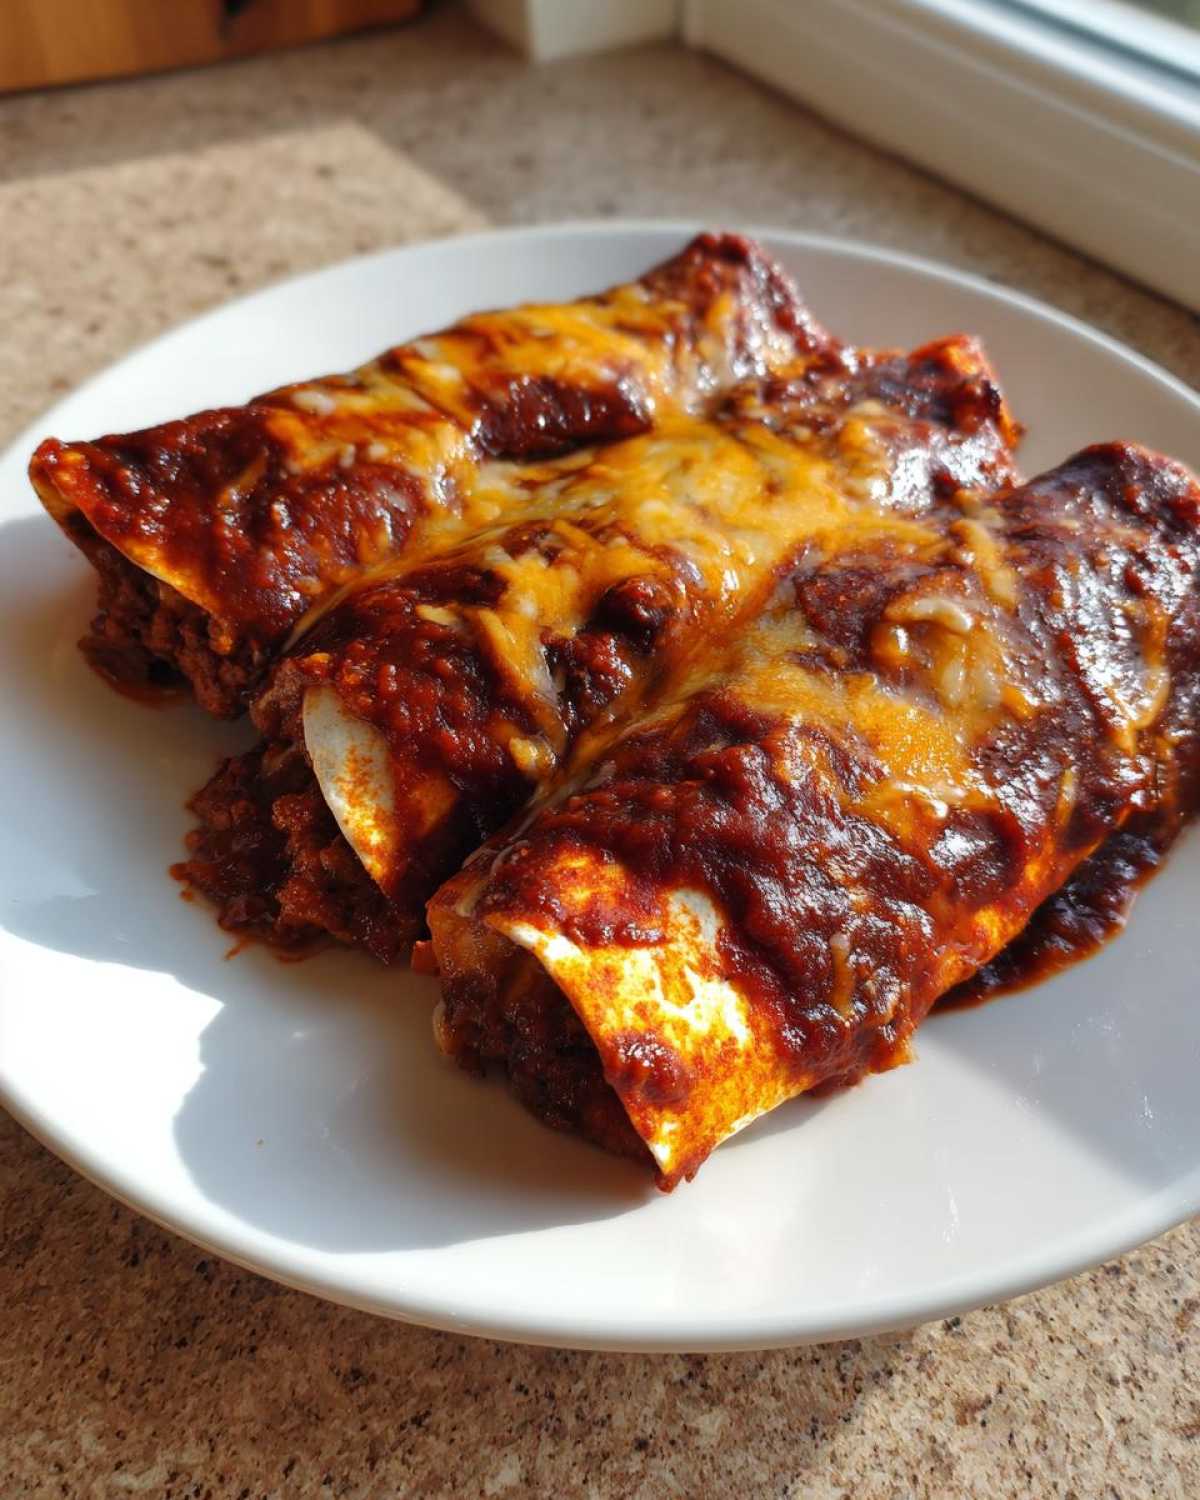
Once all 12 are tucked in snugly, pour the very last bit of sauce over the top—don’t be shy!—and then cover the whole thing generously with the rest of your Monterey Jack and Cheddar blend. When they’re covered, they’re ready for the oven. If you’re looking for another amazing make-ahead option for dinner, you should check out my easy crockpot beef stew recipe for those chilly evenings!
Baking for Perfect Results
Into the 375°F oven they go for about 20 to 25 minutes. You’re looking for two signs of doneness: the sauce around the edges should be bubbling furiously, and that beautiful blanket of cheese on top should be totally melted and maybe just starting to get little golden spots. Once they look perfect, pull them out. This is important: let them rest for 5 minutes! Seriously, don’t cut right in. That resting time lets the sauce settle and the cheese firm up just enough so you don’t dump a soupy mess onto your plate. Heavenly!
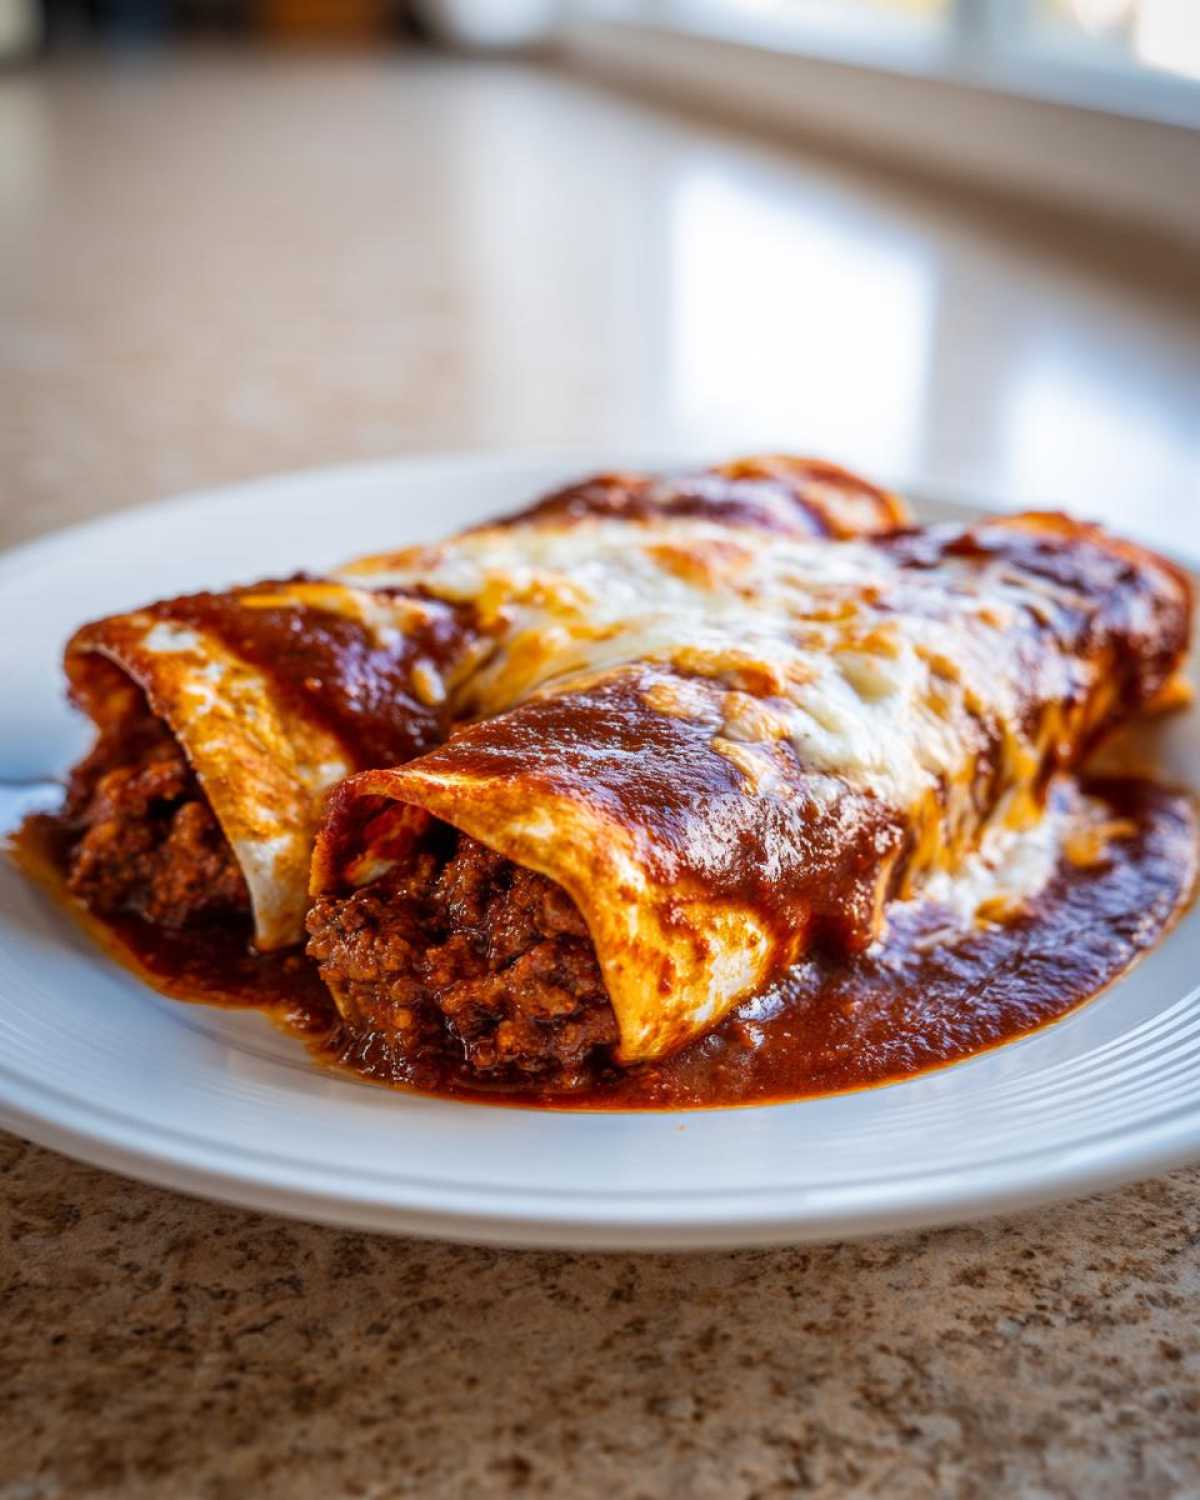
Tips for Success Making Cheesy Beef Enchiladas with Rich Sauce
Even with a fantastic recipe, little details make the difference between good enchiladas and legendary Cheesy Beef Enchiladas with Rich Sauce. I learned these quirks the hard way, so now I want to save you the trouble! Follow these quick tips, and you’ll get that perfect Tex-Mex dish every single time.
First, let’s talk consistency for that homemade sauce. When you’re simmering it down, remember that the sauce will thicken slightly more as it cools, and then even more in the fridge overnight. If it looks just barely thick enough to coat a spoon right off the heat, you’re probably golden. If you accidentally let it get too thick while simmering—oops!—just whisk in a splash of extra beef broth or even a little hot water until it loosens up just right. It’s easier to fix too-thick than too-thin!
For the cheese blend, don’t feel locked into just Jack and Cheddar, although that’s my favorite combo. The goal is meltability! If you want an extra-creamy result, try adding about 1/4 cup of shredded Asadero or even a good quality Queso Fresco if you like a bit more texture. Avoid low-moisture, pre-shredded bags, though, because those anti-caking agents sometimes stop the cheese from getting that luxurious, gooey pull we are aiming for.
Finally, when you assemble, be quick but gentle when dipping those tortillas. They should be coated, not soggy. Too much sauce on the tortilla before it hits the pan makes them hard to roll and can lead to that dreaded bottom layer sogginess. A light dip, a scoop of filling, a tight roll, and a smooth pour of the leftover sauce over the top keeps everything perfectly balanced. If you’ve ever made my creamy white chicken lasagna, you know how important layering is—enchiladas are no different!
Ingredient Notes and Substitutions for Your Enchiladas
I always get questions about ingredients because substitution is just a part of kitchen life, right? We try to use the best stuff, but sometimes you just can’t find that specialty ancho powder at your local store. That’s okay! Part of building trust in your cooking is knowing how to pivot when needed.
Let’s talk about the chili powder first, since that’s the backbone of the sauce flavor. If you absolutely cannot source Ancho chili powder—which gives that lovely smoky, mild heat—you can absolutely substitute it! I’d recommend using an equal amount of high-quality regular pure chili powder (the kind that smells purely like dried peppers, not a cumin-heavy mix) and then adding 1/2 teaspoon of smoked paprika and maybe a tiny pinch of instant coffee granules. Honestly, that little bit of coffee deepens the color and adds an earthy shadow note that mimics the ancho well.)
Cheese Choices for Maximum Melt
Remember I suggested Monterey Jack and Sharp Cheddar? That’s my gold standard because you get the incredible stretch from the Jack and the necessary flavor punch from the Cheddar. If you want to get fancy, which I highly recommend if you have time, try mixing in 1/4 cup of Mexican Asadero cheese. That cheese is practically tailor-made for melting pools on casseroles like this!
If you’re trying to cut back on dairy, or just want a sharper taste, try swapping the Monterey Jack portion for a sharp white cheddar or even Oaxaca cheese if you can find it. The key is making sure whatever you use is freshly shredded. Those pre-shredded bags are coated in starches designed to prevent sticking in the bag, which means they’ll clump up slightly in the oven instead of creating those incredible, gooey ribbons we expect on homemade enchiladas.
Swapping Out Beef in Your Filling
While we are making Cheesy Beef Enchiladas here, I know sometimes you need to swap out the meat for leftovers or dietary preferences. Ground turkey works beautifully here; just make sure you add about a tablespoon of oil to the pan when you start cooking it, since turkey is much leaner than 80/20 beef and you don’t want the filling to taste dry.
For a vegetarian spin, ditch the ground beef and sauté a mixture of finely diced mushrooms and black beans instead. Make sure you cook those mushrooms down until all their moisture evaporates for that nice “meaty” texture before adding your spices. It’s a delicious, hearty alternative that pairs just as well with our rich chile sauce!
Make Ahead and Storage for Family Favorite Enchilada Casserole
Listen, I love making these Cheesy Beef Enchiladas with Rich Sauce for dinner, but sometimes I just don’t have the energy to assemble them after a long day. The best trick I ever learned? Making them ahead of time! This way, when you’re craving that ultimate comfort food, you just pull it out of the fridge and bake it. This recipe works perfectly as a make ahead enchiladas recipe.
You can absolutely assemble the entire casserole—from the sauce base to the final cheese topping—and then just wrap that whole dish tight with plastic wrap, followed by a layer of foil. Pop it in the refrigerator for up to 24 hours before you plan to bake it. When it’s time to eat, you might need to add about 10 to 15 minutes to the baking time since it’s starting cold. Keep an eye on the edges to make sure the sauce is bubbling well throughout.
Freezing Instructions for Later Enjoyment
If you want to freeze them for true emergency comfort food, assembly is the same, but use an aluminum pan for easier freezer-to-oven transfer. Once assembled and covered tightly with plastic wrap and foil, you can freeze them for up to three months! If you are freezing them, make sure you let them thaw overnight in the fridge before baking. If you need to bake them from frozen, it’ll take closer to an hour, so factor in some extra time!
When you’re reheating leftovers, whether from the fridge or the freezer, a microwave works in a pinch for a single serving, but I always prefer the oven. Heat individual portions on a microwave-safe plate covered with a damp paper towel for just a couple of minutes. For the whole pan, just reheat at 350 degrees Fahrenheit until the center is hot, maybe 25 minutes covered. Don’t forget to check out my actual dedicated make ahead enchiladas recipe for even more timing details!
Frequently Asked Questions About Cheesy Beef Enchiladas with Rich Sauce
It’s funny, everyone loves this recipe, but almost everyone has a slightly different question about tweaking it! That’s what I love about cooking! Since these **Cheesy Beef Enchiladas with Rich Sauce** have become such a staple here, I gathered up the questions I get asked the most often. Let’s clear up any last-minute confusion so your dinner turns out perfect.
Can I use pre-made enchilada sauce instead of making the rich sauce from scratch?
You certainly can if you are in a major pinch! Making the sauce is what separates a good enchilada from a great one, but if you need a shortcut, grab a can of your favorite store-bought red sauce. Just be warned: it won’t have that deep, smoky, slow-simmered flavor we worked so hard to achieve in the recipe. If you use jarred sauce, I highly recommend doctoring it up! Maybe simmer it with an extra teaspoon of smoked paprika and a dash of vinegar to try and boost that richness.
What is the best way to keep my Cheesy Beef Enchiladas from getting soggy?
Sogginess is the enemy of a great casserole, right? The absolute number one way to avoid a mushy bottom layer is proper tortilla prep and rationing the sauce. Make sure you warm those tortillas so they roll without cracking, but don’t let them soak! They just need a quick dip to become pliable. When building, you only need a thin layer of sauce on the bottom of the pan—just enough to coat—and then make sure you save enough sauce for the top layer, rather than drowning the rolls completely during assembly. And remember that five-minute rest time after baking? That allows some of the extra moisture to redistribute instead of sitting on the bottom!
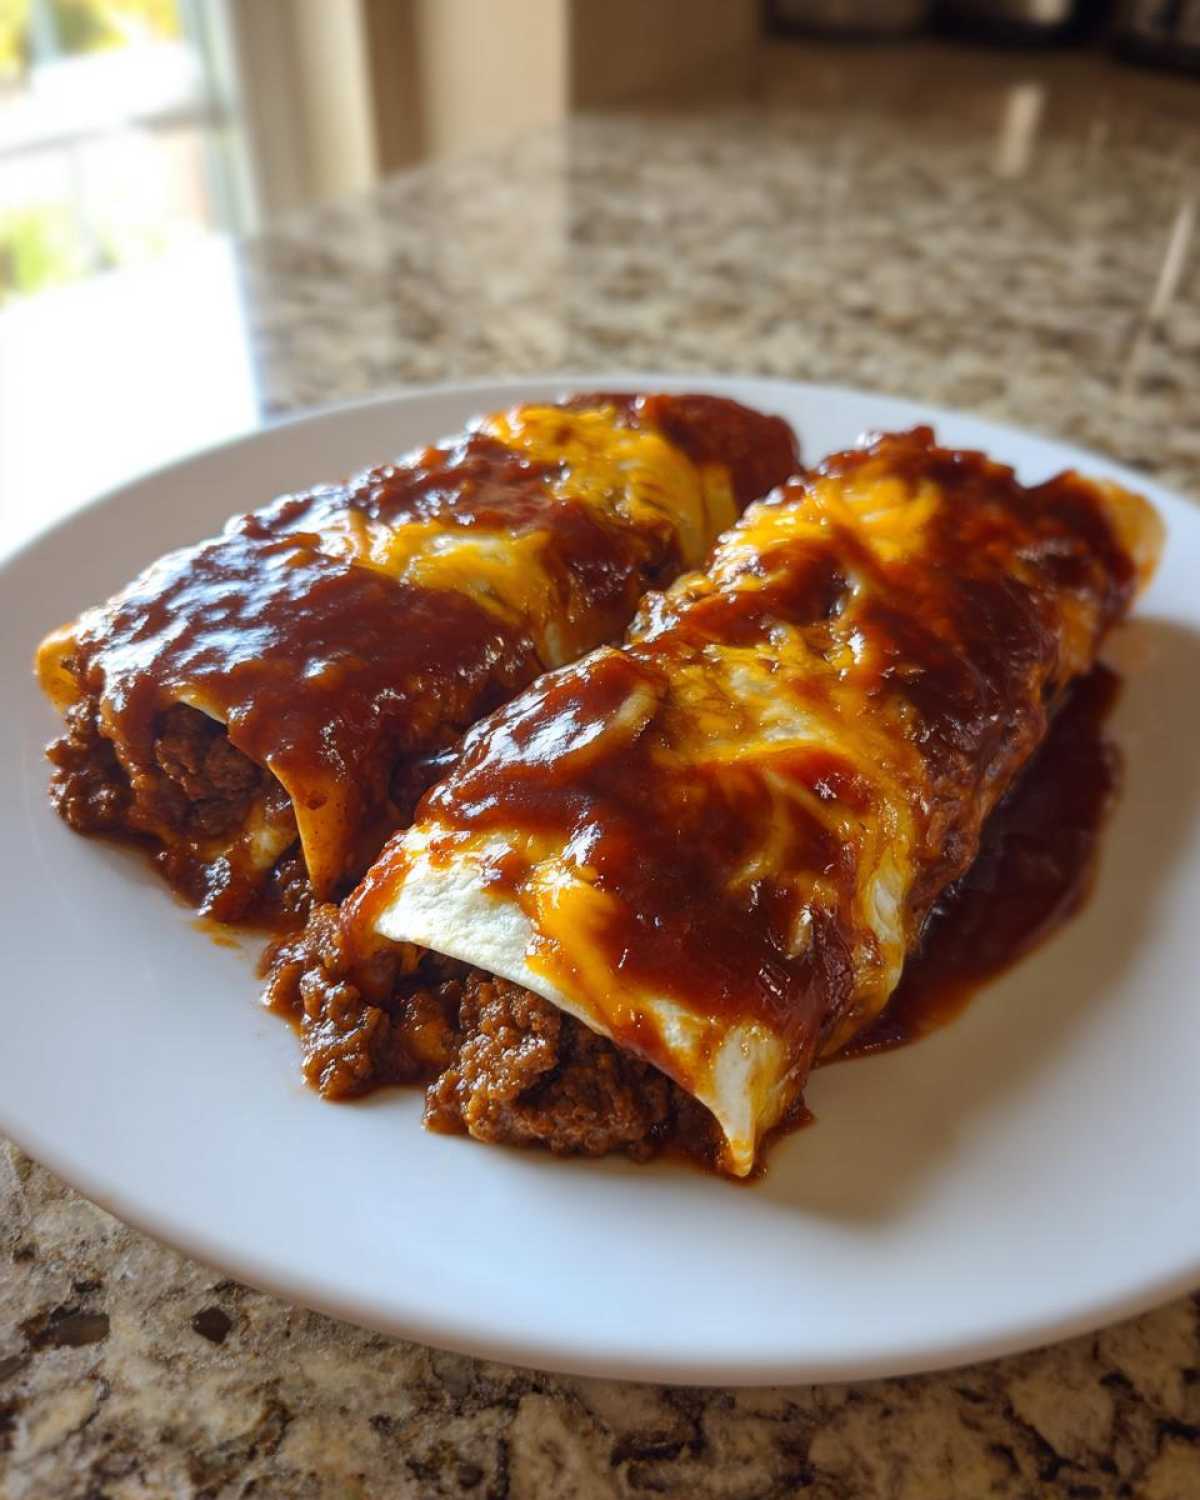
How can I make the beef filling spicier for a Tex Mex Dinner?
If your family begs for more heat when you serve your **Tex Mex Dinner** favorites, you have lots of easy levers to pull in that beef filling! The recipe already calls for a little cayenne, but you can easily ramp that up. If you have chipotle powder on hand, swap out 1/2 teaspoon of the regular chili powder for chipotle—that smoky spice is incredible! You can also stir in about a teaspoon of your favorite hot sauce right at the end when you add the cumin and oregano. If you’re serving the kids or someone sensitive to heat, just stir the spicy addition into only half of the beef mixture!
If you want to look at some other great options for quick, flavorful weeknight meals, you might enjoy my recipe for easy white chicken enchiladas too!
Estimated Nutritional Information for Cheesy Beef Enchiladas
I always try to keep track of what we are eating, even when it’s pure comfort food like this! Just remember, these numbers are really just estimates based on the ingredients listed, especially if you use 80/20 beef and the exact amount of cheese we call for. Think of this as Option A for nutritional info—if you swap out cheese or use leaner meat, the totals are going to change a bit!
This information is based on serving 2 enchiladas per person, which is a nice, satisfying portion size. I always try to compare my treats to something I know well; sometimes I think about these alongside my high-protein egg bites, just to balance out my week!
- **Serving Size:** 2 enchiladas
- **Calories:** About 450
- **Total Fat:** 25g
- **Saturated Fat:** 12g
- **Carbohydrates:** 30g
- **Sugar:** 5g (That’s mostly from the tomato sauce and a bit of added sugar in the sauce!)
- **Protein:** 28g
- **Sodium:** 550mg (This varies a lot based on your broth and how much salt you add to the meat!)
It’s wonderfully hearty, packed with protein from the beef, and balances out nicely with the fiber from the corn tortillas. Enjoy it without guilt!
PrintCheesy Beef Enchiladas with Rich Ancho Chili Sauce
Make satisfying, cheesy beef enchiladas using a homemade, slow-simmered ancho chili sauce for deep flavor.
- Prep Time: 20 min
- Cook Time: 35 min
- Total Time: 55 min
- Yield: 6 servings
- Category: Dinner
- Method: Baking
- Cuisine: Tex-Mex
- Diet: Vegetarian
Ingredients
- 1 tablespoon olive oil
- 1 pound ground beef (80/20 recommended)
- 1 medium yellow onion, finely chopped
- 2 cloves garlic, minced
- 1 teaspoon ground cumin
- 1 teaspoon dried oregano
- 1/2 teaspoon salt
- 1/4 teaspoon black pepper
- 12 corn tortillas
- 2 cups shredded Monterey Jack cheese
- 1 cup shredded sharp cheddar cheese
- For the Sauce:
- 1/4 cup all-purpose flour
- 3 tablespoons chili powder (preferably ancho or New Mexico blend)
- 1 teaspoon smoked paprika
- 1/2 teaspoon garlic powder
- 1/4 teaspoon cayenne pepper (optional)
- 2 cups beef broth, low sodium
- 1 (8 ounce) can tomato sauce
- 1 tablespoon apple cider vinegar
- 1 teaspoon sugar
Instructions
- Prepare the Beef Filling: Heat olive oil in a large skillet over medium heat. Add ground beef and onion; cook until beef is browned and onion is soft. Drain excess fat. Stir in minced garlic, cumin, oregano, salt, and pepper. Cook for 1 minute until fragrant. Remove from heat and set aside.
- Make the Rich Sauce: In a medium saucepan, whisk together flour, chili powder, smoked paprika, garlic powder, and cayenne pepper over medium heat for 1 minute to toast the spices. Whisk in the beef broth slowly until smooth. Add tomato sauce, vinegar, and sugar. Bring the mixture to a simmer, whisking frequently. Reduce heat to low and cook for 10 to 15 minutes, or until the sauce thickens enough to coat the back of a spoon.
- Prepare Tortillas: Lightly warm the corn tortillas in a dry skillet or microwave to make them pliable. This prevents tearing during rolling.
- Assemble Enchiladas: Preheat your oven to 375 degrees Fahrenheit (190 degrees Celsius). Lightly grease a 9×13 inch baking dish. Pour about 1/2 cup of the sauce into the bottom of the dish and spread evenly.
- Dip each warm tortilla briefly into the remaining sauce to coat both sides. Place about 1/4 cup of the beef filling down the center of the tortilla. Sprinkle with a small amount of the mixed cheese (about 1 tablespoon). Roll the tortilla tightly and place it seam-down in the prepared baking dish. Repeat with remaining tortillas.
- Pour the remaining sauce evenly over the rolled enchiladas. Top generously with the remaining shredded cheese mixture.
- Bake for 20 to 25 minutes, or until the sauce is bubbly and the cheese is melted and lightly golden. Let stand for 5 minutes before serving.
Notes
- For extra flavor in the filling, substitute 1/4 cup of the beef broth in the sauce recipe with 1/4 cup of reserved beef cooking liquid.
- If your sauce seems too thick after simmering, add a splash more beef broth until you reach your desired consistency.
- Use a mix of cheeses like Monterey Jack, mild cheddar, and a small amount of Asadero for the best melt.
Nutrition
- Serving Size: 2 enchiladas
- Calories: 450
- Sugar: 5
- Sodium: 550
- Fat: 25
- Saturated Fat: 12
- Unsaturated Fat: 13
- Trans Fat: 0.5
- Carbohydrates: 30
- Fiber: 4
- Protein: 28
- Cholesterol: 85