

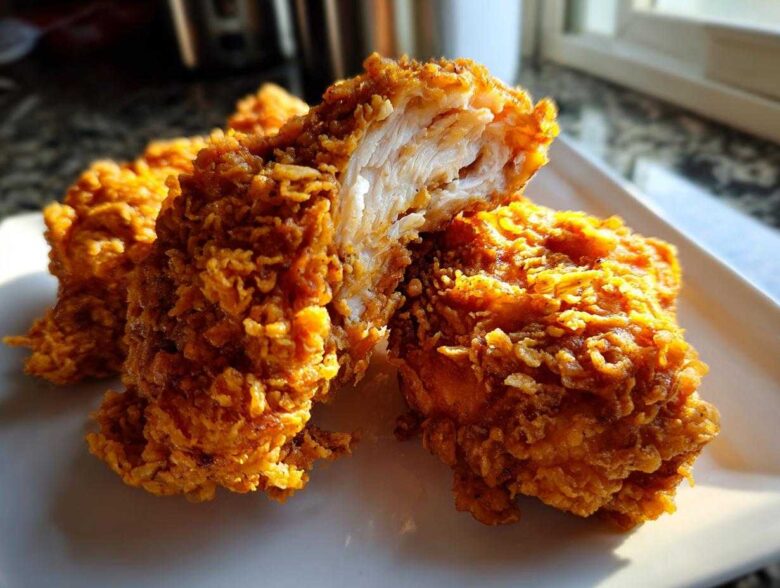
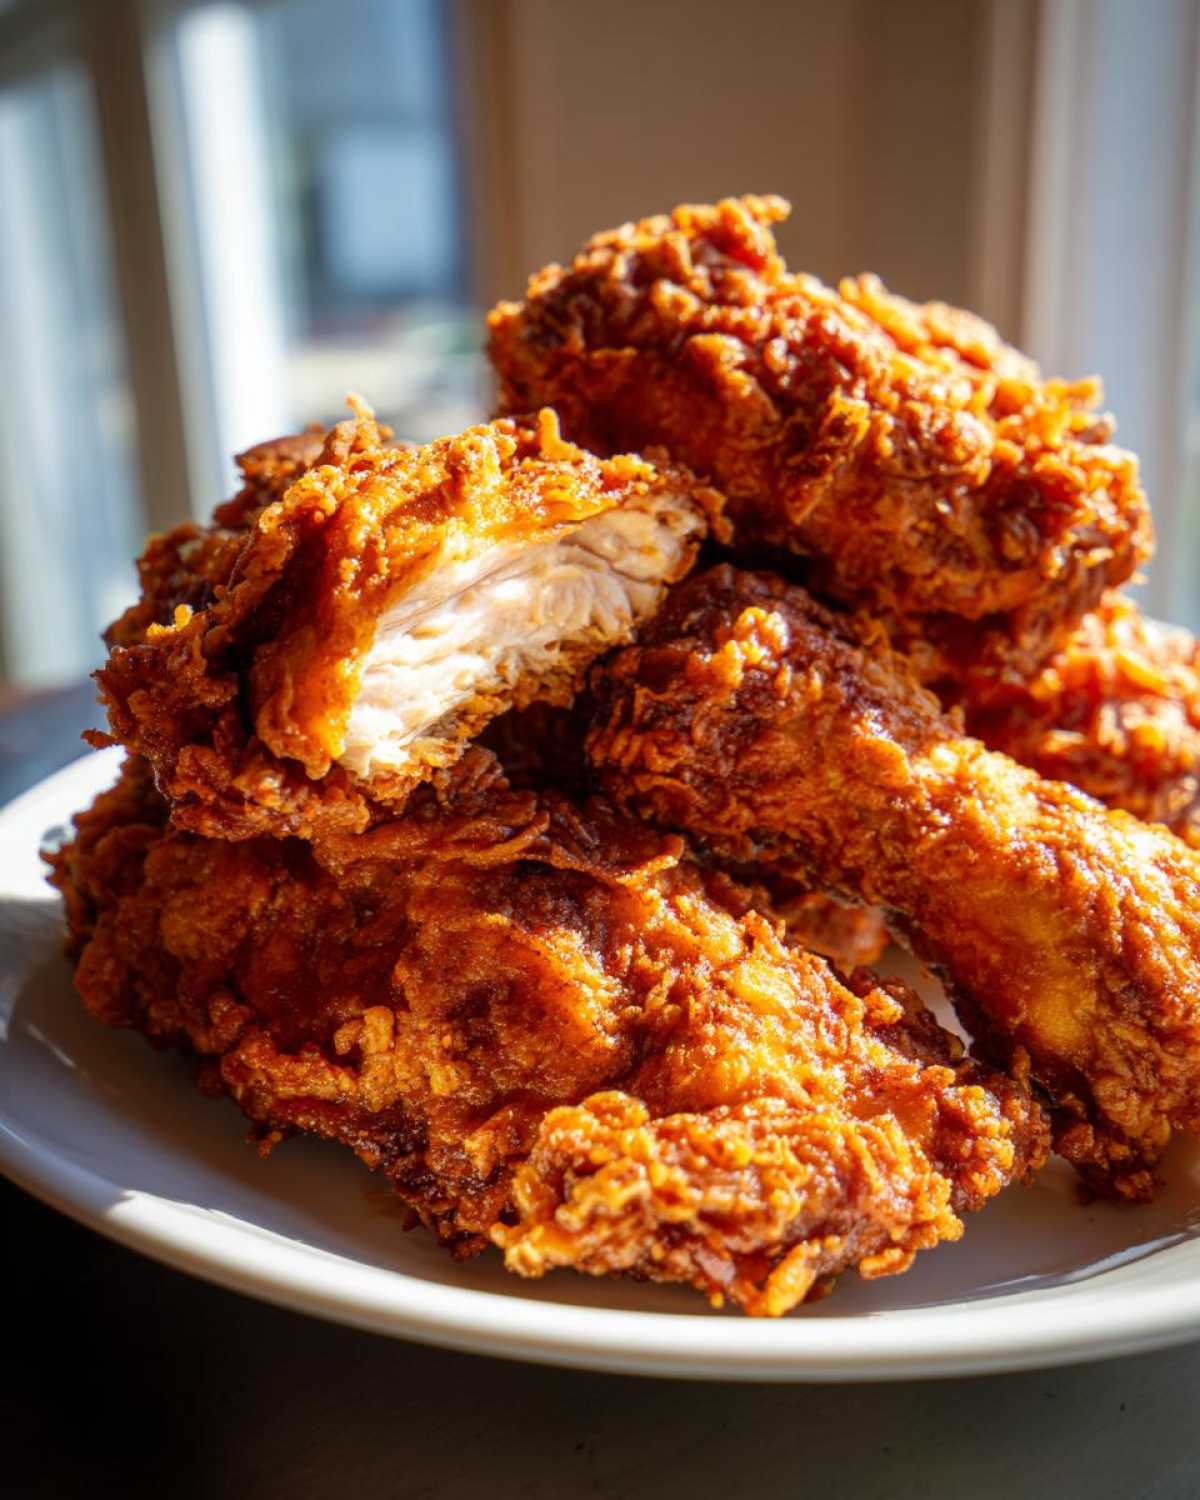
Listen, I know what you want. Everyone chases that perfect piece of fried chicken—the kind that makes an audible *crack* when you bite into it, followed by a cascade of savory, seasoned crunch. It’s not luck, folks; it’s technique! I spent years trying every trick in the book, ending up with either greasy messes or cardboard coating. But I locked it down. I cracked the code for that ultimate Crispy Fried Chicken with Golden Crunch. Seriously, this recipe nails the texture every single time. It’s all about the chill time, the cornstarch, and getting that double-dredge just right. You aren’t going to believe how easy it is to get restaurant quality results in your own kitchen.
Why You Need This Crispy Fried Chicken with Golden Crunch Recipe
Forget those sad, smooth coatings that immediately fall off in the fryer. This recipe is the real deal. If you’re serious about that big, craggy, crunchy texture that looks just as good as it tastes, you need this recipe in your life. Trust me on this one.
- You get that coveted Juicy Inside Crispy Outside Chicken balance. The buttermilk keeps the meat wonderfully tender, even when fried through.
- We focus on the dual dredge technique! This isn’t just flouring; we build actual peaks and valleys in the coating to maximize that satisfying crunch.
- The seasoning blend is balanced so you get plenty of savory flavor without that coating tasting bland or over-salted.
- It delivers that perfect, deep, Golden Brown Fried Chicken Perfection—no pale, sad chicken here! We use paprika to help it along.
- This method yields chicken that holds its crispiness longer, even after it comes out of the oil. You can check out my tips for maintaining that crunch later, but the foundation here is solid! You can see how I apply some of these principles to crispy roasted chicken here, but frying is a different beast entirely!
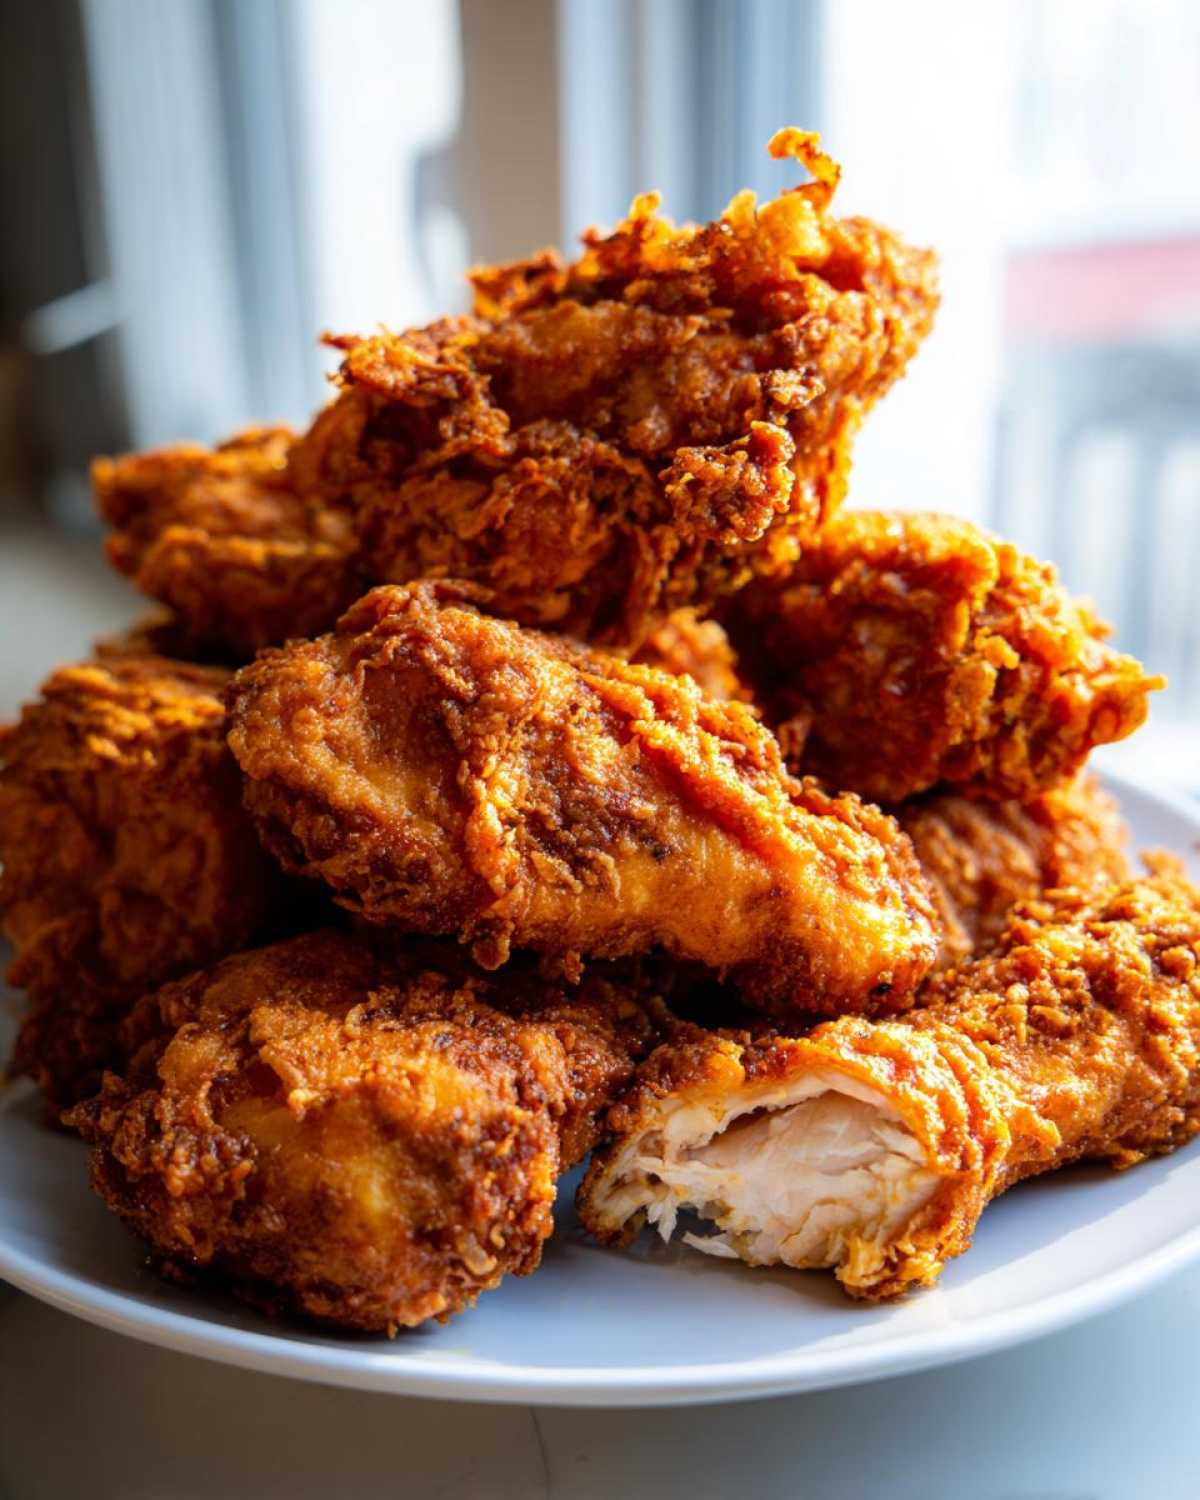
Ingredients for the Ultimate Crispy Fried Chicken with Golden Crunch
Okay, this is where we get down to business. You can’t achieve that signature crunch without the right supporting cast! I’ve listed everything out below exactly as I use it. Do not substitute things lightly here—especially the starches, okay? Having everything measured out before you start marinating makes the entire process flow so much better.
- About 2 pounds of chicken pieces—I usually go for thighs and drumsticks because they stay juicier, but use what you love!
- 2 full cups of buttermilk. Don’t skimp on this part; it’s essential for tenderness.
- 1 big tablespoon of your favorite hot sauce. This cuts through the richness and adds a hidden layer of flavor.
- 3 cups of all-purpose flour. This forms the bulk of our coating structure.
- A half cup of cornstarch. This is the MVP for crispiness; it keeps the coating light!
- 2 tablespoons of paprika. This is your color booster for that amazing golden look.
- 1 tablespoon each of garlic powder and onion powder for the savory depth.
- 1 tablespoon of salt and 1 teaspoon of black pepper. Taste your dredge mixture!
- And here’s a little trick: 1 teaspoon of baking powder. It helps create those little microscopic air pockets for extra texture.
- Plenty of vegetable oil for frying. I mean, you need enough to fill your pot at least two or three inches deep.
Having all this ready to go makes the next steps—which are all about building that crust—totally streamlined. It really sets you up for success!
Ingredient Notes and Substitutions for Perfect Breading
So, let’s talk about making that coating truly special. That dry dredge isn’t just flour, nope! The cornstarch is key; it gelatinizes right when it hits the oil, which helps create that super light, shatteringly crisp exterior. And don’t skip the baking powder—it’s what gives you those little internal bubbles, which adds to the overall volume and crunch we’re chasing. If you run out of cornstarch, you can use potato starch instead; they behave almost identically in this high-heat environment.
Buttermilk Marinade: The Secret to Juicy Inside Crispy Outside Chicken
The buttermilk soak isn’t just for flavor, though the subtle tang is yummy! The lactic acid tenderizes the meat fibers overnight, so when you cook it, the juices are locked right in. That means no dry chicken edges! We throw in a splash of hot sauce too—it doesn’t make the chicken spicy, but the vinegar in it helps break down the protein a tiny bit more, which is fantastic for tenderizing. Four hours minimum, people!
Step-by-Step Instructions for Crispy Fried Chicken with Golden Crunch
Alright, this is the moment of truth! Getting the absolute best Crispy Fried Chicken with Golden Crunch is all about choreography. You gotta move fast but deliberately, especially once that oil gets hot. I like to set up an assembly line right by my stovetop. This process takes a little more effort than just tossing things in a bowl, but trust me, the resulting texture is worth every single second of fussing. Laying out your stations properly ensures we get that gorgeous, craggy, restaurant-style finish!
Preparing the Chicken and Dry Dredge
First things first, make sure your chicken has had its long nap in that buttermilk marinade—at least four hours, but overnight is Nirvana. When you’re ready, take those pieces out of the fridge. You want to let the excess buttermilk drip off, but don’t wipe the chicken down! We *need* that wet surface to grab onto our dry dredge. While that’s happening, make sure your dredging station is ready. Whisk that flour, cornstarch, spices, salt, pepper, and baking powder together really well in a shallow pan. Whisk it like you mean it so everything is perfectly distributed.
Now, take a piece of chicken and press it firmly into that flour mixture. Don’t just gently roll it around! I mean *press* it on all sides—thighs, drumsticks, whatever you’re using. Really work that flour into the meat. This firm pressure is how you start building up the coating that holds up in the deep fryer.
Building the Craggy Fried Chicken Coating
If you want the actual, audible crunch, this next step is non-negotiable. This is what separates a decent piece of fried chicken from the best, most impressive version. Take that flour-coated piece and plunge it back into the remaining buttermilk—just a quick dip, like a second in the swimming pool, literally only 1 second. Don’t let it soak!
Immediately back into the dry dredge it goes! This time, don’t press so hard. Instead, you want to gently shake and massage the coating. When you pull it out, you’ll see those beautiful, flaky, almost shaggy bits forming all over the surface. That’s your Craggy Fried Chicken Coating taking shape! Lay these masterpieces on a clean plate while you prepare the oil. You can find a bit more inspiration on making great coatings from my fritter recipe here, but the technique stands!
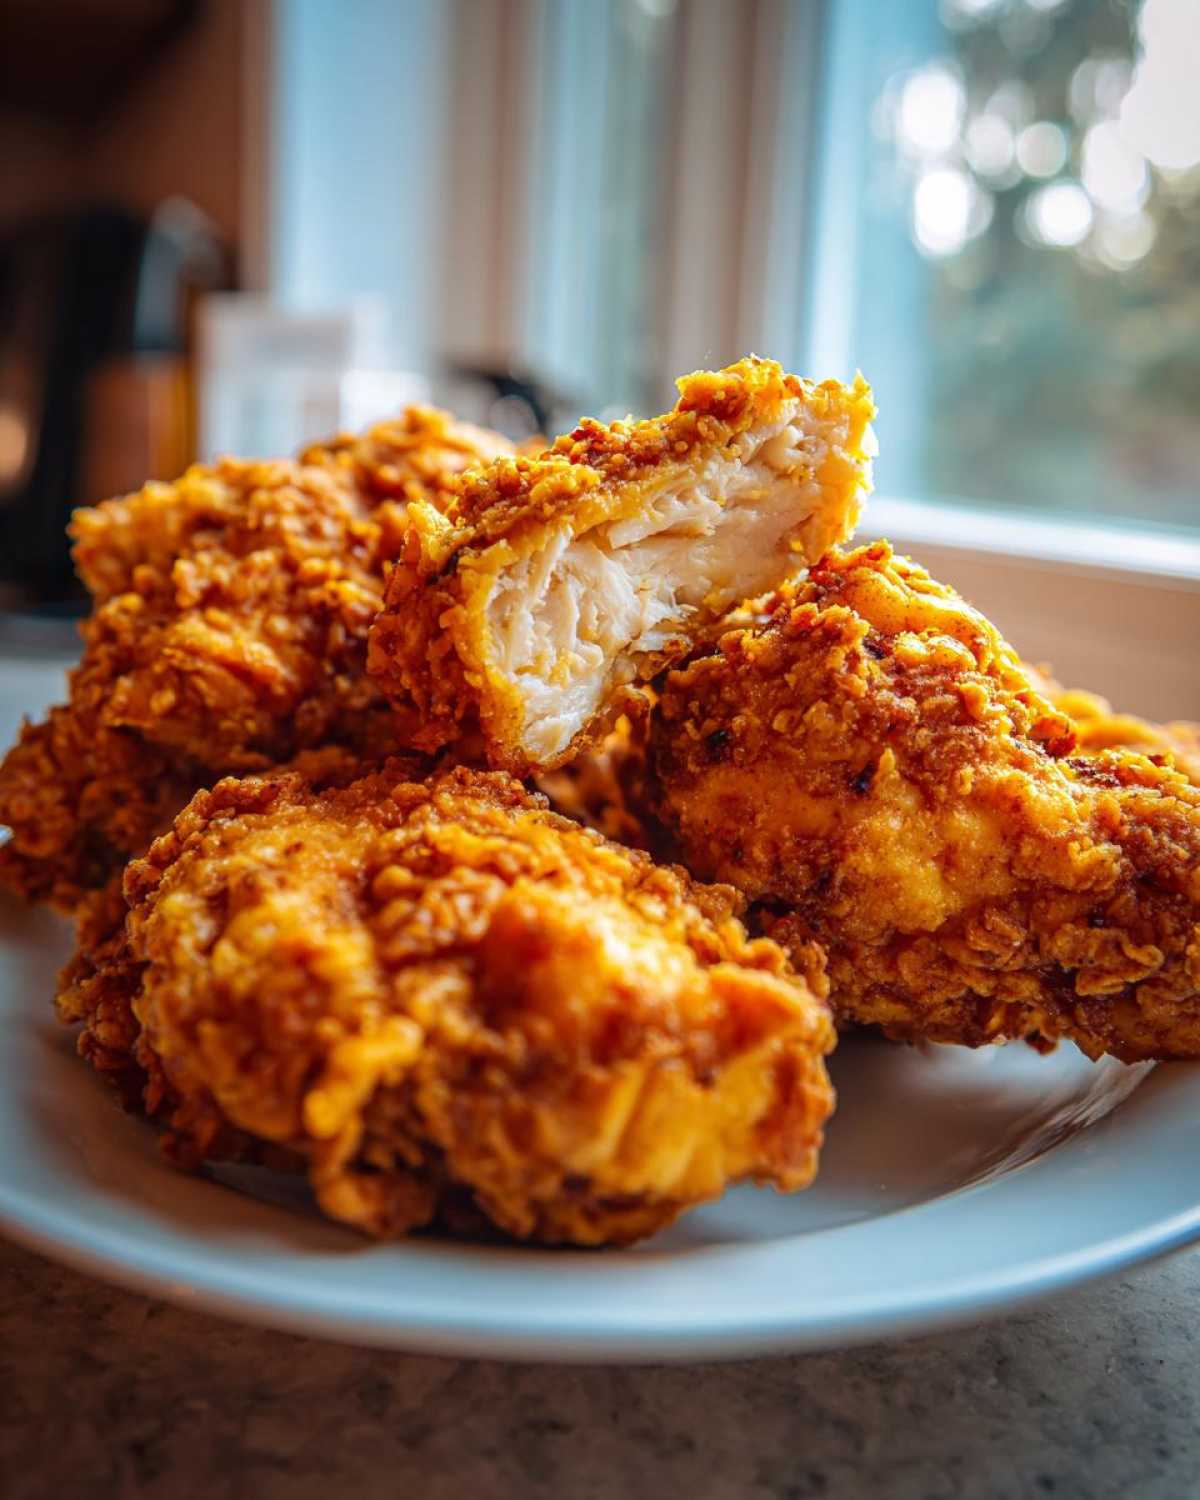
Mastering the Hot Oil Frying for Chicken
Attention! Temperature control is everything here. You need a heavy pot—a Dutch oven is my absolute favorite. Get your vegetable oil heated up until it hits exactly 325°F (160°C). Please, please use a thermometer! If the oil is too cool, you end up with greasy, soggy crusts, and if it’s too hot, the breading burns before the inside cooks. We are aiming for that Perfectly Crispy Chicken Frying Guide sweet spot.
Carefully lower your chicken pieces into the oil, making sure not to overcrowd the pot. You want space in there for the oil to circulate nicely. Fry dark meat (those thighs and drumsticks you prepped in buttermilk) for about 12 to 15 minutes. Keep checking that temperature, adjusting your burner as needed to stay between 300°F and 325°F. We are looking for deep, rich golden-brown color, and the internal temp must hit 165°F for safety.
Tips for Restaurant Style Crispy Chicken Texture
You’ve pulled the chicken out, it looks amazing, but don’t mess up the last 10 minutes! This is where many home cooks ruin their hard work. The biggest mistake you can make is setting that beautiful, crispy chicken directly on paper towels. Paper towels trap the steam rising off the hot chicken, instantly turning that fantastic crust soggy. That’s the opposite of what we want!
Instead, always use a wire rack set over a baking sheet. The airflow underneath is crucial; it allows the residual heat to keep cooking the coating slightly while letting that excess oil drip away freely. This is one of the most important Deep Fried Chicken Texture Tips I can give you for that Restaurant Style Crispy Chicken finish. Also, let the chicken rest for five minutes before anyone dives in. That rest time lets the internal juices redistribute, and it firms up that gorgeous coating. If you’re interested in other crispy coatings, I use some similar ideas when I make my cornbread recipe!
Achieving Golden Brown Fried Chicken Perfection
You’ve done the hard work—the buttermilk soak, the craggy flour crust—now we need to make sure it *looks* as good as it tastes! Achieving that rich, deep Golden Brown Fried Chicken Perfection really comes down to two things: the light addition of paprika and obsessive temperature control. The paprika we added to the dredge is a powerhouse, right? It’s not there to make the chicken taste distinctly like paprika; it’s there to ensure that when the coating hits that hot oil, it blooms into a gorgeous, appetizing amber color almost immediately.
When we talk about the color, we’re talking about the Maillard reaction. Sounds fancy, I know, but really it’s just science magic where amino acids and sugars react when heated! That’s what gives fried food all those incredible savory, complex flavors and that stunning brown finish that you just don’t get with pale, undercooked crusts. Keeping your oil steady at 325°F is the main way you coax that beautiful browning without burning the coating.
If your heat is too low—say, closer to 290°F—you’re essentially just soaking the crust in oil, and it gets soggy and deep brown, not golden. If it’s 360°F, you’ll burn the outside in five minutes, and the inside will still be raw. But right in that sweet spot, maintained carefully, you’ll see the color develop beautifully over those 12-15 minutes of frying. It’s exactly what sets this recipe apart for that ultimate crunch factor. When you see that deep, warm gold color, you basically know you nailed it. If you love crispy coatings but want a different setting, you have to check out how I handle the breading on my chicken parmesan—it’s totally different but just as crunchy!
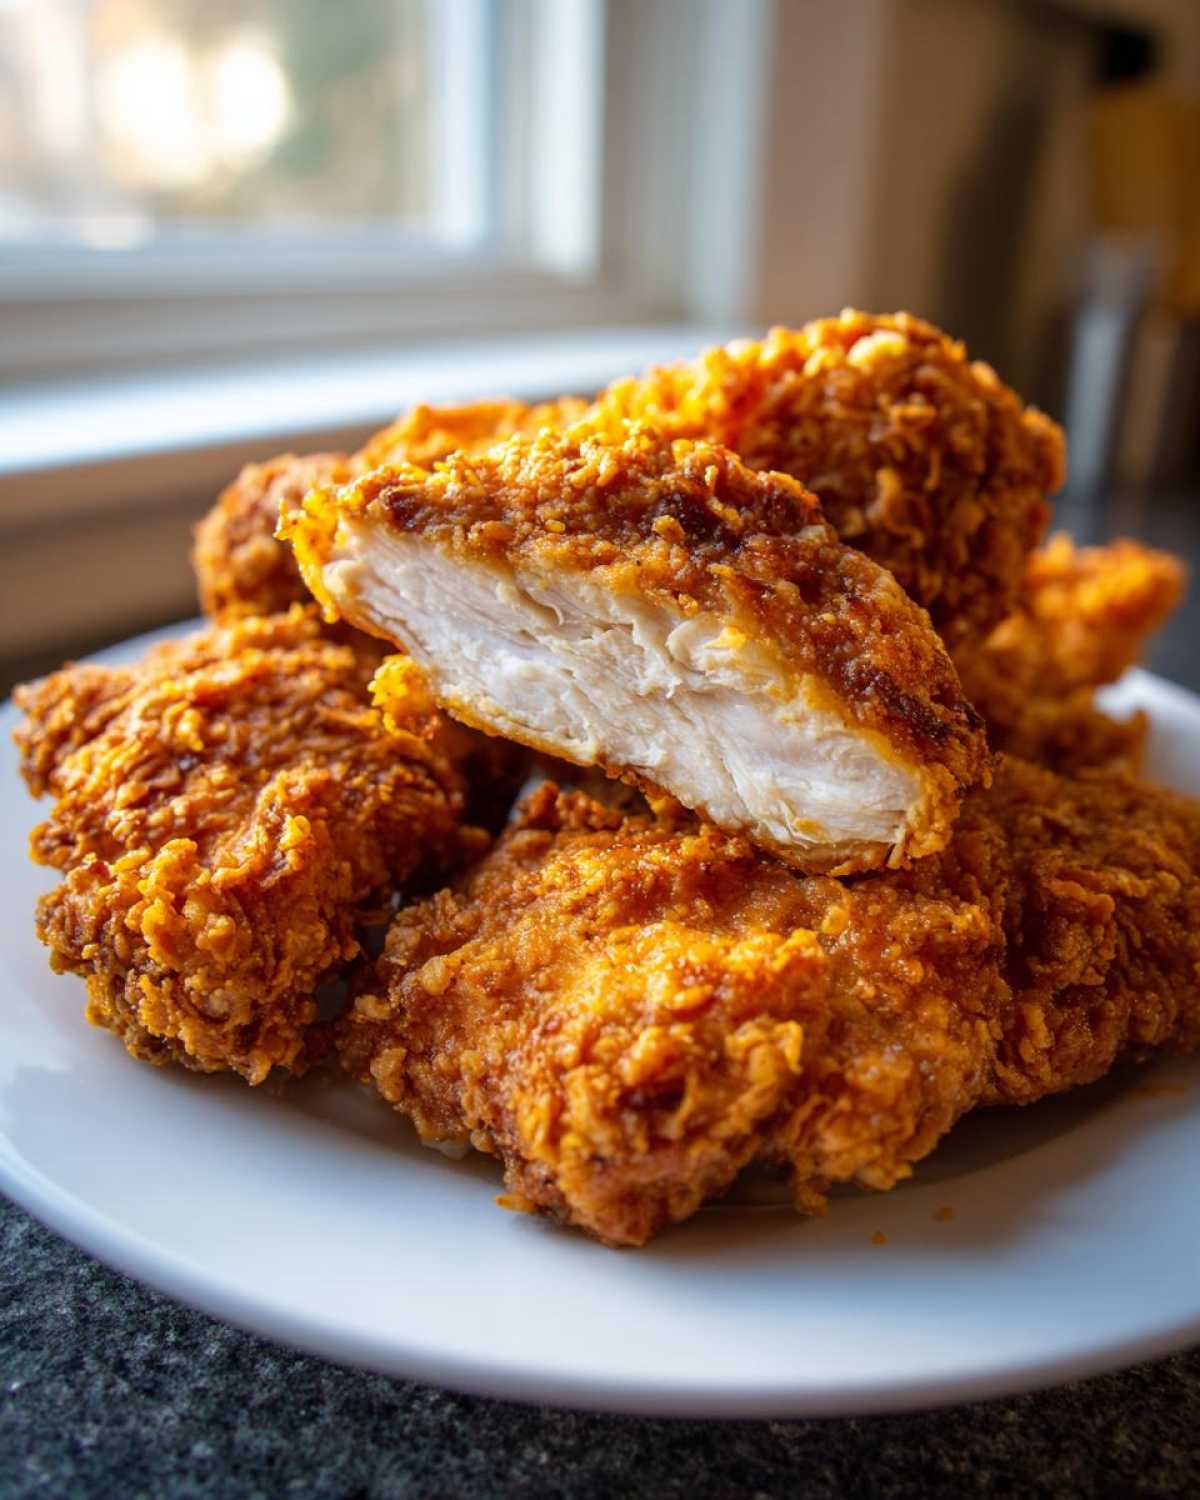
Storage and Reheating Crispy Fried Chicken with Golden Crunch
Nobody likes leftover fried chicken that tastes like a wet sponge, right? We work so hard for that amazing crust, so we have to treat the leftovers right! The absolute best way to store any remaining Crispy Fried Chicken with Golden Crunch is completely uncovered in the fridge for the first hour or so.
Why uncovered? Because covering it traps residual heat and moisture, and that’s the arch-enemy of crispiness. After it cools down completely, then you can transfer it to an airtight container. Just make sure there isn’t a whole pool of oil at the bottom of the container, or you’ll have to spoon some out first. It should be fine in the fridge for 3 or 4 days, though honestly, it usually doesn’t last that long in my house!
Now, for reheating—please, for the love of all that is crunchy, do not reach for the microwave! The microwave will steam the crust right off the chicken, turning it sad and floppy instantly. We are rebuilding that crunch, not demolishing it.
The Air Fryer Resurrection
If you have an air fryer, this is your secret weapon for leftovers. Preheat it to about 375°F (190°C). You don’t need any added oil! Place the cold chicken pieces in a single layer in the basket. I find that 6 to 8 minutes is usually enough time to get the outside super crackly again, tasting almost exactly like it did fresh from the pot. It’s almost unbelievable how well this works!
Oven Method for Large Batches
If you’re reheating a whole platter, the oven works best. Set your oven rack to the middle position and preheat it to 400°F (200°C). You need to set the chicken pieces on a wire rack over a baking sheet, just like we did when they first came out of the fryer! This allows air to circulate all the way around the piece, preventing the bottom from getting soggy. Give it about 10 to 12 minutes. Keep an eye on it, but usually, by the time the internal temperature hits about 150°F, that coating is perfectly crisp again, ready for another round of glorious crunch!
Frequently Asked Questions About Crispy Fried Chicken
I know you’ve got questions! Everyone who gets serious about frying tends to ask these same things. It takes a little practice to get that perfect, craggy texture, but these little tips should smooth out the rest of your journey. Don’t worry if your first batch isn’t perfect; keep that oil temperature steady, and you’ll be there in no time!
Can I use chicken breasts instead of dark meat for this Crispy Fried Chicken Recipe?
Oh, absolutely you can! Chicken breasts are delicious candidates for some truly fantastic fried chicken. The main difference is cooking time, since breasts are usually thicker and less forgiving than thighs or drumsticks. Because we are aiming for that incredible, thick crust, you want to watch your heat carefully. If you use breasts, you might need to drop your oil temperature just a hair—maybe down to 310°F or 315°F—and check the internal temperature sooner. Since they cook faster, they risk drying out before that amazing coating gets its final golden color. For breasts, I’d start checking them around 10 minutes. You still want them to hit 165°F internally, but you don’t want them sitting in the oil for the full 15 minutes!
What is the best oil type for achieving the Golden Crunch?
When you are deep frying, you need an oil that can handle high heat without breaking down or smoking up your kitchen, so we are looking for a high smoke point—that’s the non-negotiable rule here. I personally swear by plain old vegetable oil because it’s neutral in flavor and gets the job done beautifully, helping you achieve that pure, rich, Golden Crunch. Peanut oil is also fantastic if you don’t have allergy concerns—it has a slightly higher smoke point, which is great if you have a strong burner.
Avoid olive oil or any low-smoke-point oils at all costs; they’ll burn, taste bitter, and won’t help you get that perfect crisp coating. You need about three inches in the pot, so using a cheaper, reliable oil ends up being the better investment for the final flavor profile.
If you want to browse more helpful cooking techniques and recipe ideas from the blog, feel free to check out the main homepage!
Estimated Nutritional Data for This Recipe
Now, I know what you’re thinking: this is the best-tasting chicken ever, so it must be a nutritional nightmare, right? Well, fried chicken is inherently an indulgence, so let’s be real about what we’re eating! But, knowing what goes into it helps you budget for it. I’ve pulled the estimates based on the ingredient list for one typical serving size—which I set at one piece of chicken since everyone eats different cuts.
Keep in mind, these numbers are just a guide. If you use fattier cuts of meat or use a lot more oil than the recipe suggests, these figures will change! Also, if you double-dip aggressively and load up on that delicious, craggy coating, you’ll definitely see the fat and carb counts go up. You can explore some lighter options over on my high-protein egg bites recipe here for a different kind of meal!
- Serving Size: 1 piece
- Calories: 450
- Fat: 28g
- Saturated Fat: 7g
- Trans Fat: 0g
- Carbohydrates: 20g
- Sugar: 3g
- Protein: 28g
- Sodium: 650mg (Watch this if you have salt restrictions!)
If you’re tracking macros, the protein count is fantastic because we used lean chicken meat underneath all that glorious crunch! Enjoy responsibly, my friends!
PrintCrispy Fried Chicken with Golden Crunch

Follow these steps to make fried chicken with an extremely crispy, golden, and craggy exterior while keeping the meat juicy.
- Prep Time: 20 min
- Cook Time: 15 min per batch
- Total Time: 4 hr 35 min (includes marination)
- Yield: 4 servings
- Category: Main Course
- Method: Deep Frying
- Cuisine: American
- Diet: None
Ingredients
- 2 lbs chicken pieces (thighs, drumsticks)
- 2 cups buttermilk
- 1 tablespoon hot sauce
- 3 cups all-purpose flour
- 1/2 cup cornstarch
- 2 tablespoons paprika
- 1 tablespoon garlic powder
- 1 tablespoon onion powder
- 1 tablespoon salt
- 1 teaspoon black pepper
- 1 teaspoon baking powder
- Vegetable oil, for frying
Instructions
- Place chicken pieces in a bowl. Pour buttermilk and hot sauce over the chicken. Cover and refrigerate for at least 4 hours, or preferably overnight.
- In a large shallow dish, whisk together the flour, cornstarch, paprika, garlic powder, onion powder, salt, pepper, and baking powder. This is your dry dredge.
- Remove chicken from the buttermilk, letting excess drip off, but do not pat dry.
- Dredge each piece thoroughly in the flour mixture. Press the flour firmly onto the chicken to build texture.
- For extra crunch, dip the floured chicken back into the remaining buttermilk for just a second, then immediately return it to the dry dredge. Press and shake off any loose flour. This creates the craggy texture.
- Heat 2-3 inches of oil in a deep, heavy-bottomed pot or Dutch oven to 325°F (160°C). Use a thermometer to monitor the temperature.
- Carefully place chicken pieces into the hot oil, ensuring you do not overcrowd the pot. Fry in batches.
- Fry dark meat (thighs, drumsticks) for about 12-15 minutes, turning occasionally, until the internal temperature reaches 165°F (74°C) and the crust is deep golden brown. Adjust heat as necessary to maintain oil temperature between 300°F and 325°F.
- Remove chicken from the oil and place it on a wire rack set over a baking sheet to drain excess oil. Do not place directly on paper towels, as this steams the bottom crust.
- Allow the chicken to rest for 5 minutes before serving for maximum crispness.
Notes
- The cornstarch in the dredge helps promote a lighter, crispier crust.
- Baking powder creates small air bubbles in the coating, contributing to the crunch.
- Maintain a consistent oil temperature; too low results in greasy chicken, too high burns the crust before the inside cooks.
Nutrition
- Serving Size: 1 piece
- Calories: 450
- Sugar: 3
- Sodium: 650
- Fat: 28
- Saturated Fat: 7
- Unsaturated Fat: 21
- Trans Fat: 0
- Carbohydrates: 20
- Fiber: 1
- Protein: 28
- Cholesterol: 110