

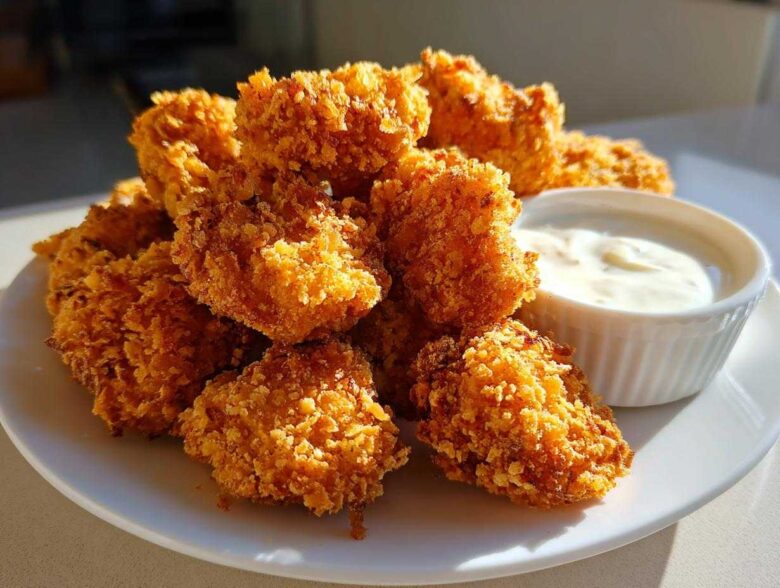
Oh my gosh, let’s talk about those cravings. You know the ones—you bite into something and it makes that perfect, shattering crunch sound? That’s what we’re chasing today! Forget those sad, soggy freezer bags. We are making the absolute best Crispy Chicken Nuggets with Garlic Dip you’ve ever had, right in your own kitchen. Seriously, I spent way too many weekends messing up the breading until I cracked the code.
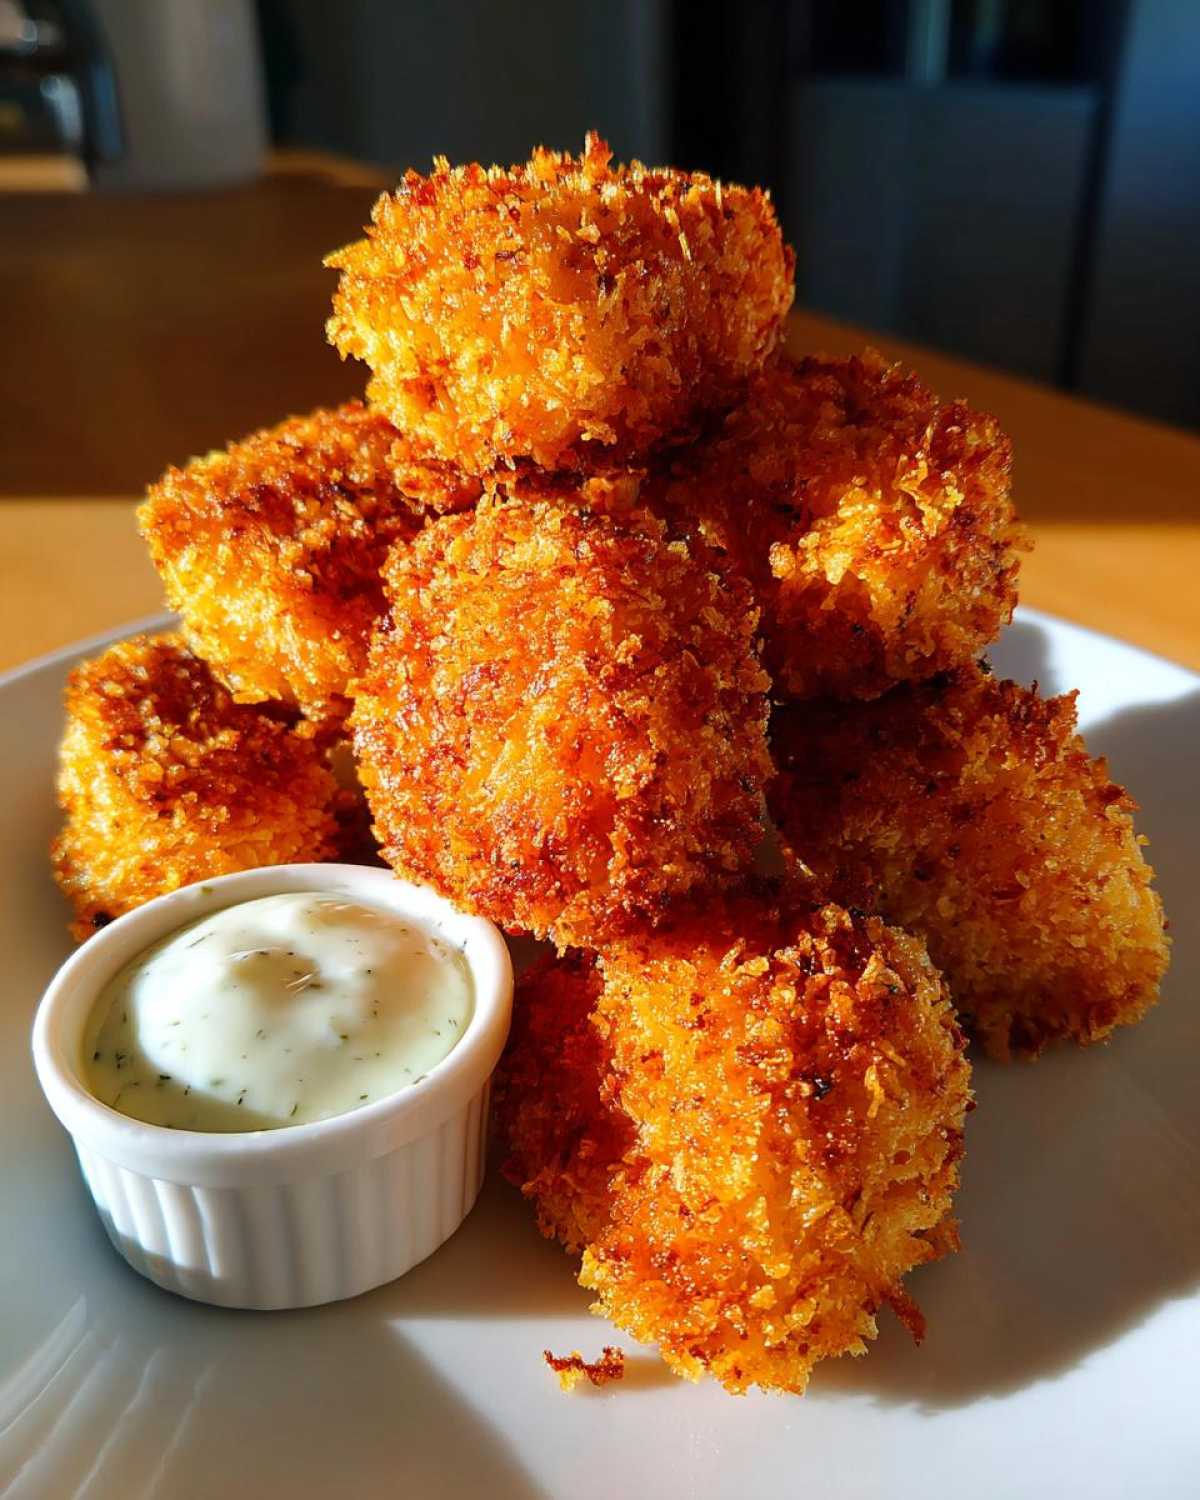
The secret, I found out, is all in the double coating and getting the oil temperature just right. It totally mimics that fast-food texture but tastes worlds better because you control everything—especially that tangy, super simple garlic dip. Trust me, once you nail this breading technique, you won’t look back. These are perfect for dinner when you need something fast, or just for snacking when the TV takes over!
Why You Will Make the Best Crispy Chicken Nuggets with Garlic Dip
Honestly? You’re going to make these over and over because they actually keep their crunch! That’s the promise, and we deliver. Say goodbye to mushy bites! Here’s why these are sticking around:
- They deliver that ultimate, shatteringly crisp texture every single time—no soggy centers here!
- This recipe is your new go-to for Copycat fast food chicken nuggets, only way superior. You can even check out my notes on protein boosters, like in my egg bite recipe, if you want to mix things up later!
- The accompanying garlic dip is so easy and tangy; it just brightens everything up.
- Plus, this is genuinely a winner for the picky eaters, making them fantastic Kid friendly chicken recipes.
- You get amazing results without needing weird, hard-to-find ingredients. We’re keeping it simple for weeknight magic!
It’s all about that crunch factor and the seriously addicting dip that makes these little bites irresistible.
Gathering Ingredients for Crispy Chicken Nuggets with Garlic Dip
Okay, before we get that oil heating up—don’t rush this part! Getting your ingredients prepped and organized is half the battle when you’re breading about three dozen little pieces of chicken. We need three main groups of items: the star (the chicken), the coating systems, and that essential dipping sauce we talked about.
It’s always better to have everything ready right next to your stove. Trust me, you don’t want to be sniffing around for paprika while your chicken is sitting in the egg wash getting soggy. That’s an amateur mistake, and we are making pro-level Crispy Chicken Nuggets with Garlic Dip today!
Components for the Crispy Chicken Nuggets with Garlic Dip
For the chicken itself, you’ll want to grab about 1.5 pounds of boneless, skinless chicken breast. I cut mine into nice, chunky one-inch pieces—not too tiny, or they’ll dry out before the outside gets brown!
Now for the coating triad, which is non-negotiable for keeping them crispy:
- The Seasoned Flour: This is where we build flavor first! It’s 1 cup of all-purpose flour mixed with 1 teaspoon of salt, about 1/2 teaspoon black pepper, 1/2 teaspoon paprika, and 1/4 teaspoon garlic powder. Smells amazing already!
- The Binder: Just 2 large eggs, beaten lightly with maybe a tablespoon of milk or water. This just loosens the eggs up so they coat nicely.
- The Crunch Maker: This is the absolute key: 2 cups of panko breadcrumbs. Regular breadcrumbs are too fine; panko gives you those rough, airy edges that toast up perfectly golden and stay crunchy even after they cool a little. Don’t skip the panko, seriously!
Ingredients for the Easy Chicken and Garlic Dip
This dip is so simple, but that heavy hit of fresh garlic is what sets it apart from boring mayo. We aren’t messing around with garlic powder here; we want *zing*!
Grab the following items for your sauce:
- 1/2 cup of good quality mayonnaise.
- 2 cloves of garlic, and I mean minced very finely. If you have a microplane grater, use it! We want the flavor without the big chunks.
- 1 tablespoon of fresh lemon juice—you need that acidity to cut through the richness of the chicken.
- A little sprinkle of dried parsley, plus a pinch of salt and pepper to taste.
Mix those together until they are beautifully combined. Set it aside while you focus on making sure those nuggets are perfectly coated!
Mastering the Crunchy Breading Techniques for Chicken
Okay, now that everything is ready, we need to talk about prepping the chicken. This step is where so many people mess up their chance at true crispiness! Before you even touch the flour, take all those little chicken pieces and pat them totally dry with paper towels. I mean bone dry! Moisture is the enemy of crunch, so you need to wick away any extra wetness from the breast meat. If they are wet, the flour won’t stick right, and you end up with muddy spots.
Next, set up your three-stage breading station just like an assembly line. You’ll have your seasoned flour mixture (the first dish), your egg wash (the second dish), and those glorious panko breadcrumbs (the third dish). Make sure the panko dish is nice and wide so you can really press that coating on.
Here’s the real secret for that ultimate crunch: we are doing a double dip! First, dredge the dry chicken piece in the seasoned flour and shake off the big clumps. Then dunk it into the egg wash. But instead of immediately going to the panko, I like to put it back into the flour for a second hit before the final, crucial panko coat. Press that panko on hard! This extra layer creates a shield that keeps the chicken juicy inside while getting unbelievably crunchy outside. You can even look up some tricks for getting crispy skin on roasting chicken; the principles are actually similar!
Step-by-Step Instructions for Crispy Chicken Nuggets with Garlic Dip
Alright, this is the moment of truth! We’re taking those beautiful, breaded nuggets and turning them into golden treasures. Remember, we cut them into uniform sizes so everything cooks at the same rate. If you’re deep-frying, you need patience here—checking that oil temperature is non-negotiable for safety and that crispy outcome.
For the dip, it’s so easy, I actually mix mine up right when I start heating the oil, so it has time to chill in the fridge and let those garlic flavors meld together. My favorite trick for the dip is adding a tiny splash of pickle juice if I have it, but shhh, that’s just between us!
Frying Method for Perfectly Crispy Chicken Nuggets
If you want the ultimate crunch, deep-frying is the way to go. Fill a heavy-bottomed skillet with about two inches of vegetable oil. Get your thermometer in there and heat it up slowly until it hits exactly 350°F (175°C). If it’s too cool, the nuggets soak up grease; too hot, and the outside burns before the inside is done.
Once it hits temperature, gently drop in your breaded nuggets in small batches. Don’t crowd the pan! Crowding drops the oil temperature way too fast. Let them sizzle for about 4 to 6 minutes, turning them gently with tongs every minute or so until they are deep golden brown and cooked through—you are looking for an internal temp of 165°F. The biggest mistake people make is draining them right onto a stack of paper towels. Nope! Pull them out and set them on a wire rack set over a paper towel-lined baking sheet. This lets air circulate underneath so the bottoms don’t steam and get soft. Serve these Crispy Chicken Nuggets with Garlic Dip immediately!
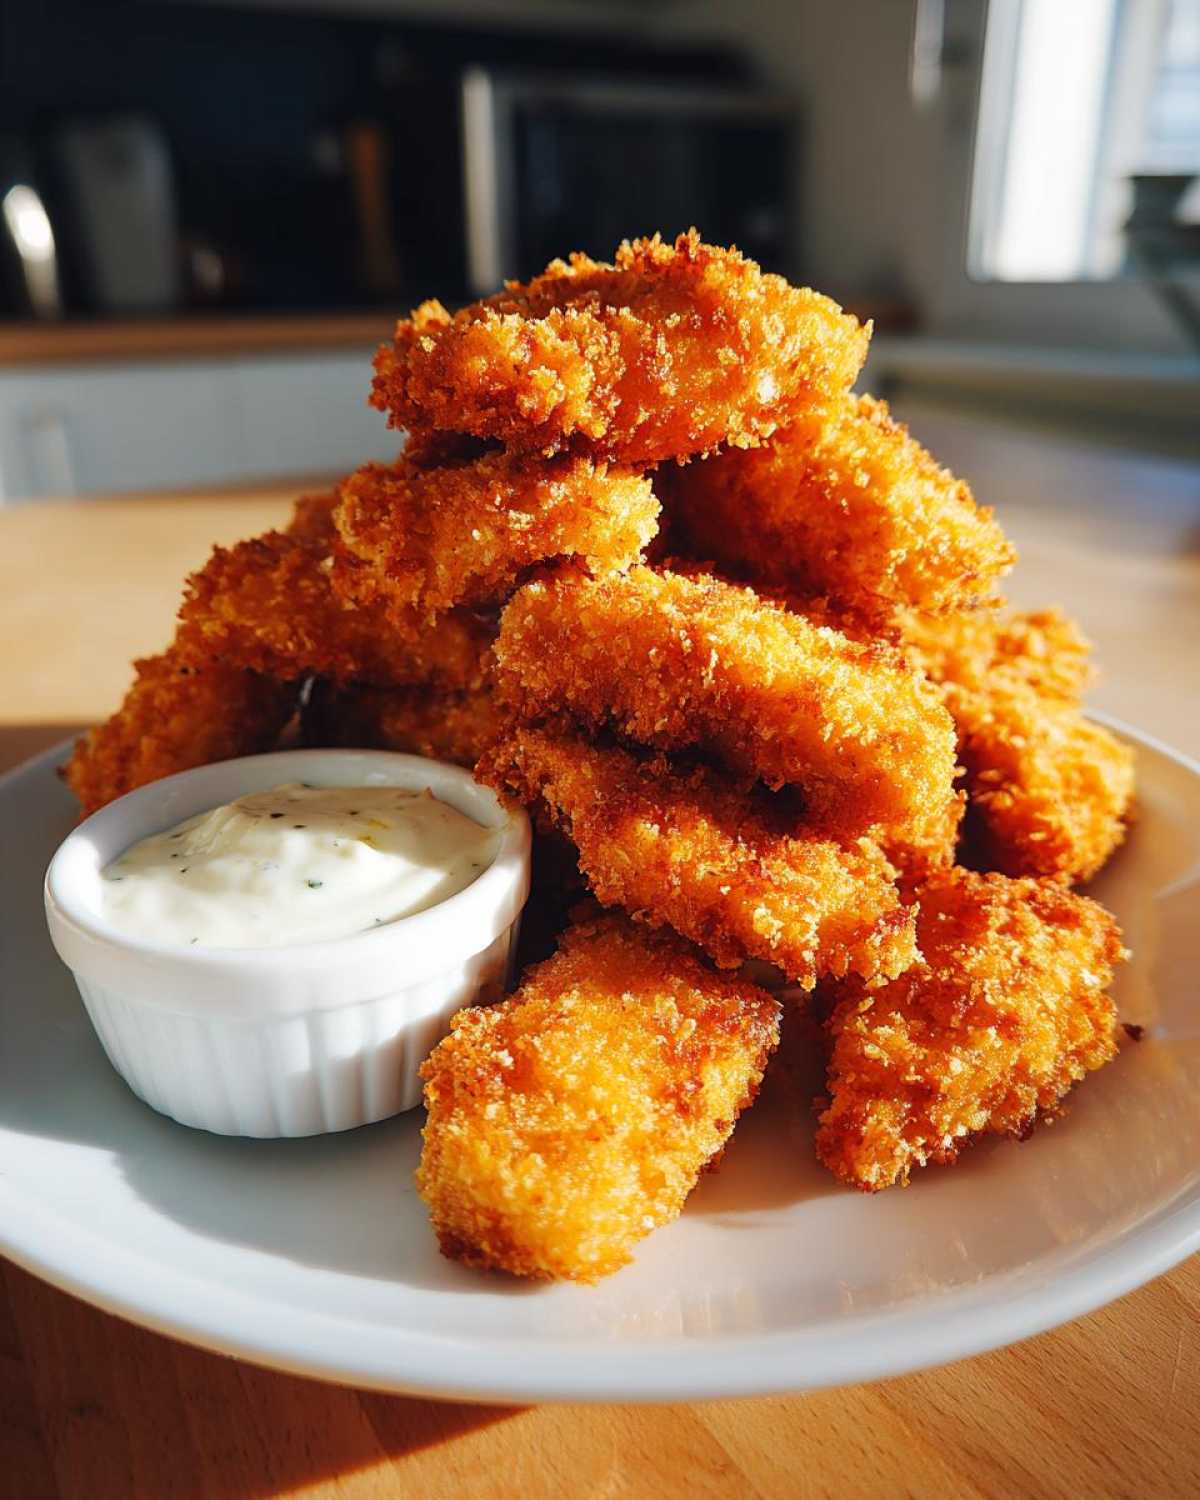
Air Fryer Crispy Chicken Nuggets Alternative
If you’re looking to save a little cleanup time or want a slightly healthier crunch, the air fryer is fantastic, but you have to treat the breading right. Preheat your air fryer to 380°F (about 190°C).
Take your coated nuggets and spray them liberally—and I mean *liberally*—on both sides with cooking spray or a light drizzle of oil. This is what helps them brown up instead of just drying out. Place them in a single layer in the basket (you’ll definitely need two batches). Cook for about 10 to 12 minutes, flipping them halfway through so both sides get that beautiful, crunchy texture across the board.
Making the Garlic Aioli Dipping Sauce Recipe
While the nuggets are doing their thing in hot oil or hot air, let’s make that dip. It’s so quick, but it tastes like something straight out of a high-end burger joint. You just need to get everything fully incorporated so that fresh garlic flavor really shines through.
Take your 1/2 cup of mayonnaise, your tiny heap of finely minced garlic, the lemon juice, plus your seasonings (parsley, salt, pepper). Stir it all together until it’s perfectly uniform. If you want it a little thinner, you can add half a teaspoon of water, but I prefer mine thick enough to really cling to the nugget. If you’ve got time, pop this wonderful garlic creation in the fridge for about 20 minutes; the flavors just deepen up so nicely!
Tips for Success with Your Crispy Chicken Nuggets with Garlic Dip
I’ve made batches of these nuggets that were just… fine. And then I made batches that were legendary. The difference wasn’t luck; it was tiny details! I want you to have legendary nuggets, so here are the things I learned the hard way about keeping that exterior crunch alive.
First thing, let’s talk about the chicken shape. When you cut your breast meat into those one-inch chunks, try to make them as uniform in size and thickness as possible. If you have one nugget that’s super thin and one that’s a fat cube, the thin one will dry out while you wait for the cube to cook through. Consistency is your friend for even cooking!
To really fight sogginess, especially if you’re not planning to eat them the second they come out of the fryer, you have to let them drain completely on that wire rack, like I mentioned before. Don’t just pile them up! Air flow is crucial. Also, make sure your frying oil settles back to that 350°F mark between batches, or you’re just pre-cooking them slowly instead of frying them fast.
Keeping the Garlic Dip Zesty and Fresh
For the garlic dip, since we are using fresh garlic, it can sometimes lose its punch if it sits too long, especially if you’re making a huge batch. If you are letting this sit in the fridge for more than 24 hours, I highly recommend grating a tiny bit of fresh garlic right before you serve it. It wakes up that raw, pungent flavor again!
Also, don’t skimp on the lemon juice! I can’t stress this enough. The acidity prevents the mayo from tasting too heavy or flat. If you find yourself eating these nuggets with other things, like, say, my garlic parmesan rice, this dip works perfectly there too, because it’s so bright and lively. It’s good for everything!
The Panko Trick for Next-Level Crunch
I know I keep hammering the panko, but honestly, if you want that true crunchy texture that holds up, you need it. If you feel like your panko isn’t sticking thick enough on the second dip, try this: once you press the nugget into the breadcrumbs the first time, just lightly mist the coated nugget with a bit of oil spray *before* you put it in the egg wash the second time. That oil acts like a glue for the final breading layer, making the coating incredibly solid. It’s a little extra work, but wow, does it pay off when you bite in!
Make Ahead Freezer Chicken Nuggets Instructions
Look, sometimes life is too busy for an immediate fryer session, even if you crave those lovely nuggets! That’s why I absolutely rely on my ability to make a giant batch of these Crispy Chicken Nuggets with Garlic Dip and stash them away for emergency meals. The key here is freezing them *after* they’ve been breaded but *before* they’ve been fully cooked to that deep golden perfection. We want to lock in that crunch potential!
If you cook them all the way through and then freeze them, the texture gets ruined when you reheat them—it just turns mushy, which is the opposite of what we want. We treat them like little ready-to-fry frozen food packets!
First, follow the breading steps exactly, making sure those panko coatings are pressed on tight. You can line a baking sheet with parchment paper (or even foil, if you’re using it for freezer storage later) and lay all your breaded, uncooked nuggets out in a single layer. Make sure none of them are touching! Pop that sheet into the freezer for at least an hour or two until they are completely solid little rocks. This “flash freezing” step stops them from sticking together in a giant clump later.
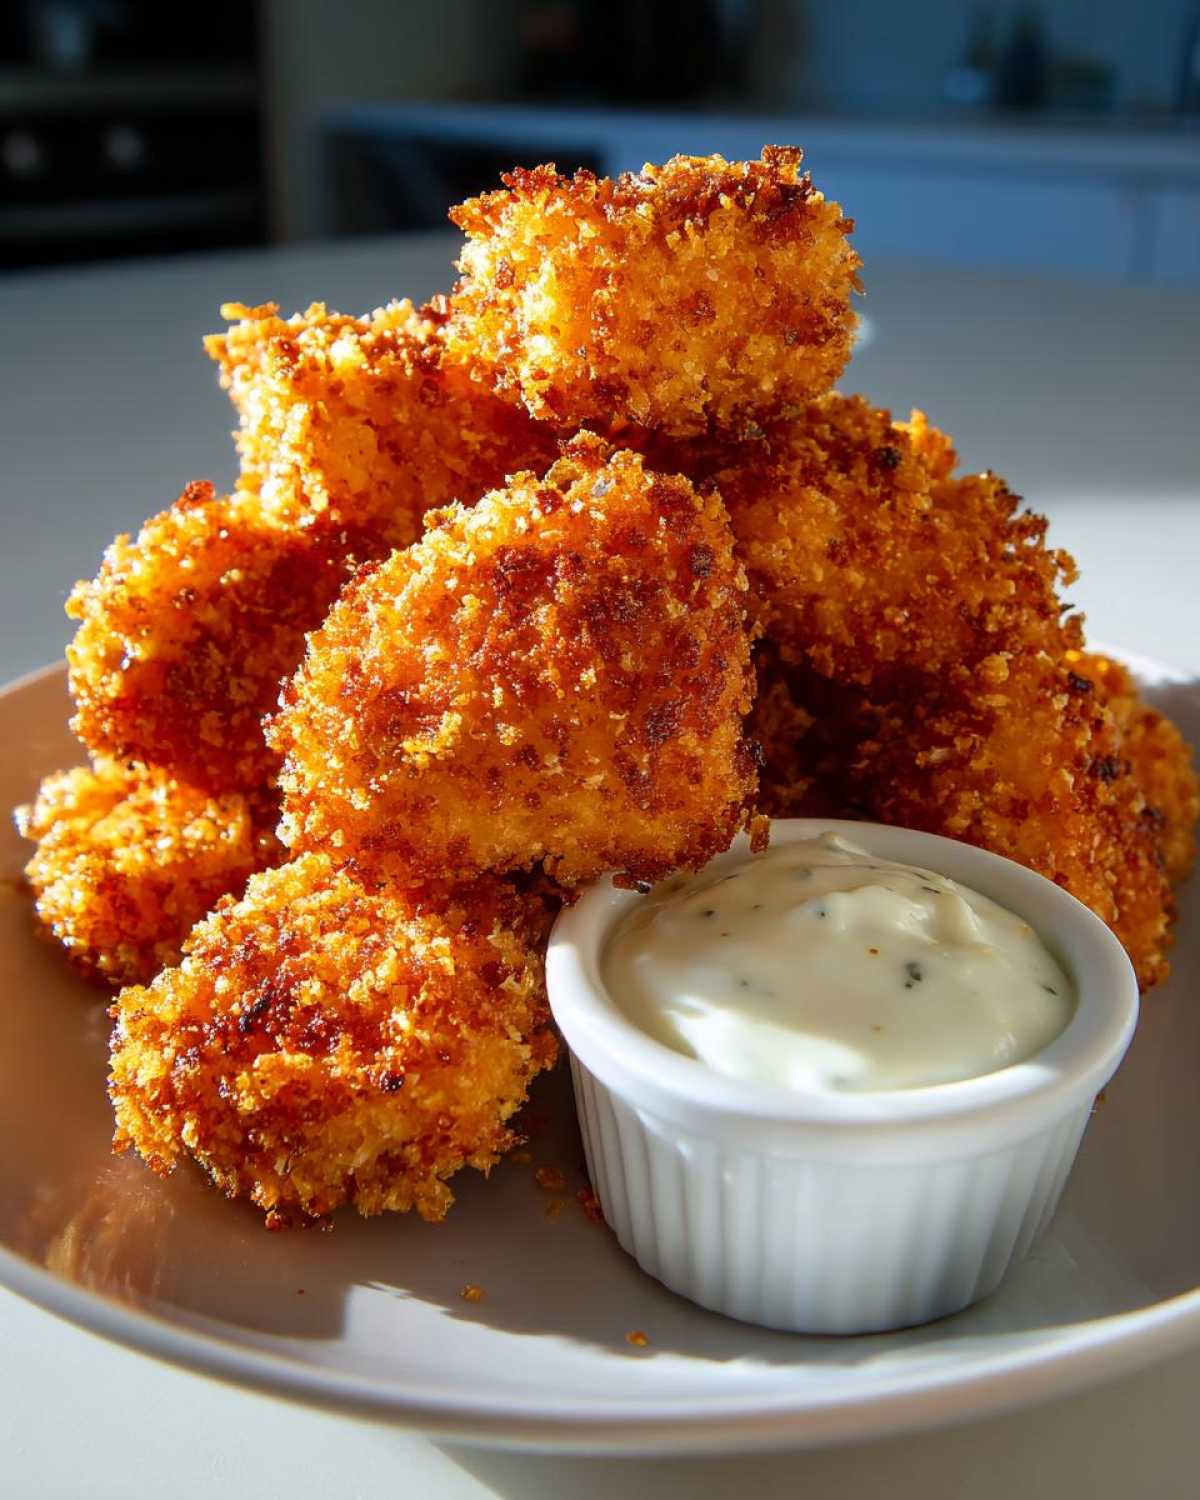
Once they are frozen solid, you can transfer them into airtight freezer bags or containers. Make sure you squeeze out as much air as possible—air is what causes freezer burn, and we want these fresh, ready to go whenever the craving hits! You can pop these nuggets into the freezer for up to three months, and they’ll still taste homemade.
When you’re ready to cook them from frozen, you absolutely need to use the oven or the air fryer. Don’t drop frozen nuggets straight into the hot oil; the inside won’t cook before the outside burns black, and it’s a safety risk if water gets trapped! Preheat your oven to 400°F or set your air fryer to 380°F. You’ll likely need to add about 5 to 8 minutes onto the standard cooking time. Seriously, having a batch of these ready to go is a lifesaver on busy nights. You might want to prep some extra dip too, just like how I prep my breakfast burritos!
Serving Suggestions for Homemade Chicken Nuggets Recipe
So, you’ve got this mountain of incredibly crispy, golden nuggets, and you’ve got that zesty garlic dip ready to go. Fantastic! But what else is going on the plate? Since these nuggets are rich and savory—thanks to that wonderful coating—I always like to balance the meal with something bright or a little crunchy on the vegetable side.
We definitely don’t want to just serve them plain! We’re making a real meal here, even if it feels like snack food. My goal is always to keep the cleanup easy, so I lean heavily on sheet pan meals or simple fresh veggies.
Balancing the Plate with Freshness
If I’m making these as a weeknight dinner, which is often, I need something green that doesn’t take long. A super quick, vinegary slaw works miracles! I just toss shredded cabbage with a little apple cider vinegar, a teaspoon of sugar, and salt. That sharp tang cuts right through the richness of the fried chicken and the mayo in the dip. It’s refreshing, and honestly, it makes me feel a little less guilty about frying!
Another simple go-to is roasting some broccoli or green beans. Just toss them with a drizzle of olive oil, salt, and pepper, and throw them in the oven while the nuggets are resting on the wire rack. Super simple, still crunchy, and adds those good nutrients.
Fun Pairings for the Kids (and Nostalgic Adults!)
If these are for the younger crowd—or if I’m feeling super nostalgic—then yes, we are leaning into the classics! A side of perfectly soft, slightly sweet baked sweet potato fries is heavenly with this garlic dip. Or, if you want to keep the garlic theme going but switch the texture completely, try some crispy roasted potatoes.
For something that feels a bit more like a full dinner spread, try pairing them up with some roasted carrots and sweet potatoes—I actually have a great recipe for sheet pan garlic herb chicken and veggies that you could adapt by tossing the veggies in that same seasoning mix we used for the flour dredge! It saves dishes, and the flavors tie everything together beautifully.
Dipping Sauce Variations
While our garlic aioli is truly fantastic, it’s fun to offer a little station of homemade dipping sauces. If you have friends over or just want variety, you only need a few extra minutes!
- Spicy Kicker: Take about half a cup of extra garlic dip and stir in a teaspoon of your favorite hot sauce—Sriracha or a smoky chipotle sauce works wonderfully.
- Sweet and Tangy: Mix a little ketchup with a tiny splash of vinegar and a pinch of brown sugar. It gives you that familiar sweet-and-sour flavor that kids love.
- Herby Ranch Style: Keep some of the mayonnaise aside from the main garlic dip batch and stir in dried dill and onion powder. It fills the same role as a classic ranch but tastes fresher!
The point is, once you master the nugget and the primary garlic dip, these little bites are the perfect base for whatever sides you love!
Storage and Reheating Crispy Chicken Nuggets with Garlic Dip
Oh, the eternal struggle: you made too many perfect nuggets, or maybe you need to pack leftovers for lunch the next day. We need to preserve that glorious, hard-won crispiness! Trust me, microwaving these beauties is a tragedy. The microwave is the fastest way to turn crispy chicken into sad, pale sponges. So, we are strictly banning the microwave for these leftovers!
For the actual chicken, whether you are storing refrigerated leftovers or preparing for the freezer (I covered the freezer method in detail earlier, but we can touch on it again!), the goal is always the same: use the dry heat of the oven or the air fryer to bring back that wonderful crunch.
Reheating Refrigerated Crispy Chicken Nuggets with Garlic Dip
If you have leftovers tucked into the fridge, the best way to revive them for a lunchtime snack or quick dinner is definitely the air fryer. It’s fast and distributes heat so evenly that it blasts away any lingering moisture.
Set your air fryer to about 375°F (190°C). You don’t even need to spray them again, though a tiny mist won’t hurt. Lay the nuggets in a single layer—again, no crowding!—and let them cook for about 4 to 6 minutes. You’ll hear that little crackle sound come right back. If you don’t have an air fryer, the oven works brilliantly too. Lay the nuggets on a wire rack set over a baking sheet (this allows air underneath!) and heat at 400°F for about 8 to 10 minutes. Keep an eye on them, as they might brown faster than when they were originally cooked.
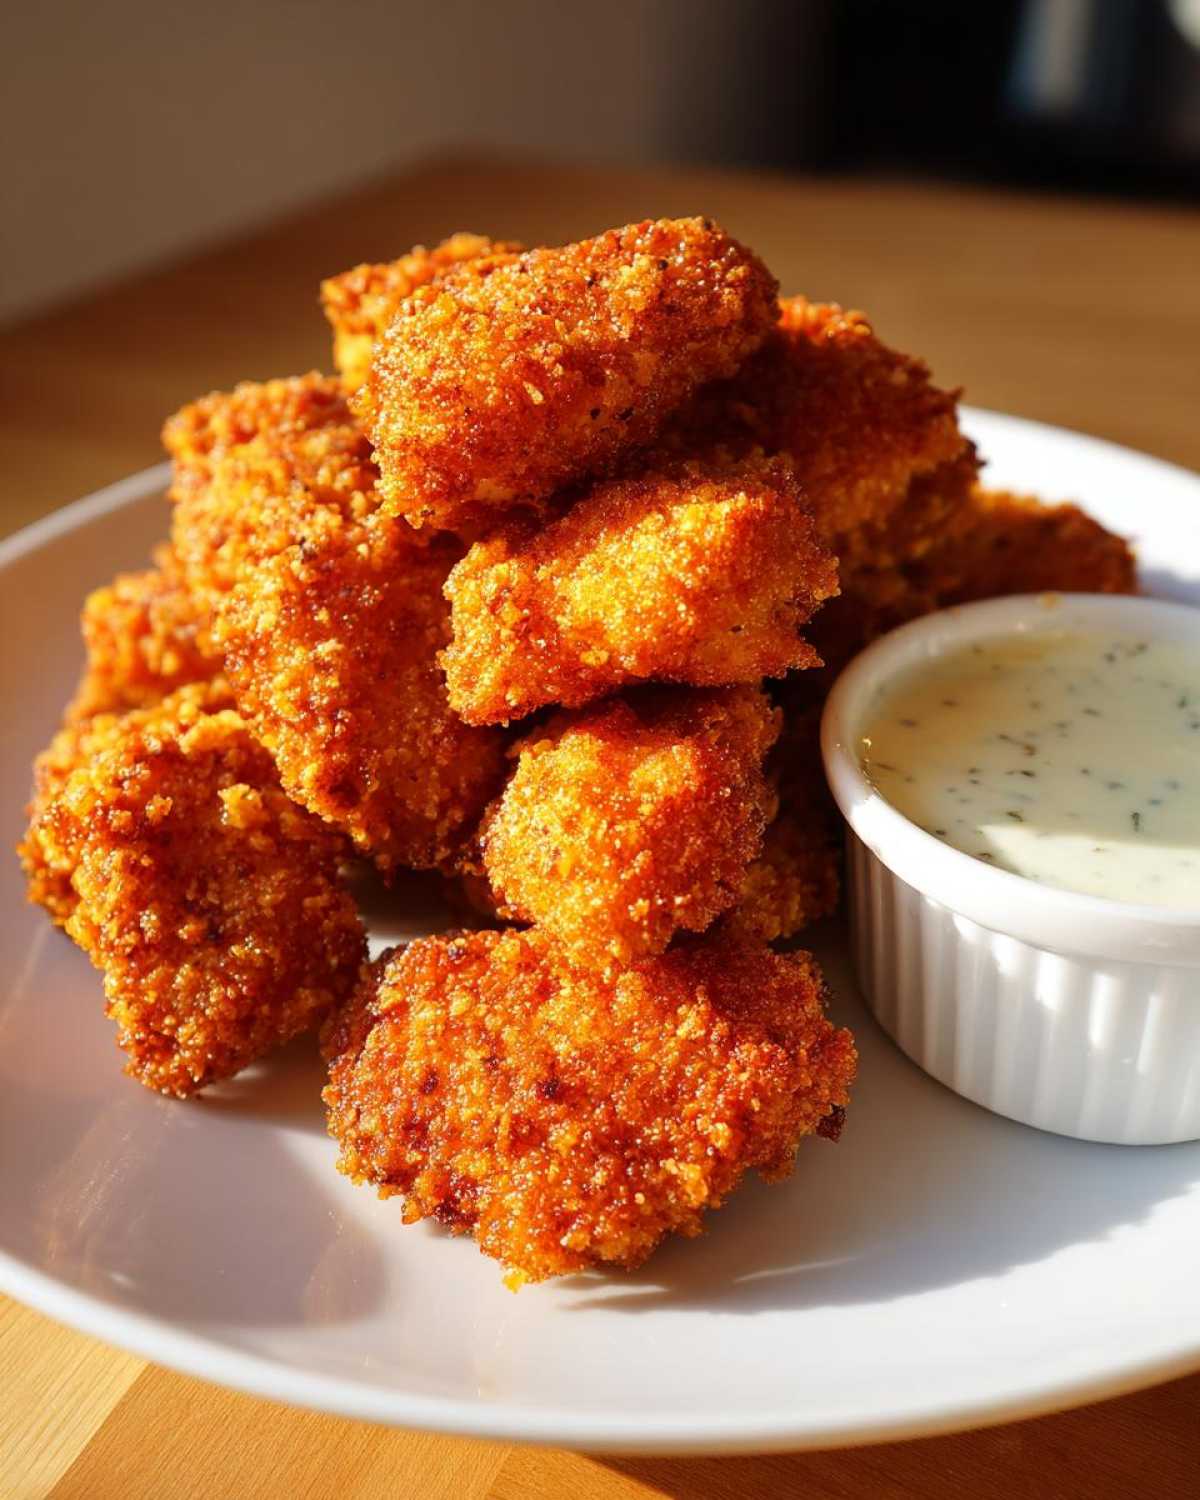
As for that amazing sauce? The garlic aioli dipping sauce recipe stores beautifully in an airtight container in the fridge for up to five days. Garlic flavor sometimes actually gets a little stronger overnight, which I personally love! Just pull it out about 15 minutes before serving so it’s not ice cold, because that slightly cool, creamy texture is amazing with the hot chicken.
Tips for Keeping the Double Breading Crunchy After Storage
The double-dip breading technique we mastered is your best defense against sogginess during storage! Because we built such a thick armor plate of panko around the chicken, it takes longer for any trapped moisture to break through. That’s why we insisted on patting the chicken dry initially!
However, if you know you’re going to have leftovers, try to cool the cooked nuggets *completely* on the wire rack before you ever seal them in a container. If you seal them while they are still warm, the steam gets trapped inside the container, and that steam immediately softens the crust. Never put warm, fried food directly into a sealed container. Let them completely reach room temperature first, then cover them loosely until you are ready to reheat them crisply later!
Frequently Asked Questions About Homemade Chicken Nuggets
I know cooking from scratch can bring up a lot of questions, especially when you’re aiming for that specific, perfect crunch! Don’t worry if you need a little extra guidance. I’ve answered the common things people ask me when they try to replicate my favorite homemade chicken nuggets recipe.
Can I use chicken thighs instead of breast meat?
Oh, absolutely, you can! Chicken thighs are actually super flavorful, and because they have a little more fat, they stay incredibly tender. If you’re going that route, just make sure you trim off any excess fat or gristle first. Since thighs are naturally softer than breast meat, you might find you don’t even need the double-dip breading technique, or you can shorten your frying time by a minute or so. If you’re curious about making a baked chicken thigh recipe, you should check out my recipe for creamy garlic parmesan baked chicken thighs—it uses similar robust flavors!
How can I make these nuggets healthier?
That’s a great question! If you’re aiming for healthy homemade chicken nuggets, the biggest changes are obviously cutting back on fat intake. You already know my heart belongs to the deep fryer for the ultimate crisp, but the air fryer method is your best friend here! It gets them crunchy with just a light spray of oil. Also, using chicken breast is slightly leaner than thighs. If you want to skip the frying entirely and try the oven-baked route, make sure you use a wire rack underneath the nuggets so air circulates and reduces steaming, helping you get that crunch without submerging them in oil.
What happens if I don’t have Panko breadcrumbs?
If you are desperate and absolutely have no Panko on hand, you can use regular fine breadcrumbs, but I have to warn you: they won’t be the best crispy chicken nuggets you’ve ever made. Regular crumbs create a much finer crust that tends to absorb oil faster and doesn’t have those signature jagged edges that give Panko its hold. You’ll definitely want to use the double-dipping technique we talked about if you substitute the breadcrumbs, just to build up a bit more structural integrity around that chicken piece.
Can I swap the garlic in the dip for something else?
You can, but you’ll lose that signature punch! The whole point of this easy chicken and garlic dip is that sharp, fresh garlic flavor paired with the lemon. If you aren’t a huge garlic fan, you can certainly cut the raw garlic down to one small clove, or even use 1/4 teaspoon of garlic powder instead. But if you’re looking for a different flavor profile entirely, that recipe is a wonderful base for a quick homemade garlic butter modification if you melt some butter in and reduce the mayo!
How long should I cook them if I want to freeze them?
This is key for those make ahead freezer chicken nuggets! You only cook them until the crust is set and *lightly* golden—maybe about 3 minutes total in the fryer. You are basically just setting the breading. They need to look cooked, but definitely not done. Then you must cool them completely before bagging them for the freezer. When you reheat them later, you’ll cook them fully until they hit that 165°F internal temperature.
Nutritional Estimate for Crispy Chicken Nuggets with Garlic Dip
Okay, so we’re making things from scratch, which means we are absolutely in control of what goes into our bodies, which I love. But let’s be real: when you use good panko breading and fry them up the way I recommend for that ultimate crispiness, they aren’t exactly ‘salad food,’ right? And that’s okay! Sometimes you just need that satisfying crunch.
I pulled together some estimates based on the recipe above, specifically using the frying method because that’s how we ensure that super crunchy texture. Please remember, this is just a general guide, and if you use the air fryer or go for the make-ahead freezer option and bake them later, your numbers are going to look a little different—usually lower on the fat, thank goodness!
Here is the estimated breakdown for one serving size:
- Serving Size: 6 nuggets
- Calories: 350
- Protein: 28g (That’s a solid hit right there!)
- Fat: 18g
- Saturated Fat: 3g
- Unsaturated Fat: 15g
- Carbohydrates: 20g
- Fiber: 1g
- Sugar: 1g
- Sodium: 450mg
- Cholesterol: 95mg
If you’re doing the math in your head, you’ll notice that the fat content is higher because of the oil absorption during frying. If you are tracking things closely, I highly recommend switching to the air fryer method I detailed earlier—you’ll still get great flavor from that garlic dip, but you’ll drastically cut down on those saturated fats. Either way, these Crispy Chicken Nuggets with Garlic Dip are made with real ingredients, and that counts for something huge when you’re cooking for your family!
Share Your Perfect Crispy Chicken Nuggets with Garlic Dip
Alright, my kitchen buddies, we’ve done the hard work! We’ve patted the chicken dry, we’ve double-dipped until our fingers were flaky, and we’ve made that ridiculously good garlic dip. Now it’s your turn to jump in and let me know how you did!
This recipe only gets better when we all share our results. Did you manage that perfect shatter when you pulled them out of the oil? Did your kids devour them before you could even finish making the dip? I want to know everything!
Tell Me How Crispy They Got!
Leaving a rating helps other folks on the fence decide to dive in and make their own batch of these Crispy Chicken Nuggets with Garlic Dip. If you nailed that crunch, please leave a five-star review! If you ran into a little snag—maybe your oil cooled too fast—tell us about it in the comments below so we can coach you for next time!
I absolutely love seeing your creations pop up in my social feeds, too! Tag me when you post photos of those beautiful golden nuggets and that creamy dipping sauce. It’s the best validation a home cook can get, knowing that something I shared brought a great meal to your table.
Let’s Talk Dip Variations
While the main garlic dip is technically perfect, I’m always curious about how you all customize things. Did you add a pinch of cayenne to the dip for a kick? Did you try tossing them with some dry seasoning right after they came out of the fryer, like a seasoned salt blend? Shout it out in the comments!
We are building a community here where we share all those little secrets that turn a basic recipe into a family legend. Don’t be shy! Head over to the blog comments section and tell us your biggest success story from this batch of nuggets.
Happy cooking, and I can’t wait to see those crunchy masterpieces!
PrintCrispy Chicken Nuggets with Garlic Dip

A detailed recipe for making homemade, extra-crispy chicken nuggets using a double-breading technique, served with a simple, flavorful garlic dipping sauce.
- Prep Time: 20 min
- Cook Time: 15 min
- Total Time: 35 min
- Yield: 4 servings
- Category: Main Course
- Method: Frying
- Cuisine: American
- Diet: Low Fat
Ingredients
- 1.5 lbs boneless, skinless chicken breast, cut into 1-inch pieces
- 1 cup all-purpose flour
- 1 teaspoon salt
- 1/2 teaspoon black pepper
- 1/2 teaspoon paprika
- 1/4 teaspoon garlic powder
- 2 large eggs, lightly beaten
- 1 tablespoon milk or water
- 2 cups panko breadcrumbs
- 1/2 cup all-purpose flour (for dredging)
- Vegetable oil, for frying (or cooking spray for air fryer/oven)
- For the Garlic Dip:
- 1/2 cup mayonnaise
- 2 cloves garlic, minced very finely
- 1 tablespoon fresh lemon juice
- 1/2 teaspoon dried parsley
- Pinch of salt and pepper
Instructions
- Prepare the chicken: Pat the chicken pieces completely dry with paper towels. This is key for crispiness.
- Set up the breading station: In one shallow dish, mix 1 cup flour, 1 teaspoon salt, pepper, paprika, and garlic powder. In a second dish, whisk the eggs and milk/water. In a third dish, place the panko breadcrumbs.
- Dredge the chicken: Take each chicken piece and coat it lightly in the seasoned flour mixture, shaking off excess.
- Dip in egg: Dip the floured chicken into the egg wash, letting excess drip off.
- Coat with panko: Press the chicken firmly into the panko breadcrumbs, ensuring a thick, even coating. For extra crispiness, repeat the egg wash and panko coating process (double-dip).
- Cook the nuggets: Heat 2 inches of oil in a deep skillet to 350°F (175°C). Fry the nuggets in batches for 4-6 minutes, turning occasionally, until golden brown and cooked through (internal temperature of 165°F). Remove and drain on a wire rack set over paper towels.
- (Alternative cooking methods: For air fryer, spray coated nuggets with oil and cook at 380°F for 10-12 minutes, flipping halfway. For oven, bake on a wire rack at 400°F for 18-20 minutes, flipping halfway.)
- Make the garlic dip: While the nuggets cook, combine mayonnaise, minced garlic, lemon juice, parsley, salt, and pepper in a small bowl. Mix well.
- Serve the crispy chicken nuggets immediately with the garlic dip.
Notes
- For the crispiest result, use panko breadcrumbs instead of standard breadcrumbs.
- If you plan to freeze the nuggets, cook them only halfway, cool them completely, and then freeze them on a baking sheet before transferring to a freezer bag. Reheat in the oven or air fryer to finish cooking and crisping.
- Adjust the amount of garlic in the dip to your preference.
Nutrition
- Serving Size: 6 nuggets
- Calories: 350
- Sugar: 1
- Sodium: 450
- Fat: 18
- Saturated Fat: 3
- Unsaturated Fat: 15
- Trans Fat: 0
- Carbohydrates: 20
- Fiber: 1
- Protein: 28
- Cholesterol: 95