

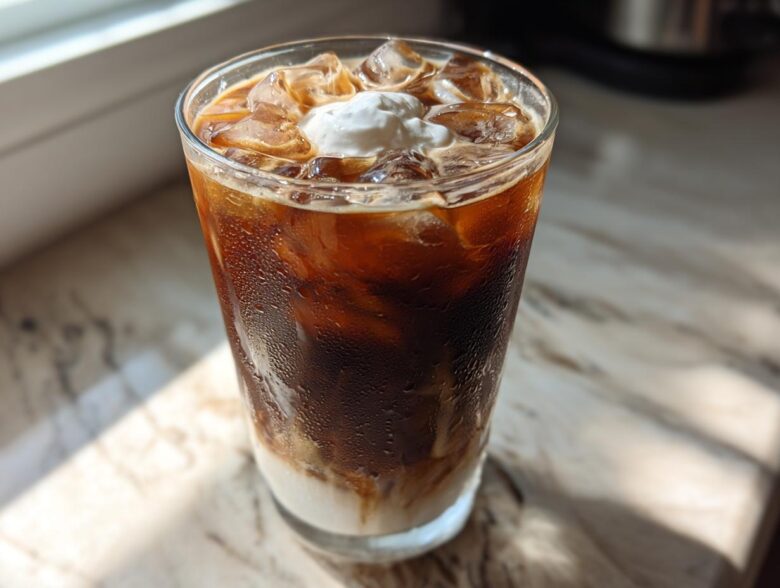
Oh my goodness, when the summer hits and you need that perfect blend of deep, dark chocolate and strong coffee, nothing beats a truly fantastic cool drink. Forget those watery, sad attempts! I spent way too long trying to nail the perfect Iced Mocha recipe that tasted like it came straight from that fancy coffee shop downtown, but without the twenty-minute wait or the crazy price tag.
I finally cracked the code, and honestly, it’s almost ridiculously simple. This isn’t about complicated syrups simmered all day; we’re using ingredients you probably have right now. My game-changer moment happened when I stopped chilling the espresso first and just let a tiny bit of the heat bloom the chocolate syrup right in the glass. Trust me, this is the easiest, quickest way to get a high-quality Iced Mocha rivaling anything you’d buy. You’re going to love how fast this comes together!
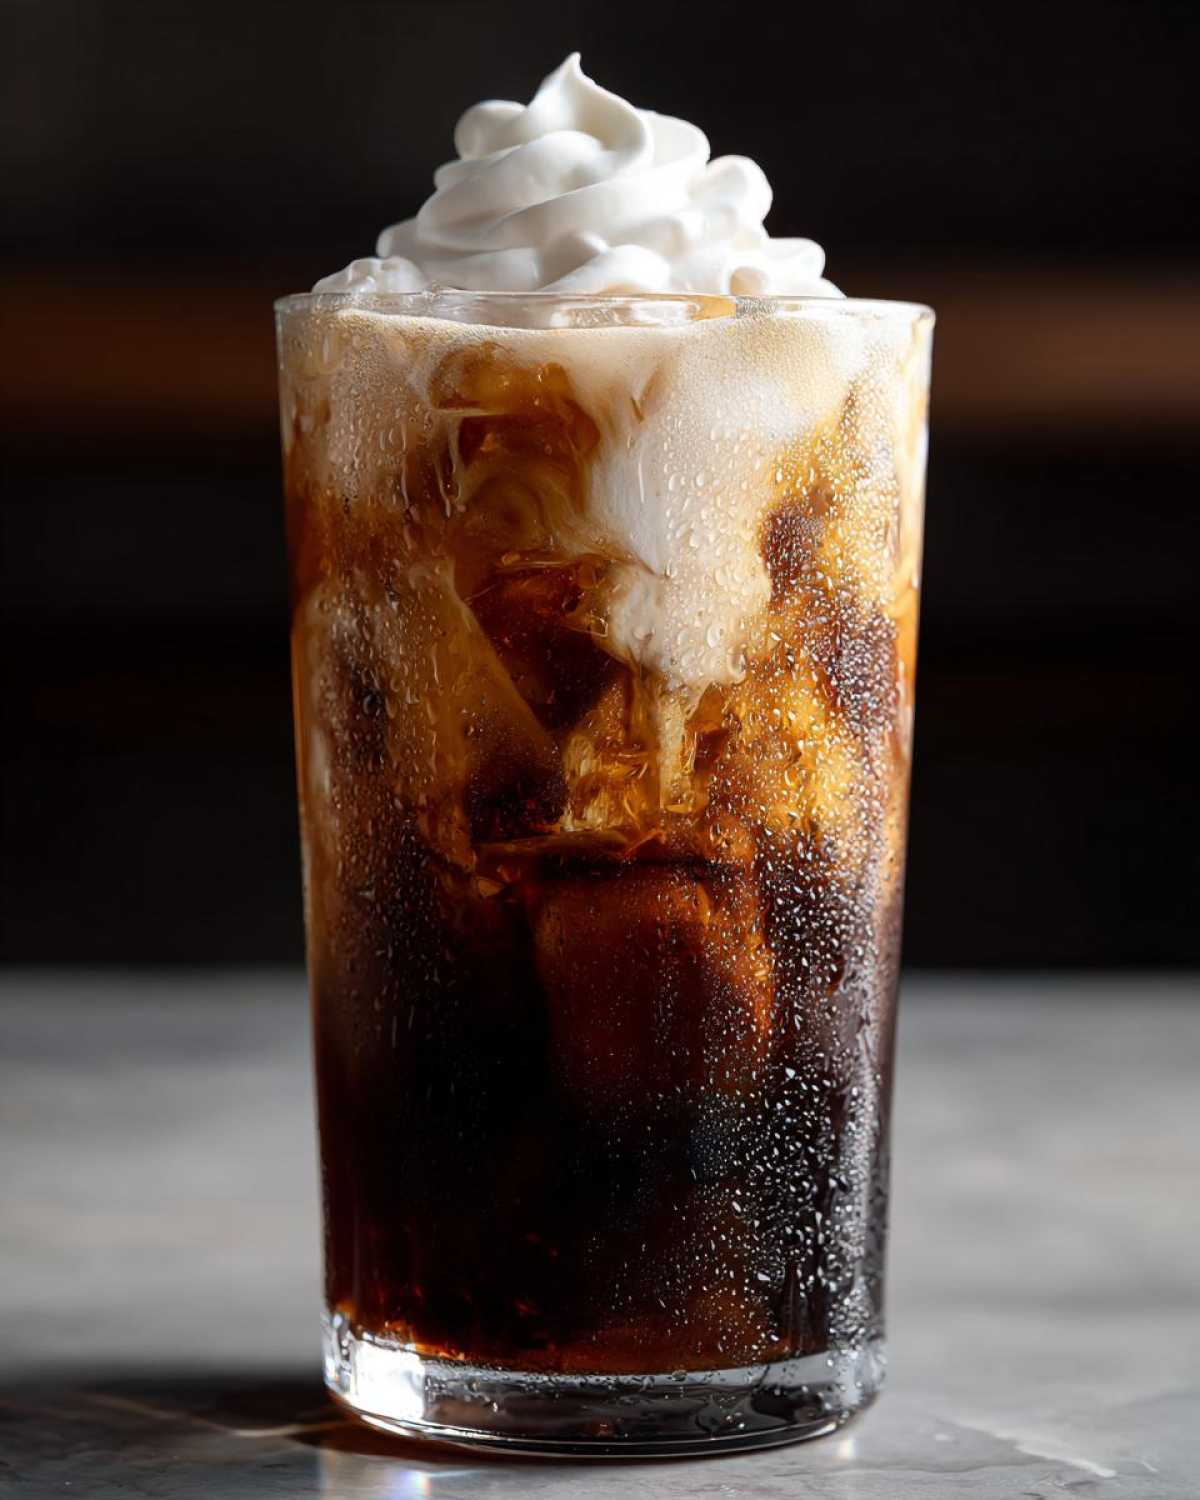
Why This Easy Iced Mocha Recipe Works So Well
I know you’re busy, and honestly, who has time to mess around when the craving for a creamy, chocolatey coffee hits? That’s the beauty of this method. I’ve streamlined things so that you get maximum flavor payoff for minimum effort. It’s about smart technique, not complicated sourcing. When you follow these steps, you’ll see why this Iced Mocha has become my go-to summer staple.
- Creating a great drink shouldn’t require a second mortgage or a chemistry degree! We stick to super accessible ingredients that taste expensive.
- You can read all about my other beverage deep dives right here if you love experimenting with coffee.
Quick Preparation Time for Your Iced Mocha
Seriously, you can’t beat five minutes total. Five! That means you can decide you want a cold coffee drink mid-afternoon and have it in your hand before your brain even processes the caffeine request. It’s the ultimate Quick iced mocha at home secret weapon for those days when you need relief fast.
Achieving Rich Chocolate Coffee Drink Recipes Flavor
The trick here is to never use cold milk or cold coffee right away. By dissolving the chocolate syrup into the slightly warmer coffee first, you get this incredible, homogenous richness. It’s what separates a gourmet Iced Mocha from just brown milk. The balance between the bitter coffee and the sweet chocolate is absolutely spot-on every single time.
Gathering Your Iced Mocha Ingredients
Okay, this is where you set yourself up for success! Nobody wants to be halfway through making their perfect morning pick-me-up only to realize they’re missing something crucial, right? Since this whole process takes about five minutes, gathering everything first is easy. We need rich coffee, fantastic chocolate, and the right liquid base. Don’t skip the measurements here; precision makes all the difference between a decent drink and the absolute best homemade iced mocha you’ve ever had.
It’s all about having the right tools sharpened and ready before the mixing begins. Trust me, assembling everything together eliminates that messy, chaotic feeling! Here’s exactly what you need floating around your kitchen for one glorious serving.
Iced Mocha Ingredients List
- 2 shots espresso (or 1/4 cup strong brewed coffee—make it bold!)
- 2 tablespoons chocolate syrup or sauce (Use the good stuff if you can!)
- 1/2 cup milk (This is where you decide: dairy or non-dairy for your Dairy free iced mocha)
- 1 cup ice cubes (Don’t be shy with the ice; we want it cold!)
- 1 teaspoon sugar or sweetener (optional—taste your chocolate first!)
- Whipped cream (optional, but let’s be real, you’re probably adding it!)
Simple Iced Mocha Preparation Instructions
Alright, here’s where the magic happens! I want you to think of this assembly like building a very tasty, delicious tower. We have to lay the right foundation so our gorgeous cold coffee doesn’t get watery right away. The secret, remember, is using coffee that’s *slightly* cooled—not ice-cold, but definitely not piping hot. If it’s too hot, it melts all your ice instantly, and we don’t want a weak drink!
This process is fast, but a couple of little moments are non-negotiable if you want that perfect, rich flavor payoff in your Iced Mocha. If you want to make your own chocolate sauce before you start, check out my guide on that here: homemade chocolate sauce for coffee. Otherwise, let’s get mixing!
Step 1: Coffee and Chocolate Base for Your Iced Mocha
First things first, get your espresso shots pulled or your strong coffee brewed and let it sit for just a tiny minute—we want it warm, not scalding. Grab the tall glass you plan to drink out of. Drop your chocolate syrup right into the bottom of that empty glass, along with any optional sugar you are using. Now, carefully pour that warm coffee directly over the chocolate and sugar.
This is crucial: Stir this mixture really well! You need that warmth from the coffee to help the chocolate fully melt and incorporate. If you skip this, you’ll end up with pockets of syrup sludge at the bottom of your fantastic Iced Mocha.
Step 2: Assembly and Layering of the Iced Mocha
Once that chocolate-coffee mixture looks perfectly smooth and uniform—it should look like rich, dark chocolate milk—it’s time to go cold! Fill that glass right up to the top with ice cubes. Now, gently pour your milk over the ice. Don’t pour it right on top of the chocolate line; try to pour it down the side of the glass so you get decent coverage.
Next, pour that dissolved chocolate-coffee mixture very slowly over the milk and ice. You’ll see some really pretty layering for a moment! Just give it one small, gentle stir right before you serve it so everything blends nicely. If you stir too hard, you just introduce air and melt the ice faster, so be subtle!
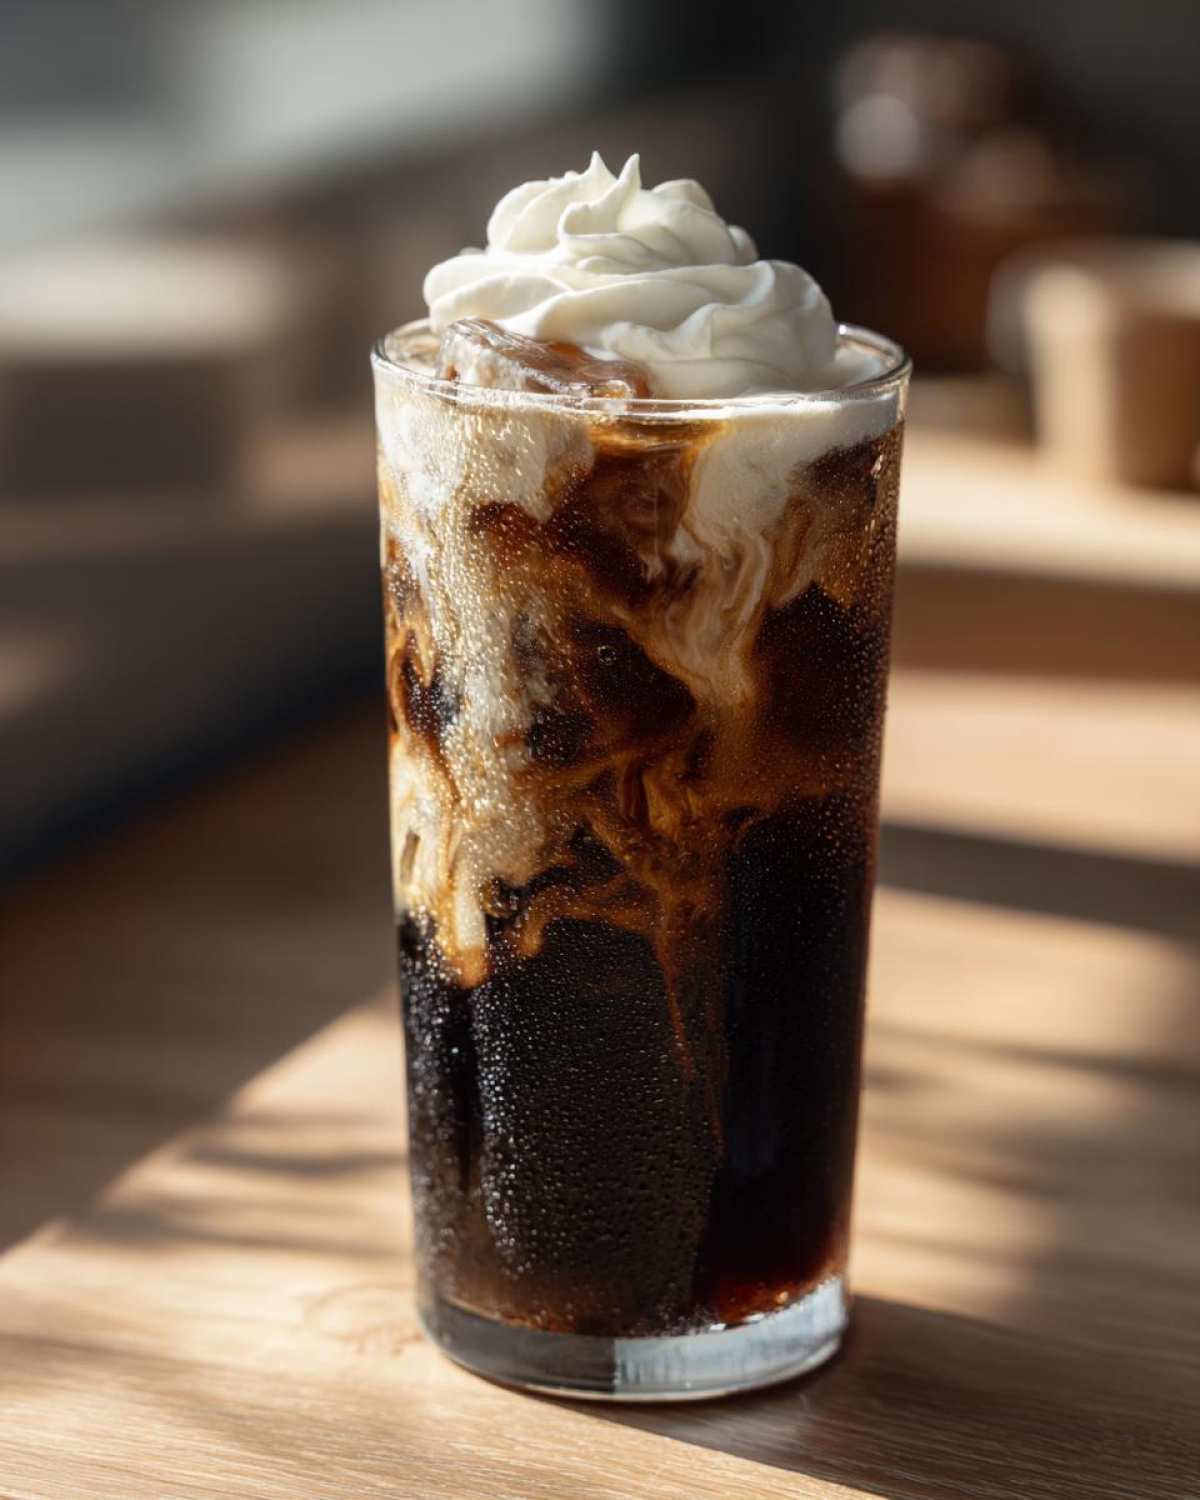
Tips for the Best Homemade Iced Mocha
You’ve nailed the assembly, now let’s talk about taking your backyard sipper from “great” to “I’m never paying $7 for this again” level! Achieving that coffee shop consistency in your Iced Mocha really hinges on two things: the strength of your coffee foundation and the quality of the chocolate you use. If your coffee is weak, no amount of good syrup will save it—melted ice water is the enemy of a rich drink!
I find that I get the absolute best results when I use a slightly higher concentration of coffee than I would if I were drinking it hot. I even looked into the science behind some espresso based iced drinks to see how temperature affects flavor extraction, and it really matters here!
Choosing Coffee for Your Iced Mocha with Cold Brew or Espresso
If you’re rocking a morning espresso machine, stick to that—two strong shots are perfect. But if you’re making this later in the afternoon, I strongly recommend switching gears to cold brew concentrate instead of hot coffee that you’ve allowed to cool. Why? Because cold brew is already brewed super strong and cold to begin with.
Using concentrate means you add less liquid volume to the glass overall, which means less ice melt and a stronger flavor profile for your final Iced Mocha. It’s my go-to when I want zero dilution while still getting that deep coffee flavor cutting through the chocolate sweetness!
Iced Mocha Flavor Variations
The base recipe is fantastic because it’s so easy to trick out! Once you have the balance of chocolate and strong coffee down, you can start playing around with additions to make it truly yours. This is where the simple preparation shines—you can customize your Iced Mocha in seconds without having to simmer anything complicated. Think about what flavors you love mixing with coffee; chances are, they’ll work great here.
We can play with different milks, different sugars, and totally different flavor profiles. If you’re interested in testing out vegan chocolate recipes for things like cookies that go great with coffee, I have a few ideas over on my baking page here!
Making a Dairy Free Iced Mocha
If dairy isn’t your thing, or if you’re just trying to keep things vegan for the day, this recipe handles that swap like a dream. The key is choosing a milk that has some body to it so it doesn’t get totally lost under the rich coffee and chocolate. I really love using oat milk—it’s creamy and doesn’t need any added sweetener, in my opinion.
Almond milk works just fine too, but make sure you taste your chocolate syrup first, just in case! Remember the note: using oat or almond milk automatically turns this into a wonderful, velvety Dairy free iced mocha that everyone can enjoy!
Serving and Presentation of Your Iced Mocha with Whipped Cream
You’ve done the hard work—you’ve brewed the strong coffee, you’ve dissolved that gorgeous chocolate, and you’ve wrestled with the ice cubes. Now, put on a show! Presentation matters, even if you’re just making this for yourself on a Tuesday afternoon.
Because this is a cold drink, you absolutely have to serve it immediately. Once that beautiful chilly mixture sits for too long, the ice melts, and that perfect layering we talked about disappears into a uniform brown blob. We want contrast!
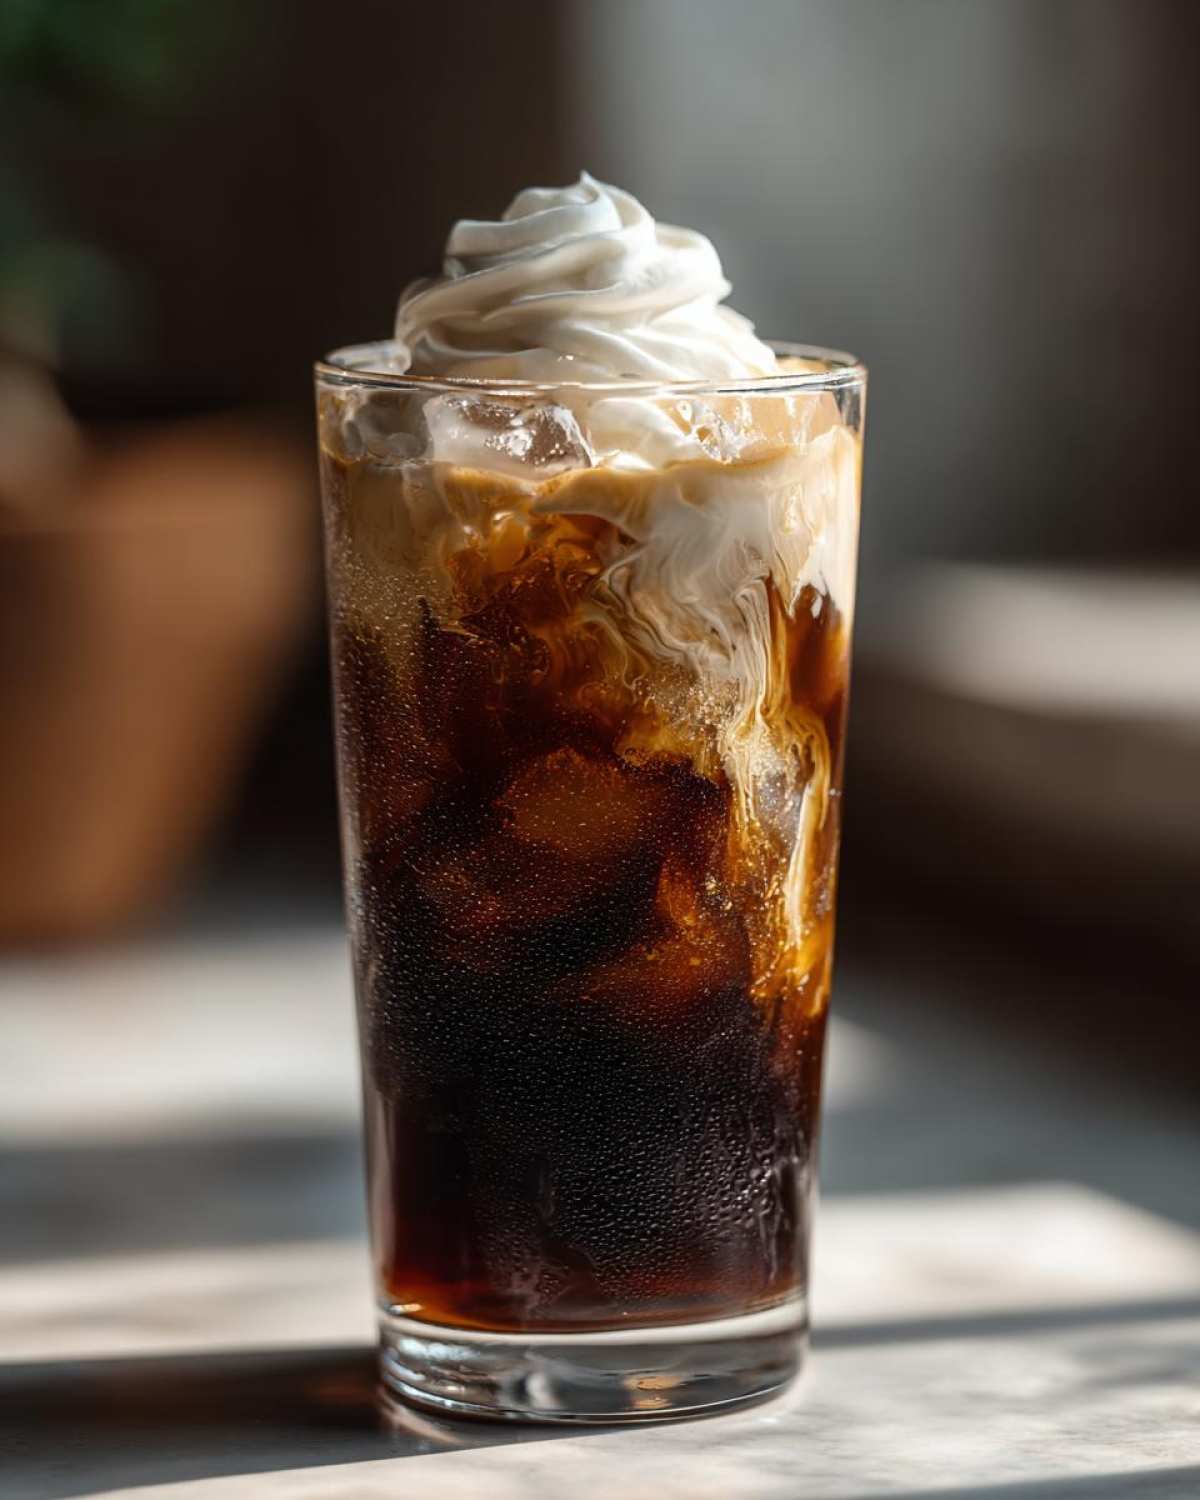
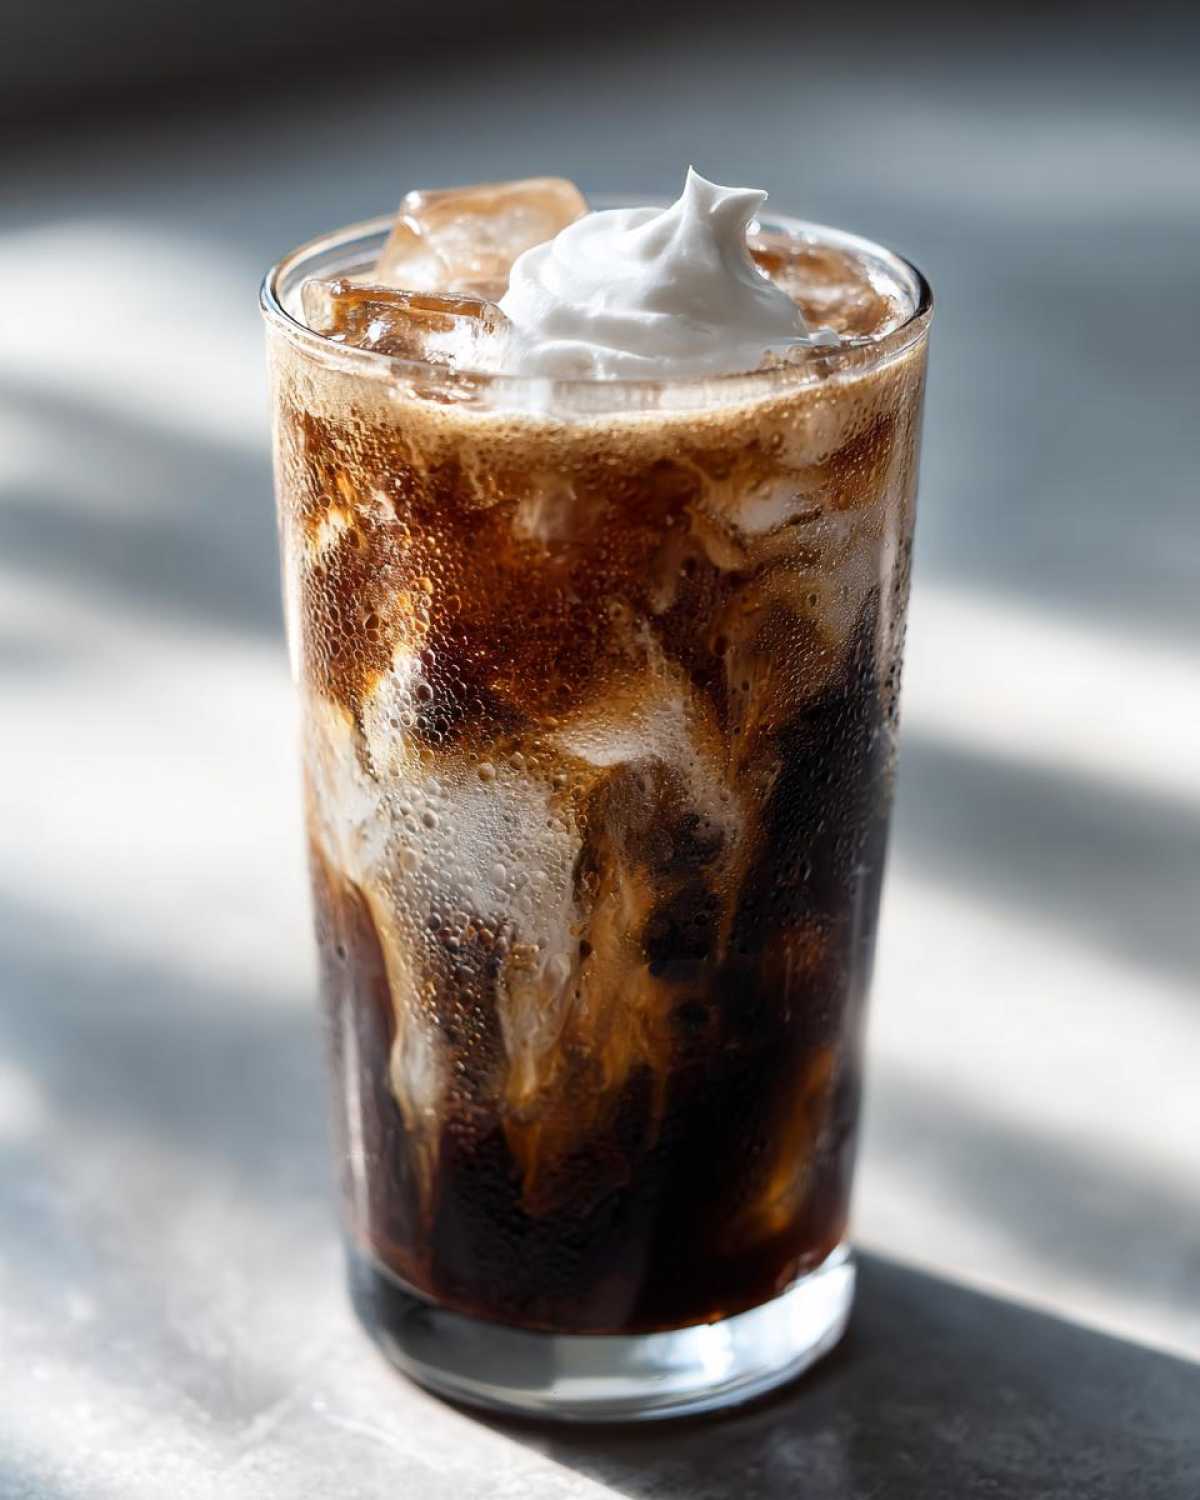
If you decided to go all out and use the optional whipped cream, this is your moment. Use a tall, clear glass, and make sure you’ve given the whole thing one final, gentle swirl before topping it off. I keep my whipped cream in the fridge until the very last second because warm whipped cream just collapses sadly on top of your beautiful, cold drink.
A nice dusting of cocoa powder over the top of the whipped cream takes it from a quick treat to a genuinely gourmet Iced Mocha experience. You’ve earned that luxurious topping! Take a picture, take a huge, satisfying first sip, and enjoy the fruits of your five-minute labor.
Storage and Reheating Instructions
Listen, I’m going to be honest with you: This Iced Mocha is definitely a ‘make it and drink it immediately’ situation. It’s a beautiful, layered, icy moment in time! Once that ice starts surrendering to the room temperature or the coffee’s slight warmth, the magic starts to fade fast. Nobody wants sad, watery coffee the next day, and trying to reheat an already iced drink just ends in a hot, sad mess.
So, we don’t really store the *drink*; we store the elements that make it up! If you made extra, or if you whipped up a big batch of that homemade chocolate sauce (which I highly recommend you do—it’s amazing!), those components keep beautifully.
If you happened to have leftover chocolate sauce or syrup, I store mine in a sealed jar in the fridge. It’ll stay good for ages, usually two to three weeks, depending on what kind of sugar or preservatives are in it. Just know that if you used my homemade sauce recipe, it’s full of sugar, so it should be fine sealed up tight.
When it comes to the coffee, if you brewed a bit too much strong coffee or espresso, cool it down quickly in the fridge before sealing it. Don’t leave it sitting out on the counter! But again, for that perfect balance in your next Iced Mocha, I always suggest making just enough components for one drink at a time. It’s way faster to just whip up what you need when the craving hits rather than fighting melted ice later.
Frequently Asked Questions About Making an Iced Mocha
I always get so many questions when people see pictures of my cold coffee drinks! It makes sense—everyone wants to nail that coffee shop perfection at home. I’ve pulled together some of the most common things folks ask me about making their very own delicious Iced Mocha. Dive in here; you might find the answer to that nagging question you had!
Whether you’re looking for quick fixes or trying to perfect your technique, these answers should help you out. For more flavor ideas to jazz up your coffee, you can always browse my collection of chocolate coffee drink recipes!
Can I use regular brewed coffee instead of espresso for my Homemade Iced Mocha?
Absolutely, you totally can! That’s one of the best parts of making a Homemade iced mocha—you don’t need a fancy machine. However, you *must* ensure your regular brewed coffee is super strong. I recommend using about half the water-to-coffee ratio you usually would. If you use standard drip coffee, it ends up tasting way too weak once you add milk and ice. Think strong, dark concentrate! That richness is what you need to stand up to the chocolate.
What is the best way to make a Starbucks copycat Iced Mocha?
To get that true, authentic coffee shop feel—kind of like a Starbucks copycat iced mocha—it all comes down to the chocolate and the temperature. First, use a high-quality, smooth chocolate syrup, not just plain cocoa powder mixed with water. Second, and this is crucial for avoiding a lukewarm drink: make sure your coffee (espresso or strong brew) has had a minute or two to cool off before it hits the ice. If it’s steaming hot, it melts the ice instantly, giving you watery coffee. Slightly cooled coffee melts the ice just enough to mix perfectly without dilution!
Nutritional Estimates for This Iced Mocha Recipe
Now, I know we aren’t making this drink for its health merits—it’s a chocolatey, dreamy treat for sure! But I always like to give a ballpark idea of what you’re sipping on. Remember, these numbers are just estimates, and how much they change depends entirely on what kind of milk you use and how generous you are with that whipped cream topping!
If you use standard dairy milk and the standard amount of chocolate syrup listed in the recipe, you are looking at something really satisfying here. It definitely feels like a treat, but it’s much better knowing exactly what went into it versus grabbing one off the shelf!
- Serving Size: 1 drink
- Calories: 250
- Sugar: 30 grams
- Fat: 8 grams
- Protein: 10 grams
It’s important to remember that these figures assume you’re using cow’s milk and the suggested amount of syrup. If you switch to heavy cream or tons of extra sugar, that count is going up fast! For a full breakdown and more information on ingredient sourcing, please check out the full legal disclaimer here. Enjoy your treat guilt-free (mostly!).
Share Your Experience Making This Iced Mocha
I truly hope you enjoyed this super quick tutorial! I’ve shared all my secrets for making what I think is the absolute best, richest, and most fuss-free Iced Mocha you can whip up at home. But now the kitchen is yours! I absolutely live for hearing how you customized it.
Did you stick with the espresso? Did you try oat milk? Maybe you went wild and added a dash of vanilla extract? Do not keep those delicious creations to yourself!
Please, if you made this, take a second to leave a star rating right below this section. It really helps other people decide if they should dive into this Iced Mocha recipe. Even better, jump down to the comments and tell me your favorite way to shake things up. Are you adding salted caramel? Are you whipping in some mint extract before topping it with cream? Let me know what your favorite customization is—I’m always looking for new ideas for my next frosty coffee adventure!
PrintSimple Iced Mocha Recipe
Follow these steps to make a rich, cold mocha drink using espresso or strong coffee.
- Prep Time: 5 min
- Cook Time: 0 min
- Total Time: 5 min
- Yield: 1 serving
- Category: Beverage
- Method: Mixing
- Cuisine: American
- Diet: Vegetarian
Ingredients
- 2 shots espresso (or 1/4 cup strong brewed coffee)
- 2 tablespoons chocolate syrup or sauce
- 1/2 cup milk (dairy or non-dairy)
- 1 cup ice cubes
- 1 teaspoon sugar or sweetener (optional)
- Whipped cream (optional, for topping)
Instructions
- Prepare your espresso or strong coffee and set it aside to cool slightly.
- In a glass, combine the chocolate syrup and sugar, if using.
- Pour the slightly cooled coffee or espresso over the chocolate mixture. Stir well until the chocolate is fully dissolved into the coffee.
- Fill a tall glass completely with ice cubes.
- Pour the milk over the ice.
- Pour the chocolate-coffee mixture over the milk and ice. Stir gently to combine.
- Top with whipped cream, if desired, before serving immediately.
Notes
- For a colder, less diluted drink, use cold brew concentrate instead of hot espresso.
- Use a dairy-free milk like oat or almond milk for a vegan option.
- To make a homemade chocolate sauce, heat 1/4 cup cocoa powder, 1/4 cup water, and 1/2 cup sugar until smooth.
Nutrition
- Serving Size: 1 drink
- Calories: 250
- Sugar: 30
- Sodium: 50
- Fat: 8
- Saturated Fat: 4
- Unsaturated Fat: 4
- Trans Fat: 0
- Carbohydrates: 35
- Fiber: 1
- Protein: 10
- Cholesterol: 25