

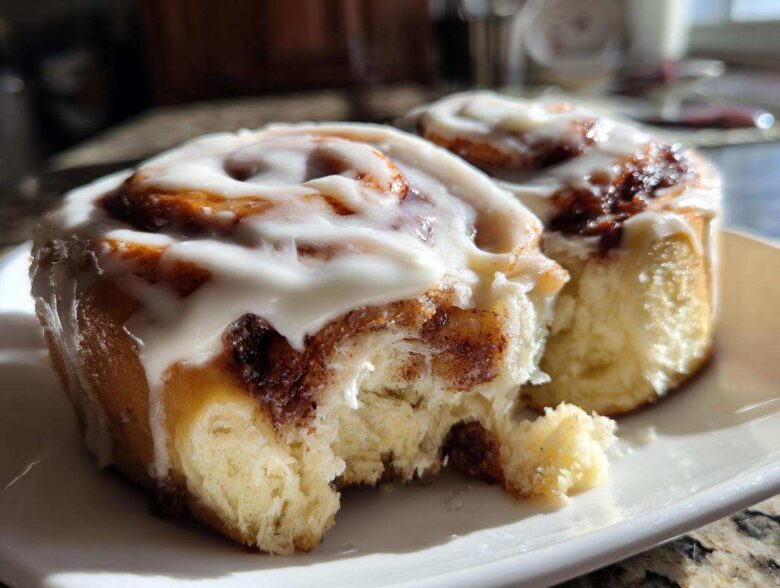
Oh, I remember the days before I figured this out! There is simply nothing better than that first warm, gooey bite of a truly classic cinnamon roll slathered in cream cheese frosting. But when you need them Gluten-Free Cinnamon Rolls, so many recipes let you down, right? They turn out dry, crumbly hockey pucks! Don’t even get me started on wrestling with GF yeast dough. It’s tricky, it’s messy, but trust me on this one—I finally cracked the code. These rolls are so soft and fluffy, they taste exactly like the real deal. You won’t believe they’re gluten-free!
Why These Are the Best Gluten Free Cinnamon Rolls You Will Ever Make
I’ve thrown out so many batches of sinker-rolls over the years, so I know what you’re worried about. You want that pillowy texture, that melt-in-your-mouth richness. Well, stop worrying because these are hands-down the best gluten free cinnamon rolls you’ll ever bake! If you love getting lost in a great weekend brunch, this recipe belongs on your rotation.
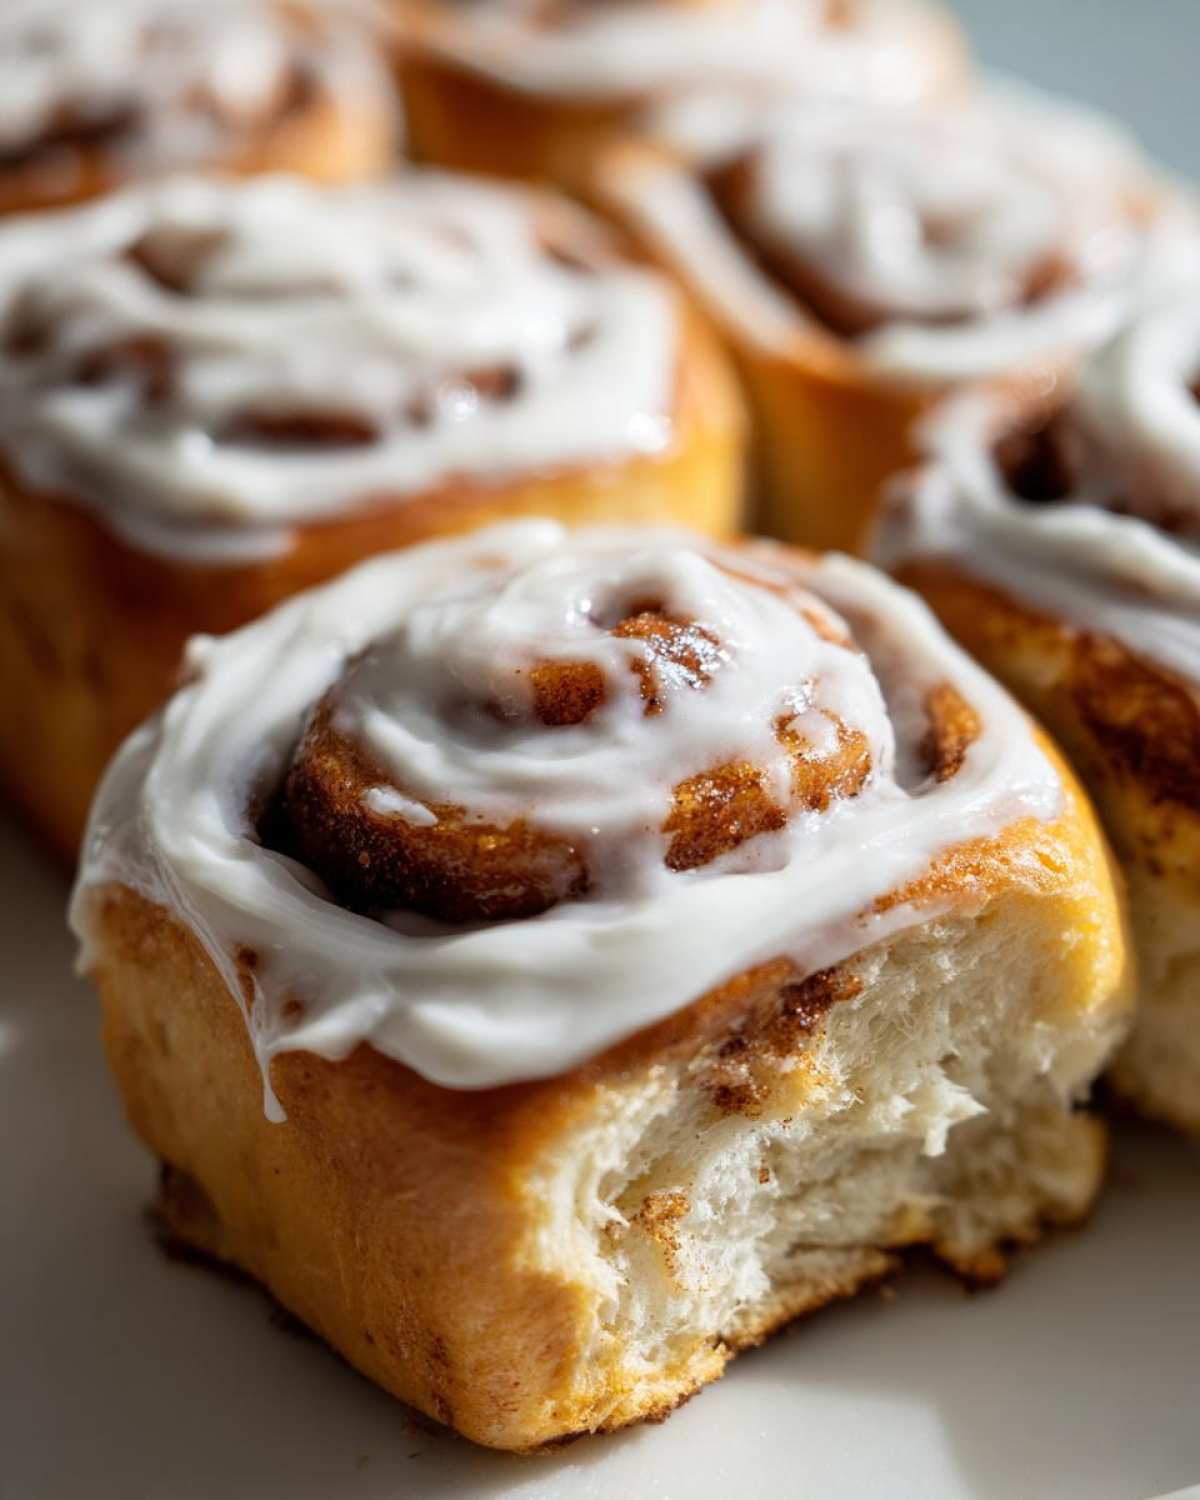
- The filling is rich with brown sugar and extra cinnamon—no skimping here!
- We use room-temperature eggs and softened butter to create structure right from the start.
- They freeze beautifully, which means you can have amazing rolls ready whenever you want them.
Achieving Truly Soft Gluten Free Cinnamon Rolls
The moisture level is the make-or-break point with gluten-free baking, especially with yeast doughs. My trick is ensuring the initial liquids—the warm milk and butter—are at the perfect temperature for waking up the yeast. That initial hydration combined with the fat ratio locks in moisture during baking. This prevents that dry, crumbly texture everyone dreads. We’re aiming for unbelievably soft, remember that!
The Secret to Fluffy Yeast Rolls Gluten Free
Yeast acts differently without gluten structure to grip onto, so you have to be patient. We are not looking for a massive, cartoonishly high rise like you see with wheat flour. These fluffy yeast rolls gluten free achieve their lightness through thorough mixing of the wet and dry ingredients, but the rise is gentler. Proofing in a warm, humid spot helps convince the dough that it’s safe to puff up a bit!
Essential Ingredients for Perfect Gluten-Free Cinnamon Rolls
You know, shopping for these ingredients almost feels like a chemistry lesson, but trust me, getting these specific items ready is half the battle won! For the dough, your milk absolutely has to be warm—think bathwater temperature, around 110°F—to wake up the yeast, and your eggs need to be room temperature so they incorporate smoothly. We need a full half-cup of softened butter for richness, and don’t forget the 1/2 cup of melted butter reserved just for brushing the dough before the filling goes on!
The real star here, though, is the flour. You need a good, reputable all-purpose gluten-free blend. If the bag doesn’t explicitly say it has xanthan gum, you must add one teaspoon yourself. That xanthan gum is what acts like the glue since we don’t have any wheat in there!
Gluten Free Dough Handling Tips and Flour Notes
Please, please grab that high-quality GF blend with the xanthan gum already mixed in if you can. It makes life so much easier! If you’re worried about kneading, don’t be; we aren’t really kneading this dough like traditional rolls. It’s going to be soft and a little tacky when you finish mixing. These gluten free dough handling tips mean you just need a generous dusting of extra GF flour on your counter, not to overwork it, and trust the process. It handles more like sticky cake batter than bread dough, so embrace the mess!
Step-by-Step Instructions for Making Gluten Free Cinnamon Rolls
Okay, getting this dough right is all about timing and temperature management. We’re going to walk through this together, and I promise, it’s easier than it sounds! Remember, mixing GF dough is different than wheat dough; we don’t bash it around. We just want everything combined gently so the xanthan gum can do its job quietly in the background. Think of it less like kneading bread and more like mixing a very thick batter. If you’ve ever mastered homemade English muffins, you’ll understand this delicate touch!
Mixing and Proofing Your Gluten Free Dough
First things first, we need to wake up that yeast! Get your milk warm—not hot, or you’ll kill the little guys—add the sugar, and sprinkle the yeast on top. Let it sit until it’s foamy, which means the yeast is happy and ready (about ten minutes). Then, we beat the softened butter and sugar until it’s light, add the eggs, and finally mix in your yeast mixture. Next, we add the dry stuff slowly until it forms that soft, slightly sticky dough we talked about. Pop it in an oiled bowl, wrap it tight, and find a warm spot. A slightly warm oven that’s turned OFF works wonders for the first rise!
Rolling, Filling, and Slicing Your Gluten Free Cinnamon Rolls
Once it’s puffed up—and don’t stress if it hasn’t doubled like wheat dough—gently turn it out onto a counter dusted heavily with extra gluten-free flour. Roll it out carefully into that 12×18 inch rectangle. Now for the best part: brush on that melted butter right to the edges, then sprinkle that glorious brown sugar and cinnamon mix evenly over the top. Roll it up tightly starting from the long side. When it comes time to slice, I always recommend using unflavored dental floss—it gives you the cleanest cut without squishing your beautiful work! Cut into 12 pieces.
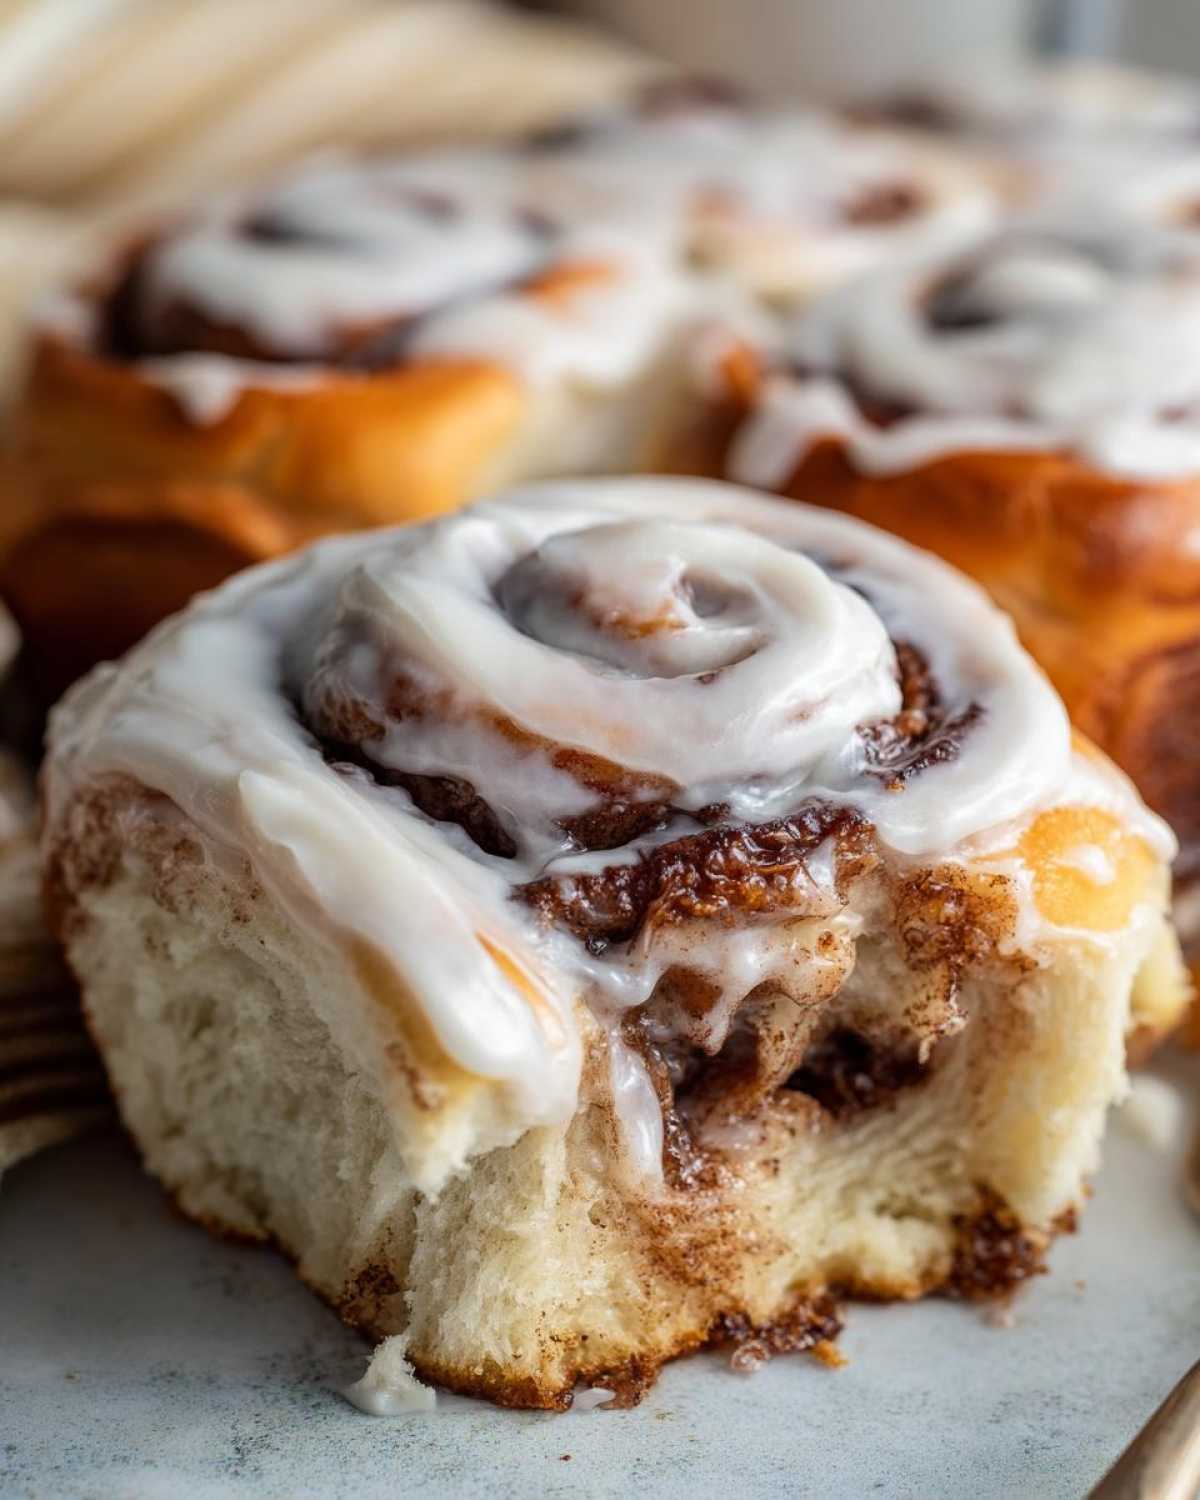
Place those rolls cut-side up in your greased 9×13 pan. Cover them loosely again and give them a quick 30-minute rest while your oven heats up to 375°F. This second rest is key for those airy centers!
Crafting the Best Cream Cheese Frosting Recipe for Gluten Free
Honestly, a cinnamon roll isn’t complete without that thick, slightly tangy blanket of cream cheese frosting, is it? Making the best cream cheese frosting recipe for gluten free is simple, but you must listen to me about temperature! This is vital: your cream cheese and your butter *must* be softened to room temperature. If they are hard, the frosting will be lumpy, and we can’t have that on our beautiful, soft rolls!
You just beat the cream cheese and the softened butter together until they look completely smooth and luscious—like velvet. Then, slowly, slowly add in the powdered sugar bit by bit to stop a sugar cloud explosion in your kitchen! Add your vanilla and just one tablespoon of milk to get it going. If it looks too stiff after you mix it all, add just another tiny splash of milk until it’s perfectly spreadable. That’s it! Don’t overthink it, but make sure your ingredients are soft, and you’ll end up with the very best topping for your homemade frosting.
Tips for Success When Baking Truly Sticky Cinnamon Buns Gluten Free
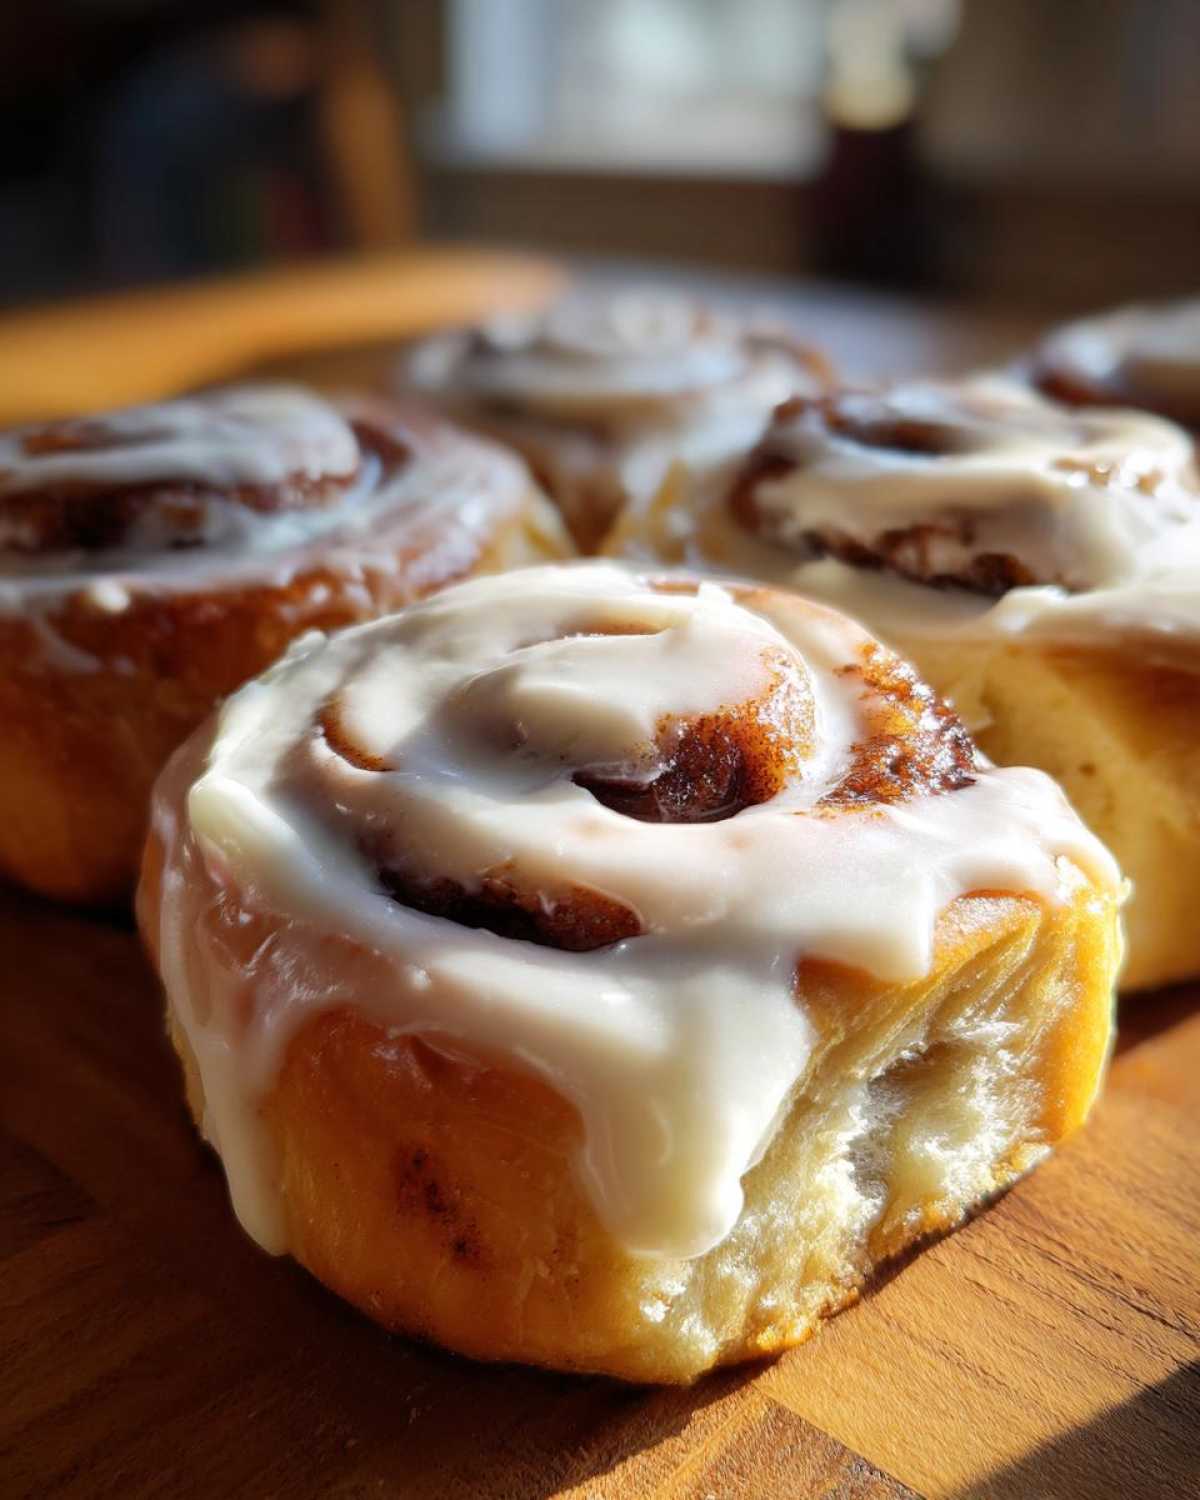
We are aiming for those decadent, syrup-soaked tops, the kind that demand a napkin! To get your rolls to be truly sticky cinnamon buns gluten free, you need to manage moisture perfectly both before and after the bake. Remember I mentioned using a pan of hot water on the bottom rack while the dough proofs? That humidity helps the dough stay soft, which translates to a stickier final product rather than a dry crust. You should also make sure you don’t overbake them—20 to 25 minutes is usually the sweet spot at 375°F.
After they come out of the oven, don’t let them sit too long before frosting. The residual heat absorbs that rich cream cheese frosting perfectly, making every bite delightfully gooey—way better than waiting for them to cool completely! If you’re looking for icing storage tips later, I’ve got some thoughts on keeping icing textures just right for future cookie projects, but for these rolls, the heat is your friend!
Serving Suggestions for Your Homemade Gluten Free Breakfast Pastry
There is nothing better than pulling these out on a Saturday morning. These glorious rolls deserve the best backdrop! They kick off any weekend brunch recipes gluten free perfectly, especially when paired with a strong, hot cup of coffee—you need something to cut through that sweetness! If you’re making a big spread, try serving them alongside some savory sides, like my unbelievably fluffy easy egg bites. That savory and sweet contrast makes this homemade gluten free breakfast pastry feel like a real celebration!
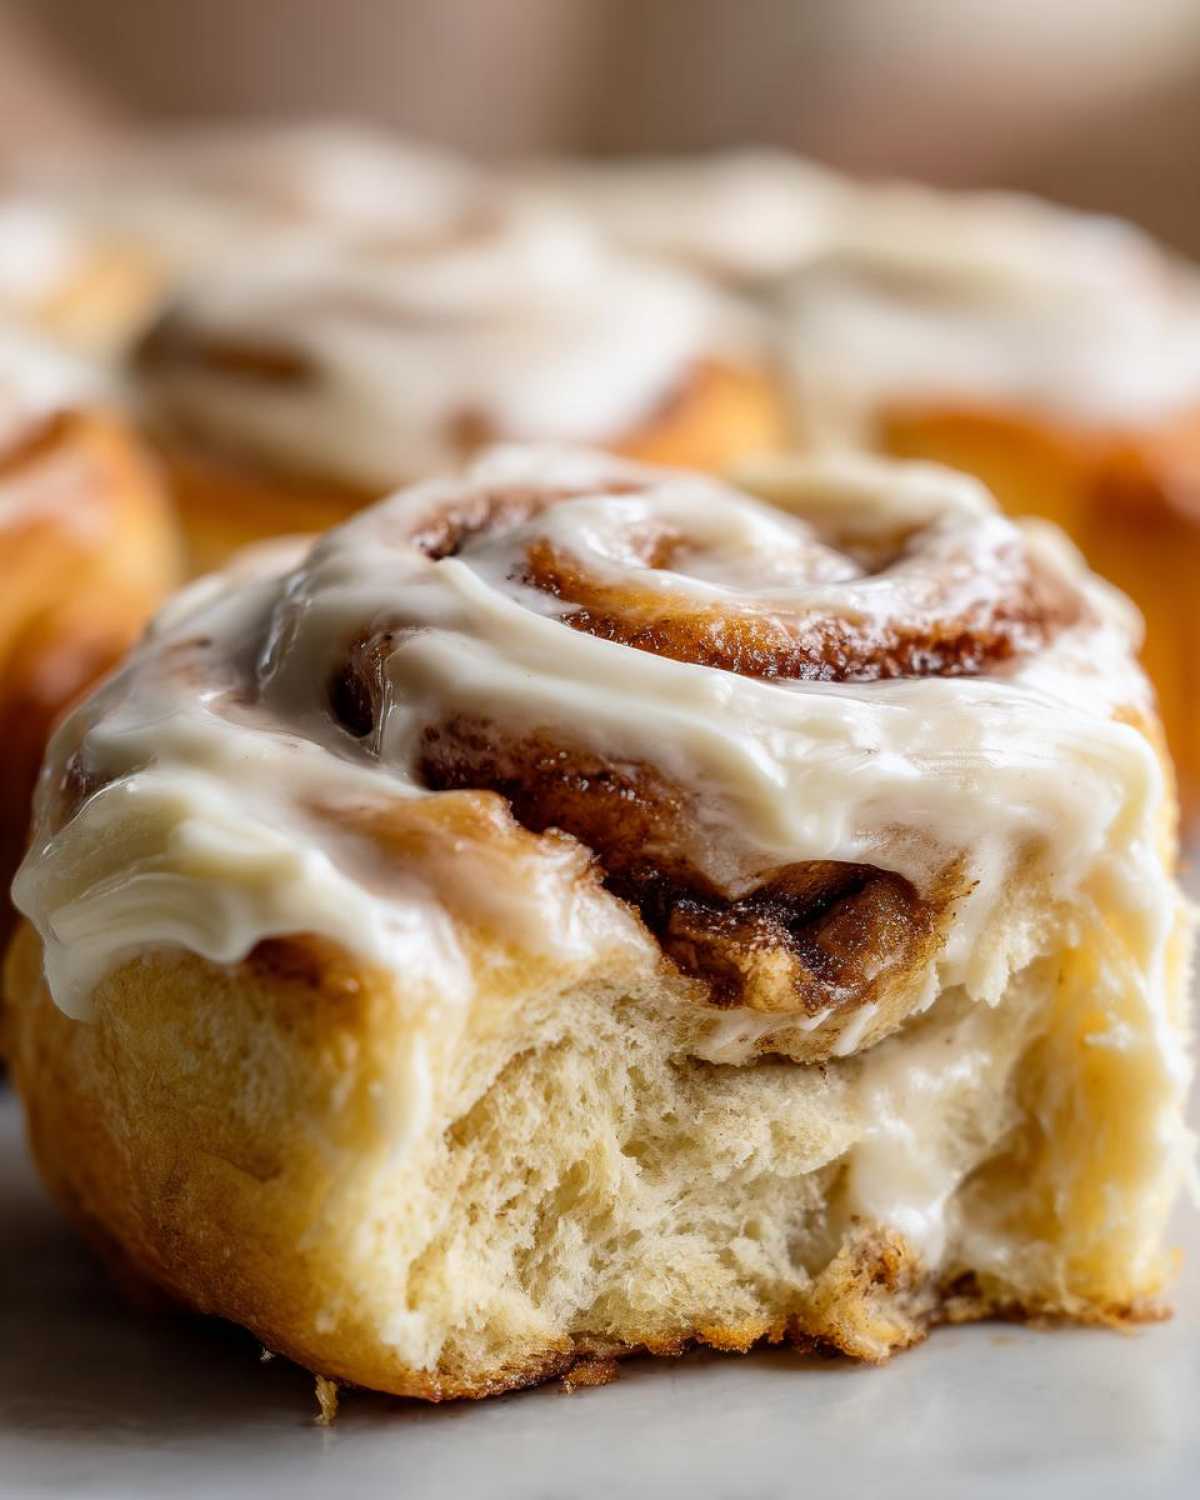
Storage and Reheating Instructions for Gluten Free Cinnamon Rolls
These rolls are honestly best eaten the day they are made, while they are still warm, but what happens the next day? Don’t panic! If you have leftovers, you can keep them covered tightly at room temperature—no more than two days—because they have all that glorious frosting. If you need to keep them longer, the fridge works fine. But here is the real secret: reheating! Pop a single, frosted roll in the microwave for about 15 to 20 seconds. It warms the frosting just enough and brings back that incredibly soft, gooey texture like magic!
Frequently Asked Questions About Gluten Free Cinnamon Rolls
Can I use a different gluten-free flour blend?
That’s a great question, because not all blends are created equal, right? Ideally, you want to stick with the high-quality all-purpose blend I mentioned that already includes xanthan gum. If you absolutely have to swap it out for a different brand, you need to make sure you compensate for the missing binder. If your replacement blend doesn’t have xanthan gum, you must add 1 teaspoon to the dry ingredients. It’s the structure police for these soft rolls! For more thoughts on substitutions, check out my post on baking with gluten free flour blend for yeast doughs before you make the switch.
Can I make these dairy free gluten free cinnamon rolls?
Yes, you totally can! If you need dairy free gluten free cinnamon rolls, it’s quite simple because we aren’t changing the yeast mixture much. Just swap out all the butter for a good quality solid dairy-free baking stick—the hard kind, not the spreadable tub stuff. For the frosting, most grocery stores carry wonderful dairy-free cream cheese alternatives now. Just use those in place of the regular cream cheese and butter, and you’ve got delicious, safe rolls!
What is the best way to get the rolls warm and gooey?
If you have leftovers, you want to bring back that fresh-from-the-oven gooeyness, not dry them out! The absolute best way to restore that amazing texture is using the microwave. Pop one roll on a microwave-safe plate for just 15 to 20 seconds. It melts the frosting slightly and steams the dough back to life. If you have several rolls, you can heat them in a 300°F oven for about 8 minutes, covered loosely with foil, but the microwave is faster for instant gratification!
Nutritional Estimates for Gluten Free Cinnamon Rolls
Okay, friends, here is the nutritional rundown for one of these beauties sliced from the pan. Remember this is just an estimate based on the ingredients I listed above—the brand of GF flour you choose or if you go dairy-free can change the numbers a bit! You should always check the specific labels you use, but this gives you a good benchmark for planning your amazing weekend breakfast.
- Serving Size: 1 roll
- Calories: 450
- Fat: 25g
- Carbohydrates: 55g
- Sugar: 45g
- Protein: 5g
Soft Gluten-Free Cinnamon Rolls
A recipe for making soft, fluffy, and moist cinnamon rolls using a gluten-free flour blend, complete with a rich cream cheese frosting.
- Prep Time: 30 min
- Cook Time: 25 min
- Total Time: 1 hour 55 min
- Yield: 12 servings
- Category: Breakfast
- Method: Baking
- Cuisine: American
- Diet: Gluten Free
Ingredients
- 1 cup warm milk (105-115°F)
- 2 1/4 teaspoons active dry yeast
- 1/4 cup granulated sugar plus 1 teaspoon for yeast
- 1/2 cup unsalted butter, softened
- 2 large eggs, room temperature
- 3 1/2 cups all-purpose gluten-free flour blend (with xanthan gum)
- 1 teaspoon salt
- 1 teaspoon ground cinnamon
- 1/2 cup unsalted butter, melted (for filling)
- 1 cup packed light brown sugar (for filling)
- 2 tablespoons ground cinnamon (for filling)
- 8 ounces cream cheese, softened
- 1/2 cup unsalted butter, softened
- 3 cups powdered sugar
- 1 teaspoon vanilla extract
- 1 tablespoon milk or cream (for frosting)
Instructions
- Activate the yeast: In a small bowl, combine the warm milk, 1 teaspoon of sugar, and the yeast. Let stand for 5 to 10 minutes until foamy.
- In a large bowl, beat the softened butter and 1/4 cup of granulated sugar until creamy. Beat in the eggs one at a time.
- Mix the activated yeast mixture into the butter mixture.
- In a separate bowl, whisk together the gluten-free flour blend and salt. Gradually add the dry ingredients to the wet ingredients, mixing until a soft, slightly sticky dough forms. Do not overmix.
- Place the dough in a lightly oiled bowl, cover it with plastic wrap, and let it rise in a warm place for 60 to 90 minutes, or until nearly doubled in size. Gluten-free dough may not rise as dramatically as wheat dough.
- Prepare the filling: In a small bowl, combine the brown sugar and 2 tablespoons of cinnamon.
- Gently punch down the risen dough on a lightly floured surface (use extra GF flour). Roll the dough into a rectangle approximately 12×18 inches.
- Brush the surface of the dough evenly with the 1/2 cup of melted butter. Sprinkle the brown sugar and cinnamon mixture over the buttered surface.
- Starting from the long edge, tightly roll the dough into a log. Pinch the seam closed.
- Slice the log into 12 equal rolls using unflavored dental floss or a sharp, un-serrated knife.
- Place the rolls cut-side up in a greased 9×13 inch baking pan. Cover loosely and let them rest for a second rise for 30 minutes. Preheat your oven to 375°F during this time.
- Bake for 20 to 25 minutes, or until the tops are lightly golden brown.
- While the rolls bake, prepare the frosting: Beat the softened cream cheese and 1/2 cup softened butter until smooth. Gradually beat in the powdered sugar, vanilla extract, and 1 tablespoon of milk until the frosting is light and spreadable. Add more milk if needed for desired consistency.
- Remove the rolls from the oven and let them cool in the pan for 10 minutes before spreading the cream cheese frosting generously over the warm rolls.
Notes
- Use a high-quality gluten-free all-purpose blend that contains xanthan gum for the best structure. If your blend lacks it, add 1 teaspoon of xanthan gum to the dry ingredients.
- For softer rolls, place a pan of hot water on the bottom rack of your oven while the dough proofs to create a humid environment.
- If you prefer dairy-free rolls, substitute the butter with a solid dairy-free baking stick and use a dairy-free cream cheese alternative for the frosting.
Nutrition
- Serving Size: 1 roll
- Calories: 450
- Sugar: 45
- Sodium: 250
- Fat: 25
- Saturated Fat: 15
- Unsaturated Fat: 10
- Trans Fat: 0
- Carbohydrates: 55
- Fiber: 2
- Protein: 5
- Cholesterol: 75