

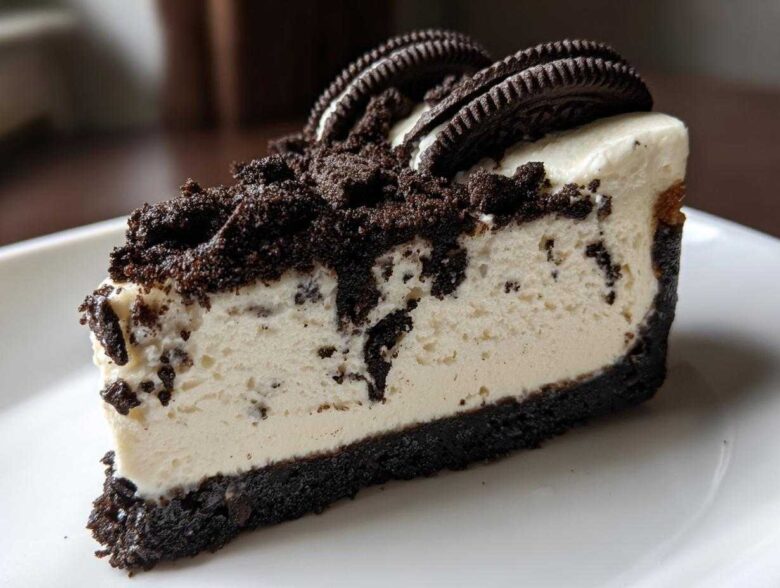
Oh, you know those nights, right? You’re staring into the fridge, the craving for something rich, creamy, and chocolatey hits you like a truck, but the thought of firing up the oven? Absolutely not. That’s exactly why this No-Bake Oreo Cheesecake recipe exists—it’s my absolute go-to when I need dessert magic without any heat involved.
Trust me when I say this is the definitive version. It’s fast, it sets up beautifully every single time, and the flavor combination of sweet cream cheese and crunchy Oreos is just addictive. I’ve learned tricks over the years—like I always tell people when showing them an easy no-bake banana cream pie—that the chilling time is non-negotiable for the perfect set. We’re talking less than 30 minutes of hands-on time before this beauty goes into the fridge to work.
Forget complicated water baths; this is pure, simple dessert heaven. This recipe is my reliable solution for a quick cream cheese Oreo dessert whenever company drops by!
Why This No-Bake Oreo Cheesecake Recipe Works So Well
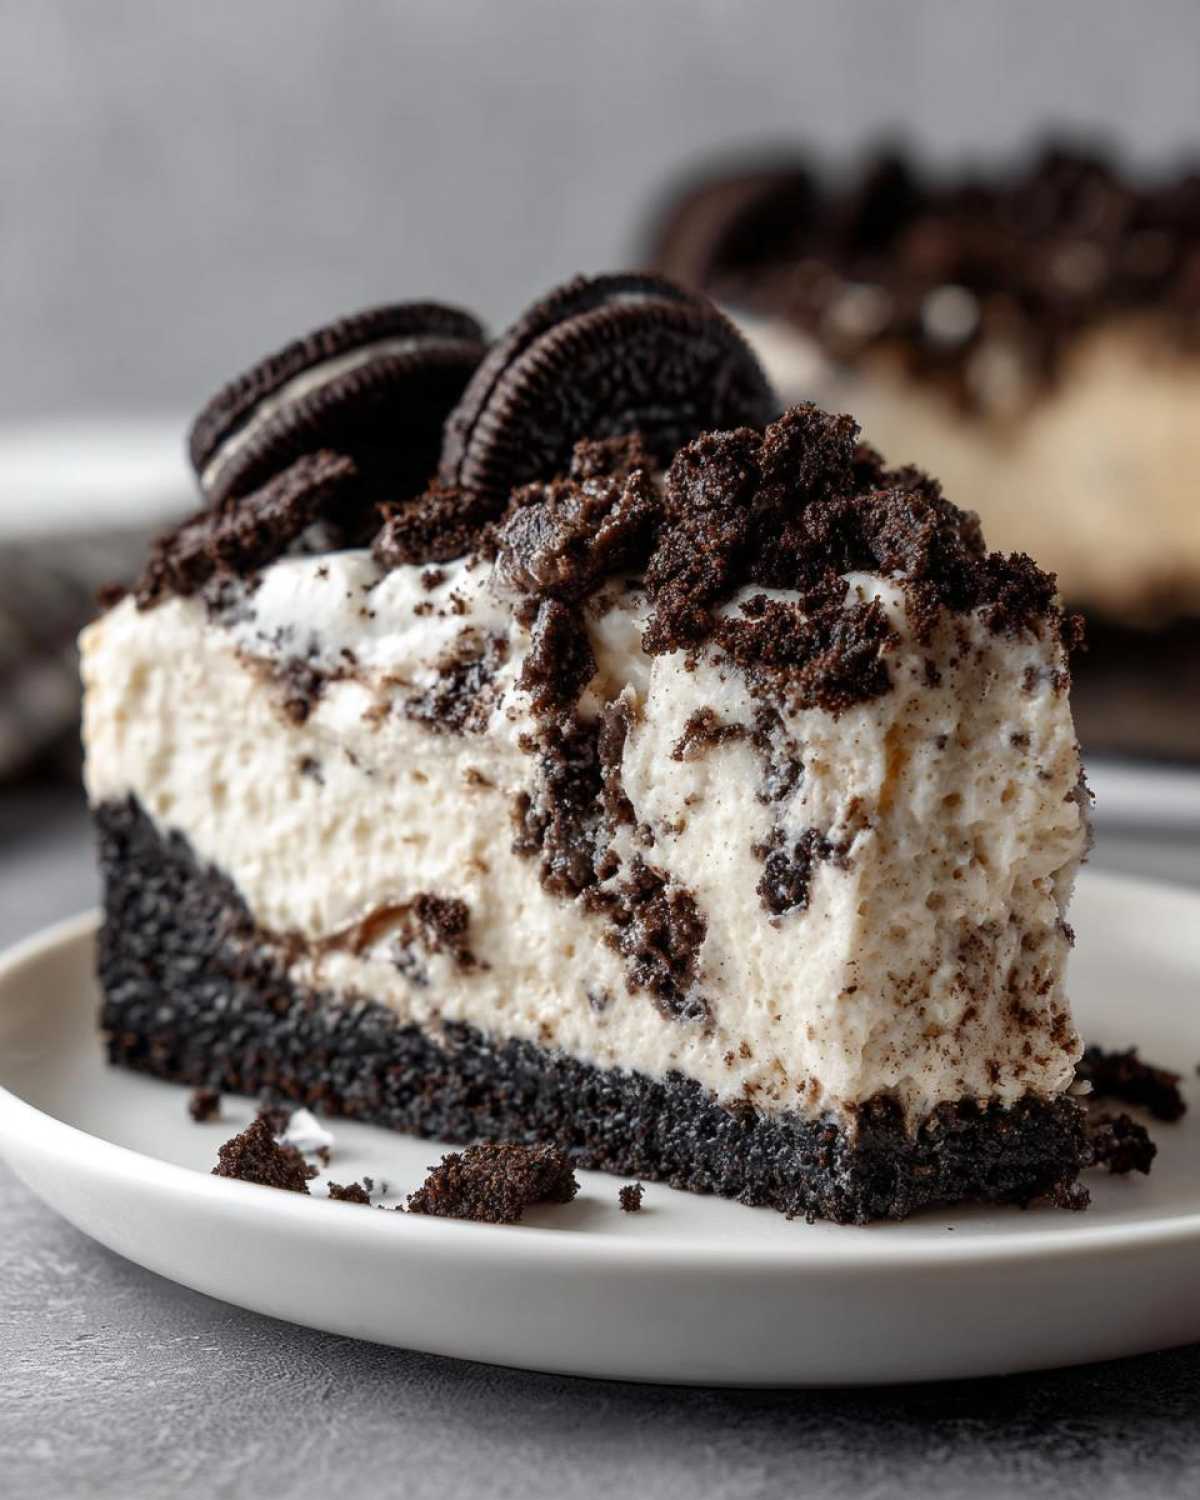
Look, there are a million ways to make a dessert without turning on the oven, but not all of them result in that perfect, melt-in-your-mouth slice of cheesecake texture. This version absolutely nails it! It’s my favorite Easy No-Bake Oreo Dessert because it delivers massive flavor with minimal effort. You deserve dessert tonight, not tomorrow!
Why should you choose this specific Simple Oreo Cheesecake Recipe over every other option? Well, for starters:
- You get zero oven time. Seriously, zero. Perfect for summer heat waves!
- The texture is magnificent: that thick, crunchy Oreo crust holds up perfectly against the cloud-like, creamy filling.
- It uses ingredients you probably already have, making it a true last-minute hero.
- Because everything is chilled, it tastes incredibly refreshing.
If you’re looking for a Quick Cream Cheese Oreo Dessert that actually holds its shape when you cut it, this is the one. I’ve perfected the ingredient ratios so it sets up like a dream without any gelatin surprises. It’s an amazing no-bake delight that truly shines!
Gathering Ingredients for Your No-Bake Oreo Cheesecake
Okay, assembling this dessert is almost as fun as eating it, mostly because we don’t have to worry about oven preheating! The ingredient list for this No-Bake Oreo Cheesecake is super straightforward, which is part of what makes it such a fantastic, quick cream cheese Oreo dessert. Remember, temperature is your best friend here; for the filling to come out perfectly smooth, your 16 ounces of cream cheese absolutely has to be softened to room temperature. Don’t rush this part!
Here’s what you need to grab for that glorious crust and cloud-like filling:
- 24 Oreo cookies, divided (14 for the crust, the rest for topping!)
- 6 tablespoons unsalted butter, melted
- 16 ounces cream cheese, softened (This is essential for smooth mixing!)
- 1 cup powdered sugar
- 1 teaspoon vanilla extract
- 1 1/2 cups heavy whipping cream, cold from the fridge
- 8 ounces frozen whipped topping (like Cool Whip), thawed completely
It’s magic how these simple items come together without ever seeing the inside of an oven. If you ever need a fantastic frosting recipe to save your biscuits, check out my post on vanilla buttercream frosting, but for this cheesecake, we keep it simple!
Ingredient Notes and Substitutions for No-Bake Oreo Cheesecake
If you start swapping things out willy-nilly, you might end up with soup instead of cheesecake, so listen close to these specifics. The number one rule for structure in any no-bake cheesecake is using full-fat, brick-style cream cheese—do not substitute with low-fat or spreadable tub versions. They just won’t firm up enough for our perfect chill!
We are using both cold heavy whipping cream *and* thawed whipped topping. The heavy cream lets us whip up those stable stiff peaks, and that added frozen topping just gives the filling that extra lift and beautiful, airy texture. If heaven forbid you don’t have Cool Whip, you can use an additional cup of heavy cream whipped to stiff peaks, but you might need a teaspoon of cornstarch added to ensure it sets as firmly as this classic No-Bake Oreo Cheesecake.
And while you *could* swap Oreos for Nutter Butters or graham crackers, that immediately turns this into a different adventure! Stick to the chocolate sandwich cookies for the ultimate experience.
Step-by-Step Instructions for the Simple Oreo Cheesecake Recipe
Alright, let’s get busy! This is where the magic happens for our Simple Oreo Cheesecake Recipe, and honestly, it’s so intuitive you’ll wonder why you ever bothered with an oven. We break this down into three easy parts: the crust, the filling, and the final set. Just follow these steps, and you are going to have the best dessert without oven on the block!
First things first: get your processing done. We need crumbs! Pulse those 14 Oreos until they are fine dust. Then, drizzle in the melted butter and pulse again just until it looks like wet sand. Now, press, press, press that mixture into your springform pan. You want this crust tightly packed—take a glass bottom or the flat side of a measuring cup and really smoosh it down. It needs to be solid because it’s holding up all that creamy goodness later. Pop that pan right into the freezer while we move on to the filling.
Creating the Perfect Oreo Crust for Your No-Bake Oreo Cheesecake
Seriously, don’t skimp on pressing the crust! If you skip firming it up, you’ll end up with a soupy bottom layer when you slice it, and nobody wants that structural failure on a creamy dessert. Freezing it for those 15-20 minutes is crucial; it gives the butter time to re-harden, locking those crumbs in place. This is the solid foundation, so be firm!
Now, if you don’t have a food processor, don’t panic! I’ve done this a hundred times the slow way. Just stack your 14 Oreos right into a heavy-duty zip-top bag. Take a rolling pin—the sturdier the better—and just go to town smashing those cookies until they are fine crumbs. It’s actually kind of therapeutic, and it’s a great trick to remember if you are making my easy no-bake peanut butter pie!
Mixing the Cream Cheese Oreo Filling Recipe
Time to tackle that fluffy filling. Make sure that cream cheese is super soft, or you’ll get lumps. Beat the cream cheese first by itself until it’s totally silky smooth. Then, slowly drizzle in the powdered sugar and vanilla. Keep beating until it looks fluffy and pale.
Here’s the key to a light filling: whipping the heavy cream separately. You need stiff peaks on that cream. Once you have those beautiful, stiff peaks, gently fold that whipped cream and the thawed whipped topping into the cream cheese mixture. I mean gently—use a spatula and employ a folding motion. Stop mixing the second you see no more white streaks. Overmixing here whips out all the air we just worked so hard to get in there, and we want this Oreo Cream Filling Recipe airy, not dense!
Chilling the No-Bake Oreo Cheesecake: The Key to Success
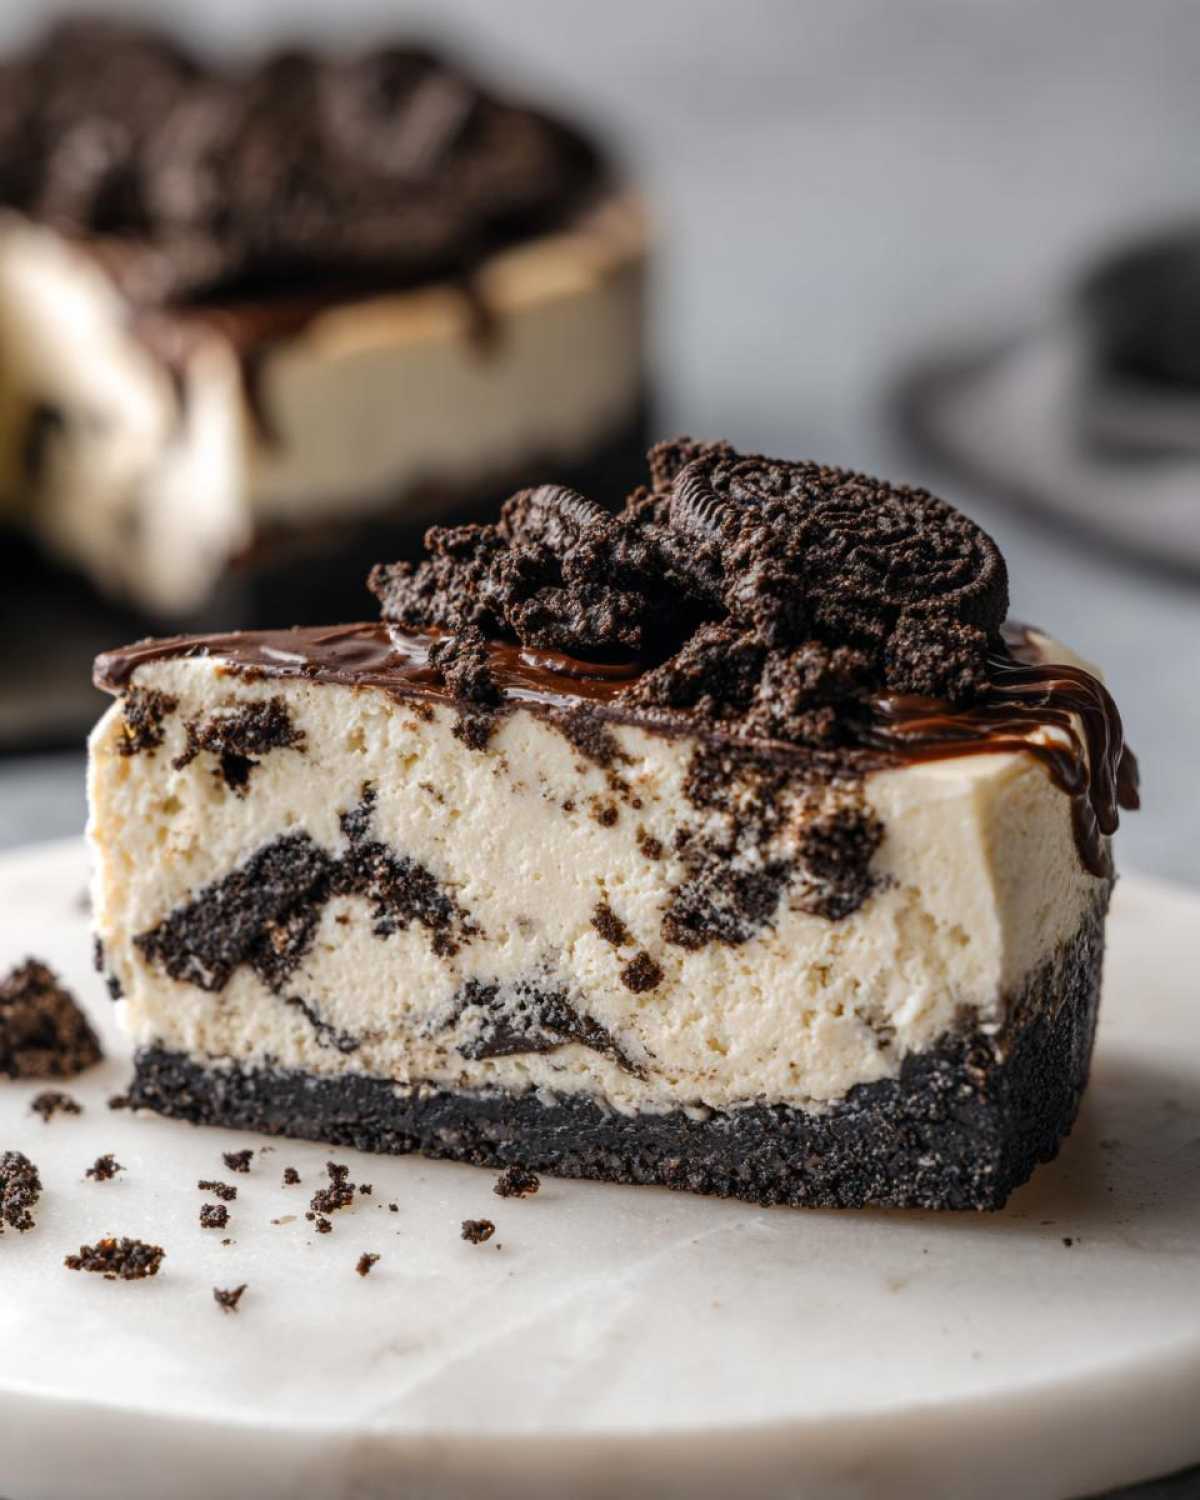
Okay, you’ve assembled this beauty, poured that glorious filling over the frozen crust, and smoothed the top. Now comes the hardest part for impatient people like me: waiting! This step is absolute non-negotiable for any Chilled Oreo Cheesecake Tutorial—it’s where the structure is built, and where we transition from soft dessert to sliceable pie.
You must refrigerate this for a minimum of six hours. I really, really mean it. If you cut it sooner, you’ll have a delicious, scoopable mess rather than a stately slice. If you can possibly wait, let it chill overnight. This extra time allows the fats in the cream cheese and whipped toppings to completely solidify around the air bubbles, giving you that fantastic density.
When it’s finally firm, running a thin knife under hot water will give you the cleanest cuts for serving. This long chill time is what guarantees a perfect slice every time you make this amazing make ahead Oreo dessert!
Tips for Success with Your No-Bake Oreo Dessert
I want your No Bake Oreo Dessert experience to be flawless, so let’s talk about those tried-and-true tricks I learned while making this recipe over and over again. Remember, even though we skip the oven, technique still matters! These little things—which feel minor—are honestly the difference between good and absolutely mind-blowing.
First off, if you want those stiff peaks when whipping your heavy cream, take my advice: chill everything! Before you start, pop your mixing bowl and those beaters into the freezer for about ten minutes. Cold metal and cold cream work together beautifully to create maximum volume. This ensures your filling is fluffy and light, essential for a great No Bake Oreo Dessert Idea.
Secondly, when it’s time to serve this incredible treat, the knife trick is a game-changer. To get slices that look professionally handled (perfect for sharing pictures!), take a long, thin knife and dip it into a tall glass of very hot water. Wipe the blade totally dry, then make your cut. Wipe the knife clean and reheat it before the next slice. It sounds fussy, but it melts any clinging cream just enough for a perfect, clean edge.
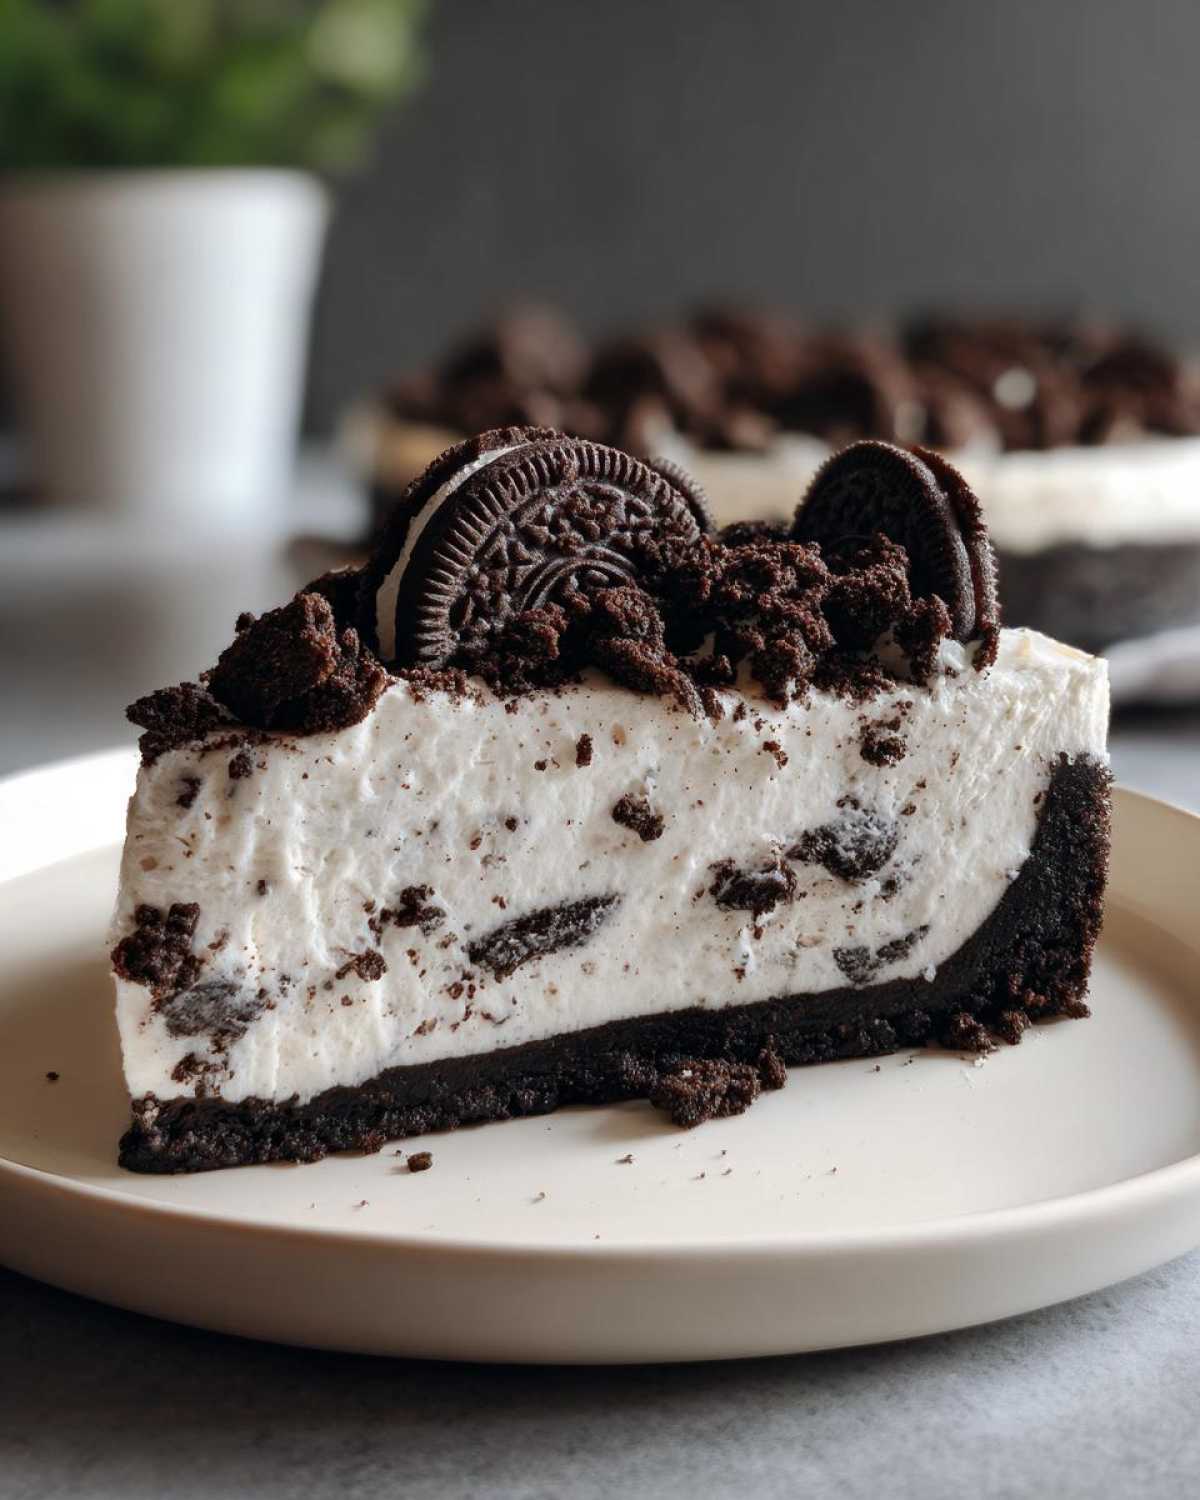
Also, always trust the chilling time! Rushing makes runny cheesecake. If you’re worried about presentation, think about topping it with chocolate curls or a drizzle of hot fudge right before serving to jazz up your dessert presentation!
Serving Suggestions for this Ultimate No Bake Oreo Pie
Serving this Ultimate No Bake Oreo Pie is almost as fun as making it because it looks so elegant despite being so easy! Once you’ve mastered the chilling time, you can start thinking about presentation. Slicing it straight onto small dessert plates is simple, but I love elevating it just a tiny bit.
For a slightly sophisticated touch, try serving a slice next to a small handful of fresh raspberries or sliced strawberries. The tartness of the berries cuts through the richness of the chocolate and cream cheese beautifully. Or, if you’re enjoying a slice later in the evening, a small cup of strong, black coffee is the perfect partner!
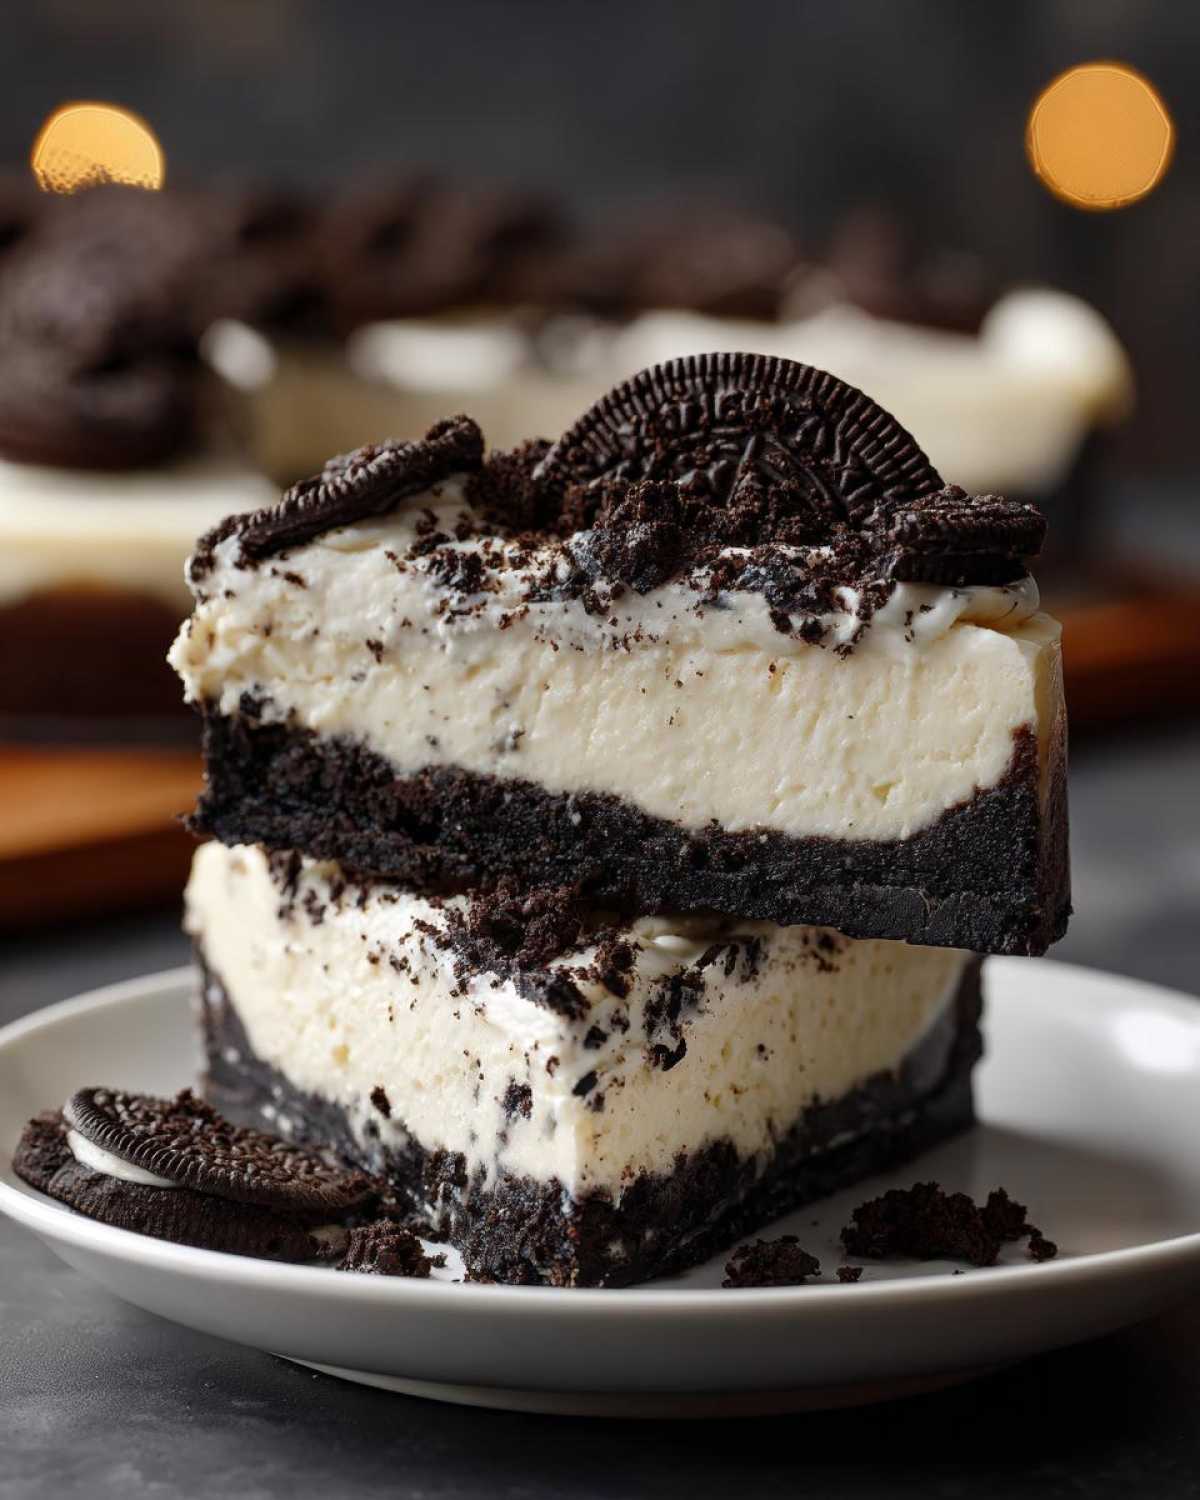
Remember to sprinkle those reserved crushed Oreos right before the first cut. A little dusting makes such a difference! If you ever need a great recipe for a no-bake layered dessert, check out my famous chocolate eclair cake, but this cheesecake stands perfectly alone!
Storage and Make Ahead Oreo Dessert Instructions
This recipe is amazing for parties because it is truly the ultimate Make Ahead Oreo Dessert. You don’t want to serve this warm, obviously. Once it’s fully set after its long chill, it keeps beautifully in the refrigerator.
Keep the cheesecake, still in the springform pan (or transferred carefully to an airtight container), in the fridge. It stays perfectly fresh for about three to four days. You don’t need to wrap it super tight since it’s not prone to drying out, but covering it loosely with plastic wrap definitely keeps any fridge smells away from your dessert.
If you’re worried about the garnish going soft, just wait to sprinkle those crushed Oreos on top until right before you slice and serve. It ensures maximum crunch! Honestly, making this the day before you need it is the best way to go. Just remember, this is always served cold—no reheating needed for this one, just pure, chilly bliss, unlike some savory things like my easy crockpot beef stew recipe!
Frequently Asked Questions About No-Bake Oreo Cheesecake
Whenever I share this recipe online, people always have a few great questions pop up, usually centering on structure or substitutions. I totally get it—we all want that perfect slice, especially when we’re making a dessert without oven! Here are the things I hear most often about making this No-Bake Oreo Cheesecake.
Can I use different cookies besides Oreos for the crust?
You absolutely can! While the classic flavor comes from those recognizable black cookies, this recipe is fantastic for showing off other dark cookies. If you’re in a pinch or just want a slight change, you can use chocolate wafers instead. However, if you swap them out, remember that you are changing the fundamental flavor profile of the No Bake Chocolate Cookie Cheesecake. I suggest using a flavor that complements cream cheese, like a different chocolate cookie, rather than something highly flavored like mint or peanut butter, unless you want to dive into new no bake Oreo dessert ideas!
How do I prevent my No-Bake Oreo Cheesecake from being too soft?
This is the million-dollar question for any chilled Oreo cheesecake tutorial! The softness (or lack thereof) always comes down to two things: the cream cheese temperature and the chilling time. You MUST use full-fat cream cheese that’s completely softened, but you must also resist cutting into it until it’s had its full minimum six-hour deep-chill. If you follow those steps, you’ll get a firm, clean slice every time. If it’s still too soft, it just needs more time in the cold!
Can I use a pie dish instead of a springform pan?
Yes, you certainly can use a standard 9-inch pie dish or even a glass pie plate. It works perfectly well for this Simple Oreo Cheesecake Recipe. The only real drawback is that the springform pan is designed specifically so the sides peel away cleanly from the cake walls. If you use a standard pie dish, you’ll just have to serve it right out of the dish, which is fine for a casual family dessert. It makes for a slightly messier presentation when trying to get those clean pieces, but the taste is the same!
Is this the best easy no-bake Oreo dessert if I need to make it ahead?
It really is! This is probably the best no bake Oreo dessert because it tastes even better the next day, making it the perfect make ahead Oreo dessert. I usually prepare the entire thing, including the crush topping, the day before I need it, cover it, and let it chill overnight. It travels well too, as long as you keep it cool. Just remember the hot knife trick when you go to serve it to keep those slices looking perfect!
If you’re looking for other great make-ahead options, you should always check out my recipe for no bake pumpkin oat energy bites when you need something quick and healthy!
Estimated Nutritional Data for One Slice of No-Bake Oreo Cheesecake
I always keep track of what goes into our treats, even the easy ones! Remember that because this is a rich dessert, those numbers add up quickly. This information is based on the recipe yielding 10 slices, using standard-sized ingredients. Think of it as an educated guess; exact figures will always vary depending on the brand of Oreos or the exact amount of butter used in your crust.
Here is the general breakdown for one slice of this wonderful No-Bake Oreo Cheesecake:
- Serving Size: 1 slice
- Calories: 410
- Sugar: 35g
- Sodium: 320mg
- Fat: 26g
- Saturated Fat: 15g
- Unsaturated Fat: 11g
- Trans Fat: 0.5g
- Carbohydrates: 40g
- Fiber: 1g
- Protein: 5g
- Cholesterol: 75mg
This is definitely a weekend treat, not an everyday snack, but wow, is it worth it! If you ever want to compare these macro counts to something high-protein, you should definitely check out my recipe for those easy egg bites—they are a whole different kind of satisfaction!
PrintClassic No-Bake Oreo Cheesecake

Make a rich, creamy cheesecake using Oreos for the crust and topping. This recipe requires no oven time.
- Prep Time: 25 min
- Cook Time: 0 min
- Total Time: 6 hr 25 min
- Yield: 10 servings
- Category: Dessert
- Method: Chilling
- Cuisine: American
- Diet: Vegetarian
Ingredients
- 24 Oreo cookies, divided
- 6 tablespoons unsalted butter, melted
- 16 ounces cream cheese, softened
- 1 cup powdered sugar
- 1 teaspoon vanilla extract
- 1 1/2 cups heavy whipping cream, cold
- 8 ounces frozen whipped topping (like Cool Whip), thawed
Instructions
- Prepare the crust: Place 14 Oreo cookies in a food processor and pulse until fine crumbs form. Mix the crumbs with the melted butter. Press the mixture firmly into the bottom of a 9-inch springform pan. Place the pan in the freezer while you prepare the filling.
- Make the filling base: In a large bowl, beat the softened cream cheese with an electric mixer until smooth. Gradually add the powdered sugar and vanilla extract, beating until fully combined and fluffy.
- Prepare the whipped cream: In a separate, chilled bowl, beat the cold heavy whipping cream until stiff peaks form. Gently fold the thawed whipped topping into the whipped cream.
- Combine fillings: Fold the whipped cream mixture into the cream cheese mixture until just combined. Do not overmix.
- Assemble the cheesecake: Pour the filling over the chilled Oreo crust. Smooth the top with a spatula.
- Chill: Cover the pan loosely with plastic wrap and refrigerate for at least 6 hours, or preferably overnight, until the cheesecake is firm.
- Garnish: Before serving, crush the remaining 10 Oreo cookies and sprinkle them over the top of the chilled cheesecake. Release the springform side and slice.
Notes
- For easier slicing, run a thin knife under hot water and wipe it dry before each cut.
- If you do not have a food processor, place the cookies in a zip-top bag and crush them using a rolling pin.
- Chill the mixing bowl and beaters for 10 minutes before whipping the heavy cream for best results.
Nutrition
- Serving Size: 1 slice
- Calories: 410
- Sugar: 35g
- Sodium: 320mg
- Fat: 26g
- Saturated Fat: 15g
- Unsaturated Fat: 11g
- Trans Fat: 0.5g
- Carbohydrates: 40g
- Fiber: 1g
- Protein: 5g
- Cholesterol: 75mg