

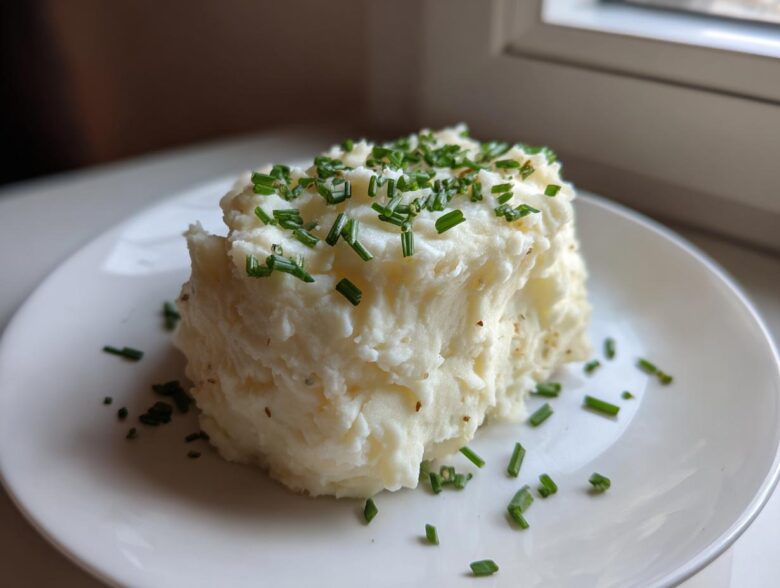
Oh my goodness, I totally get it. Sometimes you just crave that pillowy, buttery side dish that just screams comfort—you know, mashed potatoes! But maybe you’re trying to keep things low-carb, or maybe you just want a veggie boost without feeling weighed down. I spent *ages* trying to crack the code on this, and trust me, I messed up plenty of watery batches before getting it right. But now? I’ve nailed it! This Creamy Garlic Mashed Cauliflower is totally decadent. It’s the perfect healthy mashed potato substitute because we’re leaning hard into that roasted garlic flavor and using a few sneaky tricks to make it unbelievably smooth. Seriously, you won’t miss the spuds one bit!
Why This Creamy Garlic Mashed Cauliflower Recipe Works (The Secret to Smoothness)
Listen, the number one complaint about cauliflower mash is that it turns out watery, right? I’ve been there, hiding it under gravy because it looked like soup! The key to the best creamy cauliflower mash is all about fighting that moisture before you even turn on the blender. That’s why step three in the instructions—letting it drain for a good solid five minutes—is non-negotiable. You have to encourage the steam to leave before you try to mash it. Also, we aren’t boiling it into oblivion; we want it tender, but still firm enough to shed water. Finding my feet in the kitchen often meant looking up resources, and I love sharing great tips; you can always check out more of my helpful baking guides over at my main blog page for extra kitchen secrets!
The roasting of the garlic—that’s my big flavor move, not just for taste but for texture too! Roasted garlic is already soft and incorporates into the mash beautifully, unlike raw garlic which can be harsh. This combination of diligent draining and deep flavor infusion is exactly how to make cauliflower creamy not watery. It moves this dish firmly into the category of a rich, almost sinful comfort food vegetable mash, even though it’s incredibly light!
Achieving a Buttery Smooth Keto Side Dish Texture
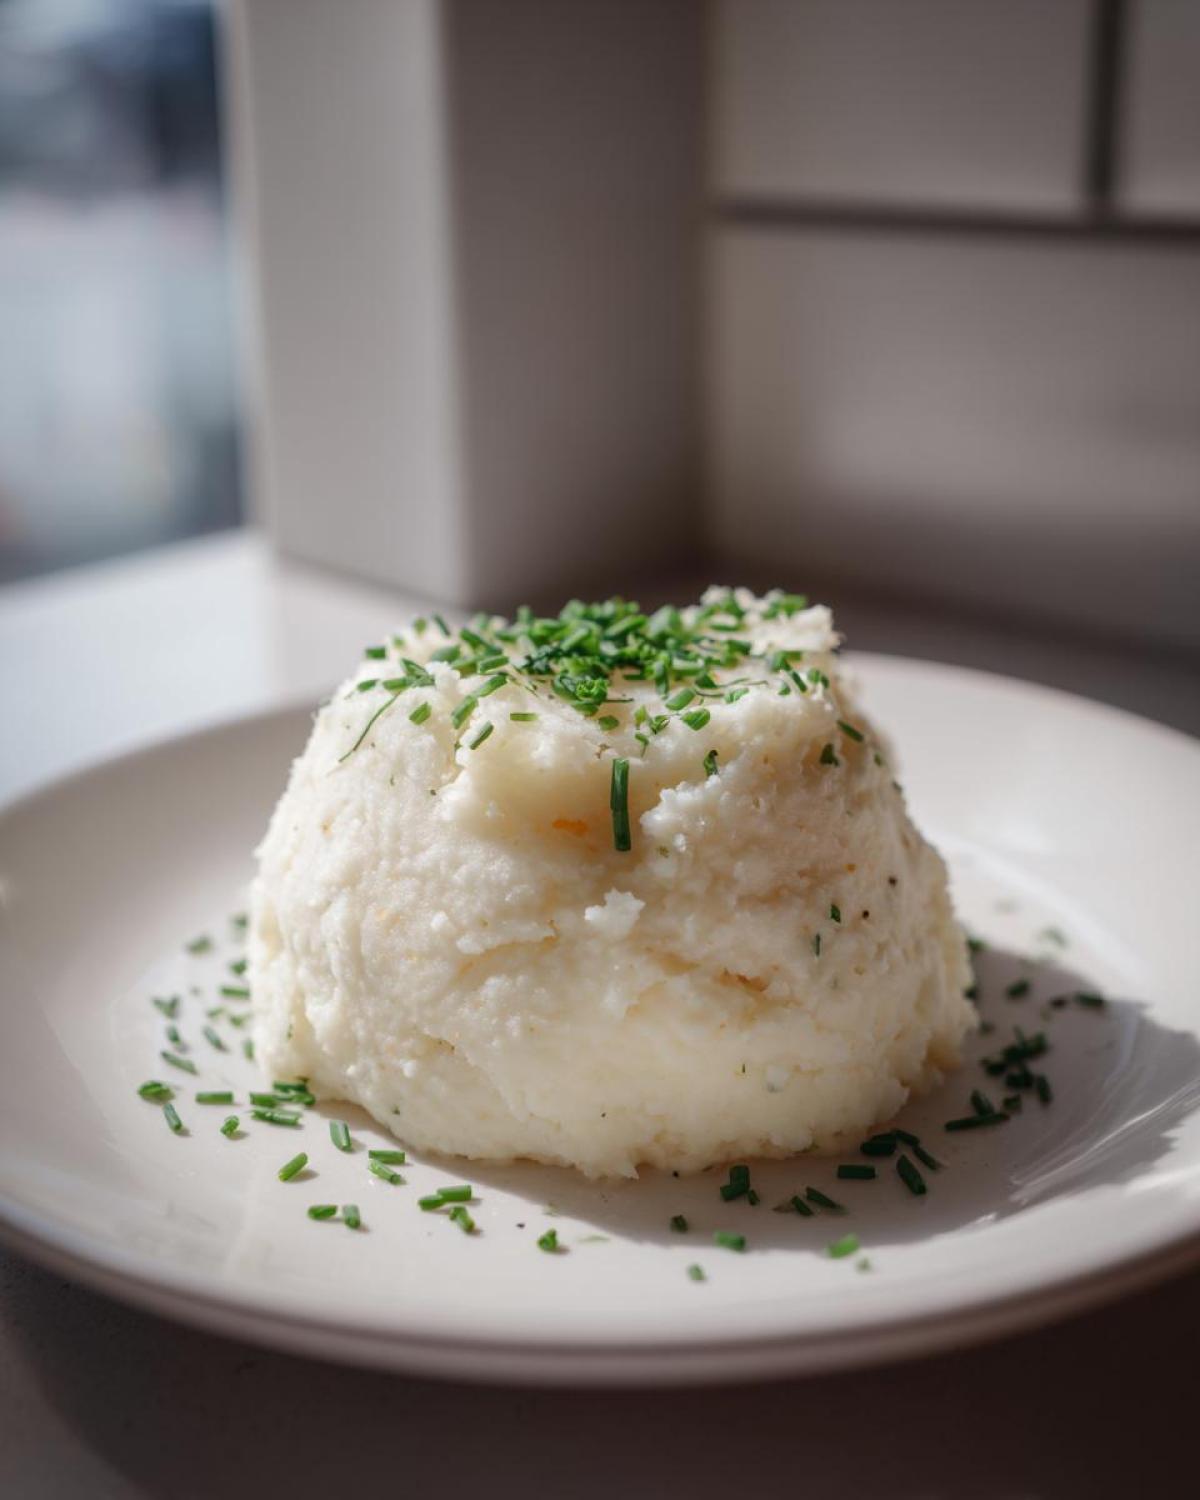
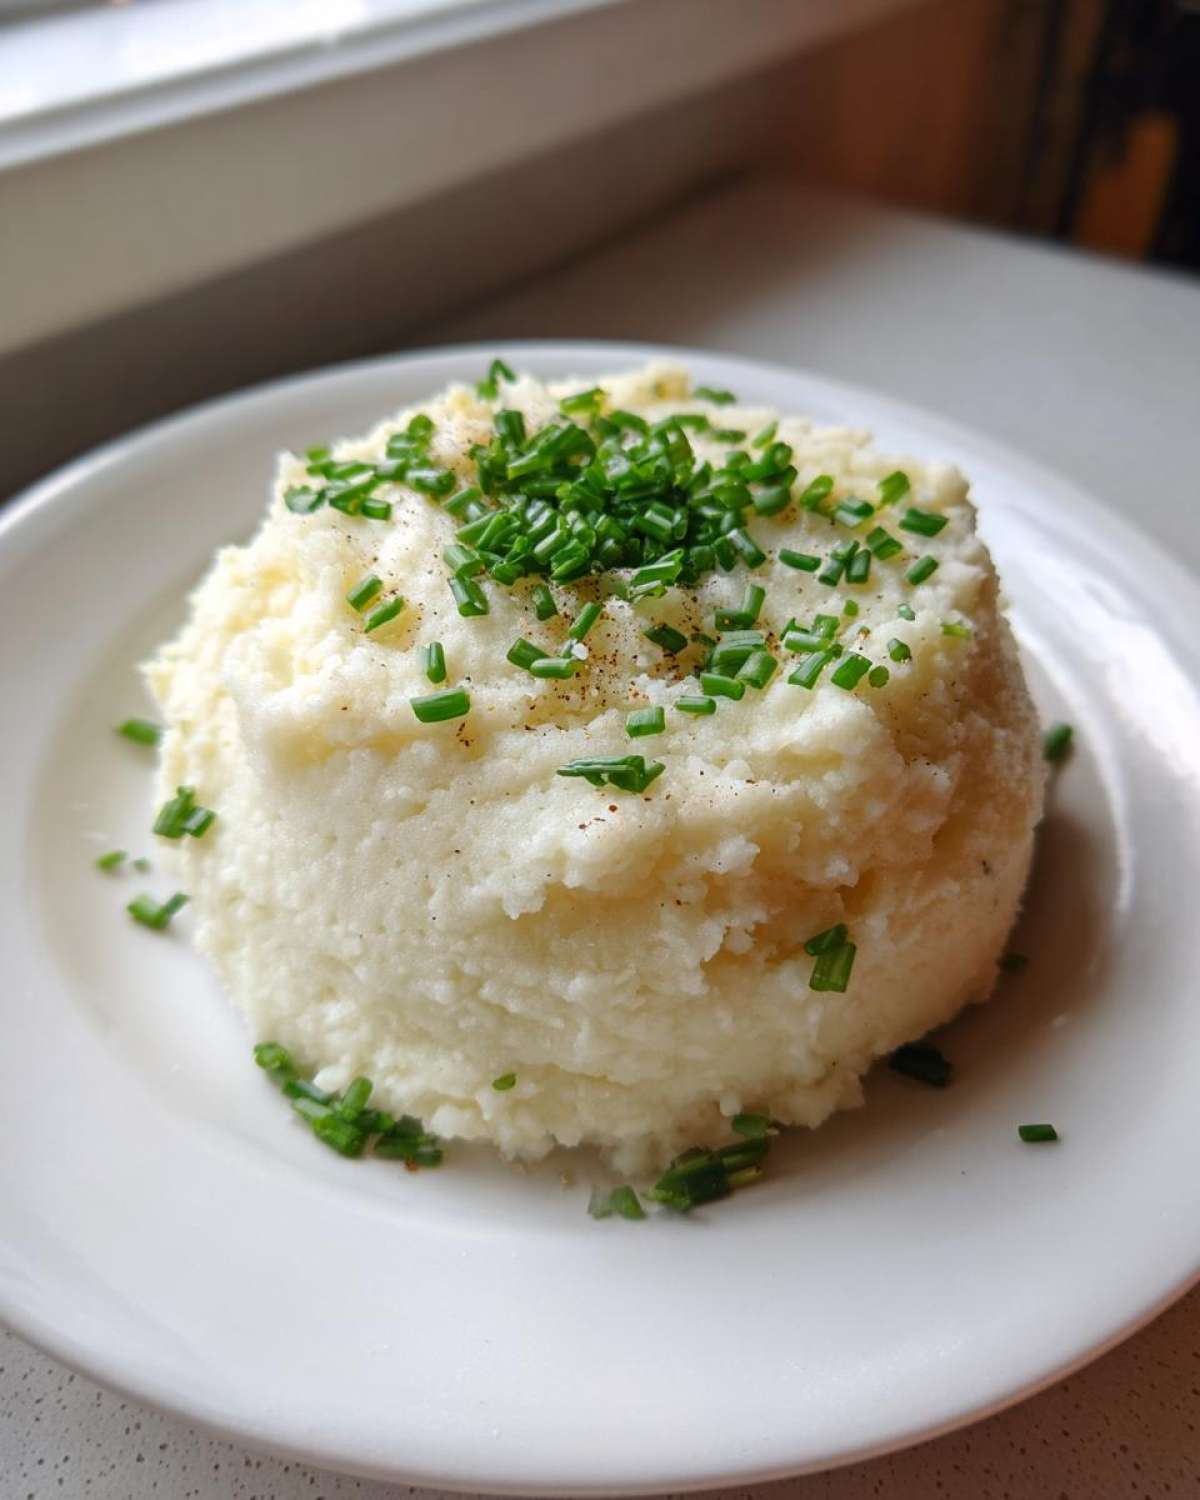
If you want that perfect, silky result, ditch the hand masher. Seriously, don’t even look at it! For this buttery smooth keto side dish, your best friend is the food processor. It breaks down those fibers much more finely than an immersion blender can, giving you that beautiful, velvety puree. If you use an immersion blender, you’ll have runnier results, so only use that if you’re absolutely sure you’ve squeezed out every drop of water earlier!
Ingredients for the Perfect Creamy Garlic Mashed Cauliflower
When we talk about the components for this creamy mashed cauliflower recipe, I really need you to trust me on quality here. We start with one large head of cauliflower—aim for about two pounds so you get enough bulk—and we definitely need four cloves of garlic, but they absolutely have to be roasted first! For richness, you’ll want four generous tablespoons of unsalted butter, making sure it’s soft, not melted. We need that high-fat content for mouthfeel. A quarter cup of heavy cream brings everything together, and don’t forget the salt and pepper to wake up those flavors.
Ingredient Preparation Notes and Substitutions
Listen up about the cauliflower size; aim for that 2-pound range. If you have to go dairy-free, swap the heavy cream for unsweetened almond milk—it keeps things surprisingly creamy, though slightly less rich. Also, please use fresh chives for garnish! Dried chives just don’t give you that bright, fresh pop of onion flavor we need at the end. If you’re feeling super ambitious, check out how I make my homemade garlic butter; you can use that instead of plain butter for an extra flavor bomb!
Step-by-Step Instructions for Creamy Garlic Mashed Cauliflower
Okay, let’s get cooking! This is where the magic happens, and sticking to this order is crucial if you want that perfect texture. First thing’s first: chop your cauliflower head into small, consistent florets. If you have big chunks, some will be mushy while others are still hard—we want them all perfectly tender at the same time. Get those florets into a pot, cover them with water, throw in a pinch of salt, and bring it to a boil. Reduce the heat right away and let them simmer until they are super soft, about 15 to 20 minutes. You should be able to easily pierce one with a fork!
While that’s boiling away, we get our flavor foundation ready. Don’t skip roasting the garlic; it changes everything! Once the cauliflower is done, dump it into a colander—and I mean *really* drain it. Let it sit there and steam off for a solid five minutes. You can even gently press it with a paper towel if you’re feeling paranoid about water content. Trust me, this prevents that sad, soupy outcome. Next, add the drained cauliflower, your softened butter, cream, salt, and pepper into a food processor, along with those rich, roasted garlic cloves from earlier.
Now, pulse it until it’s completely smooth—that’s what gives us that lovely garlic butter flavor infusion! But stop short of over-processing; we want creamy, not gluey! Give it a taste test, adjust the salt if needed, and dish it out immediately with those fresh chives sprinkled on top.
Roasting the Garlic for Deep Flavor in Your Garlic Cauliflower Mash Low Carb
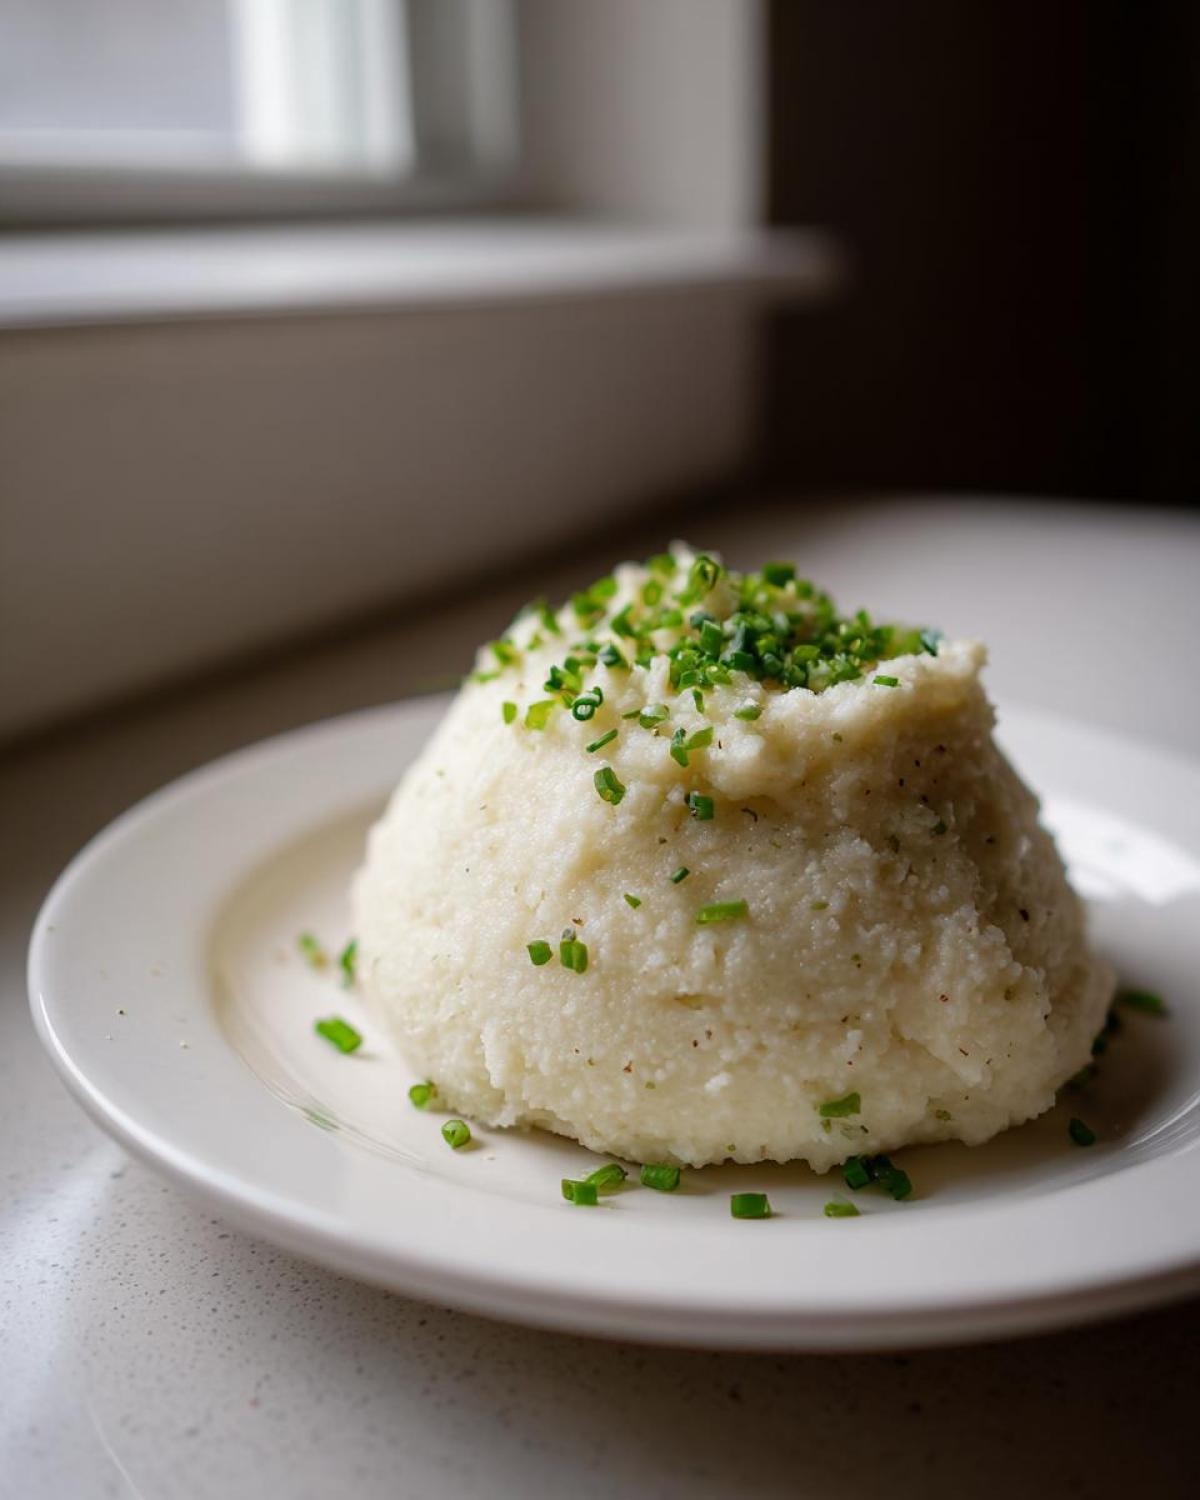
This step is essential for building a deep, savory profile in your garlic cauliflower mash low carb. Take your four cloves, wrap them loosely in foil with just a tiny drizzle of olive oil, and pop them into a 400°F oven for about 15 minutes. You know they are ready when they’re totally soft. Then, you just squeeze the sweet, caramelized garlic right out of their skins directly into your food processor. It’s so much better than anything else, I promise!
The Essential Step: Draining Cauliflower for Smooth Garlic Cauliflower Puree
I can’t stress this enough: DRAIN, DRAIN, DRAIN! This is truly the secret behind achieving that smooth garlic cauliflower puree. Hot cauliflower holds a ton of steam and water. As soon as you dump it out of the pot, let it sit in the colander for those crucial five minutes. I even place a clean tea towel over it sometimes just to absorb that last bit of oppressive steam. If you skip this, you’re going to end up thinning out your butter and cream, and that ruins the silky texture we are aiming for!
Tips for the Ultimate Creamy Garlic Mashed Cauliflower
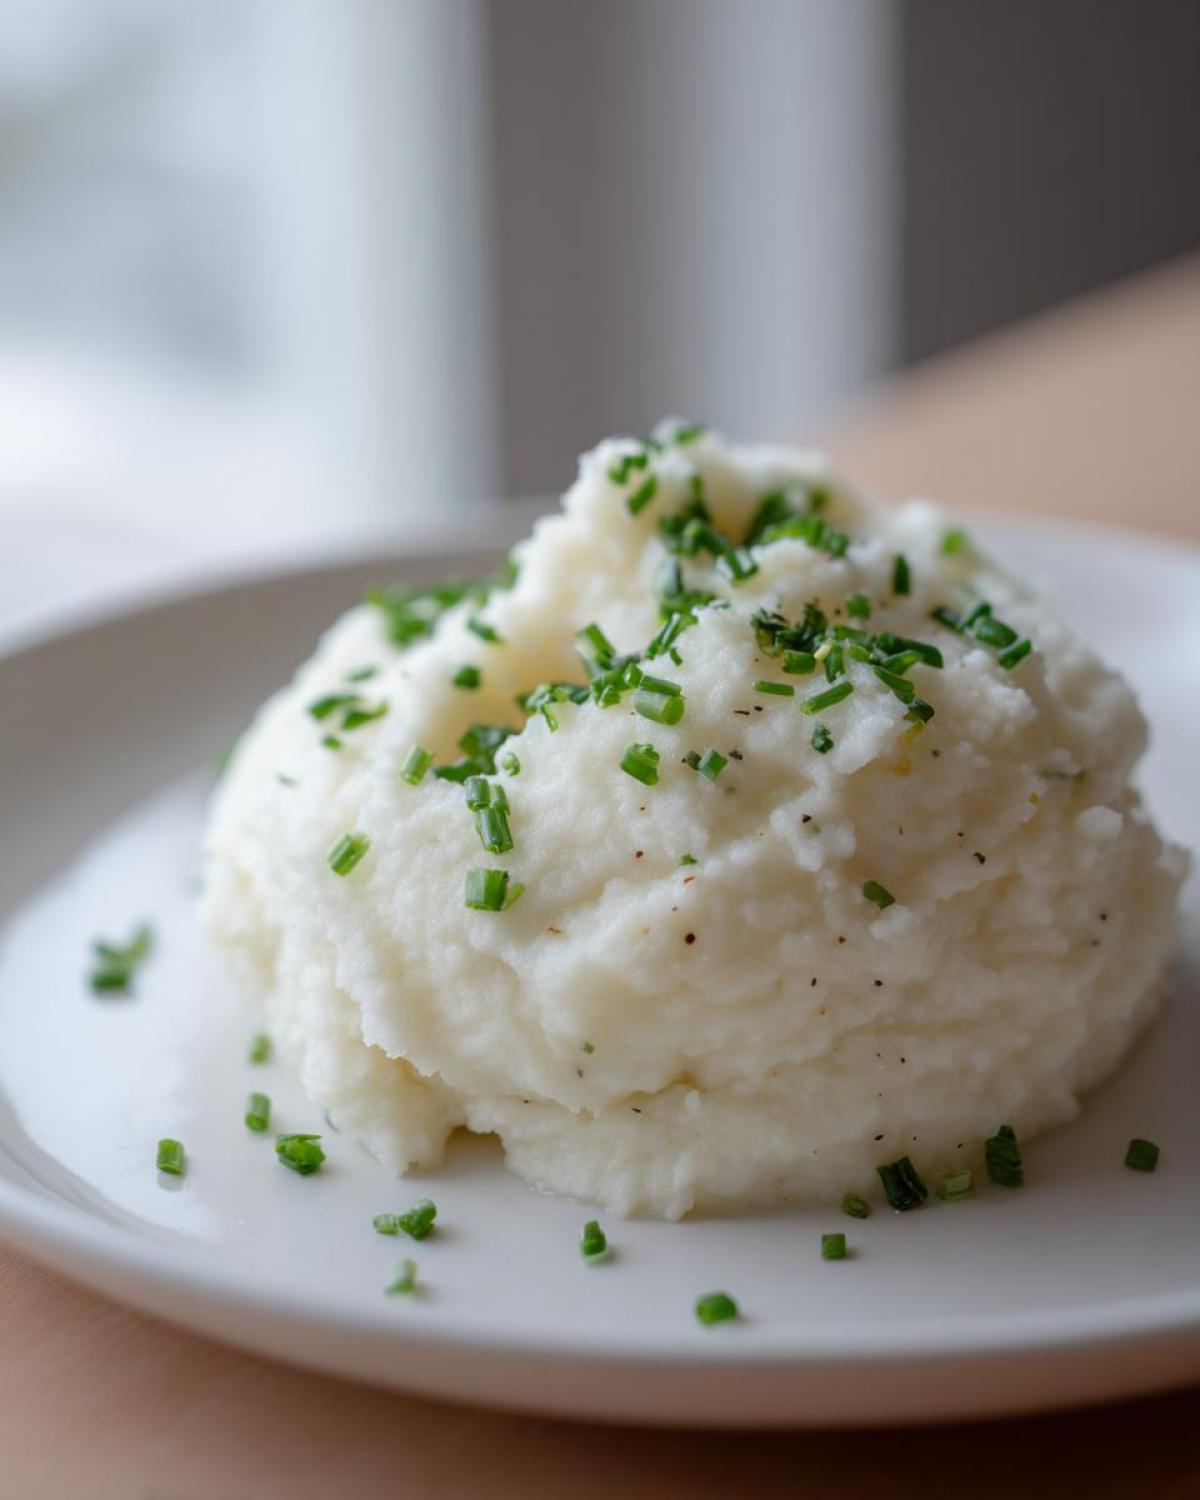
Even though the recipe is pretty straightforward, there are a few little things I learned over time that take this dish from good to absolutely restaurant-quality. The biggest thing to watch for, especially if you’re using a powerful food processor, is the dreaded over-processing! If you let that machine whirl for too long after everything is mixed, the cauliflower starts releasing starch and turns into this gummy, almost wallpaper-paste texture. Stop as soon as it looks consistently smooth—don’t push it!
For flavor boosting, which I know we all love when we’re making a simple garlic cauliflower recipe, try swapping out some of that heavy cream for a tablespoon of cream cheese right at the end. Just let it soften. It adds an extra tang and helps stabilize that creamy mouthfeel perfectly. Also, if you find you didn’t roast the garlic quite long enough and it tastes a little sharp, a tiny splash of plain Dijon mustard cuts right through that and adds complexity. Feel free to explore more of my kitchen wisdom over on the main blog if you’re looking for other ways to level up simple sides!
Making This Keto Mashed Cauliflower Side Dish Ahead of Time
I know we all love having leftovers, especially when it comes to decadent sides like this. But mashed cauliflower is a little trickier than potatoes when it comes to make-ahead magic. If you treat it right, you can absolutely prep this delicious keto mashed cauliflower side dish in advance! My rule of thumb is that it holds up beautifully in the fridge for about three to four days max. Don’t try to keep it much longer than that; the texture starts degrading, and frankly, leftovers are best eaten quickly, right?
The main challenge is that it gets really stiff and dense once it chills down. If you just blast it in the microwave, it can sometimes get a little grainy or dry around the edges. So, here’s what I do if I’m reheating a smaller portion: I move it to a small saucepan over low heat. Critically, before heating, I stir in a tiny splash—maybe a teaspoon or two—of extra heavy cream or almond milk, depending on what you used.
Storage and Reheating Instructions
Store any leftovers in a tightly sealed container in the refrigerator for up to four days. When you’re ready to eat, reheat it slowly on the stovetop or in the microwave, making sure to stir in a little extra milk or cream each time to loosen it back up. This brings back that lovely, creamy consistency almost instantly, keeping it tasting fresh!
Serving Suggestions for Your Comfort Food Vegetable Mash
When you’ve put in the effort to make a side dish this rich and flavorful, you need a main course worthy of it! Since this comfort food vegetable mash is so buttery and garlicky, it balances beautifully against proteins that have a nice crust or a bit of acidity. I always default to something roasted because the oven does most of the work.
Honestly, this mash is the absolute perfect pairing for something like a perfectly roasted pork loin or, my personal favorite, a beautiful whole roasted chicken. If you want to talk about crispy skin perfection, you have to check out the roasting method I use over at my crispy chicken guide—the pairing is divine!
Because it’s so savory, it also works brilliantly underneath something saucy, like slow-cooked short ribs or steak with pan drippings. It shines wherever you’d typically put potatoes, making it the ultimate, guilt-free healthy mashed potato substitute for Sunday dinner.
Frequently Asked Questions About Garlic Cauliflower Mash Low Carb
Since I started making this recipe, people always have the same amazing questions! It’s understandable; you want to make sure this garlic cauliflower mash low carb version hits all the right notes. So, let’s knock out a few common concerns right here so your first batch is absolutely perfect. I want everyone to experience how totally satisfying this side dish can be!
Can I use frozen cauliflower for this recipe?
You absolutely can cheat and use frozen florets, and I won’t tell anyone! If you’re in a rush, go for it. However, frozen cauliflower is often packed with a lot more residual water than fresh when it thaws out. If you use frozen, you have to be even more aggressive with draining. Thaw it completely, put it in a clean kitchen towel, and squeeze out every ounce of liquid you possibly can before blending. If you don’t, you’ll end up with the watery mash we are trying so hard to avoid!
How do I make this recipe vegan?
Making this a truly vegan, gluten free mashed cauliflower dream is really easy because the cauliflower base handles substitutions so well. For the butter, just use your favorite high-quality vegan butter sticks—the ones that look and act like real dairy butter work best here. Then, instead of the heavy cream, swap it out for an unsweetened plant-based milk, like almond or oat milk. Because you’re using a lighter liquid, you might need slightly less of it, or you could even add a tablespoon of vegan cream cheese for that tangy richness back!
These tweaks keep it totally keto-friendly, too! For more flavor combinations, check out my recipe for creamy baked chicken thighs; this mash pairs perfectly with that!
Nutritional Snapshot of This Healthy Mashed Potato Substitute
Now, I want to be totally honest here—this healthy mashed potato substitute is rich because of the butter and cream, which is where the luxury comes from! But it’s still miles lighter than regular mash. Keep in mind these numbers are just estimates based on the standard ingredients I listed. If you use heavy cream, you’ll see higher fat, but if you go dairy-free with almond milk, those numbers shift a bit. It’s important to know what you’re eating, especially when cooking low-carb!
- Serving Size: 1 cup
- Calories: 130
- Fat: 10g
- Carbohydrates: 8g
- Protein: 4g
Share Your Creamy Cauliflower Creation
So, that’s how I get my perfect batch of Creamy Garlic Mashed Cauliflower! I really hope you try it out next time you’re craving that savory side. If you do, please pop down below and leave a star rating and tell me how smooth yours turned out! I absolutely love getting your feedback and seeing your kitchen successes. If you shared a picture on social media, tag me! Connecting with you all means the world to me. If you ever need to reach out with a specific food question, you can always find my contact info at my contact page!
PrintCreamy Garlic Mashed Cauliflower
A smooth, low-carb alternative to mashed potatoes featuring a strong, rich garlic flavor.
- Prep Time: 15 min
- Cook Time: 25 min
- Total Time: 40 min
- Yield: 4 servings
- Category: Side Dish
- Method: Boiling and Blending
- Cuisine: American
- Diet: Low Calorie
Ingredients
- 1 large head cauliflower (about 2 lbs)
- 4 cloves garlic
- 4 tablespoons unsalted butter (or dairy-free alternative)
- 1/4 cup heavy cream (or unsweetened almond milk for dairy-free)
- 1/4 teaspoon salt
- 1/8 teaspoon black pepper
- 1 tablespoon fresh chives, chopped (for garnish)
Instructions
- Cut the cauliflower into small, uniform florets.
- Place the florets in a large pot and cover with water. Add a pinch of salt. Bring to a boil, then reduce heat and simmer until the cauliflower is very tender, about 15 to 20 minutes.
- While the cauliflower cooks, roast the garlic cloves wrapped in foil with a small drizzle of olive oil at 400°F (200°C) for 15 minutes until soft. Squeeze the roasted garlic out of its skins.
- Drain the cooked cauliflower thoroughly in a colander. Let it sit for 5 minutes to allow excess steam and water to escape. Press gently with a paper towel to absorb more moisture if needed. This step is key for creaminess.
- Transfer the drained cauliflower and the roasted garlic to a food processor or a large bowl if using an immersion blender.
- Add the butter, heavy cream (or milk), salt, and pepper.
- Process or blend until completely smooth and creamy. Stop and scrape down the sides as necessary. Do not over-process, or it may become gluey.
- Taste and adjust seasoning. Serve immediately, garnished with fresh chives.
Notes
- For the creamiest texture, use a food processor rather than a hand masher.
- If you prefer a stronger garlic flavor, you can sauté one minced raw garlic clove in the butter before adding the liquid ingredients.
- To prevent a watery mash, ensure you drain the cauliflower very well after boiling.
Nutrition
- Serving Size: 1 cup
- Calories: 130
- Sugar: 5
- Sodium: 250
- Fat: 10
- Saturated Fat: 6
- Unsaturated Fat: 4
- Trans Fat: 0
- Carbohydrates: 8
- Fiber: 3
- Protein: 4
- Cholesterol: 25