

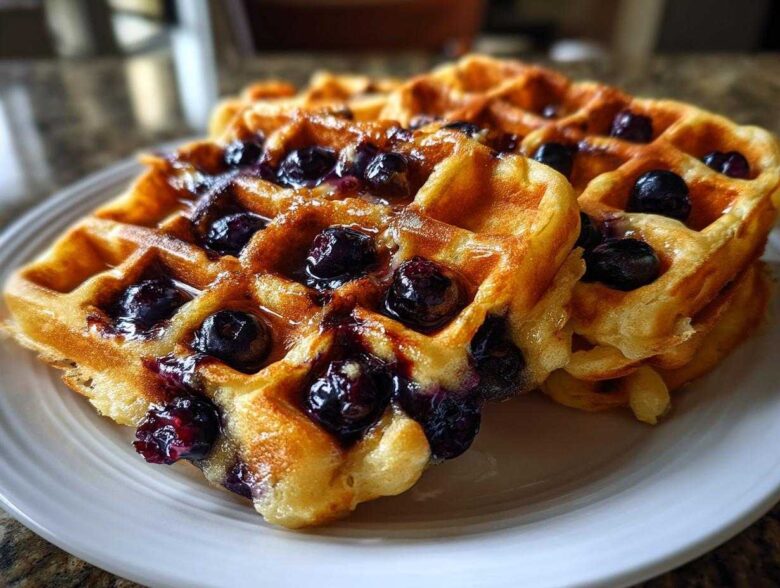
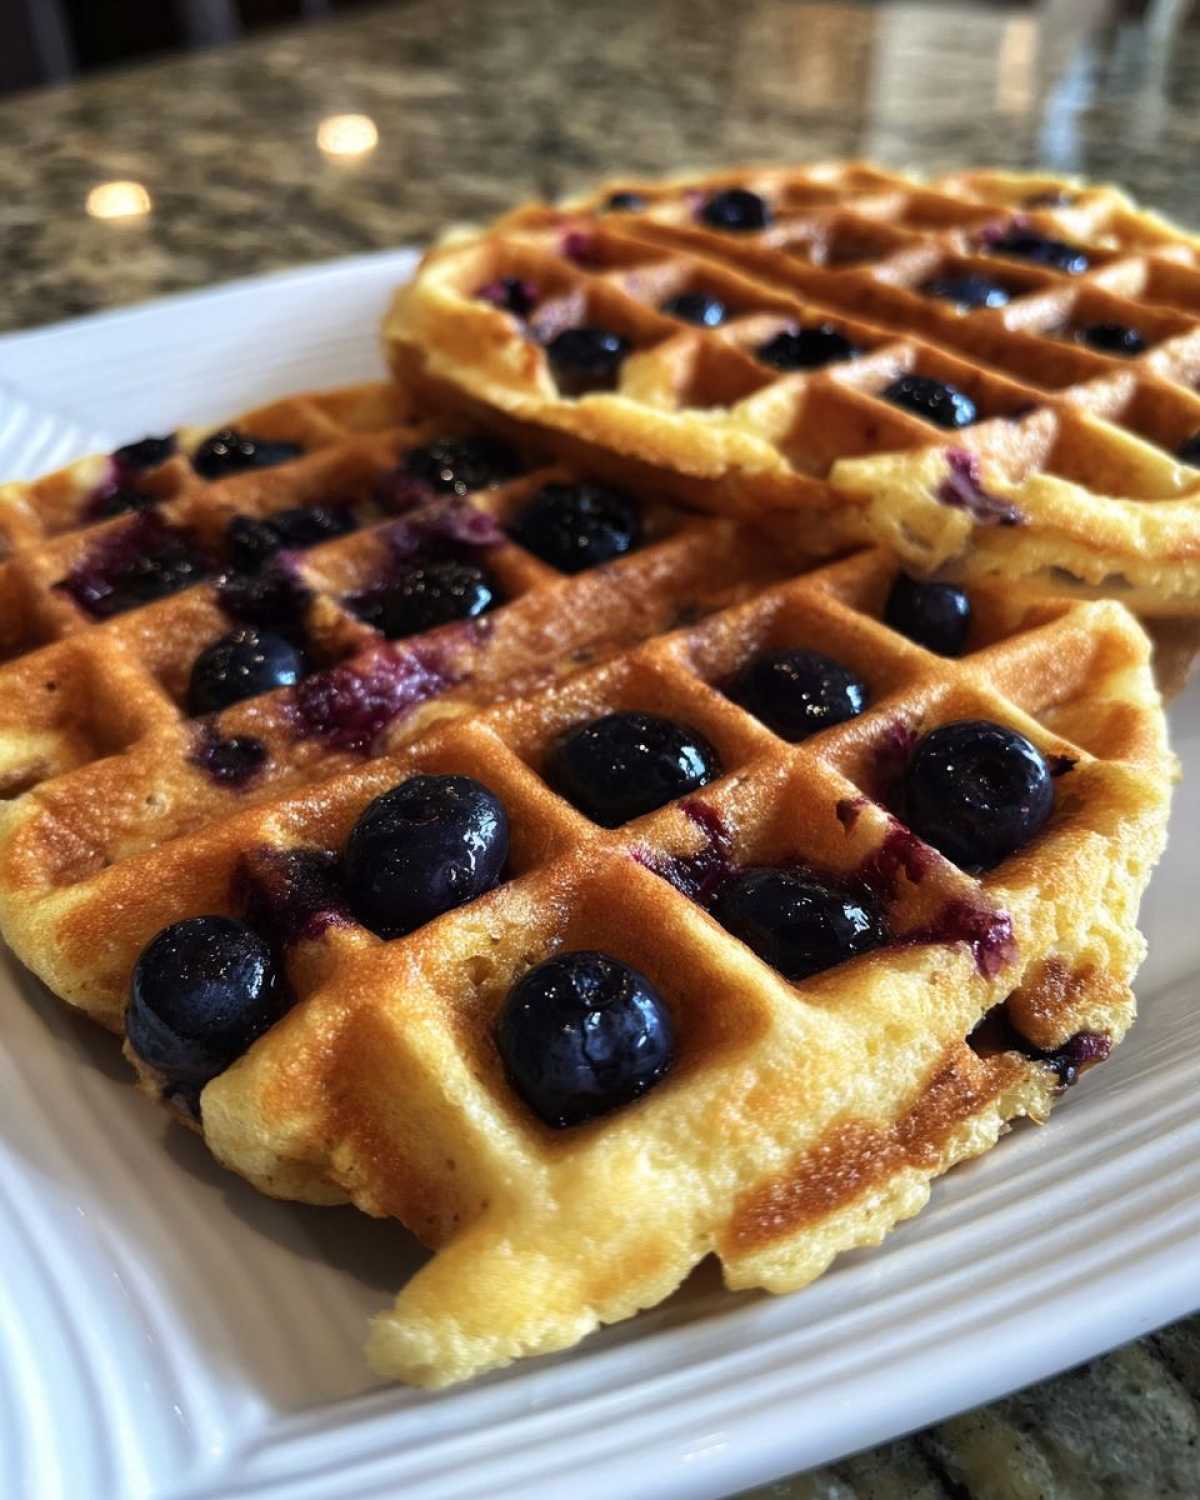
Oh my goodness, you know how it is with gluten-free baking? You try to make something light, and *poof*—you end up with something that could double as a hockey puck! I spent years trying to crack the code on a breakfast that didn’t feel heavy or crumbly. I swear, every time I tried making waffles, the blueberries would either sink straight to the bottom or burn right onto the iron. But friends, I finally did it! I figured out the magic formula for truly light and crispy Gluten-Free Blueberry Waffles that are actually fluffy inside. This isn’t just another recipe; this is my breakthrough for the perfect weekend brunch!
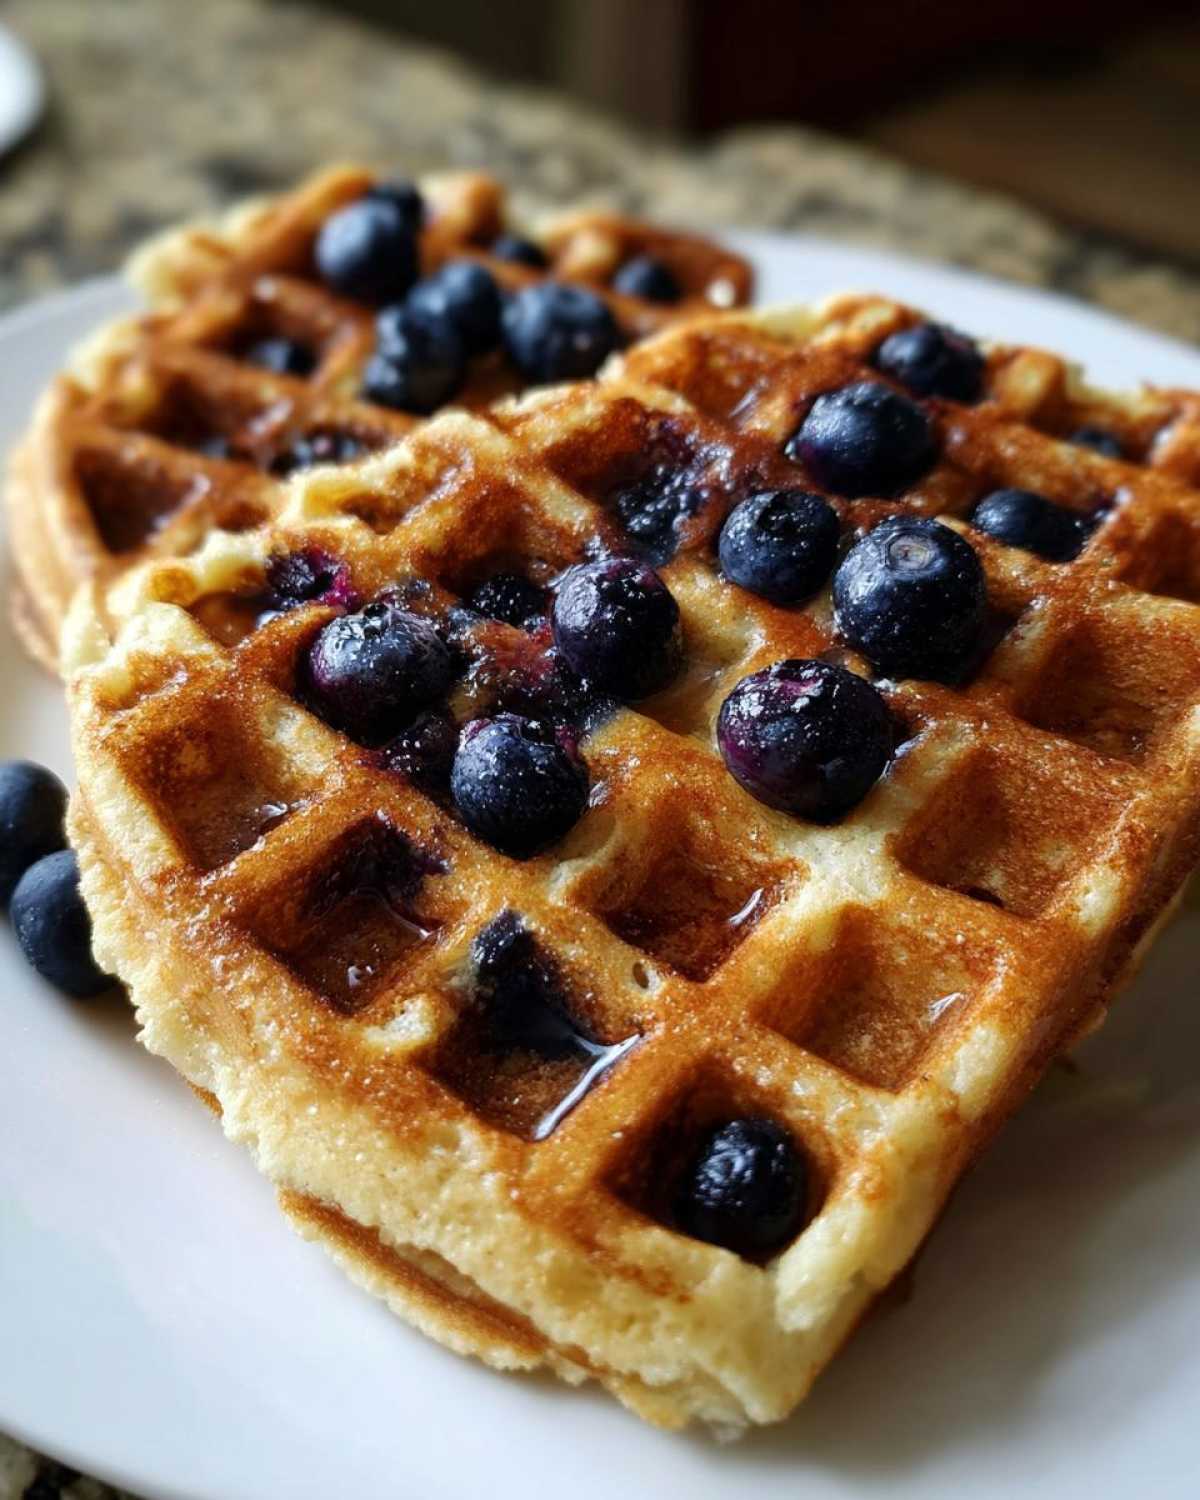
Why This is the Best Gluten Free Waffles Recipe You Will Make
I know you’ve been disappointed before. Most gluten-free recipes result in waffles that are either dense disappointments or fall apart the second you transfer them to a plate. That stops right here! This recipe produces what I truly think are the best gluten free waffles because we nail the texture. We want that satisfying audible crunch when you bite in, followed by that airy, delicate interior. That’s the hallmark of a truly fluffy gluten free breakfast, and trust me, it’s worth the minor tweak in technique.
Achieving Crispy Edges on Your Gluten-Free Blueberry Waffles
The secret to avoiding that soggy bottom? Heat and rest! Make sure your iron is piping hot before the first pour—I mean, really hot. But here’s the biggest trick: letting the batter sit on the counter for about five minutes before you start scooping. This gives the GF flours time to fully hydrate, which locks in moisture internally while allowing the outside edges to crisp up beautifully on the iron.
Essential Ingredients for Perfect Gluten-Free Blueberry Waffles
Okay, let’s talk ingredients, because this is where things go from ‘okay’ to absolutely spectacular when you’re skipping the wheat! Everything has a job here, especially if we want that light, airy structure. You’ll need 1 and 3/4 cups of a good gluten-free all-purpose flour blend—double-check that bag! We need 2 tablespoons of sugar to get a nice golden color happening, plus 1 tablespoon of baking powder because fluffiness is non-negotiable here. Don’t forget a half teaspoon of salt to wake everything up.
For the wet stuff, grab 1 and a half cups of your favorite milk (dairy or oat/almond works great!), two large eggs, a half cup of butter that’s been melted down—make sure it has cooled slightly before adding it, otherwise, you’ll scramble those eggs! And of course, a teaspoon of pure vanilla extract for that lovely background warmth. Finally, the star: one full cup of fresh or frozen blueberries. I prefer frozen if I’m busy, just toss them in right out of the bag!
Flour Blend Notes for Your Gluten Free Waffle Batter
This is the most critical part of your whole easy gluten free waffle batter. If you are buying a pre-made gluten-free all-purpose blend, look closely! It absolutely must contain xanthan gum. That gum is the secret binder that does the work gluten usually does, preventing your beautiful waffles from crumbling into oat-y dust. If your blend doesn’t list it, you’ll need to add 1 teaspoon of pure xanthan gum to your dry ingredients yourself. Seriously, don’t skip this step—it’s the backbone of non-crumbling waffles!
Step-by-Step Guide: How to Make Blueberry Waffles Without Gluten
Alright, once you’ve got your ingredients lined up, the actual assembly is super fast! I love that this whole process takes about 10 minutes of prep time, and the cooking only runs about 15 minutes total for a batch of four. It’s such a quick way to turn a weekday morning into a special occasion with these amazing Gluten-Free Blueberry Waffles.
Mixing the Easy Gluten Free Waffle Batter
First things first: Get your waffle iron hot! While that’s heating up, whisk your dry stuff—that special GF flour, the sugar, baking powder, and salt—in a big bowl. In a smaller bowl, quickly whisk your wet ingredients: the milk, eggs, that slightly cooled melted butter, and vanilla. Now, here’s the crucial part for fluffiness! Pour the wet into the dry mixture. Mix it gently, maybe just ten stirs with a spatula. Don’t reach for the electric mixer! If you see a few small lumps, just leave them be. Overmixing gluten-free batter is a guaranteed path to density, so handle it with love!
Cooking Your Gluten-Free Blueberry Waffles to Perfection
Once your batter is just mixed, gently fold in your cup of blueberries. Like I mentioned, if you’re using frozen ones, don’t bother thawing them—toss them in straight from the freezer! Spoon the batter onto your ripping-hot waffle iron, making sure not to overfill it. You want golden brown and crispy, which usually takes about 4 to 6 minutes depending on your machine. When they look done and smell incredible, carefully lift that waffle out. If you’re making a big batch, keep the finished ones warm on a wire rack in a low oven while you cook the rest—this will help maintain that desired crispiness!
Tips for Success with Crispy Gluten Free Waffles
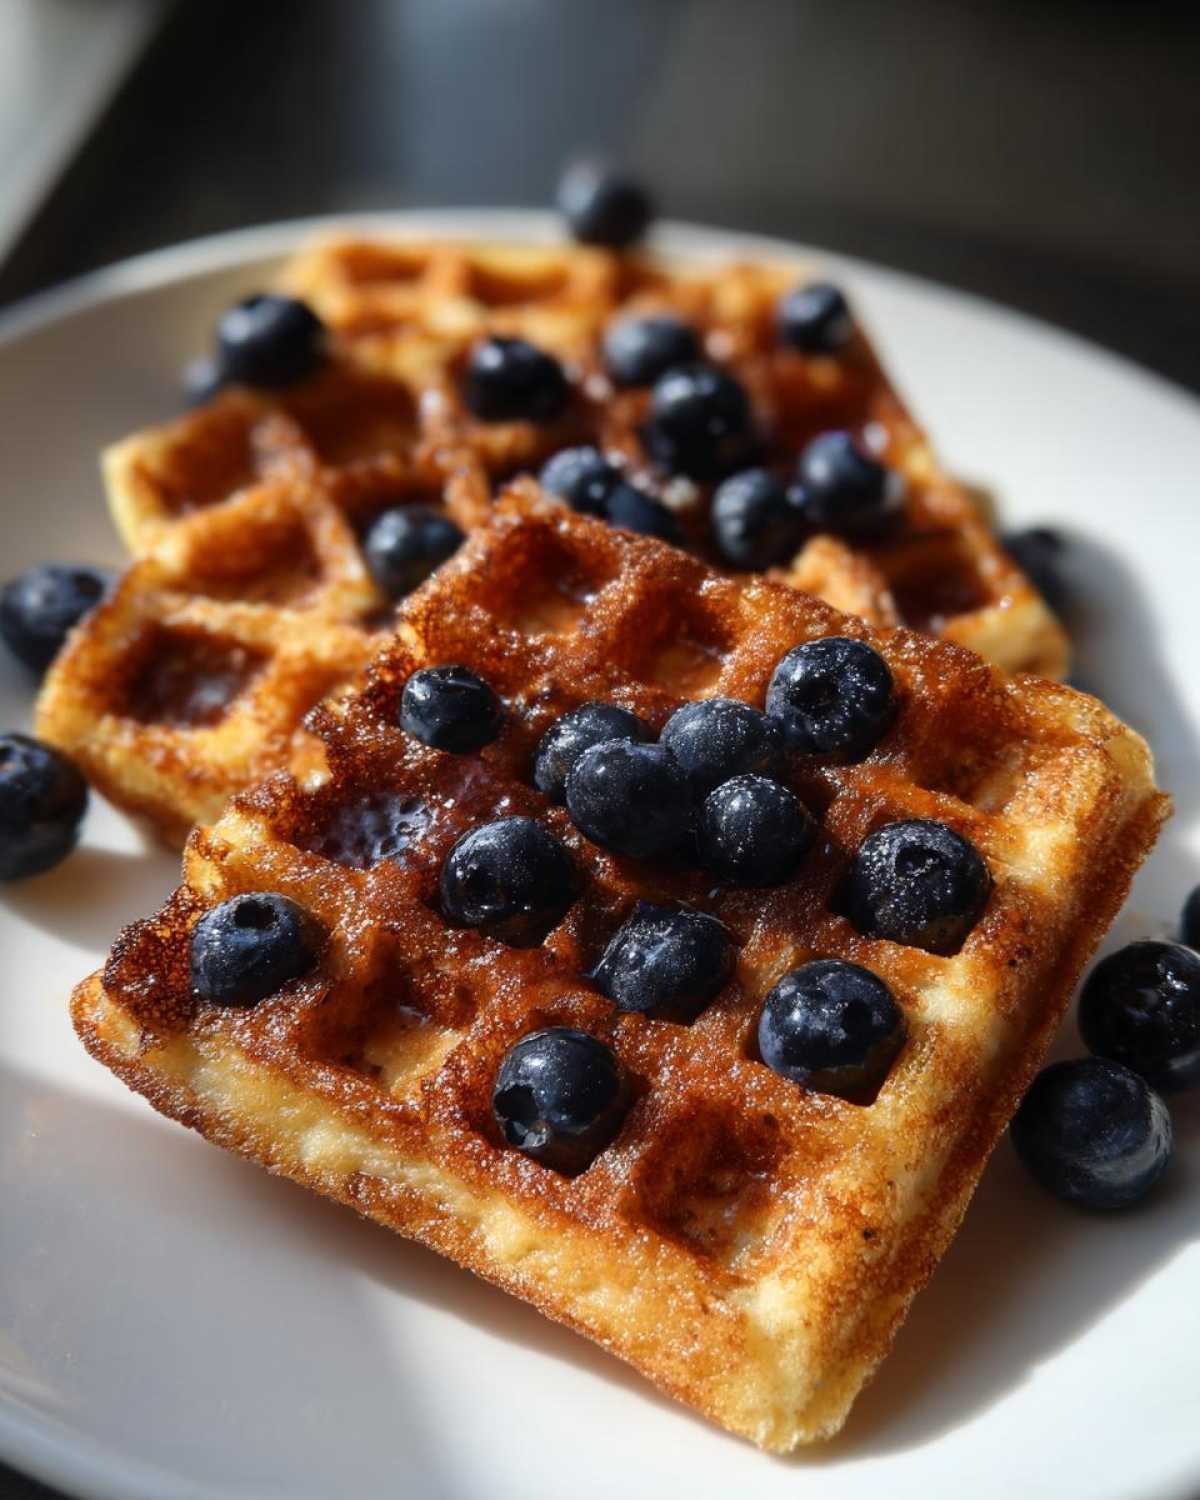
I’ve made enough batches of these to know exactly what makes the difference between a good waffle and a show-stopping one. If you’re chasing those perfect edges, you need to pay attention to a couple of details that really elevate these crispy gluten free waffles. The very first thing, which I mentioned briefly, is letting that batter rest for at least five minutes after you fold in the blueberries. Gluten-free flours are thirsty, and that short rest time lets them absorb the liquid fully, which makes the final product sturdier and much less likely to tear.
Also, don’t go light on the fat! That half cup of melted butter isn’t just for flavor; fat is essential for achieving that shatteringly crisp exterior we all crave in a waffle. If you’re looking for maximum crispiness, I sometimes brush the inside of my iron plates with a tiny bit of high-heat oil right before pouring the batter in for the second or third waffle. It’s a little extra step when making breakfast for the family, but oh my, it pays off!
Ingredient Substitutions for Your Gluten-Free Blueberry Waffles
Life happens, and sometimes you run out of an ingredient mid-recipe! Luckily, these are super forgiving. If you don’t keep cow’s milk around, don’t panic at all—any non-dairy milk works wonderfully here. Almond or oat milk both work perfectly in these gluten free blueberry waffles recipes; I find that oat milk gives you a slightly richer, creamier result, which I love.
Now about the flour—I use my trusty 1:1 blend most days, but if you’re trying to keep things grain-free or just experimenting, you can absolutely play around. If you have a blend focused on finer flours like those using a good amount of rice flour, they do great. Some folks have had success with recipes focused on waffles with almond flour, but just be aware you might need slightly less liquid because nut flours are very absorbent. You might need to do a little test pour if you swap flours types just to see how the easy gluten free waffle batter feels!
Eggs are tougher to replace, but if you need to, you can try using two ‘flax eggs’ (2 tablespoons ground flax mixed with 6 tablespoons of water, let it sit for 5 minutes). It won’t give you quite the same lift as a real egg, but it helps bind things together nicely for a slightly denser but still delicious blueberry breakfast recipes option.
Serving Suggestions for Your Perfect Gluten Free Breakfast
Now that you have these gorgeous, crisp waffles, how do you serve them up? We love turning this into a real feast, whether it’s a spontaneous mid-week treat or a proper Sunday sit-down featuring these blueberry breakfast recipes. Of course, maple syrup is a must, but don’t stop there if you’re looking for something that feels a little healthier!
Try topping them with a big dollop of Greek yogurt instead of whipped cream for a protein punch—it adds a lovely tanginess that cuts through the sweetness. A sprinkle of toasted pecans or maybe some extra fresh berries finishes this right off. It’s honestly the best way to serve up your simple gluten free morning meal!
Storage and Reheating Instructions for Gluten-Free Blueberry Waffles
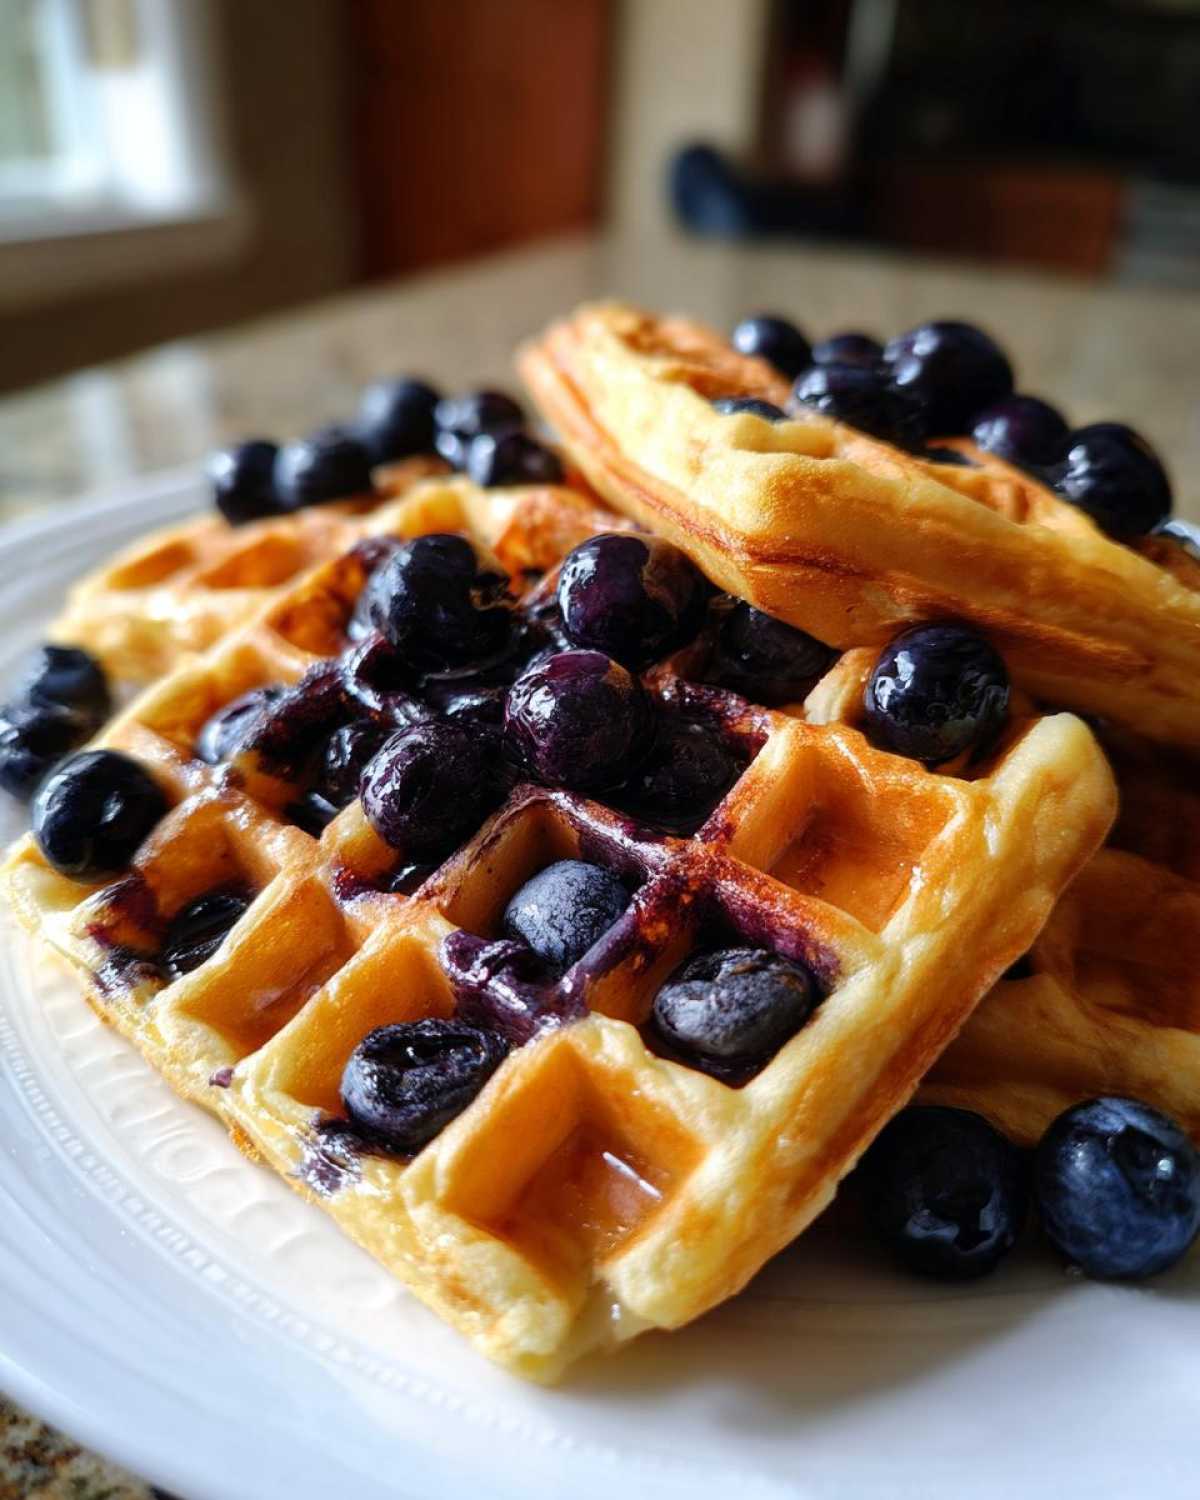
Nobody wants to waste these perfect waffles! Because we worked so hard to get that crispy exterior, we have to treat the leftovers right. If you have any hanging around after breakfast, the best way to keep them is to let them cool completely on a wire rack first. Don’t stack them warm or they’ll steam themselves soggy—that’s the quickest way to ruin a perfect waffle!
For the fridge, pop the cooled waffles into an airtight container or a large zip-top bag. They’ll easily last three or four days in here. If you know you won’t get to them by then, they freeze like a dream! I often make huge batches specifically to freeze for busy mornings in the future. You can check out my tips for other freezer meals over here!
The Best Way to Reheat for Maximum Crispness
This is my biggest promise to you: Do NOT use the microwave! Microwaving gluten-free anything is basically signing its death warrant; it turns soft things hard and hard things chewy. We are fighting for that crunch, remember?
For individual waffles, the toaster slot is amazing. It thaws and crisps them beautifully in just a couple of minutes. If you have a big batch you need to revive, spread them out right on a baking sheet—no need to line it—and pop them into a 350°F oven for about 5 to 7 minutes. That hot, dry heat brings them right back to life, making them taste like they just came off the iron. Serve them right away with extra syrup!
Frequently Asked Questions About Gluten-Free Waffles
I always get emails asking the same few things, which makes sense because getting the texture right in
gluten free breakfast recipes can feel like guesswork until you see it work once! I’ve gathered the most common ones here so you can troubleshoot before you even start pulling out your mixing bowls.
Can I make these Gluten-Free Blueberry Waffles ahead of time?
Yes, absolutely! That’s why I love how well they freeze. You can definitely make a big batch—say, enough for a whole week of
fluffy gluten free breakfast—and let them cool completely on a rack. Then, stack them up with a little square of parchment paper between each waffle, seal them tight in a freezer bag, and they last for weeks. When you need one, just pull it out and use your toaster or oven for reheating (never the microwave!).
What is the secret to making fluffy gluten free breakfast items?
It boils down to two things, really, and they are both about respecting the batter. First, you must not overmix! Once you add those wet ingredients to the dry, mix only until those streaks of flour disappear. A few lumps are a sign you did it right. Overmixing gluten-free batter is a guaranteed path to density, so handle it with love! Second, make sure you have enough power from your baking powder. If your blend doesn’t have xanthan gum, or if your baking powder is old, you won’t get the lift needed for that airy interior we’re looking for in these
best gluten free waffles.
Why do my blueberries keep sinking to the bottom of the batter?
Ugh, the dreaded blueberry graveyard at the bottom of the waffle! This means your batter was too thin or you folded them in too vigorously. For the best results when you make blueberry waffles without gluten, make sure your batter is thick—it should look almost like thick pancake batter, not liquid. If you use frozen blueberries, they help keep the batter structure intact better than fresh ones do. Gently fold them in right at the very end, literally just a few quick turns of the spatula to distribute them without stirring them in completely.
Can I use oat flour or just almond flour instead of a blend?
That’s a great question if you’re looking for specific grain-free or different flavor profiles. While you can play around, I strongly recommend sticking to a good quality 1:1 gluten-free all-purpose blend for this recipe, especially if you want guaranteed crispy results. Blends are balanced with starches and gums already included. If you were aiming for waffles with almond flour only, you’d have to significantly adjust the liquid and eggs because nut flours behave totally differently. For the easiest path to a
perfect gluten free breakfast, buy the blend!
Nutritional Snapshot of This Gluten-Free Recipe
I always like to give a quick peek at the numbers for these amazing waffles, though please remember these are just estimates since everyone uses slightly different brands of GF flour and milk! Based on the ingredients list, one large waffle comes out to around 350 calories, giving you a nice punch of protein (about 10g) to keep you full. You’re looking at about 45 grams of carbs and 16 grams of fat. It’s a satisfying way to kick off your day without feeling weighed down!
PrintFluffy Gluten-Free Blueberry Waffles

A straightforward recipe for making light and crispy blueberry waffles using a gluten-free flour blend.
- Prep Time: 10 min
- Cook Time: 15 min
- Total Time: 25 min
- Yield: 4 large waffles
- Category: Breakfast
- Method: Waffle Iron
- Cuisine: American
- Diet: Gluten Free
Ingredients
- 1 3/4 cups gluten-free all-purpose flour blend (with xanthan gum)
- 2 tablespoons granulated sugar
- 1 tablespoon baking powder
- 1/2 teaspoon salt
- 1 1/2 cups milk (dairy or non-dairy)
- 2 large eggs
- 1/2 cup unsalted butter, melted
- 1 teaspoon vanilla extract
- 1 cup fresh or frozen blueberries
Instructions
- Preheat your waffle iron according to the manufacturer’s directions.
- In a large bowl, whisk together the gluten-free flour blend, sugar, baking powder, and salt.
- In a separate medium bowl, whisk the milk, eggs, melted butter, and vanilla extract until combined.
- Pour the wet ingredients into the dry ingredients. Mix gently until just combined; do not overmix the batter. A few small lumps are acceptable.
- Gently fold in the blueberries.
- Pour the batter onto the preheated waffle iron, using the amount recommended by your appliance.
- Cook until the waffle is golden brown and crisp, usually 4 to 6 minutes.
- Remove the waffle carefully and serve immediately or keep warm while you cook the remaining batter.
Notes
- If your gluten-free blend does not contain xanthan gum, add 1 teaspoon to the dry ingredients.
- For crispier waffles, let the batter rest for 5 minutes before cooking.
- If using frozen blueberries, do not thaw them first; add them directly to the batter.
Nutrition
- Serving Size: 1 waffle
- Calories: 350
- Sugar: 10
- Sodium: 300
- Fat: 16
- Saturated Fat: 9
- Unsaturated Fat: 7
- Trans Fat: 0
- Carbohydrates: 45
- Fiber: 2
- Protein: 10
- Cholesterol: 85