

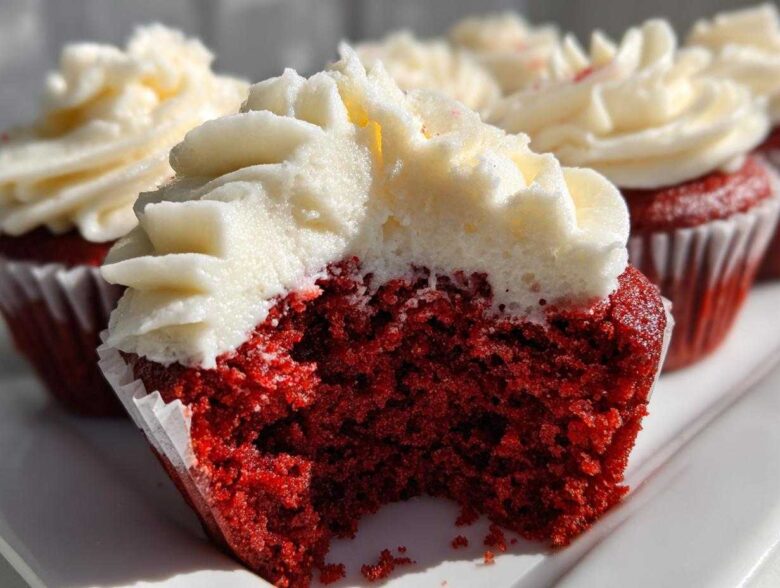
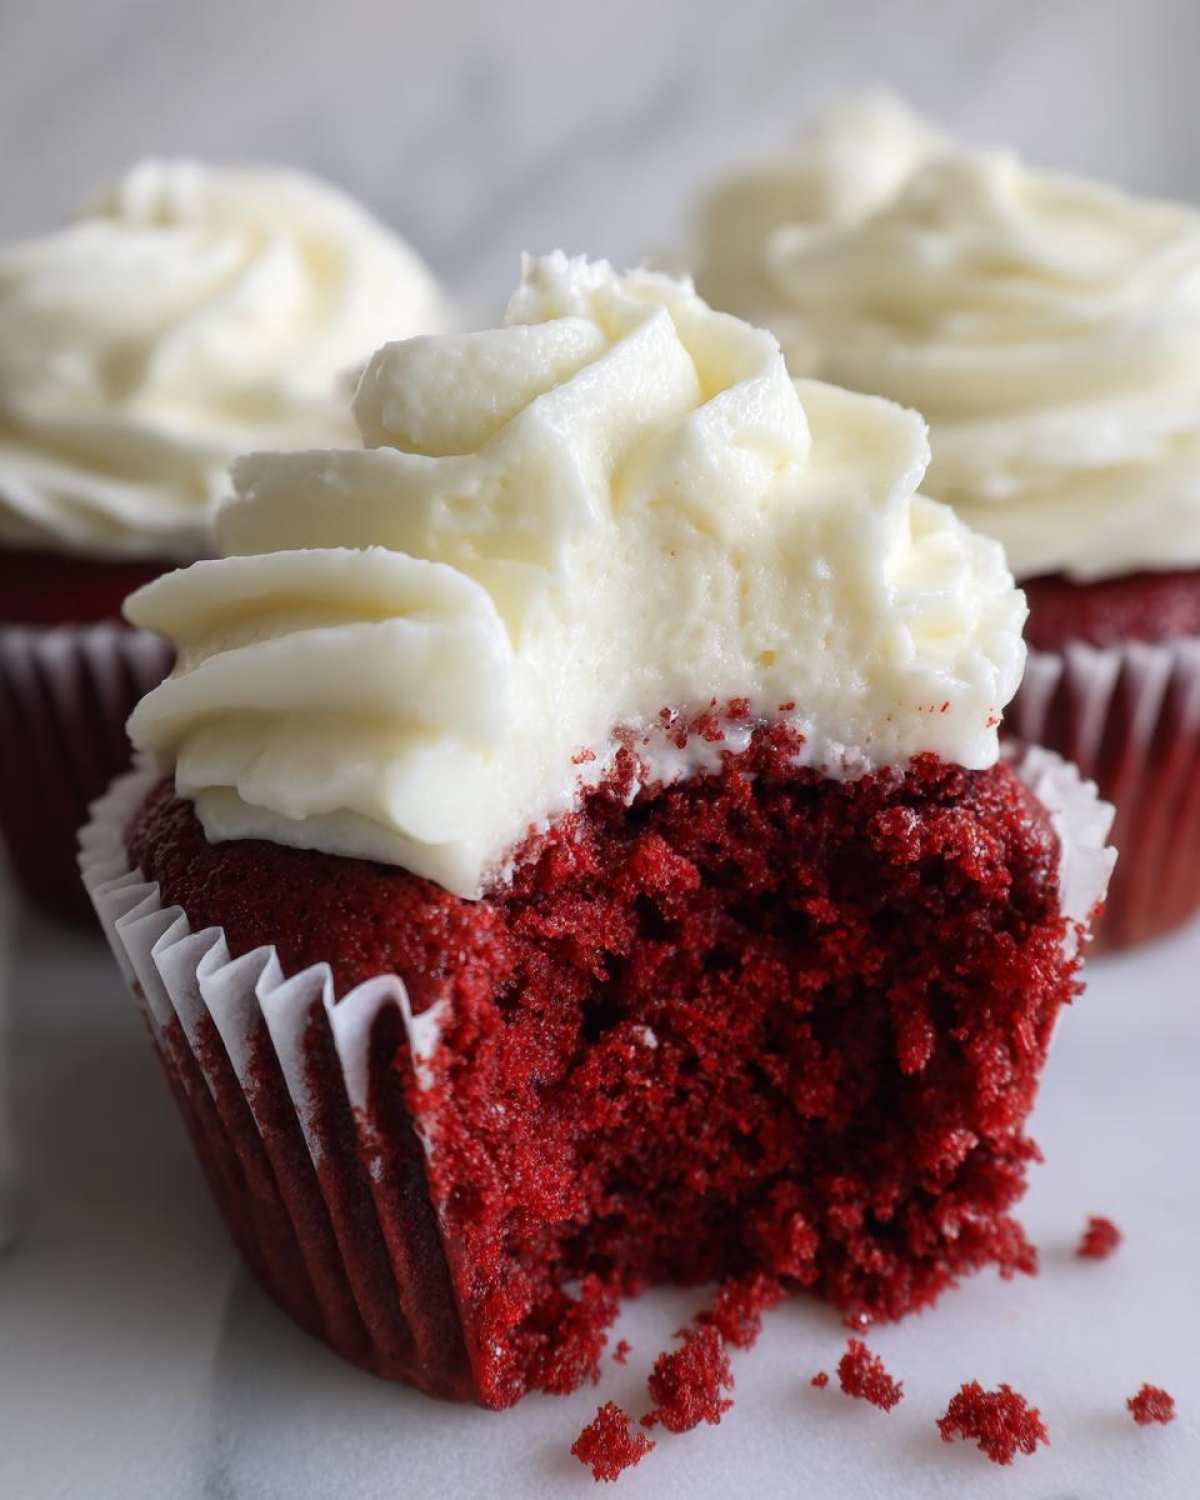
Oh my gosh, stop everything you are doing right now because I’ve got some absolutely spectacular news straight from my kitchen! After a couple of weeks where Owen and I felt like we were running on fumes, I needed a baking project that felt classic but utterly comforting. That is how I landed on perfecting these red velvet cupcakes. Forget dry, flavorless versions—these are the Best Ever Moist Red Velvet Cupcakes with Ultra Creamy Classic Cream Cheese Frosting, and trust me, they are the headline story your day needs. Baking these rich cocoa beauties turned everything around for me; they remind us that even during the hustle, there’s a rich, beautiful treat waiting to be announced!
Why You Will Love These Moist Red Velvet Cupcakes
I promise you, these aren’t just any cupcakes; these are the ones that make people ask for the recipe immediately. They are seriously life-changing once you try them. You’re going to adore making these because:
- They are ridiculously moist! We use a little Southern magic here to keep them tender for days.
- It’s a straightforward classic red velvet recipe that mixes up quickly—perfect for a weeknight surprise or those last-minute Valentine’s Day cupcake ideas.
- That cream cheese frosting? It’s the best cream cheese frosting for cupcakes you will ever taste—tangy, sweet, and unbelievably smooth.
- The color is vibrant and deep thanks to using gel coloring, giving you that beautiful, bakery style red velvet cupcakes look without the huge effort.
- They are simply the best homemade cupcakes recipe for celebrating anything!
Gathering Ingredients for Your Red Velvet Cupcakes
Okay, friends, gathering our supplies is where the magic truly starts! For these stunning red velvet cupcakes, we need to grab everything before we mix—no frantic searching mid-creaming, please! Keeping your butter and cream cheese softened but still cool is a little balancing act, but it pays off big time in the texture department.
I know some recipes just say ‘milk,’ but for that authentic, almost tangy note that makes a buttermilk red velvet sing, we absolutely have to use buttermilk here. It reacts perfectly with the vinegar and baking soda to give us that amazing rise and tenderness. Let’s get organized!
For the Red Velvet Cupcakes
- 1 1/2 cups all-purpose flour
- 1 teaspoon baking soda
- 1 teaspoon unsweetened cocoa powder
- 1/2 teaspoon salt
- 1 cup granulated sugar
- 1/2 cup unsalted butter, softened
- 2 large eggs (make sure they’re room temp!)
- 1 teaspoon vanilla extract
- 1 cup buttermilk
- 1 tablespoon white vinegar
- 1 teaspoon red gel food coloring (this is the secret to that vibrant color!)
For the Ultra Creamy Cream Cheese Frosting
This frosting is everything. It needs to be silky smooth so you can get that gorgeous swirl later. Remember, you need powdered sugar, sifted, because lumps in the frosting are a criminal offense in my kitchen!
- 1/2 cup cream cheese, softened
- 1/4 cup unsalted butter, softened
- 2 cups powdered sugar, sifted
- 1 teaspoon vanilla extract
Step-by-Step Instructions for Perfect Red Velvet Cupcakes
Alright, let’s talk technique! Making these red velvet cupcakes isn’t hard, but paying attention to a couple of little things is what pushes them from ‘good’ to ‘headline-worthy.’ We want that signature velvety texture dessert, and that starts right here in the mixing bowl. Oven preheating is non-negotiable—we need 350°F (175°C) sharp!
Preparing the Batter and Baking the Red Velvet Cupcakes
First things first, get your 12-cup muffin tin lined up—we’re aiming for 12 perfect servings here. Whisk your dry things—flour, baking soda, cocoa, and salt—in a medium bowl and put them on standby. Now, for the fun part: creaming! Beat that main half-cup of butter with the sugar until it looks pale and fluffy. Then, pop in the eggs one at a time, making sure each is incorporated before adding the next little bit of vanilla.
Next, create your vibrant red bath. Mix your buttermilk, vinegar, and that crucial red gel food coloring together until it’s one gorgeous color. Now, here’s the most important part for texture: you alternate! Add about a third of your dry mix, mix gently, then half of your liquid red buttermilk mix, mix gently again. Keep repeating until you start and end with the dry ingredients. Stop mixing the second you see no more white streaks! Overmixing is how you get tough red velvet cupcakes, and we swore we were going to get moist red velvet cupcakes today, right? Fill those cups two-thirds full and bake for 18 to 20 minutes. Don’t peek until 18!
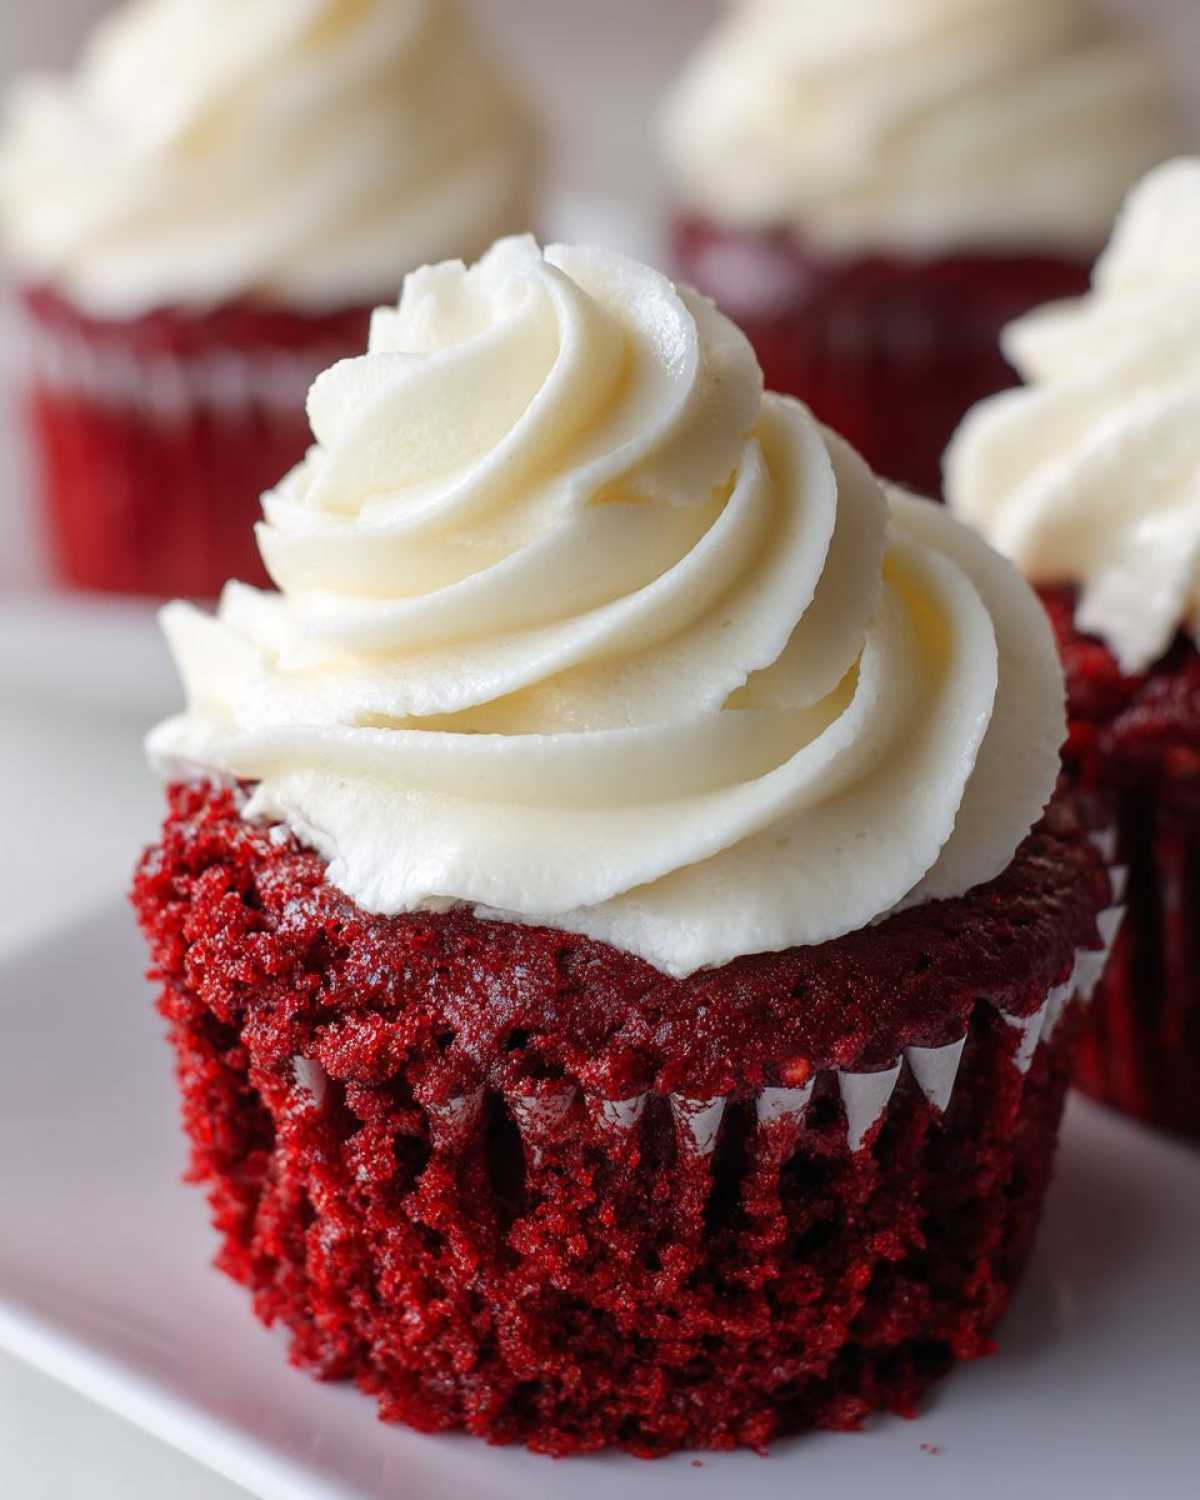
Creating the Best Cream Cheese Frosting for Cupcakes
While those beauties are cooling (and your kitchen is smelling amazing!), let’s nail this frosting. We need smooth operators here, so make sure your cream cheese and that reserved quarter-cup of butter are nice and soft. Beat them in your mixer until they are completely beautiful—no lumps lurking! If you want that tender vanilla cream cheese topping, you have to get past this first stage.
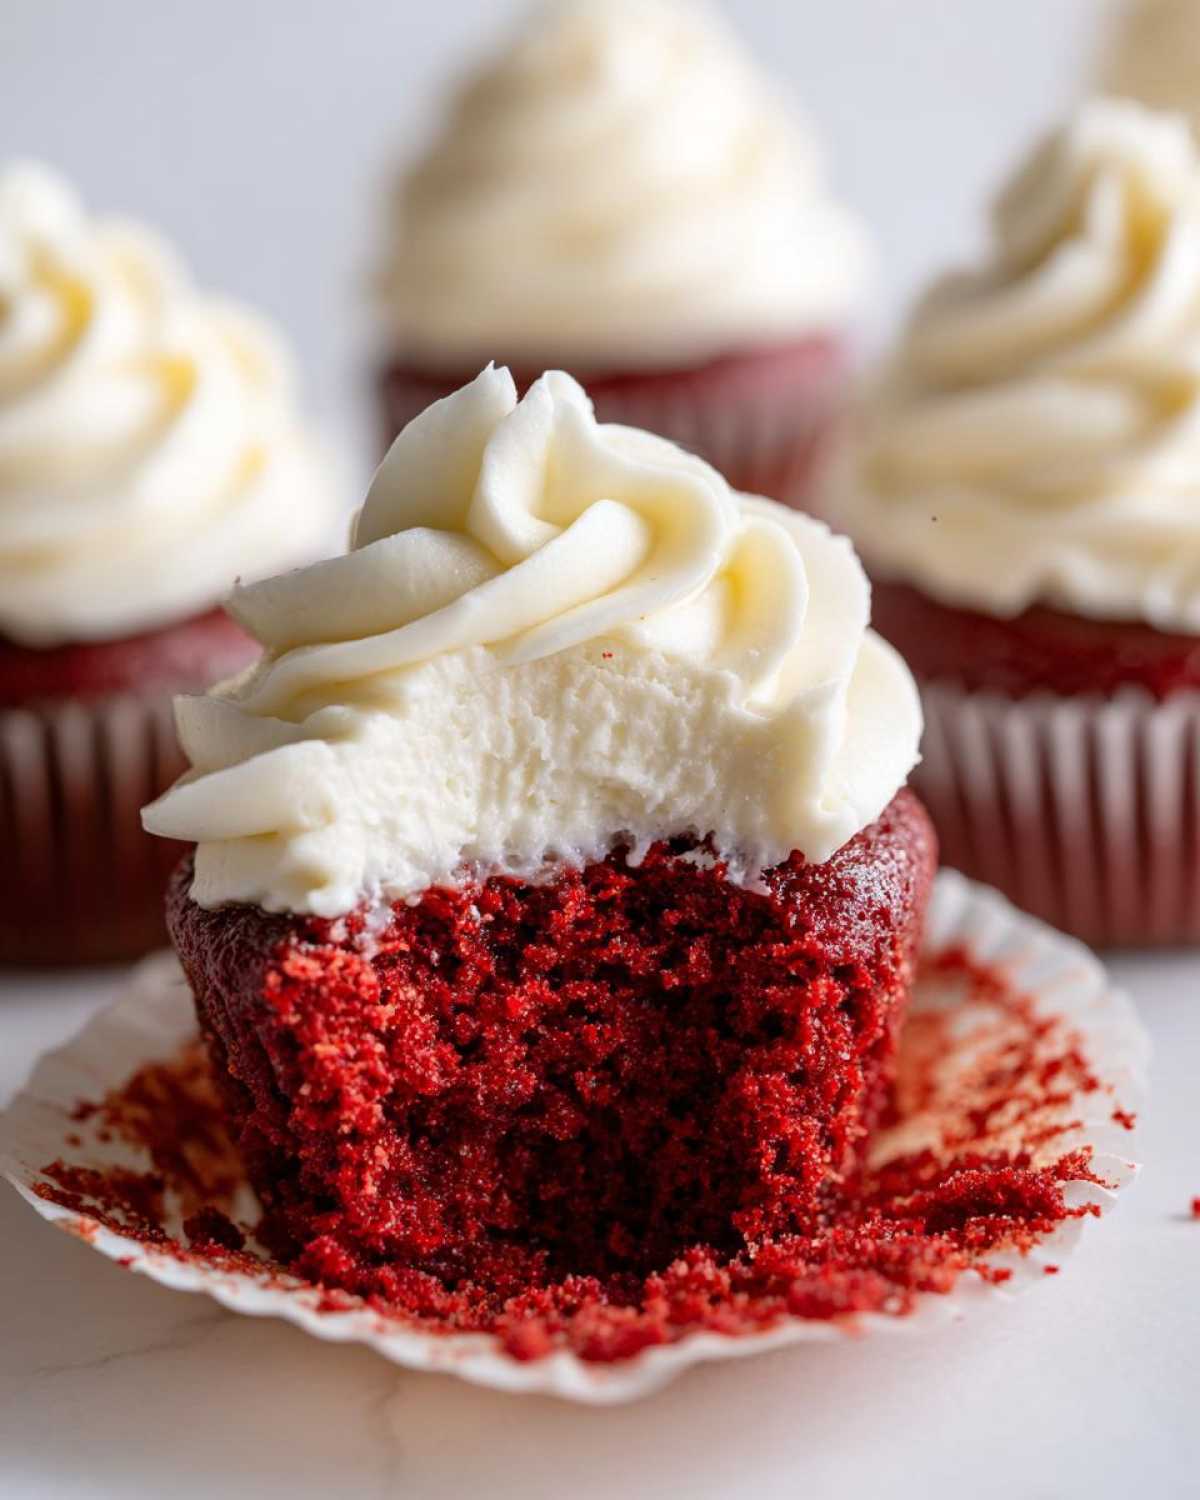
Once smooth, start adding your sifted powdered sugar slowly on a low speed. If you dump it all in, you’ll wear it! Once incorporated, crank the speed up high and beat it until it’s light and airy. A final splash of vanilla, and boom—the best cream cheese frosting for cupcakes is done.
Assembling Your Homemade Cupcakes Recipe
This is the grand finale! Before you even *think* about frosting, those cupcakes have to be stone cold. Seriously, if they are even slightly warm, your glorious frosting will turn into a melted, sugary puddle. Once cooled, it’s piping time! This completes our entire easy red velvet cupcake recipe. Now go ahead, enjoy announcing this delicious news!
For more tips on ensuring tender baking, check out my notes on why butter temperature matters in cake science!
Expert Tips for Bakery Style Red Velvet Cupcakes
We aren’t just making cupcakes here; we are aiming for that perfect, cloud-like bite you get from the best bakeries in town! Achieving those beautiful, bakery style red velvet cupcakes takes just a couple of tiny tweaks that make a huge difference. Trust me, these little things solidify your reputation as a baking superstar.
First, let’s revisit the color! If you want that deep, rich red that screams ‘special occasion,’ you absolutely MUST use a red gel food coloring. Liquid coloring just waters down the batter and gives you a faded pink, and we aren’t having that! Check out my trick for keeping my spice cakes super moist; it works just as well for these moist red velvet cupcakes too.
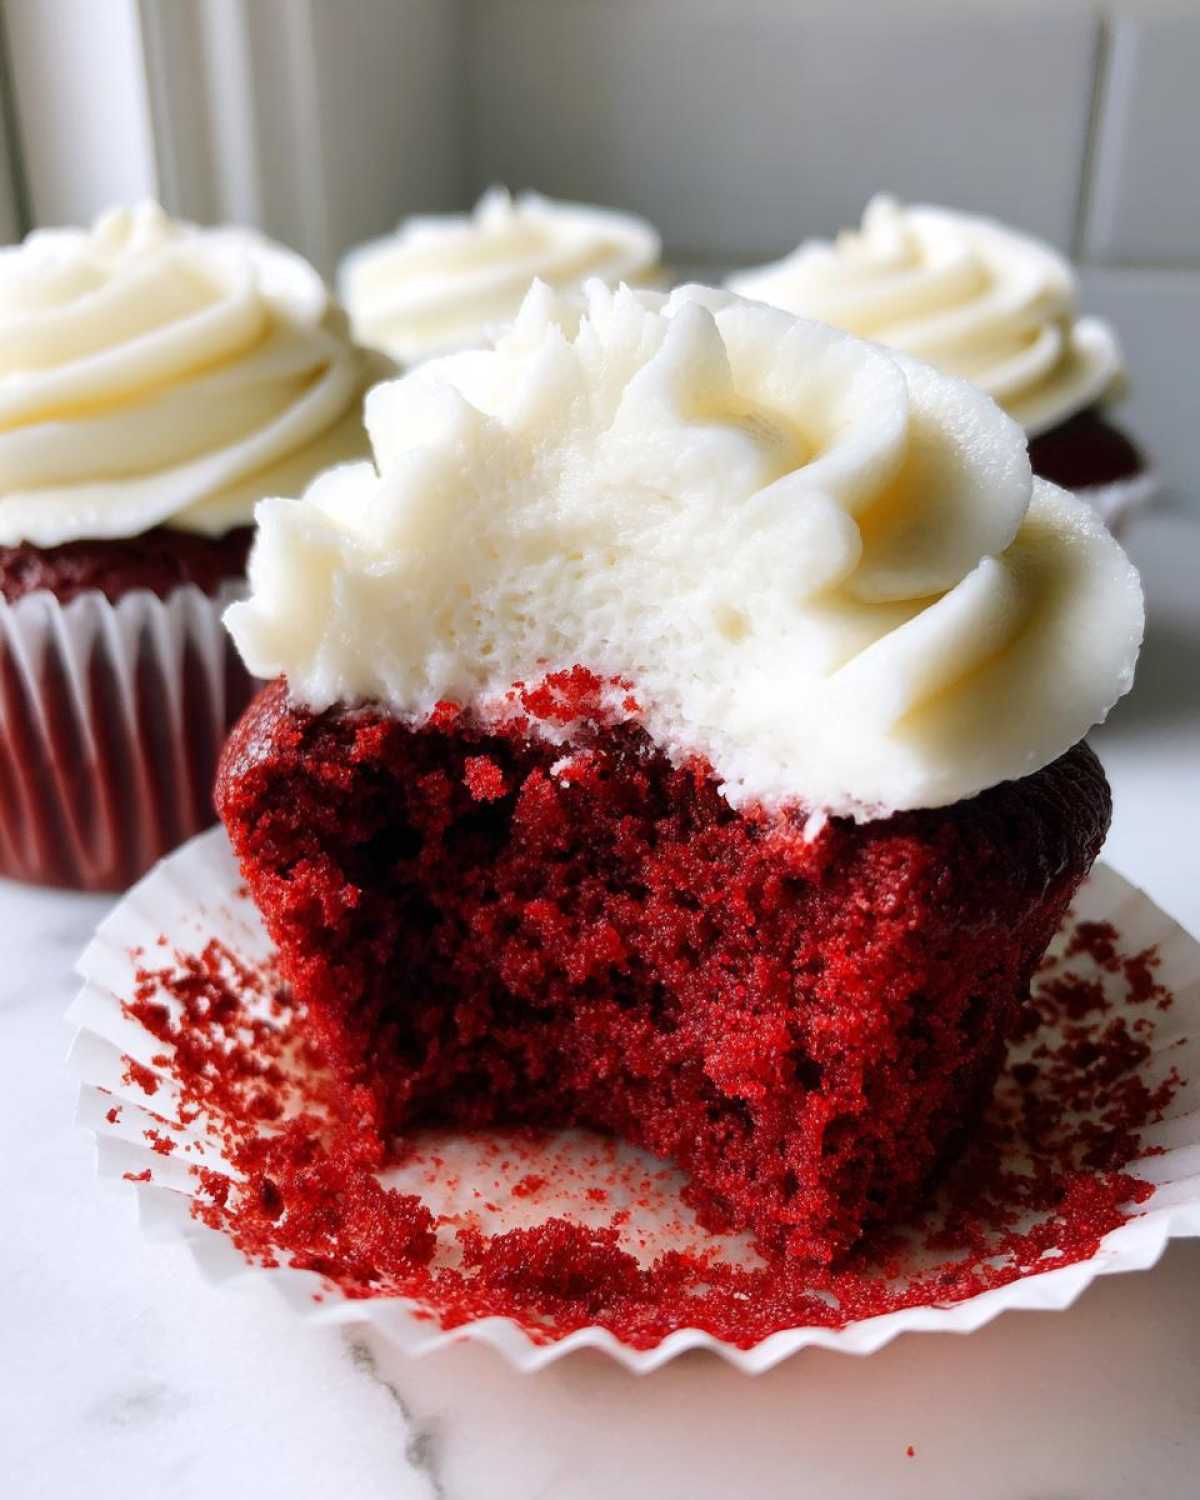
Secondly, remember the cooling note? If you chill these frosted beauties slightly, the best cream cheese frosting for cupcakes will firm up just enough to hold its shape beautifully but still melt in your mouth when you bite into it. For more gorgeous inspiration on achieving that classic look, check out this pin by Yumm Kitchen on mastering red velvet cupcakes!
Ingredient Notes and Substitutions for Red Velvet Cupcakes
I get so many emails asking if they can skip the buttermilk or use regular food dye, so let’s set the record straight right now! To master these red velvet cupcakes, a few ingredients are non-negotiable champions. If you want that classic, slightly tangy depth, you have to stick with the buttermilk red velvet approach. It’s what gives the cake its signature crumb!
The reaction between the buttermilk (which is acidic) and the baking soda is essential—that’s what gives us lift, working alongside the small amount of cocoa powder. Please, please, please use red *gel* food coloring, not regular liquid drops. Gel gives you that intense, gorgeous color without adding extra water that ruins the texture we worked so hard for.
What if you’re out of buttermilk? Don’t panic! You can easily make a quick substitute by mixing one tablespoon of white vinegar (or lemon juice) into a cup of regular milk. Let it sit for about five minutes until it curdles slightly. Voilà! Instant buttermilk red velvet base. These little adjustments ensure your red velvet cupcakes have that amazing southern sweet treats quality every single time.
Storage and Reheating Instructions for Your Red Velvet Cupcakes
Okay, now that you’ve announced the good news—delicious red velvet cupcakes covered in that incredible frosting—we need to talk about keeping them perfect! Since we used real cream cheese frosting, the safest bet is to store any leftovers in the refrigerator. They’ll stay lovely and fresh for up to three days.
Here’s my important tip to keep them looking bakery-ready: If you frosted them ahead of time, leave them out on the counter about 30 minutes before serving. Chilling them slightly helps the best cream cheese frosting for cupcakes hold its shape, but letting them warm up just a touch makes that frosting perfectly creamy again to enjoy!
Serving Suggestions for These Beautiful Red Desserts
These vibrant red velvet cupcakes look stunning all on their own, especially piled high on a tiered stand for a party. But if you’re planning a big spread, think about what complements that rich cocoa flavor! For holiday dessert recipes, they look divine next to something light and green, like a mint chocolate chip cookie, or maybe even a simple bowl of fresh white whipped cream.
If you are leaning into Valentine’s Day cupcake ideas, a big, colourful, non-alcoholic drink is a perfect match. My absolute favorite pairing is a big pitcher of sparkling cranberry limeade—it’s beautiful, refreshing, and cuts through the richness of the frosting perfectly. You can find my recipe for that refreshing drink right here!
Frequently Asked Questions About Red Velvet Cupcakes
It’s totally normal to have questions when you’re trying out a new take on a classic! I’ve collected some of the biggest questions bouncing around my inbox about these red velvet cupcakes. Don’t stress if you’re new to baking; let’s make sure we get that perfect result!
What makes these red velvet cupcakes so moist?
It really boils down to three things working together! First, we use buttermilk, which tenderizes the crumb. Second, the chemical reaction between the buttermilk and the baking soda/vinegar creates tiny, steady air bubbles that stop the cake from compacting. Finally, the key is not to overmix in the final stages—that keeps those bubbles intact, giving you lovely, moist red velvet cupcakes every time!
Can I make the cream cheese frosting ahead of time?
You absolutely can, and honestly, sometimes it’s helpful if you are planning a big bake! If you make the best cream cheese frosting for cupcakes ahead of time, seal it tightly in an airtight container and keep it in the fridge. When you’re ready to frost, let it sit on the counter for about an hour to soften up again so it’s spreadable. Don’t frost the cupcakes until they are completely cool, though, or you’ll have a runny mess!
If you have any more burning questions or just want to say hello, feel free to reach out to us over on the contact page!
Share Your Red Velvet Cupcakes Success Story
Now that you’ve made the absolute best red velvet cupcakes—the kind that deserves its own headline—I truly want to hear all about it! This is exactly why Owen and I started the Hungry Herald: to share good news, and nothing announces good news like a perfectly frosted dessert.
Did they stay moist overnight? Did you dance while waiting for them to cool? Tell me your stories! Please leave a rating down below so others know these classic red velvet recipe treats are worth making. If Pinterest is your jam, feel free to snap a picture and share it—tagging me lets me celebrate your win!
We’re always looking for new stories to report on our main blog page, so let me know how these turned out for you. Happy baking, friends!
PrintThe Best Ever Moist Red Velvet Cupcakes with Ultra Creamy Cream Cheese Frosting
You can bake bakery style red velvet cupcakes that are incredibly moist and rich with cocoa flavor. This easy recipe, complete with the best cream cheese frosting, is perfect for Valentine’s Day or any special occasion.
- Prep Time: 20 min
- Cook Time: 20 min
- Total Time: 40 min
- Yield: 12 servings
- Category: Dessert
- Method: Baking
- Cuisine: American
- Diet: Vegetarian
Ingredients
- 1 1/2 cups all-purpose flour
- 1 teaspoon baking soda
- 1 teaspoon unsweetened cocoa powder
- 1/2 teaspoon salt
- 1 cup granulated sugar
- 1/2 cup unsalted butter, softened
- 2 large eggs
- 1 teaspoon vanilla extract
- 1 cup buttermilk
- 1 tablespoon white vinegar
- 1 teaspoon red gel food coloring (the secret to vibrant color)
- 1/2 cup cream cheese, softened
- 1/4 cup unsalted butter, softened
- 2 cups powdered sugar, sifted
- 1 teaspoon vanilla extract
Instructions
- Preheat your oven to 350°F (175°C). Line a 12-cup muffin tin with paper liners.
- In a medium bowl, whisk together the flour, baking soda, cocoa powder, and salt. Set this dry mixture aside.
- In a large bowl, cream together the 1 cup of sugar and 1/2 cup of softened butter until light and fluffy. Beat in the eggs one at a time, then mix in 1 teaspoon of vanilla extract.
- In a small bowl, mix the buttermilk, vinegar, and red gel food coloring until the color is uniform. This is key for that classic Southern sweet treats look.
- Alternate adding the dry ingredients and the buttermilk mixture to the butter mixture, beginning and ending with the dry ingredients. Mix just until combined; do not overmix to keep your cupcakes tender.
- Pour the batter evenly into the prepared cupcake liners, filling each about two-thirds full.
- Bake for 18 to 20 minutes, or until a toothpick inserted into the center comes out clean. Let the cupcakes cool in the pan for 5 minutes before transferring them to a wire rack to cool completely.
- To make the ultra creamy cream cheese frosting, beat the softened cream cheese and 1/4 cup of softened butter together until smooth.
- Gradually add the sifted powdered sugar, mixing on low speed until incorporated, then increase the speed to medium-high and beat until light and fluffy. Mix in 1 teaspoon of vanilla extract.
- Once the cupcakes are completely cool, pipe or spread the cream cheese frosting onto each one. Announce the good news: your homemade cupcakes recipe is complete!
Notes
- For the best velvety texture, use room temperature buttermilk and eggs.
- Do not substitute liquid food coloring for gel coloring; gel provides a richer, less watery color.
- If you want bakery style results, chill your finished, frosted cupcakes for 15 minutes before serving.
Nutrition
- Serving Size: 1 cupcake
- Calories: 380
- Sugar: 40g
- Sodium: 250mg
- Fat: 20g
- Saturated Fat: 12g
- Unsaturated Fat: 8g
- Trans Fat: 0.5g
- Carbohydrates: 48g
- Fiber: 1g
- Protein: 4g
- Cholesterol: 65mg