

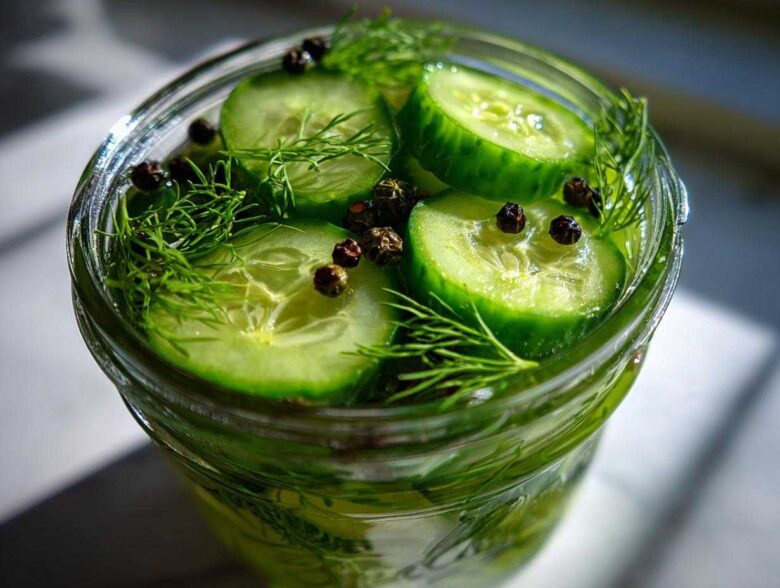
Do you ever get that craving? That sudden, intense need for the sharp, tangy crunch of a perfect pickle? Oh man, me too! When Owen pulls out a leftover steak or we’re making burgers, I just can’t settle for those mushy grocery store tubs. This recipe is exactly what we needed when life got too busy—a way to inject real flavor and real joy into our routine without adding any complicated steps. Today, I’m sharing the good news: you can make incredible, crisp refrigerator pickles that taste like they were just plucked from the garden, and the best part is, you don’t have to break out the canner! As I talk about over on our About Us page, we are all about finding joy in the simple things, and these are pure joy in a jar. Trust me, these easy homemade pickles are about to become your new happy headline.
Why These Are the Best Refrigerator Pickles You Will Ever Make
When I started hunting for a recipe that fit our crazy schedule, I focused on three things: crunch, speed, and simplicity. These refrigerator pickles deliver on all three. Honestly, sometimes I just need a fresh pickle snack without waiting weeks for the flavors to settle! You can always check out what else is cooking up on our main blog page here.
Here’s why you are going to love making these quick pickles:
- They rely on a no canning required situation, which means less work and less intense heat in the kitchen.
- They give you that signature snap you’re looking for in truly crispy refrigerator pickles.
- They transition from prep time to plate in just about 24 hours!
Ultimate Crispness Through Brining
This is non-negotiable, friends. The secret to that beautiful crunch, the kind that makes noise when you bite into it, is the 1-hour salt soak upfront. We are essentially drawing out the excess water from the cucumbers. If the water stays in, it waters down your brine later, and you end up with floppy pickle sadness. Don’t let that happen!
Ready in Just 24 Hours
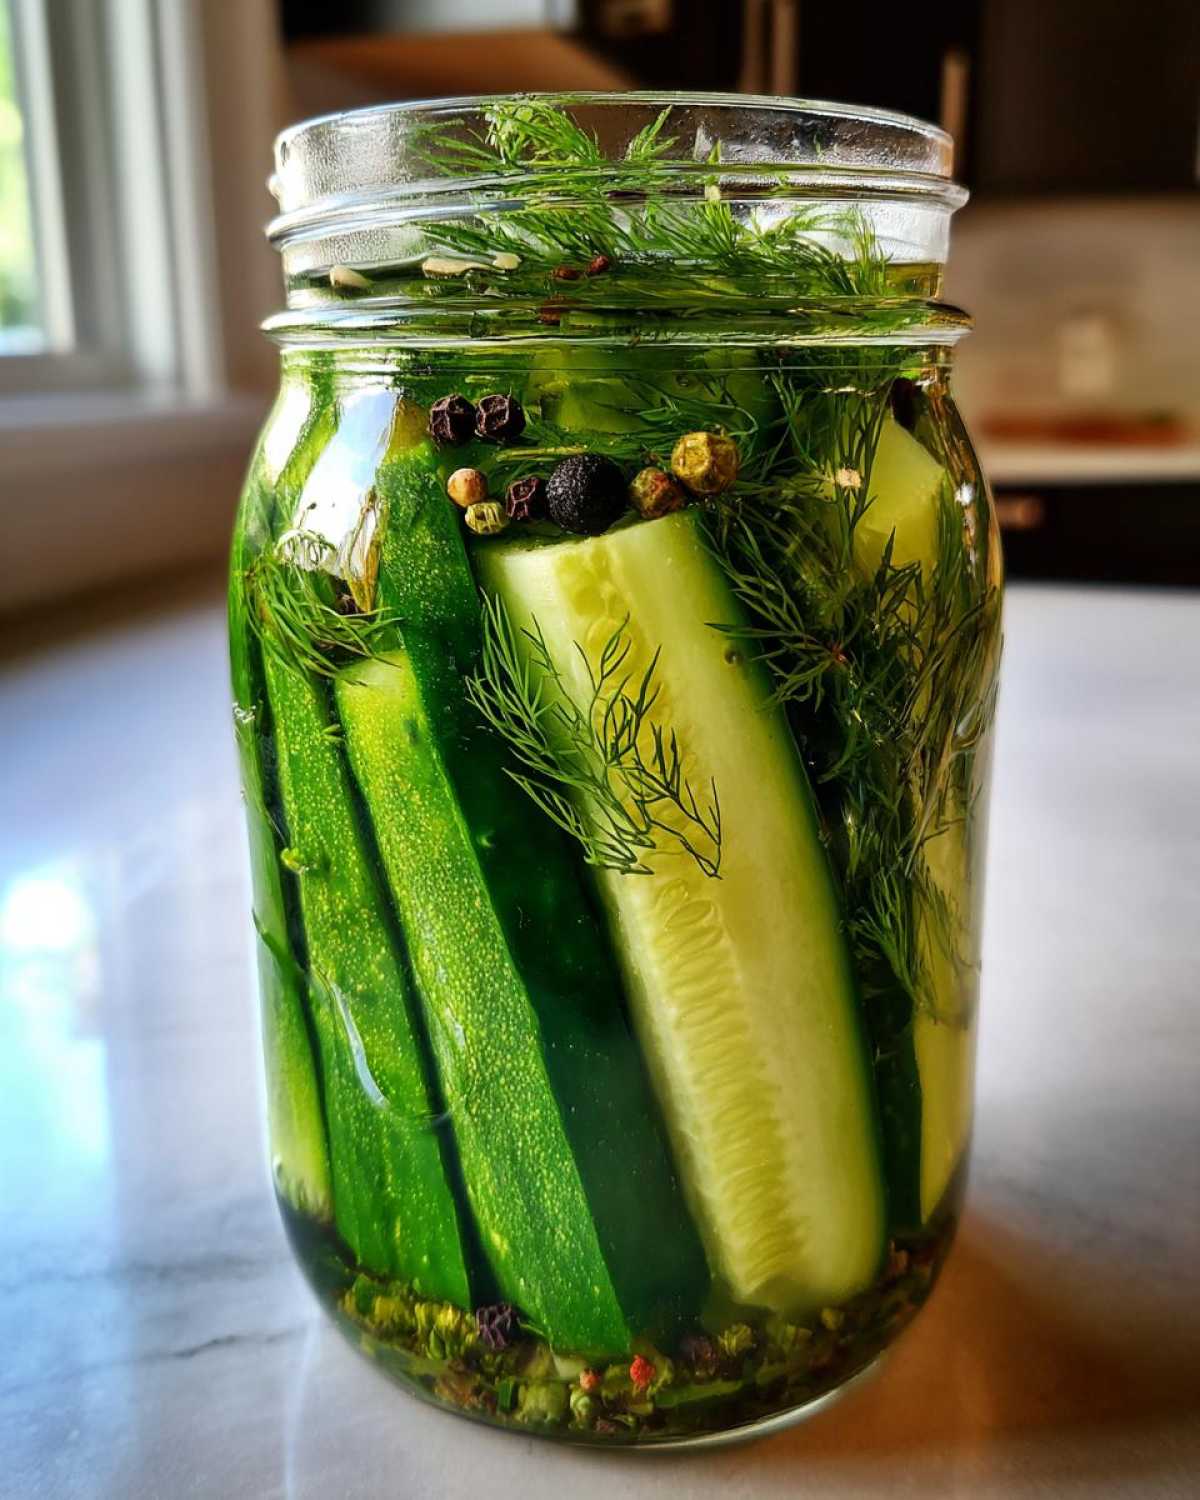
Forget those recipes that tell you to wait a whole week before you can even sneak a taste. With this method, we are using a cold brine that gets right to work. These become fantastic, tangy easy homemade pickles in just one day. You prep them while watching your favorite show, and by the next evening, you are ready for some serious snacking!
Gathering Ingredients for Your Crunchy Pickles Recipe
Okay, let’s talk what you need! For the best results, remember that the quality of your starting materials makes a huge difference, even in these simple refrigerator pickles. We aren’t canning, so the freshness needs to pop right out of the jar. I’ve listed everything below, but let’s dive into the cucumber choice first because that’s key to getting those fantastic crunchy pickles recipe vibes.
Selecting the Best Cucumbers for Refrigerator Pickles
Trust me on this one: don’t just grab any cucumber off the shelf! You really need firm, small pickling cucumbers, like Kirby varieties. If you skip this, the whole process of cucumber preservation falls apart, and you’ll end up with soft pickles, which is just sad. They need to be firm enough to handle that salt soak we are about to do.
Crafting the Quick Pickle Brine Recipe
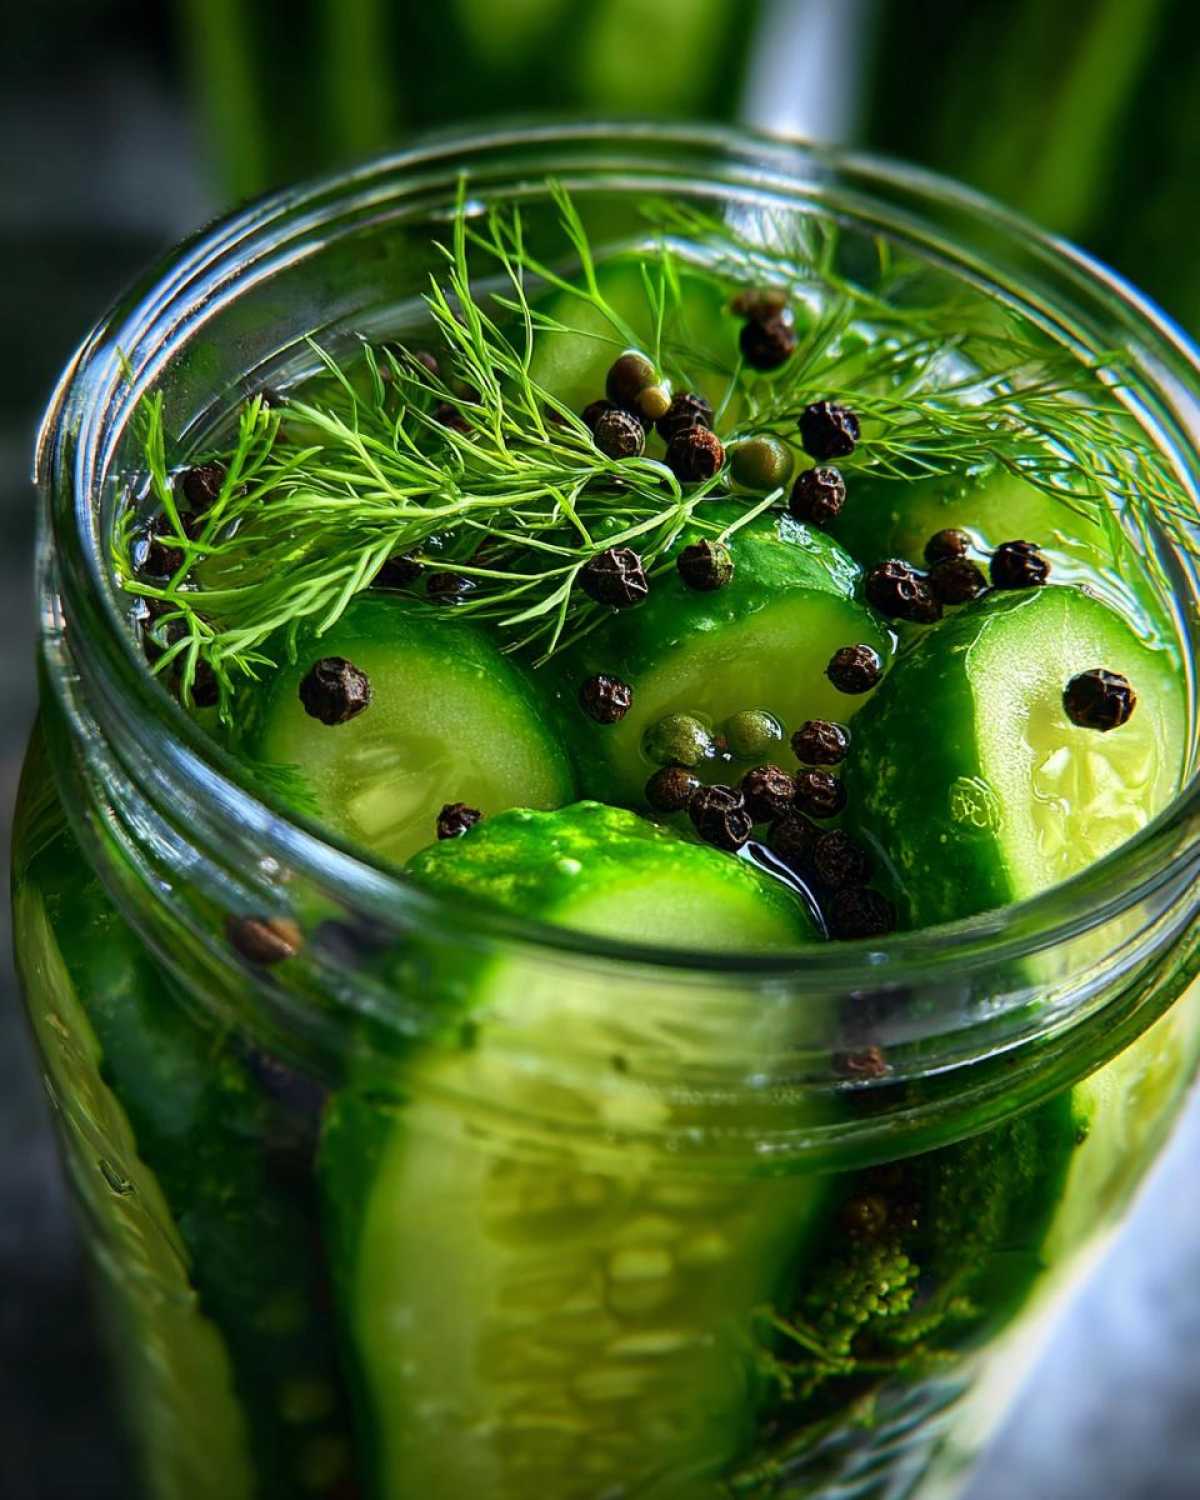
Since this is a cold brine pickles situation, we aren’t boiling away flavor. We just need the sugar dissolved in the vinegar and water. The ratio of vinegar to water is what gives us that perfect balance for a quick pickle brine recipe. It should be tangy, but that little bit of sugar we add helps balance the bite perfectly!
- 2 pounds pickling cucumbers (Kirby is my favorite), sliced 1/4 inch thick
- 1/4 cup kosher salt
- 4 cups cold water (for the initial soak)
- 2 cups white vinegar
- 1/4 cup granulated sugar
- 2 tablespoons whole black peppercorns
- 4 cloves garlic, smashed lightly
- 4 heads fresh dill (or 4 tablespoons dried dill seed)
- Water for the brine (additional 2 cups)
Step-by-Step Instructions for Perfect Refrigerator Pickles
Alright, let’s get down to the fun part! Making these dill refrigerator pickles is so straightforward, Owen actually thinks he’s qualified to make them solo now—and maybe he is! The total prep time is seriously only about 25 minutes, even with the cooling period included. We are aiming for those unbelievably satisfying crunchy pickles recipe results, so pay close attention to steps one and two. This whole process moves quickly from prep to getting them chilling in that jar life!
The Critical Cucumber Salting Step
First things first: we have to get the water out of those cucumbers! In a big bowl, toss your sliced cukes with the kosher salt. Seriously coat them! Let them hang out on the counter for a full hour. I know waiting is hard, but this step is crucial for crispness. When the hour is up, you need to rinse them super well under cold water for about two full minutes to get any residual salt off. Drain them until you think they can’t possibly drain anymore. Trust me, getting this water out is the secret sauce!
Preparing and Cooling the Cold Brine Pickles Liquid
While your cucumbers are doing their salty work, you can multitask! In a small pot, combine your vinegar, sugar, and two cups of water. Heat this gently, stirring until that sugar vanishes completely. It doesn’t need to boil, just dissolve! Once it’s clear, take it OFF the heat immediately. This is for refrigerator pickles, remember? We are using a cold brine, which means we absolutely need to let this liquid cool down completely before it touches the cucumbers in the jars. Patience, my friends!
Packing Jars and Initial Rest Period
Now that your brine is cool and your cucumbers are dry, let’s layer up! Grab your clean jars and divide the smashed garlic, peppercorns, and all that fresh dill between them. Pack your drained cucumber slices in tightly on top of the spices. Pour that cooled brine over everything until they’re submerged—leaving just a little air gap at the top. Seal them up and let them sit on the counter for an hour or two. This tiny taste test period really helps them absorb the initial flavor before they go into the fridge for the big 24-hour maturation! If you want the absolute best results for your flavor infusion, check out my favorite way to prep flavor bases in my easy garlic butter recipe—it’s all about layering flavor!
Tips for Making the Crispiest Refrigerator Pickles
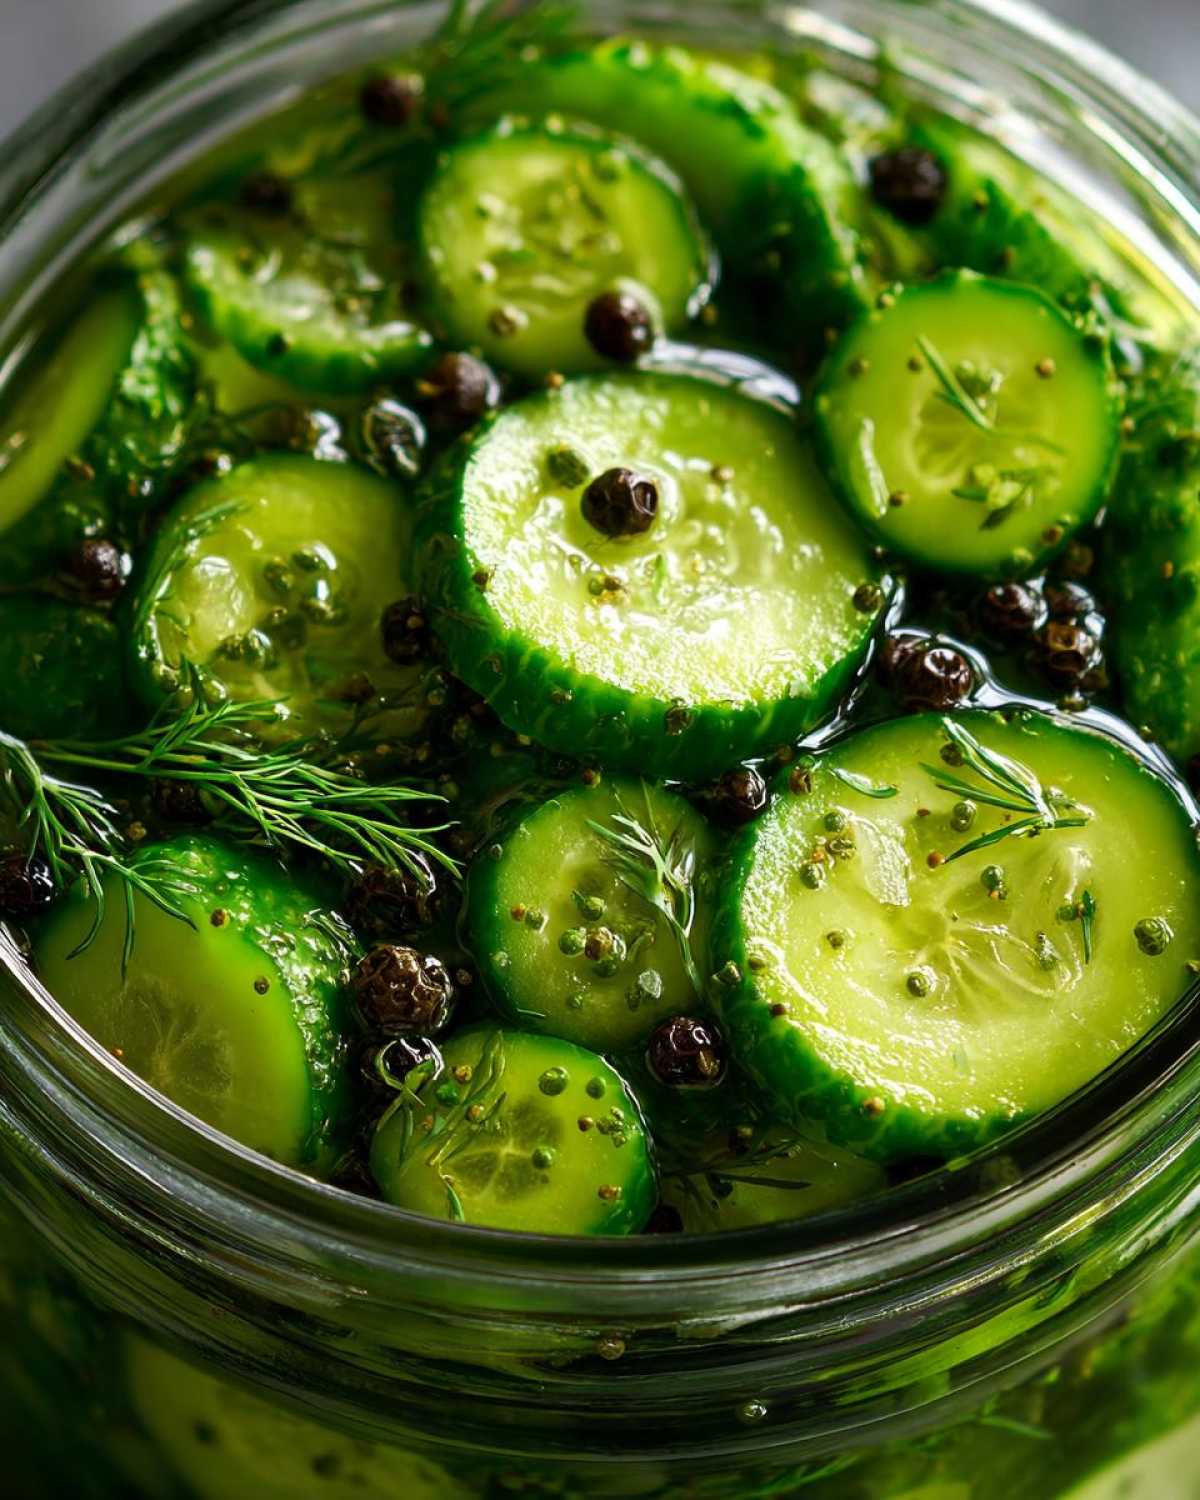
Listen, I’ve made these refrigerator pickles about a hundred times now, and I want to save you from one specific tragedy: the floppy pickle. The first time I skipped rinsing the salt off thoroughly, I ended up with pickles that tasted salty but had zero snap. Just zero! Never again! That’s why I am so vocal about that two-minute rinse.
My goal here is to give you minimal effort pickles that still taste gourmet—the ultimate fresh pickle snack. If you feel like your cucumbers aren’t quite getting that amazing texture, try this little trick Owen taught me: after you slice them (before the salt soak), toss them lightly with a few shakes of black food-grade tannin powder, or if you don’t have that, use a grape leaf if you can find one! It sounds weird, I know, but it keeps the cell walls strong.
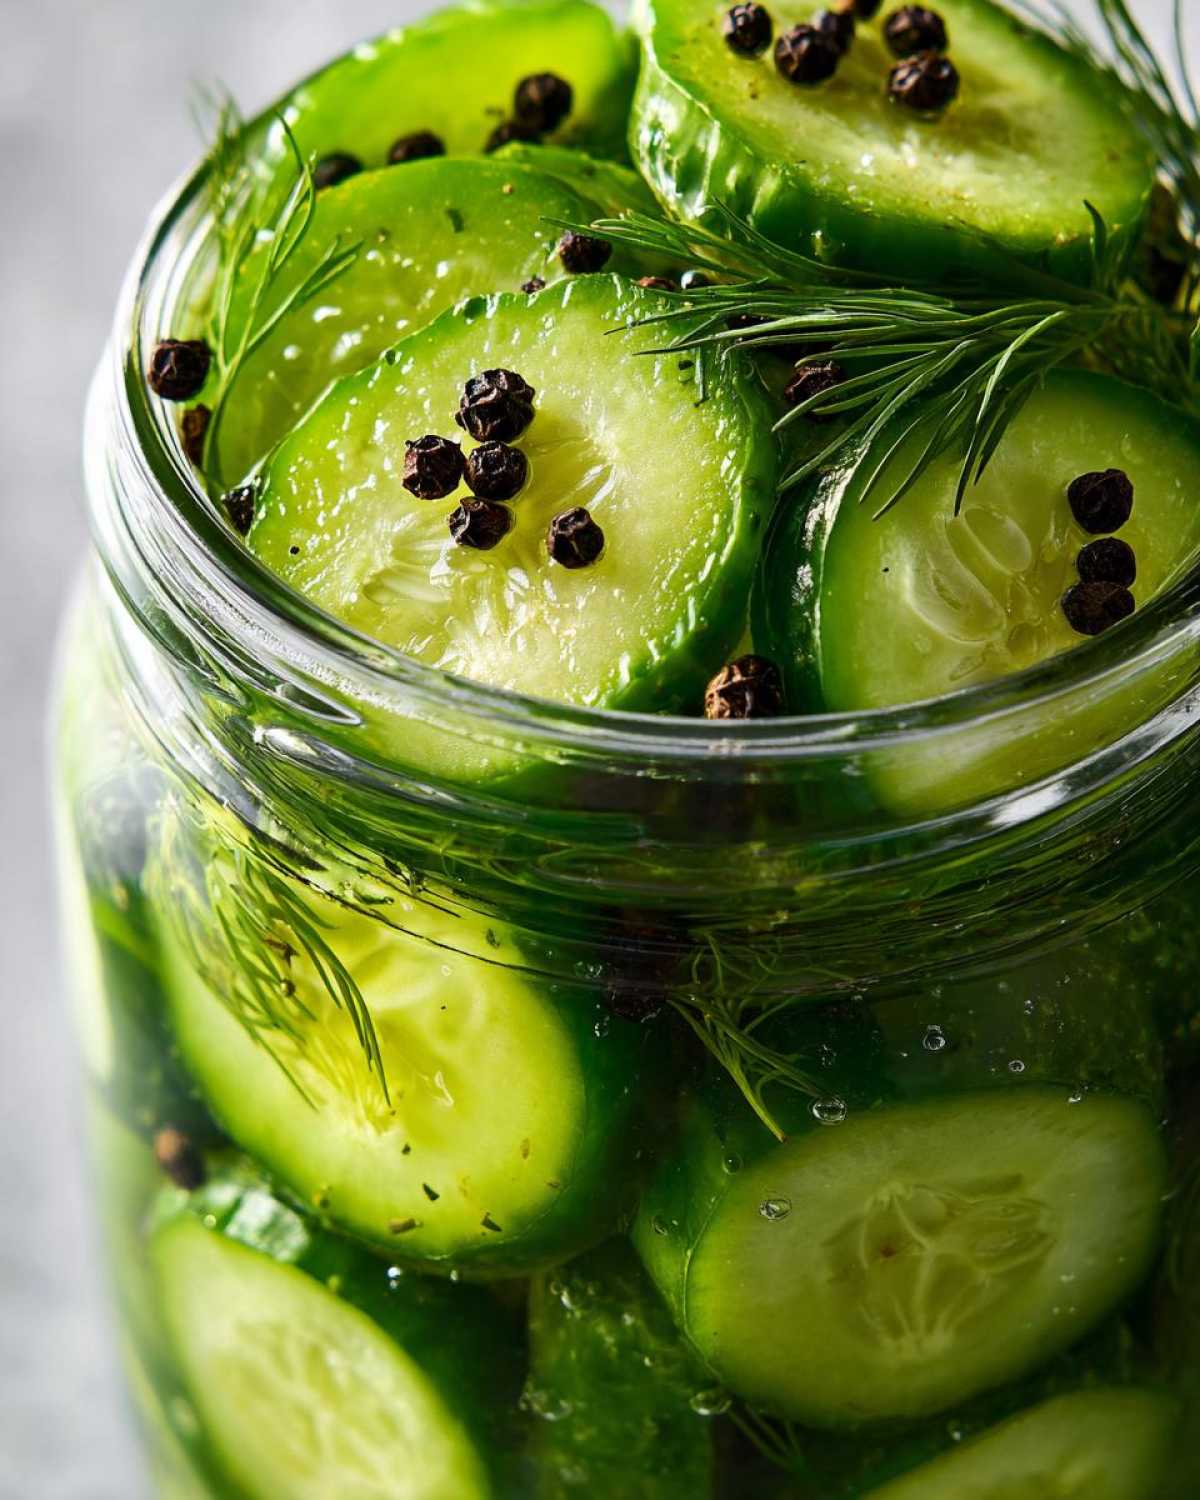
For the best results, just remember the salt soak and the rinse are your best friends for guaranteed crunch. If you want to see what we eat these incredible pickles alongside, check out my recipe for the best homemade Reuben bake—talk about a perfect pairing!
Flavor Variations for Your Fridge Pickled Vegetables
While I adore our classic dill refrigerator pickles—they are perfect for slapping on a burger—it’s fun to mix things up once you master the basic quick pickle brine recipe. Because we aren’t processing these with high heat, you can experiment with loads of fun additions right in the jar!
For example, switching gears hard into sweet territory is super easy. If you want to make something akin to bread and butter refrigerator pickles, simply increase the sugar in your brine mix to about 3/4 cup instead of the 1/4 cup we used here, and add about 1/2 teaspoon of mustard seed and a whole sliced onion to the jar along with the dill.
If you’re chasing a little heat—and who isn’t sometimes?—that’s minimal effort too. These make wonderful healthy pickled snacks when you spice them up! Add a pinch of red pepper flakes right in with the peppercorns, or toss in a couple of sliced jalapeños. You’ll get a fiery kick that mellows beautifully over those 24 hours.
Another fun twist I love to try when I’m feeling adventurous is adding fresh turmeric root right into the brine alongside the garlic. It gives the pickles a gorgeous golden hue! It’s amazing how a simple switch in the jar can create a totally new experience. Speaking of great flavor combos, have you ever tried my apple cider Moscow Mule? It captures that same sharp, bright flavor profile!
Serving Suggestions for These Refrigerator Pickles
Now that you have these vibrant, crunchy beauties, what do you do with them? Honestly, I hide them in the back of the fridge just to make sure I have them for emergencies! They are the absolute best sandwich topping pickles—they cut right through richer flavors like cheese or mayo.
But don’t stop there! They’re amazing diced up small for unexpected salad topping ideas. Or, frankly, just eat them straight out of the jar while standing over the sink when no one is looking. Owen usually pairs a couple with a hearty slice of my classic meatloaf—it’s the perfect tangy side dish!
Storage and Keeping Your Refrigerator Pickles Fresh
This is where the beauty of refrigerator pickles really shines—they are meant to be eaten fresh and kept cold! Because these are cold brine pickles and we didn’t do any high-heat canning processing, you absolutely must keep them sealed up tight in the fridge at all times once they’ve finished their initial room-temp rest. Don’t leave half a jar sitting out on the counter thinking they’ll be fine when you grab them later; that’s how things go soft fast!
When stored properly—meaning kept submerged in that lovely brine and chilled—these pickles should stay perfectly crisp and delicious for up to three weeks. Sometimes they last a little longer, but I find that around the 18 to 20-day mark, the snap starts to soften just a tiny bit. That being said, our family rarely has leftovers because they taste so good!
Now, a big “don’t” for you: please don’t try to heat these up! If you’re thinking about using them, say, on a warm dish or softening them up, resist the urge! The whole point of this style is that lovely, fresh crunch, and any heating will instantly turn those beautiful cucumbers into whatever mush is next door to it. If you have any concerns about the site or how we handle your data, you can read our Privacy Policy, but when it comes to pickle safety, keep it cold and enjoy that crunch!
Frequently Asked Questions About Making Refrigerator Pickles
I get a ton of emails asking the same things when people first dive into the world of refrigerator pickles, and that’s totally fine! We want everyone to succeed. I’ve gathered a few of the most common questions here so you can be confident when you start filling up those pickle jar recipes. Getting these little details right makes all the difference between a good pickle and the best fresh pickle snack!
Can I use regular cucumbers instead of pickling cucumbers for my refrigerator pickles?
You *can*, but I really wouldn’t recommend it if you’re going for that amazing crunch! Regular slicers have a much higher water content, so even with our initial salt soak for crispy refrigerator pickles, they tend to get softer, faster. Pickling cucumbers, like Kirbys, are just firmer overall. If you use the big ones, they might be ready sooner, but they won’t have the satisfying snap of a true pickle.
How long do these cold brine pickles last in the fridge?
Because this recipe is all about no canning required—meaning no high heat—these are always best eaten fresh. Once they are fully pickled (around 48 hours), they keep beautifully for about three weeks in the back of the fridge. If you notice the brine getting cloudy, or if you see any funky stuff floating around, or if they just smell…off, then it’s time to toss them. Better to be safe and make a new small batch!
What makes these different from canned pickles?
This is the biggest difference! Canned pickles go through a high-heat water bath processing step to make them shelf-stable. That heat kills off a lot of the bright, fresh flavor and generally softens the cucumber quite a bit. Since we are keeping these chilled as cold brine pickles, we skip that cooking step entirely. That means you get a much brighter, tangier, and noticeably crunchier result—that’s the joy of these quick pickles!
If you have any more burning questions or want to share your successes, please don’t hesitate to reach out through our Contact page. We love hearing your stories!
Nutritional Snapshot of Your Homemade Refrigerator Pickles
Now, I always like to give a quick rundown of what’s in our food here at Hungry Herald. Remember when I talked about how dinner is the headline? Well, the nutrition is the fine print that matters, even if it’s just a snack!
Since these are refrigerator pickles made with straightforward ingredients like cucumbers, vinegar, and just a touch of sugar for flavor balance, they are wonderfully light. But, I have to give you the standard editor’s note here: these numbers are estimates based on perfect measurements. The exact amounts can shift depending on which brand of vinegar you use or how much water gets absorbed by the cucumbers. You can always read our full disclaimer for more technical details!
For a serving size of about two slices, here’s what you’re generally looking at for these easy homemade pickles:
- Calories: About 15! That’s fantastic for a sharp, satisfying snack.
- Sugar: Only 2 grams—that’s mostly just for the brine flavor, not heavy sweetness.
- Sodium: Around 290mg. Since we salt them upfront, they are saltier than plain cucumbers, so be mindful of that if you’re tracking intake!
- Fat/Cholesterol: Zero! That’s the great thing about cold brine pickles.
See? These are an easy, flavorful way to bring some bright, zesty crunch to a sandwich or just eat them straight from the jar. I keep telling Owen they are the perfect healthy addition to our meal prep!
PrintEasy, Crunchy 24-Hour Refrigerator Dill Pickles
Make these simple, no-cook refrigerator dill pickles for a fresh, tangy crunch. They are ready in just 24 hours and require no canning, making them a perfect, easy homemade pickle snack.
- Prep Time: 20 min
- Cook Time: 5 min
- Total Time: 25 min
- Yield: About 2 quarts
- Category: Condiment
- Method: No Canning Required
- Cuisine: American
- Diet: Vegetarian
Ingredients
- 2 pounds pickling cucumbers (Kirby or similar), sliced 1/4 inch thick
- 1/4 cup kosher salt
- 4 cups cold water
- 2 cups white vinegar
- 1/4 cup granulated sugar
- 2 tablespoons whole black peppercorns
- 4 cloves garlic, smashed
- 4 heads fresh dill (or 4 tablespoons dried dill seed)
Instructions
- Wash the cucumbers well. Slice them into uniform 1/4-inch thick rounds.
- In a large bowl, combine the sliced cucumbers and kosher salt. Toss to coat. Let the cucumbers sit for 1 hour to draw out excess water; this helps keep them crisp.
- After 1 hour, drain the cucumbers completely. Rinse them thoroughly under cold running water for 2 minutes to remove excess salt. Drain again.
- While the cucumbers are resting, prepare the brine. In a medium saucepan, combine the white vinegar, sugar, and 2 cups of water. Heat over medium heat, stirring until the sugar dissolves completely. Do not boil. Remove from heat and let the brine cool to room temperature.
- Gather your clean jars (pint or quart size). Divide the smashed garlic cloves, black peppercorns, and dill evenly among the jars.
- Pack the rinsed and drained cucumber slices tightly into the jars over the spices and dill.
- Pour the cooled brine over the cucumbers in each jar, making sure the cucumbers are fully submerged. Leave about 1/2 inch of headspace at the top.
- Seal the jars with lids. Let the jars sit on the counter at room temperature for 1 to 2 hours.
- Transfer the sealed jars to the refrigerator. The pickles will be ready to eat in about 24 hours, but the flavor improves after 48 hours. Store in the refrigerator for up to 3 weeks.
Notes
- For the best crunch, use fresh, firm cucumbers that you have soaked in salt water first.
- If you prefer a stronger dill flavor, use dill seed instead of fresh dill heads.
- These are cold brine pickles, meaning you do not need to process them in a water bath. Keep them refrigerated always.
- These crispy refrigerator pickles are excellent as a sandwich topping or a healthy pickled snack.
Nutrition
- Serving Size: 2 slices
- Calories: 15
- Sugar: 2
- Sodium: 290
- Fat: 0
- Saturated Fat: 0
- Unsaturated Fat: 0
- Trans Fat: 0
- Carbohydrates: 4
- Fiber: 0
- Protein: 0
- Cholesterol: 0