

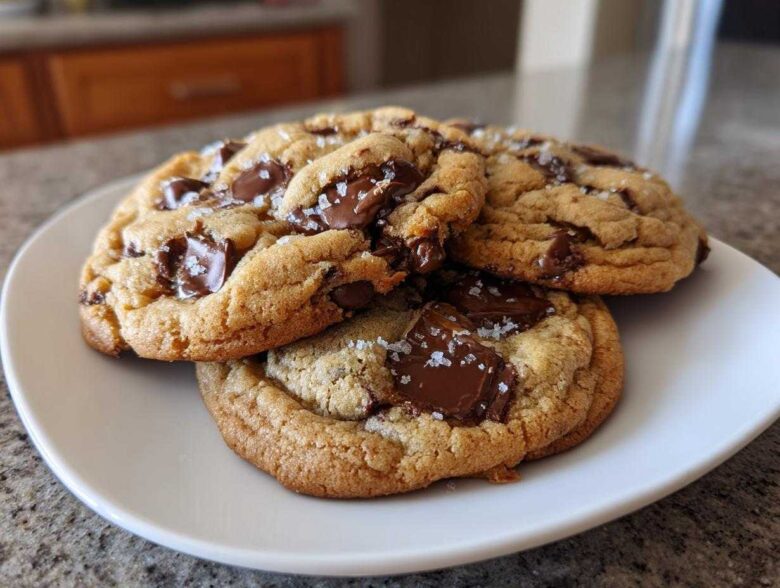
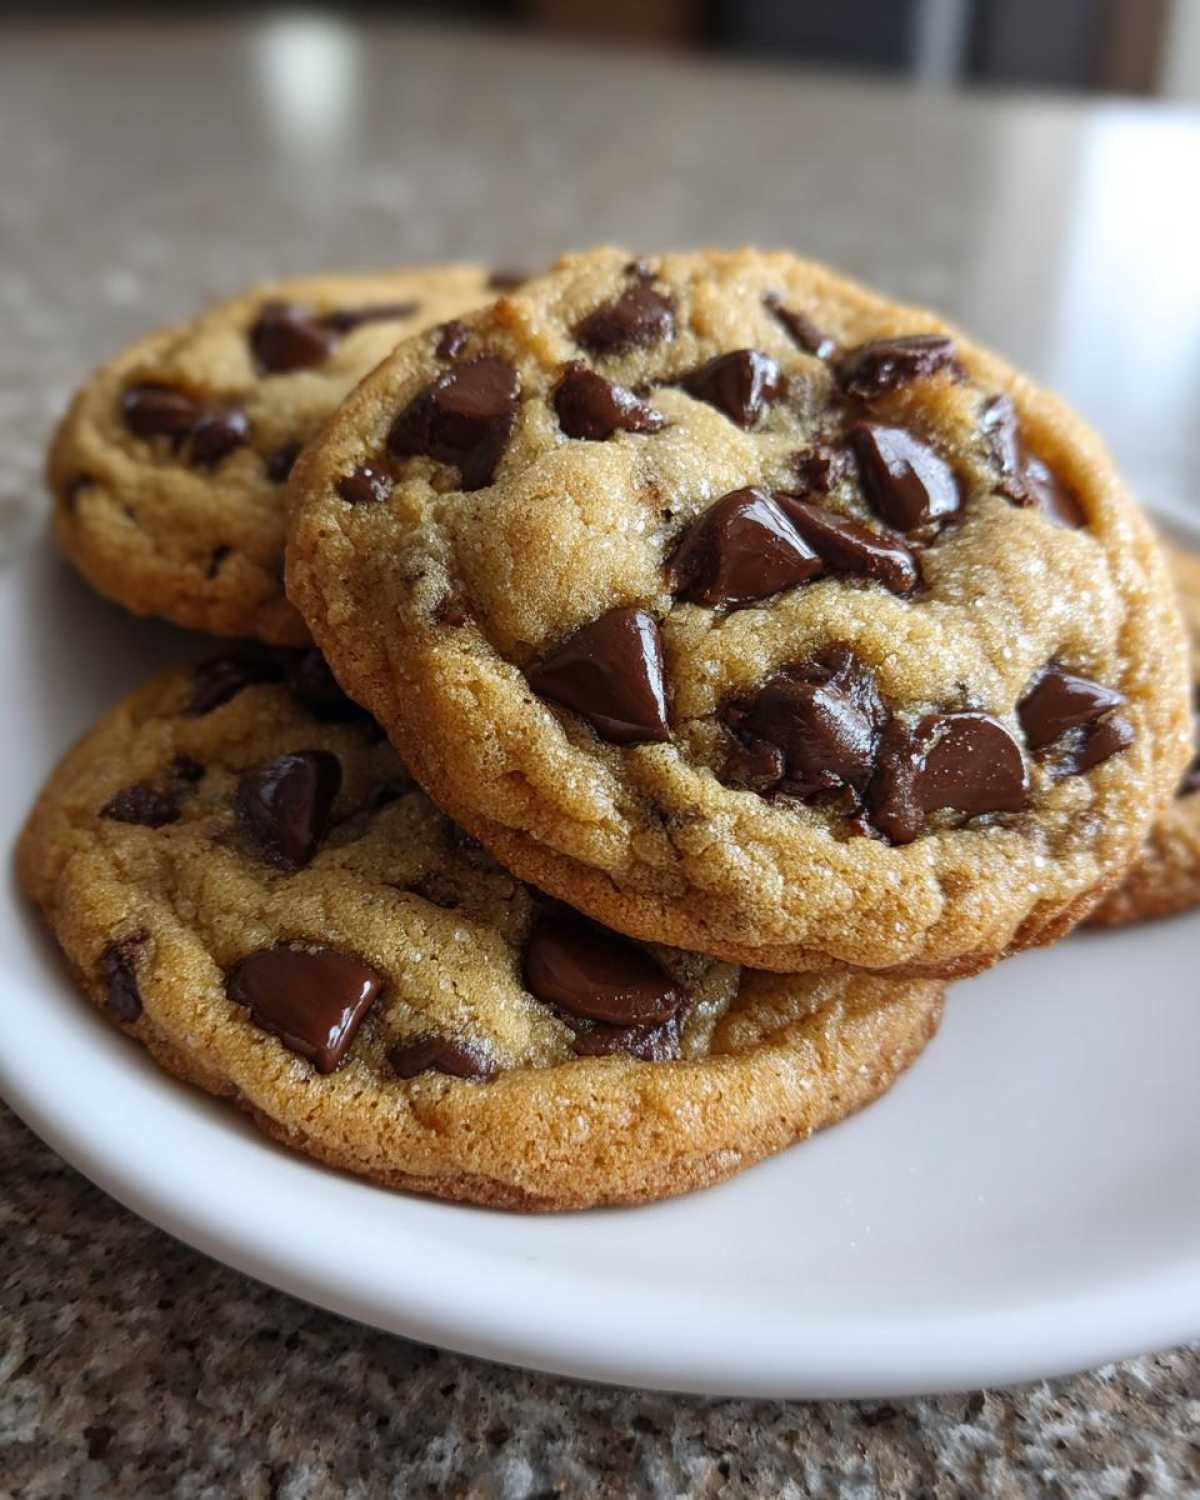
It’s Tuesday night. You’ve powered through work, you’ve managed actual grown-up life, and now you need a reward. What does that reward look like? For me, it’s always the same: a thick, gooey, bakery style chocolate chip cookie, slightly warm, with those crinkly edges. I used to think achieving that perfect texture meant planning ahead—waiting hours for the dough to chill. Nope! Not anymore.
Owen and I figured out the secret to making the best homemade dessert that tastes like it came from a fancy shop but takes less than 30 minutes, start to finish. These aren’t just cookies; they are an announcement that the day is done and joy has arrived! This recipe for classic chocolate chip cookies delivers reliable results every single time, giving you those thick, soft and chewy cookies you’ve been craving without any waiting period.
Why This is the Best Chocolate Chip Cookie Recipe
Listen, I’ve tossed batches that melted into thin, sad puddles in the oven. I’ve made cookies that were crispy rocks. But this recipe? It’s got the good news baked right in. This is genuinely the best chocolate chip cookie recipe because it checks every single box without the fuss.
Here’s the headline on why you need to try this batch immediately:
- They are unbelievably soft and chewy cookies. Seriously, that bakery texture is non-negotiable!
- It’s a no chill time required recipe. We are making weeknight treats here, not planning for next week.
- You get thick chocolate chip cookies that don’t spread into nothingness.
- Prep to eating time is under 30 minutes—pure bliss for an easy dessert idea!
If you’ve been searching forever for that perfect texture cookies result, I promise you, this is the announcement you’ve been waiting for. Enjoy!
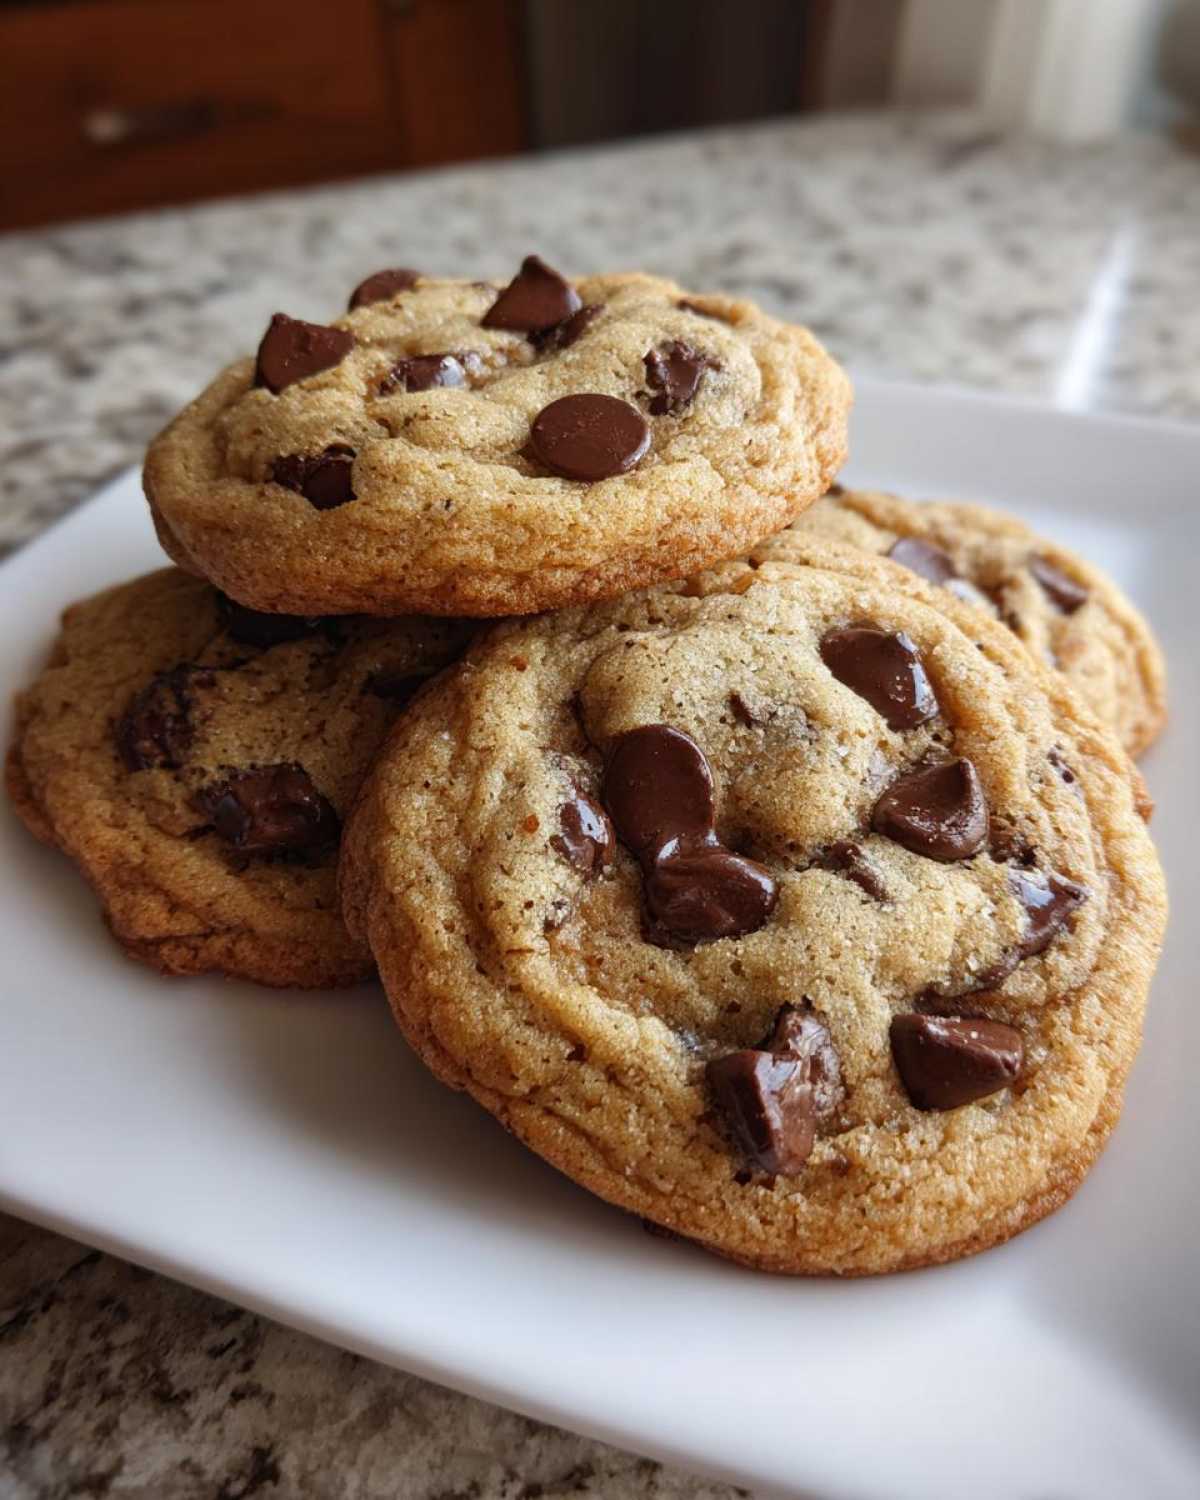
Gathering Ingredients for Ultimate Chocolate Chip Cookies
Okay, every amazing story needs the right cast of characters, and these ultimate chocolate chip cookies are no different! Since we aren’t chilling the dough, the temperature and exact amounts of these ingredients are super important for keeping them thick and getting those amazing soft and chewy cookies.
Here is what you need. I pulled these measurements straight off my official handwritten card—no guesswork here!
- 1 cup (2 sticks) unsalted butter, softened
- ¾ cup granulated sugar
- 1 cup packed light brown sugar
- 2 large eggs
- 1 tablespoon vanilla extract
- 2 ¼ cups all-purpose flour
- 1 teaspoon baking soda
- ½ teaspoon salt
- 2 cups semi-sweet chocolate chips
Now, I have to talk about the sugars for a second because this is where the magic happens. If you swap out all your regular white sugar for brown sugar—which is what this recipe calls for (lots of it!)—you automatically get more moisture and a chewier texture. The molasses in the dark brown sugar is what keeps these from turning into crispy, boring discs. It’s a huge part of why these are the classic chocolate chip recipe winners we love.
Ingredient Notes and Substitution Tips for Perfect Chocolate Chip Cookies
A few little pro tips that I learned the hard way over the years can make these truly exceptional. It’s these small details that help us produce those gorgeous, gooey chocolate chip cookies!
First, those eggs! They absolutely HAVE to be at room temperature. Cold eggs stop the creaming process dead in its tracks when you add them to the butter and sugar. If you forget to pull them out early, just put them in a bowl of warm (not hot!) water for about five minutes. Trust me, it makes the batter mix up so much smoother.
Second, the chocolate! While the recipe calls for semi-sweet, Owen insists on a mix. He grabs about a cup of semi-sweet and then ditches about a cup of those into milk chocolate chips. Sometimes, if he’s feeling fancy, he’ll toss in a handful of those chopped-up chocolate bars we never finish. It just makes the melt factor so much gooey-er. If you want to try something really next-level, go ahead and brown butter chocolate chip cookies flavor into the butter first before you soften it. It adds this incredible nutty depth that is just *chef’s kiss*!
Finally, don’t skimp on the vanilla. A full tablespoon is a lot, but it’s what makes them smell incredible while they bake!
Step-by-Step Guide to Making Thick Chocolate Chip Cookies
This is where we turn batter into headlines! Since this is our famous no chill cookie recipe, speed and technique are your best friends. We’re preheating the oven to 375°F (190°C) right away and getting those sheets lined with parchment. Never skip the parchment; it’s the secret weapon for easy cleanup and perfect bottoms.
Now, pay close attention to the first mixing step. This is the foundation for our gorgeous, thick chocolate chip cookies. You need to cream the softened butter, granulated sugar, and all that wonderful brown sugar together until it’s pale and fluffy. I mean *really* cream it—about three full minutes with an electric mixer. This process whips air into the fat, which is the primary lift mechanism keeping our cookies from spreading into thin pancakes.
After that comes the eggs, one at a time, followed by the vanilla. Mix until they are just incorporated. Then, whisk your flour and baking soda together in a separate bowl so you don’t have pockets of soda leftover. We add the dry stuff to the wet stuff gradually.
Here’s the crucial part, the part where Owen almost ruined our first batch! When you add the dry ingredients, add them slowly and mix on low speed. You want it just combined. I remember the first time Owen got excited and cranked the mixer up when the flour went in. I yelled, “Stop! You’ll develop the gluten!” and wrestled the mixer down. He stared at me like I’d lost it, but I was right. Overmixing the flour makes cookies tough, not tender. We want tender! Once you just see the last few streaks of flour disappear, stop the machine.
Finish by stirring in those two cups of chocolate chips by hand using a spatula. You can check out this tip for making amazing easy homemade recipe bases, too—it’s all about gentle folding. Drop those dough balls high onto the sheet—don’t flatten them! We want them mounded for that bakery look.
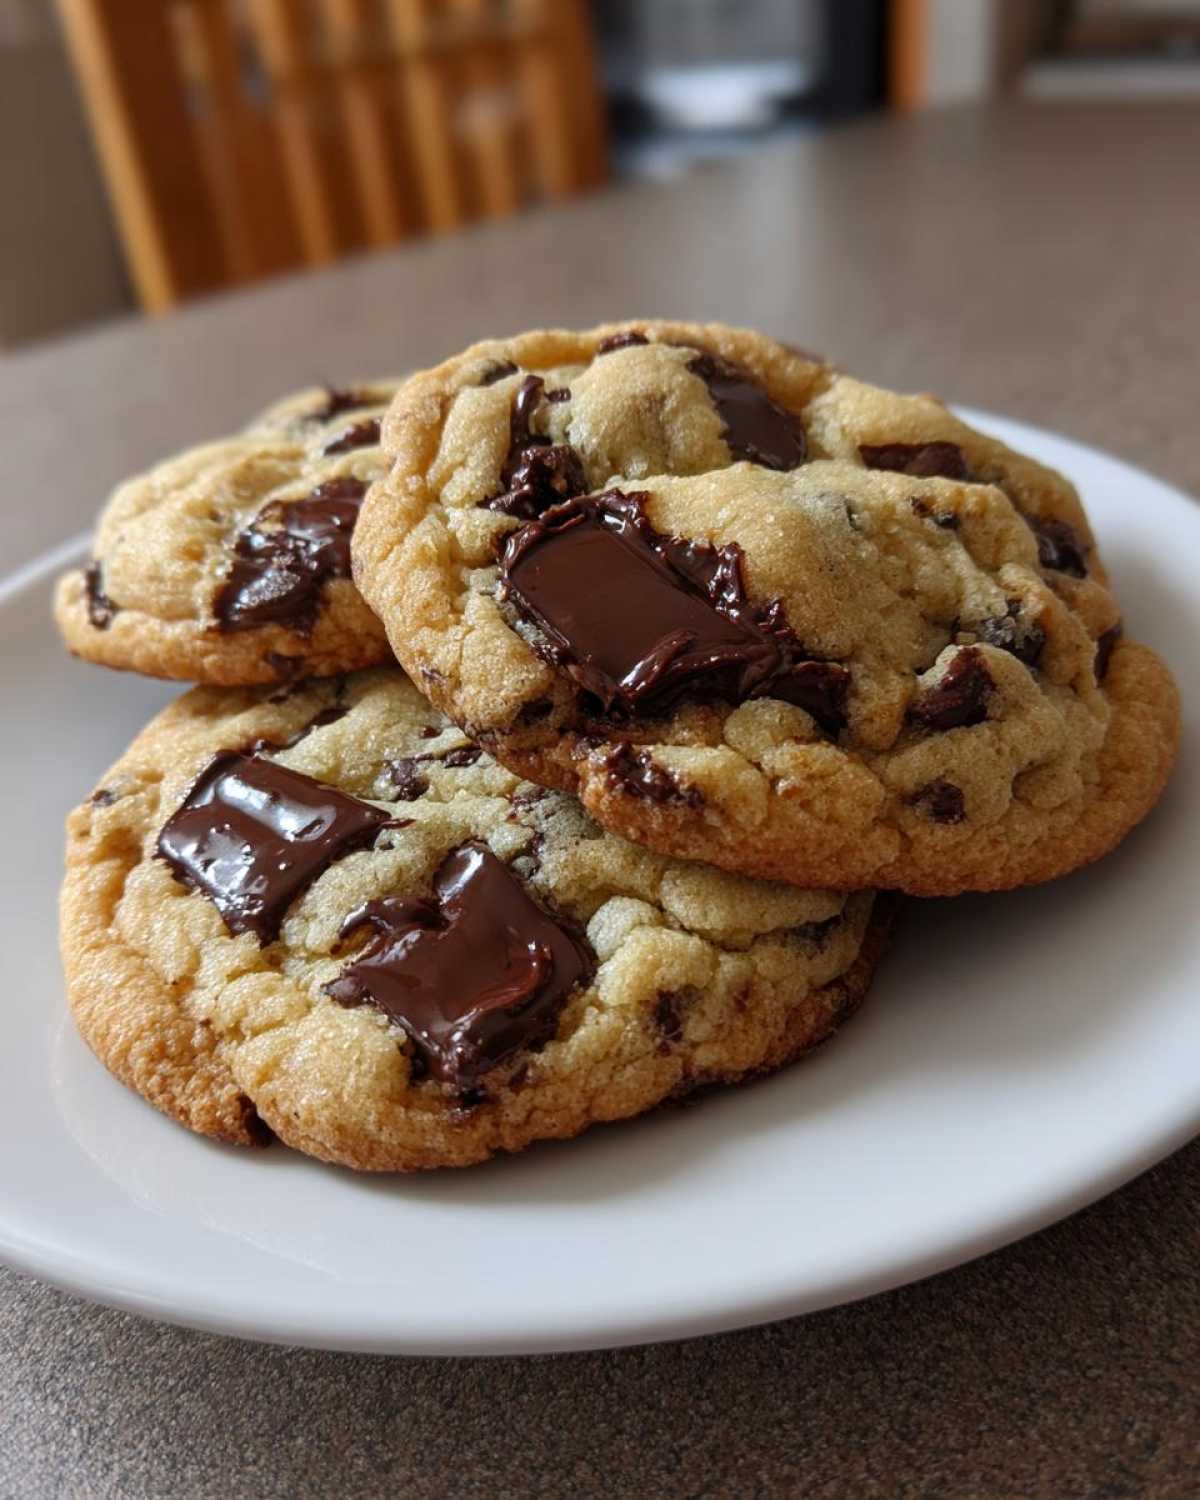
Baking Tips for Crispy Edge Soft Center Chocolate Chip Cookies
This is the moment of truth! The oven timing is everything if you want those coveted crispy edge soft center chocolate chip cookies. Bake them for 9 to 12 minutes at 375°F.
How do you know when they are done before they turn into hockey pucks? Look for visual cues! The edges should look set and maybe just starting to turn a lovely golden brown. The very center, though? It should still look slightly puffy and underbaked—a little gooey. They will cook more on that pan, I promise.
Pro tip for that authentic bakery style cookies finish: As soon as you pull the sheets out, take half a handful of extra chocolate chips and just press them right onto the tops of the warm cookies. They will melt slightly into the surface, making them look gorgeous. Then, let them sit on the hot baking sheet for a full five minutes. This crucial resting time lets the undersides finish setting up without overbaking the middle. After five minutes, transfer them gently to the cooling rack. If you rush this step, they’ll collapse!
Essential Equipment for Perfect Chocolate Chip Cookies
Even with the best recipe, you need the right tools to get that bakery magic happening at home. Don’t worry, you probably have most of this stuff already! Making these chocolate chip cookies is more about technique than fancy gadgets, but having the right basics makes the whole process so much slicker.
Here’s my simple kit list for making sure batch after batch is a success:
- Two Sturdy Mixing Bowls: I need one big one for the wet ingredients where all the creaming happens, and a medium one for whisking the dry stuff. Having two stops the flour from being added too soon!
- Electric Mixer (Handheld or Stand): If you want the fluffiest texture for the butter/sugar stage, you really need the power of a mixer here rather than just a wooden spoon. Remember, we need air whipped in!
- Parchment Paper: This is non-negotiable for me. It stops sticking, promotes even baking, and means cleanup is basically zero effort.
- Baking Sheets: Use light-colored sheets if you have them! Dark sheets can sometimes cause the bottoms of your cookies to brown too fast, and we want perfectly baked bottoms, not scorched ones.
- A Cookie Scoop: If you want those truly uniform, thick cookies, a medium cookie scoop (about 1.5 to 2 tablespoons size) is your best friend. It helps you pile the dough high so they bake up thick instead of spreading flat.
Gathering these few simple things means you’re ready to announce some good news to your taste buds!
Troubleshooting Common Chocolate Chip Cookies Issues
Okay, I need to talk to you straight for a second. Even the best laid plans go sideways sometimes in the kitchen, right? I’ve absolutely thrown dough away because it looked totally wrong, but usually, for these chocolate chip cookies, the fix is small. We want thick, gooey chocolate chip cookies, and if you notice things going sideways, here are the quick fixes I rely on to save the batch.
My authority here comes from sheer repetition—I bake these way too often! If you run into trouble, it’s usually about butter temperature or flour handling.
Cookies Spreading Too Thin and Flat
This is the saddest news in cookie land! If you pull your dough out to scoop and it feels oily or like soup, the butter was too soft, or maybe your kitchen is just too hot today? When cookies spread thin, it means the fat melted before the structure could set up in the oven. It’s usually not salvable once it’s scooped, so my advice is to chill the dough balls if this happens!
Pop those scooped dough mounds onto a plate and stick them in the freezer for 15 minutes. That blast of cold will firm up the fat just enough so that the structure has time to set when it hits the hot oven. If you notice your butter was *way* too soft when you started creaming, it means you over-aerated the fat, which leads to spreading later.
Another major culprit is overmixing after the flour goes in. Remember how I screamed at Owen? If you develop too much gluten by mixing too long, the cookie structure gets weak and slides apart. If you think you might have mixed too much, just stop immediately and move on to stirring in the chips. Don’t hesitate!
Cookies Turning Out Too Cakey or Dry
If your finished chocolate chip cookies feel more like a dry cake than a chewy delight, we almost certainly have a flour ratio issue. This usually happens when we accidentally scoop flour straight out of the bag. Flour compacts so easily in the cup, and if you pack it in, you’ve added way too much!
For the best results whenever I’m dealing with any homemade cookies recipe, I always use the “spoon and sweep” method for measuring flour. Gently spoon the flour into your measuring cup until it overflows slightly, and then use a straight edge (like the back of a knife) to level it off the top. This ensures you get exactly 2 ¼ cups.
Also, check your baking soda. Baking soda that is too old can stop doing its job, which sometimes results in a denser, slightly weirdly textured cookie that borders on cakey. If your soda has been in the pantry since 2018, it might be time for a fresh box!
If you’re looking for more tips on troubleshooting baking—not just cookies, but things like icing, too—I wrote up a whole dispatch on what to do when your sugar cookie icing dries too hard. A lot of the science overlaps!
Serving Suggestions for Your Homemade Cookies Recipe
Okay, congratulations! You’ve made the best homemade cookies recipe known to humankind, and they are still warm. Now what? We absolutely should celebrate this delicious news with the perfect pairing. It’s rude not to!
These rich, thick chocolate chip cookies are spectacular all on their own, but when you match them right, it’s a moment worth stopping the whole house for. Owen is usually the one who brings the next level party forward.
Here are my favorite ways to serve these up. Seriously, grab a napkin, you’re going to need it!
- The Classic Milk Dip: You can’t fight tradition, right? Get the coldest, creamiest milk you can find. Dunking that warm, gooey chocolate chip cookie until the bottom is just saturated is the purest joy. It’s simple, it’s perfect, and it feels like being ten years old again.
- The Coffee Companion: If you’re enjoying these as an afternoon treat, pair one of these cookies with a strong cup of hot coffee or a latte. The slight bitterness of the coffee really makes the chocolate and brown sugar notes sing. It’s an adult version of the milk dip, honestly.
- Ice Cream Sandwich Central: This is for when you want to go all-out. Once the cookies have cooled enough that they won’t immediately melt everything (so, maybe 20 minutes?), grab your favorite vanilla bean ice cream. Spread a generous scoop onto one cookie and top it with another. Boom. Instant party. If you’re feeling extra ambitious, you could even top those sandwiches with a smear of my easy vanilla buttercream frosting!
- Whipped Cream Cloud: Sometimes I just want something lighter. Break a cookie in half and top each piece with a dollop of freshly whipped cream. If you sweeten your cream just a touch and add a tiny splash of almond extract, it elevates the whole experience without being overly heavy.
Whatever you pair them with, remember the headline here: you made these! Turn up the music, grab your plate, and enjoy every single bite of your success!
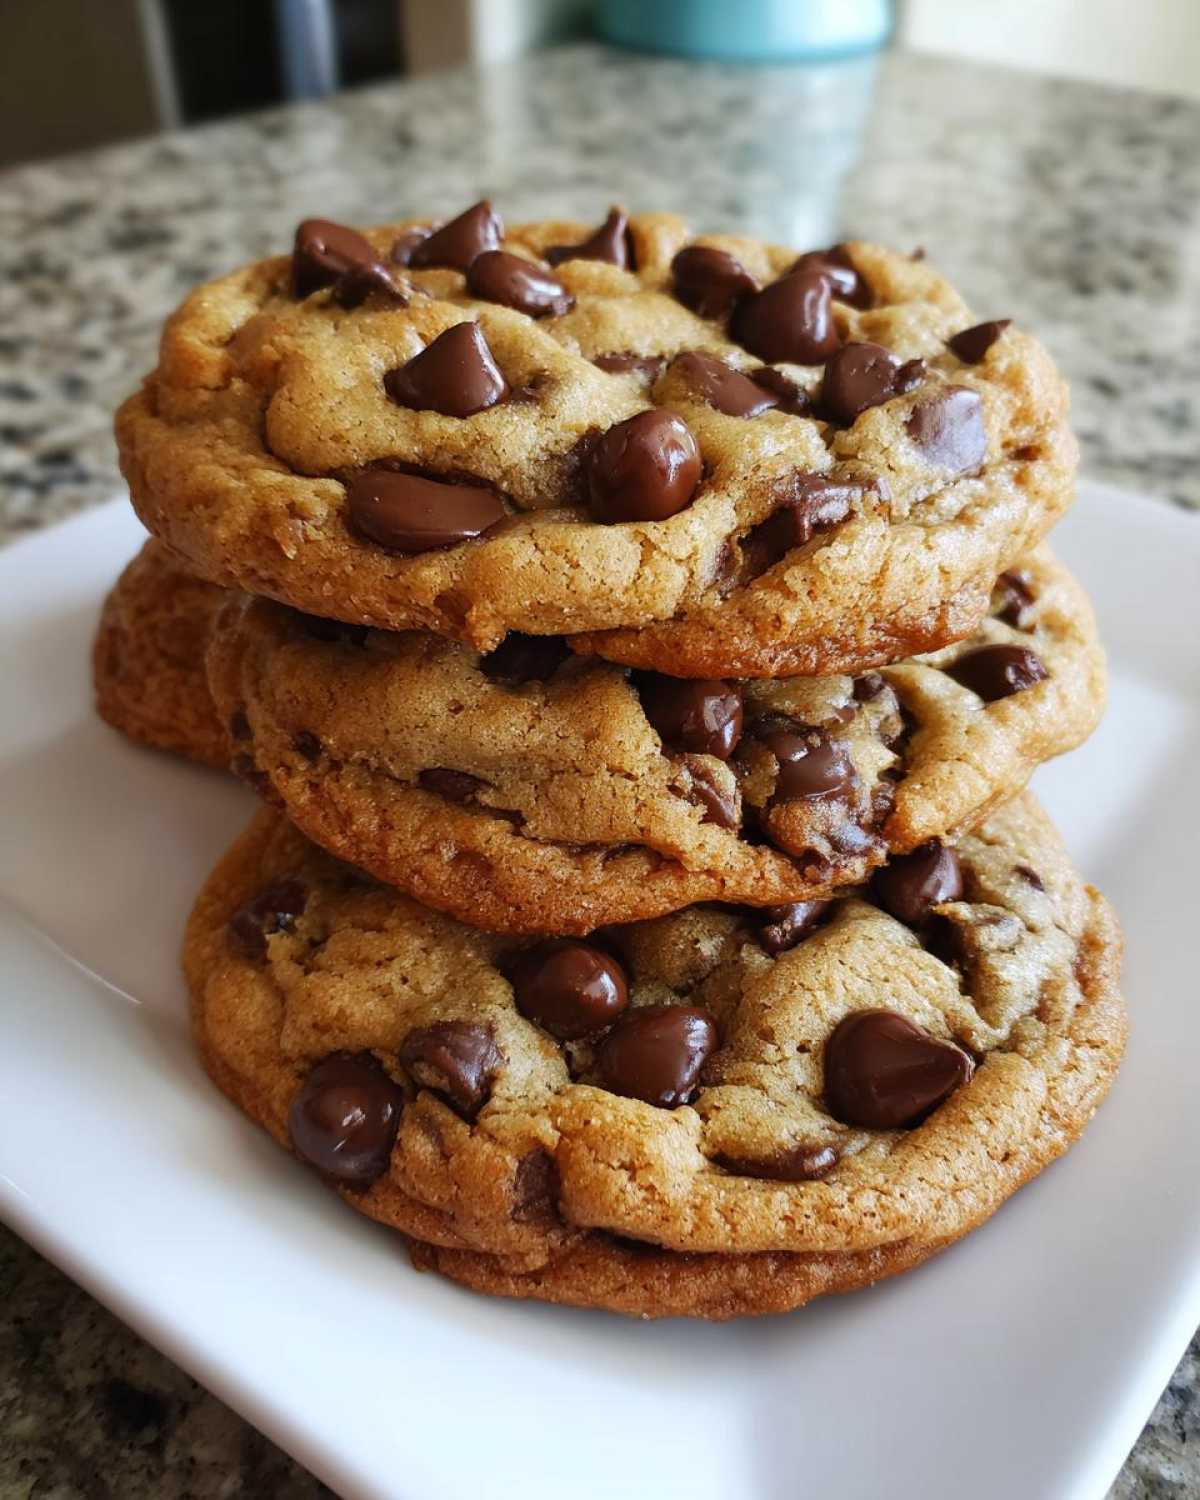
Storage and Reheating Instructions for Soft and Chewy Cookies
I hear you sighing already—you’ve baked two dozen incredible, soft and chewy cookies, and now you have to figure out how to make them last longer than 24 hours? Don’t worry, I’ve got the report on preservation! The goal here is zero days where you have to settle for less than perfect. We want to keep that gooey, bakery-fresh texture intact for as long as humanly possible.
The biggest enemy of a soft cookie is air. Air dries them out faster than you can say “Owen, put down the cookie jar!”
Keeping Them Soft for Days
For short-term storage, keep them at room temperature in an airtight container. I mean truly airtight. I bought a set of glass containers with locking lids, and they changed my life for storing everything from leftover bread to these perfect chocolate chip cookies. You can generally keep them fresh for about five days this way.
Here’s a little trick I learned for truly extended softness: if you happen to have a slice of sandwich bread lying around (white bread works best for this weird trick, oddly enough), place one slice in the container with the cookies. The cookies will absorb the moisture from the bread, keeping them wonderfully soft and preventing them from going stale. Toss the bread slice out after two days and replace it with a fresh one if you still have cookies left.
Reviving That Gooey Center
If you’ve stored them for a while, or if they just cooled completely and you want that fresh-out-of-the-oven experience, reheating is essential. This quick blast of warmth wakes up the chocolate chips and softens the crumb—it’s the fastest way to announce good news to your tastebuds!
Microwave Method (Fastest Fix): Pop a single cookie onto a microwave-safe plate. Microwave it for about 8 to 12 seconds. Watch it closely! This is usually enough time to get the chocolate melty and the center soft again. This is perfect if you’re grabbing one for a quick midnight snack.
Oven Method (For A Batch): If you want to heat up half a dozen or more, use the oven. Preheat it to a very low 300°F (150°C). Place the cookies directly on the baking sheet and warm them for about 3 to 5 minutes. This helps gently crisp the edges back up while ensuring the middle is perfectly soft and gooey. Let them cool for just a minute before you take a massive bite.
If you freeze them—which you absolutely can!—just make sure they are wrapped tightly in plastic wrap first, then placed in a freezer bag. When you want to bake them later, let them thaw on the counter for an hour before following the reheating instructions above. Happy eating!
Frequently Asked Questions About Chocolate Chip Cookies
You know I love when folks ask questions! It means you’re diving deep into the recipe, and that’s how we move from just baking cookies to mastering them. I’ve pulled a few questions I get all the time about these chocolate chip cookies so we can report the good news right here.
Can I use cold butter instead of softened butter for this recipe?
Oh, the dreaded cold butter panic! My answer is always this: You can, but it will completely change the outcome, and not for the better if you’re aiming for the perfect texture cookies we planned for here. Remember, the creaming step (beating the butter and sugars together) is what whips air into the dough, which creates the lift and the airy structure needed for these thick chocolate chip cookies.
If the butter is rock hard, you won’t get that air, and you end up smashing the fats and sugars together instead of creaming them. If you absolutely must use cold butter, you have to beat it for ages until it looks legitimately pale and fluffy, which can take 5 to 7 minutes where you risk mixing up the whole structure later. Honestly, just soften it first—it’s worth the extra five minutes of waiting to make sure your easy chocolate chip cookies turn out right!
What is the best chocolate for achieving that gooey center?
This is my favorite debate! For the absolute best experience, especially if you want those gooey chocolate chip cookies, don’t just stick to one type. We use semi-sweet as the base because it has the best structural integrity when baked, but you need a mix-in for that ultra-gooey melt factor.
I highly recommend mixing in high-quality milk chocolate chips or even chopping up some chocolate bars (I love using a mix of 60% dark and some milk chocolate). The milk chocolate melts silkier. Also, make sure your chocolate chips are not old. Old chocolate chips sometimes contain stabilizers that prevent them from melting well, and nobody wants stiff chips in their soft and chewy cookies!
Can I freeze the dough? If so, does it count as chilling?
Yes, you can absolutely freeze the dough! In fact, I think freezing dough balls is one of the best things you can do for future celebrations. Freezing dough is different than chilling dough, though, in terms of the end product. Chilling lets the flour hydrate fully, deepening the flavor profile over hours.
Freezing simply pauses everything. You scoop your dough balls, place them on a tray, flash freeze them for an hour until solid, and then toss them into a sealed freezer bag. You can bake them straight from frozen, just add 3 to 5 extra minutes to the bake time. It’s perfect for ensuring you always have an emergency batch of baked goods ready to go. This is the ultimate hack for having comfort food desserts on stand-by!
Do I have to use brown sugar, or can I only use white sugar?
Absolutely not! You really need that brown sugar for these to work as advertised. If you only use granulated white sugar, you are sacrificing moisture and density. White sugar dissolves faster and contributes to spreading, giving you a flatter, crispier edge rather than the thick, soft surface we are after.
The brown sugar contains molasses, which is acidic and hygroscopic, meaning it holds onto moisture like a champ and adds that wonderful, deep caramel flavor. For this specific recipe, keeping the ratio high on the dark brown sugar is the secret to securing that classic, rich flavor profile you expect from the best homemade dessert.
If you’re interested in trying out some variations on these staples—maybe swapping out the chocolate for something nutty—you should check out my dispatch on peppermint chocolate chip cookies for holiday fun!
Estimated Nutritional Data for This Dessert
When we announce good news, we also like to be transparent about the details! Every homemade cookie batch is slightly different based on humidity and ingredient weigh-ins, but here is the estimated nutritional breakdown based on the recipe yields listed.
Remember, this is the nutrition for one cookie only, based on yielding 24 cookies total.
- Serving Size: 1 cookie
- Calories: 210
- Sugar: 18g
- Sodium: 110mg
- Fat: 12g
- Saturated Fat: 7g
- Carbohydrates: 26g
- Protein: 2g
Please know that this is just an estimate. If you use dark chocolate instead of semi-sweet, or if you decide to swap out the butter (which I strongly advise against!), these numbers will shift a bit. But hey, they always taste amazing, and that’s the headline that really matters, right?
Estimated Nutritional Data for This Dessert
When we announce good news, we also like to be transparent about the details! Every homemade cookie batch is slightly different based on humidity and ingredient weigh-ins, but here is the estimated nutritional breakdown based on the recipe yields listed.
Remember, this is the nutrition for one cookie only, based on yielding 24 cookies total.
- Serving Size: 1 cookie
- Calories: 210
- Sugar: 18g
- Sodium: 110mg
- Fat: 12g
- Saturated Fat: 7g
- Carbohydrates: 26g
- Protein: 2g
Please know that this is just an estimate. If you use dark chocolate instead of semi-sweet, or if you decide to swap out the butter (which I strongly advise against!), these numbers will shift a bit. But hey, they always taste amazing, and that’s the headline that really matters, right?
PrintThe Best Soft and Chewy Chocolate Chip Cookies (Bakery Style, No Chill)

You can make bakery style chocolate chip cookies that are thick, soft, and chewy without waiting for the dough to chill. This easy homemade recipe delivers perfect texture every time.
- Prep Time: 15 min
- Cook Time: 12 min
- Total Time: 27 min
- Yield: 24 cookies
- Category: Dessert
- Method: Baking
- Cuisine: American
- Diet: Vegetarian
Ingredients
- 1 cup (2 sticks) unsalted butter, softened
- ¾ cup granulated sugar
- 1 cup packed light brown sugar
- 2 large eggs
- 1 tablespoon vanilla extract
- 2 ¼ cups all-purpose flour
- 1 teaspoon baking soda
- ½ teaspoon salt
- 2 cups semi-sweet chocolate chips
Instructions
- Preheat your oven to 375°F (190°C). Line baking sheets with parchment paper.
- In a large bowl, cream together the softened butter, granulated sugar, and brown sugar until the mixture is light and fluffy. This takes about 3 minutes.
- Beat in the eggs one at a time, mixing well after each addition. Stir in the vanilla extract.
- In a separate medium bowl, whisk together the flour and baking soda. Add the dry ingredients to the wet ingredients gradually, mixing on low speed until just combined. Do not overmix.
- Stir in the chocolate chips by hand.
- Drop rounded tablespoons of dough onto the prepared baking sheets, spacing them about 2 inches apart. For thicker cookies, mound the dough slightly.
- Bake for 9 to 12 minutes. The edges should look set and golden brown, but the centers should still look slightly soft and gooey.
- Let the cookies cool on the baking sheet for 5 minutes before transferring them to a wire rack to cool completely.
Notes
- For extra flavor, you can brown the butter before cooling and using it in the recipe.
- If you prefer crispier edges, bake for 1-2 minutes longer.
- Press a few extra chocolate chips onto the tops of the dough balls before baking for a bakery look.
Nutrition
- Serving Size: 1 cookie
- Calories: 210
- Sugar: 18g
- Sodium: 110mg
- Fat: 12g
- Saturated Fat: 7g
- Unsaturated Fat: 5g
- Trans Fat: 0.1g
- Carbohydrates: 26g
- Fiber: 1g
- Protein: 2g
- Cholesterol: 35mg