

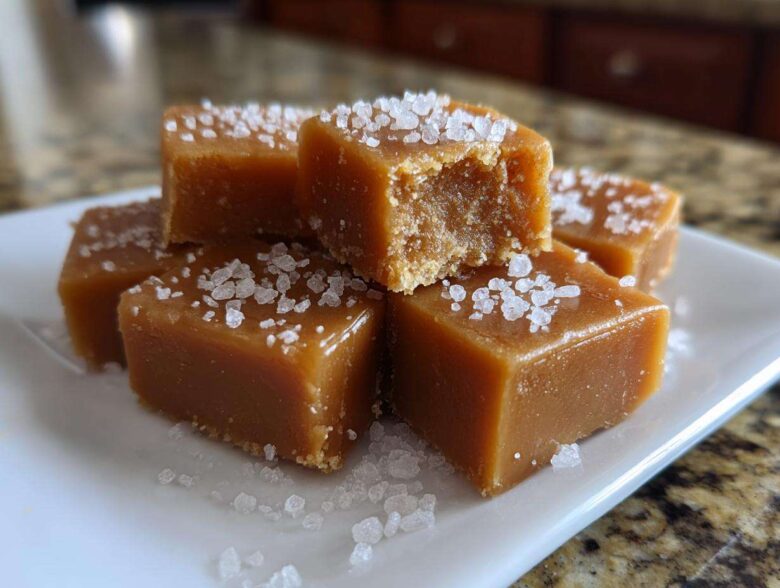
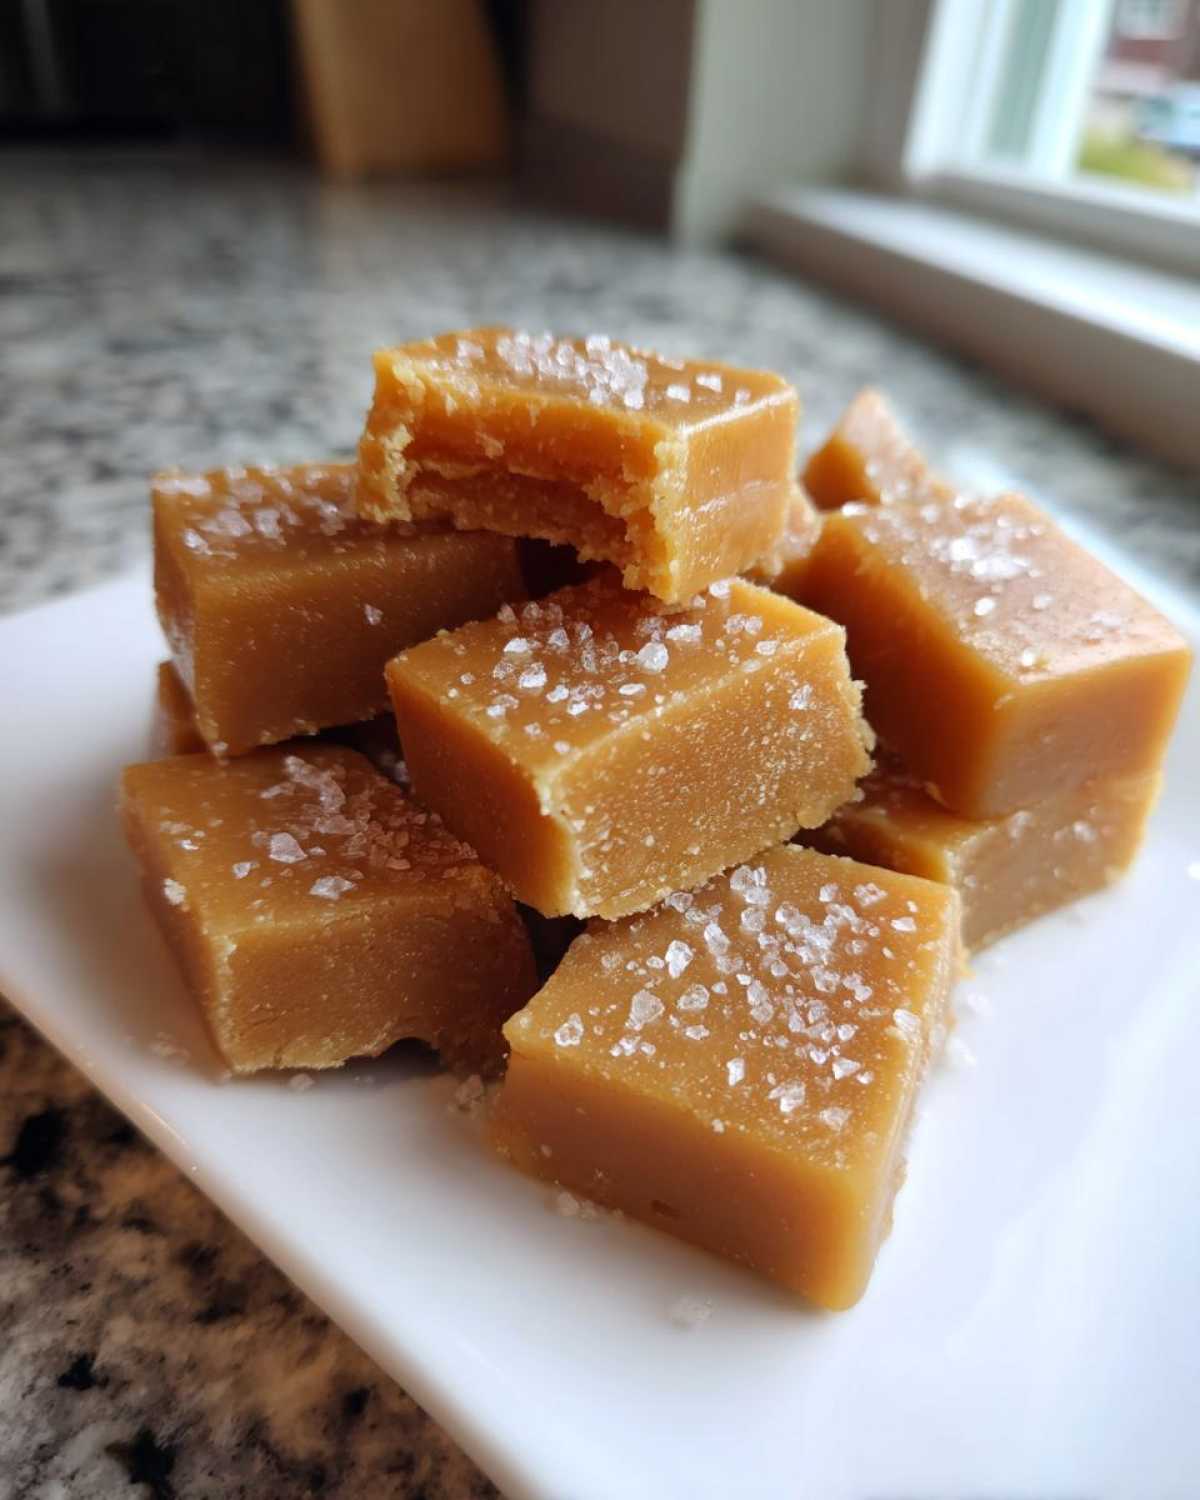
Oh, I have such exciting news to share with you today! If you’ve ever felt intimidated by stovetop candy making, I promise you those fears can stop right here. We are diving headfirst into making the best homemade caramels—the kind that are perfectly soft and chewy and just melt away on your tongue. The star here is our Sea Salt caramels, and trust me, once you bite into that salty/sweet combination, you won’t look back. As the Editor-in-Chief of the Hungry Herald, my job is to report on the good news in our kitchen, and today’s headline is definitely: JOY HAS ARRIVED IN CANDY FORM! Owen is already humming because he knows I’m about to share something celebratory. You can read a little more about our philosophy over on our About Us page, but for now, let’s get cooking!
Why This is the Best Homemade Caramels Recipe
When you’re looking for the absolute best homemade caramels, you need reliability, and that’s what this technique delivers. Forget those recipes that turn into hard blocks! We are aiming for that perfect soft, chewy texture every single time. I’m not just guessing; we focus on hitting the *Soft Ball Stage* precisely. This small bit of candy-making science ensures your caramels will be melt-in-your-mouth tender, just as they should be. It’s what makes this my no-fail guide for anyone wanting to try making their own candy.
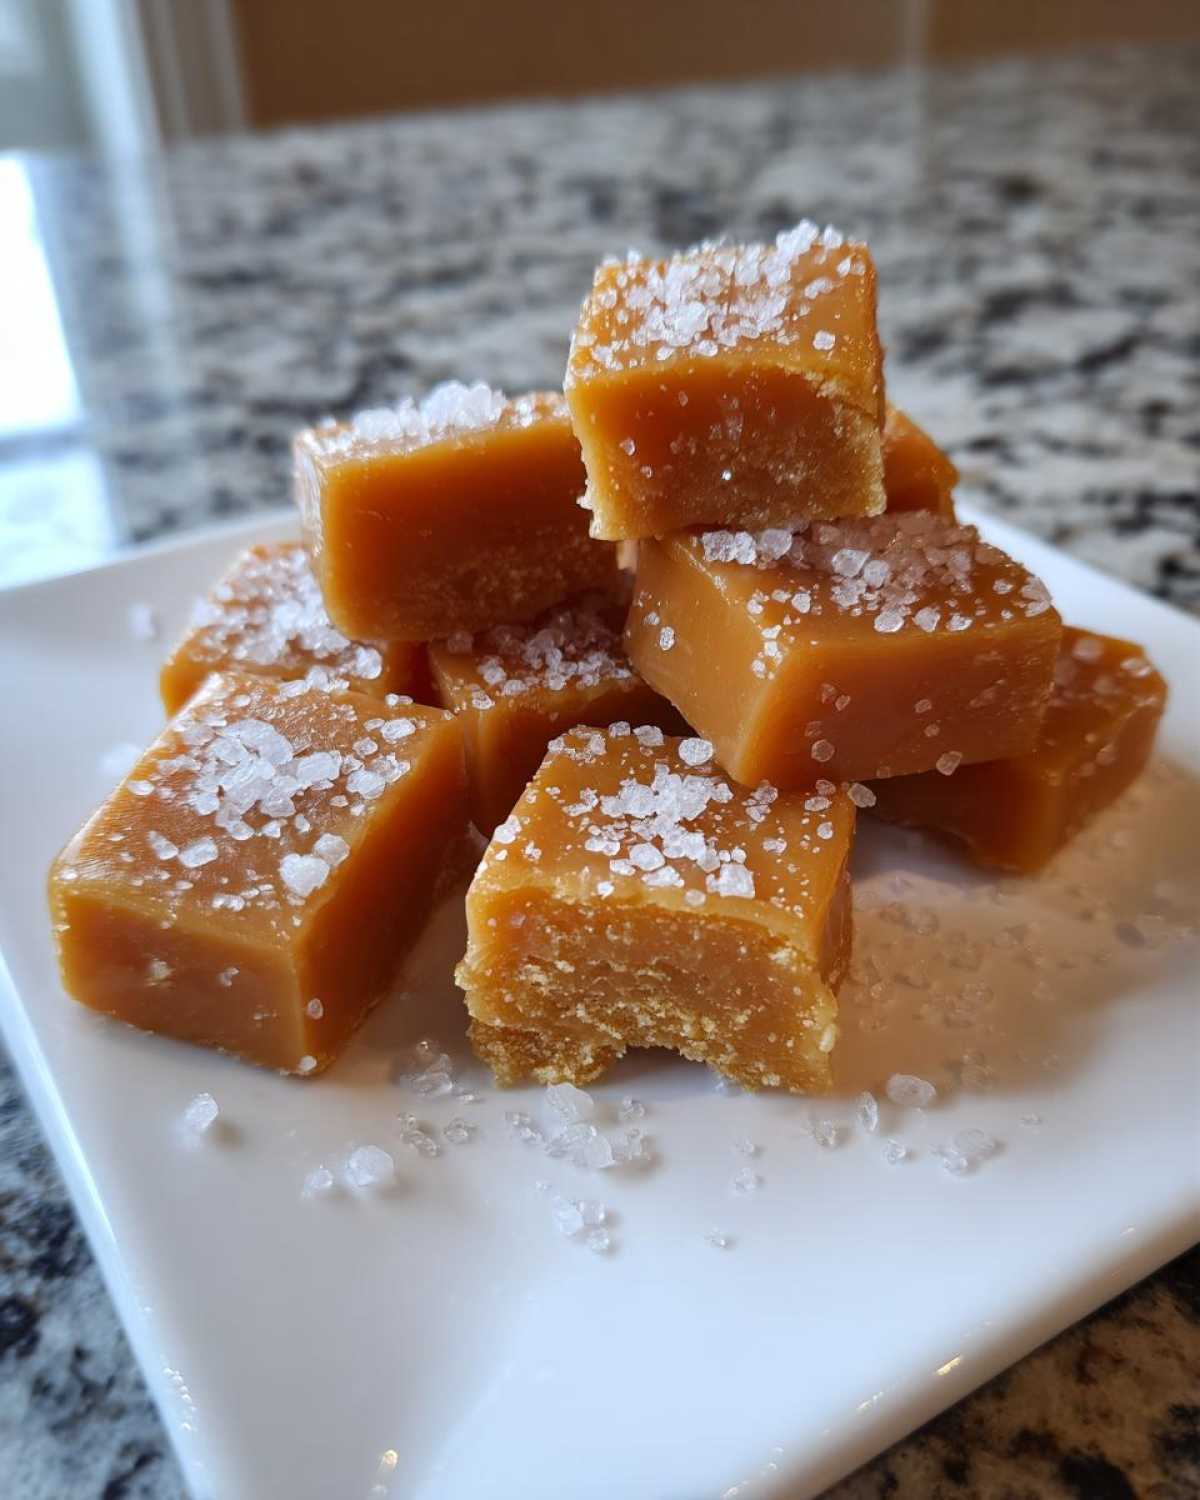
Achieving Soft Caramels Recipe Texture
The secret to wonderfully chewy caramel candies is controlling the boil. We aim for exactly 245 degrees Fahrenheit—that’s your Soft Ball Stage. If you cook it past that point, you’re heading toward toffee territory, and we simply don’t want that for this recipe! Using a reliable candy thermometer is key here. Hitting that mark ensures the sugars set perfectly to give you that satisfying pull without being too hard to chew.
Simple Ingredients for Buttery Caramels
Honestly, the ingredient list is shockingly short, which is why this recipe is so great for beginners. You don’t need a thousand specialty items. What you do need is quality, though! Real unsalted butter and heavy cream are non-negotiable in my book. They are crucial for that rich, deep dairy flavor that makes these buttery caramels taste like they came straight from a fancy candy shop. You can check out some other easy fixes over at my post about no-fail caramel recipe tips if you’re still nervous!
Gathering Your Ingredients for Sea Salt Caramels
Alright, let’s get our station set up! Making amazing caramels is all about having everything measured and ready to go before the heat turns on because things move fast once that sugar starts boiling. Don’t panic about the list; these are all pantry staples, and the result is pure gold. We need one cup of regular white granulated sugar, one cup of light corn syrup—yes, you need it for texture, we’ll talk about that later—and one cup of heavy cream. Then we add the sweetness boosters: one cup of packed light brown sugar and a whole cup (that’s two full sticks!) of unsalted butter. Finally, a teaspoon of vanilla extract and two types of salt: the regular kind for mixing in and that glorious coarse sea salt for the topping.
Ingredient Clarity and Preparation Notes
Here’s where we add a little bit of extra know-how. For the butter, make sure it’s cut into cubes, but don’t let it get greasy or oily before you add it later. You want it relatively cool, which helps control the burst of activity when you stir it in after the boil. When you measure out your brown sugar, really pack it into the cup! Press it down firmly so you get that full cup of molasses-rich flavor coming through. And please, pay attention to the salt: we use regular salt mixed into the liquid, but that beautiful, chunky coarse sea salt is strictly for sprinkling on top right before the cooling starts. That contrast is what makes these sea salt caramels sing!
Step-by-Step Instructions for Perfect Stovetop Caramels
Okay, deep breath! Making caramels on the stovetop takes focus, but it’s so rewarding. Think of this like our own quiet little kitchen dance party—focused steps leading to a huge celebration. Remember, hot sugar is no joke, so we move carefully but confidently. This method is the ticket to those soft, rich squares we’re aiming for.
Preparing the Pan and Initial Cooking
First thing: get your 8×8 pan ready! You need to grease it lightly, but more importantly, line it with parchment paper that hangs over the sides. Those overhangs are your handles later—seriously, don’t skip that part. Now, grab your heavy-bottomed saucepan—you need the thick bottom for even heat distribution. Toss in your granulated sugar, corn syrup, brown sugar, and heavy cream. Put it over medium heat. You have to stir constantly right now until every single grain of sugar dissolves. If you see any specks of sugar clinging to the sides, use a pastry brush dipped in water to wash them down. Once it’s smooth, clip your candy thermometer on. Make sure the tip is actually in the liquid without touching the bottom of the pan. That placement is a total pro tip for accuracy!
Reaching Soft Ball Stage for Chewy Caramel Candies
Once that sugar is fully dissolved, watch for the boil, and then—this is critical—stop stirring! Seriously, put your spoon down. Stirring now can cause crystallization, and we want smooth sailing. You just let it bubble away until your thermometer screams 245 degrees Fahrenheit exactly. That’s your magic number for chewy caramel candies. Don’t go past it, or you’ll ruin the melt-in-your-mouth quality we worked so hard to set up in the first part of the recipe! Once you hit 245°F, pull that pan off the heat *immediately*.
Finishing and Cutting Your Homemade Caramels
Now we can stir again! Carefully whisk in your softened butter until it melts perfectly smooth; it gets bubbly again, so watch your elbows! Then swirl in the vanilla and the regular salt. Pour that gorgeous, molten mixture right into your prepared pan. Immediately sprinkle the coarse sea salt generously over the top while it’s still wet. Then you just leave it alone! Cooling takes about three hours at room temperature—please don’t try to rush it in the fridge! Once it’s rock solid, use those parchment handles to lift the block out, slice it with an oiled knife, wrap them individually, and get ready to celebrate! If you need a guide to some other great stuff you can make, check out my easy homemade garlic butter recipe for savory ideas.
Tips for Success: Making No Fail Caramel Recipe
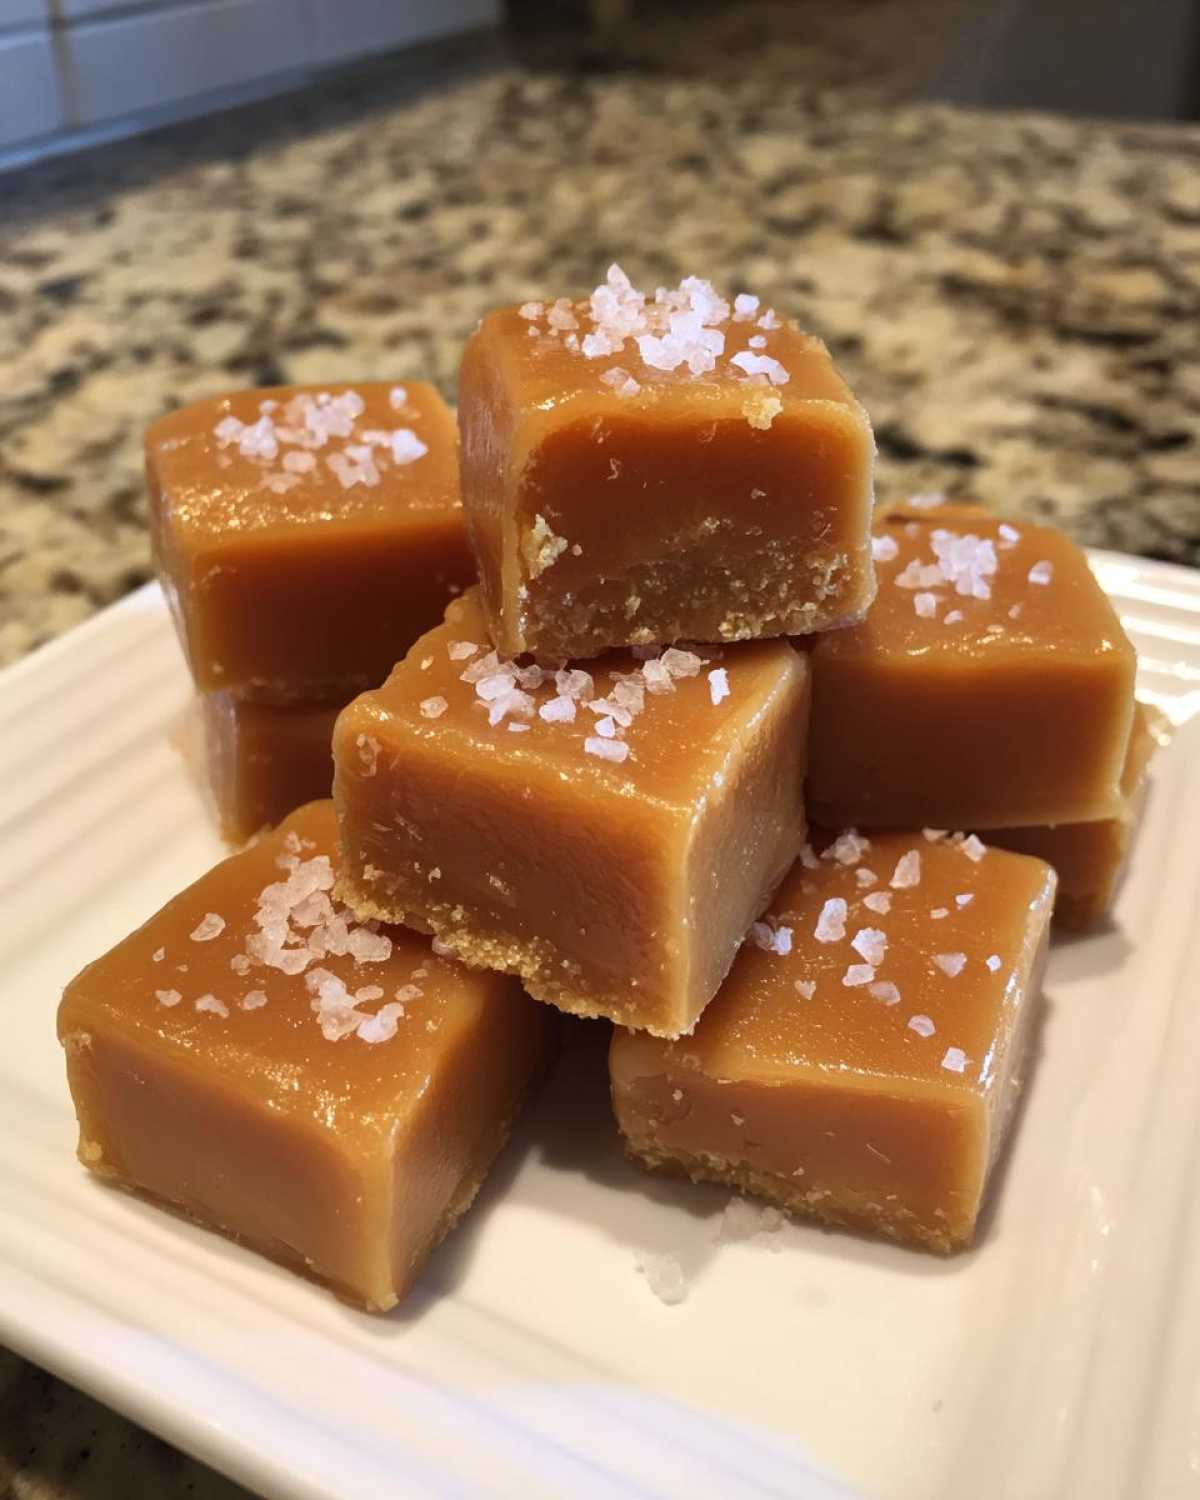
Even with the best instructions, sometimes our caramels decide to stage a small rebellion. Don’t worry! That’s why I call it my “No Fail Caramel Recipe”—because even when they don’t come out exactly as planned, we learn something for next time, and they still taste amazing, even if they are slightly firmer!
Troubleshooting Common Caramel Issues
If you pull your finished squares out and they are way too hard—like they are closer to a chewable piece of plastic than a soft chew—that’s an easy fix for next time. It almost always means your mixture cooked just a little too long or reached a temperature slightly over 245°F. So, next time, pull the heat off the second you hit 244°F, or even 243°F if you want them super, super soft. Remember that the temperature gauge continues to rise slightly even after you remove the pan from the burner, so give yourself a little buffer room!
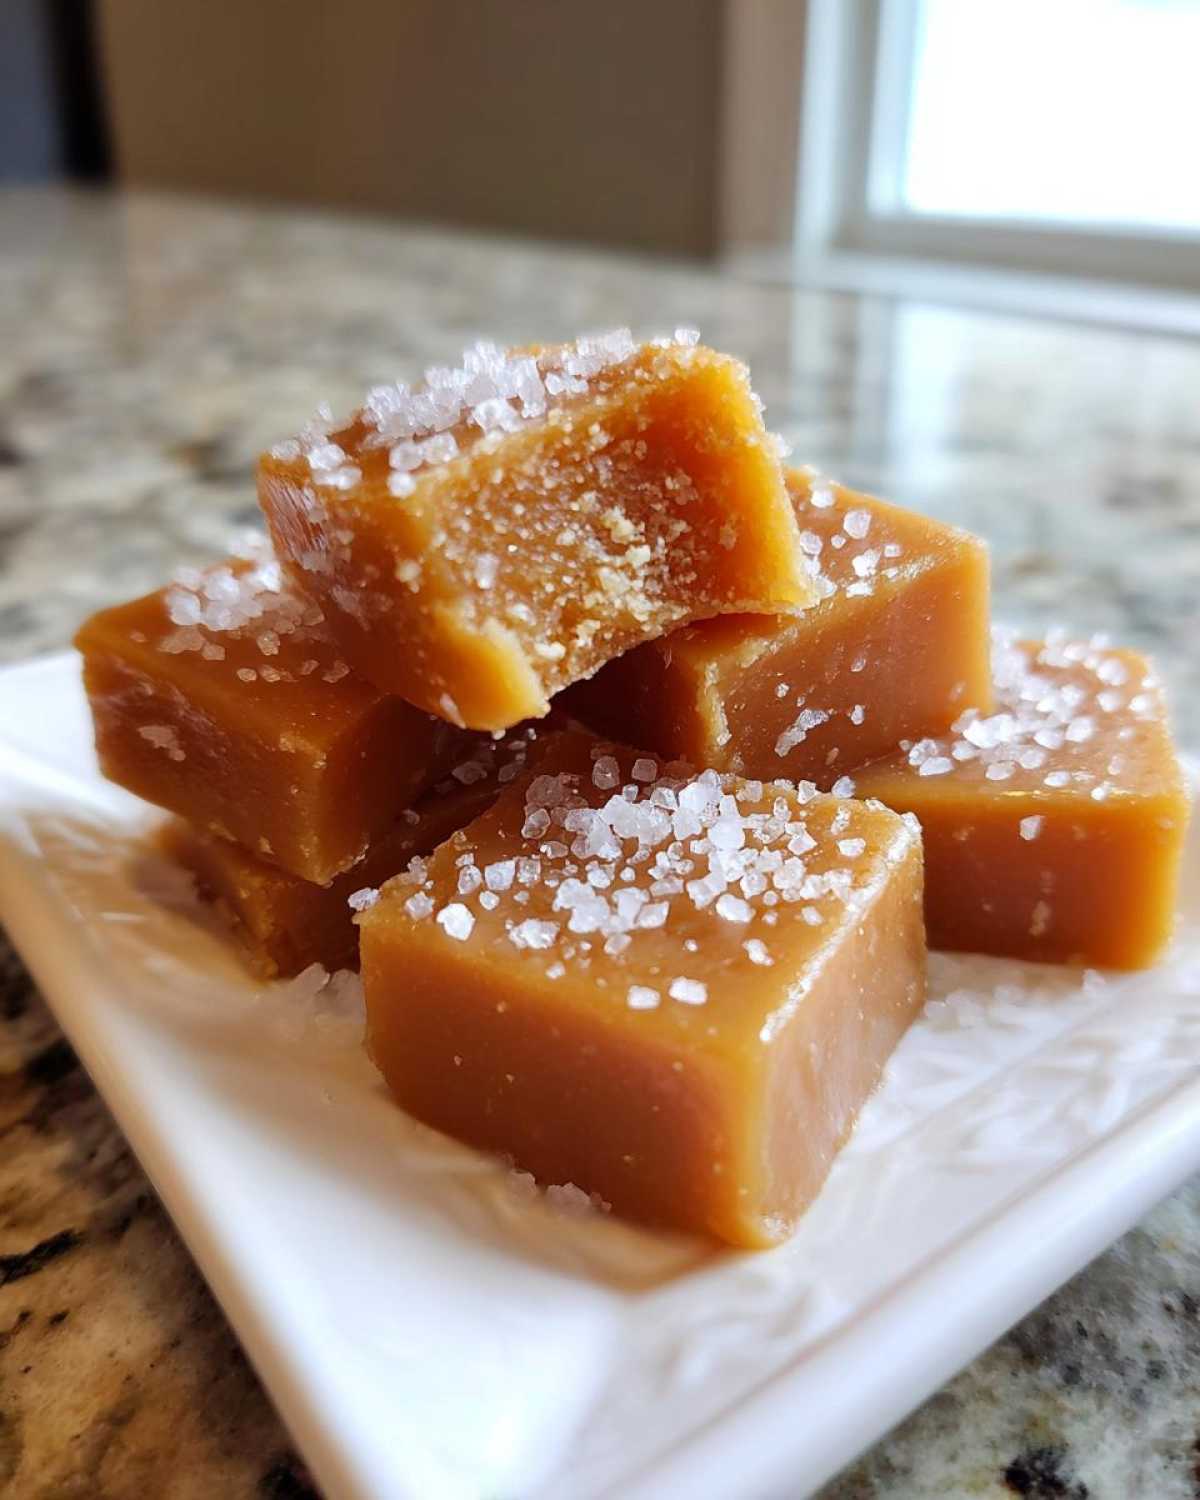
The other big problem we run into is crystallization—where the smooth, glossy surface turns grainy, almost like sand. Nine times out of ten, this happens because we stirred the mixture after it started boiling but before it hit the 245°F mark. Those sugar crystals that form on the side of the pot get reintroduced to the rest of the liquid, and boom, it turns the whole batch crunchy. It’s rough, but that’s why we stop stirring completely once that boil starts! If you find crystals anyway, you can use them mixed into your coffee until you master the technique, or maybe check out how I keep my sugar cookie icing perfectly smooth; the principles are similar!
Variations on Classic Caramels
Don’t worry if you’ve mastered the classic stovetop wonders; these caramels are totally adaptable, which is the fun part! We can play around with the base recipe using just a few simple swaps, turning our standard homemade batch into something truly special. Think about changing the flavor profile completely without changing the core steps we just nailed down.
Making Maple-Accented Caramels
For anyone who loves that sophisticated, earthy sweetness—and Owen definitely does when the weather gets chilly—you have to try a maple accent! This is so easy. In the ingredient list, we used one cup of packed light brown sugar, right? If you want that gorgeous hint of maple depth, just swap out one quarter-cup of that brown sugar for pure maple syrup. That substitution brings in a lovely background note that complements the butter perfectly. You just mix it right in with the other sugars at the beginning. Suddenly, your standard caramels are way more gourmet, and they make for an absolutely incredible holiday candy gift!
Quick Microwave Caramels Alternative
I know, I know. Some days you see a recipe for “Quick Microwave Caramels” that promises chewy candy in six minutes, and every fiber of your being wants to take the shortcut. And hey, you totally can! If time is truly of the essence, you can absolutely adapt this recipe for the microwave. You heat the cream/sugar/butter mix in short intervals, checking the temperature until you hit that all-important 245°F mark. But here’s my honest editor’s note: for the *absolute best* soft, chewy texture that holds up to wrapping, the slow, even heat of the stovetop is still my champion. The microwave speeds things up, but that gentle, consistent stovetop heat just caramelizes everything a tiny bit better. If you try the microwave, please start with a huge bowl because it sometimes erupts when heating!
If you want to try adding other flavors later on, perhaps some festive spices, remember that rich base we built! You can check out how I manage flavor density in my candied yams for inspiration on layering sweet and savory spice notes.
Storage & Gifting Your Homemade Caramel Candies
Once your gorgeous, salty treats are cut, how you store them is the final crucial step to keeping them soft. Remember, we want that melt in your mouth candy sensation, not rock-hard squares! The trick to preserving the tenderness of these caramels is wrapping them immediately. Don’t just toss them in a container! Each piece needs to be wrapped individually in wax paper or small squares of cellophane. This keeps the moisture locked in and stops them from merging back into one giant, sticky block. They look so professional when they are wrapped, and they are ready to be tucked into any holiday tins or little bags—Owen says they make the best neighbor gifts!
Since these are so special, packaging them nicely is part of the fun. I love using little cellophane bags tied with twine, especially if I’ve made batches of my Christmas sprinkle sugar cookies too. Keep the wrapped caramels in an airtight container at room temperature. Trust me, they are delicious for about two weeks this way, but honestly, they never last that long in our house!
Frequently Asked Questions About Making Caramels
I know you might have a few lingering questions when you are diving into candy making for the first time. It’s totally normal! We want your experience making these caramels to be perfect, so here are the things I get asked about the most. We’re here to make sure you nail that soft caramel recipe on the first try!
Can I substitute corn syrup in this easy caramel recipe?
This is such an important question for anyone looking for an easy caramel recipe! I know corn syrup sometimes gets a bad rap, but for stovetop caramels, it’s your technical best friend. What it does is act as an ‘interfering agent.’ Basically, it stops the white sugar and brown sugar from crystallizing on you when they get hot—which is how you get that beautiful, consistent texture instead of gritty old fashioned caramels. While you *can* try honey or glucose, nothing controls the texture and prevents graininess quite like corn syrup.
How do I make Old Fashioned Caramels if I prefer them firmer?
If you’re aiming for a slightly firmer, perhaps more traditional chew—maybe you want that really satisfying pull when you bite down—the temperature is your main dial! Remember, we set the target for 245°F for our soft batch. If you want slightly firmer chewy caramel candies, cook the mixture up to 247°F or even 248°F. This just cooks off a little more moisture, resulting in a firmer finish. Just be careful; going too high brings you too close to toffee! If you want something completely different, check out my recipe for brownie cookies for a decidedly fudgy texture!
What is the best way to wrap these chewy caramel candies?
Wrapping those beautiful squares is the final step that keeps them fresh and prevents them from becoming one giant clump in the container! The absolute best way to wrap these chewy caramel candies is individually using wax paper or small squares of cellophane. Wax paper is usually easiest to find and works perfectly to keep the surfaces from sticking together. Cut your squares about 3×3 inches—that gives you enough space to twist the ends shut. If you neglect this step, I guarantee you’ll be peeling stuck-together caramels off each other by morning!
Nutritional Estimate for These Caramels
I always feel a little funny sharing nutritional estimates because, let’s be honest, these are treats meant for celebration, not for counting macros! But I know some of you like to keep track, so here is the general breakdown based on the recipe yields.
Please remember this is just an estimate for one perfect square of candy, assuming the recipe makes 64 pieces as stated. These numbers can shift based on how large you cut them or the exact brands of butter and cream you use. Think of this as a friendly guideline rather than strict science!
- Serving Size: 1 square
- Calories: 110
- Sugar: 18g
- Sodium: 45mg
- Fat: 4g
- Saturated Fat: 2.5g
- Trans Fat: 0.1g
- Carbohydrates: 18g
- Protein: 0.5g
There’s a little bit of fat and sugar in there, of course, because that’s what makes them taste like heaven! But honestly, if you need something totally guilt-free after making Homemade Vanilla Caramels, maybe pairing them with some fruit is the way to go? Just enjoy the moment when you bite into that rich, buttery delight!
Share Your Kitchen Dance Party News
Well, that caramel journey is complete! I truly hope you felt the excitement bubbling up in your kitchen while you were stirring that glorious mixture. Now that you have these perfect, velvety squares ready to go, I desperately want to hear about them! Did you manage to resist snacking while they were cooling? Did Owen immediately put on a celebratory song when you bit into your first one?
If you made these batches of sweet treats, please come back and tell me how it went! Drop a comment below letting me know if you used the sea salt topping or if you kept them plain. A little star rating helps other folks who might be nervous about tackling stovetop candy for the first time. We are all here to share the good news that simple ingredients can make something spectacular.
If you are hungry for even more recipes that turn dinner—or dessert!—into a reason to celebrate, you can always browse the archives over on the main Hungry Herald blog page. Now go on, share your sweet victories with us!
PrintThe Best Soft & Chewy Homemade Sea Salt Caramels (Easy Recipe)
Make rich, buttery, melt-in-your-mouth soft caramels at home. This easy recipe delivers chewy caramel candies perfect for gifting or snacking.
- Prep Time: 15 min
- Cook Time: 25 min
- Total Time: 3 hours 40 min
- Yield: About 64 pieces
- Category: Candy
- Method: Stovetop Cooking
- Cuisine: American
- Diet: Vegetarian
Ingredients
- 1 cup granulated sugar
- 1 cup light corn syrup
- 1 cup heavy cream
- 1 cup packed light brown sugar
- 1 cup (2 sticks) unsalted butter
- 1 teaspoon vanilla extract
- 1/2 teaspoon salt, plus coarse sea salt for topping
Instructions
- Lightly grease an 8×8 inch baking pan and line it with parchment paper, leaving an overhang for easy removal. Set aside.
- Combine the granulated sugar, corn syrup, heavy cream, and brown sugar in a heavy-bottomed saucepan.
- Stir the mixture constantly over medium heat until the sugar and brown sugar dissolve completely. Do not let it boil before the sugar dissolves.
- Attach a candy thermometer to the side of the pan, making sure the tip is submerged but not touching the bottom.
- Stop stirring once the mixture boils. Cook until the temperature reaches 245 degrees Fahrenheit (Soft Ball stage). This usually takes about 15 to 20 minutes.
- Remove the pan from the heat immediately. Carefully stir in the butter until it melts completely. The mixture will bubble vigorously.
- Stir in the vanilla extract and 1/2 teaspoon of salt.
- Pour the hot caramel mixture into the prepared baking pan. Sprinkle the top evenly with coarse sea salt.
- Let the caramels cool completely at room temperature for at least 3 hours, or until firm. Do not refrigerate to set.
- Once firm, use the parchment paper overhang to lift the caramel block from the pan. Peel off the paper.
- Use a sharp, oiled knife to cut the block into 1-inch squares. Wrap each piece individually in wax paper or cellophane for storage or gifting.
Notes
- For a quicker, beginner-friendly method, you can adapt this using a microwave, heating the sugars and cream in intervals until 245 degrees F is reached, but stovetop cooking gives the best old-fashioned texture.
- If you prefer a maple accent, substitute 1/4 cup of the brown sugar with pure maple syrup.
- If your caramels are too hard, next time cook the mixture to a slightly lower temperature, around 242 degrees F.
Nutrition
- Serving Size: 1 square
- Calories: 110
- Sugar: 18g
- Sodium: 45mg
- Fat: 4g
- Saturated Fat: 2.5g
- Unsaturated Fat: 1.5g
- Trans Fat: 0.1g
- Carbohydrates: 18g
- Fiber: 0g
- Protein: 0.5g
- Cholesterol: 15mg