

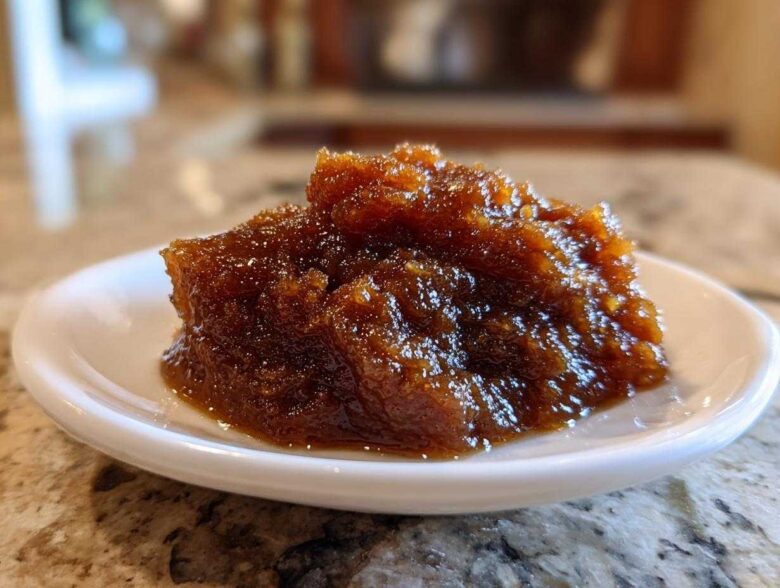
Oh, when those first hints of cinnamon and allspice hit the air, my heart just melts! Isn’t that the absolute best part of getting cozy for fall? If you agree, then you absolutely have to try making your own rich, deeply flavored apple butter. I know what you’re thinking: “Do I have time for that?” And that’s the good news Stella and I learned to herald: you do! This recipe is designed for everyone. We’re laying out the traditional stovetop method—which really brings out that caramel depth—alongside the incredibly easy slow cooker method. Owen swears by letting the Crockpot do all the heavy lifting while he works on the playlist. Honestly, once you taste this homemade spread, you’ll never look back!
For more about our journey from kitchen chaos to celebration cooking, you can always check out our About Us page, but for now, let’s get stirring!
Why This Ultimate Apple Butter Recipe Works for Everyone
Look, I’ve made this recipe so many times now that I can practically do it blindfolded! That’s how you know it’s a winner. We developed this guide because when I first started making homemade apple butter, I couldn’t decide which path to take—the traditional one or the let-it-go-for-a-day slow cooker one. Why choose when you can have both methods explained perfectly? It makes it the most authoritative, easy apple butter recipe you’ll find, I guarantee it!
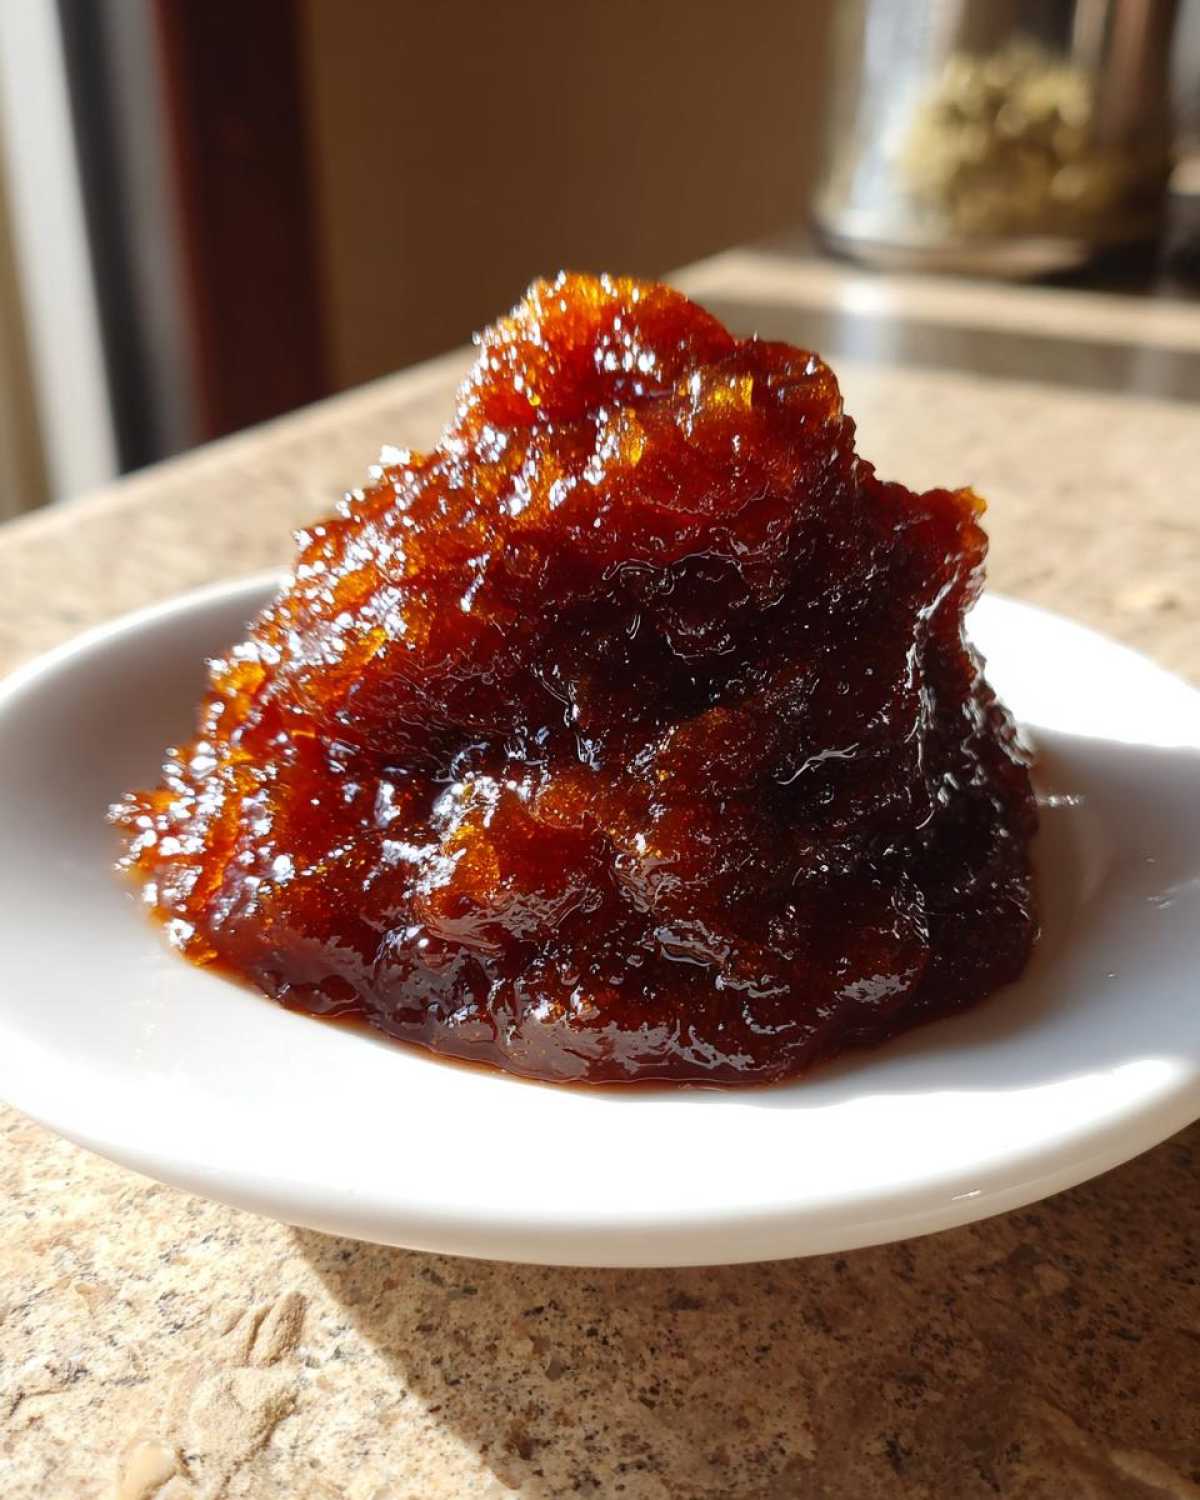
- You get reliable, deeply spiced flavor every single time.
- It works whether you have 4 hours of active time or need zero hands-on energy.
- This recipe focuses on pure, rich flavor without weird fillers.
Method Flexibility: Stovetop Apple Butter vs. Slow Cooker Apple Butter
If you’re in a rush (or just love stirring pot fillings!), the stovetop method concentrates the flavor faster because the evaporation off the top is much quicker. It requires attention, though! If you want to set it and forget it while you go do literally anything else, the slow cooker is your hero. It cooks lower and gentler, which some say gives it an even deeper, almost molasses-like taste.
Flavor Profile: The Perfect Spiced Apple Spread
What really brings this home is the spice. We aren’t messing around with just cinnamon alone. Adding nutmeg and allspice transforms this from simple cooked apples into that magical, recognizable old fashioned apple butter scent that fills the whole house. It’s pure autumn comfort packed into a jar. Seriously, that combination is the secret handshake for fall preserving recipes.
Selecting the Best Apples for Apple Butter
Picking the right apples is truly the first headline in delicious apple butter making. You can’t just grab anything from the stand! We are aiming for that perfect intersection of sweet flavor and enough pectin to break down nicely but hold some structure, even after blending. Stella usually insists on a mix, and trust me, she’s right about this one. Combining tart apples with sweeter ones gives you complexity that a single variety just can’t match.
For the tart side that cuts through all that sugar we are adding, you absolutely have to throw in some Granny Smiths—they hold their shape just long enough to cook down beautifully without turning to complete mush too fast. Then mix those with something sweeter, like Honeycrisp or Fuji. Those sweet ones melt right into that velvety texture we are looking for.
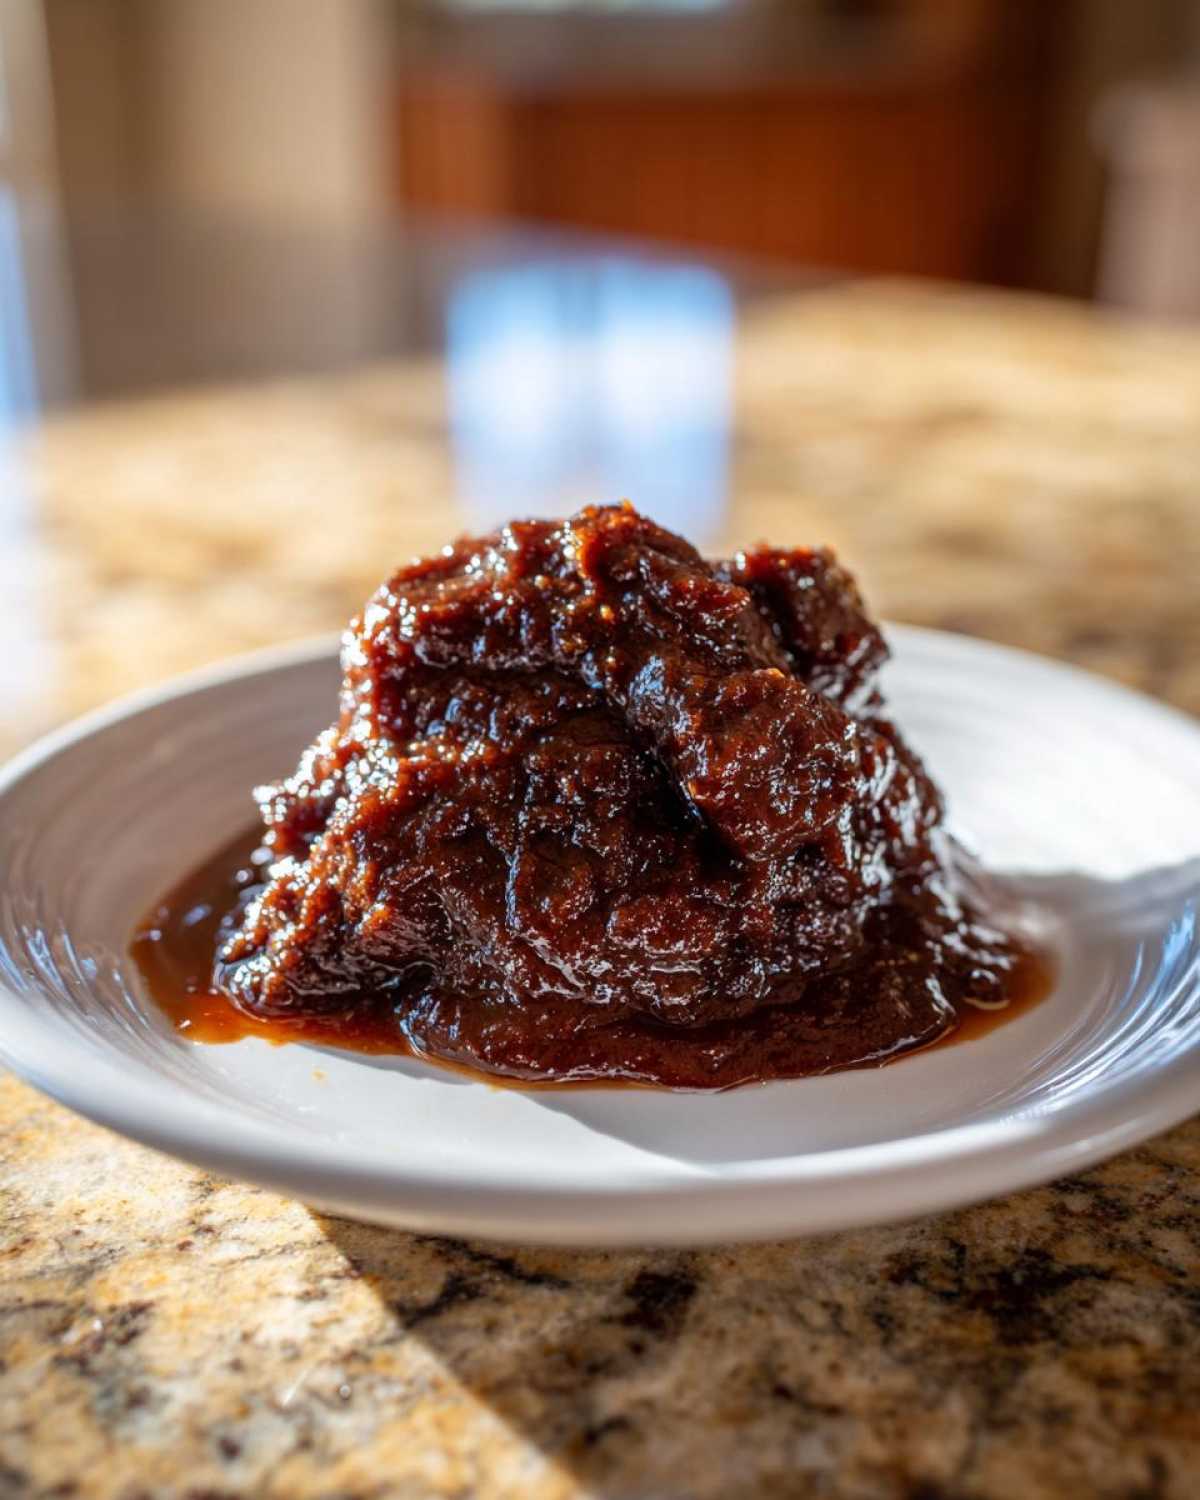
Now, here’s where you can save yourself about twenty minutes of work: the peeling debate! To make amazing apple butter, you actually don’t have to peel them first if you have the right blending equipment. If you plan on using an immersion blender, you might want to peel them so you don’t end up with tiny bits of papery skin in your final spread. But if you use a high-powered regular blender, I highly recommend trying the **no peel apple butter tips**. Just chop them up, cores and all (we remove the cores because they don’t blend well, obviously!), and let the heat and the blending do the hard work. It’s a game-changer for efficiency!
Ingredients for Rich Apple Butter
Okay, now for the fun part! Getting all our beautiful autumn ingredients lined up. This is when I like to put on some Motown because you are about to make something truly incredible. Keep everything close by—we’re going to be moving fast once we start adding things to the pot or the slow cooker. Remember, for this recipe, we are using 6 full pounds of apples, so make sure your largest pot or your slow cooker basin is definitely up to the task!
Here is what you need to gather for the best batch of apple butter you’ve ever made:
- 6 pounds apples (Fuji, Honeycrisp, or a mix), peeled, cored, and chopped
- 1 cup granulated sugar
- 1 cup packed brown sugar
- 2 tablespoons ground cinnamon
- 1 teaspoon ground nutmeg
- 1/2 teaspoon ground allspice
- 1/2 cup water (for stovetop only)
See how simple that is? It’s all about the quality of the fruit combined with those warm spices. That’s the magic potion for that amazing spiced apple spread.
Ingredient Notes and Natural Sweeteners Apple Butter Options
While the recipe calls for a combination of white and brown sugars to get that classic depth, I know a lot of you are looking to drop the refined sugar while keeping all that cozy fall flavor. Don’t worry, we’ve got you covered! You can totally make a version that uses **natural sweeteners apple butter** modifications.
If you want to try it, you can reduce the total amount of granulated and brown sugar by half—that’s a significant cut! Then, toward the very end, during that final thickening stage, stir in 1/4 cup of pure maple syrup. Maple syrup has such a wonderful caramel note that plays perfectly with the cooked apples. Since the maple syrup is added later, it doesn’t interfere with the initial breakdown of the apples the way it might if you cooked it for 10 hours straight. It’s my favorite way to make a slightly lighter version for our weekend pancakes!
How to Make Apple Butter From Scratch: Step-by-Step Instructions
This is where the magic really happens, friends! Making apple butter from scratch involves patience, especially in the first few hours, but the results are totally worth being near the stove or waiting by the slow cooker all day. No matter which method you choose, the goal is the same: break down those apples until they are completely tender and ready to transform into that rich, dark spreadable goodness. We’re going to cook them down, blend them smooth, and then cook them down *again* to thicken everything up. It’s a two-stage cooking process that guarantees you get that wonderful, deeply concentrated flavor that beats any store-bought jar. For those of you aiming for that luxurious, velvety finish, pay close attention to Phase 3!
If you want to check out some other great recipes while your fruit is softening, Owen has a surprisingly delicious guide on garlic butter that might be fun to try next. But right now, focus on the apples!
Phase 1: Softening the Apples (Stovetop Apple Butter Method)
If you go the stovetop route, grab your biggest, heavy-bottomed pot—seriously, the bigger the better because things tend to bubble quite a bit! You need to start by adding that half-cup of water we talked about in the ingredients. This little bit of liquid is essential because it prevents scorching before the apples start releasing their own juices. Bring that whole mixture up to a steady boil over medium-high heat. Once it’s rolling, immediately drop that heat right down to low. We simmer, covered, for about two to three hours. The key here is stirring every 30 minutes, or whenever you remember, just to scrape the bottom. You’ll know it’s ready when the apples are so soft you can basically crush them with the back of your wooden spoon. We don’t want any tough bits hanging around!
Phase 2: Cooking Down the Crockpot Apple Butter
Now, if you chose the hands-off route, this is where you walk away and go live your life! For crockpot apple butter, simply put everything (except the water, you brave soul!) into the slow cooker basin. We cook this low and slow—I mean it! Set it to LOW for 8 or even 10 hours. If you’re in a rush, you can try HIGH, but stick to 4 to 5 hours max. The goal here is gentle heat to caramelize those sugars naturally. When you check it after 8 hours, those apples should be practically liquid mush. They should be completely broken down and ready for blending. Owen likes to use this time for a super long playlist, so crank up the tunes and ignore the slow cooker until it’s done!
Phase 3: Achieving the Final Smooth Apple Butter Texture
Once the apples are tender—whether they cooked down for 3 hours on the stove or 9 hours in the slow cooker—it is time to blend. This is the step that turns “chunky applesauce” into glorious **smooth apple butter**. You have two choices here. If you have an immersion blender, you can blend right in the pot or cooker while it’s still warm. That’s fast, but sometimes you get little pockets that are still hiding! If you want that commercial-quality velvety finish, carefully transfer everything in batches to a regular blender. Blend it until it looks impossibly smooth. For a more **old fashioned apple butter** texture, you can pulse it a few times instead of pureeing it completely. This takes a little more time, and you might want to reference this great guide on how to make apple butter to check their blending tips, but honestly, just blend until you love how it looks!
Tips for Perfect Homemade Apple Butter Consistency
Okay, this is the make-or-break moment, honestly. After all that simmering and blending, you might think you’re done, but nope! This final thickening stage separates a thin, runny apple sauce from the thick, luxurious, spreadable homemade apple butter we are aiming for. If you skip this step, all your hard work turns into just fancy applesauce, and we can’t have that!
Remember, we always return the blended mixture back into the main cooking vessel. If you used the slow cooker, switch it over to HIGH with the lid OFF. If you used the stovetop, just keep it at a gentle simmer, uncovered. We need that moisture to evaporate so the good stuff—the flavor and the thickness—can concentrate in what’s left behind. You’ll need to stir this much more frequently now—like every 5 to 10 minutes. Keep scraping the bottom gently so it doesn’t scorch; trust me, burnt apple butter smells terrible and will ruin the whole batch!
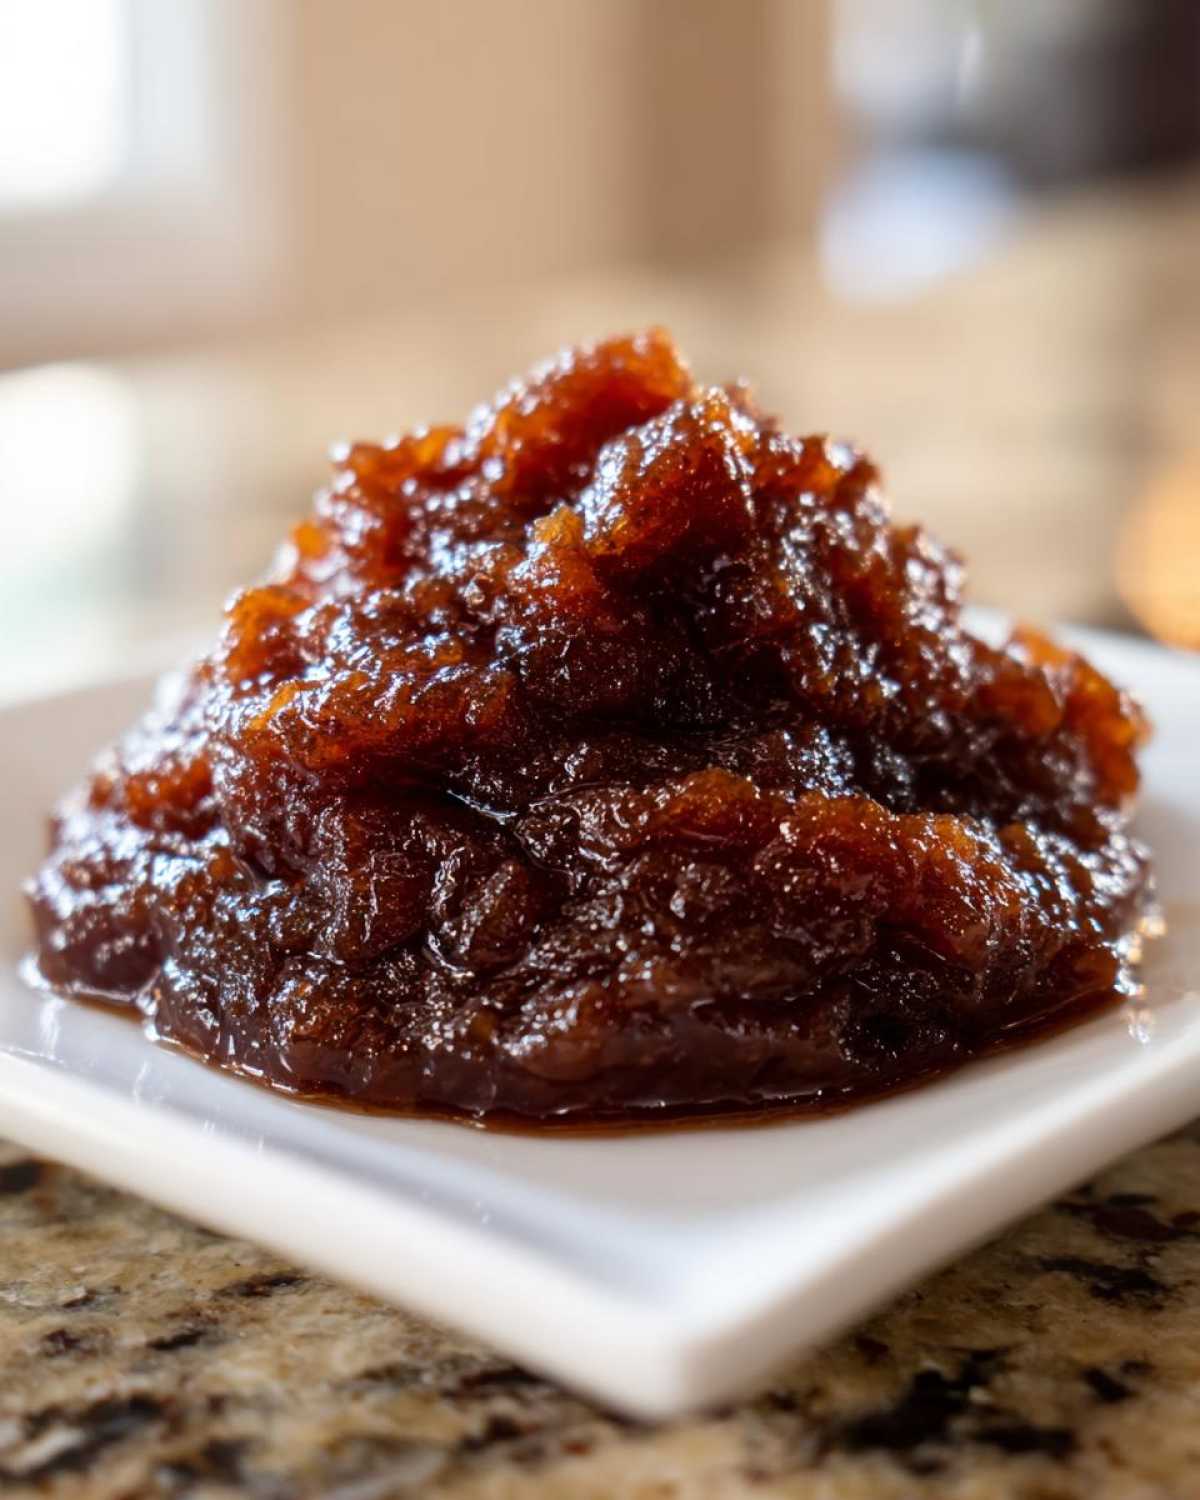
How do you know when it’s finally perfect? You’re looking for what we call the “mound test.” Dip a clean spoon in and pull it out. Let the apple butter drizzle back into the pot. If it immediately runs back and smoothly disappears into the main batch, it needs more time. But if the spoonful holds its shape for a second, or if the drizzle you pour onto a plate mounds up slightly instead of immediately spreading flat, you’ve hit the jackpot! It should look deep mahogany brown, almost like melted dark chocolate. When you can see the bottom of the pot for a couple of seconds when you drag your spoon across it, stop cooking immediately! If you’re using the Crockpot, this sometimes takes another hour or two on high with the lid off. If you want to see another great slow cooker version for comparison, check out this Crockpot Apple Butter recipe. Then, let it cool completely. It will firm up even more as it gets cold, which is just another one of those little miracles of making apple butter at home!
Beyond Toast: Creative Apple Butter Uses
So, you’ve successfully made this glorious, thick, deeply spiced apple butter. Congratulations! Now what? Do you just eat it with a spoon standing over the sink? (I won’t judge if you do, but we really shouldn’t.) This beautiful spiced apple spread is way too versatile to stick to just one use. While it is, of course, absolutely mandatory on fresh-from-the-oven toast, biscuits, or even English muffins—it’s the definition of apple butter for toast—it shines so much brighter in other uses, especially if you’re looking for great fall preserving recipes to keep the flavor going all year round.
First off, let’s talk about baking. This stuff is pure moisture gold! I use it as a 1:1 replacement for oil in almost any quick bread or dense cake. It keeps things incredibly tender. In fact, if you’re looking for a recipe that needs that extra hit of spice and moisture, you should totally check out Stella’s guide for that amazing spice cake; swapping out some of the fat for apple butter there is just heavenly.
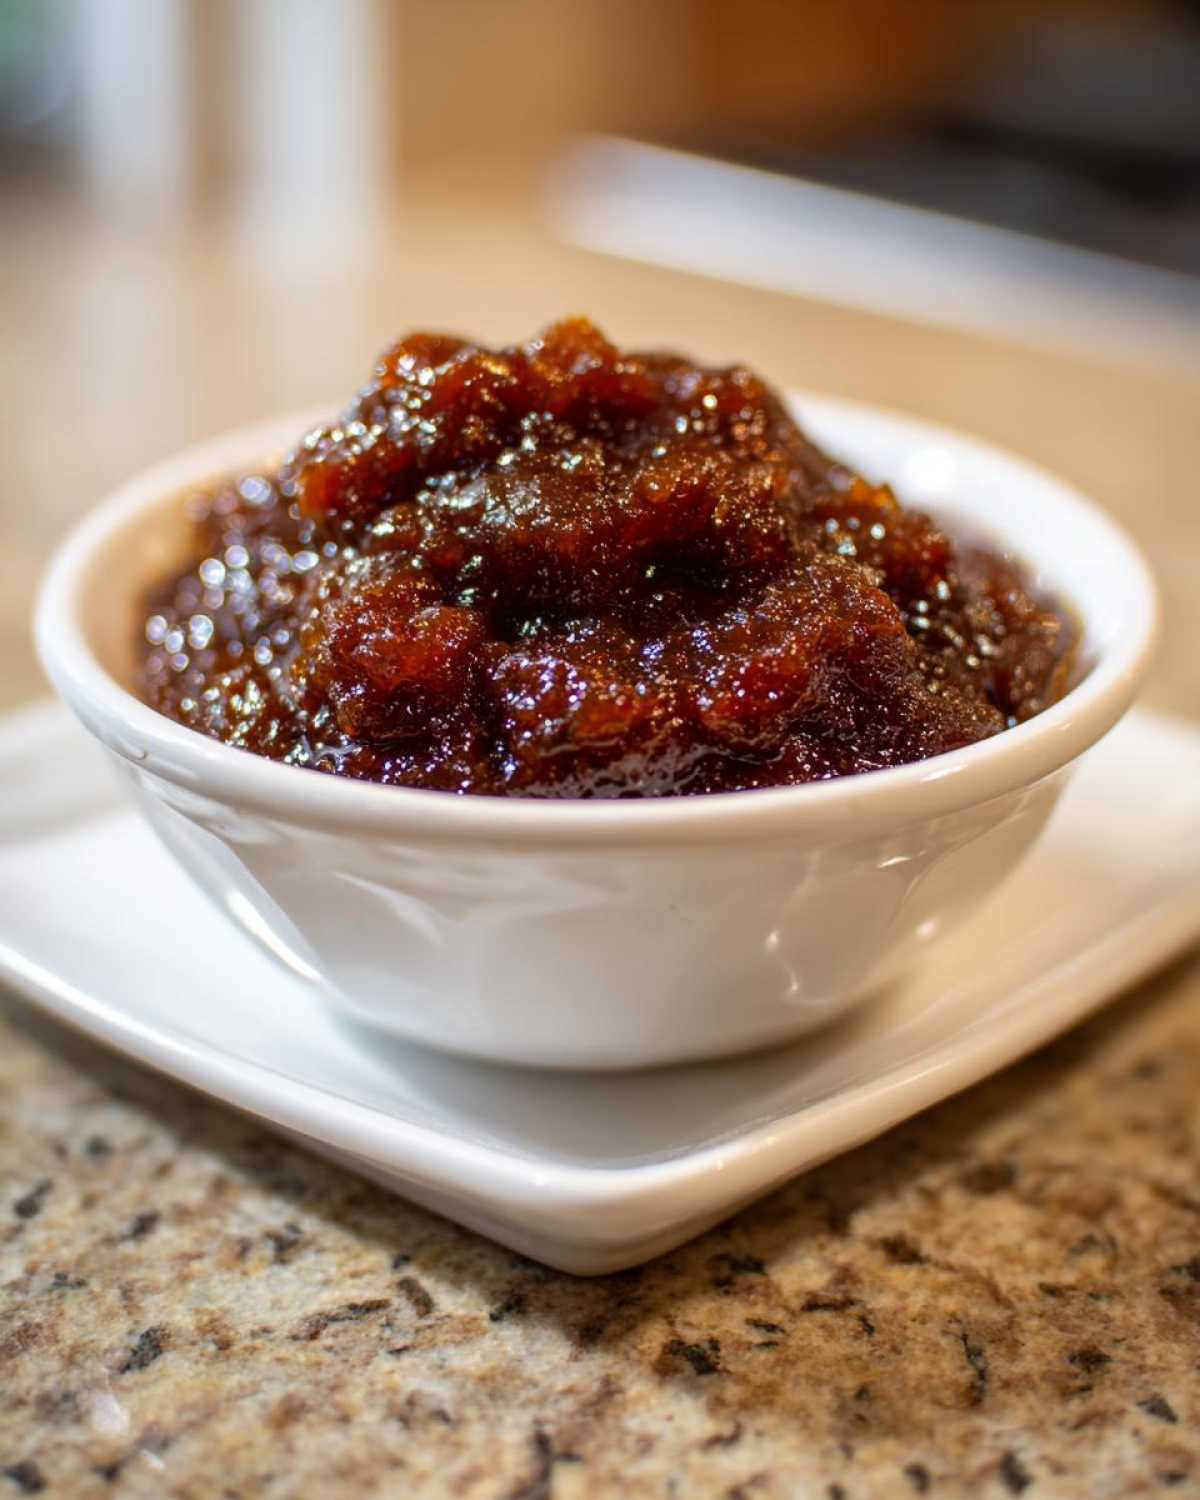
It’s also fantastic swirled into oatmeal or yogurt in the morning, which is a great way to use up the last cup when you realize you don’t feel like canning a whole batch. And don’t forget gifting! A jar of this, maybe tied with some simple twine and a sprig of rosemary, makes one of the warmest, most personal gifts you can give during the holidays.
Making Variations: Try Cranberry Apple Butter
If you’re already making a big batch of this homemade apple butter, why not double it up and try a festive twist? If you want to experiment with a fantastic holiday flavor, try making Cranberry Apple Butter! It’s so simple. Just toss about two cups of fresh or frozen cranberries into the apples right at the beginning of the cooking process—whether you are using the stovetop or the slow cooker. The cranberries cook down right along with the apples, but they bring a beautiful tartness that keeps the final butter from tasting too sweet. It’s sharp, warm, and absolutely perfect for serving alongside roasted meats or smeared on holiday scones. It’s a flavor combination that just screams “celebration!”
Storage and Canning Apple Butter for Long-Term Keeping
Okay, you’ve made five cups of the best apple butter on the planet. Now we have to keep it safe so we can enjoy that cozy fall taste all the way through winter! Luckily, this stuff is pretty robust. You’ve got a couple of great options depending on how quickly you think we’ll get through it.
If you plan on spreading this on toast every morning for the next few weeks, the refrigerator is your best bet. Let the apple butter cool completely first—this is crucial! Heat creates condensation, and condensation is the enemy of long shelf life. Once it’s totally cool, transfer it into clean glass jars, seal them up tight, and it should stay perfectly fresh in the fridge for about three weeks. Honestly, with how good it smells, I doubt it will even last that long!
But if you are serious about fall preserving recipes and want to put up a big haul, you absolutely must look into water bath canning. This is how you make your homemade apple butter shelf-stable so you can give jars away as gifts or just keep pulling them out on gloomy Tuesday mornings!
The process is straightforward but requires following safety rules exactly. You need to fill sterilized jars, leaving about a quarter-inch of headspace at the top. Wipe the rims clean—really clean—put the lids on fingertip tight, and process them in a boiling water bath canner for the time specified for your altitude. Since this is a high-acid product (thanks to the apples!), it’s generally considered very safe for home canning. Getting this step right is what makes you a true preservation hero! And if you’re just getting started with preserving, checking out resources like some of the fantastic guides out there can really boost your confidence before you dip those jars in hot water.
If you don’t want to do the whole bottling process or freeze them, the freezer works great, too! Pour the cooled apple butter into freezer-safe containers or heavy-duty zip-top bags, leaving about an inch of room at the top because liquids expand when they freeze. Your spiced apple spread will be good for up to six months tucked away in the deep freeze, ready to pull out when you need a burst of autumn sunshine.
Frequently Asked Questions About Making Apple Butter
I always get a ton of questions whenever I post a picture of my latest batch of apple butter on social media! People are always curious about the little details that make the difference between good and truly spectacular. Here are a few things I hear most often when folks are first trying out this recipe for the very first time or when they are stocking up their pantry.
Can I make this apple butter recipe without peeling the apples?
Oh yes, you absolutely can make this recipe without peeling! If you decide to skip the peeling step—which, let’s be honest, saves a ton of time when dealing with 6 pounds of apples—you just need to make sure your blending step is extra thorough. If you’re using a standard blender, you’ll need to cook the apples down until they are absolutely past soft, and then blend in small batches, making sure that machine runs long enough to completely pulverize every tiny piece of skin. If you use an immersion blender, just blend for a solid minute or two longer than you think you need to. Nobody wants chewy specks in their otherwise perfectly **smooth apple butter**!
How long does homemade apple butter last in the refrigerator?
This is a great question, especially if you don’t want to get into the whole canning apple butter process right away. Stored properly in clean jars with tight lids in the main compartment of your refrigerator, your homemade apple butter will stay good and flavorful for up to three weeks. Once you open the jar, try to use it within that timeframe. But like I said before, if you’re not going to use it fast, freezing is a super easy backup plan if canning seems like too much effort that day!
What is the difference between applesauce and apple butter?
That’s the million-dollar question! At the start, they look identical—cooked down apples. But the difference comes down to time and concentration. Applesauce cooks just long enough for the apples to soften, usually less than an hour. Apple butter, on the other hand, is cooked for hours and hours *after* blending. This extremely long, slow cooking allows the natural sugars to fully caramelize and darkens the color into that beautiful mahogany shade. It also reduces the moisture content drastically, turning the sauce into a thick, almost fudge-like spiced apple spread that holds its own shape on a spoon. It’s the difference between a light side dish and a rich condiment!
If you are debating between the two methods, remember that a good, long cook time is essential for that butter texture. For more great recipe ideas that use those fall cooking vibes, check out my guide on easy Crockpot beef stew—it’s amazing!
Estimated Nutritional Data for This Apple Butter Recipe
Okay, I know sometimes we want that deep flavor, but we also want to know what we’re getting into, right? I totally get it. We ran the numbers on this batch of apple butter—based on the specified amounts of apples, brown sugar, and granulated sugar—to give you a ballpark idea of what’s in a serving. Please remember, this is just an estimate, you know how it goes! The final figures will change a bit depending on the exact sweetness of the apples you pick, and if you decide to go the natural sweeteners apple butter route we talked about earlier, those numbers will definitely shift. Consider this your general guideline for enjoying this delicious smooth apple butter responsibly!
Here’s a look at the estimated breakdown:
- Serving Size: 1/4 cup
- Calories: 180
- Sugar: 38g
- Sodium: 2mg
- Fat: 0.2g
- Saturated Fat: 0g
- Unsaturated Fat: 0.1g
- Trans Fat: 0g
- Carbohydrates: 48g
- Fiber: 2g
- Protein: 0.3g
- Cholesterol: 0mg
I always focus on that 2g of fiber—that has to come from those beautiful fruits! If you were to skip some of the added sugars and use a different sweetener, you’d see the sugar count drop naturally. But for this classic version that uses both brown and white sugar for that deep, rich flavor, those are your numbers. Enjoy every spoonful on your toast or biscuits!
PrintUltimate Homemade Apple Butter: Stovetop vs. Slow Cooker
Learn how to make rich, deeply spiced homemade apple butter using either the classic stovetop method or the easy slow cooker method. This spread is perfect for toast, biscuits, or gifting.
- Prep Time: 25 min
- Cook Time: 4 to 10 hours
- Total Time: 10 hours 25 min
- Yield: About 5 cups
- Category: Preserves
- Method: Stovetop or Slow Cooker
- Cuisine: American
- Diet: Vegetarian
Ingredients
- 6 pounds apples (Fuji, Honeycrisp, or a mix), peeled, cored, and chopped
- 1 cup granulated sugar
- 1 cup packed brown sugar
- 2 tablespoons ground cinnamon
- 1 teaspoon ground nutmeg
- 1/2 teaspoon ground allspice
- 1/2 cup water (for stovetop only)
Instructions
- Prepare the apples: Peel, core, and chop 6 pounds of apples. You can skip peeling if you plan to blend thoroughly later for a very smooth apple butter.
- Combine ingredients: Place the chopped apples, granulated sugar, brown sugar, cinnamon, nutmeg, and allspice into a large pot (for stovetop) or the basin of your slow cooker.
- Stovetop Method: Add 1/2 cup of water to the pot. Bring the mixture to a boil over medium-high heat, then reduce heat to low, cover, and simmer for 2 to 3 hours, stirring every 30 minutes, until the apples are very soft.
- Slow Cooker Method: Cook on low for 8 to 10 hours or on high for 4 to 5 hours, until the apples are completely soft. Stir occasionally.
- Blend for smoothness: Once the apples are very tender, use an immersion blender or carefully transfer the mixture in batches to a standard blender. Blend until you achieve a smooth apple butter consistency. For an old-fashioned, slightly textured spread, pulse briefly.
- Thicken the butter: Return the blended mixture to the pot or slow cooker (if using a blender). Cook uncovered over low heat (stovetop) or on the high setting (slow cooker, lid off) for 1 to 2 hours, stirring frequently, until the apple butter is thick enough to mound on a spoon and does not run when drizzled. This step concentrates the flavor.
- Cool and store: Let the apple butter cool completely. Transfer the homemade apple butter to clean jars. Store in the refrigerator for up to 3 weeks or process using a water bath canner for long-term storage.
Notes
- For a natural sweetener apple butter option, reduce the total sugar by half and add 1/4 cup of maple syrup during the last hour of cooking.
- The best apples for apple butter are tart cooking apples like Granny Smith mixed with sweeter varieties like Gala or Honeycrisp.
- This spiced apple spread freezes well for up to 6 months if you are not canning it.
Nutrition
- Serving Size: 1/4 cup
- Calories: 180
- Sugar: 38g
- Sodium: 2mg
- Fat: 0.2g
- Saturated Fat: 0g
- Unsaturated Fat: 0.1g
- Trans Fat: 0g
- Carbohydrates: 48g
- Fiber: 2g
- Protein: 0.3g
- Cholesterol: 0mg