

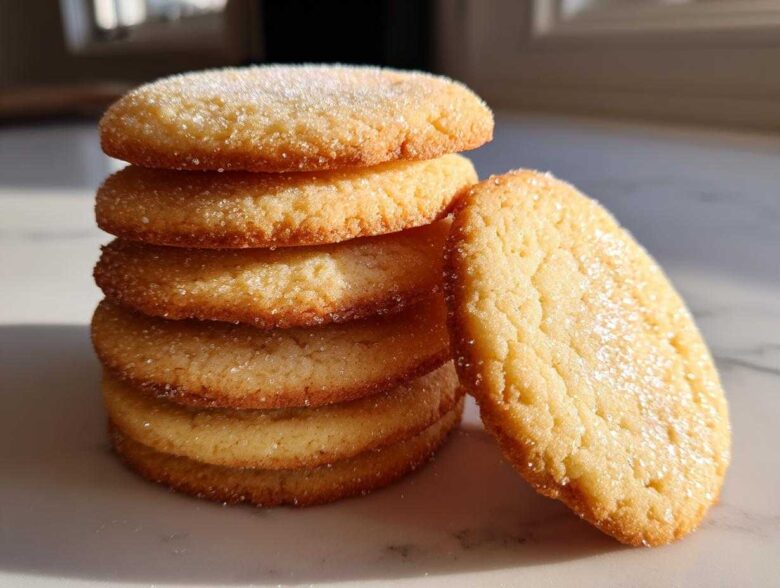
Oh, bless your heart if you’ve ever wrestled with a batch of cutout cookies that spread into sad, puffy puddles the second they hit the oven. I have definitely been there, wasting expensive butter and yelling at my oven! For years, I thought the struggle was just part of holiday baking, especially when trying to freeze and roll that tricky sugar cookie dough. But trust me, that ends today. This recipe is truly my shining star! It delivers the absolute best sugar cookie recipe secret: you get a cookie that’s wonderfully soft and chewy to eat, while still being sturdy enough to hold the sharpest star or gingerbread person shape. No more flimsy edges!
Why This is the Best Sugar Cookie Recipe for Cutouts
What makes this formula my go-to favorite? It’s the perfect compromise! We aren’t sacrificing flavor for structure. This happens because of the careful balance we strike between the flour and the fat—it’s just enough structure for those beautiful no spread sugar cookies, but never so much that they turn hard. If you are looking for the absolute best sugar cookie recipe you’ll ever use, this is it. It’s reliable every single time, which is why I trust it for the kids’ decorations.
Achieving Soft Sugar Cookies Texture
The secret to that lovely, melt-in-your-mouth interior is twofold. First, we cream the butter and sugar for a full, fluffy three minutes. That incorporates air, making them light instead of dense. Second, we add the flour mixture slowly and stop as soon as it disappears. Stop mixing the second you can’t see white streaks anymore! That keeps the gluten from getting tough and guarantees your soft sugar cookies stay tender.
Tips for Perfect Sugar Cookie Cutouts That Do Not Spread
Preventing spread is all about temperature control, my friend. You absolutely must chill that dough for a minimum of two hours—seriously, don’t skip it! Another huge tip for perfect sugar cookie cutouts is to chill the cut shapes on the baking sheet itself for 10 minutes *before* they go into the oven. Also, make sure your oven is fully preheated to 375°F. A hot, honest oven immediately sets the outside of the cookie, locking in your shape!
Ingredients for Your Soft Cutout Sugar Cookie Recipe
Now we get to the heart of the matter: what goes into these rock-solid, yet wonderfully tender, cookies? Getting the right consistency for your sugar cookie dough hinges on using the ingredients exactly as written, especially when they are at the right temperature. You’ll need 1 cup of unsalted butter that is perfectly softened—not melted—and 1 1/2 cups of granulated sugar. We round out the wet ingredients with 2 large eggs and 1 teaspoon of bright vanilla extract. For the dry side of things, you’ll want 3 3/4 cups of all-purpose flour, 1 teaspoon of baking powder for that gentle lift, and 1/2 teaspoon of salt to balance everything out. Remember, taking 30 minutes for prep means getting the temperature right! If you ever want an adventure in butter flavor, you must check out my recipe for brown butter chocolate chip cookies, but for these cutouts, stick to standard softened butter.
Ingredient Notes and Substitutions for Your Sugar Cookie Dough
Butter matters here, folks! Since this is essentially a butter sugar cookie recipe, use the best unsalted butter you can afford. It truly impacts the flavor profile of these simple sweet treats. If you must substitute, try to stick with a high-fat product; margarine just won’t give you that incredible dairy richness we love. Also, pay attention to your vanilla—a high-quality extract really shines when the flavoring is this straightforward. You can’t hide behind spices here, so make sure that vanilla is fresh and fragrant. If your eggs are straight from the fridge, just pop them in a bowl of warm water for about five minutes beforehand to take the chill off!
How to Prepare the Easiest Sugar Cookies
Seriously, these come together faster than you might think, probably taking you about 30 minutes of active work before they need their beauty rest in the fridge. We want to keep everything moving smoothly to make sure we get those amazing chewy sugar cookies later on. Don’t stand around waiting for things to happen; keep moving from step to step, and you’ll be amazed how quickly this dough comes together. If you’ve ever made my one-bowl fudgy brownies, you know I love efficiency, and this dough preparation is nearly as simple! You can read more about that recipe here.
Mixing the Sugar Cookie Dough Base
First things first, get that butter and sugar creamed until it’s pale and fluffy—I mean really fluffy! This takes time, so don’t rush it. Next, you’ll beat in your eggs one by one, followed by that lovely vanilla. Now, here’s the critical moment: once you add the flour mixture to the wet ingredients, you have to stop mixing the second it comes together. Overmixing the flour is what locks in toughness and ruins that soft texture we are aiming for in our sugar cookie.
Chilling and Rolling the Rolled Sugar Cookie Dough
Once it’s mixed, divide that beautiful dough into two flat disks and wrap them up tight. They have to chill for at least two hours—I usually aim for four, honestly! That long chill is what guarantees those pristine no spread sugar cookies when they bake. Before you start cutting shapes, roll the dough out to about 1/4 inch thick. And here is my favorite trick for super sharp sugar cookie cutouts: once the shapes are cut, slide the whole sheet into the freezer run for about 10 minutes immediately before they go into the oven. That extra chill is unmatched!
Baking Instructions for Perfect Sugar Cookie Results
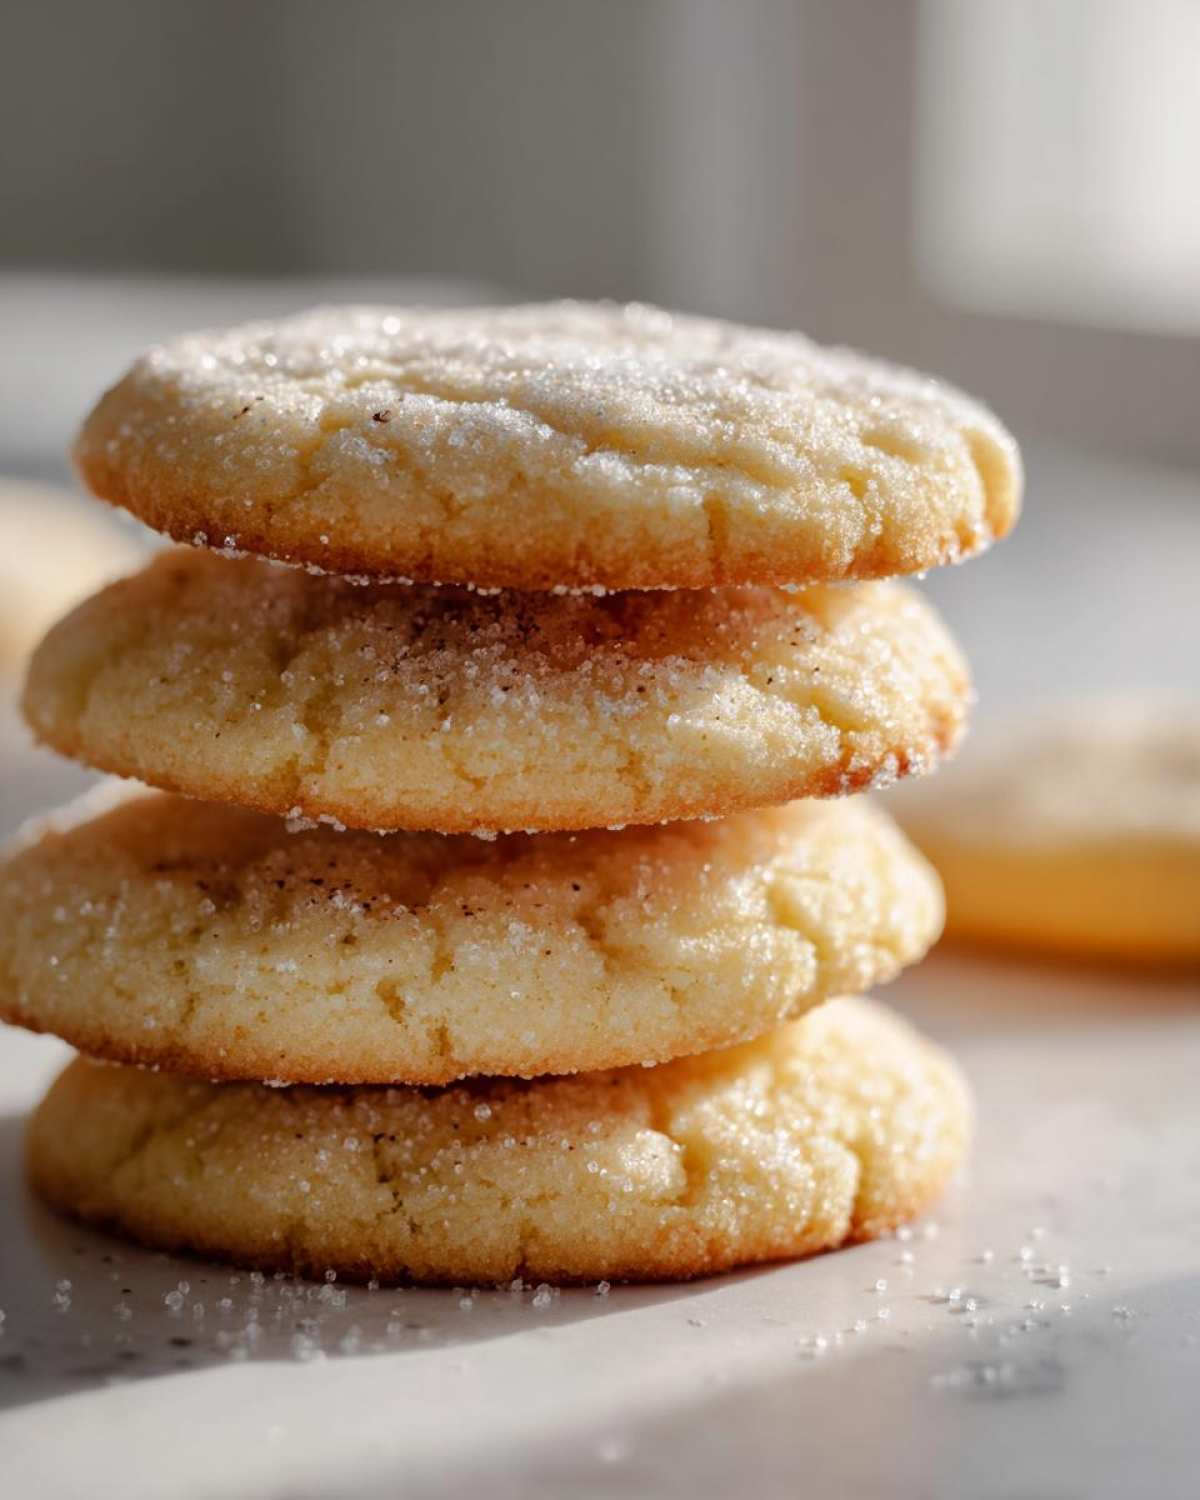
Okay, your cutout shapes are sitting there chillin’ nicely on the lined baking sheets—perfect! Now it’s time for the heat. Go ahead and preheat that oven to 375°F. We’re aiming for that sweet spot where the outside seals up instantly. The estimated cook time here is only 10 minutes, but you need to watch these like a hawk! You are looking for the edges of your sugar cookie to just start turning set and slightly firm.
Do not wait for them to turn golden brown all over. If they look fully baked, they will be crisp throughout, which is not what we want for soft sugar cookies! Pull them out when the very edges look matte and dry, but the center still looks a tiny bit pale or soft. That slight underbake is the magic trick that keeps them chewy right down the middle.
Let them sit right there on the hot baking sheet for five minutes after you pull them out. This lets them firm up just enough so you can move them without breaking them. Then, transfer them gently to a wire rack to cool completely before you even think about touching them with icing!
Decorating Your Classic Sugar Cookies
After all that chilling and careful baking, seeing your perfectly shaped sugar cookie cutouts lined up on the counter feels like its own huge victory, right? But now comes the fun part—making them pretty for the holidays or parties! The most important rule here is patience: the cookies must be completely, 100% cool before any icing touches them. If they are even slightly warm, the icing melts right off, and you end up with colorful puddles instead of crisp outlines.
Since we aimed for a structurally sound base, these cookies are *begging* for detailed decorating. I always recommend a nice, stiff royal icing for outlines—it dries hard and fast. If you’re new to royal icing, don’t sweat it! You’re just aiming for two consistencies: a stiff ‘piping’ batch for the borders and a thinner ‘flooding’ batch to fill in the centers. Be sure to check out my notes on cream cheese frosting for other treats if you’re looking for something softer, like what I used on that pumpkin spice cake over here, but for cutouts, royal icing is king!
Simple Steps for Perfect Sugar Cookie Icing
When you’re working with royal icing, consistency is everything for those beautiful, modern decorated sugar cookies. For holding that shape during the outline stage, you want the icing to hold stiff peaks when you lift the whisk. But for the filling—the flooding—it needs to flow smoothly. A good test is the ‘figure-eight’ test: if you drizzle the icing onto itself in a figure eight, it should smooth itself out in about 10 seconds. If it smooths instantly, it’s too thin! This attention to detail is what makes your final sugar cookie look professional.
Storage and Reheating Instructions for Your Favorite Cookie Recipe
So you’ve baked a huge batch of these amazing cookies, and now you’re wondering how to keep them fresh until everybody gets around to eating them all? Smart thinking! If you wrap undecorated cookies tightly in an airtight container—I mean really tight—they are great on the counter for a good four or five days. They stay surprisingly soft, too, which is exactly what we want.
For decorated cookies, they do best in a single layer with wax paper between them, again in a sealed container. Don’t stack them if you can help it, or the icing will stick! If you make too many (is that even possible?), these freeze beautifully. Just wrap the undecorated ones very well, and they’ll be perfect for up to three months. You can check out my tips for freezing other things, like breakfast burritos, right here, because the principle of airtight wrapping is the same!
Troubleshooting Common Sugar Cookie Issues
Even with the best recipe in the world, sometimes a little hiccup happens in the kitchen, right? Don’t panic if you run into one of these common snags with your sugar cookie dough! If your dough is stubbornly crumbly when you try to roll it out, it usually means your butter was too cold initially. Just let the dough sit on the counter for about 15 minutes—don’t try to force it.
If your shapes are sticking to the cookie cutters, try dipping your cutter lightly into flour between each cut! That tiny bit of extra flour on the edge helps release the dough instantly. These little fixes make sure your batch of cutouts stays perfect every time.
Frequently Asked Questions About This Sugar Cookie Recipe
It’s funny how many little questions pop up once you get baking! I get asked the same few things constantly about this recipe because everyone wants their holiday cookies to turn out perfectly. I’ve gathered the most common ones right here so you don’t have to guess.
Can I use this dough for gingerbread?
While this dough is fantastic for sharp shapes, it won’t give you that deep molasses flavor you expect from a traditional gingerbread cookie. This recipe is built around the vanilla and butter notes for the most versatile classic sugar cookie base. You could probably sneak some cinnamon in there, but for true gingerbread flavor, you’ll want a dedicated recipe. For tons more baking inspiration, have a look at my main baking blog page!
How long can I chill the dough?
This is a great question for planning ahead! The minimum time is definitely two hours, but honestly, you can chill this dough for up to five days in the fridge. Chilling longer actually helps the flavor deepen a little bit, and it makes rolling it out even easier the next day. Just let it sit on the counter for about 15 minutes before you start rolling if it’s been several days.
Can I make these chewy sugar cookies without chilling?
Oh, honey, please don’t try it! If you skip the chilling time, you are guaranteeing that your dough will spread into thin, sad puddles. The chilling process is what firms up the butter so that when the dough hits the hot oven, it doesn’t immediately melt and flatten out. To get those beautiful, perfectly shaped chewy sugar cookies, that chill time is simply non-negotiable!
Will these work for a cookie exchange?
Absolutely! Since these are sturdy cutouts that hold their shape well, they are perfect for a big homemade cookie exchange ideas event. They look beautiful once decorated, and everyone loves a recognizable, classic flavor. They hold up well for transport too, which always helps!
Estimated Nutritional Data for One Sugar Cookie
We all want to enjoy our sweet treats guilt-free, or at least know what we are getting into, right? Since this is a classic, rich cookie recipe using plenty of butter, it’s not exactly a celery stick, but it is perfectly balanced for a celebration!
The following estimates are based on standard pantry ingredients and approximate amounts used in this recipe, aiming for about 3 dozen cookies. Always remember that if you use a different brand of flour or slightly different measurements, these numbers can shift a bit!
- Serving Size: 1 cookie
- Calories: 165
- Sugar: 14g
- Sodium: 75mg
- Fat: 8g
- Saturated Fat: 5g
- Unsaturated Fat: 3g
- Trans Fat: 0g
- Carbohydrates: 22g
- Fiber: 0g
- Protein: 2g
- Cholesterol: 30mg
If you are looking for the fine print on how I calculate estimates across my blog, you can always check out my official disclaimer page. Happy baking, and don’t forget to save room for dessert!
PrintSoft Cutout Sugar Cookies That Hold Their Shape
This recipe makes soft, chewy sugar cookies perfect for cutting shapes. The dough does not spread much during baking, making them ideal for decorating.
- Prep Time: 30 min
- Cook Time: 10 min
- Total Time: 160 min
- Yield: 3 dozen cookies
- Category: Dessert
- Method: Baking
- Cuisine: American
- Diet: Vegetarian
Ingredients
- 1 cup unsalted butter, softened
- 1 1/2 cups granulated sugar
- 2 large eggs
- 1 teaspoon vanilla extract
- 3 3/4 cups all-purpose flour
- 1 teaspoon baking powder
- 1/2 teaspoon salt
Instructions
- Beat the softened butter and sugar together in a large bowl until light and fluffy.
- Beat in the eggs one at a time, then mix in the vanilla extract.
- In a separate bowl, whisk together the flour, baking powder, and salt.
- Gradually add the dry ingredients to the wet ingredients, mixing on low speed until just combined. Do not overmix.
- Divide the dough in half, flatten each half into a disk, wrap in plastic wrap, and chill for at least 2 hours.
- Preheat your oven to 375 degrees F (190 degrees C). Line baking sheets with parchment paper.
- On a lightly floured surface, roll out one disk of dough to about 1/4 inch thickness.
- Use cookie cutters to cut out shapes and place them on the prepared baking sheets.
- Bake for 8 to 10 minutes, or until the edges are set but the centers are still slightly soft.
- Let the cookies cool on the baking sheet for 5 minutes before transferring them to a wire rack to cool completely before decorating.
Notes
- For best results when cutting shapes, chill the rolled-out dough for 10 minutes before cutting.
- If you plan to decorate, use a simple royal icing recipe.
- For a chewier cookie, slightly underbake them.
Nutrition
- Serving Size: 1 cookie
- Calories: 165
- Sugar: 14
- Sodium: 75
- Fat: 8
- Saturated Fat: 5
- Unsaturated Fat: 3
- Trans Fat: 0
- Carbohydrates: 22
- Fiber: 0
- Protein: 2
- Cholesterol: 30