

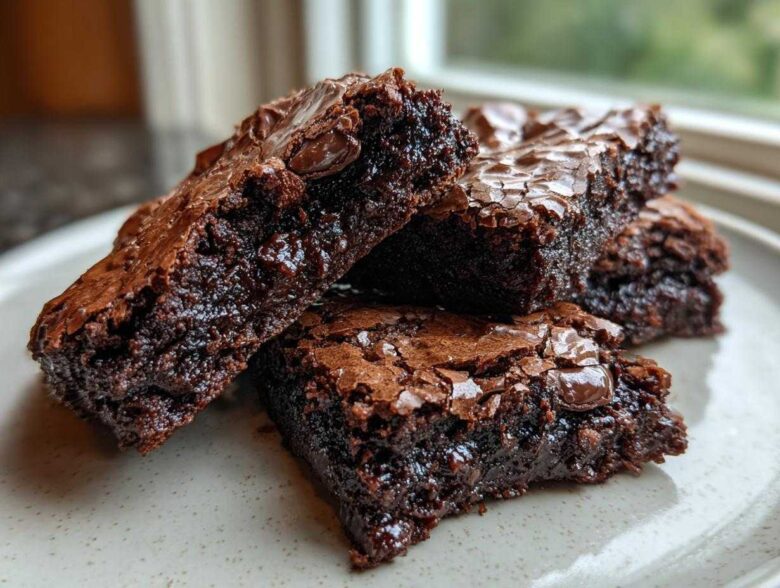
If you are staring into the pantry thinking, “I need something intensely chocolatey, but I don’t have time to bake a whole pan of brownies,” stop right there! I have found the answer, and it’s my absolute favorite hybrid dessert on the planet: the ultimate fudgy, chewy brownie cookies. Seriously, forget those dry, cakey versions you find sometimes. I spent ages tweaking scratch recipes because I needed the perfect combination: that dense, rich interior of my favorite fudgy brownies, paired with the satisfying chewiness and that gorgeous, signature shiny, crinkled top.
These aren’t just good; these are the bakery style brownie cookies you dream about. We are skipping the boxed mix here because when you want true indulgence, only the best from-scratch ingredients will do. Trust me, once you nail this texture, you’ll never look back!
Why You Will Make These Fudgy Brownie Cookies Repeatedly
Honestly, there are so many reasons why these brownie cookies will become your go-to chocolate fix. They tick every single box a serious chocolate lover has!
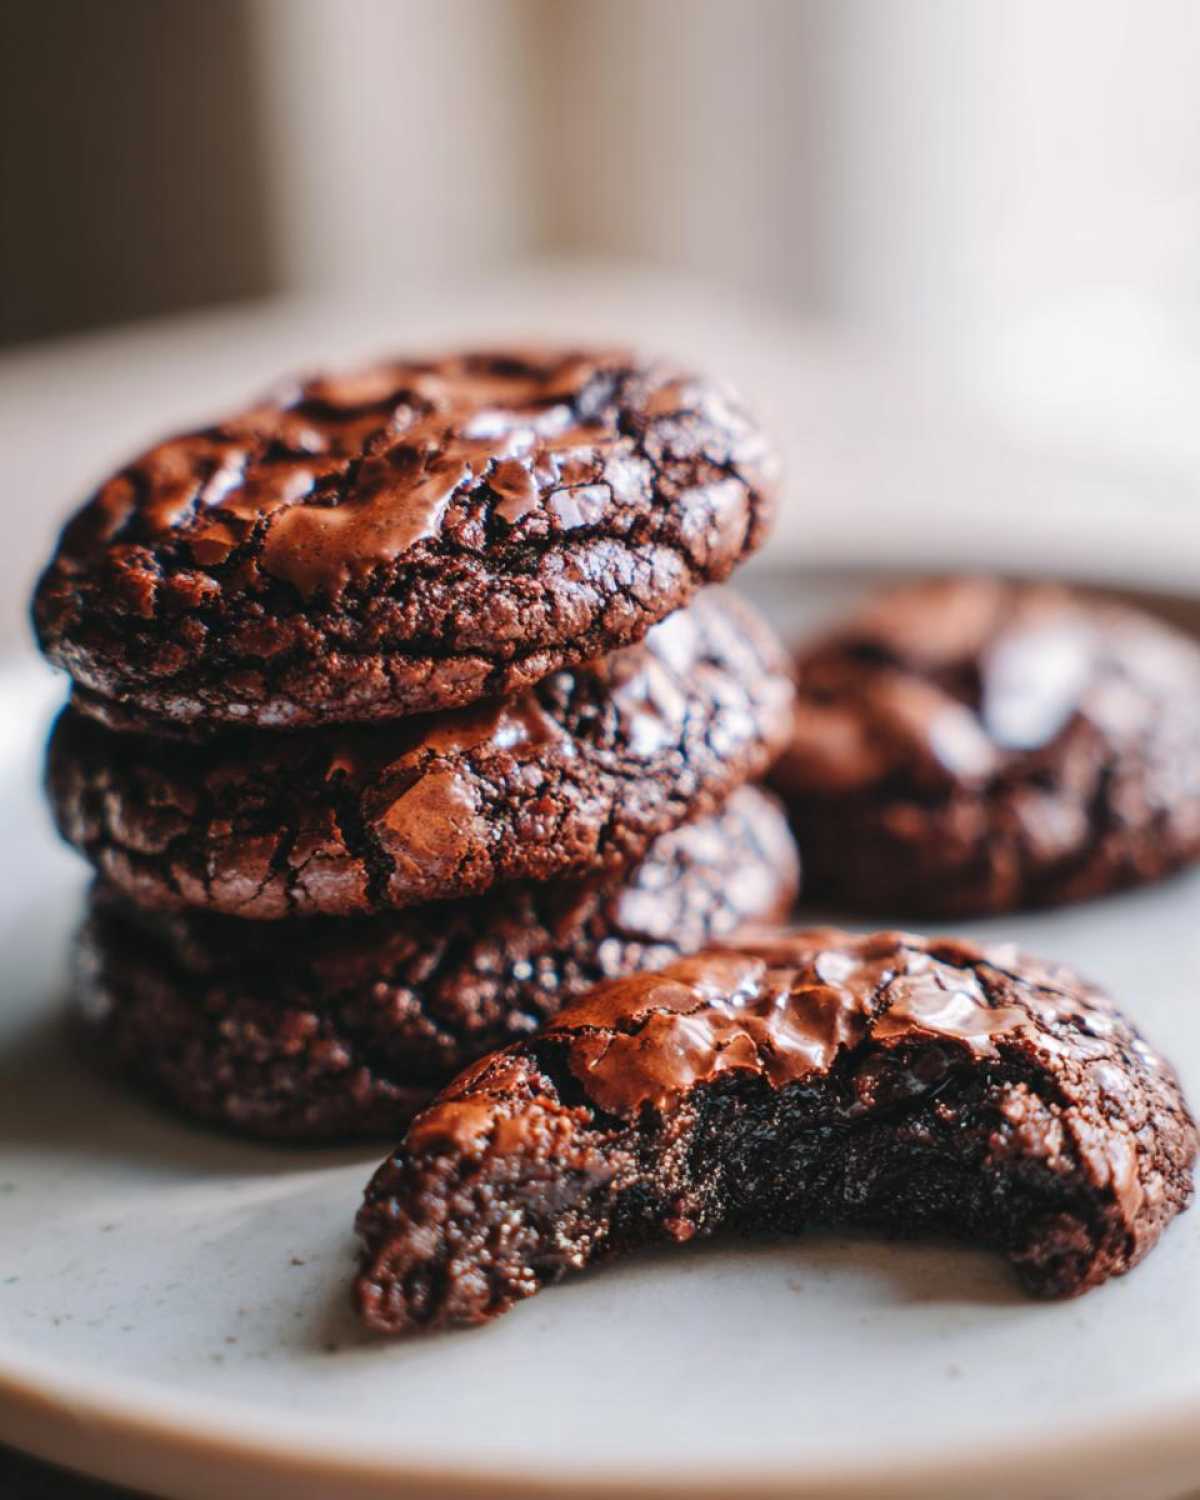
- They nail that elusive texture: a perfectly gooey center cookies meets chewy edges.
- We get that beautiful, signature crackly, shiny surface—the hallmark of a true brownie!
- The flavor is just intense; this is a seriously rich chocolate cookie experience from scratch.
- They are surprisingly fast! You can have these mixed and ready to bake way quicker than picking up takeout.
See? They are everything you want in a perfect late-night treat.
Essential Ingredients for Perfect Brownie Cookies
Look at this lineup! It looks simple, but every single ingredient here is playing a crucial role in achieving that perfect fudgy texture and deep chocolate flavor. You need to be precise with what you bring to the bowl for these brownie cookies to sing!
First, we have to talk about the fats and sugars. You need melted butter, not softened. That’s key to the fudgy spread. Then, we balance the sweetness with both granulated and light brown sugar—make sure that brown sugar is nicely packed so you don’t short yourself on molasses depth! You’ll need two large eggs and vanilla, of course.
- Melted unsalted butter (don’t substitute here unless you must!)
- Granulated sugar and packed light brown sugar
- Two large eggs and vanilla extract
- All-purpose flour, salt, and baking powder
- Unsweetened cocoa powder—use the best quality you can find; it truly makes a difference in a rich chocolate cookie like this.
- Four ounces of bittersweet chocolate, chopped, or good quality chips.
If you are looking for ways to deepen that foundational flavor even further, you might want to check out my tips on using brown butter for an even richer base, though melted works perfectly here!
Step-by-Step Guide to Baking Bakery Style Brownie Cookies
Okay, let’s get baking! This process is actually shockingly straightforward when you break it down. We’re aiming for that gorgeous, deep bake surface while keeping the inside totally gooey. Make sure your oven is preheated to 350°F (175°C) and your sheets are lined—we want zero sticking drama here!
Mixing the Wet Base for Chewy Chocolate Cookies
This first part is your secret weapon for chewiness! Dump the melted butter, granulated sugar, and packed brown sugar into a bowl. You have to whisk this vigorously! Seriously whisk until it gets lighter in color and looks super smooth. That intense whisking actually helps set up the meringue-like structure right under the surface, which is what gives you that amazing crinkle top on your fudgy brownie cookies. Don’t rush this part; it sets the tone for the whole cookie!
Combining Dry Ingredients and Folding in Chocolate
Next, whisk your dry things—flour, cocoa, salt, baking powder—in a separate bowl. Now, add those dry guys to the wet mixture and mix only on low speed until they *just* disappear. I mean it—stop mixing as soon as you can’t see streaks of flour anymore! Overmixing that flour develops gluten, and we want tender results, not tough cookies. Gently fold in those chunks of bittersweet chocolate last. They are going to make those cookies extra luxurious!
Baking and Cooling Your Brownie Cookies
Drop tablespoon-sized dollops onto your parchment paper, giving them space to spread out into proper brownie cookies. Pop them in for 10 to 12 minutes. The trick? They should look slightly underdone in the middle when you pull them out. Let them rest right there on that hot baking sheet for a solid five minutes. This is critical! If you try to move them too soon, they’ll deflate and lose that perfect gooey center. Then transfer them gently to a rack to finish cooling down.
Expert Tips for Achieving the Ultimate Crinkle Top Cookies
Getting that signature shiny, crackled surface on your crinkle top cookies feels like pulling off a magic trick, but I promise it’s all down to a few simple science tricks we’re using here! It really comes down to how you handle the wet ingredients before the flour even hits the bowl.
The combination of melted butter and that generous amount of sugar is your biggest ally. When we whisk that vigorously, we help dissolve the sugar grains partially. When the eggs go in, they create a thin, glossy layer on the outside of the dough ball while the cookie bakes and spreads.
As the cookie cooks, the leavening agents make the inside rise, causing that beautiful, paper-thin skin on top to crack and reveal the deep chocolate underneath. Do not chill this dough much at all—we want high surface tension for the best results. If you want a deeper chocolate note to match that gorgeous texture, you could even try swirling some pumpkin puree into the batter for a fun twist, just like I do in my pumpkin swirl brownies!
Ingredient Notes and Substitutions for Brownie Cookies
I know everyone’s pantry looks a little different, so let’s chat quickly about making sure you get the right chocolate intensity for these brownie cookies, even if you’re missing one specific item. Quality ingredients really shine through when you bake something this decadent!
Cocoa powder is a big one for me. I usually use natural unsweetened cocoa because it keeps the texture lighter, but Dutch-process works too if you prefer a darker, smoother, almost black-cocoa look. Just know they react slightly differently with the baking soda/powder, but for this recipe, either will give you incredible results!
For the chocolate chunks, bittersweet is non-negotiable for me if you want that authentic deep flavor; semi-sweet is a fine substitute if you like things a little sweeter, but don’t go below that! If you need to swap the flour, I’ve had great success using a good quality 1-to-1 gluten-free baking blend when I substitute. It keeps the structure nearly identical, which is fantastic for a complicated texture like this!
Storage and Reheating Instructions for Homemade Chocolate Treats
The excellent news is that these homemade chocolate treats keep surprisingly well, provided you treat them right! I find they are actually fudgier the next day anyway, which is a huge win for me.
Keep these beauties stored tightly in an airtight container right on the counter for up to four days. Don’t bother with the fridge, trust me; it just sucks the moisture right out!
If you want that incredible, just-out-of-the-oven gooey experience again, just pop one or two in the microwave for about 8 to 10 seconds. It warms them up perfectly and brings back that soft texture. You can see great storage tips for other baked goods, like my favorite chocolate chip banana bread, which use similar principles!
Serving Suggestions for These Rich Chocolate Cookie Delights
Now that you’ve created what might be the world’s best fudgy brownie cookies, it’s time for the best part: eating them! Because these are so intense and wonderfully rich, they pair beautifully with something simple to cut through the decadence.
The absolute classic, of course, is a giant glass of ice-cold milk. It just washes down all that deep chocolate perfectly. If you’re having these later in the day, a hot, strong cup of coffee makes these ultimate chocolate lover treats feel absolutely gourmet.
But if you want to go over the top—and why wouldn’t you?—slap one of your warm, gooey cookies right next to a scoop of good vanilla bean ice cream. Seriously, go make a sundae. For a totally cozy vibe, you have to try these alongside a mug of my s’mores hot chocolate in the winter!
Frequently Asked Questions About Brownie Cookies
You’ve got questions, I’ve got answers! Since these are sometimes a little different from your average drop cookie, people always ask about the little details that make these brownie cookies so special. Here are the things I hear most often when folks try this easy cookie recipe chocolate for the first time!
Are these bakery style brownie cookies better than using a boxed mix?
Oh, absolutely, yes! Look, the mix versions are fast, I won’t deny that. But remember how I obsessed over that fudgy, rich texture? When you go from scratch like this, using melted butter and that exact balance of sugars, you get that intense, complex chocolate flavor and the perfect gooey center cookies that the boxed stuff just can’t duplicate. The crinkle top? That’s pure from-scratch magic!
My cookies look flat—how do I make them thicker?
That’s usually because the dough was too warm when it hit the oven. If you find your first batch spreads too much, just put the remaining dough in the fridge for 20 minutes before scooping. Chilling that dough slightly slows the spread and helps develop those beautiful, thick, slightly underbaked centers we’re aiming for! You can find more tips on keeping your treats from spreading too thin in my guide to easy cookie recipes chocolate!
Can I use unsweetened chocolate or does it have to be bittersweet?
You can use either, but I strongly suggest bittersweet if you can find it! Unsweetened chocolate will make these incredibly rich—borderline intense—so you might want to add an extra tablespoon of brown sugar to balance that bitterness out. Bittersweet gives you that perfect chocolate intensity without overwhelming the sweetness.
How long will these fudgy brownie cookies stay fresh?
Because they are structurally closer to a brownie than a crisp cookie, they stay amazing for days! Store them airtight at room temperature. They usually taste even better on day two when that fudginess has really settled in. They should last great for about four days, though trust me, mine never last that long!
Nutritional Estimates for Your Brownie Cookies
Okay, full disclosure time! Because these are brownie cookies made from scratch with all that rich butter and bittersweet chocolate, they are definitely an indulgence—and I completely stand by every single delicious bite!
These numbers are estimates, of course. If you use a different brand of cocoa or sweetener, things might shift slightly, but this gives you a good idea of what’s packed into one of these glorious treats. For the full official word on how we handle testing and estimates on the site, you can review our general disclaimer here.
Here’s the breakdown per one cookie, based on making 18 total:
- Calories: 195
- Fat: 11g (with 7g saturated fat—hello, butter goodness!)
- Carbohydrates: 23g
- Sugar: 18g (worth every single gram!)
- Protein: 3g
- Sodium: 95mg
They may not be the lightest snack, but they are certainly one of the most satisfying chocolate lover treats you will ever bake. Enjoy!
PrintUltimate Fudgy Brownie Cookies with Shiny Crinkle Top
Make rich, intensely chocolate brownie cookies from scratch that feature a fudgy center, chewy edges, and a signature shiny, crinkled top.
- Prep Time: 15 min
- Cook Time: 12 min
- Total Time: 27 min
- Yield: 18 cookies
- Category: Dessert
- Method: Baking
- Cuisine: American
- Diet: Vegetarian
Ingredients
- 1/2 cup unsalted butter, melted
- 1 cup granulated sugar
- 1/2 cup packed light brown sugar
- 2 large eggs
- 1 teaspoon vanilla extract
- 3/4 cup all-purpose flour
- 1/2 cup unsweetened cocoa powder, natural or Dutch-process
- 1/2 teaspoon salt
- 1/4 teaspoon baking powder
- 4 ounces bittersweet chocolate, chopped or chips
Instructions
- Preheat your oven to 350°F (175°C). Line baking sheets with parchment paper.
- In a medium bowl, whisk together the melted butter, granulated sugar, and brown sugar until fully combined.
- Whisk in the eggs one at a time until the mixture is smooth. Stir in the vanilla extract.
- In a separate bowl, whisk together the flour, cocoa powder, salt, and baking powder.
- Gradually add the dry ingredients to the wet ingredients, mixing on low speed until just combined. Do not overmix.
- Gently fold in the chopped bittersweet chocolate.
- Drop rounded tablespoons of dough onto the prepared baking sheets, spacing them about 2 inches apart.
- Bake for 10 to 12 minutes. The edges should look set, but the center will still look slightly soft and glossy.
- Let the cookies cool on the baking sheet for 5 minutes before transferring them to a wire rack to cool completely. The center will firm up as they cool.
Notes
- For the best crinkle top, ensure your wet and dry ingredients are fully incorporated before adding the flour mixture.
- Using high-quality cocoa powder results in a deeper chocolate flavor.
- Do not overbake; slightly underbaking ensures a gooey center.
Nutrition
- Serving Size: 1 cookie
- Calories: 195
- Sugar: 18
- Sodium: 95
- Fat: 11
- Saturated Fat: 7
- Unsaturated Fat: 4
- Trans Fat: 0
- Carbohydrates: 23
- Fiber: 1
- Protein: 3
- Cholesterol: 45