

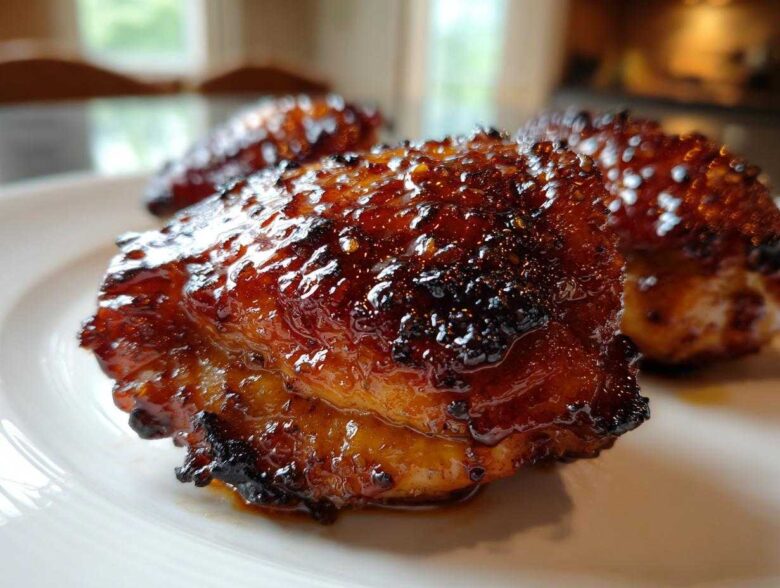
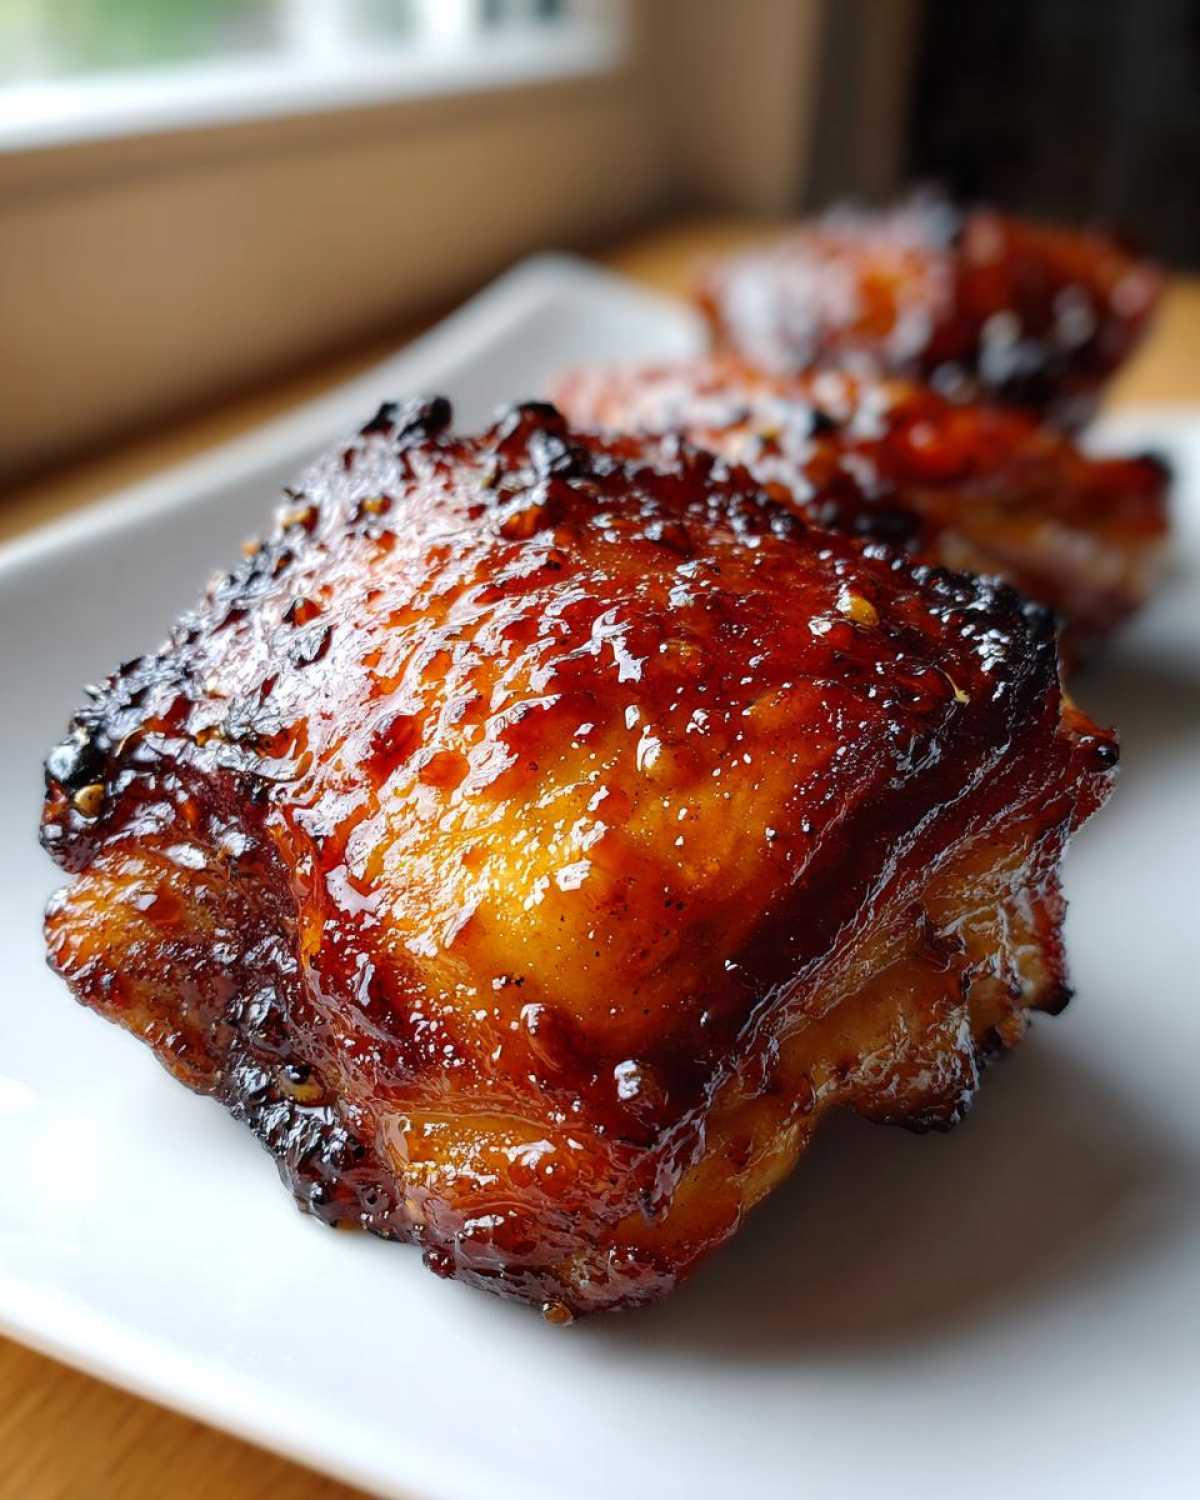
Look, I’m going to tell you a secret right now: chicken thighs should never, ever be soggy. We are aiming for that shatteringly crisp skin that gives way to the juiciest, most tender meat you’ve ever had, all coated in a sticky, sweet, and savory glaze. Mastering Honey Garlic Chicken Thighs with Crispy Skin used to feel like rocket science, but trust me, I cracked the code after too many ruined sheet pans!
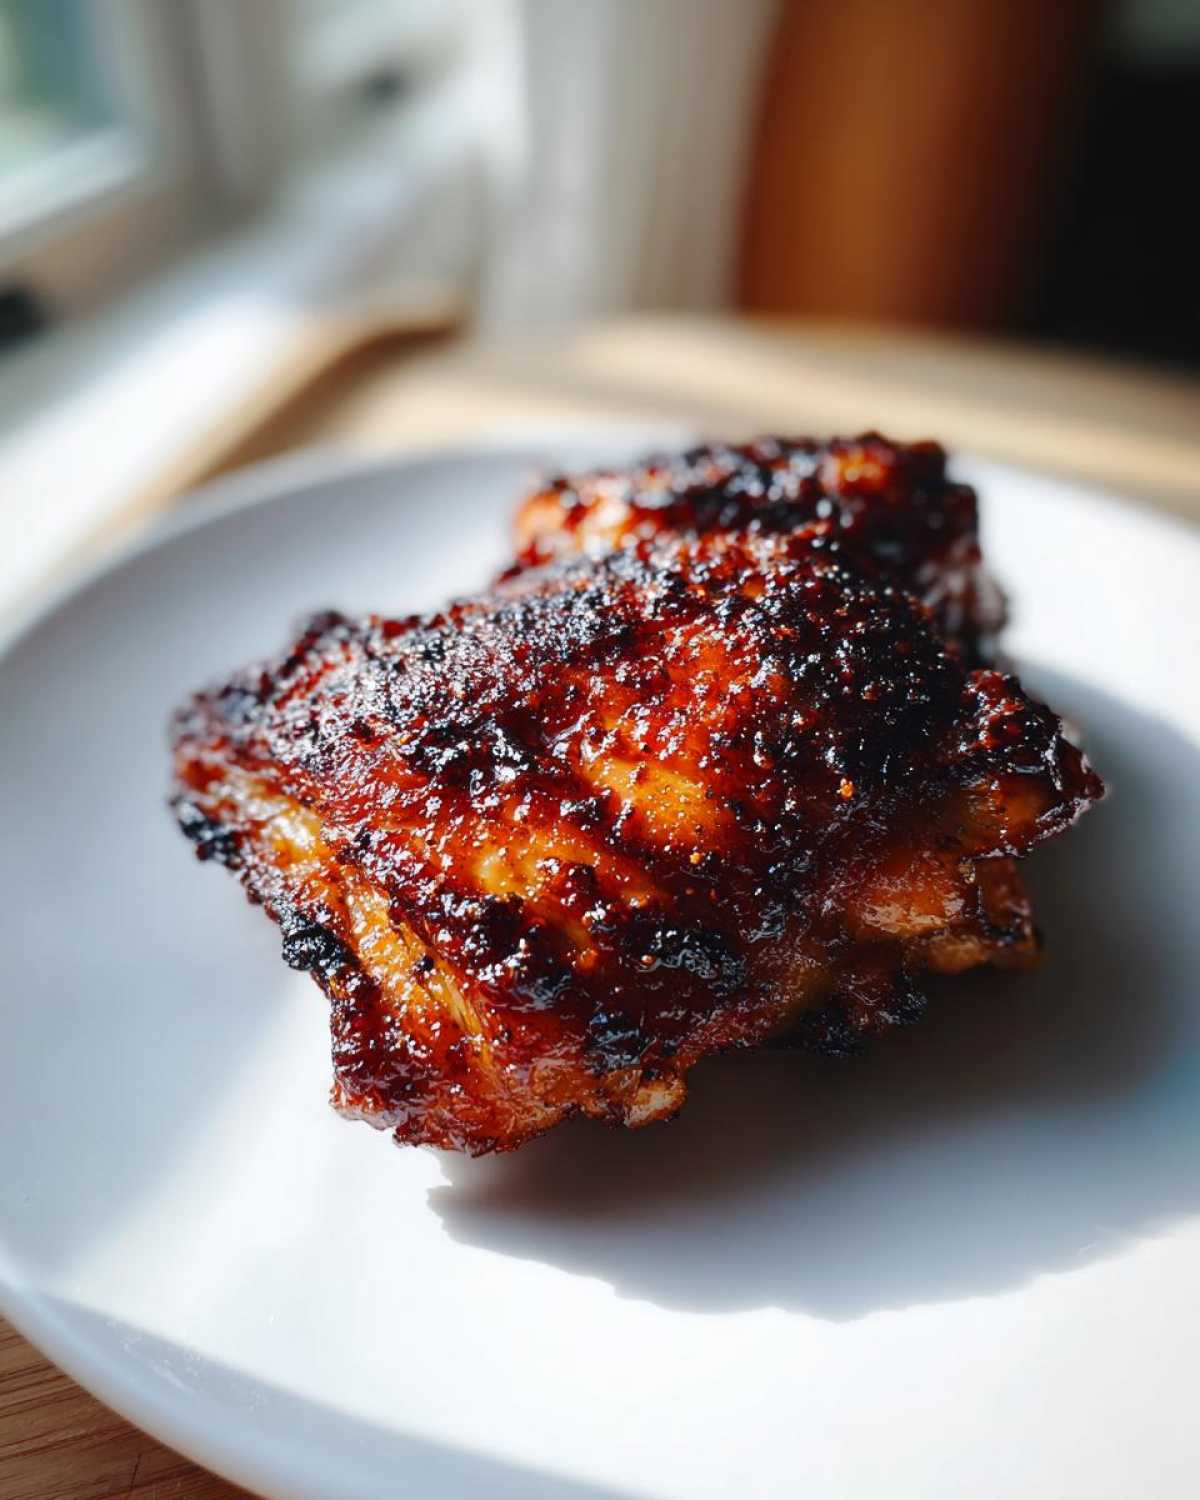
It’s all about technique—drying the skin aggressively, using a wire rack to let the fat drain away, and managing the oven heat perfectly. After years of testing different temperatures and glazing times, I finally nailed the formula that ensures the meat stays moist while the skin gets amazing. I want you to have this success on your first try, so pay close attention to the prep work! If you want to see my initial test notes on just the glaze, check out my guide on honey garlic glazed chicken thighs.
We’re using quality bone-in, skin-on thighs because they have the fat reserves needed to hold up against that intense honey garlic flavor. If you follow these steps exactly, you won’t just get dinner; you’ll get the best Honey Garlic Chicken Thighs with Crispy Skin you’ve ever made. I promise!
Why You Will Love This Honey Garlic Chicken Thighs with Crispy Skin Recipe
Seriously, what’s not to love about this dish? It hits every single high note you look for in a weeknight meal, but it tastes like you spent all afternoon fussing over it. Stop settling for sad, flabby skin!
- Texture Heaven: That unbelievably crisp, crackly skin you dream about.
- Flavor Bomb: The perfect balance of sweet honey and savory, aromatic garlic.
- Fast and Easy: Prep takes ten minutes, and the oven does most of the heavy lifting.
- Juice Guarantee: Bone-in thighs mean you just can’t dry them out, even if you try!
Essential Ingredients for Honey Garlic Chicken Thighs with Crispy Skin
When you are aiming for crispy skin perfection, you can’t just use whatever is sitting in the back of the pantry. Every ingredient here plays a vital role in getting that amazing texture and sticky glaze. Don’t skip the paprika—it’s my secret weapon for color!
Here is exactly what you need to gather up before we start:
- 6 bone-in, skin-on chicken thighs (These are non-negotiable for the best results, trust me!)
- 1 tablespoon olive oil (Just enough to help the seasoning stick.)
- 1 teaspoon salt and 1/2 teaspoon black pepper (Season aggressively!)
- 1/2 teaspoon paprika (This helps the skin get that beautiful mahogany color.)
- 1/4 cup honey (The star of the sticky sweet glaze.)
- 1/4 cup soy sauce (For that necessary salty, umami depth.)
- 4 cloves garlic, minced (Use fresh; the jarred stuff just doesn’t give you that fragrance.)
- 1 tablespoon apple cider vinegar (It cuts the overwhelming sweetness from the honey!)
- 1 teaspoon cornstarch mixed with 1 tablespoon cold water (This is the slurry that thickens our glaze beautifully.)
Equipment Needed for Perfect Honey Garlic Chicken Thighs with Crispy Skin
You don’t need a million fancy gadgets for this recipe, but you absolutely need the right setup! This is where most people go wrong, resulting in steamed, sad chicken bottoms instead of crispy wonders. We need a way for air to circulate all around the thighs.
Make sure you have:
- A sturdy baking sheet (a rimmed sheet pan works great).
- A wire rack that fits neatly inside that baking sheet. This is non-negotiable for draining fat!
- A small saucepan for mixing up that incredible glaze, and a whisk, of course.
- Tongs and some good old-fashioned paper towels.
Step-by-Step Instructions for Honey Garlic Chicken Thighs with Crispy Skin
Okay, deep breath! This is where the magic happens. If you treat your chicken skin right before it hits the heat, the reward is incredible. We are aiming for that shatteringly crisp skin that gives way to the juiciest, most tender meat you’ve ever had, all coated in a sticky, sweet, and savory glaze. Mastering Honey Garlic Chicken Thighs with Crispy Skin used to feel like rocket science, but trust me, I cracked the code after too many ruined sheet pans!
It’s all about technique—drying the skin aggressively, using a wire rack to let the fat drain away, and managing the oven heat perfectly. After years of testing different temperatures and glazing times, I finally nailed the formula that ensures the meat stays moist while the skin gets amazing. I want you to have this success on your first try, so pay close attention to the prep work! If you want to see my initial test notes on just the glaze, check out my guide on honey garlic glazed chicken thighs.
We’re using quality bone-in, skin-on thighs because they have the fat reserves needed to hold up against that intense honey garlic flavor. If you follow these steps exactly, you won’t just get dinner; you’ll get the best Honey Garlic Chicken Thighs with Crispy Skin you’ve ever made. I promise!
Prepping the Chicken for Maximum Crispiness
First things first: Preheat your oven to a strong 400 degrees Fahrenheit (200°C). Now, grab that wire rack and set it right inside your baking sheet. This lets the air circulate underneath the chicken. Next, take your thighs and use paper towels—lots of them—to pat the skin until it feels dry to the touch, almost squeaky. Don’t rush this part, this is how we get that amazing exterior. Rub them all over with olive oil, then hit them hard with the salt, pepper, and paprika. Lay them skin-side up on your rack setup.
Making the Caramelized Honey Garlic Glaze
While the chicken starts its initial render, whip up that beautiful glaze! Get a small saucepan going over medium heat. Whisk together the honey, soy sauce, minced garlic, and that bit of apple cider vinegar. Bring it to a gentle simmer. Once it’s bubbling lightly, whisk in your cornstarch slurry—just remember, cold water into the hot mixture! Let it bubble and thicken for about a minute until it clings to the back of a spoon. Pull it off the heat immediately so that honey sugar doesn’t burn on the stove before it even gets to the chicken. This simple sauce is fantastic; you could even try using some of these flavor notes on my garlic butter sometime!
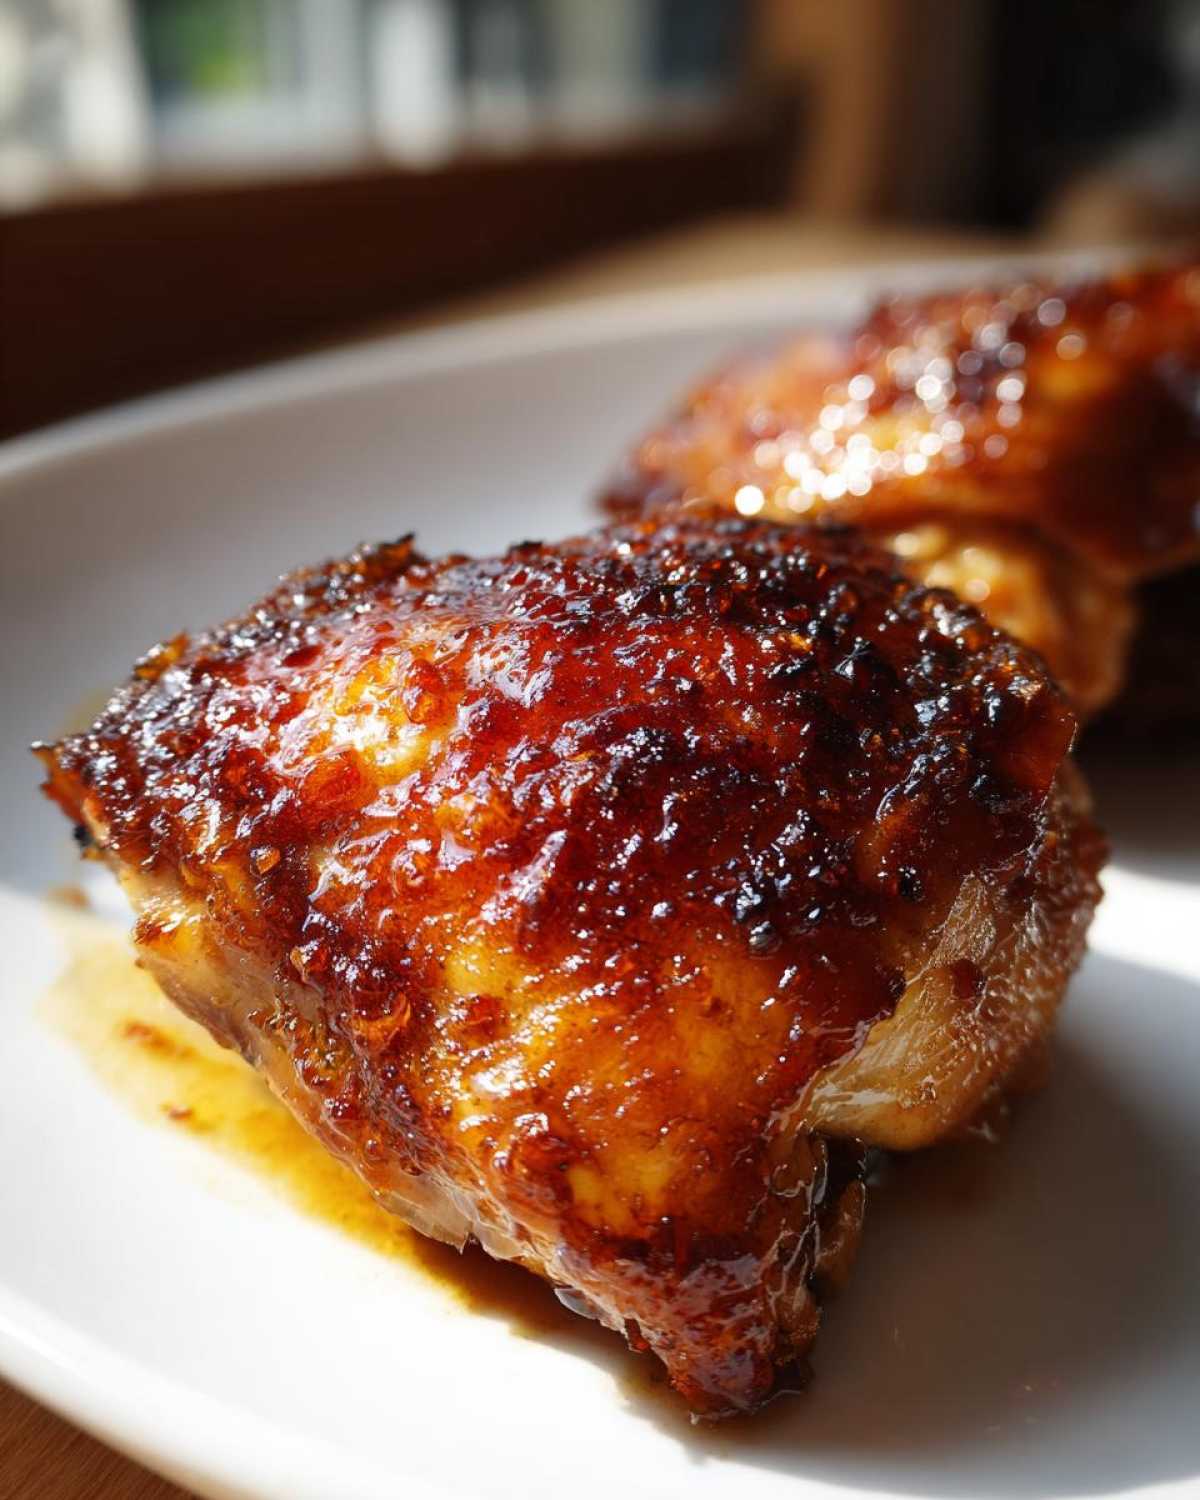
Baking and Glazing for the Best Honey Garlic Chicken Thighs with Crispy Skin
Pop that tray into the hot oven for 25 minutes. This rendering time is crucial for crispy skin—it melts away the fat. When done, pull them out and brush about half of that thick glaze generously over the top of the skins. Get them back in the heat for another 10 to 15 minutes. You are looking for an internal temperature of 165 degrees Fahrenheit (74 degrees Celsius) in the thickest part. Once they hit that mark, pull them out, brush on the rest of the glaze while they’re piping hot, and let them rest on the rack for a full five minutes. That rest seals in all those lovely juices. For more tips on roasting perfection, check out my guide on roasted chicken.
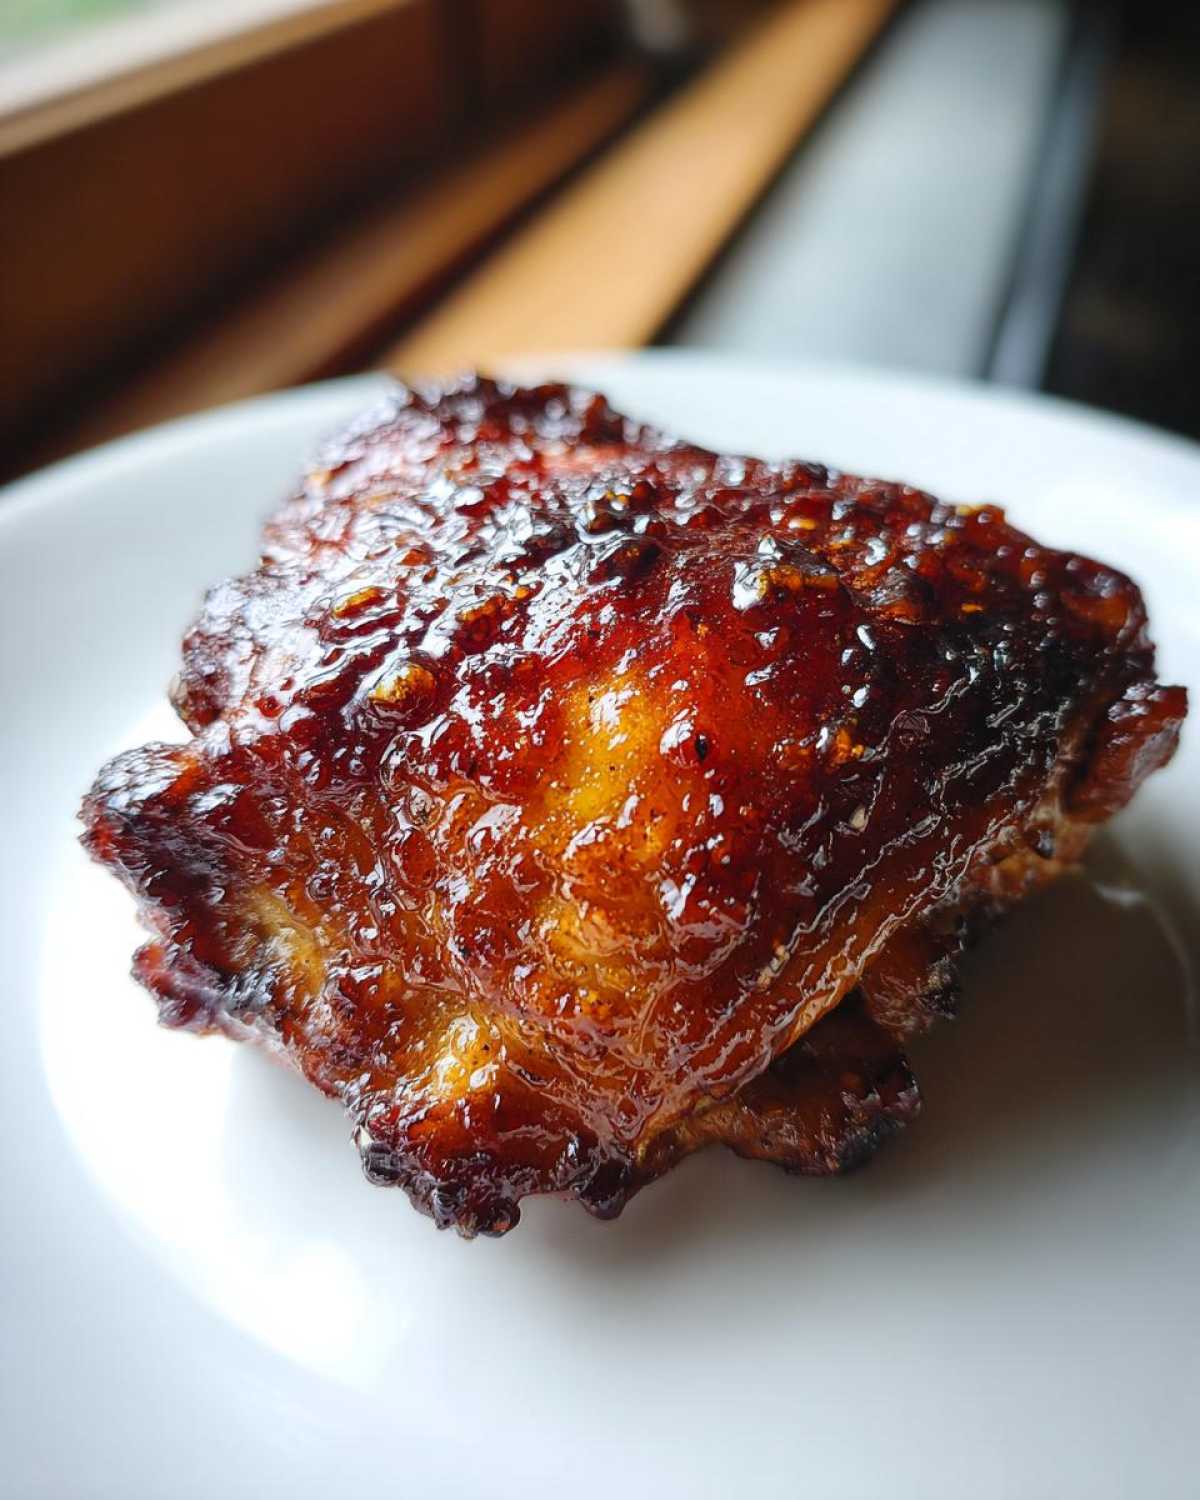
Tips for How To Get Crispy Chicken Skin Every Time
I cannot stress this enough: dryness equals crispiness. If the skin is even a little damp when it hits that 400-degree heat, you’re going to end up steaming the moisture, and that’s how you get rubbery chicken. Forget the microwave trick for reheating; we are talking about getting that perfect first-time crunch here!
If you can plan ahead—and I highly recommend you do—take your seasoned thighs and place them uncovered in the refrigerator for at least two hours, or even overnight if you’re feeling organized. This draws out atmospheric moisture. It’s the number one trick in learning How To Get Crispy Chicken Skin Every Time.
When they are baking, if you notice the skin starting to look dangerously dark before the meat is ready, immediately grab a piece of foil and loosely tent the pan. This shields the glaze from burning while letting the thighs continue to cook through safely. Also, make sure you drain off that rendered fat halfway through cooking—if the bottom of the chicken sits in that liquid, it steams! We want air circulation, not a bath!
Ingredient Notes and Substitutions for Your Honey Garlic Chicken Thighs
I know life happens, and sometimes you’re standing there ready to cook and realize you’re missing one tiny thing. Don’t panic! Most ingredients here are flexible, though they will change the final flavor profile a bit. For instance, if you don’t have that apple cider vinegar, you can totally swap in white wine vinegar or even a splash of fresh lemon juice. The acid is just there to prevent the honey from tasting too heavy, so any sharp counterpoint will work!
If you’re watching sodium (and trust me, soy sauce can add up!), feel free to use low-sodium soy sauce. Just expect the glaze to be a little less punchy, so maybe add an extra pinch of salt to the dry rub seasoning on the skin instead. Do not skip the cornstarch slurry, though; that’s what gives the glaze that beautiful, thick coating instead of it just running right off the chicken.
Serving Suggestions for This Sweet and Savory Chicken Recipe
Once you pull those gorgeous, sticky thighs off the rack, you need the perfect partner dish to soak up all that extra honey garlic sauce running off the platter. Because this chicken is so bold—sweet, salty, and garlicky—you want sides that are simple and maybe a little bit green!
I usually lean toward something sturdy that can handle the glaze drizzle. Steamed broccoli or asparagus tossed lightly with sesame oil is fantastic because it stays neutral. If you’re feeling ambitious for carbs, plain white rice is the classic choice for soaking up every drop of flavor. If you want something extra special that still cooks fast, try making some quick sticky garlic noodles to go alongside it—but maybe cut back on the soy sauce in the noodles so you don’t go completely overboard on the salt!
Storage and Reheating Instructions for Leftover Honey Garlic Chicken Thighs with Crispy Skin
Even though these honey garlic chicken thighs barely last long enough for leftovers in my house, I always save one or two just in case! You need to store them safely, of course. Pop the cooled chicken into an airtight container. They’ll be good in the fridge for three to four days max. Don’t sweat that the skin won’t be *perfectly* crisp the next day—that’s just sugar and moisture working against us!
To bring that skin back to life, skip the microwave completely. It turns everything soft and rubbery. Instead, reheat them on a wire rack set on a baking sheet in a 350°F oven for about 8 to 10 minutes. If you have an air fryer, that’s even better! A quick blast at 375°F for about 5 minutes works wonders to re-crisp the glaze!
Frequently Asked Questions About This Recipe
I get so many questions about this recipe because everyone wants that perfect balance—that sweet, sticky exterior and juicy center. Here are the things people ask me most often when they are trying to make their first batch of Juicy Chicken Thighs Recipe.
Can I use boneless, skinless chicken thighs instead?
Oh, you certainly can, but you will lose the absolute best part of this recipe—the crispy skin! If you must use skinless, you’ll need to adjust the timing significantly. Since you aren’t rendering fat, you’ll want to skip that initial 25-minute bake. Just season them and stick them in the oven. You’ll glaze them much sooner, maybe after about 15 minutes total cooking time, because they cook through so quickly. Keep a close eye on them so the sugars in the honey don’t scorch!
What internal temperature should the chicken reach?
For safety, poultry *must* reach 165 degrees Fahrenheit (74 degrees Celsius). I always pull mine off the rack when they hit 163°F because the temperature continues to climb a few degrees while they rest, which is crucial! Resting allows the juices that were agitated by the heat to redistribute back into the meat fibers. Skipping the rest means those juices leak out onto your plate instead of staying inside the thigh!
Why is my honey garlic sauce burning in the oven?
That’s the honey talking! Honey is mostly sugar, and sugar burns much faster than protein or fat does, especially when exposed directly to the oven’s top element. If you notice the glaze turning dark brown or black too early, you need to shield it. The best fix is to loosely tent the entire baking sheet with aluminum foil. This reflects some heat away from the glaze while still letting the meat cook through. If it’s early in the process, wait until the last 10 minutes to apply the glaze entirely.
If you have more general questions about cooking thighs, I wrote a whole deep dive in my chicken thighs cooking guide!
Nutritional Estimates for This Meal
I’ve got the numbers here for anyone counting macros or just curious about what we’re diving into with these sticky, amazing thighs. Remember, this is based on the recipe exactly as written—using bone-in, skin-on thighs—so your own results might bounce around a little depending on if your thighs were giants or if you used low-sodium soy sauce.
These estimates are calculated per serving (one thigh). Honestly, getting 28 grams of protein alongside that awesome flavor profile is a huge win for a simple dinner!
- Serving Size: 1 thigh
- Calories: 380
- Protein: 28g
- Fat: 22g (Note: A good chunk of this is the wonderfully rendered skin fat!)
- Carbohydrates: 18g
- Sugar: 15g (Blame the honey!)
- Sodium: 650mg
Because this recipe is naturally rich due to the skin fat and the glaze, it’s easy to see where those calories come from. If you want to keep the flavor but slash down the fat content, you could always trim some of that skin off *after* it crisps up in the oven, but then you lose the crunch factor, right? Cooking is all about trade-offs!
If you’re looking for other high-protein meals that are quick to pull together, you should really check out my thoughts over on easy egg bites; they’re great for breakfast prep!
Share Your Perfect Honey Garlic Chicken Thighs with Crispy Skin
Alright friends, that is it! You are now armed with every secret I have for getting that shatteringly crisp skin combined with the sweet, sticky goodness of glaze. I truly hope you give these Honey Garlic Chicken Thighs with Crispy Skin a shot this week because they are a genuine crowd-pleaser.
Once you’ve pulled them off the rack and rested them for those crucial five minutes, I absolutely need to know how it went! Did you manage to keep the skin perfectly crispy? Were your thighs unbelievably juicy?
Please don’t be shy! Head down into the comments section below and let me know if you stuck perfectly to the recipe or if you tried a little modification. Did you use a touch more ginger in the glaze, or maybe decided to roast some potatoes right underneath the chicken rack?
Also, if you wouldn’t mind, leaving a star rating right near the top of the recipe helps other cooks find this foolproof method! We all need every advantage when conquering the crispy skin challenge, right? I love hearing success stories, so share your plating pics if you have a chance. Happy cooking, and don’t forget to browse around my other posts for more easy weeknight dinner ideas!
PrintHoney Garlic Chicken Thighs with Crispy Skin

Follow these steps to make juicy, flavorful chicken thighs with perfectly crisp skin using a simple honey garlic glaze.
- Prep Time: 10 min
- Cook Time: 40 min
- Total Time: 50 min
- Yield: 4 servings
- Category: Dinner
- Method: Baking
- Cuisine: American
- Diet: Low Fat
Ingredients
- 6 bone-in, skin-on chicken thighs
- 1 tablespoon olive oil
- 1 teaspoon salt
- 1/2 teaspoon black pepper
- 1/2 teaspoon paprika
- 1/4 cup honey
- 1/4 cup soy sauce
- 4 cloves garlic, minced
- 1 tablespoon apple cider vinegar
- 1 teaspoon cornstarch mixed with 1 tablespoon cold water (slurry)
Instructions
- Preheat your oven to 400 degrees Fahrenheit (200 degrees Celsius). Place a wire rack inside a baking sheet.
- Pat the chicken thighs completely dry using paper towels. This step is crucial for crispy skin.
- Rub the chicken thighs all over with olive oil, then season evenly with salt, pepper, and paprika. Place the thighs skin-side up on the wire rack set over the baking sheet.
- Bake for 25 minutes to render the fat and start crisping the skin.
- While the chicken bakes, prepare the glaze: In a small saucepan, combine honey, soy sauce, minced garlic, and apple cider vinegar. Bring the mixture to a simmer over medium heat.
- Stir in the cornstarch slurry and cook for 1 minute, stirring constantly, until the sauce thickens slightly. Remove from heat.
- After the initial 25 minutes of baking, remove the chicken from the oven. Brush half of the honey garlic glaze evenly over the skin side of the thighs.
- Return the chicken to the oven and bake for another 10 to 15 minutes, or until the internal temperature reaches 165 degrees Fahrenheit (74 degrees Celsius) in the thickest part of the thigh.
- Remove the chicken from the oven. Brush the remaining glaze over the hot chicken. Let the chicken rest on the rack for 5 minutes before serving.
Notes
- For extra crispy skin, place the seasoned thighs in the refrigerator uncovered for at least 2 hours before cooking to dry the skin further.
- If the skin browns too quickly before the chicken is cooked through, loosely tent the pan with aluminum foil for the last 10 minutes of cooking.
- Drain the rendered fat from the baking sheet halfway through cooking to prevent the bottom of the chicken from steaming.
Nutrition
- Serving Size: 1 thigh
- Calories: 380
- Sugar: 15
- Sodium: 650
- Fat: 22
- Saturated Fat: 7
- Unsaturated Fat: 15
- Trans Fat: 0
- Carbohydrates: 18
- Fiber: 0
- Protein: 28
- Cholesterol: 110