

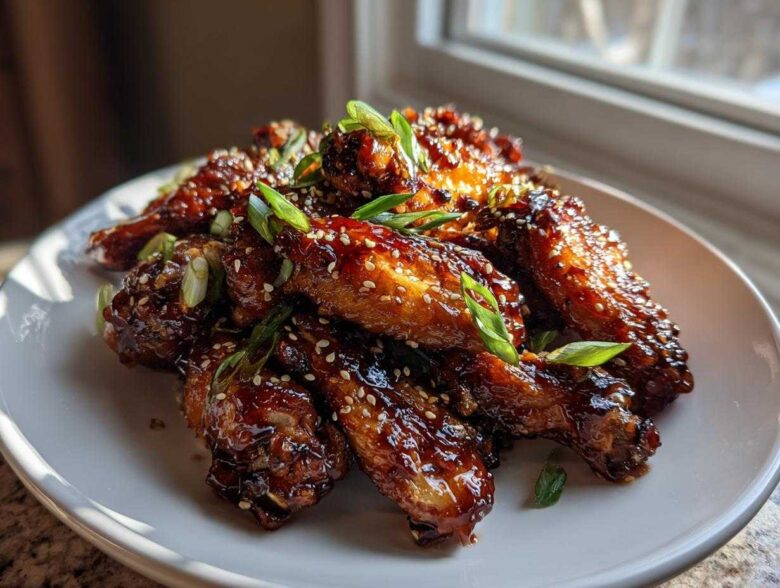
Oh, you know that feeling! You’re sitting on the couch, the game is on, and all you can think about are deep-fried, sticky, crunchy chicken wings. But then you remember the mountain of oil you have to deal with afterward? No, thank you! Forget that mess. I worked for years—I mean it, YEARS—to crack the code on making truly perfect Honey Soy Chicken Wings Crispy Oven Baked ones right here in my regular kitchen. It took a lot of failed, soggy attempts, but trust me when I say I finally figured out the trick that makes the oven do the heavy lifting for that glorious crunch.
If you’ve ever struggled to get that lovely texture, you can check out my general guide on how to get crispy skin on roasted chicken, because the foundation is similar! This recipe is my absolute go-to for game nights, and I’m finally sharing my secrets to making wings that are sticky, savory, sweet, and actually crispy without ever touching a deep fryer. We use baking powder—yes, baking powder!—to draw out just enough moisture from the skin so that when the sweet honey soy glaze hits it right at the end, you get that deeply satisfying shatter and chew. Let’s get those wings in the oven!
Why You Will Love These Honey Soy Chicken Wings Crispy Oven Baked
Why is this recipe my go-to? Because it delivers that restaurant-quality texture without turning your kitchen into a deep-fry zone. Seriously, every time I make these, my family flocks to the kitchen just from the smell!
- You get serious, legitimate crispiness—that satisfying crunch you chase—all from your regular oven. No fryers needed!
- The flavor balance is just spot-on: perfectly sticky, savory from the soy, and just sweet enough from that gorgeous honey.
- It’s much lighter than fried wings, so you can eat a few extra, wink, wink. Hello, healthy baked chicken wings flavor!
- Cleanup is shockingly easy thanks to a little foil and a wire rack setup (I’ll show you how!).
- These are fantastic for game day or even a quick weeknight chicken wing dinner since the prep is mostly hands-off while they bake.
Essential Ingredients for Perfect Honey Soy Chicken Wings Crispy Oven Baked
Listen, you can have the best technique in the world, but if your ingredients aren’t right, you’re going to end up with soft, sad wings. That’s just a fact! The magic here really splits into two camps: the stuff that gets them crispy before the sauce, and the stuff that makes that unbelievable glaze. Don’t skimp on the *drying* part, either—it’s the first rule of oven baked crispy chicken wings!
We need to make sure we have the right tools to pull off this best honey soy wings recipe. Here is exactly what you need ready before you mix anything:
For the Crisping Dry Rub
This is where the real secret for make crunchy wings in the oven hides. Forget the deep fryer; we are relying on science here! Trust me when I say DO NOT substitute baking soda for the baking powder—they behave completely differently when they heat up. Baking powder lifts and dries the skin perfectly!
- 2 lbs chicken wings, separated into flats and drumettes
- 1 tablespoon baking powder (not baking soda, this is key!)
- 1 teaspoon salt
- 1/2 teaspoon black pepper
For the Easy Honey Soy Glaze
This is the sticky, sweet, and savory coating we will be brushing on near the end. We are making a glaze, not a marinade, so we need to thicken it up so it clings beautifully to the skin. That little cornstarch mixture controls everything!
- 1/4 cup soy sauce (I always use low sodium so the final taste isn’t too aggressive)
- 1/4 cup honey
- 2 tablespoons rice vinegar
- 1 tablespoon grated fresh ginger (fresh, please, it makes such a difference!)
- 2 cloves garlic, minced
- 1 teaspoon sesame oil
- 1 tablespoon cornstarch mixed with 2 tablespoons cold water (This is your slurry; it turns our thin sauce into a thick, coatable glaze.)
Once you’ve got all this lined up, we’re ready to move on to setup. The goal is amazing flavor plus unbelievable texture!
The Technique: How to Make Crispy Wings in the Oven Without Frying
Okay, this is the step where we earn that lovely crunch. If you want crispy wings in the oven without resorting to frying, you have to respect the process. Heat and air circulation are your best friends here, and we are setting up the absolute perfect environment for them to work their magic. This is seriously the secret to how to make crispy wings in the oven without frying that actually taste professional.
First things first, preheat your oven to a blasting 425 degrees Fahrenheit (that’s 220° Celsius—nice and hot!).
Now, for the setup: You absolutely MUST use a wire rack set on top of a foil-lined baking sheet. Why the high effort? Because if the wings sit directly on the pan, the bottom steams in its own juices, and suddenly you have soggy bottoms. The rack lets the heat circulate all the way around for that lovely, even crisp, which is what makes for perfectly baked chicken wings technique. You can learn more about my general approach to keeping bird skin crispy here, like when I wrote about perfectly baked chicken wings technique.
Preparing Wings for Maximum Crispiness
This part requires a bit of elbow grease, but it’s non-negotiable! You need to get those babies as dry as a bone. Grab a huge stack of paper towels and pat every single piece of chicken until you think it can’t possibly get any drier. Seriously, if you skip this, the baking powder won’t stick right, and you will fight sogginess.
Once they are dry, toss them into a clean bowl. Sprinkle that magic dry rub—the baking powder, salt, and pepper—all over them. Toss until every wing is covered in a light, dusty film. It shouldn’t look powdery when you’re done, just lightly coated.
Lay them out on that wire rack now. Make sure they aren’t touching! If they are packed in tight, they steam. We want space so the hot air can hug every inch of that skin.
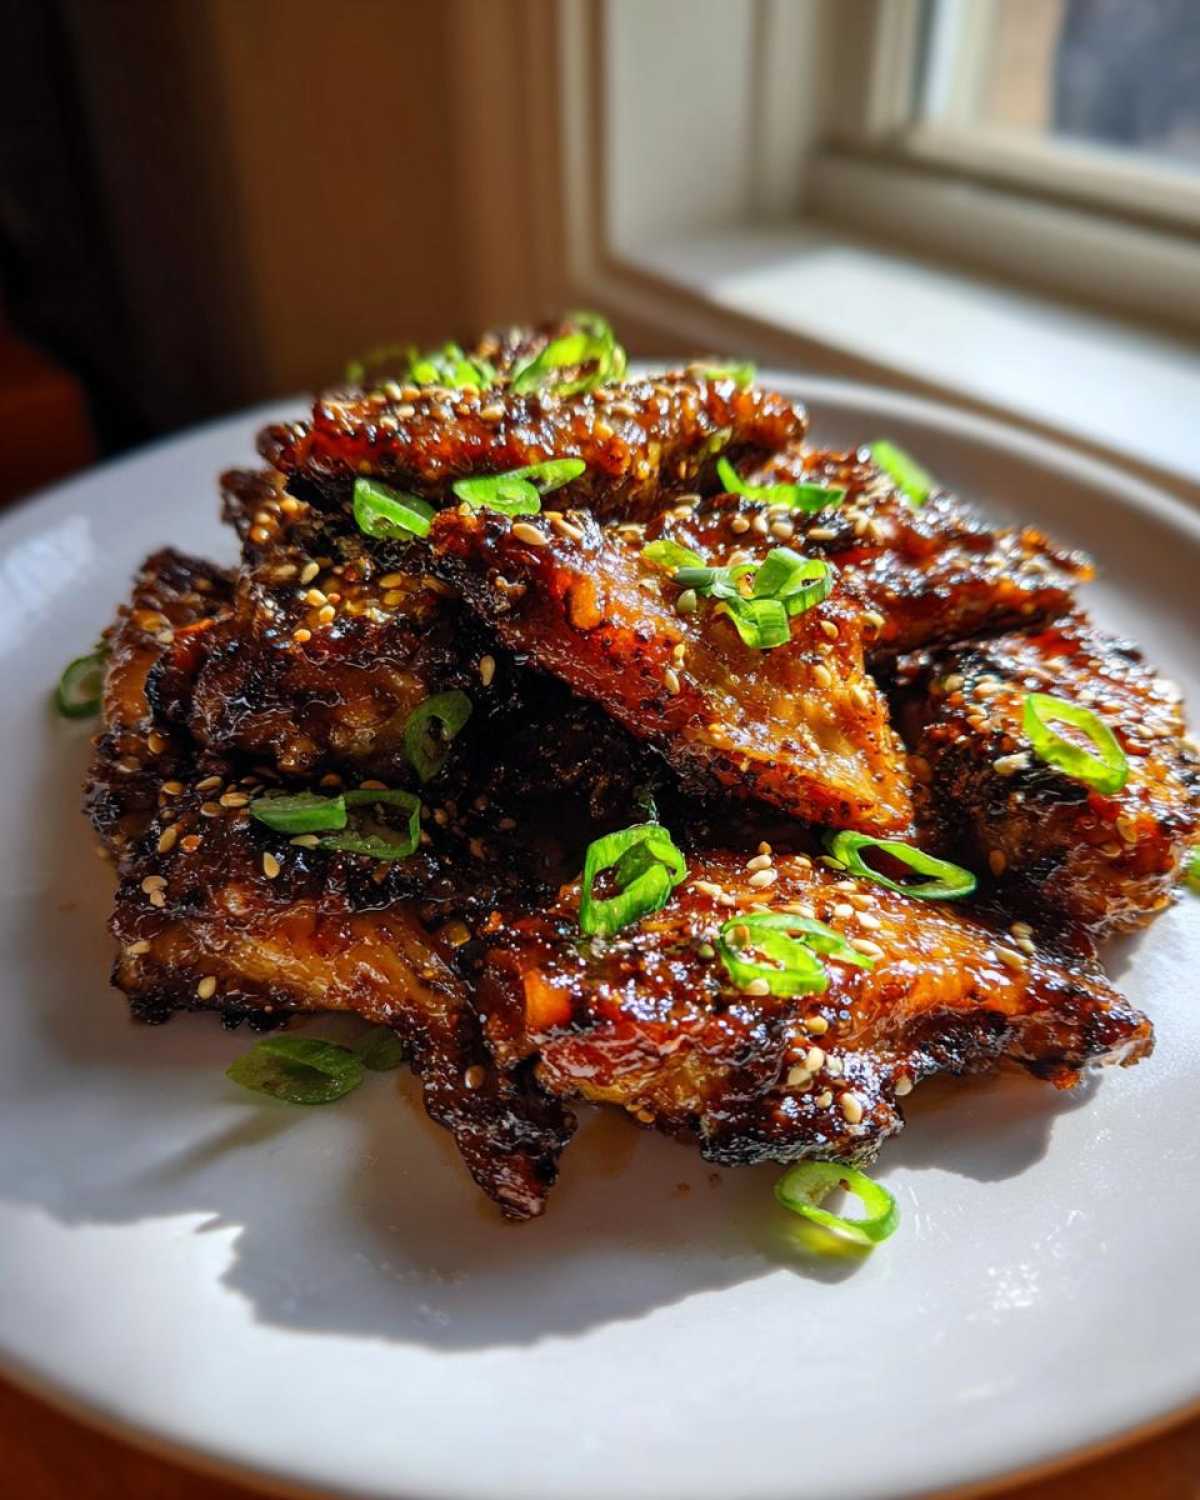
The Initial Bake for Perfectly Baked Chicken Wings Technique
Time to get them in the oven! We are going to bake them in stages because we want to render out the fat and dry the skin before we introduce that sticky glaze, which would otherwise burn instantly.
For the first blast, bake them for 25 minutes. Go ahead and close the door and don’t peek too much!
After 25 minutes, carefully pull the rack out—watch your fingers, it’s hot! Flip every single wing over. This ensures both sides get glorious exposure to the dry heat above and below. Once flipped, slide them back in and bake for another 15 minutes. At this stage, the skin should be turning a gorgeous golden brown and looking tighter. We are building that foundational crunch for truly sticky baked chicken wings!
Making the Sticky and Savory Glaze for Honey Soy Chicken Wings
While those wings are doing their initial hard work in the oven, we need to focus on the star of the show: that incredible glaze. This is what turns plain crispy wings into those fabulous, glossy sticky baked chicken wings everyone fights over at parties. It’s honestly so fast to mix together; you’ll wonder why you ever bought the bottled stuff!
Grab a small saucepan. We are throwing in the soy sauce, the honey for sweetness, the rice vinegar for that tiny little tang that keeps it from being too sweet, the fresh ginger, minced garlic, and the sesame oil. Pop that over medium heat and let it gently come up to a simmer. You just want to make sure everything is blended together nicely and getting warm—don’t let it boil violently!
Now, here’s the part that guarantees you have the easy honey soy glaze for wings that actually sticks instead of running off into the bottom of the pan: the slurry. In a tiny separate cup, I mix my cornstarch with just two tablespoons of cold water. It needs to be cold water, otherwise, the starch clumps up, and we don’t want that!
Once your sauce is simmering, whisk that slurry in quickly. Keep stirring! You will see it happen right away—the sauce will go from watery to glossy and thick enough to coat the back of a spoon. That should take about sixty seconds. As soon as it thickens, pull it right off the heat so it doesn’t scorch. You can see how I build complex sauces like this with my spicy restaurant-style garlic noodles, too—it’s all about that thickening step!
We need to let this awesome sauce rest for just a minute while the wings finish their second bake. When they come out looking golden and crisp after that second round, we are ready for the best part!
Finishing Your Honey Soy Chicken Wings Crispy Oven Baked
Okay, this is where everything comes together and those wings officially become sweet and savory glazed wings! We’ve done the hard part rendering out the fat and getting that fantastic preliminary crispiness with the baking powder. Now we introduce the sauce, but we have to be sneaky about it so we don’t ruin all that hard work.
When those wings come out after the second 15-minute session, they should look noticeably drier and golden. Pull that rack out again. Get that thick honey soy glaze ready!
Here is the key to making sure the glaze caramelizes instead of burning—we apply it in two stages. First, take about half of the thickened sauce and brush it generously over all sides of the wings. You want a good sticky layer, but not drowning them. They are going back in the oven for a quick finale.
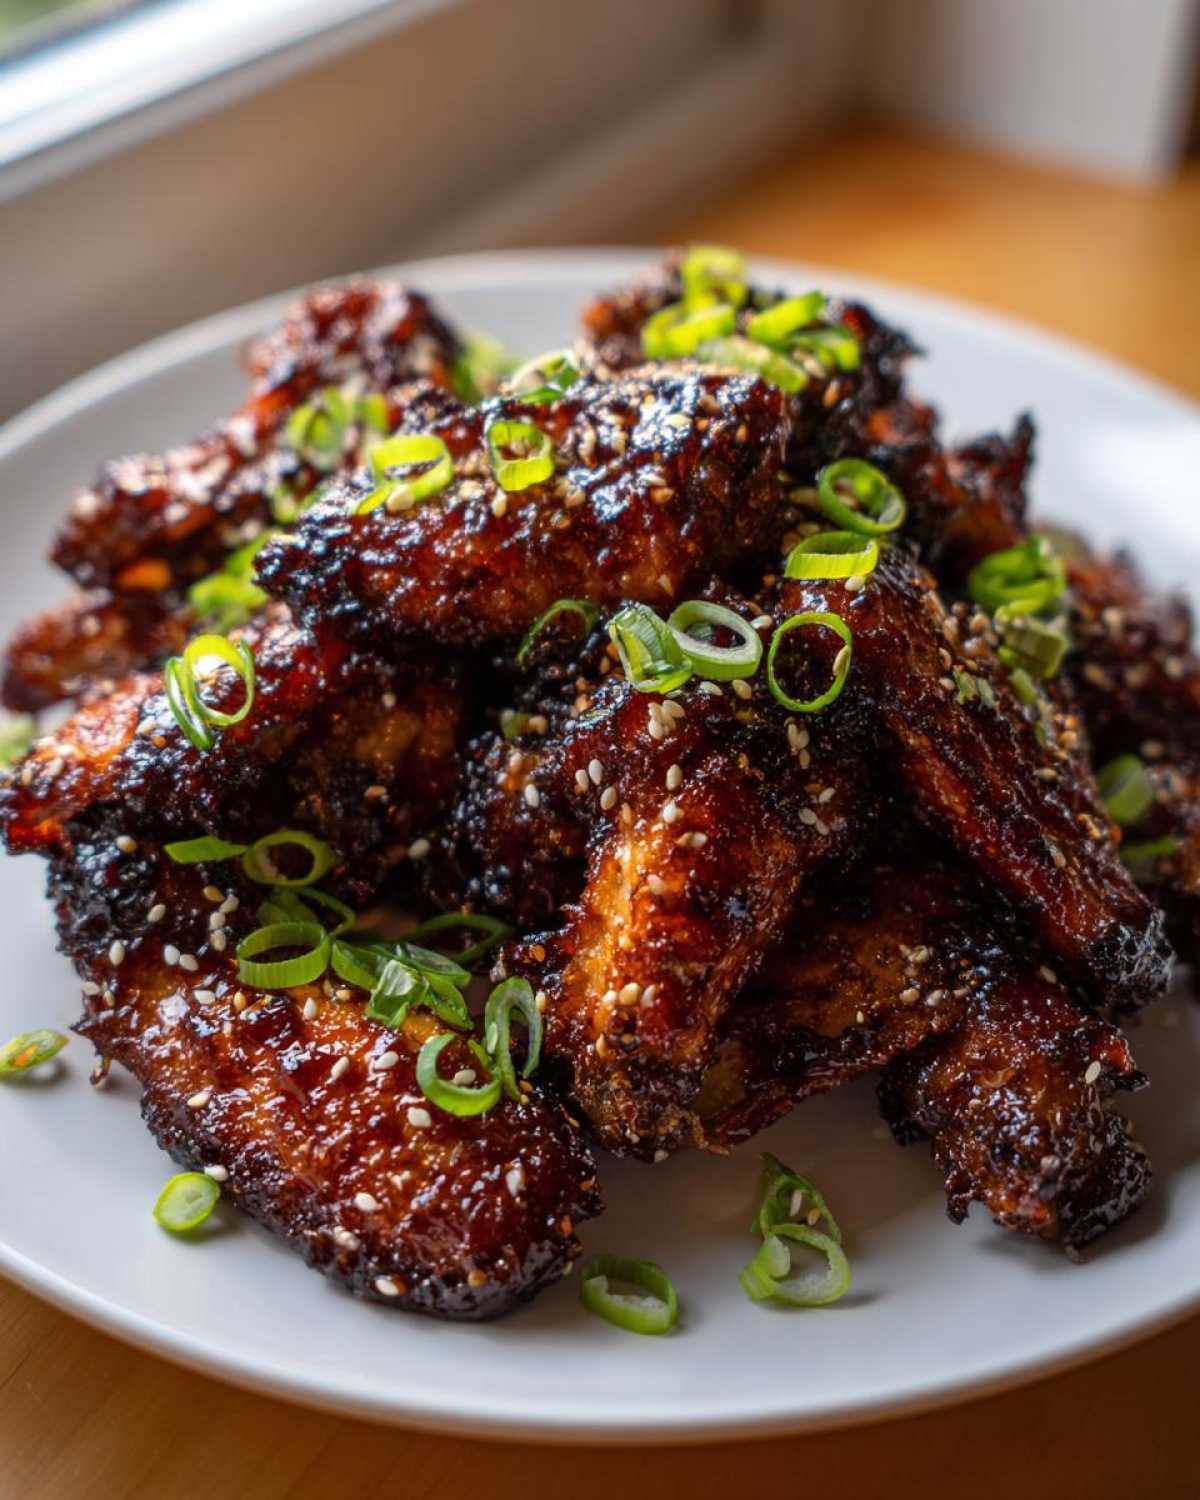
Slide them back in at that same 425°F for just 5 to 7 minutes. Set a timer! Honey burns faster than anything on the planet, and if you walk away here, you’ll end up with slightly burnt wings instead of sticky, perfect ones. Keep an eye on them through the oven door—you’re looking for that glaze to look bubbly, dark amber, and beautifully tacky.
Once that quick final bake is done, pull them out immediately. Transfer them to a clean serving bowl right away. Now, take the remaining glaze—the part that hasn’t touched the raw-ish wings yet—and pour it right over the top. Toss them around gently in that bowl until every single wing is coated in that final, glossy layer. That second coating gives you the deep color and that perfect, just-made stickiness. Serve these beauties right away!
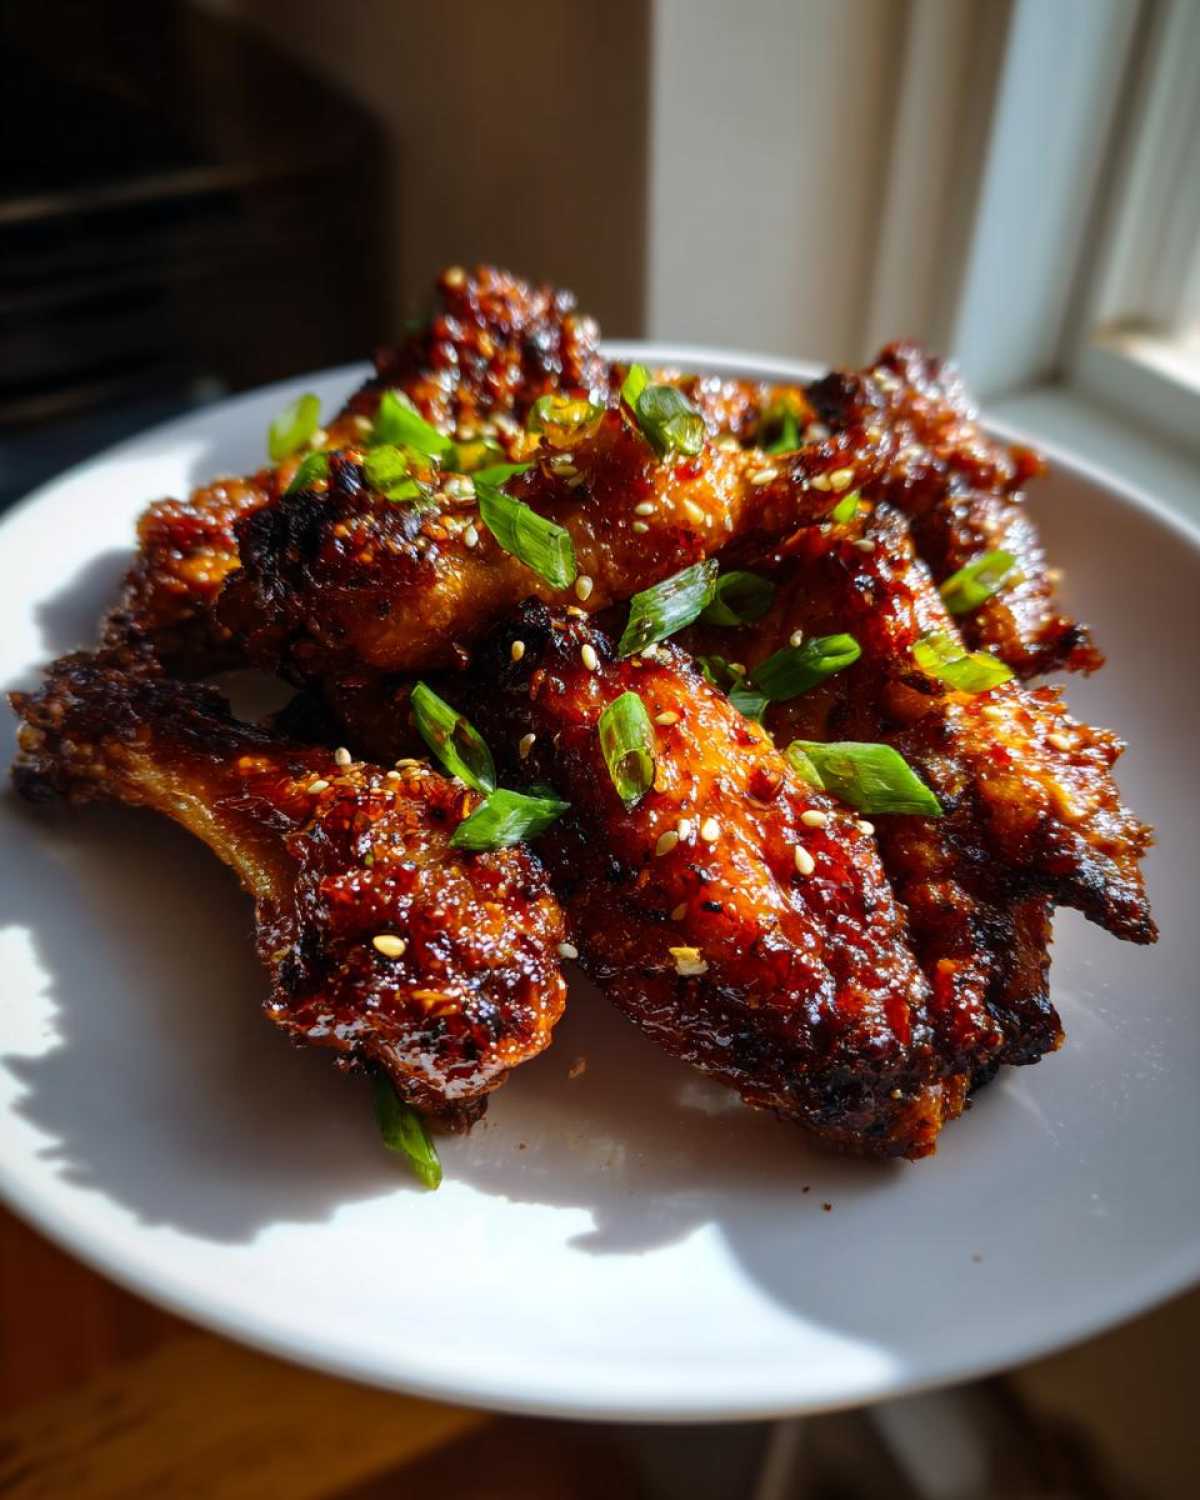
Tips for the Best Honey Soy Wings Recipe
Even though this recipe is already pretty darn foolproof, I always want to give you the insider scoop so you nail it every single time. If you’re looking for the absolute best honey soy wings recipe on the internet—and I might be a little biased, but I think this is it!—it all comes down to respecting those little details we talked about earlier.
My goal is to make sure you never, ever have to wonder, “Why isn’t this crispy?” when you are using the oven. Here are my top three, non-negotiable pointers:
Tip One: The Wire Rack is Your Soulmate
If you take away only one thing from this whole recipe, let it be this: Never skip the wire rack! I know it seems like an extra step, and you could just put them naked on the foil-lined pan, but trust me, that little bit of elevation turns a decent wing into an incredible wing. That space underneath allows the fat to drip away and the hot air to flow freely. If you want to dive deeper into why elevation matters so much when cooking poultry, I talk all about it in my general guide on chicken wing recipes with baking powder for crispiness.
Tip Two: Baking Powder is King for Crispiness
I mentioned it when we looked at the ingredients, but seriously, don’t get confused. Baking soda is for leavening. Baking powder is what reacts with the heat in the oven to dry out the skin just enough so that when that sweet glaze goes on, the skin shatters instead of getting gummy. It’s the key to getting that satisfying crack on your wings before we even think about the sauce.
Tip Three: Only Glaze at the End!
Sugar burns fast, y’all. That honey in the sauce is beautiful, but it turns into black charcoal if you bake it on for the whole 40 minutes. You must do the initial long bake completely bare—just the spiced wings cooking away—then apply half the glaze for the final 5-7 minutes. This gives you that caramelized stickiness without that acrid, bitter burnt flavor. Be vigilant during that final quick bake!
Serving Suggestions for Your Glazed Wings
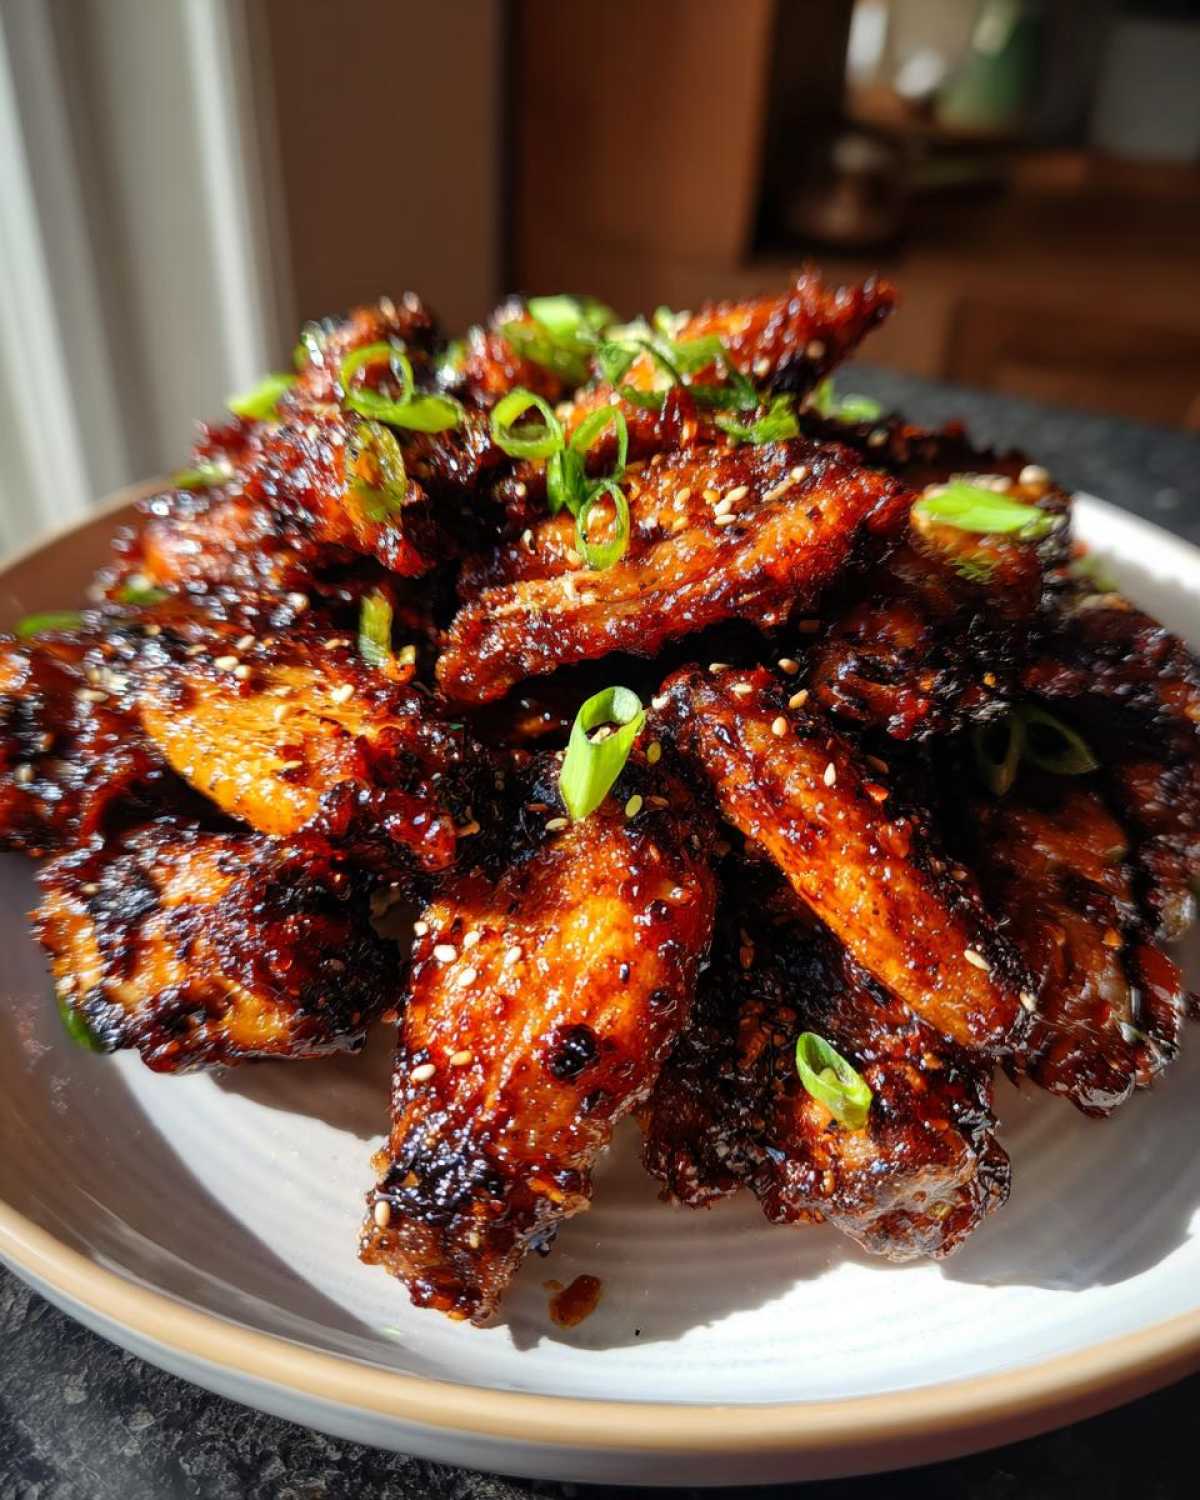
These Honey Soy Chicken Wings Crispy Oven Baked are so flavorful on their own, aren’t they? They’re that perfect balance of sweet, savory, and sticky that makes them pop! Because the flavor profile is already so punchy and delicious, you really don’t need a ton of complicated sides. I usually keep things super light and fresh so the wings remain the star of the show. These are perfect for a big spread if you’re having a wing night dinner idea oven style!
First off, remember those beautiful garnishes we put together? Don’t skip them! The fresh, sharp bite of the sliced green onions cuts right through the sweetness of that honey glaze. And those sesame seeds? They add a little nutty textural pop and look so professional sitting on top of that sticky coat. That’s your immediate garnish sorted!
If you need something more substantial to round out the meal—maybe you’re serving these as the main course instead of just an appetizer—think cool and crunchy sides. A simple cucumber salad dressed with a dash of rice vinegar and a tiny pinch of salt is fantastic because it’s so refreshing next to the richness of the wings. Or maybe a quick slaw with cabbage and carrots!
For those who want a fuller meal, I love pairing these with something simple to soak up any extra glaze drips. A bed of plain white rice or even some brown rice is great. It gives you a nice base to pile those sticky, caramelized wings on top of! If you’re looking for other mains that feature similar Asian-inspired flavors but in a totally different format, you should check out how I put together my easy buffalo chicken bowl recipe—it gives you that flavor fix in a healthier bowl format, which is a nice change of pace sometimes!
Just keep the sides straightforward—let the crispy, sticky, sweet, and savory nature of your perfectly baked wings shine!
Storage and Reheating Instructions
Look, I know you probably won’t have any leftovers because these Honey Soy Chicken Wings Crispy Oven Baked tend to vanish the second they come out of the oven. But, just in case you do manage to hide a few away—maybe you’re saving them for lunch the next day—I want to make sure you know the right way to store them so they don’t turn into sad, gummy wings by morning.
The key to leftovers is avoiding moisture!
First, you have to let them cool down completely on the counter for about 30 minutes after you’ve finished glazing them. Don’t put hot food immediately into the fridge; that just creates condensation, which is the enemy of crispiness.
Once they are fully cooled, put them into a shallow, airtight container. I try to use the shallowest container possible so they aren’t stacked too high. Pop that container in the fridge. They should stay perfectly fine and flavorful for about three days this way.
Now, for reheating—this is critical. Please, please, for the love of crispy skin, do not use the microwave! Microwaving turns that beautiful, hard-earned crust into soft, chewy rubber, and we just can’t have that after all the hard work we put into the baking powder trick!
If you want to bring back some of that crunch and get that glaze nice and sticky again, you have two great options.
My favorite method is using an air fryer. Set it to about 350°F and pop the wings in a single layer for about 4 to 6 minutes. Just test one to see if the outside is snappy again. If you don’t have an air fryer, the toaster oven works in a pinch. Set it to about 375°F and bake them directly on a small piece of foil for about 7 to 9 minutes. You are just trying to get the heat back through the wing and crisp up that skin again. A conventional oven works too, but it takes longer to preheat just for a few wings!
If you really can’t handle the extra equipment, you can gently warm them in a skillet over medium heat, tossing constantly for a few minutes, but again, the air fryer is going to give you that best result for your sweet and savory glazed wings leftovers!
Frequently Asked Questions About Oven Baked Chicken Wings
I always get tons of questions after people try this recipe for the first time, usually about how to switch things up or if they can skip a step. It’s funny, because the baking powder technique is one of those things that sounds too easy to work, but once you know how to execute it, you’re set for life! Here are some of the most common things folks ask me about making these Honey Soy Chicken Wings Crispy Oven Baked.
Can I use baking soda instead of baking powder for crispiness?
Oh no, please don’t try this swap! This is a question I get all the time, and it’s a big ‘no’ from me. Baking soda is much more alkaline than baking powder. If you use it, you risk getting a weird, metallic or even soapy aftertaste on your otherwise delicious sweet and savory glazed wings. Baking powder is formulated to give that gentle lift and dryness needed to achieve the crunch we want. Stick to the powder if you want that perfect texture!
How do I adjust the sweetness if I prefer less sugar in my honey soy chicken wings?
That’s a great question, especially if you’re watching your sugar intake! You can absolutely make these more savory instead of dessert-sweet. To cut down on the sugar content while still keeping a great flavor profile for your healthy baked chicken wings flavor approach, I suggest reducing the honey by about a quarter—maybe use 3 tablespoons instead of 4. To compensate for the lost volume and flavor depth, add an extra tablespoon of soy sauce and maybe half a teaspoon more of the rice vinegar.
The vinegar brings back that necessary brightness, and the extra soy sauce keeps that savory backbone strong. Just make sure you taste the glaze before you thicken it with the slurry to ensure you like the balance before you commit!
What internal temperature should the wings reach?
Safety first, always! Even though we are focusing heavily on that crispy outer texture, the inside needs to be cooked all the way through. You should aim for an internal temperature of 165°F (74°C) in the thickest part of the wing, usually where the two bones meet in the drumette. Because we are baking at such a high heat (425°F), if you follow the timing as written, you’ll usually hit that temperature easily, and the skin will be beautifully golden and crisp.
If you’re looking for alternatives to the oven, I actually wrote up a whole dedicated post on how to handle these flavors using an air fryer honey soy wings alternative, which cooks even faster!
PrintCrispy Oven Baked Honey Soy Chicken Wings
A recipe for making sticky, sweet, and savory honey soy chicken wings crispy using only your oven, avoiding deep frying.
- Prep Time: 15 min
- Cook Time: 45 min
- Total Time: 60 min
- Yield: 4 servings
- Category: Appetizer
- Method: Baking
- Cuisine: Asian-Inspired
- Diet: Low Fat
Ingredients
- 2 lbs chicken wings, separated into flats and drumettes
- 1 tablespoon baking powder (not baking soda)
- 1 teaspoon salt
- 1/2 teaspoon black pepper
- 1/4 cup soy sauce (low sodium preferred)
- 1/4 cup honey
- 2 tablespoons rice vinegar
- 1 tablespoon grated fresh ginger
- 2 cloves garlic, minced
- 1 teaspoon sesame oil
- 1 tablespoon cornstarch mixed with 2 tablespoons cold water (slurry)
- 2 green onions, sliced for garnish
- 1 teaspoon sesame seeds for garnish
Instructions
- Preheat your oven to 425 degrees Fahrenheit (220 degrees Celsius). Line a large baking sheet with aluminum foil and place a wire rack on top of the foil.
- Pat the chicken wings completely dry using paper towels. This step is crucial for crispiness.
- In a large bowl, toss the dry wings with the baking powder, salt, and pepper until evenly coated.
- Arrange the wings in a single layer on the prepared wire rack, ensuring there is space between each piece for air circulation.
- Bake the wings for 25 minutes.
- While the wings bake, prepare the glaze: In a small saucepan, combine the soy sauce, honey, rice vinegar, ginger, garlic, and sesame oil. Bring the mixture to a simmer over medium heat.
- Whisk the cornstarch and cold water into a slurry, then pour it into the simmering sauce. Stir constantly until the sauce thickens enough to coat the back of a spoon, about 1 minute. Remove from heat.
- After the initial 25 minutes of baking, flip the wings. Return them to the oven and bake for another 15 minutes until the skin starts to look golden brown and crisp.
- Remove the wings from the oven. Brush half of the prepared honey soy glaze over the wings, ensuring they are coated.
- Return the glazed wings to the oven and bake for a final 5 to 7 minutes, watching closely to prevent the honey from burning.
- Remove the wings, toss them with the remaining glaze, and transfer them to a serving platter. Garnish with sliced green onions and sesame seeds before serving hot.
Notes
- For extra crispiness, do not skip the baking powder; it helps dry out the skin during cooking.
- Use a wire rack to allow heat to circulate underneath the wings, preventing a soggy bottom.
- Apply the glaze only near the end of the cooking time, as the sugar content burns easily under high heat.
Nutrition
- Serving Size: 4 wings
- Calories: 320
- Sugar: 18
- Sodium: 550
- Fat: 15
- Saturated Fat: 4
- Unsaturated Fat: 11
- Trans Fat: 0
- Carbohydrates: 20
- Fiber: 0
- Protein: 25
- Cholesterol: 90