

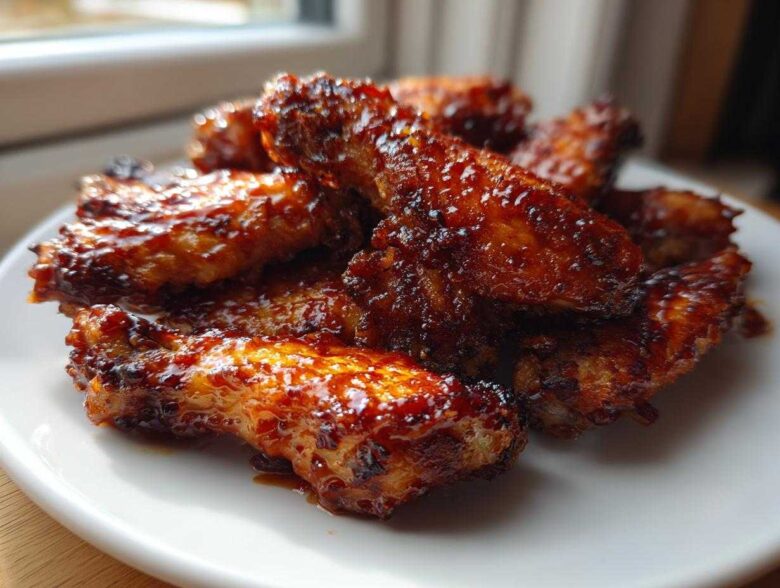
Okay, confession time: I love wings, but sometimes I just cannot deal with the oil splatter and cleanup from deep frying them. It’s a whole production! That’s why I spent years tinkering on my baking sheet until I cracked the code for wings that hit all the right notes without ever seeing a deep fryer. Forget gummy, sad oven wings; we are making legendary Sticky Sweet Chili Chicken Wings Oven Baked. Trust me, I’ve tested every trick out there, and the baking powder coating is your secret weapon for that perfect crackle. You’re going to get the crispiest skin possible, followed by this truly addictive sticky, sweet, and spicy chili glaze. It’s a winner every single time.
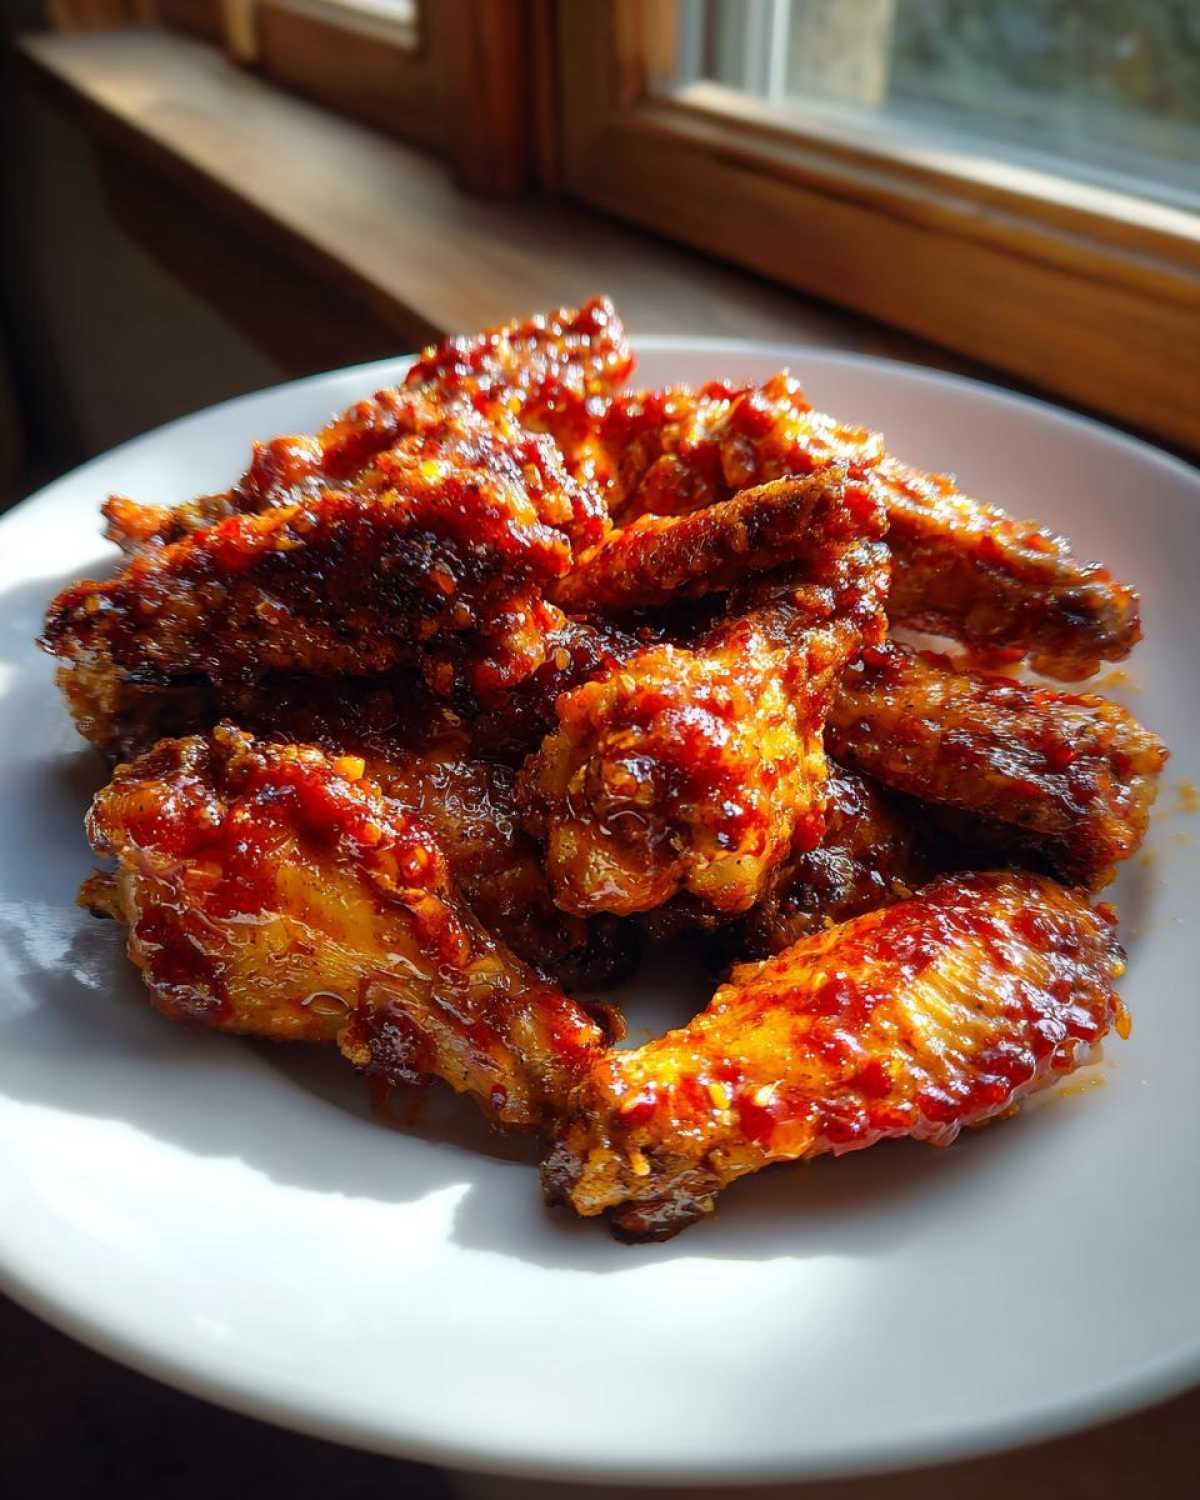
Why You Will Master Sticky Sweet Chili Chicken Wings Oven Baked
Look, I know the reputation oven wings have, but this recipe changes the game completely. You absolutely can get that satisfying crunch you crave, powered by science (aka baking powder!) and zero added deep-fry oil. This isn’t just *another* baked wing recipe; it’s the one that finally satisfies that takeout craving right in your own kitchen.
- These are genuinely easy oven baked chicken wings—minimal active time means you can focus on the game or your friend’s stories while they bake away!
- We achieve major crunch using just baking powder; you get that crispy skin without the hassle of deep frying. Hello, glazed chicken wings without frying!
- The flavor payoff is huge: we balance intense savory heat with sweet honey and chili notes. It’s the perfect flavor ride.
- The sauce is designed to cling! I put a lot of work into making sure that glaze actually sticks to the wing instead of sliding off onto the pan.
- This setup is perfect for a low effort baked chicken recipe when you need a crowd-pleaser without stressing out.
- You can prep the coating the night before! If you store the wings uncovered in the fridge, you wake up to even drier skin, which means even better crisping later. Check out my tips on the best crispy skin roasted chicken recipe for more on advanced drying techniques.
Equipment Needed for Perfect Sticky Sweet Chili Chicken Wings Oven Baked
You don’t need any fancy gadgets for these wings to turn out awesome, which is great news! However, a few pieces of standard kitchen gear really do make the difference between a good wing and a show-stopping wing, especially when we’re aiming for that perfect sticky texture after baking.
Essential Baking Gear
When you approach this recipe, think about airflow and containment. If you are missing one of these items, it’s probably the wire rack—don’t skip that one if you can help it! It’s the secret handshake for crispy skin in the oven.
- Baking Sheet: A standard sized sheet pan works just fine. I recommend lining it with aluminum foil first, not just for easy cleanup (though that’s a huge bonus!), but also because it helps reflect heat up slightly.
- Wire Cooling Rack: This is non-negotiable for crispy wings! You want the air to circulate completely around every single wing, even underneath. Set this rack right on top of your foil-lined baking sheet.
- Large Mixing Bowl: You need a big bowl to toss everything—the wings, the baking powder mix—without making a huge mess. Plus, you’ll use this later to toss the finished wings in sauce.
- Small Saucepan: This is just for our glaze. We need to simmer it down to get that lovely, thick, sticky texture you’re dreaming about when you think of takeout wings.
- Whisk: Essential for making sure that cornstarch slurry integrates perfectly into your sauce without leaving any lumps behind. We want smooth glaze!
Ingredients for Crispy Coating and Sticky Sweet Chili Chicken Wings Oven Baked
Gathering your crew of ingredients is the fun part. We’ve split these into two clear groups: what you use to get that unbelievable crisp on the chicken skin, and what goes into building the amazing, thick, sticky glaze. Seriously, pay close attention on the crisping side of things. You might think baking powder is just for cakes, but it’s the magic powder that helps draw moisture out of the skin while baking. This is how we make Sticky Sweet Chili Chicken Wings Oven Baked that taste fried!
Quick flavor note: If you love that deep, complex garlic flavor, go check out my easy homemade garlic butter recipe—it uses some of the same flavor principles we apply here!
For the Chicken Wings
The absolute first thing you must do before anything else? Pat those wings bone dry with paper towels. I mean, soak them dry! Any lingering moisture is the enemy of crispiness. Once you’re done with that, grab your coating ingredients.
- 2 lbs chicken wings, separated into flats and drumettes (no huge chunks, please!)
- 1 tablespoon baking powder (and I mean baking powder, NOT baking soda. Baking soda makes things taste metallic and weird, trust me on this one.)
- 1 teaspoon salt
- 1/2 teaspoon black pepper
For the Thick Homemade Wing Glaze
This is where the sweet, the sticky, and the spicy all meet up for a party. We use a combination of sauces and a little cornstarch at the end to ensure this glaze is thick enough to coat every single surface perfectly. This combination makes the best sticky wing sauce recipe, hands down.
- 1/2 cup sweet chili sauce (the store-bought kind is totally fine here)
- 1/4 cup honey (gives us that deep sweetness)
- 2 tablespoons soy sauce
- 1 tablespoon rice vinegar
- 1 tablespoon chili garlic sauce (this is where the heat comes from! Use Sriracha if you don’t have this, but Sriracha is usually a bit sweeter).
- 1 teaspoon grated fresh ginger (fresh is always better for zing!)
- 2 cloves garlic, minced
- 1 tablespoon cornstarch (our secret weapon for the final sticky thickener)
- 2 tablespoons cold water (to mix with the cornstarch for the slurry)
Step-by-Step Instructions for Sticky Sweet Chili Chicken Wings Oven Baked
This is where the magic happens! I find it’s easiest to break this down into two parallel tracks: the wings go in the oven for a good long bake, and while they’re busy getting crispy, we whip up that signature glaze on the stovetop. Don’t wait until the wings are done to start the sauce, or you risk having a cool wing waiting for a hot sauce, and that’s how you lose that crucial sticky coating! When you follow this sequence, you’ll end up with truly perfect Sticky Sweet Chili Chicken Wings Oven Baked.
Preparing the Wings for Maximum Crispiness
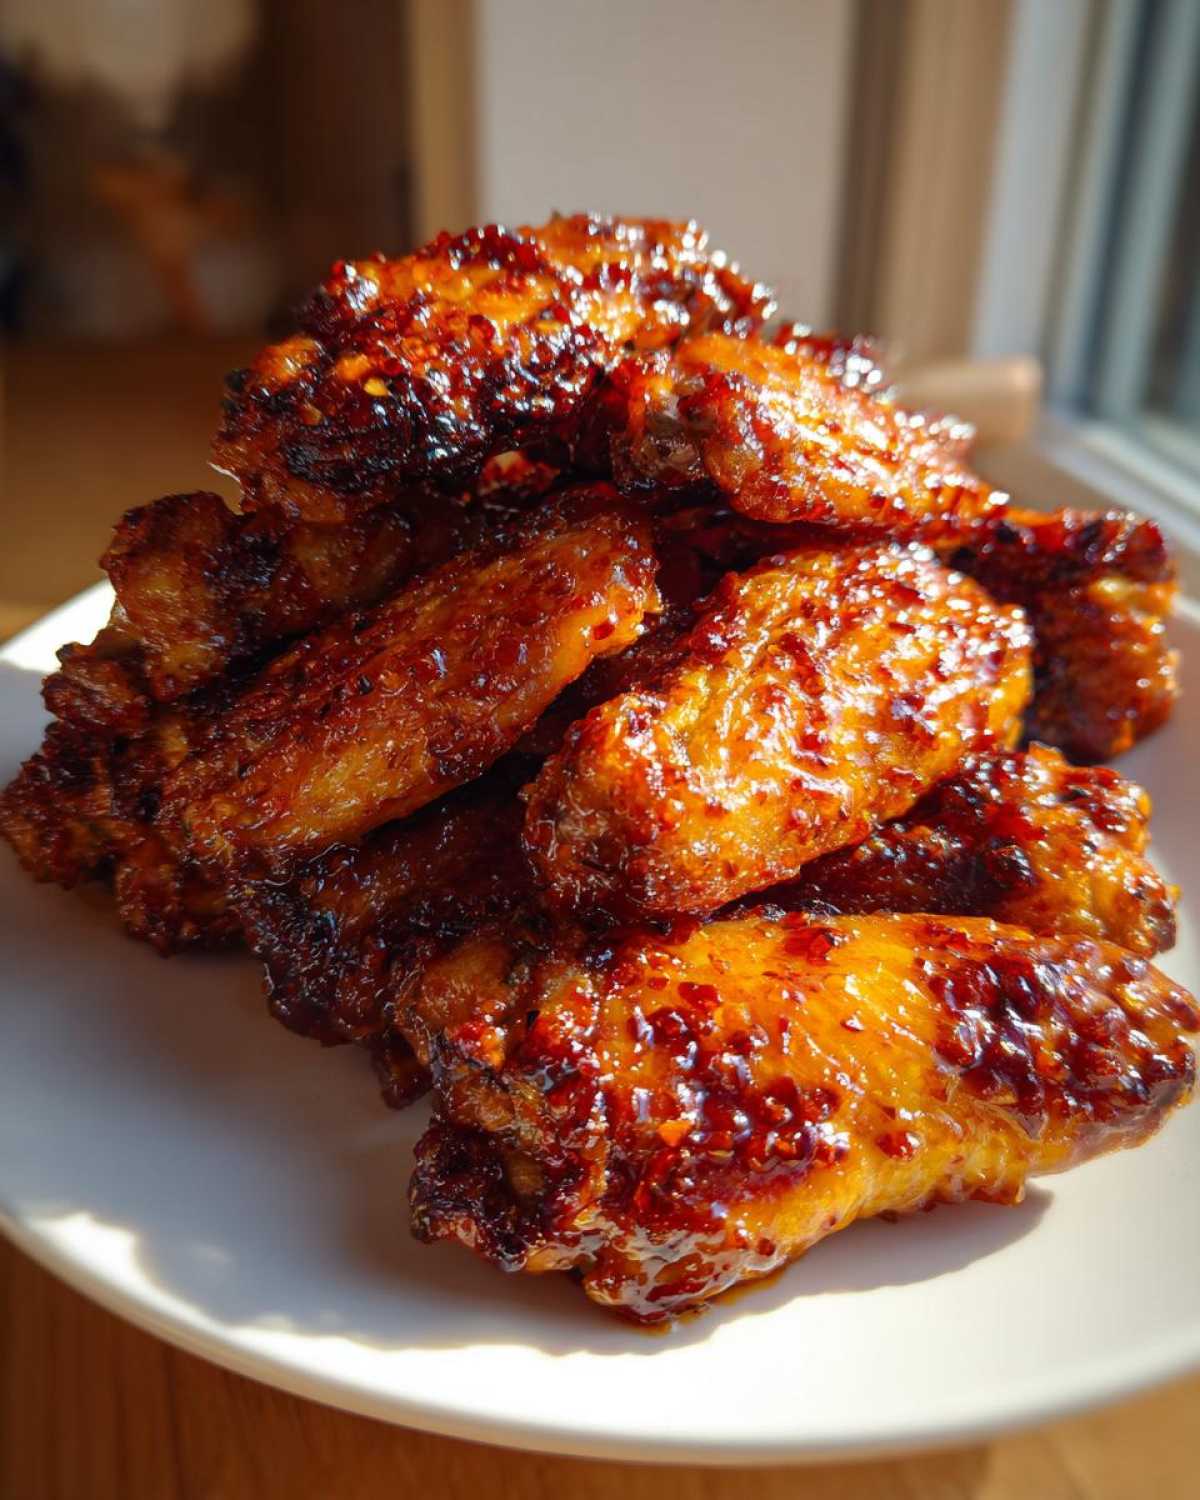
First things first, we need serious heat working for us. Go ahead and preheat your oven to 425°F (220°C). Remember our setup? Line a baking sheet with foil—trust me on the foil for cleanup later—and then place your wire rack right on top of that foil. Now, back to the wings. I can’t stress this enough: pat every single wing completely dry with paper towels. If they feel damp at all, they steam instead of crisp. Once they are dry, dump them into your large bowl. Toss them generously with the baking powder, salt, and pepper until they look dusty and perfectly coated. Don’t crowd the pan—I mean it! Arrange those wings in a single layer on the wire rack. They need space to breathe and crisp up. If they touch, you get soggy spots. It’s all about maximizing surface area for that crisp, just like I talk about when explaining how to make wings crispy in the oven!
Baking the Chicken to Perfection
Get those ready-to-crisp wings into the hot oven immediately. They need a solid first pass: bake them for 25 minutes straight. The baking powder is already doing its thing, pulling moisture out and starting to brown the skin. After 25 minutes, pull the pan out, use tongs to carefully flip every single wing over. Back into the oven they go for another 15 to 20 minutes. You are looking for a deep golden brown color, and the skin should look tight, bubbly, and wonderfully crispy. I often check the internal temp, but visually, if they look done and firm, they are ready for the glaze!
Creating the Sticky Sweet and Spicy Glaze
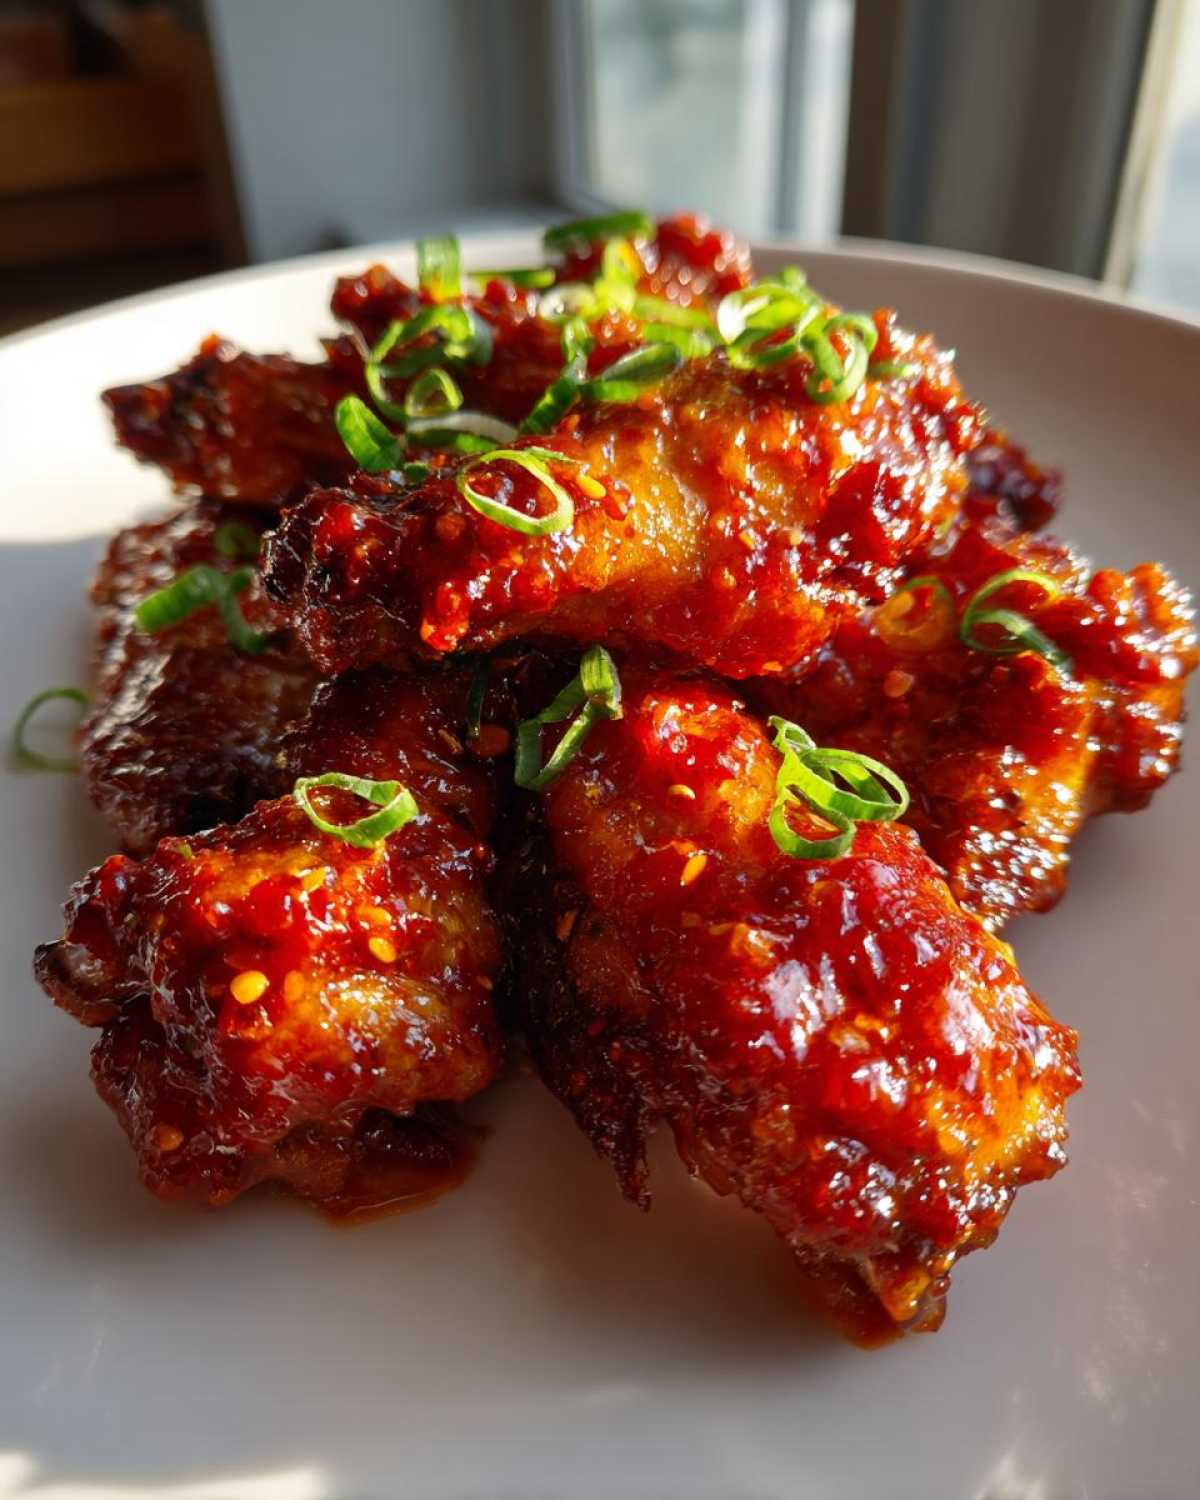
While the wings are finishing their second bake, it’s glaze time. Grab that small saucepan and combine your sweet chili sauce, honey, soy sauce, rice vinegar, chili garlic sauce, fresh ginger, and minced garlic. Set it over medium heat and bring it up to a gentle simmer, stirring gently so the honey doesn’t scorch on the bottom. Let that simmer happily for about three minutes. Now for the thickening agent! In a separate tiny bowl, mix your cornstarch and cold water together until it’s completely smooth—that’s your slurry. Whisk that slurry constantly into the simmering sauce. Keep whisking! It should thicken up fast, maybe in 60 to 90 seconds, becoming noticeably thicker and wonderfully glossy—that sticky factor is rising fast! Take it off the heat right away so it doesn’t get too firm.
Tossing and Serving Your Sticky Sweet Chili Chicken Wings Oven Baked
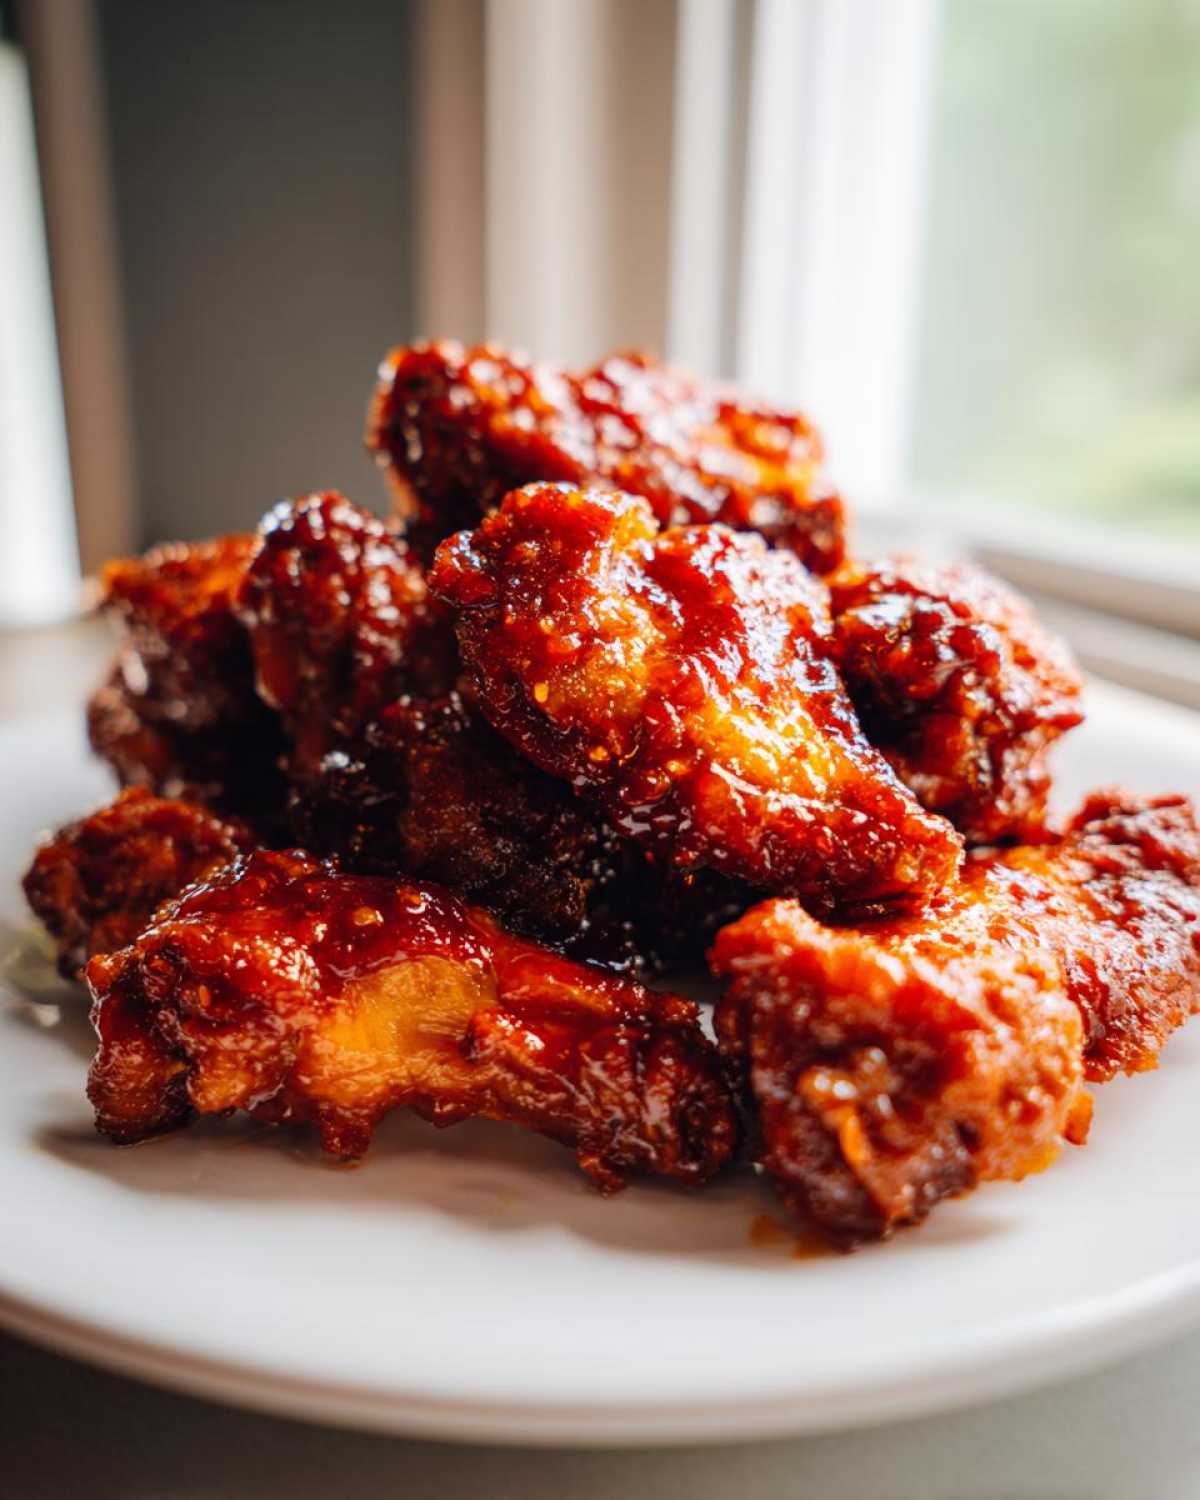
This is the moment we’ve been waiting for! As soon as those crispy wings come out of the oven, drop them immediately into that large mixing bowl you used earlier. Pour about three-quarters of your beautiful, thick glaze over the hot wings. Use tongs or a spatula to gently toss everything together. You want every single nook and cranny coated in that sweet, spicy goodness. Don’t over-mix or you might crack the crispiness we worked so hard for. Serve these incredible Sticky Sweet Chili Chicken Wings Oven Baked right away, piled high on a platter, with any extra glaze on the side for dipping. They are best eaten immediately when they are still piping hot and sticky!
Tips for Success with Your Oven Baked Wings
I’ve made this recipe probably a hundred times now for parties, lazy dinners, and just because I needed a wing fix. Over those tries, I learned what makes the difference between getting decent wings and getting wings that actually rival your favorite takeout spot. It all comes down to a few small details we can control right in our regular ovens. A little attention to these steps means you get that perfect texture and flavor every time—it builds confidence when you know you can nail it!
Achieving the Crispiest Skin
If you remember only one thing from this whole post, let it be this: you must dry your wings thoroughly. I mean, go to town with those paper towels like you’re trying to soak up a spill! Water on the skin creates steam, and steam equals soggy wings. After they are bone dry, that little dusting of baking powder—it coats the skin and helps wick away even more moisture as the heat hits it. It’s like giving the skin a little boost to turn brittle and shatteringly crisp instead of rubbery. If you’re looking for more ways to deal with surfaces that need to bake super dry, I have some thoughts on icing that needs to set hard which uses similar moisture principles!
Adjusting the Heat Level
My family leans a little toward the “spicy” side of sweet and spicy baked wings, so I usually use just shy of two tablespoons of chili garlic sauce. But you might be more sensitive, or maybe you’re serving little ones! That tablespoon of chili garlic sauce gives you a nice warming heat that balances the honey. If you want a gentle warmth, cut that back to just a teaspoon. If you want a serious punch, feel free to bump it up to two full tablespoons. Don’t be afraid to taste your sauce base before you add the cornstarch slurry—that’s your last chance to adjust that heat level before it locks permanently into that sticky glaze.
Storage and Make Ahead Tips for Sticky Sweet Chili Chicken Wings Oven Baked
One of the best parts about having this recipe in your rotation is knowing you can totally prep ahead! Life gets busy, right? I often make a big batch of the glaze when I’m cooking something else on the stove—maybe I’m simmering tomato sauce or something—since the thickening process is quick. You can absolutely make the sauce up to three days ahead of time. Just store it in a sealed jar in the fridge. When you reheat it, you might need to thin it out with a tiny splash of water or vinegar, since cold sugars and starches tend to seize up a bit. Remember to reheat it gently before you toss those crispy wings in!
Now, for the actual wings: these are definitely best enjoyed fresh out of the oven, right after they’ve been coated in that beautiful Sticky Sweet Chili Chicken Wings Oven Baked glaze. But leftovers happen! If you have any coated wings left over, store them in an airtight container in the fridge for up to three days. You’ll notice they lose that fresh crispness, which is why I never recommend fully glazing them if you plan to save them more than a few hours.
This is where the make ahead sweet chili wings strategy comes in handy: skip the glazing! Bake the wings until they are done and crispy, let them cool completely, and store them plain in the fridge. Then, the next day, you just quickly reheat the plain wings in a hot oven (maybe 400°F for about 8 minutes) to shock the skin back to life. Once they are hot and crispy again, *then* you toss them in your pre-made glaze. It feels like you just cooked them! You can find more ways I use this concept over at my post on make ahead sweet chili wings, specifically for party prep!
Serving Suggestions for This Weeknight Baked Wing Dinner
Since these wings pack such a huge punch of sweet, salty, and spicy flavor, you don’t need a fussy side dish to go along with them. I usually treat them like the star attraction, whether it’s a fast weeknight baked wing dinner or an appetizer spread for game day. The main thing to remember is that you need something cool and slightly acidic to cut through that heavy glaze. Otherwise, you’ll just keep eating wing after wing until you need a nap!
These wings are amazing on their own, of course, but pairing them right makes the whole meal sing. Here are couple of super simple ideas that don’t require hours of extra cooking, because when wings are ready, we want to eat them NOW.
- Cooling Slaw: Forget heavy mayo-based slaws. I love whipping up a quick vinegar-based coleslaw with shredded cabbage, carrots, and maybe a little cilantro. The bright tanginess cleanses the palate from all that sticky sweetness.
- Steamed Jasmine Rice: Sometimes, you just need carbs to soak up the extra sauce left on the plate. A simple bowl of fluffy, light Jasmine rice is the perfect blank canvas. It lets that complex glaze flavor really shine without competing.
- Cool Cucumber Salad: If you have 10 minutes, slicing up cucumbers, tossing them with a splash of rice vinegar, a tiny pinch of sugar, and maybe some sesame oil is fantastic. It’s crunchy, refreshing, and keeps the theme Asian-inspired.
- Creamy Avocados or Dips: If you want something richer, try a side of something cool and creamy. My avocado chicken salad recipe (no mayo) is hearty, but you could just serve up some plain avocado slices or a side of plain Greek yogurt mixed with a tiny bit of lime juice for dipping.
Honestly, for a party appetizer wings situation, piling them onto a platter next to some celery sticks and dipping sauce (if you have extra glaze!) is all the setup you need. They disappear fast, so don’t worry too much about the sides—just make sure you have plenty of napkins!
Frequently Asked Questions About Sticky Sweet Chili Chicken Wings Oven Baked
It’s super common to have questions when you’re trying a new method, especially when the goal is crispy skin without frying! We worked hard to make sure the steps for these wings are straightforward, but here are a few things readers often ask me when they are prepping their Game day chicken wing ideas or just looking for a new favorite dinner. If you’re looking for more behind-the-scenes kitchen chatter, definitely swing by my main blog!
Can I use frozen wings for this Sticky Sweet Chili Chicken Wings Oven Baked recipe?
Oh, gosh, no! If you put frozen wings in the oven, all that ice turns to steam, and steam is the direct enemy of crispiness. You absolutely have to thaw them completely first. Then, you need to take the time to pat every single one of those wings bone-dry with paper towels before you even think about tossing them in that baking powder mixture. If they’re damp, they’ll just end up getting weird and rubbery instead of turning into that golden, crispy perfection we want!
What is the best way to reheat leftover wings?
Leftover wings that have been tossed in sauce are tricky because the sauce steams the skin as it reheats. That means you should absolutely avoid the microwave unless you enjoy eating soft, chewy wings—which, if you followed this recipe, you probably won’t!
The best method is putting them back in a hot oven or a toaster oven. Set your oven to about 375°F (190°C). Spread them out on a new wire rack over a baking sheet (or just use the same one if you clean it) and bake them for about 8 to 10 minutes. This forces the moisture out of the coating again and crisps the skin back up beautifully. It’s a lifesaver!
Can I substitute the honey in the wing sauce?
That honey really contributes to that deep, rich sweetness and helps the glaze get super sticky, but I totally get it if you need a swap! Maple syrup works wonderfully as a direct 1-for-1 substitute. It’s usually a little thinner than honey, so you might find you only need to simmer the sauce for maybe 30 seconds less before adding the cornstarch slurry. Agave nectar is another good option if you want something milder, though it won’t give you quite the same deep caramel flavor that the honey or maple syrup does in the final result.
Nutritional Estimates for Baked Sticky Sweet Chili Chicken Wings
Since these are a definite crowd-pleaser and I wanted to share the full picture, here is a general idea of what you’re looking at nutrient-wise for this recipe. Remember, these are just estimates based on standard grocery store measurements, and yours might vary a bit depending on the exact brand of sweet chili sauce or the size of your wings!
- Serving Size: 4 wings
- Calories: 350
- Fat: 18g
- Protein: 24g
- Carbohydrates: 25g
- Sugar: 18g
We load up on flavor here, but since we aren’t frying, the fat content stays much lower than traditional wings, which I love! For a full breakdown and more about how we calculate these estimates, you can always check out my disclaimer page.
Nutritional Estimates for Baked Sticky Sweet Chili Chicken Wings
Since these are a definite crowd-pleaser and I wanted to share the full picture, here is a general idea of what you’re looking at nutrient-wise for this recipe. Remember, these are just estimates based on standard grocery store measurements, and yours might vary a bit depending on the exact brand of sweet chili sauce or the size of your wings!
- Serving Size: 4 wings
- Calories: 350
- Fat: 18g
- Protein: 24g
- Carbohydrates: 25g
- Sugar: 18g
We load up on flavor here, but since we aren’t frying, the fat content stays much lower than traditional wings, which I love! For a full breakdown and more about how we calculate these estimates, you can always check out my disclaimer page.
PrintCrispy Oven Baked Sticky Sweet Chili Chicken Wings
Bake chicken wings in the oven until crispy, then toss them in a thick, sticky sweet and spicy chili glaze.
- Prep Time: 15 min
- Cook Time: 45 min
- Total Time: 60 min
- Yield: 4 servings
- Category: Appetizer
- Method: Baking
- Cuisine: American
- Diet: Low Fat
Ingredients
- 2 lbs chicken wings, separated into flats and drumettes
- 1 tablespoon baking powder (not baking soda)
- 1 teaspoon salt
- 1/2 teaspoon black pepper
- 1/2 cup sweet chili sauce
- 1/4 cup honey
- 2 tablespoons soy sauce
- 1 tablespoon rice vinegar
- 1 tablespoon chili garlic sauce (or sriracha)
- 1 teaspoon grated fresh ginger
- 2 cloves garlic, minced
- 1 tablespoon cornstarch
- 2 tablespoons cold water
Instructions
- Preheat your oven to 425°F (220°C). Line a baking sheet with foil and place a wire rack on top of the foil.
- Pat the chicken wings completely dry using paper towels. This step helps achieve crispiness.
- In a large bowl, toss the dry wings with baking powder, salt, and pepper until evenly coated.
- Arrange the wings in a single layer on the wire rack. Do not overcrowd the pan.
- Bake for 25 minutes. Flip the wings over and bake for another 15 to 20 minutes, or until the skin is golden brown and crispy.
- While the wings finish baking, prepare the sauce. In a small saucepan, combine the sweet chili sauce, honey, soy sauce, rice vinegar, chili garlic sauce, ginger, and minced garlic.
- Bring the mixture to a simmer over medium heat, stirring occasionally. Let it simmer for 3 minutes.
- In a separate small bowl, whisk together the cornstarch and cold water to create a slurry.
- Pour the slurry into the simmering sauce while whisking constantly. Continue to cook for 1 to 2 minutes until the sauce thickens significantly and becomes sticky. Remove from heat.
- Place the hot, crispy wings into a large, clean bowl. Pour about three-quarters of the thickened glaze over the wings. Toss gently until every wing is well coated.
- Serve immediately with any remaining glaze on the side for dipping.
Notes
- For extra crispiness, ensure the wings are completely dry before applying the baking powder coating.
- You can make the glaze up to three days ahead of time and store it in the refrigerator; reheat gently before tossing the wings.
- If you prefer a spicier wing, increase the amount of chili garlic sauce in the glaze.
Nutrition
- Serving Size: 4 wings
- Calories: 350
- Sugar: 18
- Sodium: 550
- Fat: 18
- Saturated Fat: 5
- Unsaturated Fat: 13
- Trans Fat: 0
- Carbohydrates: 25
- Fiber: 1
- Protein: 24
- Cholesterol: 90