

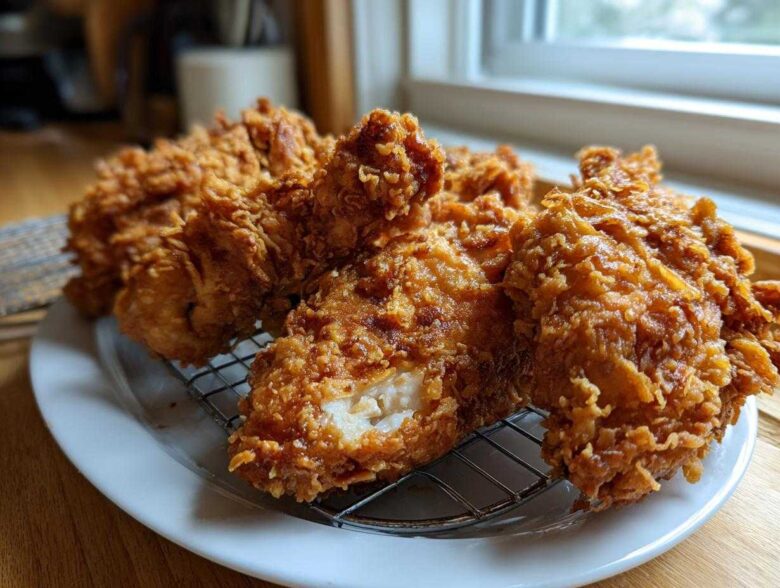
There is nothing in this world that cheers me up faster than biting into truly brilliant comfort food, and let’s be honest—that means spectacular homemade fried chicken. Forget those sad, oily takeout boxes. We’re talking about chicken so juicy and tender on the inside that it practically melts, protected by the most shatteringly crispy, golden-brown crust you can imagine. Owen and I perfected this exact recipe after one too many disappointing dinners. We developed this technique using a long buttermilk brine soak and a specific double-dredge method to lock in every bit of flavor. Once you master this, you’ll be ready to announce the good news at every gathering. If you want to know more about why we started this whole journey, check out our story over at Hungry Herald. This is the headline your dinner table needs!
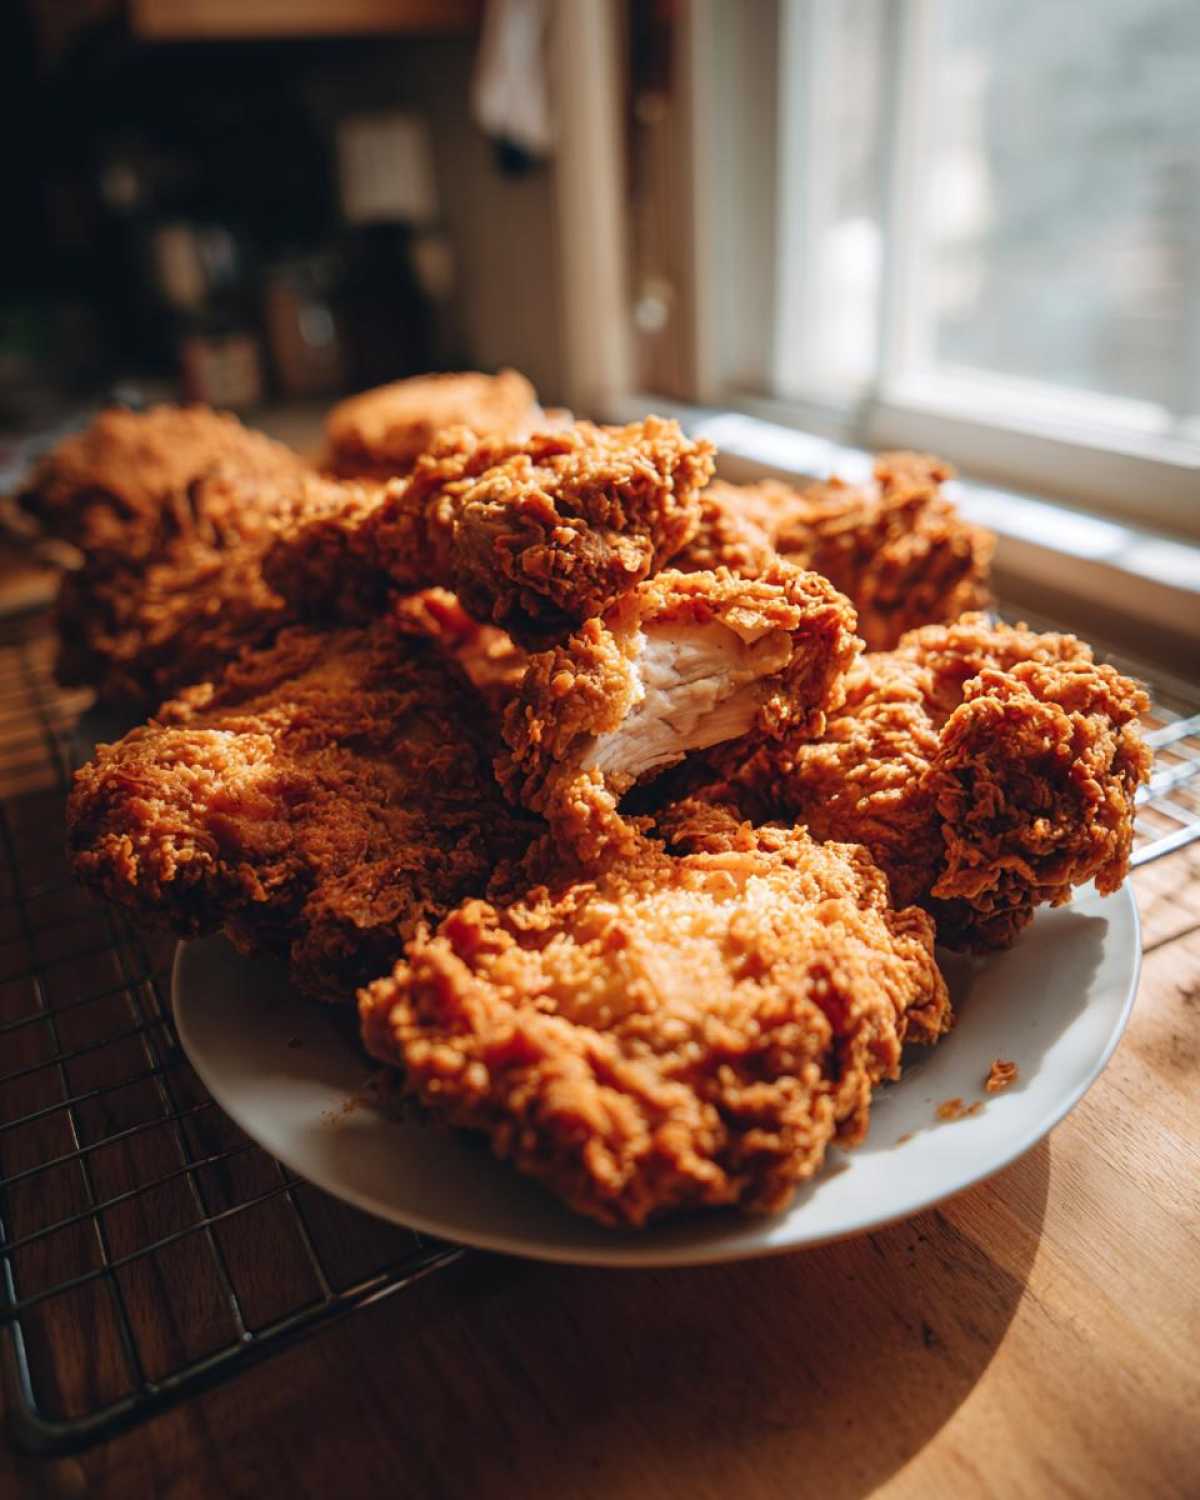
Why This Is The Best Homemade Fried Chicken Recipe
I know everyone claims their recipe is the best, but hear me out: this best homemade fried chicken recipe works because we went deep on the science—or at least, the kitchen magic that feels like science! We aren’t guessing here; we are controlling textures. The goal isn’t just flavor; it’s the perfect marriage of a hard-shell coating and absolutely juicy chicken inside. It’s the result of using dependable techniques that guarantee success almost every time. For general crispy cooking confidence, you might want to check out our guide on crispy skin roasted chicken, too!
The Secret to Ultra-Crispy Fried Chicken Coating
The crunch factor comes down to two things: cornstarch and the dredging dance. That flour mix isn’t just seasoned; the addition of cornstarch gives you that signature, craggy, crunchy chicken coating that stands up perfectly when it hits the oil. We dredge, then dip back into the wet, then dredge again. That second coat builds up the texture needed for that amazing golden brown chicken finish. It’s a little extra work, but wow, it pays off!
Achieving Juicy Chicken with Buttermilk Fried Chicken Marinade
This is where the magic for juicy chicken happens, hands down. The buttermilk we use isn’t just flavorful; it’s an acid bath that gently breaks down the proteins in the meat. This tenderizing action locks in moisture. If you can manage it—and the recipe note loves this—letting the chicken hang out in that buttermilk overnight is the single biggest step toward achieving maximum tenderness in your final buttermilk fried chicken.
Gathering Ingredients for Perfect Fried Chicken
Okay, now that we know *why* our fried chicken turns out great, we have to talk about what goes into it. Trust me, precision matters here, especially when frying, because substitutions can ruin that beautiful crust we worked so hard to build. When you gather your components, I need you to be incredibly specific, okay? We’re using 4 lbs of bone-in, skin-on chicken pieces. I love mixing things up—thighs are my favorite, but drumsticks and breasts work great too. The key is that they must be bone-in and skin-on if you want that classic Southern texture.
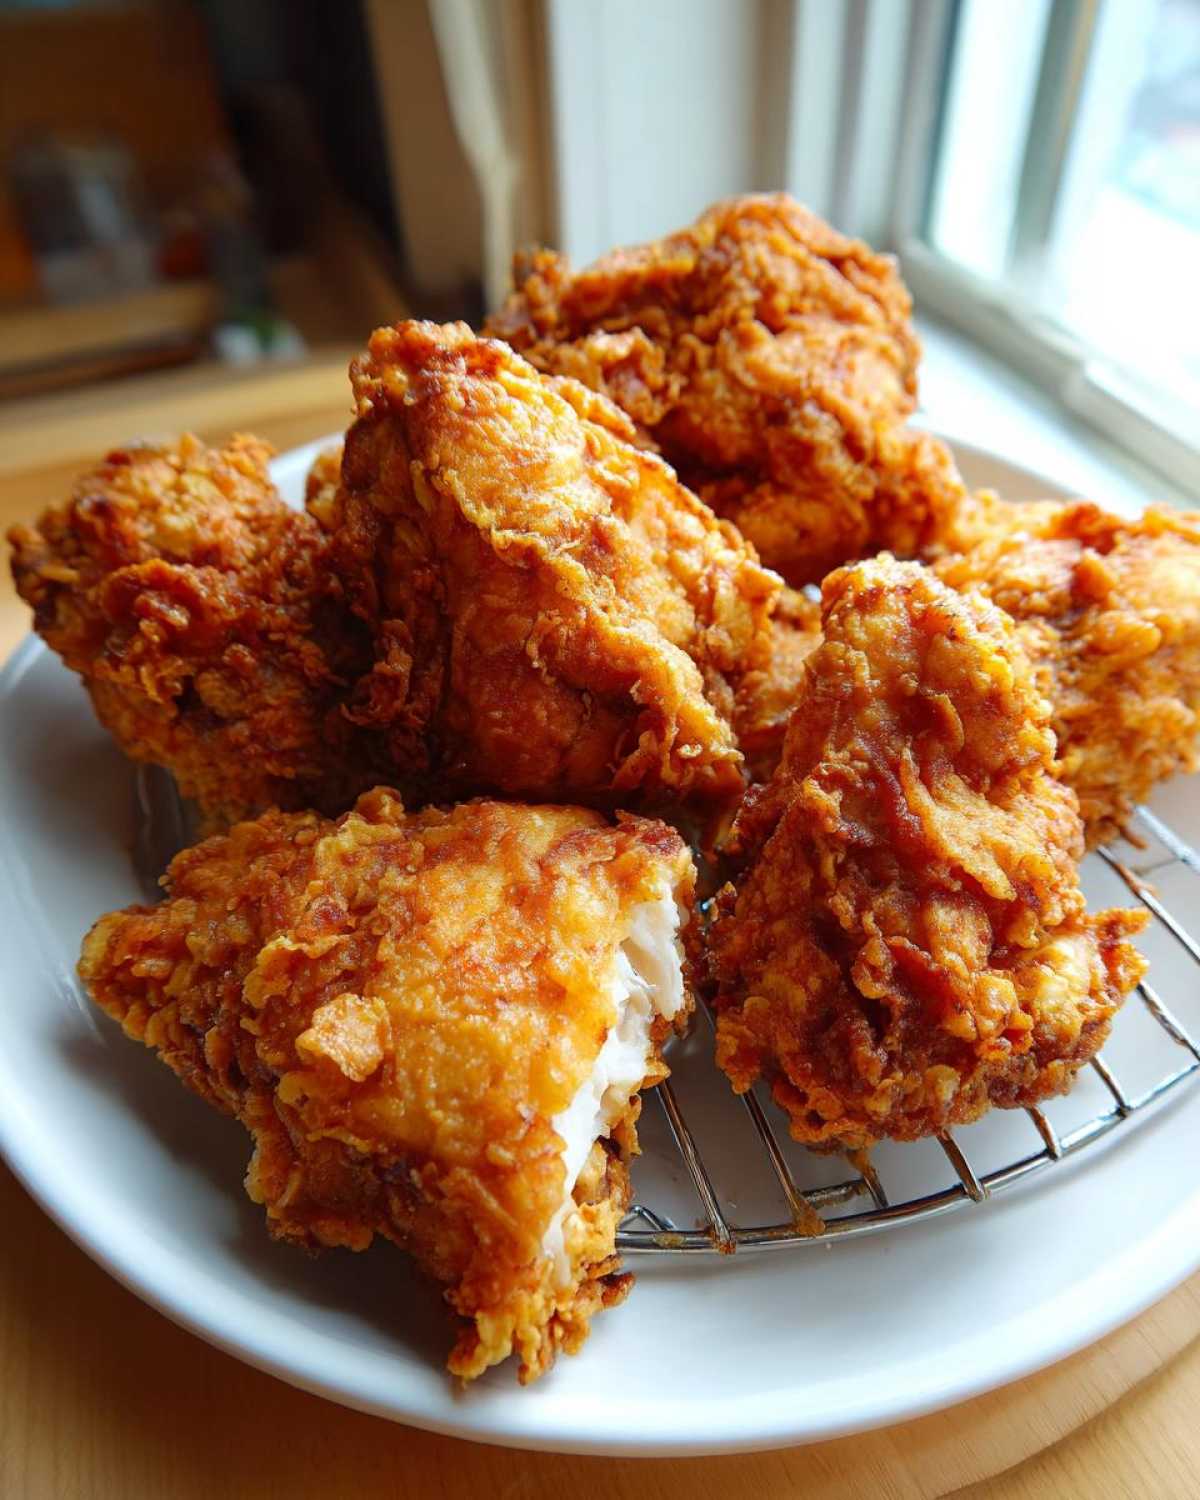
You absolutely need a full 4 cups of buttermilk for the marinade, not just one or two splashes. And make sure you measure out those spices for the dredge exactly as written in the recipe card. Doing it this way builds trust—you know exactly what you’re working with! If you’re looking for incredible side dishes to match, you might want to check out how we make our Candied Yams.
Ingredient Notes and Substitutions for Southern Fried Chicken Recipe
The oil situation is super important for getting that consistent, golden brown chicken. You must use a neutral oil with a high smoke point, like vegetable oil or even good old shortening. Skip the olive oil—it scorches too quickly, and we need that oil steady at 325°F. Don’t be shy about that cornstarch in the flour mix; it’s what gives you the lift and the crunch! If spicy isn’t your thing, feel free to skip that optional cayenne pepper in the flour mixture. We keep tasting as we go, so if you want a milder Southern fried chicken recipe, just stick to salt and pepper in the flour. Don’t let any single ingredient derail the whole operation!
Deep Fried Chicken Tutorial: Step-by-Step Instructions
Alright, this is the main event! If you’ve marinated the chicken overnight—and I really hope you did for that juicy fried chicken—you’re ready to turn this into a proper deep fried chicken tutorial. We need to separate the coating process from the actual frying, because timing is everything when you want that crunchy chicken coating to stick like glue. This process takes a little hustle, but the results justify turning up the music—maybe put on some Motown and get moving!
Remember those steps in the recipe card? We’ve got our buttermilk bath chilling away, and our flour is ready for action. Don’t rush this part; patience here is what separates okay chicken from legendary chicken. If you want to see how we handle another classic, check out our Instant Pot Red Beans and Rice for inspiration on layering flavor!
Preparing the Buttermilk Marinade and Dredging for Fried Chicken
First thing: take the chicken out of the fridge but let the excess buttermilk drip off. We need the chicken wet, but not swimming, when it hits that flour mix. Now, pay close attention because this is where we build the fortress around your meat. You’re going to dredge it heavily in that seasoned flour, making sure you press down hard. I mean, really press! We want that flour to stick tight. That’s Dredge One.
Here’s the secret sauce for the ultimate crunch: quickly dip it back into that buttermilk—just a quick dunk, don’t soak it again—and immediately throw it back into the flour for Dredge Two. Press it again, maybe even rough it up a tiny bit between your palms when you press. This second layer of fully saturated flour creates those beautiful, uneven flakes that turn into pure gold when frying. This double-dredge technique is absolutely non-negotiable for that perfect crunch.
Frying Technique for Golden Brown Chicken Perfection
Get your oil set up at exactly 325°F. Having a thermometer is not optional here, folks; if the oil is too cool, the chicken soaks it up and gets greasy. If it’s too hot, the crust burns before the inside is safe. We fry in batches, never overcrowding that pan, because overcrowding kills the oil temperature instantly. Cook those pieces for about 6 to 8 minutes per side until you see that gorgeous, deep, golden brown chicken color.
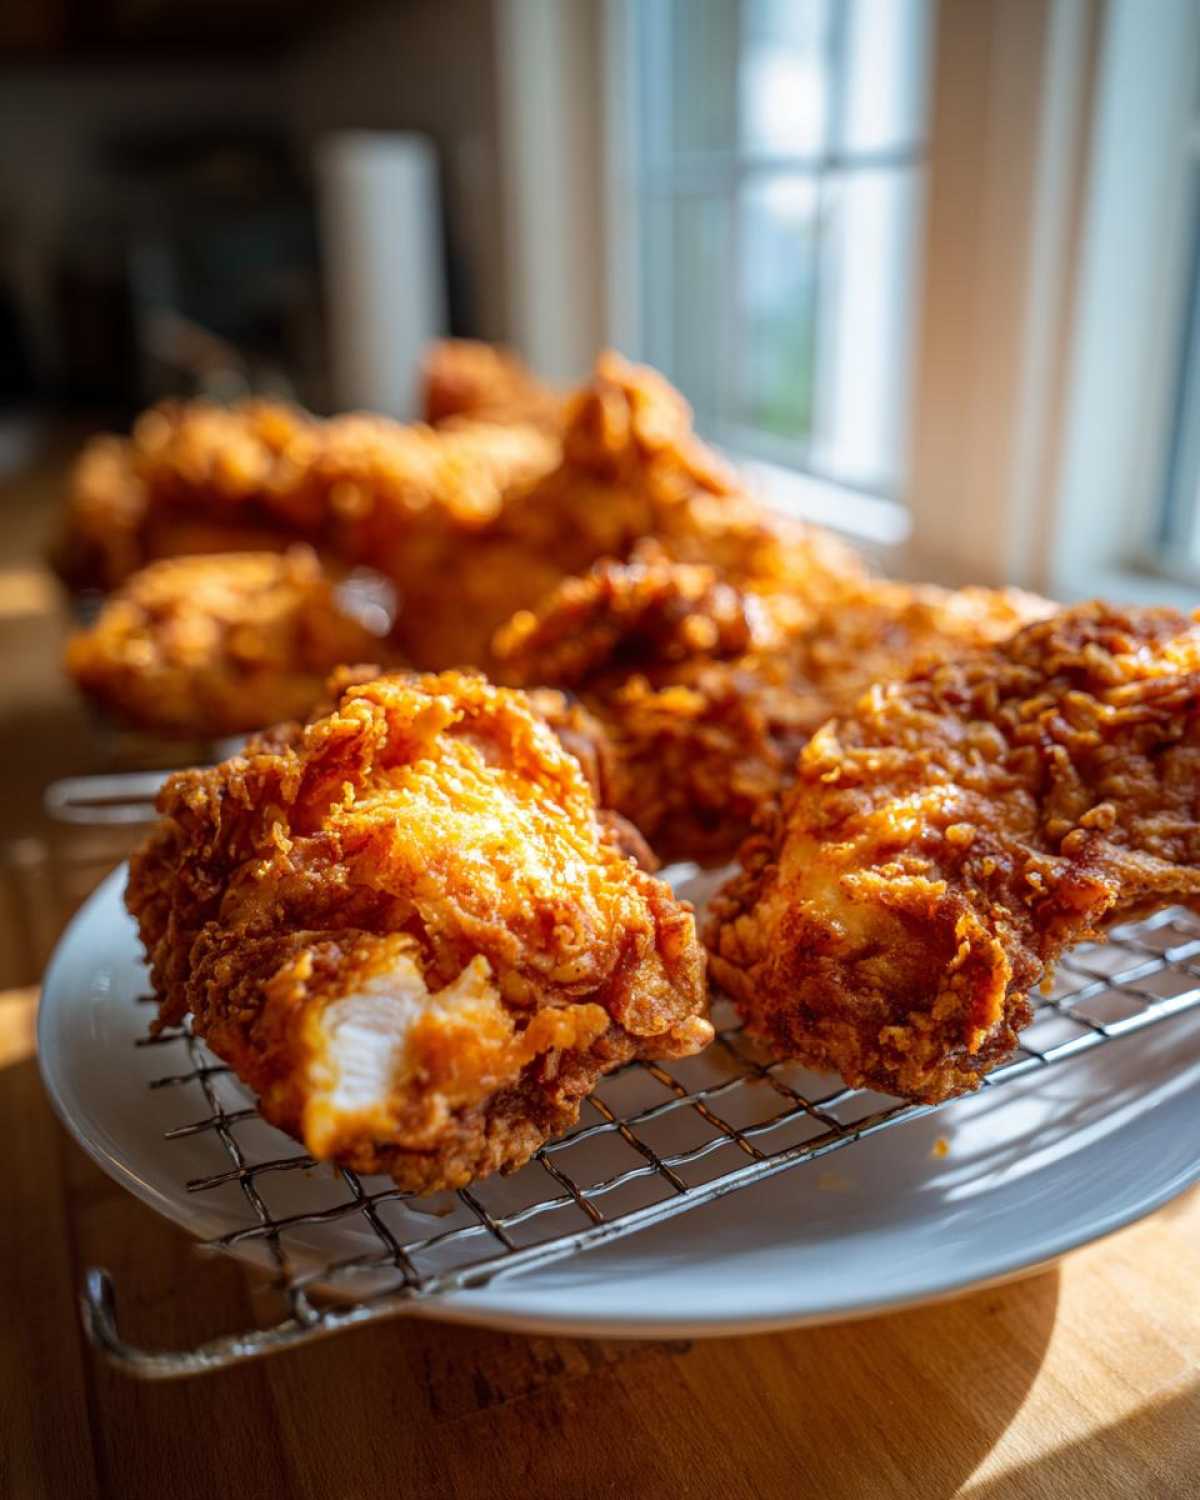
Now, for my trick—and this is one Owen insists on knowing: if you’re deep frying big breasts, they often need a little help finishing the cook inside without scorching the outside. Once they look perfectly golden, quickly transfer them to a cooling rack over a baking sheet and pop them into a 300°F oven for about 10 to 15 minutes to finish cooking through to 165°F internally. This ensures every piece is perfectly safe and still outrageously juicy!
Tips for Success with Classic Fried Chicken
Even with the perfect recipe, sometimes the little details make the difference, right? We learned that the hard way when my first attempts at classic fried chicken came out looking great but soggy ten minutes later. The biggest game-changer that I pulled from the recipe notes was the rest period. Seriously, do not skip this step!
After you’ve finished that second dredge in the flour—when the chicken is looking perfectly shaggy and ready for its oil bath—lay those pieces onto a wire rack, just like the recipe says, and let them chill out for about 15 minutes before they ever touch hot oil. This helps the coating set up. If the coating sets, it stays on when frying, giving you that incredible, rugged crust instead of just dropping bits of flour into your oil.
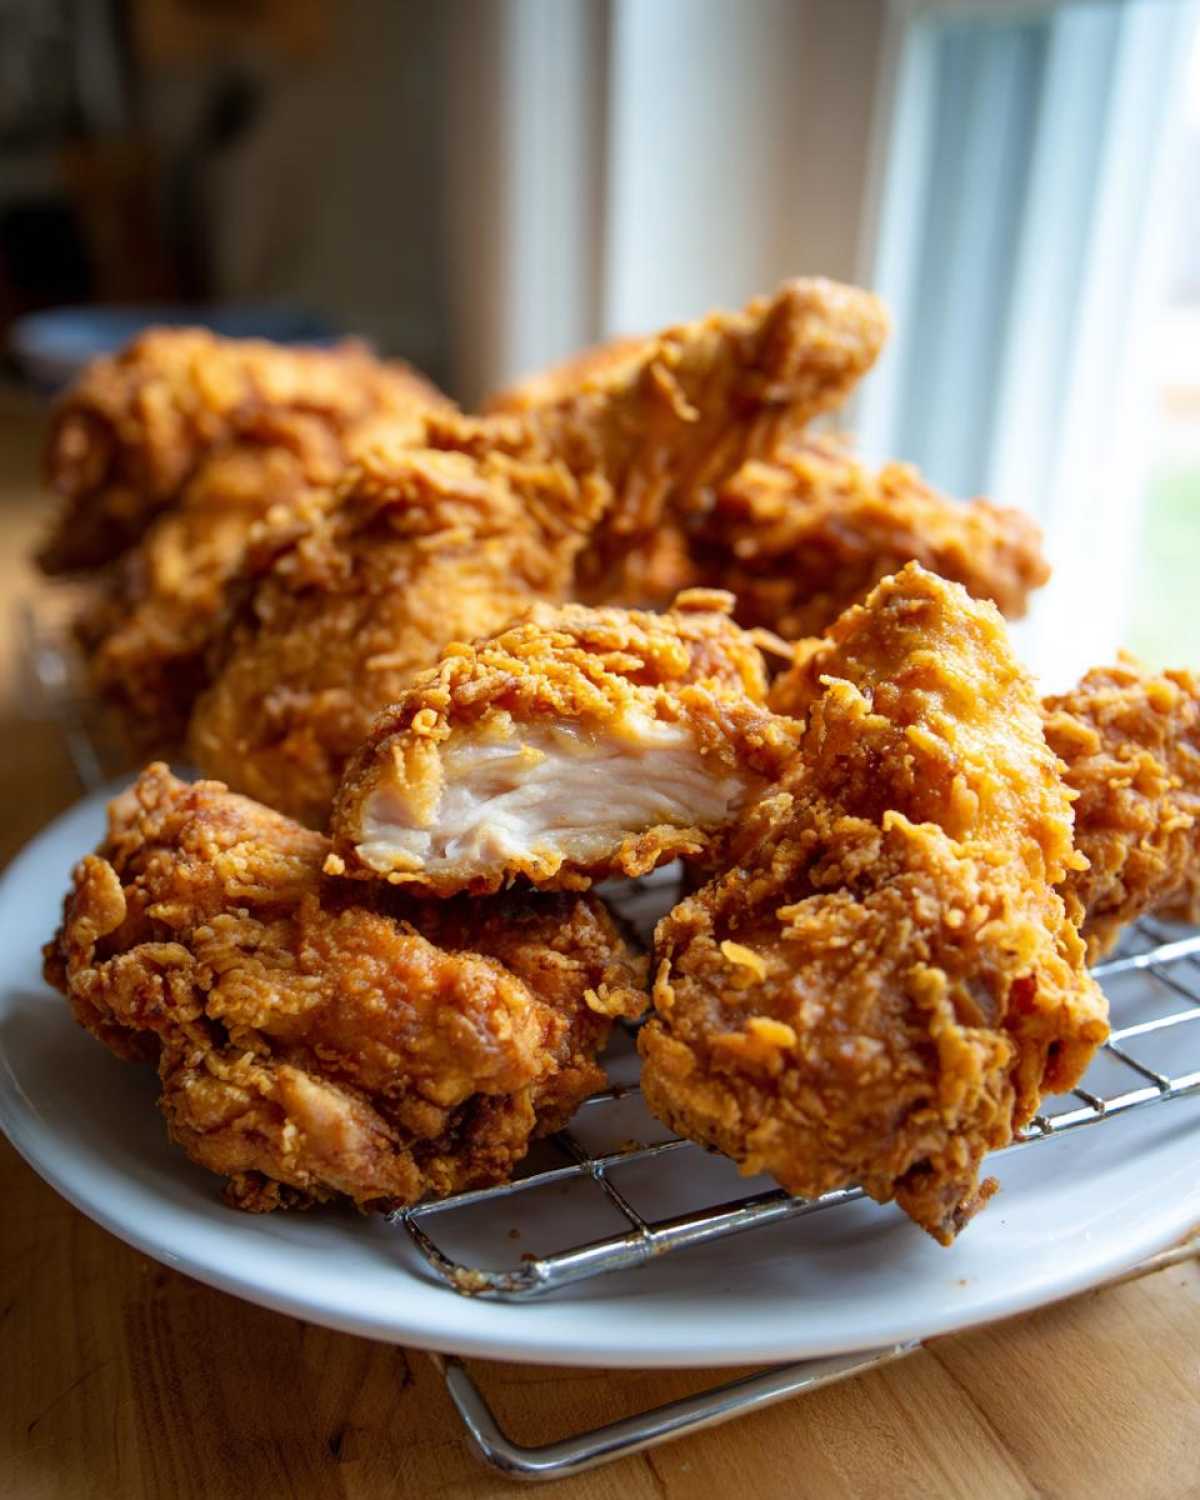
Also, a quick shout-out to Owen here: he insists that any successful frying project demands a good soundtrack. Honestly, the rhythm of breading helps, but having some upbeat tunes playing really lifts the mood when you’re working in batches and keeping an eye on the thermometer. It turns a chore into a gathering!
If you’re looking to elevate another simple savory item, you absolutely have to try making homemade garlic butter next. You can find my simple process for easy homemade garlic butter, which is amazing on rolls while you’re waiting for the chicken to cool down a bit!
Storage and Reheating Instructions for Leftover Fried Chicken
Oh, the leftovers! Sometimes, the fried chicken tastes even better the next day, right? But that amazing crust can turn soft if you aren’t careful. The absolute worst thing you can do is treat this masterpiece like leftover pizza and toss it in the microwave. The steam will just turn that beautiful crunch into thick, sad rubber. Don’t do it to yourself!
The goal for leftover crispy fried chicken is to reintroduce dry heat slowly so that the coating crisps up before the meat dries out. The best method we use is pulling the pieces out of the fridge about 30 minutes before reheating, letting them take the chill off slightly.
If you have an air fryer fried chicken setting on your machine, use it! That’s genuinely the fastest way to bring that crunch back to life. You just need a few minutes at about 350°F, turning halfway. If you don’t have an air fryer, or you’re doing a big batch, the oven is your next best friend. Set your oven to 375°F and place the chicken on a wire rack set over a baking sheet, just like we did when it was first done. Allowing air to circulate underneath prevents sogginess instantly. If you want to see how we do the air fryer method from scratch for smaller batches, you can check out my dedicated air fryer fried chicken tutorial!
If you store your chicken in an airtight container, it usually lasts about three to four days in the fridge. But honestly, with how good this comfort food chicken recipe is, I doubt you’ll have much left by day two!
Serving Suggestions for Your Easy Fried Chicken Dinner
A plate of this perfectly crispy, juicy fried chicken deserves a spectacular welcoming committee, right? It just feels wrong to serve this golden perfection naked! When we make a batch of this for an easy fried chicken dinner, we treat it like the main event it truly is. This isn’t the time for sad, store-bought sides; we need classics that can stand up to that massive flavor.
Our go-to setup is usually the trifecta of Southern goodness: creamy mashed potatoes smothered in extra gravy (we always make extra gravy!), some sharp, vinegary coleslaw to cut through the richness, and, of course, warm, fluffy biscuits straight from the oven. Those biscuits just need a smear of butter and you’re set. If you want a heartier side that still feels traditional but is super simple to make in the Instant Pot, you have to try my recipe for Loaded Baked Potato Soup—it’s like a cozy hug in a bowl.
We also love throwing some simple green beans cooked with a little bacon fat into the mix—just because you are having a simple dinner doesn’t mean you can’t put love into every single component! Owen actually insists that the sweetness of corn muffins balances out the spice of the chicken perfectly, so we usually bake a batch of those too. Get everything ready before the chicken comes out of the oil. Remember, that perfect crust stays crispier when you eat it right away!
Frequently Asked Questions About Making Fried Chicken
I always get so many questions when I post pictures of this chicken on social media—it’s totally understandable! Everyone wants that perfect, shatteringly crispy fried chicken at home, and sometimes the process feels a little intimidating. Let’s tackle the big concerns right here so you feel totally confident when you go to make your next family favorite chicken dinner. Once you nail the technique, you might even want to try something a little different but equally creamy, like my Chicken Divan Casserole!
Can I use chicken breasts instead of mixed pieces?
Yes, you absolutely can use chicken breasts! Breasts are great, especially if you’re looking for one specific cut, but they are thicker than thighs, which means you have to watch the cooking time even closer. Since the buttermilk brine is your best friend for keeping meat moist, make sure those breasts are fully submerged for the maximum amount of time! If you notice the crust is getting deeply golden but the center still seems underdone, pull them out of the oil right away and finish them in a low oven, just like I mentioned in my tips. We don’t want any dry chicken here!
What is the best oil to use for deep frying?
This is so crucial for getting that fantastic, non-greasy result. You need an oil that can handle consistent, high heat without breaking down or smoking too much. Vegetable oil is hands-down the most common and reliable choice for Southern cooking because it’s neutral. If you want to go super traditional and slightly more flavorful, peanut oil works like a dream and also has a phenomenal smoke point.
Whatever you choose, make absolutely sure you have enough of it in the pan to cover the chicken by about an inch. Using an oil that’s too shallow means you’ll have to flip the pieces constantly, leading to uneven cooking and a less satisfying overall crust. Stick to vegetable oil, keep it monitored with that thermometer, and you’ll be fine!
How do I prevent the coating from falling off my fried chicken?
This is the biggest heartbreak in the world, isn’t it? You end up with perfectly cooked chicken surrounded by sad, empty crust flakes floating in the oil. This comes down to two small things we already talked about, but they are so important I’ll say them again!
First, when you do that double dredge—wet, then flour, wet again, then final flour—you must press that flour onto the chicken like you mean it! Pat it, squeeze it, make sure there are no pale spots left uncovered. Second, that resting period! Don’t rush it to the fryer. Letting the dredged chicken sit on the wire rack for 15 minutes allows the moisture from the buttermilk to hydrate the flour, making the coating cement itself onto the meat. When it rests, it sets. When it sets, it stays put!
If you’re curious about an alternative way to cook chicken without the oil bath, you can look up my recipe for air fryer fried chicken, which uses a similar seasoning mix but cuts way back on the grease!
Nutritional Estimates for This Fried Chicken Recipe
Now, I know some of you are all about tracking those macros, and that’s totally fair game! While Owen insists that nutrition details interfere with the joy of eating this perfectly golden brown chicken, I believe transparency is good news, too. So, here are the estimated nutritional breakdown statistics for one serving of this glorious comfort food.
Please remember, this is just an educated guess! The exact numbers change wildly depending on how much oil the chicken decides to greedily absorb—and trust me, every batch has its own personality. If you use leaner cuts or finish them in the oven (instead of deep frying the whole time), your numbers will shift. Think of this as a guideline, not a strict rulebook!
- Serving Size: 1 piece
- Calories: 450
- Fat: 28g
- Saturated Fat: 7g
- Trans Fat: 0g
- Carbohydrates: 15g
- Protein: 35g
- Sodium: 650mg
- Sugar: 3g
If you’re looking for something that gives you a mighty protein boost without all the frying fuss, you might want to check out my recipe for Easy Egg Bites later this week! That’s good news for quick weekday breakfasts, even if it doesn’t quite replace that chicken craving!
Share Your Kitchen Dance Party Moments
Well, folks, that’s the full dispatch on making the most incredible, crispy, and juicy Southern fried chicken you’ve ever had the pleasure of making! I hope reading this has you already pulling out that big Dutch oven and dreaming up the perfect playlist. Owen is already downstairs arguing with the speaker about whether we should dedicate the whole cooking session to 80s rock or 90s R&B!
Now that you have all the secrets—the overnight brine, the double-dredge dance, and the perfect oil temperature—it’s your turn to tell the world the good news! Did you manage that perfect, crunchy coating? Did you have an impromptu kitchen dance party once everything was plated? I absolutely want to see it!
If you made this recipe, please take a moment to leave a rating right below this post to let me know how it worked for you. Your feedback helps other readers decide if they should turn up the music and start frying! And if you snapped a picture that truly captures the moment your homemade chicken stole the show, tag us on social media! We love collecting those stories and seeing your incredible culinary headlines.
We’re always putting out new stories and recipes here on the blog, so if you want to stay updated on what we’re cooking up next—maybe something less messy than deep frying!—make sure you head over to the main Hungry Herald index page and bookmark it. Can’t wait to hear how this comfort food classic lands at your table!
PrintThe Best Southern Fried Chicken: Crispy, Juicy, and Ready for a Dance Party
You deserve truly spectacular homemade fried chicken. This Southern recipe uses a buttermilk brine and a double-dredge technique to give you that ultra-crispy, golden-brown coating while keeping the meat incredibly juicy. It is the good news your dinner table needs.
- Prep Time: 30 min
- Cook Time: 35 min
- Total Time: 7 hours 5 min
- Yield: 4 servings
- Category: Dinner
- Method: Deep Frying
- Cuisine: Southern American
- Diet: None
Ingredients
- 4 lbs bone-in, skin-on chicken pieces (thighs, drumsticks, breasts)
- 4 cups buttermilk
- 2 tablespoons hot sauce
- 1 tablespoon salt
- 1 tablespoon black pepper
- 1 teaspoon paprika
- 1 teaspoon garlic powder
- 1 teaspoon onion powder
- 3 cups all-purpose flour
- 1 cup cornstarch
- 1 teaspoon cayenne pepper (optional, for extra kick)
- Vegetable oil or shortening, for frying (enough to cover chicken by 1 inch)
Instructions
- Combine the buttermilk, hot sauce, salt, pepper, paprika, garlic powder, and onion powder in a large bowl. Add the chicken pieces, ensuring they are fully submerged. Cover and refrigerate for at least 4 hours, or preferably overnight. This is your secret to juicy chicken.
- In a separate shallow dish, whisk together the flour, cornstarch, and cayenne pepper (if using). This seasoned flour mix creates the crunchy chicken coating.
- Remove the chicken from the buttermilk, letting excess drip off, but do not wipe it dry.
- Dredge each piece thoroughly in the flour mixture, pressing the flour onto the chicken firmly to adhere. This is the first dredge.
- Dip the floured chicken back into the remaining buttermilk mixture briefly (just a quick dip).
- Return the chicken to the flour mixture for the second dredge. Press the flour on again, ensuring every surface is covered. This double dredging is key to achieving crispy perfection.
- Heat 1 to 1.5 inches of oil in a large, heavy-bottomed skillet or Dutch oven to 325 degrees Fahrenheit. Use a thermometer to maintain the temperature.
- Carefully place the chicken pieces into the hot oil, ensuring you do not overcrowd the pan. Work in batches.
- Fry the chicken for about 6 to 8 minutes per side, turning occasionally, until it is deep golden brown and cooked through (internal temperature of 165 degrees Fahrenheit). Adjust heat as necessary to prevent burning the crust before the inside cooks.
- Remove the cooked chicken and place it on a wire rack set over a baking sheet to drain excess oil. Do not place it on paper towels, as this can steam the bottom crust.
- Serve immediately and announce the good news!
Notes
- For the best results, let the dredged chicken rest on the wire rack for 15 minutes before frying. This allows the coating to set, preventing it from falling off in the oil.
- If you are frying larger pieces like breasts, you may need to finish them in a 300 degree Fahrenheit oven after frying to reach a safe internal temperature without burning the crust.
- Owen insists that every batch of fried chicken needs a great soundtrack playing.
Nutrition
- Serving Size: 1 piece
- Calories: 450
- Sugar: 3
- Sodium: 650
- Fat: 28
- Saturated Fat: 7
- Unsaturated Fat: 21
- Trans Fat: 0
- Carbohydrates: 15
- Fiber: 1
- Protein: 35
- Cholesterol: 110